
The first chapter of Detroit: Become Human introduces the player to Connor, an android detective. The outcome of negotiations with a deviant holding a child hostage on the roof of a skyscraper depends on your actions.
Start of mission: inspection of the apartment


After exiting the elevator, you can interact with the surrounding objects. There is a fish on the floor — you can return it to the aquarium or ignore it. This decision does not affect the success rate.


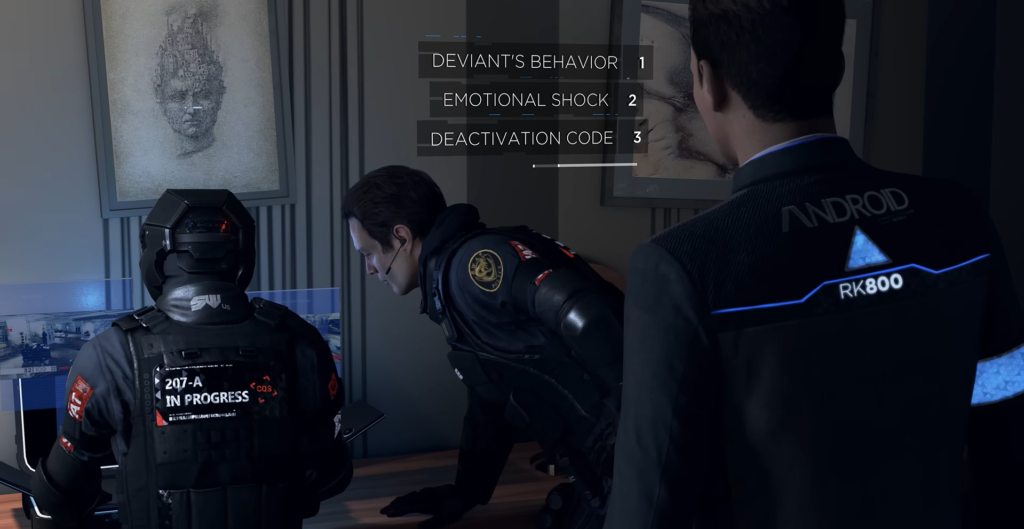
As you move forward, you will encounter Emma’s mother. After a short scene, turn right and find Captain Allen in the next room. In the dialogue, you can ask several questions about the deviant and the current situation. The captain will eventually leave in a huff.

Gathering evidence to increase the chances of success

Bookshelf
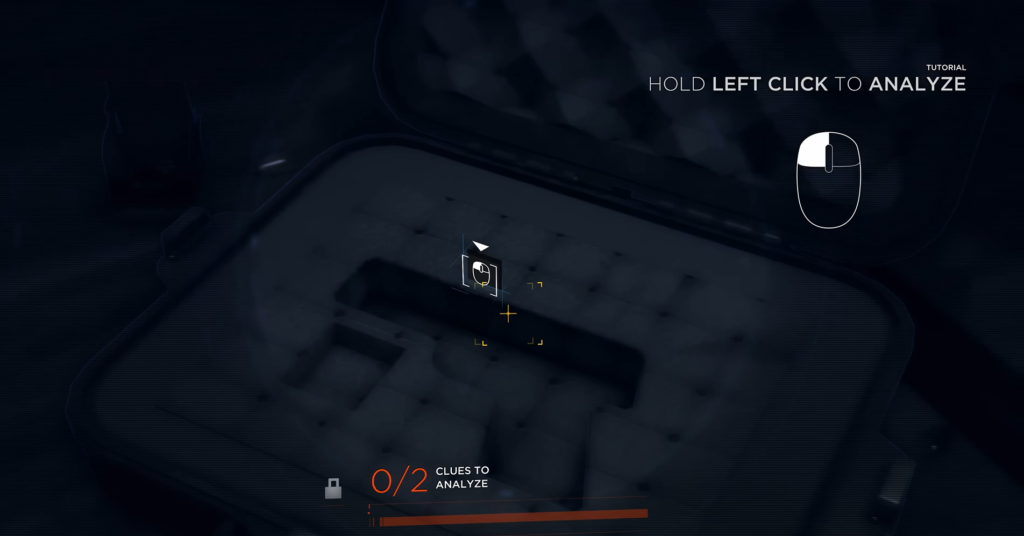
Turn around and walk to the bookcase behind you. Scan the empty weapon case, then use the reconstruction of events. Rewind the timeline to the yellow mark and scan the case itself.


Hostage Room
Go to Emma’s bedroom. Examine the headphones and the tablet with the video recording — this will give you information about the deviant and unlock an additional line of dialogue.


First Victim
Head to the kitchen, where police officers have taken up positions at the exit to the roof. Don’t rush out — there is a wounded man lying on the floor to the right. Scan his injuries, activate the reconstruction, and find the moment on the timeline when the victim is holding a tablet. Fast forward and scan the fallen tablet, then pick it up in reality.

Kitchen
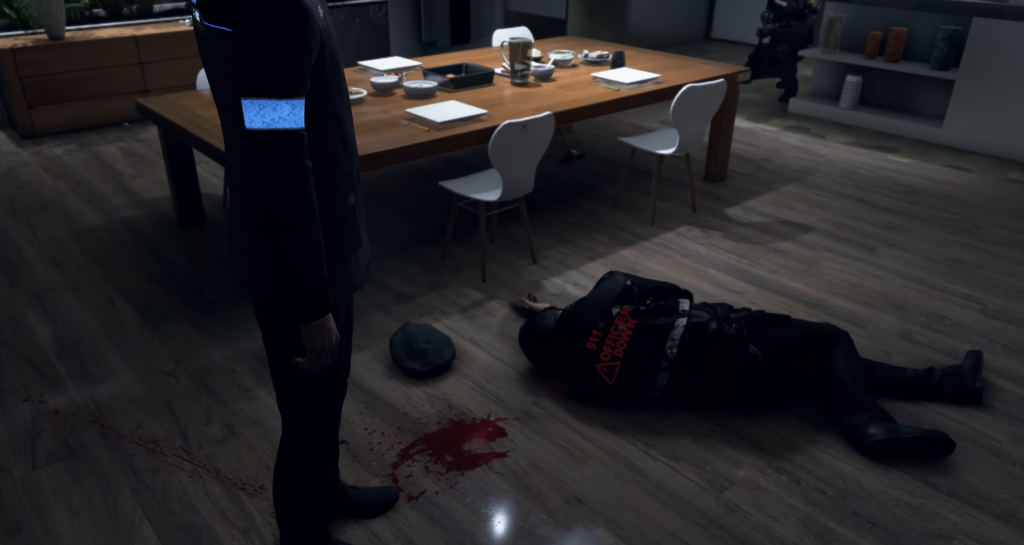
Turn off the stove. Then examine the officer’s body on the floor — scan all marked points. In the reconstruction, rewind to the yellow markers and scan the weapon in the deviant’s hands, as well as the boot next to the officer. Return to the other yellow marker and scan the gun on the floor. Pick up this weapon after exiting the simulation — it will come in handy later.

Preparing to Exit
Near the door to the roof, examine the blue blood of the android and the boot. Look in the window on the right to see the location of the deviant.

Negotiations on the roof


When you reach the roof, Connor will be shot. After regaining control, move forward slowly—the passing helicopter will temporarily lower your success rate.
Keep to the left. You will come across a wounded police officer, and the deviant will demand that you stop. Obey the demand—it is important for the success of the mission.
When the deviant asks about the presence of weapons, tell the truth and throw away the gun. Honesty will increase the success rate.
Critical Dialogues

As you get closer, response options will become available. If you have collected all the clues in the apartment, there will be more options available. Stick to the strategy:
- Choose empathetic options — each such choice increases success
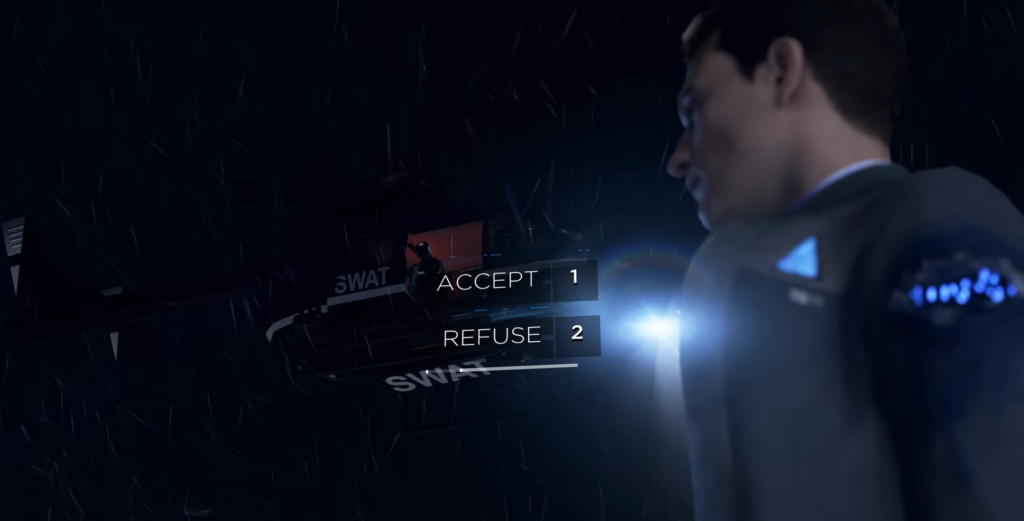
- When a deviant asks you to remove the helicopter, agree
- In the next dialogue, select the “Trust” option
- The final choice is “Reassure.“
With the right sequence, the success rate will reach its maximum, leading to a better outcome for the mission.

Possible endings


| Connor’s actions | Result |
|---|---|
| Negotiations fail | The Deviant jumps with Emma, Connor sacrifices himself to save the girl |
| Doesn’t make it in time | Both perish |
| Honesty with the Deviant, but lack of time | The deviant jumps with Emma, Connor saves her at the cost of his own life |
| Lies to the deviant | With insufficient trust, the deviant jumps with Emma, Connor sacrifices himself |
| Lies + sufficient trust | Emma is released, snipers kill the deviant |
| Use of the found pistol (threat) | The deviant shoots Connor |
| Use of the pistol (shot) | Connor kills the deviant and saves Emma |