
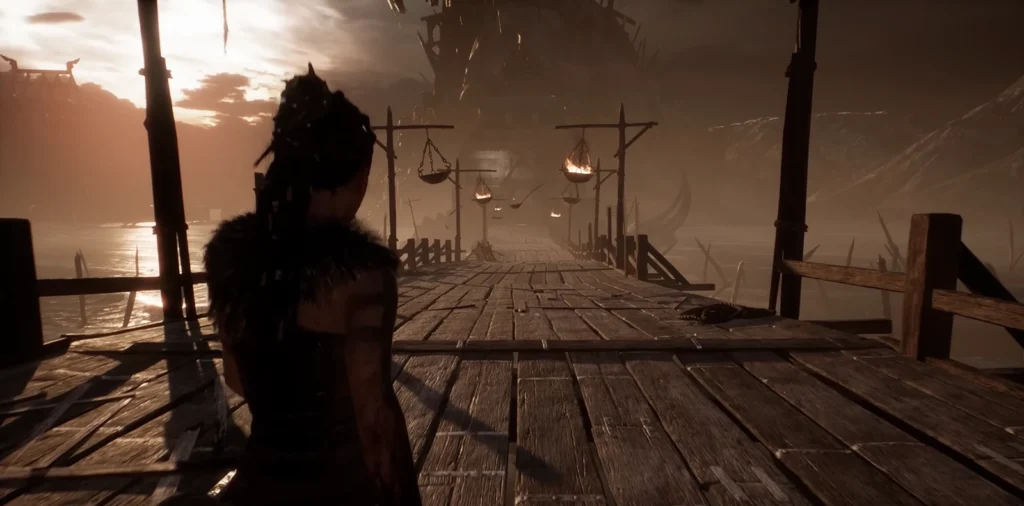
The fourth chapter of the adventure takes Senua to the legendary bridge leading to the realm of the dead. The area is compact in size, but full of dangers: here you will have to fight several groups of enemies, solve a riddle with runes, and find the stones of knowledge.
Battle on the Bridge


After a long series of nightmarish events that reveal new details about the heroine’s story, the way back is closed—only the bridge to Hel lies ahead. Enemies await Senua at the crossing. The tactic against them is standard: retreat, luring your opponents, parry their sword strikes, and break their defensive stances, maintaining the initiative in the attack. When a shield bearer appears, go around him from the side to start a combo, and when his shield is raised, kick it — this will prevent the enemy from regaining his balance.

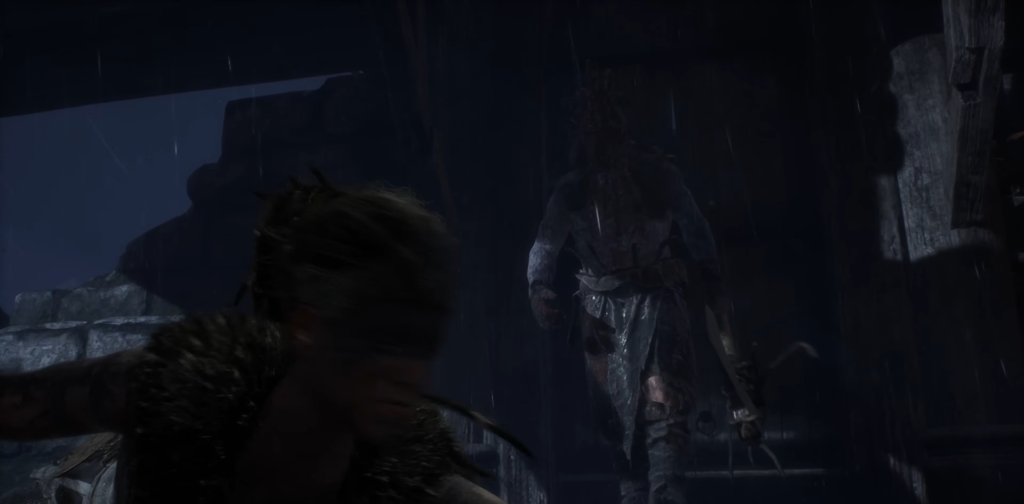
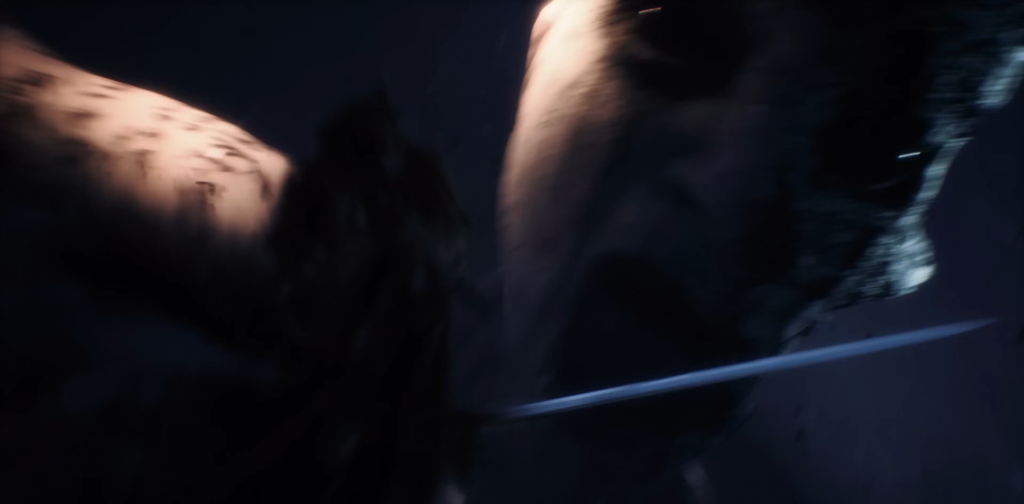
An ambush awaits at the door at the end of the bridge section: a nightmarish warrior with a huge two-handed axe. Features of the battle with him:
| Characteristics | How to respond |
|---|---|
| Slow but powerful strikes | Cannot be blocked — only dodged |
| Fast swings | After the first dodge, watch out for the finishing blow |
| Roar before lunging | Jump to the side — the enemy will crash into the wall and stun themselves |
A stunned enemy is open to a series of attacks from behind — this is the main way to inflict damage.
Immediately after defeating the sekirono, new waves of enemies will appear: fighters with maces and swords, and finally another shield bearer. The focus mode, which slows down time, is particularly effective here. Try to group your opponents together so you can hit several at once. Watch the shadows on the ground — they will warn you of enemies behind you.
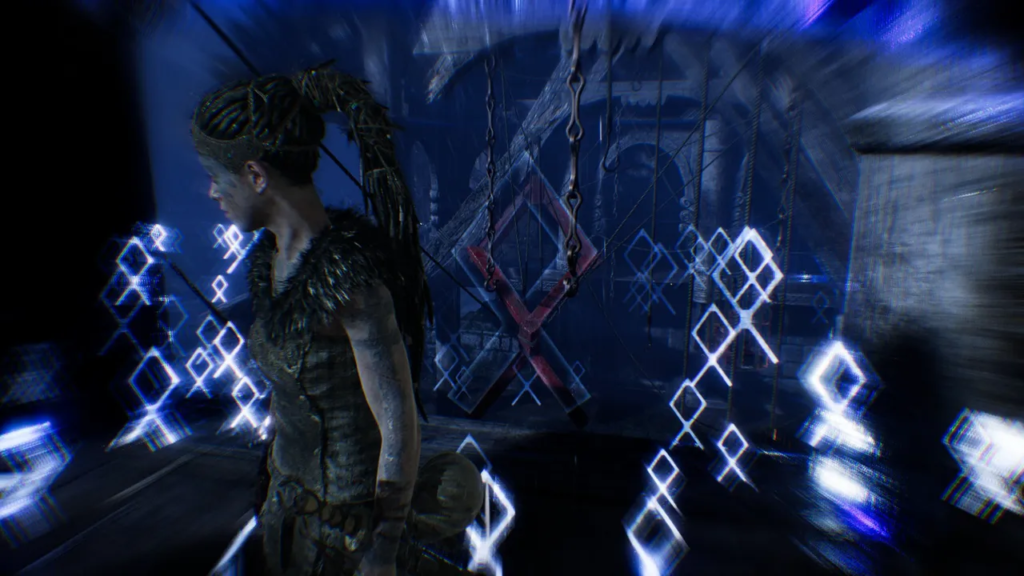
Puzzle with a rune door
The hall will open behind the door. Location of objects:
- At the end of the hall is a runic door.
- On the left is a blocked passageway
- On the right is a balcony

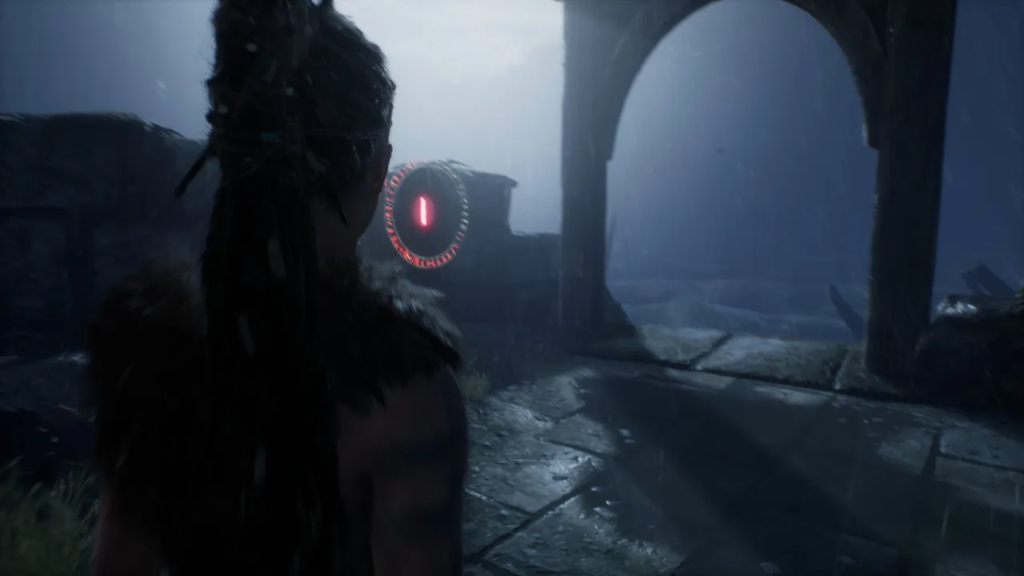
On the balcony is the Stone of Knowledge — be sure to examine it to hear the story of the giantess who guards the bridge to Hel. To open the rune door, you need to find three symbols resembling the letters A, S, and X.
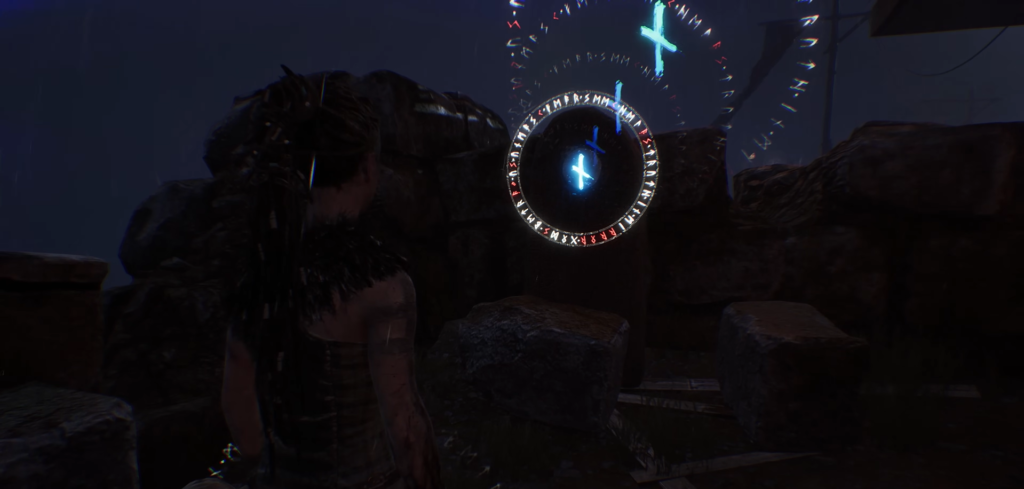
Search for rune X

Return to the previous room with the now locked door. Turn around and look up at the second floor: next to the cage, there are wooden debris forming an X symbol.
Staircase restoration
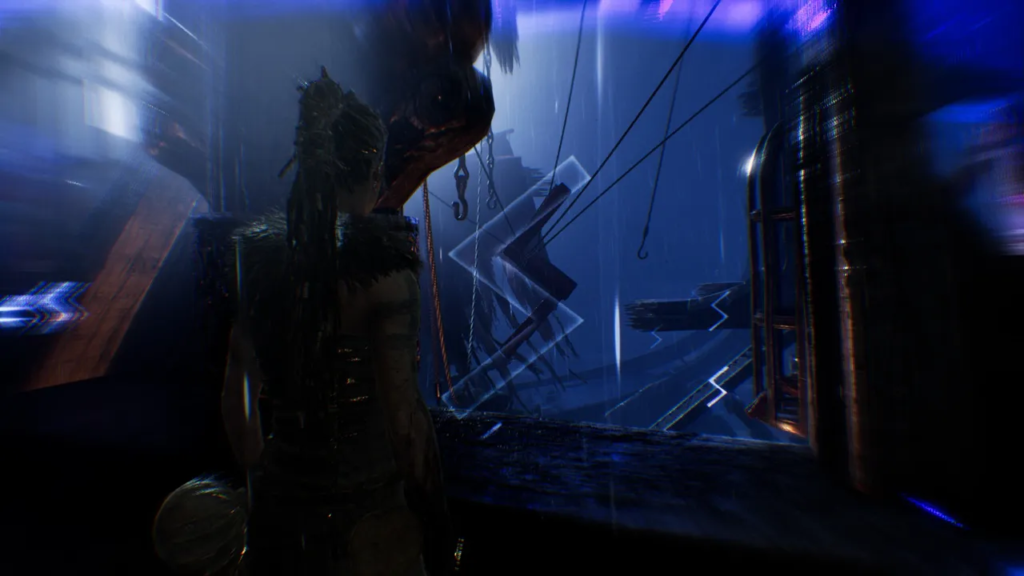
At the ruined wall where the ship crashed, you can see the missing staircase. Fragments float in the air where it once stood. To restore the staircase:
- Go out onto the balcony
- Go down the steps to the boat
- Walk along the hull of the ship until the fragments form a complete staircase
- Focus on the image — the staircase will materialize
Search for rune S
When you go upstairs, you will see the same wooden fragments that formed an X. Walk around the second floor past the slowly rotating cage. Looking towards the ship, wait for the moment when the debris forms an S.
Secret meeting
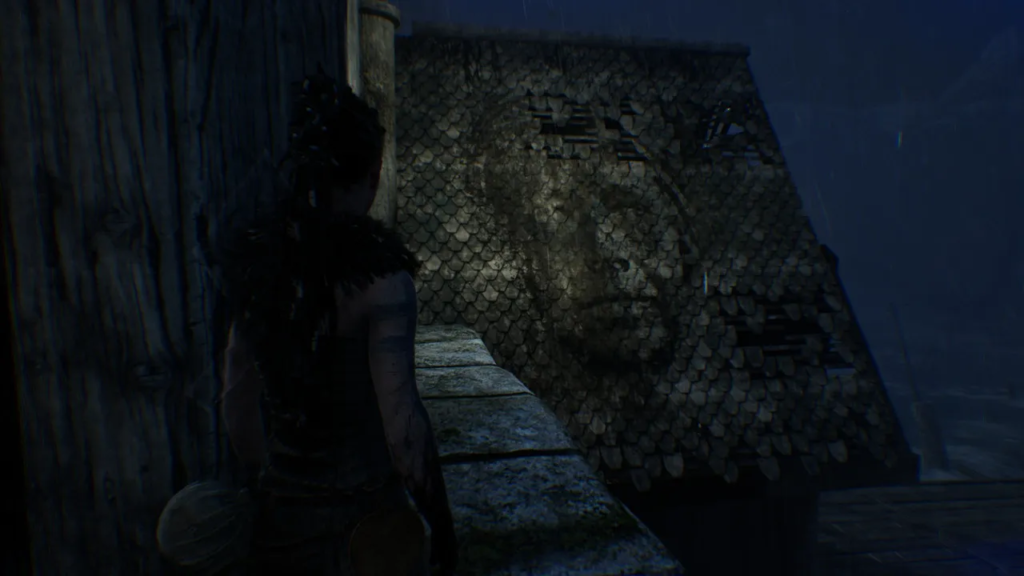
On the left, find the open window and climb onto the narrow ledge. Carefully move left along the ledge—there you will find a section of the roof that resembles Mother Senua. You can talk to this image.
Search for rune A
Return to the second floor, find the stairs leading even higher, and climb up to the attic. Look again at the wooden fragments floating in the air — from this point, they form the symbol A. The set of runes is complete.
End of chapter

Go back down the stairs. The last stone of knowledge is located in this area—don’t miss it before you leave. Now the rune door is unlocked—open it.
All that remains is to cross the rest of the bridge. However, the path is interrupted by the appearance of Hela—the goddess throws Senua down, and the heroine finds herself on the shore of a shipwreck.