
Start of test


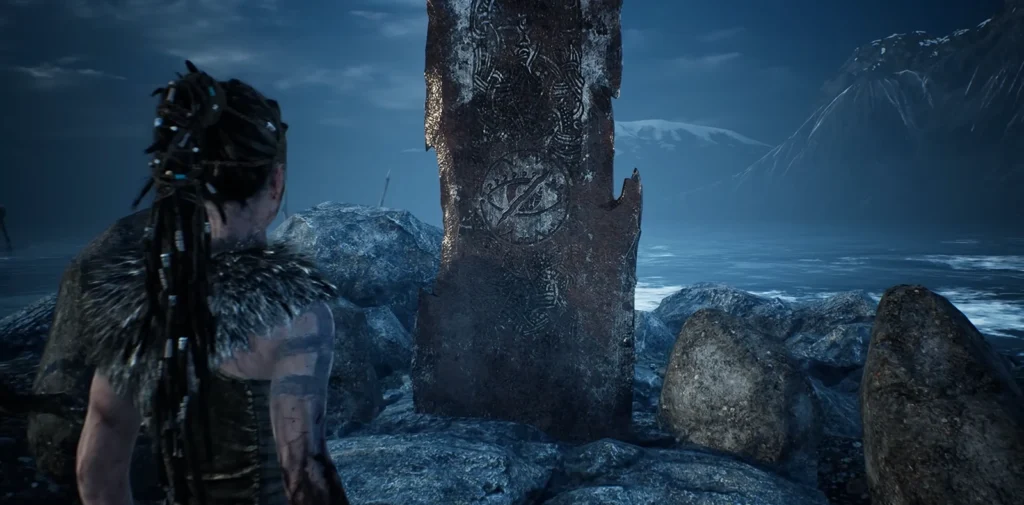
The ninth part of Hellblade: Senua’s Sacrifice will lead you to one of Odin’s four trials — the Trial of the Shard of Blindness. To begin it, find the metal rune stone near the tree — it is located to the right of the entrance, among the roots. Focus Senua’s gaze on the stone and immerse yourself in the reflection. When the heroine looks away, she will find herself in a completely different place.
Walkthrough in complete darkness
Orientation by the sound of the wind

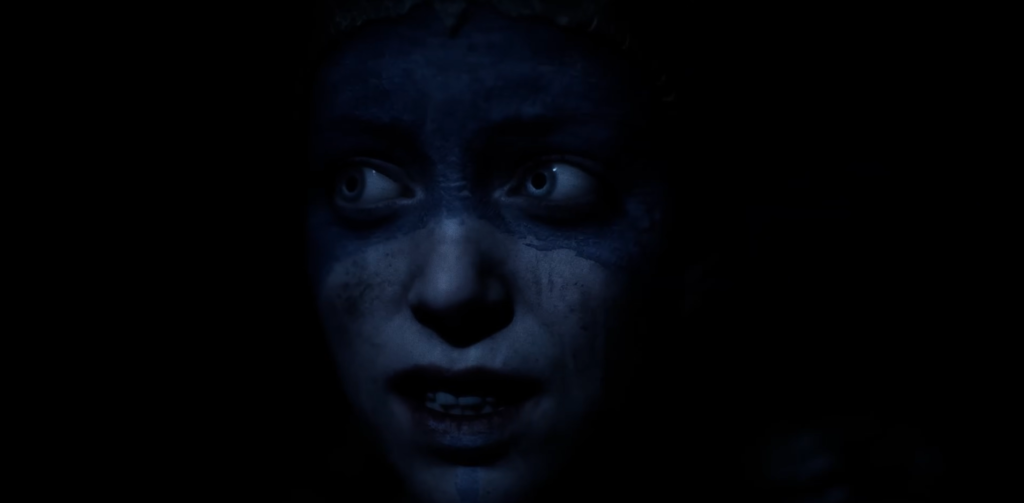
Moving away from the stone, Senua is plunged into total darkness. Dillon’s voice becomes her only guide. He asks her to feel, and Senua senses a breeze. Turn the camera until you hear the sound of wind on the left, and move in that direction.

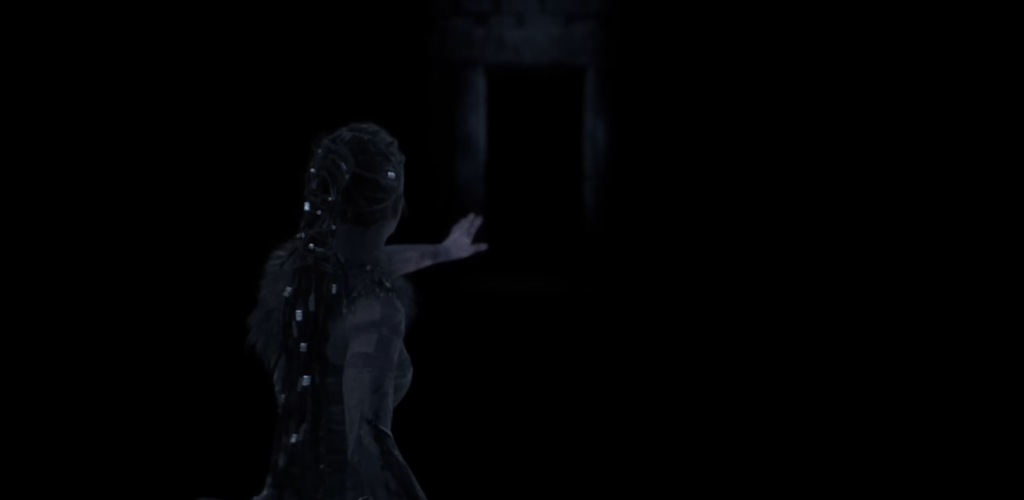
The next area requires the same approach: listen to the wind and follow the sound. Gradually, you will hear water droplets and the metallic swaying of the brazier. When you reach the door, Senua will despair—but don’t give up.
Following Fire and Water
You hear the crackling of a burning torch on your left—head toward it. The corridor curves to the right; continue following the sounds of the flames and wind until you pass them.
When the wind dies down, listen for the sound of a stream. The sound will lead you slightly to the right, then to the left. When you reach the water, turn your head so you can hear the flow and move against the current. The stream meanders in both directions—keep the sound of the water in your ears. The shadows of your bodies on the floor mean you are on the right track.

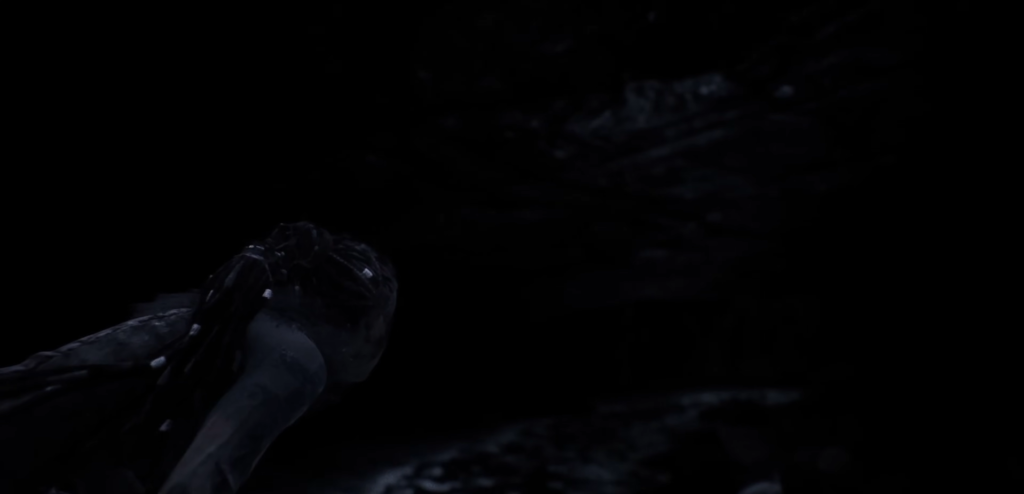
The trail gradually descends—you will need to duck. Continue following the sound of the stream until you reach the waterfall.
The House with the Monster
Silent advancement

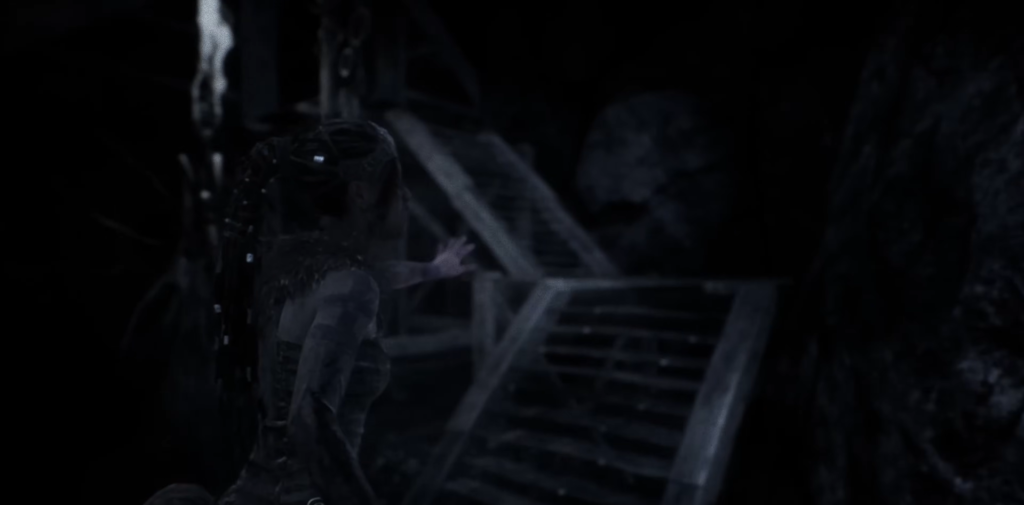
Turn left at the waterfall: you can hear sounds coming from the dwelling. Jump down—you are not alone here. Dillion advises moving quietly and slowly: do not attract attention by touching objects.

| Threat | How to avoid |
|---|---|
| The blurred figure of a monster | Go around it without getting close |
| Metal decorations under the ceiling | Carefully go around them — they make a sound when hit |
Go around the creature, press yourself against the right wall, and move forward. Then turn left and listen for the torch—it’s your next landmark. Move slowly: there are more ringing objects hanging on the right, so you’ll have to walk close to the creature. Once you’ve passed it, head for the exit.
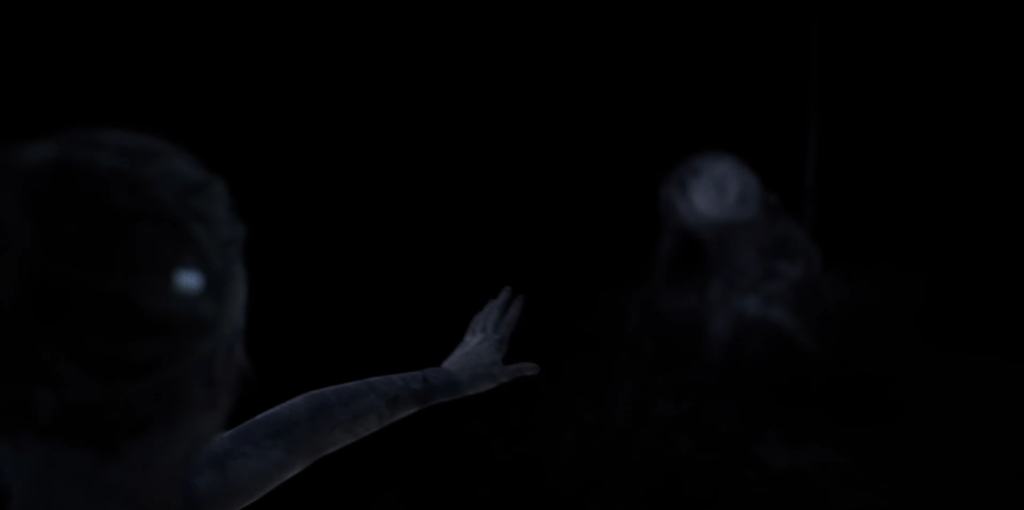
Patrolling monsters
Outside, on the right, a brazier is swaying. New monsters patrol between the light sources—they don’t stand still. Wait for the moment when the creatures move aside and run to the next fire. Watch for blurry silhouettes or listen for distant growls.
Final section
The Beam Over the Abyss
Upon entering the next house, you will hear growling. On the left, you can see a narrow beam above a pit teeming with monsters. Cross it slowly, adjusting Senua’s position if she starts to lean.
The Well and the Ray of Light
At the other end of the beam is a jump into a well. Creatures await in the darkness, but a ray of light shines in the distance. Wait until the monsters leave the lit path, then carefully move forward, avoiding the hanging bodies. Most of the creatures at the entrance are patrolling the area, while the rest are motionless — you can pass them by keeping the light in front of you. Once you’re out of the water, follow the light — the trial is complete.
After testing

After passing all the trials, you will be able to take the legendary sword Gramr from its pedestal. But remember: everything has a price. Welcome to the Sea of Corpses.