The hospital is one of the most terrifying and tense chapters in Little Nightmares 2. Here, Mono must face three types of enemies at once: living hands, patients, and the doctor. Below is a detailed guide for each stage of this location.
First steps: login and safety lock puzzle
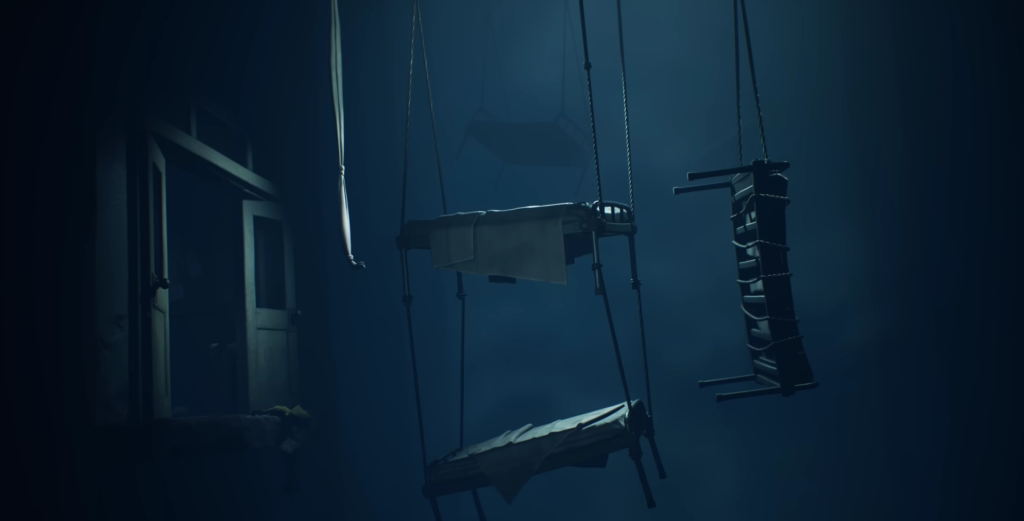
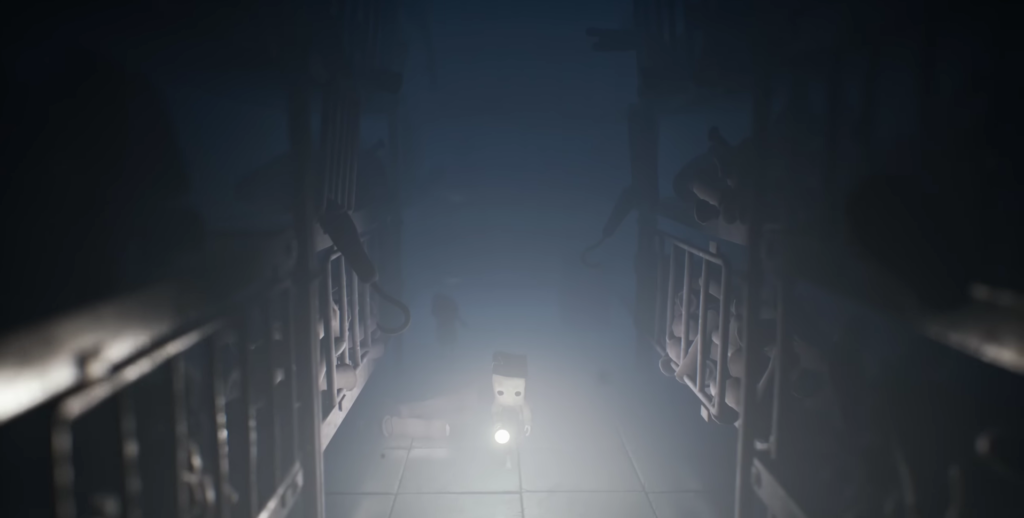
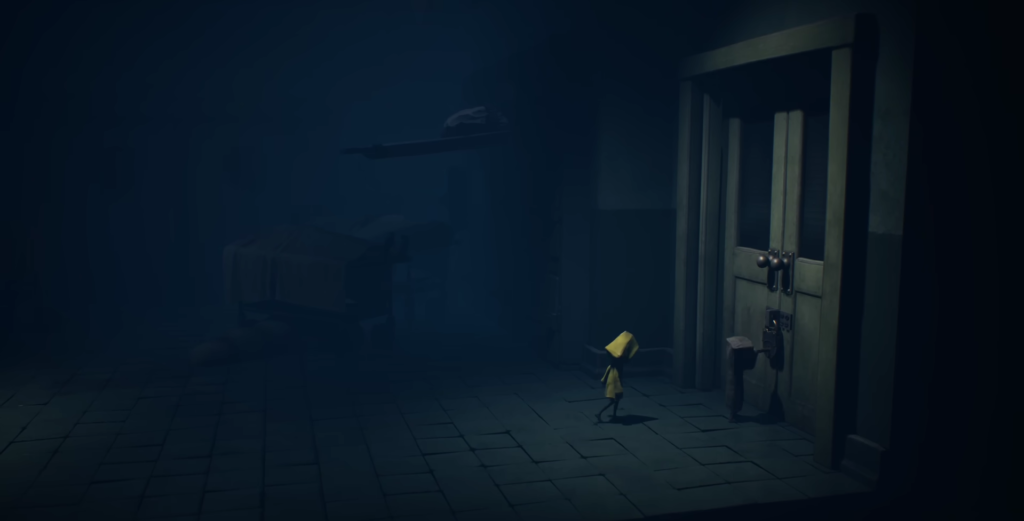
After climbing through the window, you will find yourself in the hospital corridor. Move forward, crawl under the bed, and sneak past the barred area to the double doors at the end. The Sixth will help you open them, but there is a cliff behind them. Don’t worry: the Sixth will grab Mono and prevent her from falling.
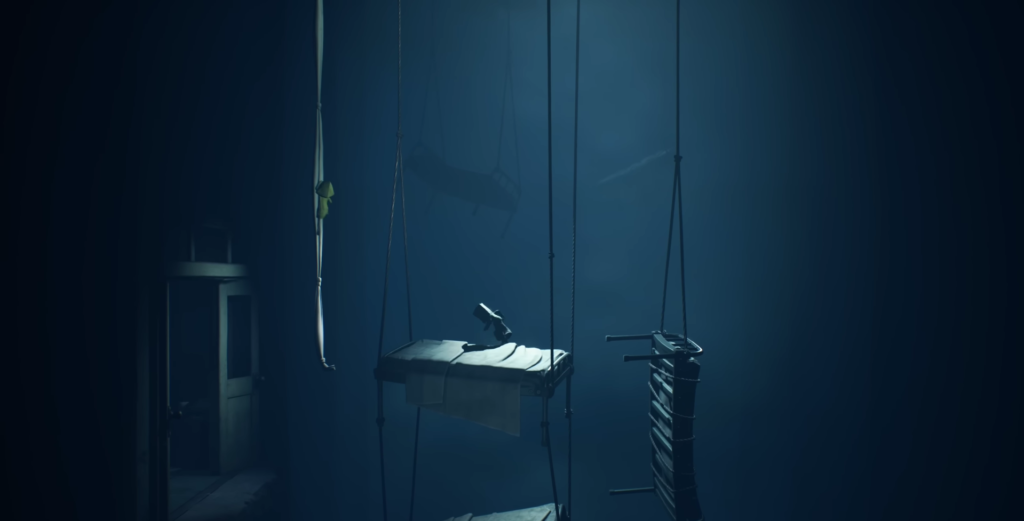
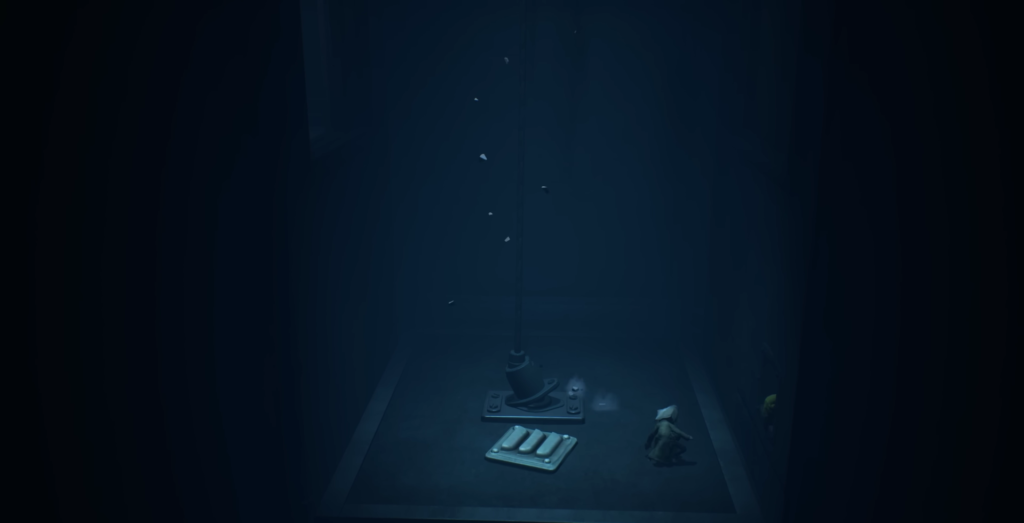
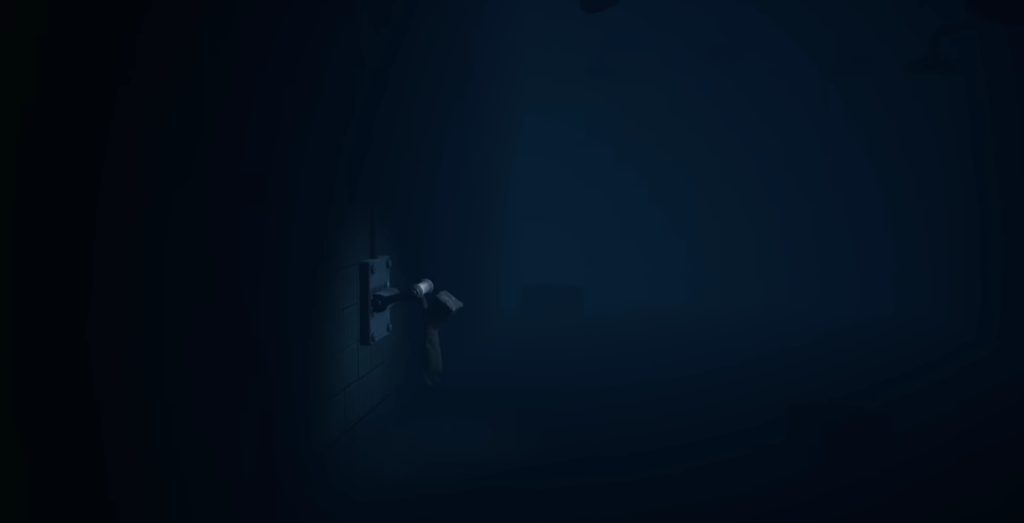
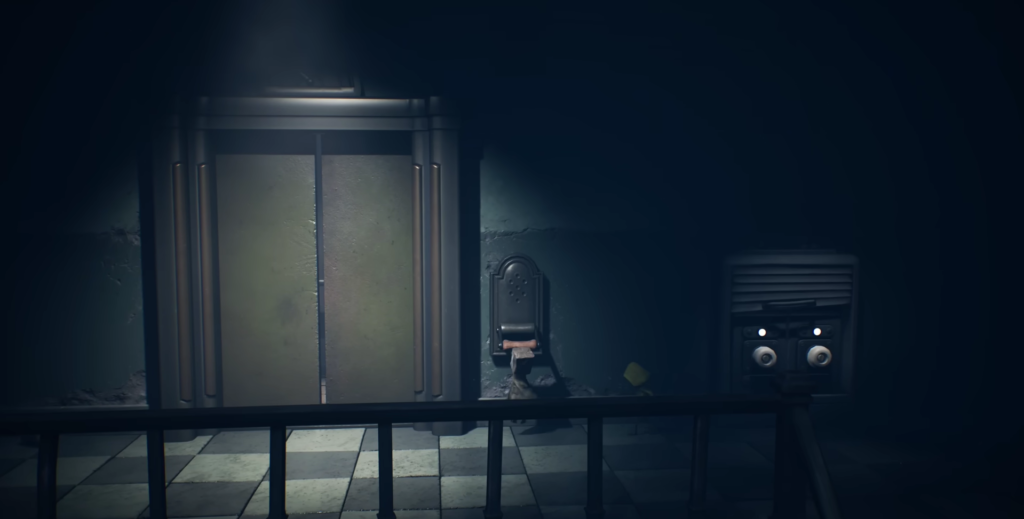
Jump onto the hanging beds and climb up. In the next building, look for a device with a light bulb and remove the white fuse from it. The door behind you will close. Now take the fuse to the far right end of the corridor, where there is another glowing panel, and insert it. This will open the passage to the elevator shaft.
When you land on the elevator, it will start to fall. A ventilation shaft will quickly appear on the right—open it and climb inside before the elevator crashes down.
Flashlight and riddle with a button
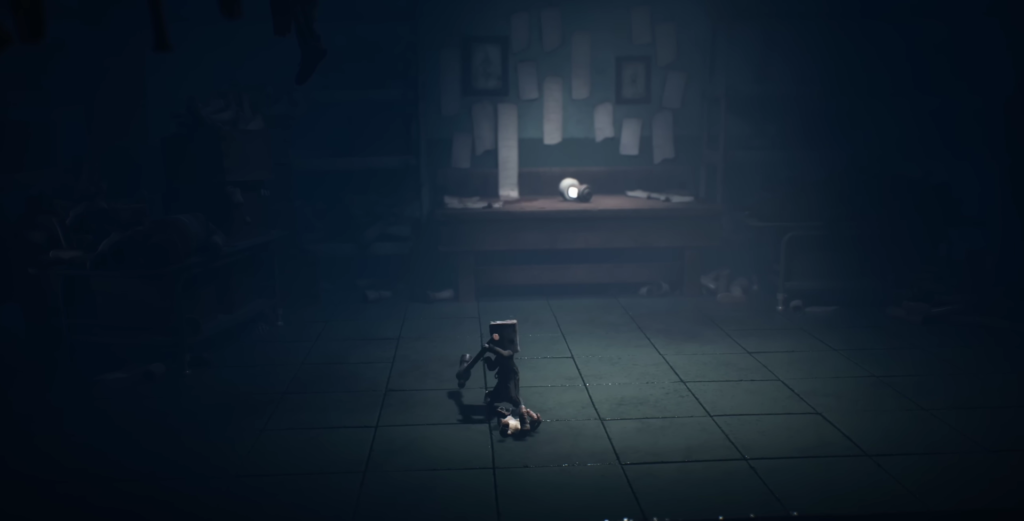
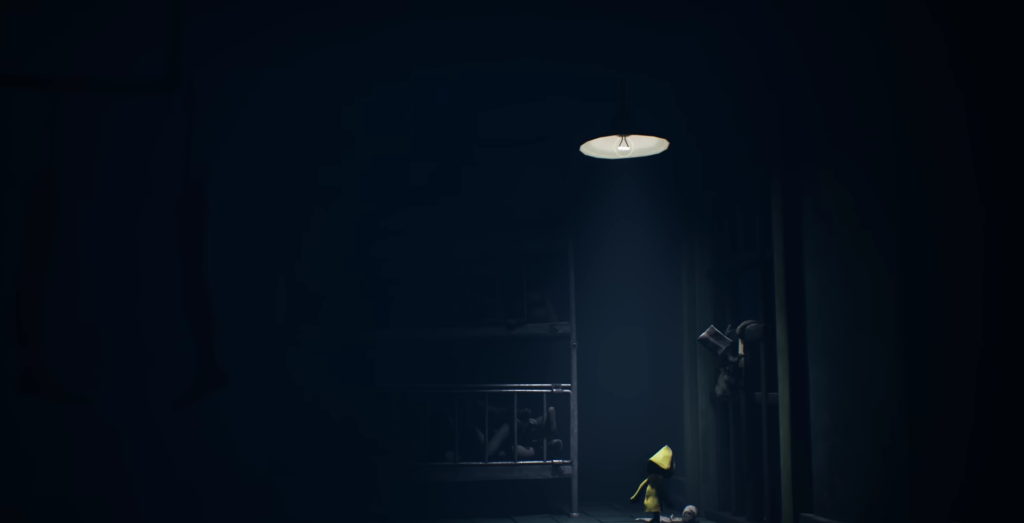
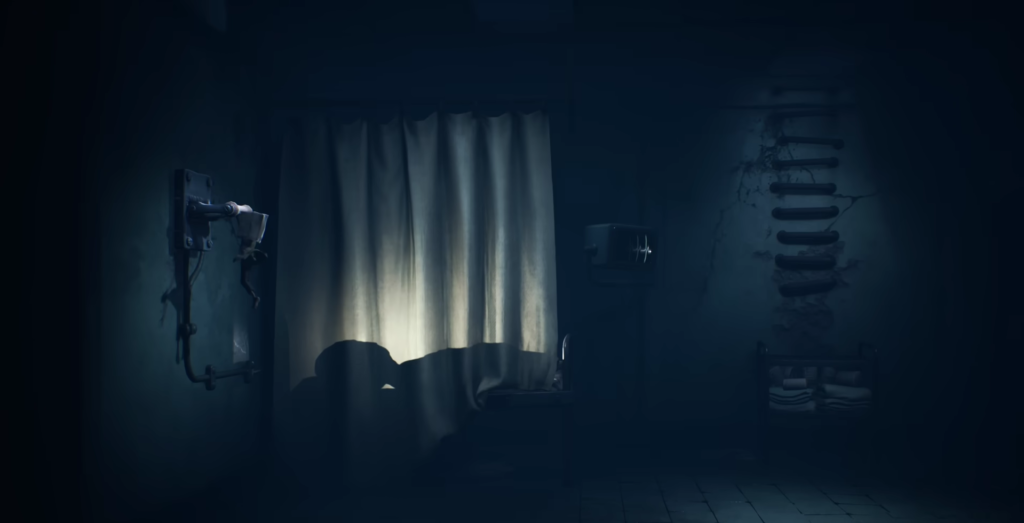
In the next room, pick up the flashlight—you’ll need it, because it’s pitch black ahead. As you move forward, look at the far end of the room with the beds—there are some flickering remains there. After that, go back and go through the door on the right.
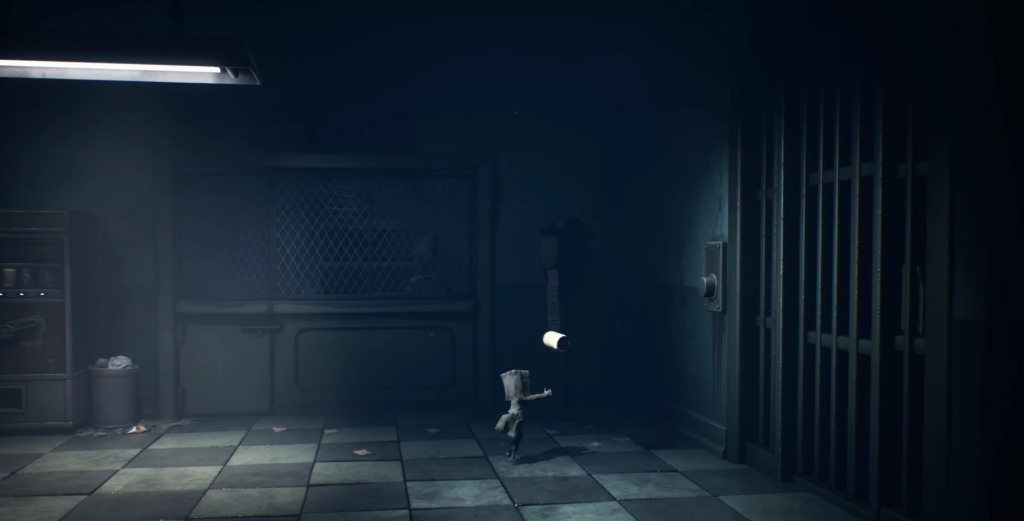
The path at the end of the corridor is blocked, so turn toward the door with light shining through it. Behind it is a room with a door that opens with a button. To press it, go to the vending machine and pull the lever—a can will fall out. Pick it up and throw it at the button.
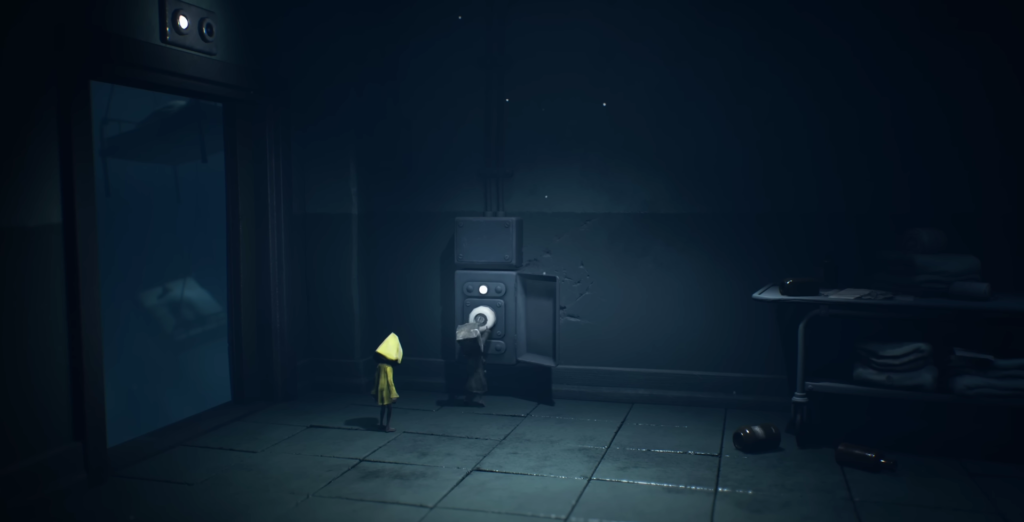
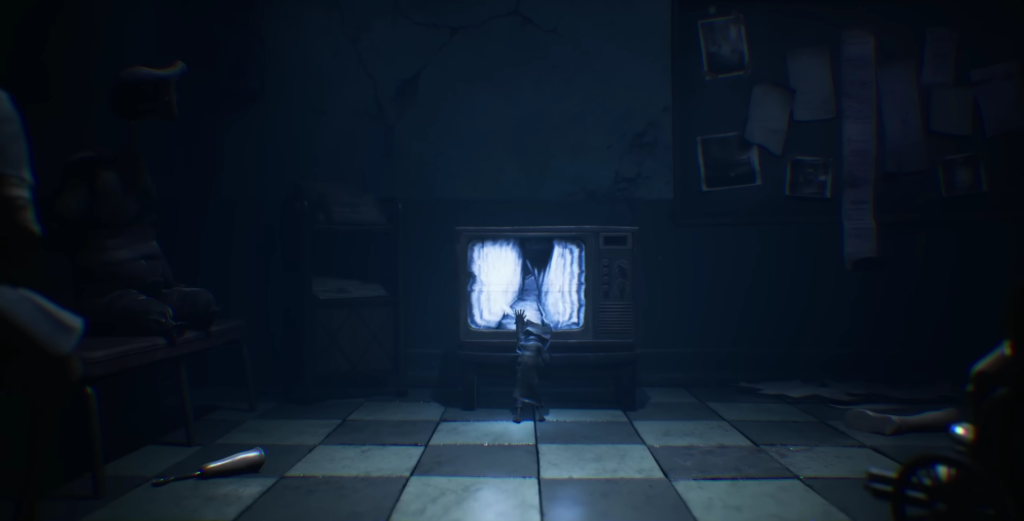
Behind the open door is another television. Go over and tune it in. After turning it off, you will find yourself standing up—move to the right until you reach the end, then climb the stairs.
Second level: X-ray and key
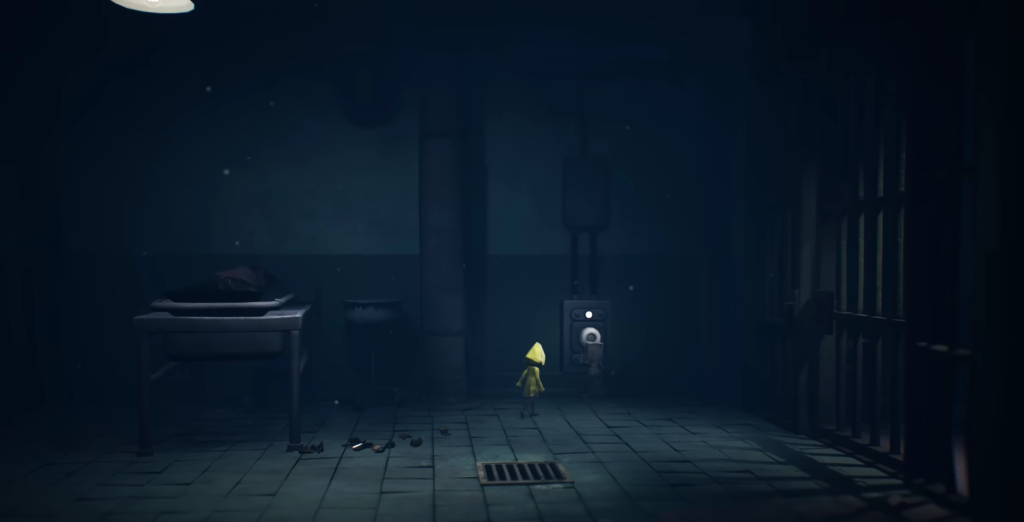
On the second floor, there is an elevator and a lattice area that requires fuses to operate. On the right, there is a door locked with a key. The answer is downstairs, on the first floor.
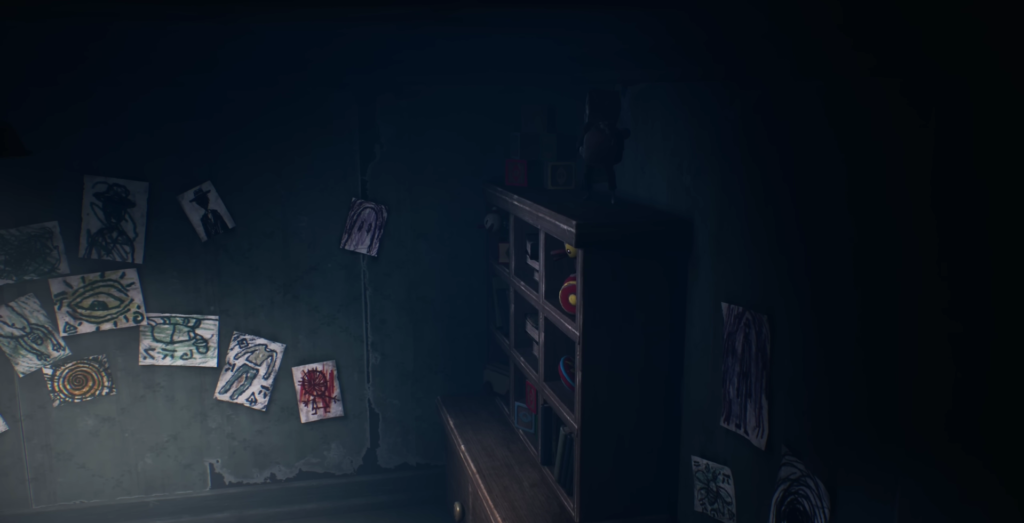
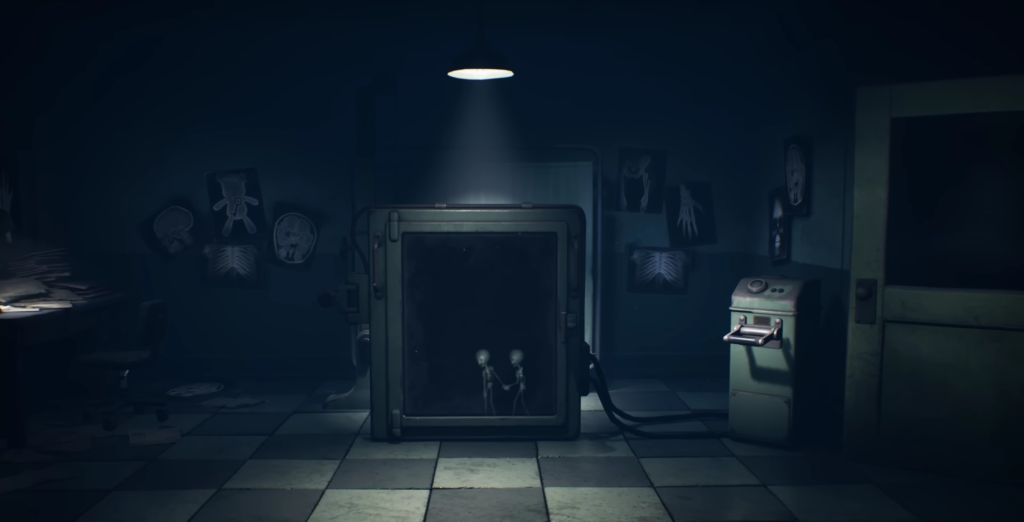
Walk past the elevator to the X-ray room. The pictures on the wall will tell you that the key is hidden inside a stuffed toy in the next room. By the way, there is a collectible hat on the top shelf of the bookcase on the right.
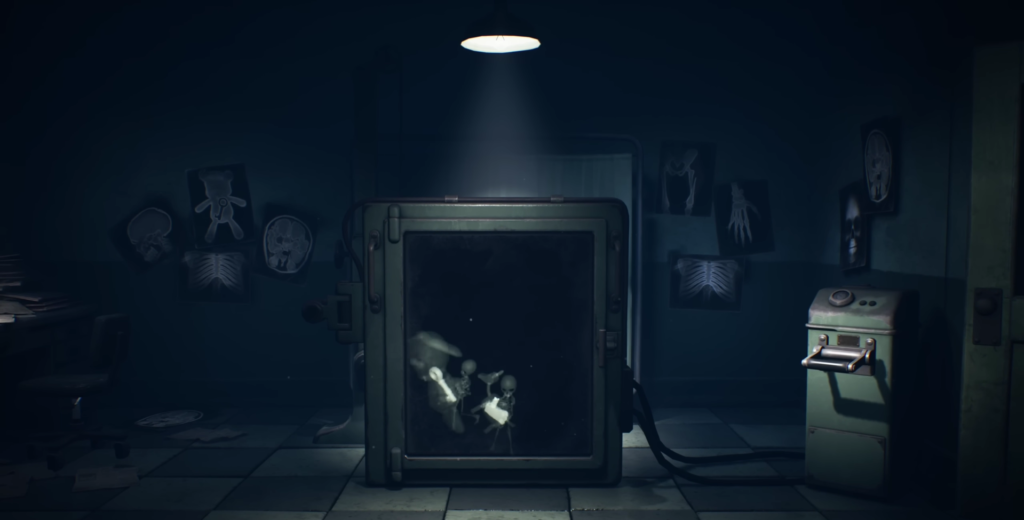
Tip: X-rays can also be used for entertainment. If you stand behind the machine, Shesta will pull the lever and join Mono — you will see their skeletons.
Although the key is visible in the teddy bear in the photo, it is actually in another toy. You will have to check each one with an X-ray until you find the right one.
Once you find the toy with the key, go into the elevator next to the room—it will take you down to the furnace. Exit the elevator, move to the right, push the toy into the hole, and pull the lever. When the process is complete, take the key from the furnace, go back up the elevator, and open the locked door on the second floor to the right of the stairs.
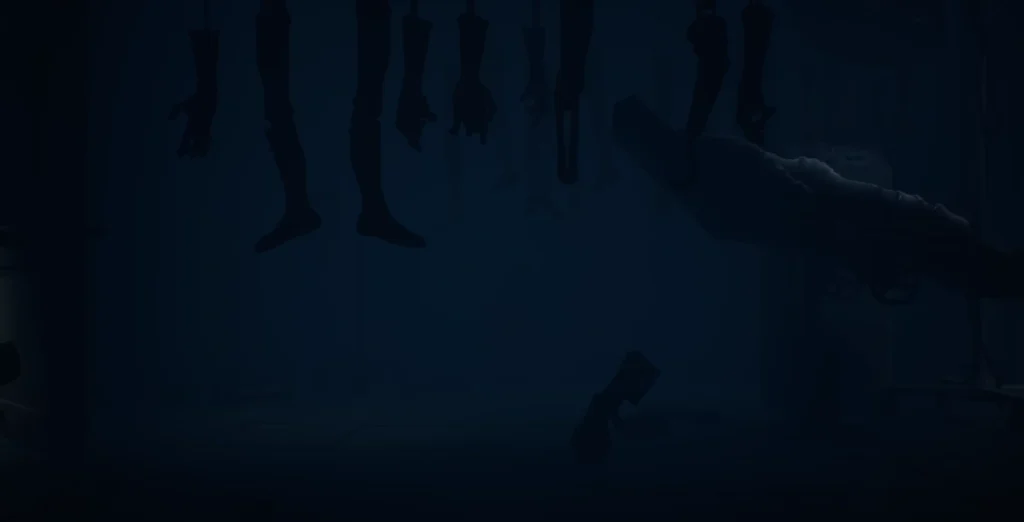
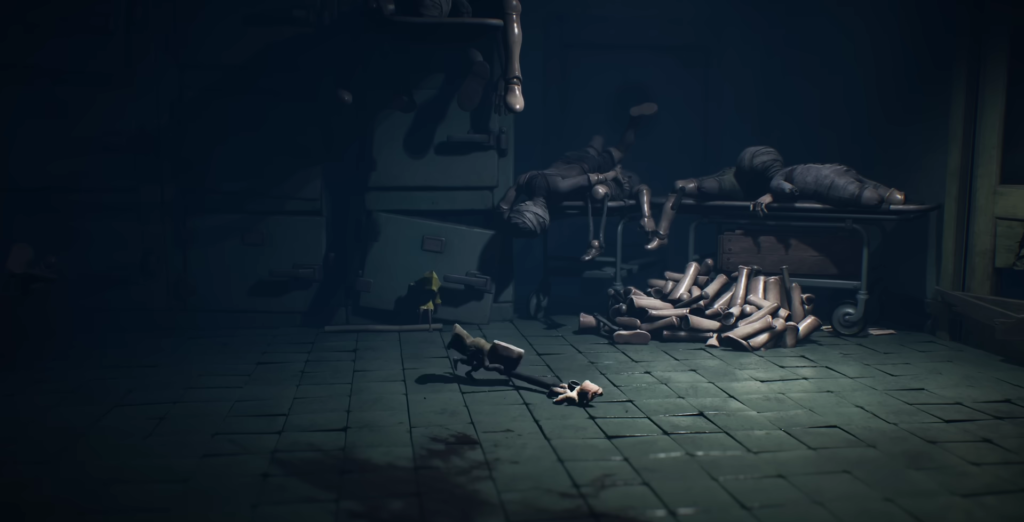
The creepy hallway and encounter with a living hand
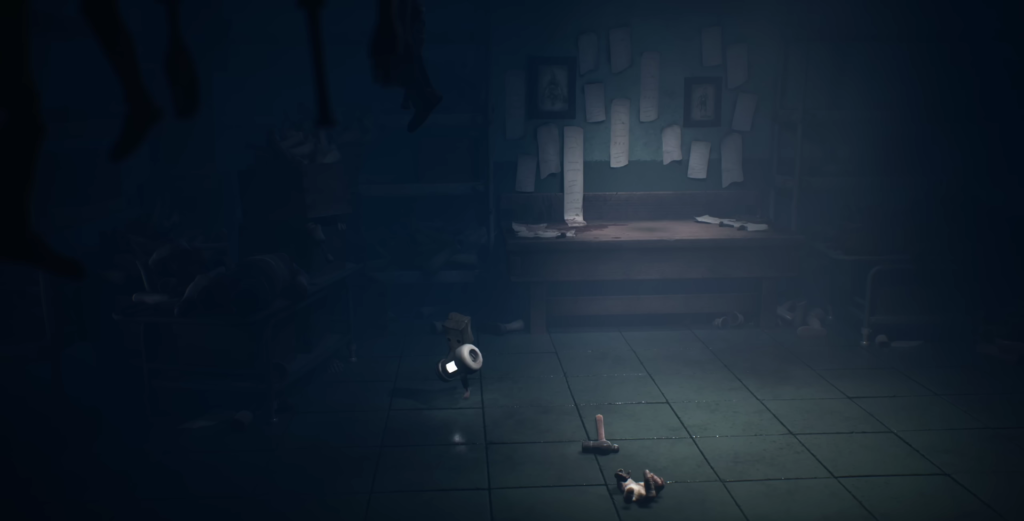
Behind the door is a frightening room leading to a corridor littered with prosthetic limbs. At the far end of this area, another set of glowing remains is hidden. Once you find them, return and walk down the corridor in the opposite direction.
At the door with the open window, the Sixth will push you down. Now you need to find a way to get her through too. Move across the room, push the box at the end aside, and crawl under the table.
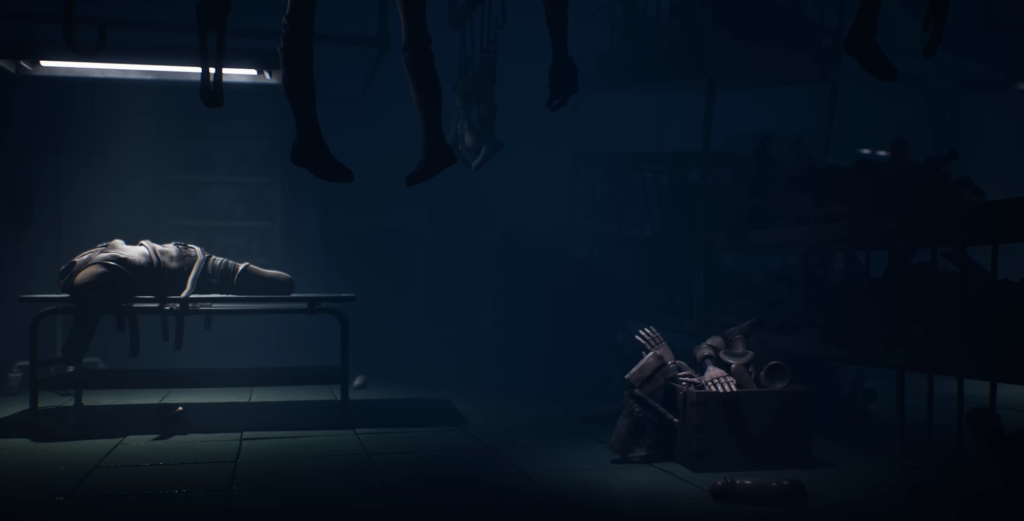
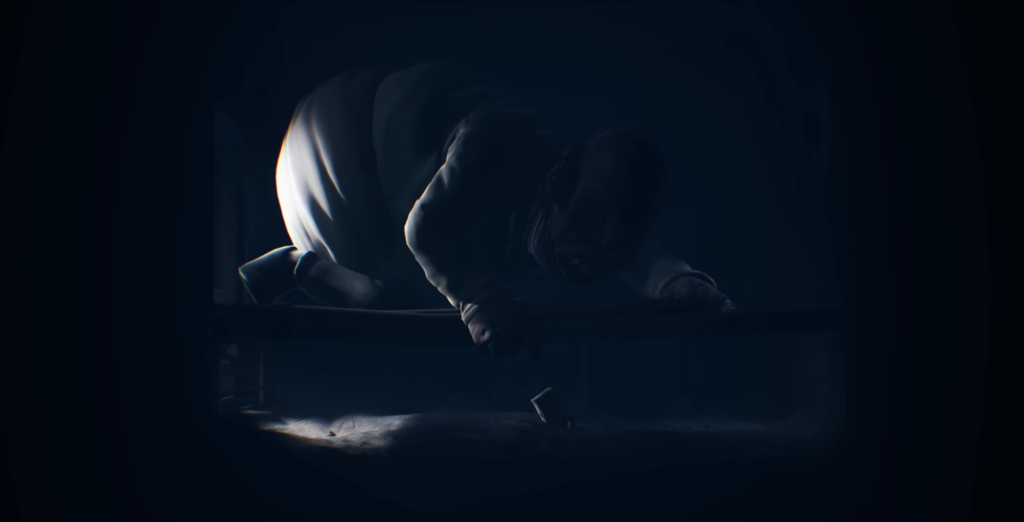
A living hand will jump off the operating table—be on your guard. Climb over the metal shelf and jump down. The hand will chase after you: run to the table opposite and jump onto it. While the hand is passing underneath, run to the other side and climb up. It will follow you — keep moving quickly through the ventilation system.
After landing, walk down the corridor and enter the door on the left. The hand is crawling somewhere above you — run forward. It will jump out in front of you: go around it and climb onto the table (the hand can’t reach you there). Then climb onto the shelves and jump down into the next area. Be ready to run again — jump onto the table in the middle of the room.
The safety pin is here, but first deal with the hand. There is a hammer on the floor — pick it up and hit the hand when it crawls over. It will take three hits. After that, take the safety pin and go left.
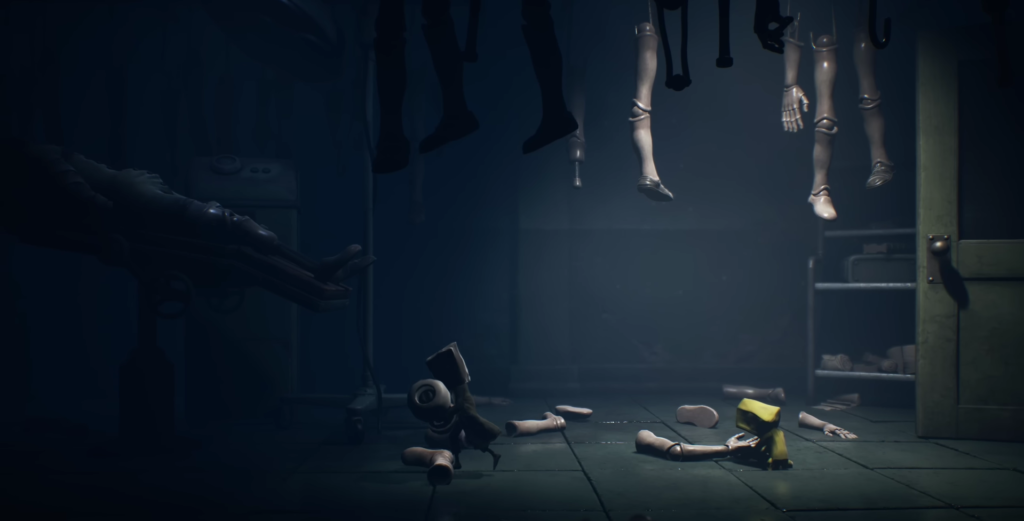
The door is blocked by a box—move it aside, then break the door with a hammer to get through the hole. In the next room, you will find Shesta playing with prosthetic limbs on the floor.
Second safeguard: Patient area
Return to the main room and head to the room in the far left corner of the second level—you need another fuse. Approach the double doors in the back. On the left is a grate through which the Sixth can pull you up.
On the other side, there is a switch and a headless body — this is the Patient. The main rule: Patients remain motionless while the light is shining on them, but as soon as it goes out, they come to life. Shine your flashlight on the creature, go around it, and run through the gate.
Further down the corridor, you will see a barred area with several more Patients. Go there and enter the door on the left. There will be more Patients here, and some will move towards you — keep your flashlight ready. Slip under the table on the left, continue forward, dodging the approaching bodies, and break through to the door a little further down the left side. Jump over it, continue to the left, jump onto the metal table to reach the ventilation, and crawl through.
Once you get out, you will find yourself on a bed. Go to the corridor and first return to the grated area — there is an opening at the bottom right. Crawl through it, enter the door on the left, and take the shimmering remains. Then go back and continue down the corridor.
Dangerous corridor with hands
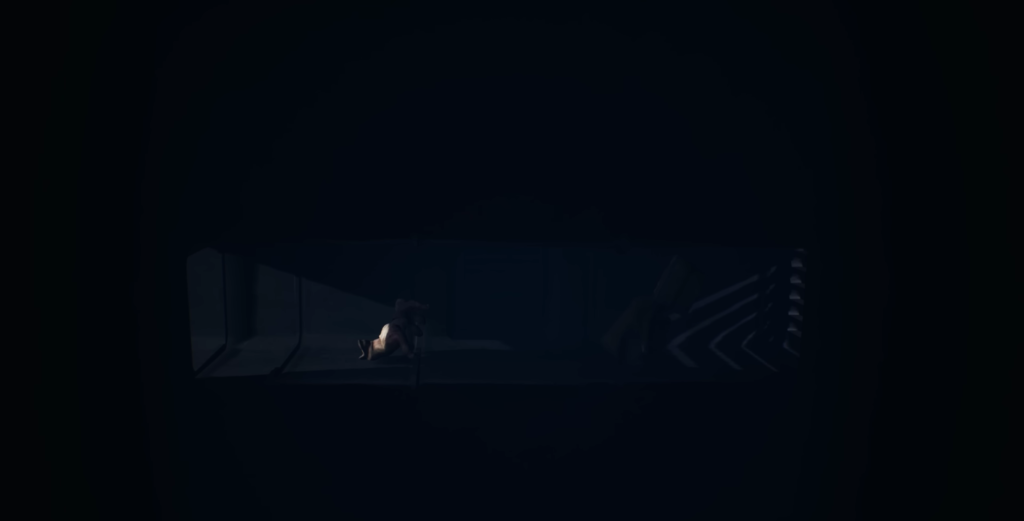
You will have to run through the next area: the Patients’ hands reach out from the holes in the doors, trying to grab you. Move in a zigzag pattern, staying away from the doors.
At the end of the corridor, turn right and keep running. There are a couple of Patients lying on the floor who will try to get you, but Mono will automatically shine his flashlight on them. Quickly climb onto the filing cabinet at the end and crawl through the ventilation shaft.
Shower and puzzle with a wheelchair
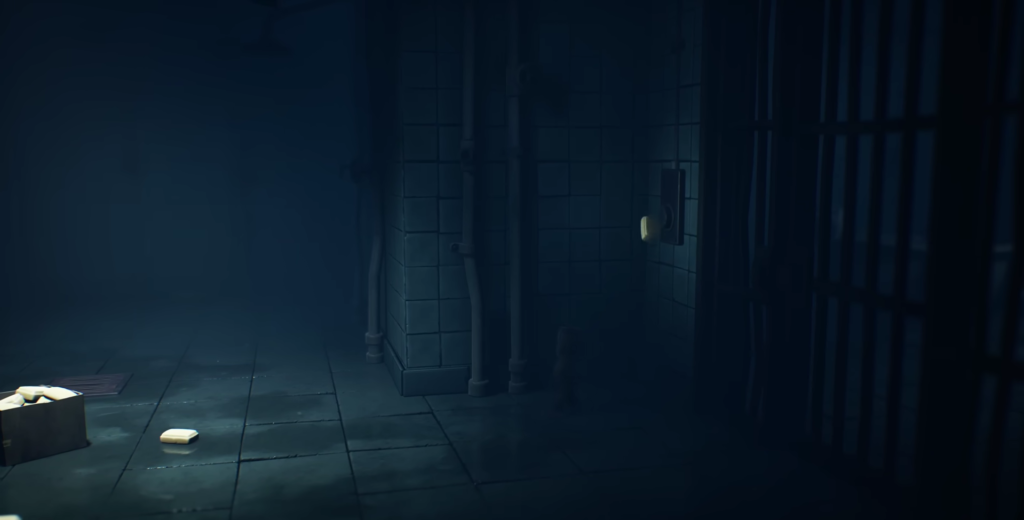
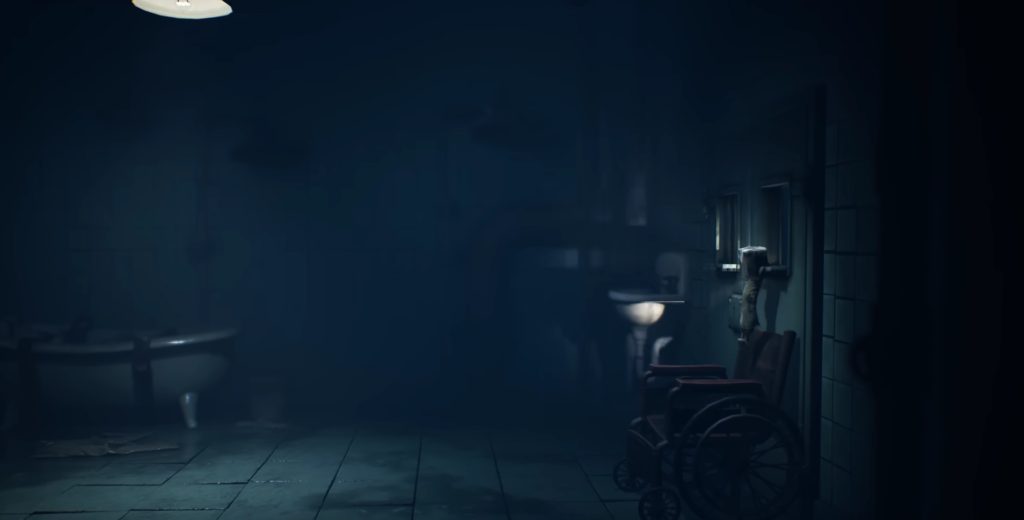
On the other side is a switch that restores some of the lighting. Turn it on, then look in the far left corner: behind the box is a vent, and behind it are the flickering remains of a bathtub. Return to the shower room, where pieces of soap lie on the floor. Throw one of them at the button on the right to open the passage.
In the next room, there is a patient in a bathtub and a patient in a wheelchair. Go around both of them. To go through the next door, you need to free the wheelchair. Go back to the switch and turn off the light—the patient will get up and come to you. Shine your flashlight on him to slow him down, then run back and turn on the light to pin him in place. Now roll the chair to the door, climb onto it, and climb over.
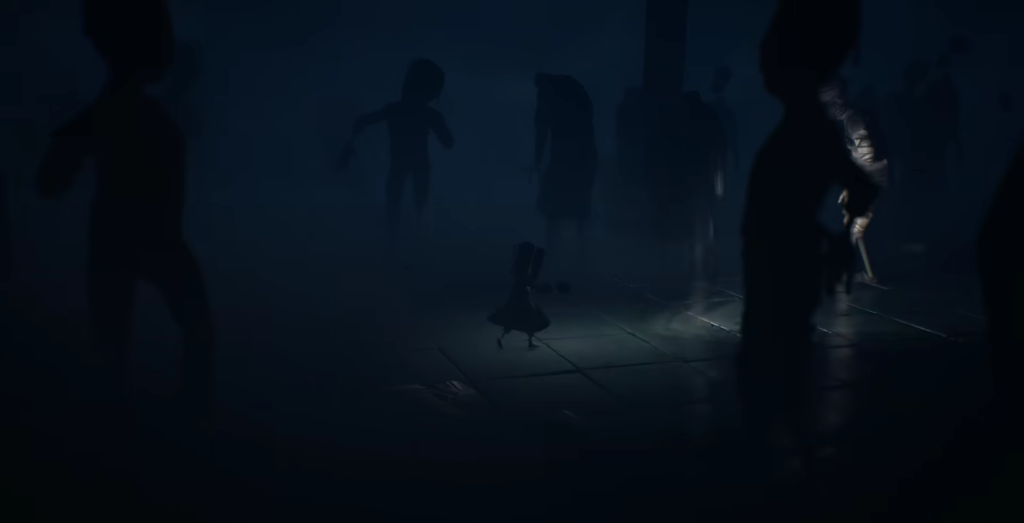
Breaking Through the Crowd of Patients
Ahead lies a dark zone teeming with Patients approaching from all sides.
Tip: You can either rush through or move slowly, illuminating enemies with a flashlight. If you choose the latter, try to herd all the Patients into one group so you can cover them with light at once, rather than spinning around in place.
Slip under the boards blocking the door and enter the next room. Pull the switch on the wall to get the fuse. Throw it through the crack in the lattice door to the Sixth—she will insert it into the right slot and open the exit for you.
Don’t forget to take the fuse with you. Now insert both fuses into the slots by the elevator (Sixth will take one). Pull the lever and descend.
Underground Level: New Hands and Meeting the Doctor
It is completely dark downstairs. Exit the elevator, go forward, and turn right. Climb up at the door with the fabric sticking out.
The other side will attack with a living hand, while the second will try to break free from behind. Grab the pipe from the floor. The sixth will briefly hold back the second hand while you deal with the first, but it will break free anyway. Defeat both of them.
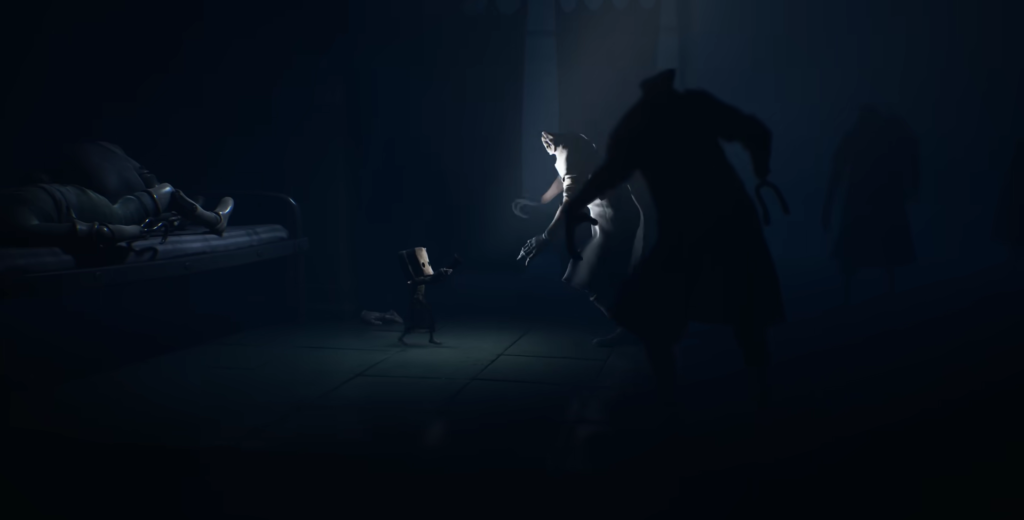
Go through the hole in the door where the Sixth tore off the boards. Keep going until you hear a creak on the metal shelves. Crawl under the rack—and there he is, the Doctor, crawling across the ceiling.
Avoiding the Doctor
Climb over the rack and hide behind the boxes on the floor. When the Doctor turns away, run to the next hiding place. Move slowly — any noise will attract his attention.
Crawl through the ventilation on the side and hide under the beds. If the Doctor hears you, he will lift the bed and look under it, so move as quietly as possible. To open the door on the other side of the room, you need to throw something at the button: find a cube or toy in the back of the room by moving between hiding places.
Once you reach the button, immediately hide under the table on the left. The doctor will crawl in and look around, but then leave — after that, the passage is clear. Get to the cabinets on the other side and climb into the ventilation shaft.
Inside the ventilation shaft, avoid exposed areas — the Doctor’s hands stick out from time to time. Once you’re out, crawl across the ceiling to the opening with the piece of fabric and jump down.
Morg: the key and the last fuse
You need a key for the next door. Move to the left — one of the morgue doors is slightly open, and there is a sliding tray next to it. Pull it out just enough to climb inside, and the Sixth will push you to the other side.
The key is on the table on the left. To get to it:
Pull out the first bottom tray.
Jump onto it, then onto the tray above and pull it out.
Now you need to get to the second tray on the other side — use the tables as intermediate platforms to do this.
Return to the area you came through and pull out the first bottom tray on the right. Jump across the trays and tables until you reach the top level and the table with the key.
The collectible hat is hidden behind the door in the lower left corner, next to the table.
Take the key, return to the tray, and the Sixth will pull you back. Unlock the door. In the next room, climb onto the filing cabinets behind you and jump from shelf to shelf until you reach the ventilation shaft.
The Doctor’s Distraction
After going through the ventilation shaft, you will find yourself in a room where you need another fuse to proceed. Crawl through the ventilation shaft on the left — in the next room, the Doctor is back at work, and the fuse you need is on the shelf right behind him.
Sneak under the tables while the Doctor isn’t looking. There is a hole in the wall through which the Sixth will lift you up. One of the Doctor’s patients is lying in the next room. Move silently to the table in front of you and climb up to the ceiling.
On the ceiling, move left to the switch. Jump down and pull it, then immediately hide under the patient’s bed. Turning off the machine will cause cardiac arrest, and the Doctor will rush in to perform surgery.
While he is busy, slip through the door back to Six. Take the fuse from the shelf — Six will pull out a tray that you can use to jump up to the top shelf. With the fuse in your hands, return to the door and insert it.
Finale: chase and oven
Installing the fuse will trigger a chase scene with the Doctor — get ready to run. The Sixth will lead you through the corridors of the Hospital to the incinerator. Lure the Doctor inside, crawl under him to the outside, slam the door shut — and say goodbye.
All that remains is to go to the switch by the elevator and pull it. The elevator will take you to another level of the hospital, from where you can escape through a window.