“Finally, someone has done what millions of fans have been dreaming of for twenty years. And they almost didn’t screw it up.”
It was a dream
If you’ve read the books or watched the movies — and who hasn’t? — then somewhere deep down you’ve had this fantasy. Walking the halls of Hogwarts. Opening secret passages behind portraits yourself. Flying on a broomstick over the lake at sunset. Brewing potions that explode in your face. Hogwarts Legacy is that dream packaged into a game. And damn it, it works.
The game was released in 2023 and immediately became one of the best-selling games of the year. Not because of marketing. But because Avalanche Software did what seemed impossible: they took the living, breathing Hogwarts and gave it to you. In its entirety. Without any cuts.
Hogwarts — main character
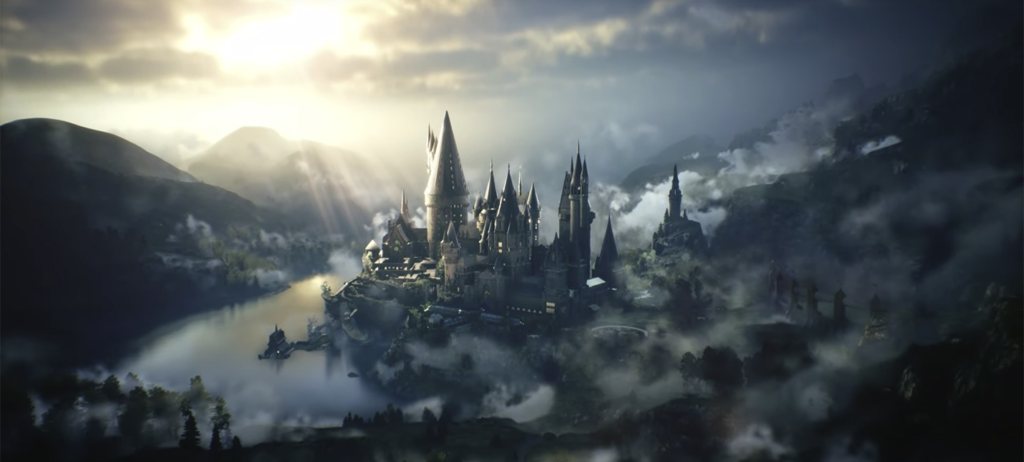
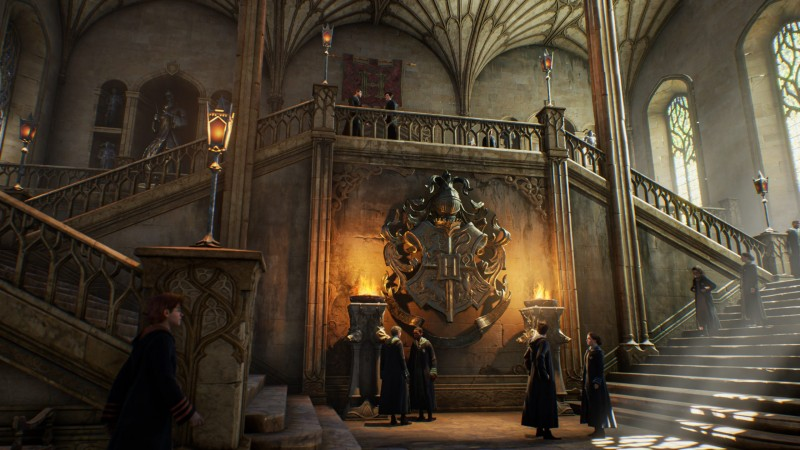
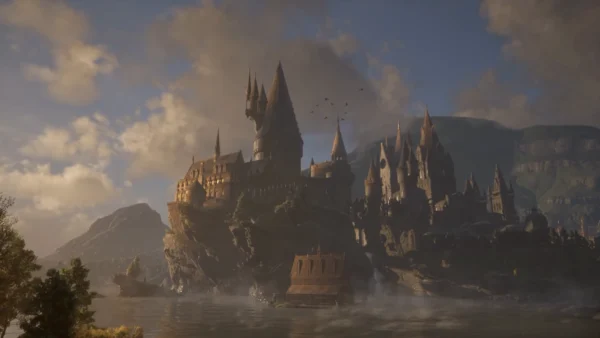
Let’s set our priorities straight. The main character in this game is not your character. Not the professor. Not the villain. The main character is the castle.
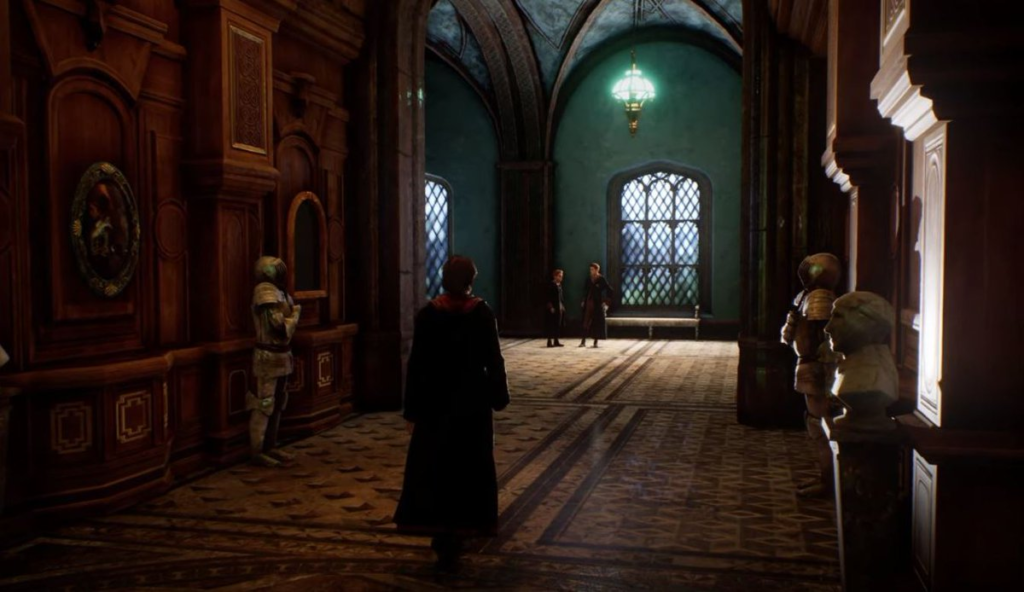
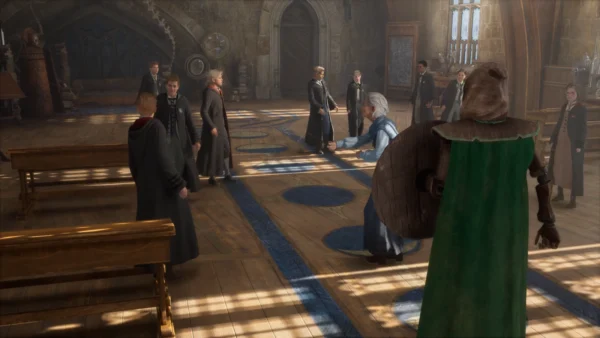
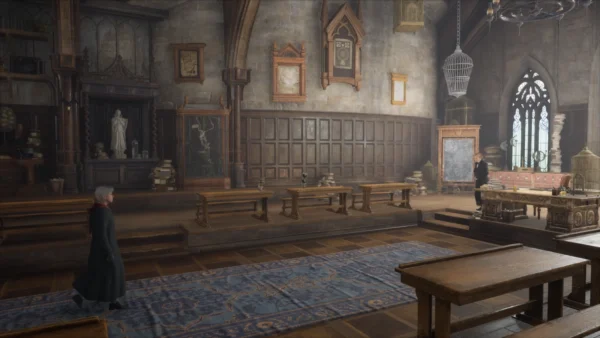
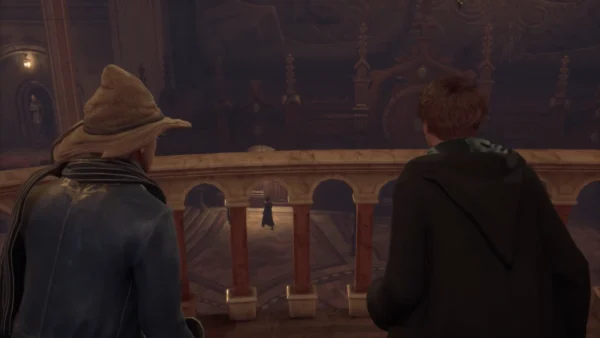
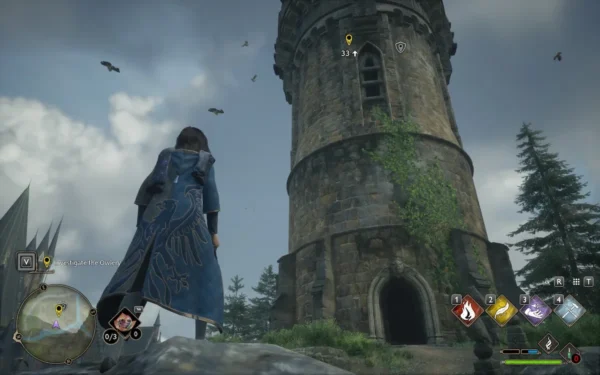
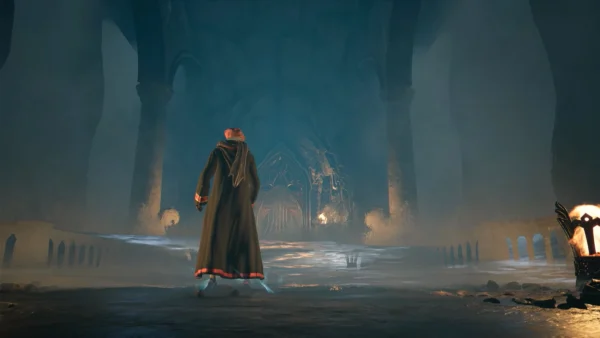
Hogwarts in this game is a work of architectural art turned into a level. Hundreds of rooms. Secret passages that open with a flick of the torch. Basements with puzzles. Towers with views of the entire valley. Classrooms where spells are still written on the blackboards. A library where books fly around on their own. Ghosts that float through you on the stairs.
The first few hours in the castle are simply spent walking around with your mouth open. Seriously. You’ll look around, point your camera up, go through every door in the hope of finding something new. And you will find it. Again and again.
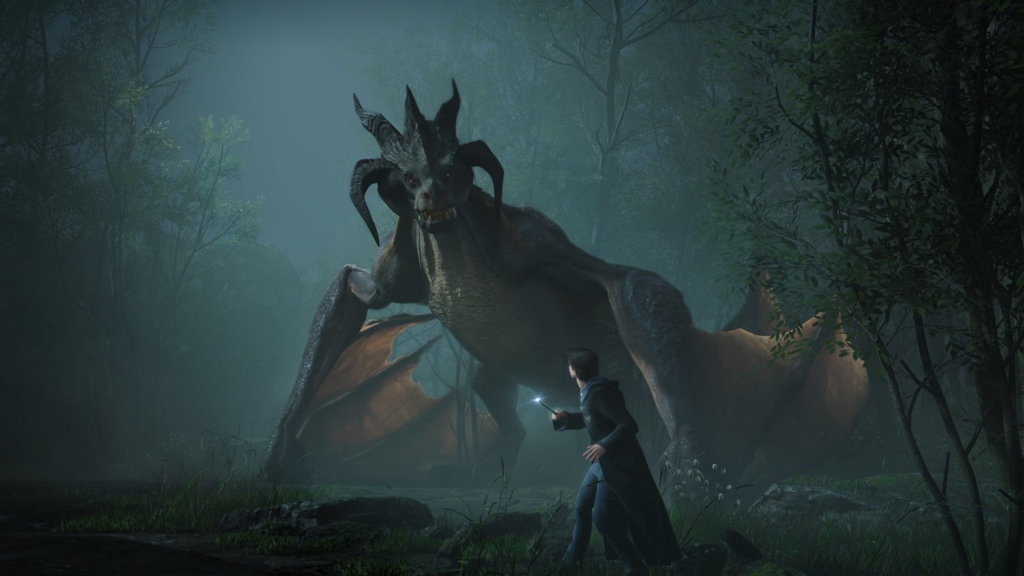
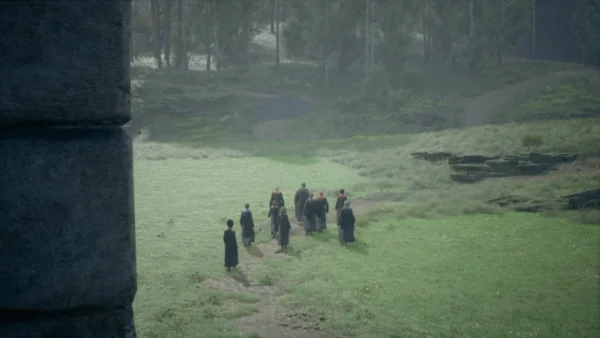
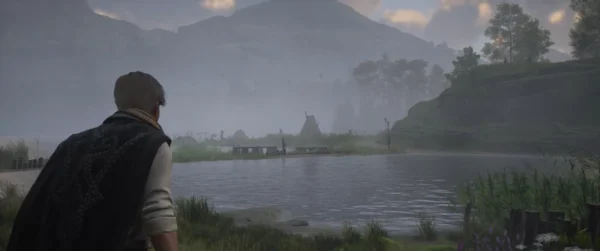
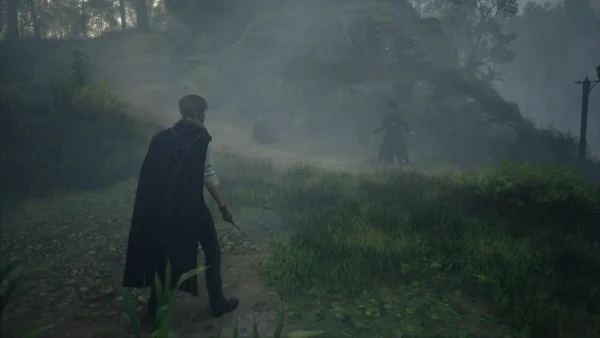
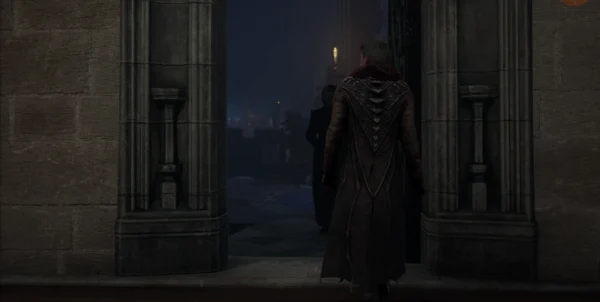
Beyond the castle lies a vast open world. Hogsmeade with its shops and taverns, forests with goblin camps, caves with trolls, the Forbidden Forest with its surprises, wizarding villages, and the ruins of ancient magicians. The world is large, beautiful, and—importantly—interesting to explore.
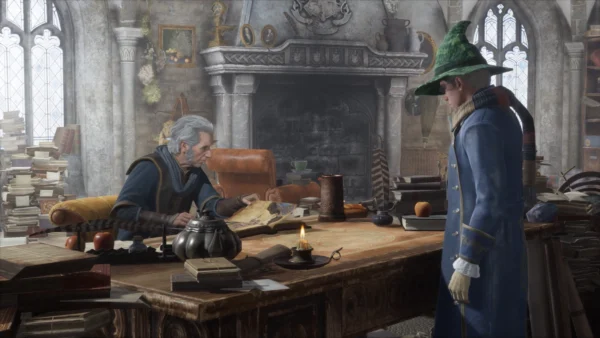
History: a solid middleweight with a good start
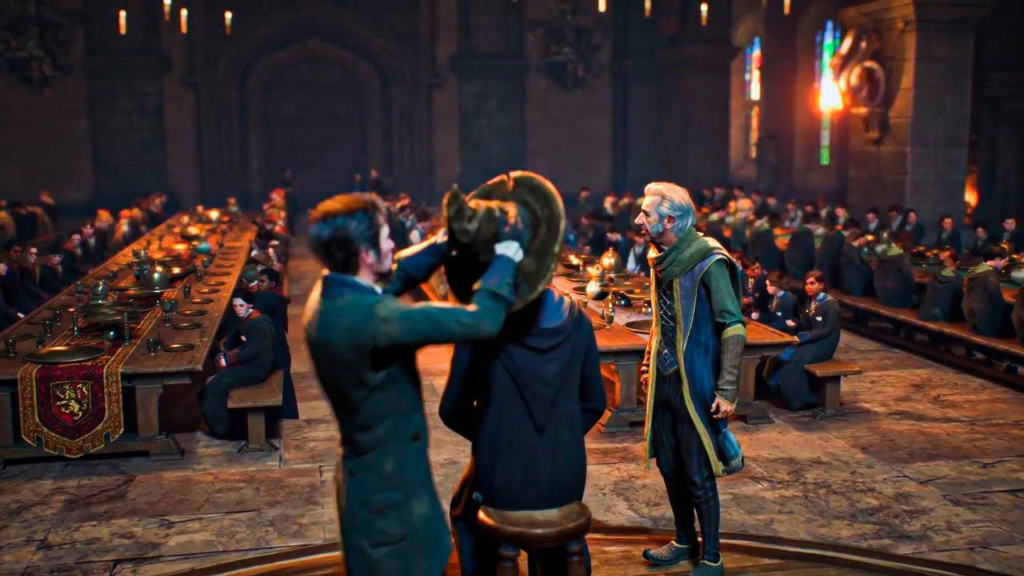
You are a new student at Hogwarts, entering your fifth year several years late. The reason for this is the mysterious magic of the ancients, which for some reason lives within you. At the same time, there is a goblin uprising led by Ranrock and a mystery rooted in the history of the castle itself.
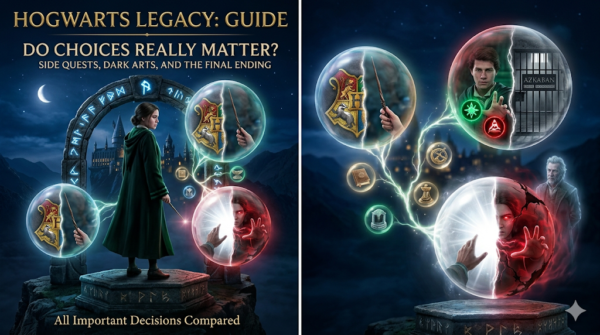
The plot works. It’s not brilliant, but it keeps up the pace. The first act is excellent: secrets, discoveries, the feeling that you’re touching something huge. The middle sags — side quests sometimes drag on, and the main thread gets lost. The ending is unexpectedly emotional, especially if you’ve completed all the partner quests.
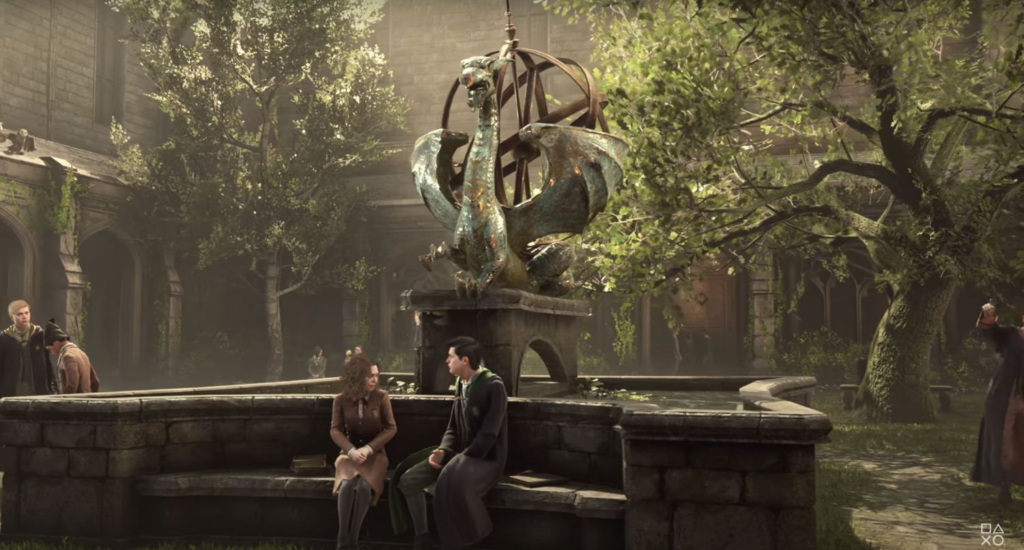
Speaking of partners, they are the best part of the game’s narrative. Sebastian Shallow is charismatic, complex, and authentic. His personal story about his sister and dark magic is the strongest plot line in the game. Omnis Gaunt adds moral depth. Natti is energy and light. Each of the three companions has their own complete story, and each is worth the time spent.
The main villain, Ranrock, is unfortunately rather flat. His motivation is understandable, but not compelling. He lacks screen time and that “moment” that makes an antagonist unforgettable.
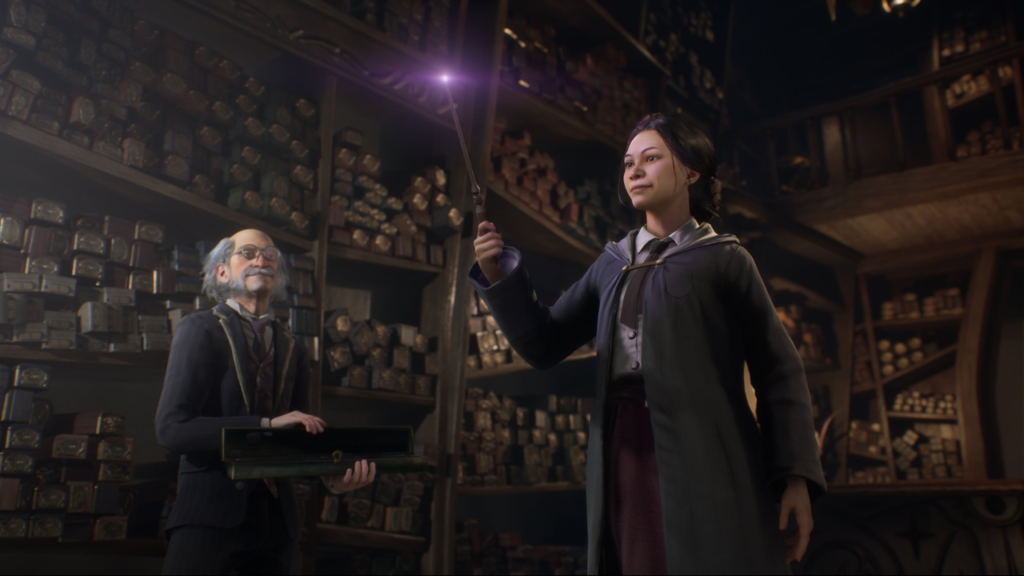
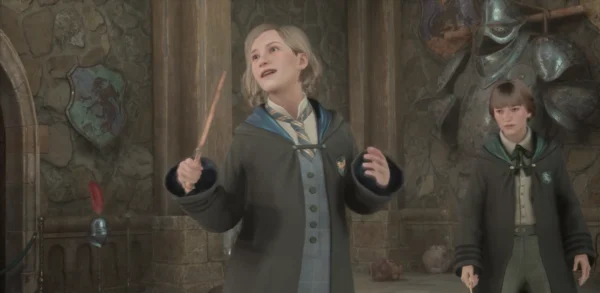
Gameplay: magic in your hands
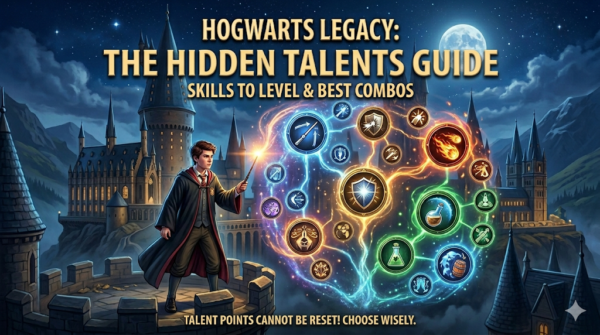
The combat system is a pleasant surprise. At first glance, it seems simple: cast spells, dodge, repeat. But the further you get, the more interesting it becomes. Combining spells, controlling groups of enemies with Levios and Akkios, using different colored shields for different attacks, and going stealth with Disillusionment — there’s a lot of depth here, and it reveals itself gradually.
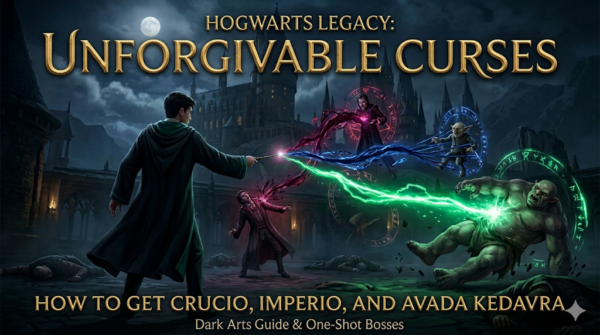
The three Unforgivable Curses — Cruciatus, Imperius, and Avada Kedavra — are available if you choose the appropriate decisions in the storyline. Whether to use them or not is your choice. The game does not condemn or impose. That’s right.
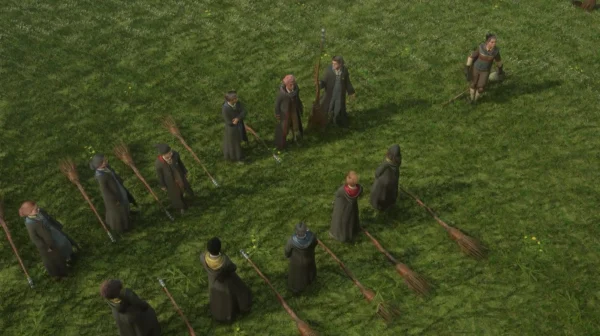
Flying on a broomstick is the best form of transportation in the open world in recent years. That’s no exaggeration. The feeling of speed, the tilt in the turns, the whistle of the wind — flying here is simply a pleasure. Even when you’ve reached your destination, sometimes you make an extra circle over the mountains just because you feel like it.
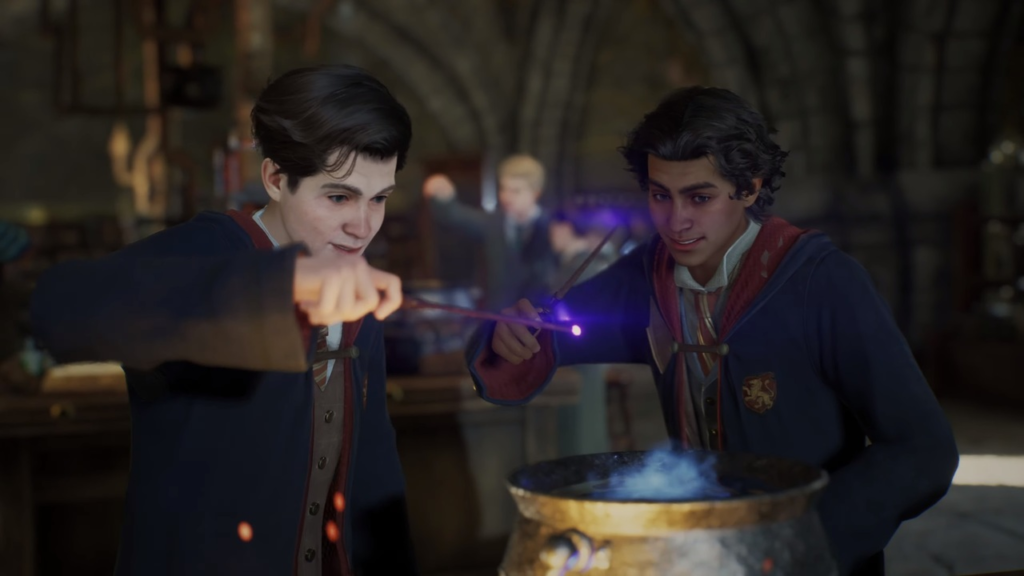
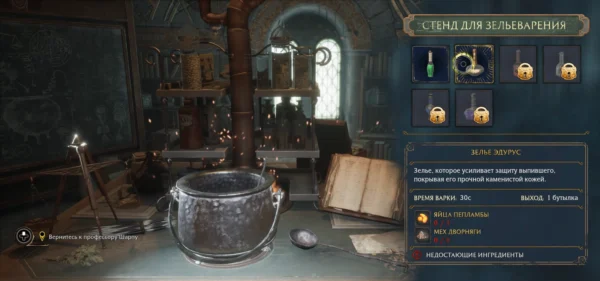
Growing plants and brewing potions are enjoyable mini-mechanics that are really useful in combat. Mandrake stuns enemies. Explosive pots deal area damage. Invisibility potions save you in difficult situations. This isn’t mandatory grinding, but an additional tool — which is the right approach.
The Room of Requirement — your personal base — allows you to create your own space: arrange tables for potions, cages for magical creatures, decorative elements. This is not a farm from a mobile game, but a logical part of the world.
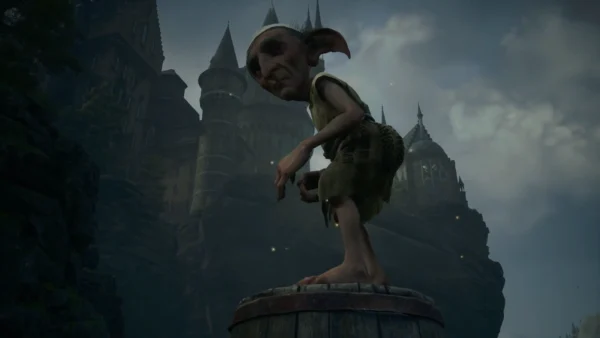
Magical creatures and an open world
Poachers who illegally trade magical creatures are a separate storyline. You can rescue animals, keep them in a vivarium, care for them, and receive bonuses to your equipment. Tevastrial, Hippogriff, Unicorn, Niffler, Phoenix — the menagerie is impressive.
The open world is dense. Every few minutes there is a new camp, a new cave, a new hiding place. Collecting flying pages from Hogwarts, puzzles with astrological symbols, Merlin’s trials — the content never ends. None of the tasks feel like a waste of time, which is rare for open-world games.
The changing time of day and weather contribute to the atmosphere. Hogwarts under snow is picture-perfect. Hogwarts during a thunderstorm is both frightening and beautiful. Dawn over the lake with a broomstick is poetry.
Technical aspects
The game looks amazing on PS5 and high PC settings. The castle is detailed to the point of paranoia on the part of the developers. The magical effects are rich, varied, and never get old.
Performance at launch was uneven on some platforms, especially older ones. The game ran noticeably worse on PS4. Patches have fixed a lot, but if you have a choice, go for the new hardware.
Music — Jacob Stapleton wrote a soundtrack that respects Williams’ original themes and adds its own voice. New tracks for battles, exploration, and dramatic scenes—everything is in its place. It’s not a brilliant soundtrack on par with Bear McCreary’s work, but it’s honest, high-quality work that never gets in the way and often helps.
What’s wrong
Let’s be honest.
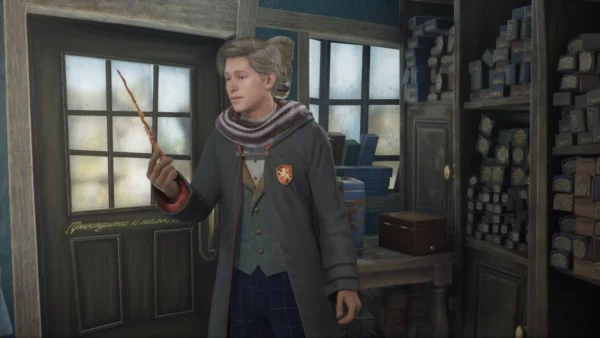
The main character is faceless. You create the character from scratch, choosing their faculty, gender, and appearance. But they have almost no personality. Their lines are neutral, their reactions predictable. Compared to the lively Sebastian, your character pales in comparison.
The plot doesn’t use its full potential. The idea of a student with ancient magic is interesting. But the game doesn’t follow through with it. Some plot threads are left unfinished. It feels like some content was cut during development.
Side quests are uneven. Most are good. But there are also soulless “fetch-kill-return” quests. After Sebastian’s brilliant story, some side quests seem like the work of a different team.
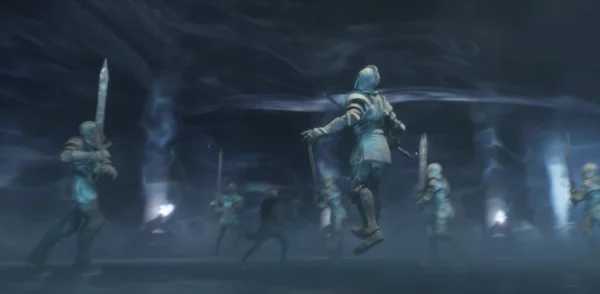
The battle arenas are monotonous. Goblins, spiders, dark mages — the set of enemies remains unchanged until the finale. There is some variety, but we would like to see more.
Who is this game for?
For fans of the universe, it’s a 10/10. No question. You’ll get everything you’ve ever dreamed of: walking around the castle, learning spells, living in this world. There’s nothing better for immersing yourself in Harry Potter.
For fans of open worlds, this is a solid 8.5. The world is beautiful, there is plenty of content, and it’s fun to explore.
For those unfamiliar with the franchise — 7.5. The game works without fan love, but half the magic is lost if the castle is just an “old building” to you.
Conclusion
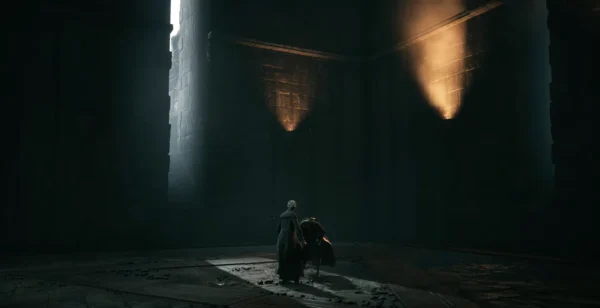
Hogwarts Legacy is an honest declaration of love for the universe. It’s not a masterpiece of storytelling, nor is it a revolution in gameplay. But it’s the best Harry Potter game that has ever existed. And one of the few games that truly conveys a sense of magic — not through mechanics, not through plot, but through atmosphere.
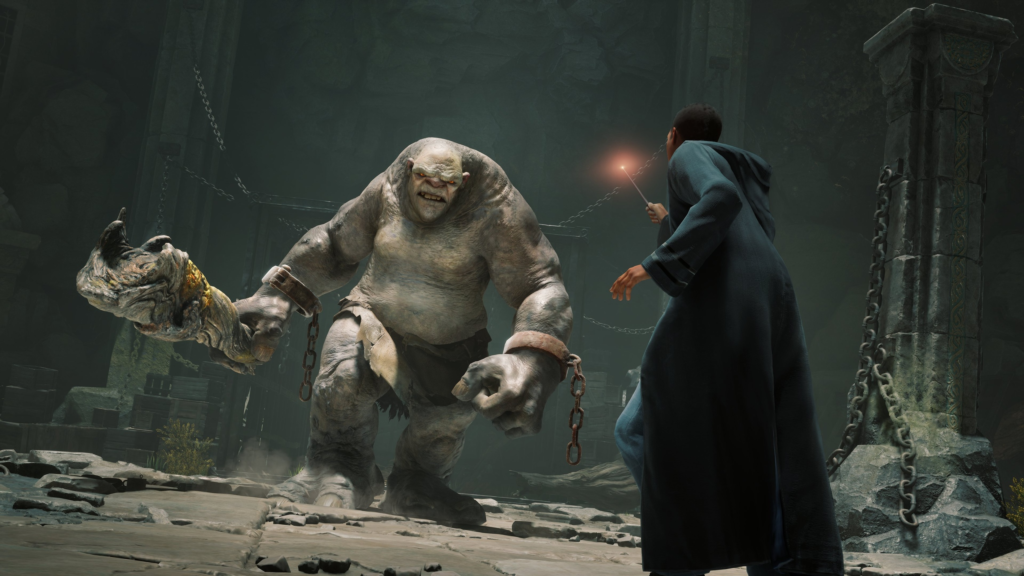
Your first night in the castle. Your first flight on a broomstick. Your first spell cast in battle against a troll. It works. And you’ll feel it.
Rating: 8.5 / 10
| Category | Rating |
|---|---|
| Atmosphere and world | 10 |
| Story | 7.5 |
| Gameplay | 8.5 / 10 |
| Graphics | 9 / 10 |
| Music | 8 |
| Characters | 8 |
| Replayability | 7.5 |


Comments (1)
Sign In / Sign Up
Sign in to leave a comment.
HOW I PLAY THIS GAME