The opening chapter introduces you to Vito Scaletta, an Italian immigrant whose family left Sicily in the 1920s searching for better opportunities in America. Like countless other families during that era, the Scalettas discovered that their new life brought unexpected hardships rather than the prosperity they had imagined.
Financial struggles pushed Vito toward criminal activities, primarily small-scale thefts. During one robbery of a jewelry store with an accomplice, police intervention forces them to flee. While his partner escapes with the stolen goods over a fence, Vito gets caught. However, instead of imprisonment, his fluency in Italian makes him valuable to the military. The year is 1943, and American forces need interpreters for their Italian campaign. This is where your gameplay begins.
Initial Combat Sequence
You assume control immediately after Vito’s unit accidentally lands behind enemy lines following anti-aircraft fire damage to their transport. Your squad moves through a Sicilian town under fascist control, facing heavy resistance.
Your first action occurs while taking cover behind a cart, with an Italian soldier positioned ahead. Use the aiming mechanics to target and eliminate him with a headshot. This triggers a firefight with nearby enemy forces. Stay in cover and systematically eliminate threats. The targeting reticle turns red over enemies and green otherwise—avoid firing at civilians indicated by the green marker.
Avoiding the Machine Gun Ambush
Once the initial skirmish subsides, you can leave your cover position. Immediately move to the left side of the staircase in front of you. This positioning is critical—a heavy machine gun will soon destroy the mansion’s entrance, killing any squad members (and potentially you) caught in its line of fire.
While you can explore the courtyard freely, efficiency dictates moving forward. Enter through the window left of the destroyed doorway after your teammates go inside. Follow them down the corridor where three fascist soldiers fire from an exterior window. The game prompts you to throw a grenade toward their position. The explosion will trigger a chain reaction with stored grenades and explosives, neutralizing the threat.
Weapons Cache and Interior Combat
After this engagement, keep your M1 rifle equipped and advance with your squad. You’ll encounter a well-stocked weapons area where you can switch to a pistol or automatic rifle if preferred. The M1 remains a solid choice throughout.
Position yourself against the wall right of the next door, and a squadmate will kick it open. Prioritize the enemy on the upper balcony directly ahead and another behind the ground floor staircase. A teammate will throw a grenade left-upward, destroying that section of the walkway and eliminating enemies there. Once clear, enter and ascend the stairs. Avoid the right exit—flames block that path.
Upper Floor Engagement
Climb the stairs into the next room and eliminate the waiting enemy soldier. Your squad will instruct you to breach the next door. Execute the door-kicking action as prompted. Immediately upon entry, you’ll face a soldier holding an Italian civilian hostage. You must quickly and accurately shoot the soldier without harming the hostage—aim for a clean headshot.
After this rescue, turn right onto an outdoor balcony. Take cover behind the low wall and engage soldiers in the courtyard below. Once you’ve cleared these enemies, proceed to the balcony’s far end and turn left to re-enter the building.
Artillery Defense and Chapter Conclusion
The chapter’s finale begins as you enter the next room. Windows on the building’s right side shatter as fascist artillery and reinforcements attack. Your teammates direct you toward a mounted heavy machine gun positioned at one of the windows.
Approach and mount the weapon following the on-screen instructions. Suppress the enemy forces below with sustained fire. You cannot dismount until the mission concludes, so thoroughly eliminate as many enemies as possible to trigger the ending sequence more quickly.
After dealing sufficient damage while taking hits yourself, a cutscene initiates. Your small force becomes overwhelmed as Italian soldiers storm the building. They execute one of your wounded comrades, and a soldier prepares to shoot Vito. Suddenly, an announcement over a loudspeaker declares the war’s effective end in fascist Italy. Everyone receives permission to leave safely if they surrender their weapons. All parties agree, concluding this flashback sequence and Chapter One.
Chapter Two – Home Sweet Home
The second chapter of Mafia II opens with a significant time jump. It’s February 1945, and protagonist Vito has returned stateside after sustaining injuries during combat operations in Europe. His military service has earned him a month-long recovery period at home in Empire Bay, a fictional metropolis clearly inspired by mid-century New York.
Reunion and First Steps
Vito’s homecoming begins at the train station, where childhood friend Joe waits to greet him. Their drive through the winter streets of Empire Bay serves as both reunion and reorientation. The conversation flows naturally as they catch up on two years of separation.
During their stop at a local bar, a critical plot point emerges: Vito faces deployment back to the European theater in just one month. Joe, leveraging his underworld connections, arranges for forged discharge papers to keep his friend stateside. Though initially hesitant about this illegal solution, Vito ultimately accepts the arrangement.
Family Matters
After parting ways at the bar, Vito takes a taxi to his family’s apartment. This marks your first real interaction with the game’s open-world mechanics. The heads-up display becomes active, showing waypoint markers that guide you through Empire Bay’s streets.
Inside the modest family home, Vito’s mother and sister welcome him warmly. A home-cooked meal and prayer follow—a touching moment of normalcy after years of war. Take time to speak with both family members to learn about their struggles during your absence.
Head to your old bedroom when ready and select the option to sleep. The next morning brings a wardrobe change: you’ll trade military attire for civilian clothes—a leather jacket and denim jeans that define Vito’s street style throughout the game.
The Debt Revealed
A kitchen conversation with your mother reveals her worry about potential redeployment. While you can ease those fears, a more immediate problem emerges when you encounter Frankie being roughed up by a loan shark’s enforcer. This confrontation introduces the combat tutorial system.
After driving off the thug, Frankie delivers devastating news: your deceased father left behind a $2,000 debt—an enormous sum in 1945 dollars—due by week’s end. This financial crisis becomes your driving motivation for the remainder of the chapter.
Hidden Achievement: A Real Gentleman
While traveling to Joe’s apartment, watch for a couple arguing beside their broken-down vehicle in an alleyway. Wait patiently for their exchange to conclude—the husband will storm off in frustration. Approach the car and use the prompt to fix it, earning the woman’s gratitude and unlocking this easily-missed achievement.
Joe’s Solution
Joe lives above a red-painted ground-floor restaurant. Climb to the third floor, where you’ll meet the landlady before she directs you to his door. Inside, Joe hurriedly dismisses his female companions to discuss your predicament.
Your friend proposes a solution: instead of grinding away at legitimate low-wage work, he’ll introduce you to contacts who pay well for high-risk jobs. The money will cover both your father’s debt and your independence. You’ll crash on Joe’s couch rather than returning to your childhood bedroom.
Collectible Alert: First Playboy Magazine
Before leaving Joe’s apartment, thoroughly explore the living room. On the coffee table amid various items sits the first of fifty collectible Playboy magazines scattered throughout the game. Don’t miss this starting point for completionists.
Meeting Giuseppe
Joe drives you to meet Giuseppe, a forger who can provide the discharge papers Joe promised. The building’s parking lot features a pristine 1942 model car that catches both men’s attention—a detail that proves significant moments later.
Inside, Giuseppe welcomes you based on his longstanding relationship with Joe. He produces the forged documents quickly. Before leaving, purchase lockpicks from Giuseppe and complete a brief tutorial on the lockpicking mechanic. Compared to other games, Mafia II’s lockpicking system proves straightforward and easy to master.
Your First Car
Those lockpicks immediately prove useful. The beautiful vehicle you admired earlier becomes your target. Pick the door locks cleanly, avoiding window-breaking noise. However, police arrive on scene, triggering a chase sequence.
Navigate Empire Bay’s streets until you shake your pursuers—the low wanted level makes this relatively simple. Follow your GPS marker to the nearest body shop and pay for new license plates. The car now belongs to you legitimately, at least on paper.
Mike’s Junkyard
Your next destination is Mike’s salvage yard, where Joe’s friend needs someone to acquire vehicles for parts. This drive represents your longest journey yet, accompanied by Joe’s entertaining but questionable romantic advice.
At the junkyard, Mike explains his “parts problem”—he needs stolen cars to dismantle for components or resale. Each vehicle you deliver earns cash toward paying off that looming debt. Joe hands you a pistol and sets up target practice using an old red car’s tires. After hitting three tires, aim for the gas tank to ignite the vehicle and complete your weapons training.
Second Playboy Magazine
Before departing for your first car theft, explore Mike’s property. Near where Mike stands, you’ll find a building with three garage doors and a small side office. Inside this office, a Playboy magazine sits on a shelf. Grab it now, as accessibility may change later.
The First Heist
Follow your GPS to the target location. Joe provides instructions before letting you handle the operation solo. Cross the street and vault the white picket fence beside the chain-link barrier.
Immediately after clearing the fence, a guard confronts you in hand-to-hand combat. Apply the fighting techniques you learned earlier, using defensive maneuvers to minimize damage since health doesn’t regenerate mid-fight.
Approach the target vehicle to trigger the arrival of armed guards. Draw your weapon and find cover immediately. Pick off enemies systematically, never exposing yourself for extended periods. After eliminating the first three gunmen, break into the car using either lockpicks or window-breaking.
Drive slowly toward the gate to draw out three additional enemies from a nearby door. Stop and use your vehicle as mobile cover to eliminate these threats safely. Once clear, turn left immediately upon exiting to avoid a pursuing enemy vehicle. The icy, snow-covered roads demand careful driving to maintain control.
Mission Complete
After losing your pursuers, return to Mike’s junkyard following your GPS. Mike expresses satisfaction with both your performance and the vehicle’s excellent condition. Your payment totals $400, though $100 goes to Joe as his cut—still equivalent to fifteen weeks of Army pay.
Drive back to Joe’s apartment building, parking in his garage rather than on the street. Enter through the rear entrance and climb to the third floor. Grab a sandwich from the kitchen refrigerator to restore any lost health, then settle onto the couch to end the chapter.
Chapter Three – Enemy of the State
The mission opens with your character resting on Joe’s kitchen couch. A ringing telephone near the apartment entrance interrupts your sleep. Your mother is calling, questioning why you didn’t return home and insisting you meet Mr. Pappalardo, an old associate of your father’s, for employment opportunities. Before leaving Joe’s place, change into your jeans and leather jacket at the bureau to look presentable.
Getting to the Docks
Head downstairs to the garage where your vehicle is parked. This storage space will accommodate more cars later, but currently holds just one. Repair any damage from previous missions before departing. The docks are located across the city, requiring a lengthy drive. Use the speed limiter to avoid police attention, as excessive speeding in residential zones will attract law enforcement in this game.
Upon arrival, park close to the building and climb the stairs to the second-floor entrance. Inside, you’ll meet two men: one reading a magazine and Mr. Pappalardo eating at his desk. After introducing yourself and mentioning your father’s past employment, Pappalardo quickly offers you work and assigns his associate to show you the tasks.
Warehouse Labor and Collection Work
Follow Steve downstairs to the warehouse floor. He directs you to load crates onto a truck for ten dollars. You can load between one and six boxes before your character refuses to continue. Regardless of how many you move, the result remains identical. When you attempt to leave, Steve stops you and escorts you back to Pappalardo’s office.
Mentioning Joe’s name saves the situation. Steve and Derek verify your connection by calling Joe directly.
Pappalardo presents a more lucrative opportunity: collecting protection payments from dock workers under the pretense of “paying the barber.” Successfully gathering one hundred fifty dollars earns you fifty dollars. Approach workers throughout the warehouse. Some pay willingly while others initiate fights. Focus on central workers to minimize confrontations. After collecting from three workers, you’ll face a challenging fight with a particularly tough individual. Use dodging and quick strikes to defeat him.
Return to Derek’s office to receive your payment plus a bonus for handling the difficult worker. This establishes your ongoing employment with Pappalardo’s operation. Steve mentions Joe wants to meet you at Freddy’s in Little Italy.
Meeting Henry and Planning the Heist
Drive to the Little Italy restaurant using GPS guidance. Winter conditions make roads slippery but manageable. Head upstairs where Joe waits alone. He introduces you to Henry, a well-dressed man with a proposition. With wartime rationing limiting gasoline availability, obtaining gas requires government-issued stamps. Henry wants you to steal ten thousand gallons worth of stamps from a federal building safe, offering six hundred dollars for completion.
Henry provides Maria Agnello’s address. She lives nearby and has inside connections to facilitate building access. Drive to her apartment in the alleyway and knock on her door. Maria agrees to help but requests a ride to an uptown hospital. During the drive, she explains entry methods, guard avoidance tactics, safe location, and where to find the key. Pay close attention to her instructions.
Infiltrating the Federal Building
The federal building sits across from the hospital. Navigate to the adjacent alleyway and locate the chain-link fence. Climb over the gate door despite the barbed wire. An open bathroom window provides building access on your left.
Exit the bathroom into the corridor. Security guards patrol the area, so crouch to remain undetected. Enter the main lobby through double wooden doors. A lone guard sits at a desk on your left. Flanking and subduing him is advisable for both stealth and access to a collectible item nearby.
Drag the unconscious guard back to the bathroom to prevent discovery. Avoid the main staircase behind the security desk. Use the smaller staircase near your entry point to reach the second floor. Two additional guards patrol this level. Neutralize them stealthily and hide their bodies in bathrooms or offices.
Locate the administrative office marked on your display. Inside this darkened room, retrieve the safe keys. With keys secured, navigate to the opposite side of the building where the safe containing stamps is located. Pick the lock, access the safe, and collect the stamps.
Escape and Gas Station Circuit
Removing the stamps typically triggers the alarm regardless of your stealth approach. Quickly exit through the original bathroom window to the alleyway. Retrieve your vehicle or commandeer another if necessary. Drive immediately to the restaurant where Henry waits upstairs.
Henry delivers disappointing news. Any gunfire at the scene reduces your payment by two-thirds. Additionally, the stamps expire tomorrow, requiring immediate validation at gas stations. The more stamps you validate, the higher your earnings.
A timer appears as a red circle gradually turning black. Eight gas station locations display on your map. Consulting the map freezes time for strategic planning. Six successful visits are sufficient for bonus recognition, though time remains extremely limited.
Navigate carefully as icy roads create hazardous driving conditions. Speed is essential, but avoid serious violations that attract police. Traffic stops consume precious time. Physically enter each gas station to exchange stamps for cash. After the sixth station, return to Joe’s apartment and rest on the kitchen couch to conclude the mission.
Chapter Four – Murphy’s Law
Your day begins in Joe’s apartment. After waking up, you’ll discover a message from Joe instructing you to meet him and Henry at Freddy’s restaurant. The note mentions bringing essential tools: a pistol and lockpicks.
Head to the wardrobe to change into your typical outfit—a leather jacket paired with jeans. Your weapons and tools will automatically be added to your inventory. Drive to Freddy’s to begin the mission.
Meeting at Freddy’s
Navigate to the second floor where Joe and Henry are waiting. After some friendly banter about your late arrival, the conversation turns serious. Henry hesitates to reveal the job details until another associate appears and pushes him to explain.
The Plan: You and Joe will execute a nighttime robbery at a shopping mall store. The target is accessible after hours when security is absent. Joe has obtained phone company coveralls in orange, providing plausible cover if you’re spotted during the operation.
Driving to the Target
Exit the restaurant with Joe and head to your vehicle. Follow the GPS markers to reach the mall location. Exercise caution while driving—winter conditions have left the roads covered in ice and snow. Maintain moderate speeds and consider using the speed governor to avoid drawing police attention.
The Jewelry Store Break-In
Once you arrive, approach the illuminated entrance adjacent to the shopping center. Use your lockpicks to gain entry—a straightforward task at this stage of the game.
Unexpected Complications
The situation quickly deteriorates during what should have been a quiet heist. A vehicle crashes through the storefront window, delivering a group of Irish criminals who also intend to rob the establishment. This remarkable coincidence creates immediate problems: the Irish want your stolen merchandise, and their dramatic entrance has alerted law enforcement.
The Escape Sequence
The game initially controls your character automatically as you flee with Joe. When Joe veers right to evade officers and breaks through a doorway, you regain manual control.
Important: Stick closely to the designated escape route. While collectible items exist in this area, straying from the path will likely result in being overwhelmed by police officers. Only deviate briefly if you’re confident you can quickly grab collectibles.
First Collectible Location
After leaving the jewelry store and following Joe through several doorways, you’ll pass through a retail space. Once Joe asks you to provide cover while he picks a lock, turn right and climb the stairs. Before continuing left with Joe, check the tiled area on your right for the first magazine.
Navigating Through the Bookstore
Joe leads the way but encounters locked doors requiring picking. While he works on the first lock in a bookstore, take defensive positions and eliminate the approaching Irish criminal. Follow Joe into the stairwell and ascend.
At the top, another locked door requires Joe’s attention. Position yourself defensively and wait for a police officer to appear around the corner. Neutralize him quickly before continuing to the mall’s rooftop.
Second Collectible Location
Shortly after finding the previous magazine, you’ll enter a stairwell where Joe heads upward. Before following him, descend to the entrance level where you’ll find another magazine at the bottom. Move quickly—officers will fire through the glass windows if you linger.
Rooftop Confrontation
On the roof, Joe suggests traversing in front of a large sign, but the icy conditions make this treacherous. Several officers reach the rooftop and open fire.
Strategy: Use the low brick chimneys for cover. Avoid positioning yourself too close to the edges of these structures, as sustained gunfire will destroy them. After eliminating the threat, follow Joe through the cutscene where both characters carefully move along the building’s facade while dodging street-level gunfire.
Continuing Across Rooftops
Follow Joe past another billboard and down to the adjacent rooftop. Turn right immediately and take cover. Three officers appear on your right—act swiftly.
Priority Target: One officer carries a shotgun, making him extremely dangerous at close range. A single blast can be fatal. Wait for his reload cycle before engaging, then eliminate him first. His pistol-wielding companions are easier to handle afterward.
Joe leads you across another metal walkway to yet another rooftop. Take immediate cover as three more officers attempt to stop your advance. These opponents only have pistols, making them less threatening. Eliminate each one methodically.
Third Collectible Location
After battling both waves of officers on the rooftops, Joe will pick a lock to enter an adjacent building. Follow him through to reach another roof section with a fire escape. Before heading outside, search the floor near a shelf for another magazine.
Descending the Fire Escape
Begin climbing down the fire escape to street level. Watch for enemies on nearby rooftops—they’ll only appear if you failed to eliminate all three officers in the previous encounter. If you were thorough, the descent should be peaceful.
Ground Level Cutscene
Near the bottom, a cutscene triggers. You’ve successfully evaded the police, but the Irish criminals weren’t as fortunate—they’re being arrested. Joe takes the stolen goods and departs, leaving you to return to his apartment alone without getting caught.
The Return Journey
Stealth is Essential: Don’t immediately leave the alley when you regain control. Press against a nearby wall and observe the police activity at the crime scene. Wait for officers to consolidate their positions, then quickly move right toward the gas station.
Locate a vehicle you can steal, ensuring no witnesses—especially police—observe your actions. Use the GPS to navigate back to Joe’s apartment. Enable your speed limiter to avoid attracting attention from law enforcement.
Final Collectible Location
Upon reaching Joe’s apartment building, don’t immediately head upstairs. Instead, descend to the first floor. Near the staircase, you’ll find a boarded-up door with the final magazine lying on the floor beside it.
Mission Conclusion
Park in the garage, go upstairs to Joe’s apartment, grab something to eat, and rest. The chapter concludes here.
Chapter Five – The Buzzsaw
Chapter 5 opens with a refreshing change of pace—you’ll gain control of Vito almost immediately. After a brief encounter with Joe’s companion, your objective becomes clear: meet Joe and Henry at Freddy’s. Before heading out, change clothes at your apartment’s wardrobe, then make your way toward the garage.
Street Confrontation
Your path to the garage gets interrupted. Upon exiting Joe’s building through the side entrance, you’ll witness an accident involving Joe’s friend—she braked suddenly, causing a rear collision. The other driver becomes aggressive, forcing you to intervene.
Vito’s warnings fall on deaf ears, leading to an inevitable fistfight. Defend yourself while watching for openings to land your strikes. After defeating the aggressor, the woman expresses her gratitude before departing.
Meeting at Freddy’s
Drive to Freddy’s restaurant—a familiar location by now. The journey from Joe’s apartment is brief and straightforward. Park outside and head upstairs, where a cutscene introduces you to Luca, a mid-level family member.
During the meal, Luca acknowledges your performance at the jewelry store job. Despite complications, he recognizes your competence. He offers you more dangerous assignments, including hits for the family, with a $5,000 entry fee to become an official member upon completion. While Vito accepts reluctantly, Luca gets pulled away by a superior who reprimands him publicly.
Henry provides the mission details: visit an illicit weapons dealer in the northern district.
Arms Dealer Visit
Following your GPS leads you through an extended route including a tunnel—an ideal spot for the “Get Rich or Die Flyin'” achievement if you’re interested. The destination is a seemingly ordinary Army/Navy surplus store in a back alley, but appearances deceive.
Inside, you’ll meet Harry, the owner sporting an eye patch from his WWII service at Normandy. He specializes in heavy weaponry. The pre-purchased item is a Nazi-designed heavy machinegun. During the cutscene, Vito and Harry bond over shared military experiences—Harry becomes a valuable contact for future weapon needs.
After your conversation, carry the crated weapon to a waiting van outside (you’ll need to leave your current vehicle). The van contains ample ammunition for this high-capacity weapon. Drive carefully to your next destination southward—avoiding police attention while transporting illegal military hardware is crucial.
Misery Lane Ambush
Arriving at apartment 233 on Misery Lane triggers another significant cutscene. Joe dozes at a table while Vito speaks privately with Henry, who shares his Sicilian background. His father died as one of Mussolini’s political prisoners, while Henry escaped to America.
The conversation gets interrupted when enemy vehicles appear. Street-level gunmen open fire, forcing you into action.
Window Defense
Man your position at the window briefly. Several enemies await elimination before retreating becomes necessary. Some take cover behind vehicles, others expose themselves recklessly to your powerful machinegun. After neutralizing four or five opponents, follow Joe and Henry as they evacuate. Let them handle the scattered resistance on the stairs.
Collectible Alert: Instead of descending immediately, run upstairs to the floor above. At the hallway’s dead end, you’ll find a magazine lying on the floor.
Street Crossing
Once downstairs, fight toward the warehouse entrance across the street. Joe and Henry prove surprisingly capable, potentially clearing most threats if you collected that upstairs magazine first. Either way, take cover in the doorframe or behind nearby vehicles. Eliminate remaining enemies, then dash across to the warehouse door. Kick it open and immediately take cover behind the left-side counter.
First Floor Clearance
Push through the warehouse’s ground level quickly while maintaining cover. Let your companions handle most combat. Watch for two hazards: innocent bystanders (your reticle turns green when aimed at them) and an enemy throwing a Molotov cocktail near the second-floor stairs.
Collectible Alert: At the first floor’s far end, you’ll see stairs ascending right and a small office left. Clear the area, then search the office. A magazine sits on one of the shelves.
Upper Floors
Ascending the stairs, expect immediate resistance—one enemy on the staircase, another waiting above. Eliminate both quickly. The second floor offers abundant cover, with Joe and Henry providing substantial support. When reaching the far end, elevator reinforcements arrive. Shoot through the elevator gate before they exit. Once cleared, use this elevator to skip the third floor entirely.
Fourth Floor Assault
The fourth floor holds the final Irish resistance—well-armed opponents wielding machineguns that demand respect. While Joe and Henry advance through the main garage door, flank left through the alternate entrance. Use crate cover to attack from the side while they provide distraction. After neutralizing these threats, proceed upstairs, but cautiously—a gunman waits at the stairwell’s top. On the fifth floor, eliminate one final enemy behind crates.
Boss Confrontation
Your group finally corners the target the Don ordered eliminated. Henry confronts him, but the Irishman secretly draws a pistol and shoots Henry at close range. Joe and Vito quickly kill the shooter, but Henry’s injuries appear severe. He requests immediate transport to a specific doctor.
Collectible Alert: After Henry gets shot and before escorting him out, look right near the stairs leading down to the fourth floor. A magazine sits on the floor.
Escort and Extraction
Leading Henry out is straightforward despite scattered resistance. Move ahead to clear enemies while Joe and Henry follow slowly. The elevator cannot skip the third floor during descent. On the ground level, fires rage—stay clear of flames. If unsure of the safe path, wait for your companions and follow their route outside.
Emergency Medical Run
Joe loads Henry into a waiting vehicle, sitting with him in the back while you drive. Your destination: an underground doctor who treats criminals without reporting gunshot wounds to authorities. A timer appears onscreen—you have sufficient time, but the drive requires focus.
Disable your speed limiter and drive aggressively. Ignore pursuing police—there’s no time for confrontations. However, crashes worsen Henry’s condition, so balance speed with careful driving. Skilled drivers should arrive with significant time remaining. Park outside, and the doctor retrieves Henry while Joe stays with him. Despite his injuries, Henry gives Vito $2,000 for the job.
Settling Debts
The $2,000 matches exactly what Vito’s sister Frankie needs for your late father’s debts. Drive to your mother’s house (your GPS updates automatically). Head inside and upstairs for a cutscene. Vito provides the money, and Frankie promises discretion about its source. Return to Joe’s apartment, grab food in the kitchen to restore health, then rest on the couch to conclude the chapter.
Chapter Six – Time Well Spent
Chapter 6 opens with extended cutscenes depicting Vito’s downfall. Leaving Joe’s apartment, police immediately apprehend him for illegally selling federal gas ration stamps. One of the gas station attendants betrayed him, and authorities pressured Vito’s mother to reveal his location.
Despite representation by a mob-connected attorney, Vito’s trial goes poorly. The verdict: guilty, with a ten-year federal prison sentence. The transport bus delivers him to a facility filled with violent inmates who jeer at newcomers. Vito witnesses a guard beating another prisoner and receives a nightstick blow himself. After meeting the warden and getting a mandatory haircut, you finally regain control.
Prison Arrival
Your initial control is brief—simply follow the linear corridor to your assigned cell block. Guards redirect any attempts to deviate. No collectibles are available during this segment, so proceed directly. Upon reaching your cell, you’re locked inside alone. Interact with the bed to advance the story.
Meeting Leo
Three days pass. Vito stands in the prison yard, realizing survival alone seems impossible. Fortunately, Joe contacted him, instructing him to find someone named Leo. Speak with various inmates to locate Leo—most will dismiss you, but eventually someone reveals Leo is the older man who regularly plays chess in the yard.
Before venturing toward the yard’s far side where O’Neill will confront you, search the near section for two collectibles.
O’Neill Confrontation
After collecting both magazines and learning Leo’s location, approach the unexplored yard section. O’Neill, an Irish prisoner from the failed jewelry store job, immediately confronts Vito seeking revenge. The ensuing fistfight draws Leo’s attention from a distance.
Handle this fight as you would any brawl, though it concludes automatically regardless of who’s winning. Fight aggressively until guards intervene, sending you to solitary confinement. Days later, Leo visits—his connections with guards run deep. He offers protection in exchange for assistance and introduces you to his associates in the prison gym.
Combat Training
Leo tests you against one of his fighters while teaching counterattacks—a crucial technique. Hold the guard button, then immediately jab after blocking an opponent’s punch. Practice this repeatedly until Leo confirms mastery. Remember this move for increasingly dangerous situations ahead.
After sparring, Leo questions your outside connections. Vito explains his work for a mob family and the $5,000 entry fee. Leo expresses disgust, insisting family membership should be earned through dedication and results, not purchased. This revelation strikes Vito as evidence of exploitation.
When control returns, explore the gym area. Introduce yourself to Leo’s associates, who prove friendly. You can request sparring matches, though most decline. Only practice if you need additional counterattack training. Exit through the upper door when ready.
First Challenge
Prisoners block Vito’s departure, exchanging hostile words. Leo reveals these men lost money betting against his fighter and want a rematch—with Vito as the new contender. Leo warns against heavy punches since your opponent is quick and can counter hard strikes. Stick to blocking, jabbing at openings, and employing counterattacks. Deal sufficient damage to knock him unconscious.
The Bruiser Fight
About a week later, guards wake Vito for toilet cleaning duty. Follow them back through the prison block to your destination, where Leo and friends await with another challenge. This opponent is significantly larger, presenting a tougher test.
Leo advises exploiting this fighter’s lack of boxing intelligence. Provoke heavy attacks while defending, then counter with jabs. Repeat this pattern for guaranteed success. Avoid heavy strikes that expose you to his powerful blows. When he’s sufficiently damaged, follow on-screen prompts to grab and floor him.
Family Visitation
A guard announces a visitor. Proceed to the visitation area to meet your sister Frankie. She brings mixed news: she’s getting married, but your mother is seriously ill with a poor prognosis. Vito instructs her to collect his money from Joe’s place—use it for their mother’s medical care and keep the remainder as a wedding gift. Frankie reluctantly agrees.
Shower Ambush
Time advances again. Guards wake you for toilet cleaning, escorting you to the prison bathroom. Community showers occupy the left area—ignore them initially. Head to the toilet/urinal section and clean the two dirty middle urinals as ordered. One guard uses a urinal you just cleaned, requiring another cleaning. Afterward, you’re offered a shower.
The shower starts normally but takes a dark turn. A guard clears everyone except Vito, allowing several inmates to remain. They intend violence, but Vito fights back. First, battle the heavy-hitting but slow fat opponent. His faster companion follows—use your practiced combat skills. Defeating both ends the immediate threat.
Mother’s Death
Despite being the assault victim, you’re beaten and placed in confinement. The warden provides an urgent letter, keeping the lights on so you can read it. Your mother has passed away. The money intended for healthcare and Frankie’s wedding funded the funeral instead.
Days later, you’re released to the yard where Leo intercepts you. O’Neill injured one of your friends—Leo wants you to teach him a painful lesson. You accept.
O’Neill’s End
This rematch with O’Neill proves difficult. He strikes hard, defends well, and rarely opens himself to attack. Exercise patience, capitalizing on rare opportunities. Strike decisively when openings appear. Alternatively, maintain consistent defense until O’Neill throws a heavy hook, enabling easy counters. Preserve your health—when the fight seemingly ends, O’Neill rises for round two.
After absorbing enough damage, O’Neill pulls a shank. During the cutscene, Vito reverses the situation, slashing O’Neill’s throat and driving the weapon deeper into his neck. He leaves the corpse and returns to the yard.
Leo’s Protection
The chapter concludes with Vito’s voiceover explaining his move to Leo’s suite—upgraded accommodations featuring a comfortable couch, reading materials, and a personal stove. Leo provides extensive education about Empire Bay’s three controlling crime families. He explains that requiring buy-ins violates established family rules, warning trouble will follow when word spreads.
Leo also reveals his approaching release in several months and promises to advocate for Vito’s early release so he can join the family on the streets. Vito expresses gratitude for this kindness, having proven his worth during his incarceration.
Chapter Seven – In Loving Memory of Francesco Potenza
After spending six years behind bars for the gas stamp scandal, Vito’s prison term gets cut short thanks to Leo’s intervention. Released in 1951 instead of serving the full decade, Vito emerges into a changed world and immediately heads to reconnect with his loyal friend Joe.
Reuniting With Joe
Make your way to the restaurant where Joe still maintains his apartment above. You’ll need to knock this time since you can’t just walk in anymore. Joe welcomes you warmly and immediately demonstrates his loyalty by providing cash, a new place to live, and a firearm. Prison taught Vito valuable lessons about the criminal underworld, and Joe is ready to partner up again since his own circumstances have evolved considerably.
Collectible Alert: Top Floor Magazine
Before visiting Joe’s actual apartment, climb the stairs all the way to the building’s highest level. Check the corner near one of the doors where you’ll spot a magazine resting on the floor.
Harry’s Shop Collectible
The Army/Navy Surplus Store in the northwestern district has another magazine available now that wasn’t accessible during your Chapter Five visit. You can grab this after talking with Joe but before heading to your new residence. The weapons dealer’s location appears on your interface, making navigation straightforward. Once inside, search between the counter’s edge and beneath the metal staircase.
Getting Mobile
Head to Joe’s garage where a modern, high-performance vehicle awaits. These 1950s automobiles handle differently from pre-prison cars, with noticeably improved speed and responsiveness. Your old garage still contains any vehicles you stored before incarceration, but Joe’s new ride offers superior performance. Follow the navigation prompts to your new address while Joe catches you up on recent developments.
Building Collectible
Upon reaching your new building, don’t immediately ascend to your top-floor apartment. Stop one floor below your unit where you’ll find a magazine sitting openly on a hallway table. Grab it before continuing upward.
Your New Place
A talkative real estate agent meets you at your penthouse apartment, enthusiastically highlighting amenities including telephone service, reliable hot water, a spacious bedroom, and complete kitchen facilities. Joe’s generosity becomes evident through this impressive living space. Eventually, Vito dismisses the agent’s sales presentation.
Kitchen Table Collectible
Joe left another magazine as a housewarming gift. Head into the kitchen where it sits conspicuously on the table.
Dressing the Part
The game prompts you to purchase formal attire. Joe mentioned an evening event requiring appropriate dress. Exit the building and locate your garage around the corner. Drive the short distance to the clothing retailer marked on your map. With Joe’s $200 gift, you can easily afford any suit in the store—most cost around $60 and none are particularly luxurious.
Meeting Eddie
Return to Joe’s apartment after dressing appropriately. Park in the rear garage if desired, then ring Joe’s doorbell. Joe compliments your appearance before introducing Eddie, a significant figure in his current organization. The three men decide to get drinks, though the destination remains mysterious to Vito.
Follow them to Eddie’s elegant vehicle. You’ll be driving, with the GPS providing directions to what Eddie and Joe eventually reveal is a “cathouse”—an establishment hosting various illicit activities. Despite initial reluctance, Vito’s perspective changes upon arrival.
The Club Scene
The venue buzzes with activity—underdressed women, flowing alcohol, and thick cigarette smoke fill the atmosphere. Eddie repeatedly mentions avoiding excessive drinking due to upcoming responsibilities, but quickly abandons this caution and becomes heavily intoxicated. Before losing control, he offers Vito employment opportunities working alongside Joe, which Vito accepts. As the night progresses, both Eddie and Joe reach severe inebriation levels while Vito remains relatively sober.
An Unexpected Task
Exit the establishment and return to Eddie’s car. Wait for your disoriented companions to join you. What begins as a simple drive home transforms into something far more serious when an unpleasant odor reveals Eddie’s postponed responsibility—disposing of a corpse that’s been decomposing in the trunk for considerable time.
Navigate to a remote rural location you’ve never visited before, following GPS directions. Stop when Eddie requests it to prevent him from vomiting inside the vehicle. The journey proves lengthy but darkly humorous given your passengers’ condition.
Burial Duty
Upon reaching the destination, Joe and Eddie’s uselessness becomes apparent—Vito must handle everything alone. He sarcastically notes this “splendid” homecoming celebration as he removes the unidentified body from the trunk, places it in the pre-dug grave, and shovels dirt to cover it while his companions remain incoherent nearby.
Chapter Conclusion
Drive the intoxicated pair back to Joe’s residence so they can sleep off their embarrassing state. During the return trip, the radio stays locked on as Eddie and Joe sing along with the music. Upon arrival, Joe shows slight recovery while Eddie remains thoroughly drunk. Both promise to compensate Vito for this unpleasant experience, though he’s certainly proven his reliability to them, potentially benefiting his future prospects within the organization.
Chapter Eight – The Wild Ones
The chapter opens with Vito recovering from the previous night’s events. A horn honks outside, and you’ll hear Joe calling along with an unfamiliar voice. Head to the window to see what’s happening—Joe’s waiting with a truck loaded with cigarette cartons.
Delivering the First Batch
Climb into the driver’s seat and start following the route displayed on your screen. This vehicle requires careful handling—it’s heavy, sluggish, and doesn’t respond quickly to your inputs. Take these precautions:
Slow down significantly before turns
Maintain moderate speeds on straightaways
Avoid pedestrians at all costs
Hitting someone will attract police attention, and this truck can’t outrun authorities. Drive cautiously while listening to Joe’s conversation. He’ll apologize for what happened previously.
The First Sale
Upon arrival, customers will gather around your truck as if expecting you. While this operation seems small-scale for Joe’s usual work, bulk cigarettes fetch $2 per carton in 1951—decent money for the time.
Joe handles the sales while calling out orders. Your job is simple: grab the correct colored carton when he asks. The colors are easy to distinguish (red, white, blue), and on-screen prompts will confirm which carton you’re near.
After the civilians finish purchasing, a police sergeant arrives, scattering most customers. This cop is clearly on the take. Retrieve a carton for him from the truck, but he warns you to leave immediately. Joe complies, and it’s time to move to your next location.
Second Stop and Trouble
Follow the GPS directions carefully, remembering this truck’s poor handling characteristics.
During the drive, Vito expresses frustration about jumping through Joe’s hoops, but he remains committed. At the second location, repeat the same process—customers line up, you provide the right colored cartons.
However, things take a dark turn. A new arrival isn’t interested in buying. Instead, he and his friends attempt to intimidate you into handing over free cigarettes. Joe refuses to back down.
The Confrontation
The situation escalates when the men reveal they’re a gang demanding ten cartons as payment for operating on their territory. After heated exchanges, one gang member throws a Molotov cocktail, destroying the truck and all remaining merchandise. Joe responds by shooting the aggressor, and the remaining gang members flee in their vehicles.
The Chase Begins
The dead gang member’s car is now available—a powerful muscle car with excellent handling. Chase the fleeing gang members down the expressway. You’ll maintain visual contact but never quite catch them. After about a minute, you’ll lose them entirely.
Joe suggests contacting Eddie for help. Locate a payphone using your map. The most convenient option is near Joe’s apartment, which should be close to where you lost the gang members.
Eddie’s Demands
Eddie isn’t pleased to hear from Vito. Learning about the destroyed truck and lost merchandise angers him further. He demands $2,000 compensation—money neither Joe nor Vito currently has.
Fortunately, Eddie and his associates will handle the gang that attacked you. He instructs you to meet at a nearby club where everyone’s assembling for retaliation. Drive to the bar following your GPS directions.
Gathering Forces
At the meeting point, you’ll reunite with Steve and other familiar faces, including the young man who briefly appeared with Joe earlier. This bar is a known hangout for the gang that attacked you. Steve has additional motivation—this same gang assaulted his cousin and destroyed his car.
Everyone’s armed with tommy guns, eager for revenge.
Attacking the Bar
You’ll automatically receive a tommy gun. Open fire on the establishment alongside your allies. Destroy windows and wooden structures—there’s plenty to demolish. When Steve decides sufficient damage has been done, he’ll suggest burning it down completely.
Retrieve a Molotov cocktail from Steve’s car trunk. Aim carefully and throw it through a broken window to set the bar ablaze.
Moving to the Foundry
Steve recommends heading to the foundry next—the gang’s primary base of operations. He and his crew leave separately, so you’ll need to drive there yourself. Follow the GPS directions; it’s only a short distance from the bar.
The Foundry Assault
Upon arrival, a significant confrontation unfolds. Steve approaches the entrance and bangs on the metal door. When a gang member opens it, Steve immediately strikes him with a baseball bat. Another rushes out and receives the same treatment. Then a third pulls a gun, but Joe’s young companion shoots him first.
Eddie wanted this to look like gang violence with melee weapons only, but now that firearms are involved, there’s no choice but to engage in a full gunfight.
Combat Overview:
The extended firefight requires eliminating dozens of enemies. The foundry layout forms a large rectangle—you’ll start on one long edge and eventually loop back to near your starting position.
Your NPC allies remain helpful but less decisive than in earlier missions. You’ll need to do most of the heavy lifting yourself. Some allies will guard retreating enemies while others join the main assault.
Combat Tips:
Press forward through initial enemy waves
Use available cover effectively
Grab the cheeseburgers from the plate near the first right turn for healing (two available)
Be patient—rushing ahead alone risks getting flanked
Collectible Alert: After the first right turn near the cheeseburgers, look for a trailer in the middle area. Inside, you’ll find a Playboy Magazine on some rusting barrels.
Advanced Combat Phase
As you continue, enemy weapons escalate from pistols to machineguns, shotguns, and M1 Garands. The M1 Garand is particularly valuable—it delivers tremendous damage at long range, perfect for eliminating fleeing enemies before they can regroup. Its only limitations are slower firing rate and small magazine capacity.
Taking the second right turn brings you to the rectangle’s other long edge. Expect heavy resistance with numerous enemies joining the fight. Key strategies:
Use cover extensively
Let NPC allies draw fire while you deliver killing shots
Don’t rush—let your team advance with you
Eliminate escaping enemies to prevent larger groups forming later
Second Collectible: Another Playboy Magazine sits beneath the catwalk where the final enemies make their stand. Wait until combat ends to safely collect it—it’s surprisingly visible on the ground to your left.
Final Confrontation
The third right turn leads to the last enemy stronghold. The number of enemies here depends on how thoroughly you eliminated fleeing foes earlier—you might face a large group or just a few stragglers.
With proper cover usage, careful aim, and patience, you should survive without serious difficulty. Rushing through increases danger significantly.
Aftermath and Resolution
After the battle, reunite with your allies—thankfully, everyone on your side survived. However, Steve and his crew depart, leaving Joe and Vito facing reality: they still owe Eddie $2,000.
The solution? Sell the hot rods the gang was working on.
Third Collectible: Before leaving the foundry, turn left from your position. You’ll see an alleyway with stairs. Walk past the stairs and turn right toward a burning fire. The Playboy Magazine lies on the ground near the flames—grab it carefully to avoid burn damage.
Selling the Hot Rods
Joe takes one hot rod while leaving the other for you. He believes Derek at the docks will pay about $1,000 per vehicle, covering the debt.
Break into your hot rod and drive to the docks. This car is incredibly fast and maneuverable—enjoy the performance but avoid crashes. High-speed collisions are fatal, and damaging the car reduces its value. Don’t worry about speeding tickets; no police cruiser can match this vehicle.
Paying Eddie Back
Delivering the car nets just under $2,000—enough to satisfy Eddie. Drive to Eddie’s restaurant following your GPS. Inside, you’ll trigger a cutscene where Vito and Joe settle their debt.
Eddie’s satisfied with both the payment and the eliminated gang. He releases Joe and Vito after giving them their cut, promising future work when needed.
Head home and sleep to conclude the chapter.
Chapter Nine – Balls and Beans
When the phone rings, make your way to answer it near the entrance. Eddie sounds worried and needs you at the restaurant immediately.
Get dressed and head to your garage. Choose your fastest vehicle for this trip, as the restaurant is quite a distance from your new place. The on-screen markers will guide you there in just a few minutes.
Meeting Carlo Falcone
Inside the restaurant, you’ll meet Eddie and a new character named Carlo Falcone. He’s got serious problems involving your former associates Alberto and Luca from before your prison sentence.
The situation is critical: their accountant has been taken along with his protection detail. If he talks, everyone goes down. Carlo and Eddie need your help, and they advise bringing speed and firepower to this operation.
Collectible Alert: Bar Magazine
Before leaving the restaurant, walk over to the bar area. You’ll find a magazine sitting on top that you should collect now. This might be your only chance to grab it from this location during restaurant visits.
Tracking Luca
Drive to your objective marker, which takes you back to the restaurant near Joe’s old place. A brief scene shows Luca exiting and getting into his vehicle. Your job is to tail him without being detected.
Following Tips:
Maintain distance to avoid detection
His position appears on your display constantly
A directional line shows which way to turn
Staying too close triggers mission failure
Falling behind prompts a warning with time to catch up
After this extended pursuit, Luca arrives at a slaughterhouse facility.
Infiltrating the Slaughterhouse
The main entrance isn’t an option. Move away from where Luca entered and walk under a tree down a grassy incline toward flowing water. You’ll spot a large drainage pipe with a metal door.
Examine the door and Vito breaks it open. Enter this underground passage and follow the single path forward through less-than-pleasant conditions.
Collectible Alert: Sewer Magazine
Continue through the tunnel on the main route. Near the exit, a side passage branches left into a dead end. Check this area to find another collectible on the ground.
Return to the main tunnel and climb the ladder to surface level. A scene plays showing a guard dog and handlers beyond a fence. Stay hidden in cover. Once the prisoners are moved into the building and you receive the prompt, proceed to the alley’s far end.
Climb onto a dumpster, then up to the higher ledge. Follow the piping system to an opening that lets you inside.
Stealth Section
You’ll find a sleeping guard in a chair when you enter. The game warns against shooting him, as gunfire alerts everyone and endangers the hostages. Keep weapons holstered.
Move into the illuminated corridor ahead, turning left then right. Take cover behind a pillar on the left side.
Collectible Alert: Storage Area Magazine
From the entrance, look along the left wall between two large waste containers before reaching the lit hallway. This collectible sits in that gap.
Continue down the corridor while staying concealed. A facility worker carrying meat emerges through doors on your right and enters the elevator on your left. Once he’s gone, go through those same doors.
Stay crouched and move left toward another hallway. You can open the closed doors to your right or continue forward, hiding behind the container on your left. Either way, you need to reach a room on your right where workers are talking about leaving their jobs. Avoid all personnel and keep weapons put away.
Collectible Alert: Break Room Magazine
This one’s trickier to collect unseen, but it’s possible. The magazine is in the upper right corner of the room where workers discuss quitting. Grab it quickly and duck behind the work tables for cover, or you’ll be spotted and the mission fails.
In this same room, you can’t go through the main floor area with two workers and an armed guard present. Near where you found the magazine, squeeze through the narrow space between the grinder’s conveyor system and the wall.
Don’t bother with the chained door at the far end. Instead, position yourself by the sinks against the wall. The guard tells workers to leave. Once all three exit, slip through the nearby door into the next area.
Approaching the Hostages
You’re close now, but rushing forward is still risky. Push through this room, then choose between the next hallway or a cold storage room. The freezer is unnecessary, so take the hallway.
Hide behind the left pillar, then dash to a container on your right when safe. When the guards ahead turn away, run right through the marked door.
The Confrontation
A scene unfolds as Vito sneaks into the interrogation room where prisoners are being threatened. He gets closer to the captors, but his sewer smell gives him away. Vito draws his weapon on Luca and his crew, disarming them. However, a large enforcer appears and strikes Vito from behind.
Boss Fight: The Enforcer
This fistfight is easier than previous prison brawls, but you still need strategy:
Keep your guard raised
Use quick jabs instead of heavy punches
Heavy attacks rarely land and leave you exposed
When prompted, execute the finishing move
A scene shows the enforcer nearly killing Vito before a prisoner kicks a gun to him, letting Vito shoot his attacker.
The Shootout Begins
The fight isn’t over. Grab cover immediately as armed enemies storm in. While NPCs help, you’ll do most of the work. Watch your sides during the initial assault, as these enemies are aggressive.
Consider taking weapons from fallen foes. One carries a useful shotgun, though you’ll need longer-range firepower as you advance.
When clear, approach the door where Luca’s hiding. Your ally tries breaking through unsuccessfully as Luca has barricaded himself inside. Reinforcements arrive outside. Take cover below the windows and let them shoot through, then return fire.
An automatic weapon works well here for eliminating the threat. Don’t let enemies survive long enough to flank you through the left building. Several waves attack before this segment ends.
After defeating all outside enemies, your companion tries Luca’s door again without success. You spot a cart that can ram the barricade. This happens automatically, eventually breaking through to Luca. Leave your allies to handle him while you report back to Eddie at his restaurant.
Returning to Base
Follow the on-screen directions back to the restaurant. Some nice vehicles sit outside the area where the firefight occurred, so take one of those.
At the restaurant, a scene shows Vito arriving filthy and reeking. Despite Eddie’s gratitude for completing the job, he asks Vito to clean up. You can return to your apartment to change, but consider visiting the nearby clothing shop for an expensive, high-quality suit instead. You’ll see why soon.
The Ceremony
Return to the restaurant in fresh clothes for an important final scene. Vito meets his old friend Leo, who’s from a competing family but advocated for Vito’s advancement. You’re about to become a made member of your organization.
The ceremony scene shows the traditional ritual when someone joins the family. Afterward, a montage displays Joe and Vito enjoying their new status, wealth, and connections. For now, things look promising for Vito.
Chapter Ten – Room Service
The mission begins as Vito wakes up in his upgraded residence to the familiar sound of a ringing telephone. Eddie is calling to request your presence at Joe’s apartment. Follow the standard routine: select clothing from your wardrobe, get dressed, exit the house, enter your vehicle, and navigate using the on-screen directions to reach Joe’s location. Enter the apartment to trigger the next sequence.
Meeting with the Leadership
Eddie and Joe are waiting inside while Marty remains stationed in the corridor. The family leadership acknowledges your recent success against Clemente’s associates. Given Clemente’s aggressive recent actions, it’s time to strike back by targeting multiple high-ranking members of his organization. Intelligence indicates they’re gathered at a hotel, and Joe has devised a plan involving explosives. Marty will serve as the getaway driver, and Joe already possesses the necessary materials.
Traveling to the Hotel
Exit Joe’s apartment and proceed downstairs to the garage. Joe’s vehicle is ready, and he’ll suggest using it for the operation. Once everyone is aboard, Joe emphasizes careful driving—this is crucial. You’re not only avoiding police attention but also transporting volatile explosives. A severe collision will result in detonation and mission failure.
Upon arriving at the hotel, follow Joe’s guidance and navigate to the rear of the structure. Enter the underground parking facility, select a parking space, and exit the vehicle for the next cutscene. Joe instructs Marty to remain with the running vehicle and wait for the explosion signal before their return. Meanwhile, Vito and Joe will pose as hotel staff to access the suites where Clemente’s crew is staying.
Infiltrating the Hotel
A sealed garage-style barrier blocks your planned entrance—Joe’s inside contact apparently failed to open it. While Joe waits, you need to locate an alternate route. Move along the left wall to find an open garage door leading to the hotel’s laundry and housekeeping section. Staff may question your presence, but ignore them and proceed rightward through the laundry area toward the previously sealed door where Joe is waiting near staff uniforms.
Collectible Location #1: Before changing into your disguise, locate an isolated office ahead and to your left (when facing away from the parking garage wall). A staff member at a desk will protest, but ignore him and collect the magazine from his desk.
After collecting this item, follow Joe toward the elevators. Mobsters will intercept you and order you to clean a mess near the elevator area. Your disguises prove effective. Take the elevator to the hotel suites, where you’re redirected to clean a bloodier mess in a conference room—which works perfectly for your actual objective.
Planting the Explosive Device
Follow the mobster guiding you to the conference room. Keep moving steadily to avoid recognition from familiar faces on this floor. Once inside the conference room, follow Joe to the window where he cuts through the glass, then watch as he positions the explosive device beneath the table. To maintain your cover, actually clean the blood stain on the floor. Once finished, follow Joe toward a stairwell—but don’t ascend immediately.
Collectible Location #2: When entering the stairwell with Joe (currently the 18th floor), descend to the 17th floor, then continue to the 16th floor where a gate blocks further progress. The magazine you’re seeking is on the ground near this gate.
Rooftop Combat
As you return up the stairwell, you’ll drop the cleaning supplies and race to the rooftop access. Joe finally provides you with a powerful pistol just before you exit. Outside, multiple gangsters occupy the roof. You must reach the window washing platform at the far end, so engaging them is unavoidable. Take cover immediately upon stepping outside.
Despite having only a pistol initially, you should handle the rooftop waves without excessive difficulty. Use cover strategically and let Joe contribute his share of damage—he’s a capable ally. After eliminating the first group, advance through the air conditioning units while dealing with reinforcements on your right. Eventually, ascend stairs to reach the roof’s upper level where additional waves emerge. Patient tactics, proper cover usage, and accurate headshots will see you through to the window washing platform.
Collectible Location #3: Upon reaching the window washing platform, look down before summoning the elevator. The magazine is clearly visible on the platform itself.
Detonation and Pursuit
After collecting the item, summon the elevator using the nearby controls. An actual window washer is working on the platform. After briefly protesting his early dismissal, he complies when confronted with a weapon. Joe suggests restraining him with tape, which Vito does. Use the elevator controls to descend to the appropriate level, where Joe attaches the bomb’s detonator to the fuse placed through the window earlier.
During the cutscene, as Joe and Vito ascend back to the roof, the device detonates prematurely, nearly throwing them from the elevator. They survive and decide to inspect the damage. The conference room is filled with casualties and debris, but Clemente’s body is notably absent—he was in the bathroom during the explosion and survived. He spots you and opens fire while fleeing into the suite hallways. Chase him down immediately.
Fighting Through the Hotel
You regain control in the destroyed conference room. Navigate carefully through the fires (fire damage is significant, especially on harder difficulties) and emerge in the suite’s bar area. Take cover behind the bar and return fire against arriving mobsters with automatic weapons. Stay protected until it’s safe, or you’ll be overwhelmed. When clear, pursue your enemies down the right hallway. Sprinklers activate due to the fires. Your path on the right becomes blocked, forcing you left, but remain cautious—enemies continue appearing as you chase Clemente.
After traversing the water-drenched corridors, you’ll emerge near the elevators used during your initial infiltration. Expect resistance both en route and at the elevator itself. Your opponents carry powerful weapons like shotguns and submachine guns, but eliminating them allows you to replenish ammunition with these same weapon types.
At the elevator, wait for a door to open. The right door reveals only a harmless cleaning staff member—hold your fire. After she escapes, enter the elevator and descend to ground level. Ready your weapon and eliminate the mobster directly ahead when the doors open. Exit left and fight through the laundry area, now filled with enemies. Watch for attackers on catwalks and elevated positions as you advance toward the garage.
The Chase
Arriving at the garage brings grim news: young Marty is slumped against a pillar, fatally shot by Clemente’s men during their escape. Enraged, Joe jumps into a vehicle—follow him. You’ll drive while Joe handles shooting. Two vehicles departed, but focus primarily on Clemente’s car, marked as a red indicator on your display.
With proper driving, this segment largely resolves itself. Stay close to the car trailing Clemente, and Joe will eliminate the gunner, neutralizing that vehicle. Then focus on Clemente’s car, repeating the process with his gunner. Once the gunner is eliminated, pull alongside Clemente’s vehicle to trigger a cutscene where Joe exits and executes Clemente at close range. With Clemente confirmed dead, return to Joe’s apartment to drop him off. Vito is dismissed for failing to understand Joe’s grief over Marty’s death. Head home.
Collectible Location #4: Once back at your house, a previously unavailable magazine can be found. Despite the house’s modest size, it features two bathrooms sharing a common wall. In the master bathroom connected to Vito’s bedroom, find the magazine on the tiled floor in the corner. Collect it now—it won’t be available later.
Late Night Emergency
Examine Vito’s bed to rest, seemingly concluding the chapter. However, another phone call awakens Vito. Answer the kitchen phone to hear from an unknown bartender. He reports that Joe is at his bar, brandishing a weapon and causing disturbances. The bartender wants to avoid trouble and police involvement, requesting that Vito retrieve his friend.
Though irritated by the late-night interruption, Vito appreciates the bartender’s discretion. Get dressed, head to your garage, and drive to the bar—the same location where you stole your first vehicle for Mike’s junkyard earlier. Park outside and enter to trigger a cutscene. The bar is now empty—Joe’s behavior scared everyone away. During their conversation, as the bartender begins closing up, Joe’s distressed state causes him to slam his gun-wielding hand on the table, accidentally discharging the weapon and fatally shooting the bartender.
Cleanup Operation
Vito now faces another major problem: getting the intoxicated Joe home and disposing of the bartender’s body. Handle the body first—drag it through the bar’s back door and place it in the vehicle’s trunk (the same area where you previously stole a car). Follow the on-screen directions to Joe’s residence. A brief scene shows Joe exiting the vehicle. After dropping him off, one final task remains.
From Joe’s apartment, follow new directions to Mike’s junkyard from earlier in the game. Mike isn’t present, but you only need his equipment. Drive past the main structures toward the vehicle crusher. Park your car inside the crusher, then climb the adjacent stairs to activate it. The vehicle is crushed with the bartender’s body inside, effectively concealing Joe’s accidental crime. Though you’ve destroyed your vehicle, you can acquire another from the junkyard and finally drive home. Rest at your residence to finally complete this extensive chapter.
Chapter Eleven – A Friend of Ours
The chapter begins with Vito waking up in his new residence. Unlike previous missions that start with a phone call, this time the doorbell rings instead. Head toward the front entrance, but you’ll need to change clothes first – the game prevents you from opening the door in sleepwear. Stop by the wardrobe and select any outfit before proceeding.
Henry, an acquaintance from earlier in the story, stands outside. He suggests meeting at the old restaurant for drinks, despite the early hour. Accept his invitation and get into his vehicle.
Driving to the Restaurant
Follow the navigation markers to reach the destination. During the drive, an uncomfortable conversation unfolds. Henry previously worked for Clemente’s organization, which has suffered significant losses. He’s seeking new employment opportunities and reveals he knows about Vito and Joe’s involvement in the hotel incident.
Upon arrival, enter the establishment for a cutscene. Henry takes a separate table while Vito speaks with Eddie. When Vito inquires about plans against Clemente’s remaining associates, Eddie reveals there are none. Vito then mentions Henry’s interest in switching allegiances.
Eddie agrees to meet Henry and questions his motivations. Henry provides intelligence that triggers Eddie’s suspicions. To prove his loyalty, Eddie assigns Henry to eliminate Leo, Vito’s former prison associate. Eddie gives Vito the option to sit this one out due to the personal connection, which Vito accepts.
Racing to Save Leo
After the meeting ends, exit quickly and find a vehicle. Time becomes critical here – you must reach Leo’s mansion before Henry arrives. Don’t worry about stealth when taking a car; smash the window and drive as fast as possible toward the marked location.
Maintain high speed as you approach the estate’s outer gate, which you’ll need to crash through. Exit your vehicle immediately and rush through the mansion’s front entrance before the timer expires. Failing this sequence requires restarting.
Inside Leo’s Mansion
Successfully entering triggers a scene where Leo appears on the upper floor balcony with his pistol, initially unaware of who’s breaking in. Vito rushes upstairs and convinces Leo of the immediate danger. Leo agrees to escape but has delayed too long – Henry has arrived.
Escaping the Mansion
This sequence has multiple possible outcomes, but one specific path unlocks an achievement. Move through the door ahead into a well-appointed study, then navigate upward and left twice to reach another door. In this room, you’ll find a basket containing bedding that triggers your escape sequence.
The Escape Sequence
Reaching the bedding basket in time triggers a cutscene where Vito improvises a rope from sheets to descend from the second-floor balcony. Leo goes first, followed by Vito. Meanwhile, Henry searches the upper floor and eventually reaches the veranda, firing shots as the escape vehicle speeds away, but too late. Completing this section successfully unlocks the “Wake Up Call” achievement.
You’ll then control the getaway vehicle. Drive Leo to the train station marked on your navigation. During the journey, Leo expresses gratitude for Vito’s intervention and surprise at the risk taken for him. At the station, Leo departs Empire Bay permanently.
Returning Home
Drive back to your residence – the journey should be uneventful. Approaching your house triggers another cutscene featuring Vito’s sister Frankie crying on the front steps. She reveals her husband Eric has been drinking heavily, behaving abusively, and possibly having an affair. Vito agrees to confront Eric, promising not to harm him despite his anger.
Confronting Eric
Frankie provides an address where Eric typically spends time. Follow the navigation markers to reach a nondescript building entrance. Ascend several floors past intoxicated individuals in the hallways until you see someone stumble out of an apartment, conveniently leaving the door open.
After collecting the magazine, turn left from the entrance into a room where people are dancing and socializing. Continue into the kitchen where you’ll find Eric with another woman. Attempting to get his attention peacefully fails, forcing Vito to use a bottle from the counter. This leads to a fistfight that you must win. After defeating Eric, Vito threatens him regarding future treatment of Frankie and leaves.
The House Fire
Return home following the navigation markers. Inside, answer the ringing phone – it’s Frankie, concerned about Eric’s injuries. Vito deflects, suggesting Eric got into a fight with his associates. Frankie asks Vito to leave Eric alone now that he’s apologized, and Vito agrees with the condition that future abuse means death. This angers Frankie, who tells Vito to stay away from both of them.
Head to your bedroom to sleep, but vehicles soon screech to a halt outside. The Irish gang from earlier chapters has returned for revenge, throwing firebombs through your windows. When you regain control in the burning room, avoid the living room door. Instead, go through the master bathroom and jump out the window into the backyard.
Run toward the river and left while the attackers shoot at you. Keep moving to avoid damage. Reach the street, steal a vehicle, and drive to Joe’s apartment shown on your navigation.
Joe’s Apartment
Enter the building and climb to the third floor. Ring the doorbell three times before Joe answers, surprised to see you in underwear. His apartment has been dramatically redecorated with his recent earnings. After offering a drink, Joe agrees to retaliate against the Irish gang and offers Vito clothes from his dresser.
The Irish Pub Confrontation
Once dressed, head outside to the new vehicle in Joe’s open garage. Drive to the Irish pub marked on your navigation. Inside, you’ll spot three Irishmen talking. After a brief exchange, they scatter and combat begins. Take cover immediately behind the nearest booth.
Approximately six enemies need eliminating, including the bartender. Some carry powerful weapons like Magnums and MP-44s, so maintain cover and pick them off methodically. Joe fights alongside you as an ally. Collect the powerful weapons from fallen enemies.
Final Chase
Move down the hallway on the left side and exit through a door into the parking lot. The last Irish gang member flees in a vehicle. Chase him in a nearby car – Joe’s gunfire will eventually force him to abandon his vehicle and flee on foot. Run him down to complete the elimination. This unlocks the “End of the Rainbow” achievement.
Mission Conclusion
Drive Joe back to his apartment. Vito asks to stay with Joe temporarily since his house burned down along with his belongings and money, but Joe offers Marty’s old apartment instead. Vito accepts. After dropping off Joe, drive to this new location – a filthy, run-down space. Rest in the bed to conclude the chapter.
Chapter Twelve – Sea Gif
You’ll begin this mission in a bit of a rolling start. As things unfold, Vito will talk as the narrator, getting the gamer caught up with what’s been going on. He’s been staying at Marty’s old, disheveled place for some time, and slowly getting back on his feet. Walk around the apartment until Vito is done talking, at which point the phone will ring. Get dressed, and then answer the phone. Henry tells you to meet him somewhere nearby, and to bring your gun. Obviously, you’re going to want to get in on whatever he’s got cooking, so scurry out of the apartment hereafter to get things going.
Because you’re staying at Marty’s place, and not one of the better-equipped locales you were previously accustomed to, you’re going to have to scout out a car on the street, or take the one you drove to this location in the first place. The latter is probably your better option, since you can get a fresh, clean car that will serve you well from here on out through this chapter. When you acquire a car of your choice (alluding the cops, of course), simply follow the GPS directions on your HUD. This will bring you to the park where Henry and Joe are waiting for you, so you can finally learn what these two gangsters have brewing.
So here’s the rub. During this rather lengthy cutscene, Henry will approach Vito, along with Joe, with an offer. Though it’s widely looked down upon amongst the families — your own included — Henry has a plan that can make everyone a lot of money rather quickly. It’s a risky endeavor, but one that he tries to convince Joe and Vito on in anycase. Basically, Henry wants Joe’s and Vito’s help to import heroin, which these guys will then work to distribute through some people he already has lined up. It’s true that the risk is high, but the payoff is extremely high, too. The danger is thick because families are already illicitly competing in the drug trade, but all Henry is interested in is taking their business. It’s convoluted, but Henry wants this plan to go forward, and everyone eventually (albeit reluctantly) agrees.
Your first stop has to be at a man named Bruno’s. Bruno is a loan shark, and he’ll have the money necessary to get things going, as far as having the appropriate funds to front to purchase the drugs. You’ll need to have a car that can accompany both Henry and Joe, but that shouldn’t be a problem. Once you’re in your vehicle, your GPS directions on your HUD will, as always, get you to your destination easily. En route, Henry will explain a bit about Bruno, but not much. All you need to know about Bruno is that he’s one of the few people in all of Empire Bay that has the money necessary to finance your drug deal.
When you arrive in front of Bruno’s building, you’ll need to get out of your car and work your way to the back end of the building. Approach the door there, and a cutscene will finally ensue. After knocking on the heavily-fortified door, Bruno’s goons will let you in, force you all to leave your weapons at the entrance, and search you. You’ll then gain audience with Bruno himself. Henry will let Bruno know that they need $35,000. After a lot of haggling, Bruno agrees to lend the necessary funds for a $20,000 rip. He needs all $55,000 back by that Friday, with a $10,000 a week penalty if he’s late. All sides then agree, and a suitcase full of twenty dollar bills is then forked over. It’s time to get down to business.
With your money in hand, there’s nothing left to do but to leave Bruno’s and head over to the warehouse where the next phase of your drug deal will take place. You guessed it — your GPS directions on your HUD will get you to your location effortlessly — but sit tight, because this is a bit of a long drive. Indeed, as you go along, you’ll get to hear a rather interesting series of conversations between Henry, Joe and Vito, so listen to what they all have to say to more quickly pass the time. When you arrive at the warehouse in question, drive through the gates and park your car. You should see a Chinese gangster nearby that you are to follow.
Walk down the hallway and follow Henry’s advice when you reach the closed door. Open it and run down the small corridor to the open warehouse ahead. You should find yourself on a podium with a view of the warehouse on the floor below. Be sure to hide here behind real boxes and boxes, and not behind wooden railings surrounding the podium. The latter may turn out to be a fatal mistake, because machine guns will destroy these barriers, and with them, you yourself.
When you finally work your way down the catwalk to the far end of the warehouse, you’ll find a staircase leading down to the ground floor. Here, you’ll find a labyrinthine layout of crates, boxes and other cover for you to use. If you were thorough in killing as many foes as possible from the catwalk, then you’ll have less enemies to deal with initially once on ground level. Either way, progress slowly, taking one enemy at a time. Don’t over-extend yourself here, because enemies will pour into the warehouse once you get close enough to the exit. Be sure to pick up stray weapons on the ground to replenish your own stash of ammunition, and work towards exit of the warehouse, where you’ll finally be able to make your escape.
Regrettably, in addition to the reinforcements you’ll have to kill at the entrance, more enemies will show up outside once you’ve made your way back to the parking lot. Thankfully, you should be able to tear them to pieces with automatic weapons since they’ll be getting out of the car in bunches, making them easy targets (you should even be able to detonate one of their cars, eliminating any stragglers). Once all is calm outside, jump in one of the remaining vehicles and begin to follow the GPS directions on your HUD to reach a warehouse on the far end of the city. En route, a couple of cars full of goons will pursue you, but as you’ll find out, you should be able to lose them fairly easily. Bob and weave through traffic while relying on Joe and Henry to shoot at their cars, and you should be well ahead of your threat about halfway through your route to the warehouse. You’re now essentially home free.
When you finally reach the predetermined point on your map, you’re just about done. A series of cutscenes will ensue that will show you the end of the chapter, which, believe it or not, is successful for Vito and his friends. Henry has decided to sell the drugs to multiple buyers in order to maximize profits, and in the whirlwind cutscenes that take place, you’ll see them raking in the dough from all sorts of illicit groups and miscreants. At the end of the day, the boys are a little bit richer, and all has gone according to plan. But this has to be too good to be true… right?
Chapter Thirteen – Exit the Dragon
The thirteenth chapter of Mafia II opens with Vito and Joe celebrating their recent success in Joe’s upgraded apartment. The party atmosphere quickly shifts when Henry calls with urgent news—Carlo has discovered their unauthorized drug deal and demands his share.
Getting Started
After the opening scene, you’ll take control of Vito. Answer the ringing phone to receive Henry’s disturbing message. Get dressed, inform Joe about the situation, and head to your vehicle in the garage. Follow the navigation markers to reach the park while the duo discusses the severity of their predicament.
The Park Confrontation
Upon arrival, you’ll witness a violent scene. Henry is being attacked by assailants with bladed weapons. Though you cannot save him, you must engage his attackers immediately. Draw your weapon and eliminate the threats quickly. Joe provides solid backup during this encounter.
After the fight concludes, you’ll spot the drug dealer driving past—clearly involved in Henry’s murder. The chase begins.
Tailing the Suspect
This pursuit requires patience rather than aggression. Maintain a moderate distance from the target vehicle—close enough to maintain visual contact but far enough to avoid detection. The target appears as a red marker on your display. Stay within the acceptable range to avoid mission failure. Rush the pursuit, and you’ll need to restart.
Storming the Restaurant
The dealer parks outside a nightclub and enters. Despite Vito’s suggestion to plan carefully, Joe insists on immediate action. He mentions visiting Harry’s surplus store for weapons, though this is optional—you should have adequate firepower by this point, and more will become available from defeated enemies inside.
Ground Floor Battle
Take cover behind the damaged aquarium near the entrance. Prioritize the bartender first, as his shotgun poses the greatest threat. Systematically eliminate enemies on the ground level and the overhead walkway. Once the area clears, move to the bar for better positioning against remaining hostiles on the opposite catwalk and staircase.
Important: Search fallen enemies for ammunition and weapons. Proceed upstairs only when certain it’s safe.
Second Floor Tactics
Continue around the catwalk to trigger enemy reinforcements on the ground floor. Take cover behind solid pillars (not railings) and engage from above rather than descending. Return downstairs once clear and follow Joe to an ornate door leading to the kitchen.
Kitchen Combat
Use the counter for cover and engage enemies throughout the kitchen. Opponents hiding behind shelves remain vulnerable—target exposed body parts through gaps. Advance leftward into narrow corridors where a shotgun proves most effective. Fire through doors before entering to reduce enemy numbers.
Outdoor Section and Worship Area
Take cover by the exterior stairs and eliminate the lone enemy on the elevated walkway. Proceed upward safely and pass through the dimly lit religious space. Resistance here is minimal. Continue through the area with incapacitated individuals until you locate the basement elevator.
Basement Operations
Joe emphasizes stealth here. Quietly eliminate the first guard, then follow him into the illuminated workspace. You can silently dispatch one or two more enemies, but open combat becomes inevitable. Use available cover carefully as you advance. Watch for reinforcements arriving via the far elevator.
Final Confrontation
Take the elevator down another level and proceed along the corridor. You’ll discover the Chinese gang leader alone in his office. He reveals critical information—Henry was working as a federal informant. The gang leader refuses to disclose the money’s location, resulting in Joe taking decisive action.
Escape Route
Backtrack through the elevator and workshop. A previously locked door (near where you found the third collectible) now provides access. Climb the stairs to emerge in an alley where police have established a perimeter.
Quickly eliminate nearby officers and commandeer a patrol vehicle before backup arrives. Drive to Joe’s apartment, which is conveniently close. After arriving, the pair agrees to focus on recovering Bruno’s money. Joe heads inside while Vito remains outside, concluding the chapter.
Chapter Fourteen – Stairway to Heaven
The fourteenth chapter of Mafia II opens without fanfare. Vito awakens in his modest apartment, and the phone rings almost instantly. Joe’s on the line with a money-making opportunity, which Vito accepts without hesitation. After a brief exchange, you’ll need to dress Vito and head outside where Joe waits beside an impressive vehicle.
The Contract Killing
During the drive, Joe reveals the details. You’re tasked with eliminating a government informant who testified against a crime family from another city. The job pays well, and both men desperately need cash to repay Bruno. Critical reminder: maintain your vehicle’s condition throughout this section, as excessive damage results in automatic failure.
Upon arriving at a suburban location, you’ll witness an elderly man tending his lawn. The confrontation unfolds quickly—the target is eliminated, but complications arise. A police officer witnesses the crime, and federal agents protecting the informant immediately give chase.
The federal pursuers appear differently on your interface than standard police, but losing them proves straightforward in your high-performance vehicle. Execute evasive maneuvers, then deliver Joe to the designated map location. You’re now working independently to raise your portion of Bruno’s payment.
Return to the Docks
Head to the waterfront where Derek and Steve operate—two characters from earlier gameplay. Consider repairing your vehicle and changing clothes if law enforcement remains active. Inside the second-floor office, Derek offers a thousand-dollar job: intimidating dock workers who threaten to strike.
The situation transforms dramatically as you descend to the warehouse. The workers simply want their injured colleague reinstated—Derek terminated him after a workplace injury forced a week’s absence. Recognition strikes when a worker identifies Vito, whose father labored at these docks for years. A shocking revelation emerges: Derek and Steve murdered Vito’s father. Vito immediately sides with the armed dock workers.
The Warehouse Battle
This firefight ranks among the game’s most challenging encounters, particularly on higher difficulty settings. Initially, the dock workers provide assistance. Move left from the warehouse, eliminating stationary enemies before they react. Take cover behind crates and engage enemies methodically. Steve fights alongside his thugs outside and can be eliminated here. Derek remains inside.
Reinforcements arrive by vehicle as you advance toward Derek’s office. Prioritize targets exiting the car—careful aim allows eliminating two or three before they reach cover. Clear the catwalk enemy to prevent complications. A lone guard protects the warehouse entrance; eliminate him from distance, then thoroughly check ammunition supplies before entering.
Inside the warehouse, the door seals behind you. Move left immediately, using boxes and metal pillars for protection. Derek’s group throws Molotov cocktails, so retreat from boxes when they ignite—the flames cause damage. Maintain distance while using cover.
Enemies rush from ahead; neutralize them quickly. Target the catwalk guard on the right to secure that angle. Derek moves between cover positions on the catwalk—engage him while monitoring the left stairway where additional enemies descend. After eliminating Derek and stairway threats, handle remaining hostiles from the warehouse’s far side. Exercise patience during this final phase—premature exposure forces complete section repetition.
Derek’s office upstairs contains over $20,000. While substantial, you require approximately $28,000 total before progressing.
Earning Additional Funds
Two primary options exist for raising the remaining money:
Mike’s Junkyard: Scrap vehicles for straightforward, safe income.
Store Robberies: Higher risk encounters yielding variable rewards.
Choose based on your preferred gameplay style and achievement objectives. The game notifies you upon reaching the required amount.
Searching for Joe
Proceed to Joe’s apartment following your fundraising. Vito knocks unsuccessfully—Joe’s absent. Eddie at a nearby restaurant lacks information about Joe’s location but mentions the family’s troubles involving drug operations and murders. Despite Vito’s involvement, he denies everything to Eddie.
Giuseppe’s establishment provides the breakthrough. Joe arrived seeking work but was forcibly removed by unknown assailants. Giuseppe suspects a rival family’s restaurant. With no alternatives, Vito investigates personally.
The Restaurant Confrontation
Drive to the restaurant following map directions. Upon entering, Vinci’s men intercept Vito. Despite arriving unarmed and peacefully, words prove insufficient. After brutal treatment, Vito awakens bound on the rooftop beside Joe, who appears severely beaten.
Vinci interrogates them about recent criminal activities, but both remain silent. They coordinate movements to break free from their restraints. Joe attacks a guard while Vito recovers. You now control Vito during the escape.
Fighting Through the Building
Initially, stealth proves viable with holstered weapons—eliminate isolated enemies quietly. However, full combat becomes inevitable. Adequate cover exists throughout, and enemies lack superior armament.
After clearing the starting floor, descend the stairwell. Multiple pathways lead to another stairwell at the floor’s opposite end, though all routes converge. Rely on standard combat tactics: use cover, return fire strategically, and don’t rush. Joe provides capable support as an NPC companion.
Before descending further, ensure all enemies on the current floor are eliminated—otherwise, stairwell flanking occurs with deadly consequences. Descend cautiously. After several floors, expect lone enemies at corners. Limited cover necessitates accurate shooting and quick reactions. Collect dropped weapons, including a magnum.
Eventually, flames block a doorway on your right. Ignore the bottom floor—nothing useful exists there. Instead, climb over construction materials beside the blocked door to access the adjacent room. Navigate to the floor’s diagonal corner, following the game’s guidance toward descending stairs. Collect grenades from a crate near these stairs.
The Lobby Finale
The chapter’s final confrontation occurs in the building’s main lobby. From a balcony, enemies engage from the opposite balcony and ground floor. Additional hostiles ascend stairs to your right, creating crossfire.
Maintain position at the balcony’s rear initially, focusing on the six enemies across the lobby. Their elimination allows safer advancement to edge pillars where ground-floor targets become accessible. Constantly monitor your right flank—at least two aggressive enemies attempt close-range attacks via the stairs. Wait for Joe to descend before following; his movement signals the lobby is nearly secure.
Joe eliminates the final surrendering enemy, then heads toward the entrance. Outside, Joe’s deteriorated condition becomes apparent—captivity has severely impacted his health. He requires medical attention from the illicit doctor who previously treated Henry. Follow map directions to the hillside residence where the doctor accepts Joe. He warns both men about their unsustainable lifestyle—a message that clearly affects Vito.
Settling Debts
Your final task involves delivering Bruno’s payment. Both you and Joe raised sufficient funds; Joe leaves his portion with Vito before entering the doctor’s care. Navigate to Bruno’s office following updated directions.
Bruno accepts payment satisfactorily but reveals he previously dealt with Vito’s father in another defaulted loan. Vito wisely remains silent before such a powerful figure. With the debt resolved, one major concern disappears. However, multiple families and gangs continue seeking both men’s deaths.
Chapter Fifteen – Per Aspera Ad Astra
The final chapter opens exactly as the game began, with Vito at his desk in darkness, surrounded by memories. A drink in one hand and a cigarette in the other, he flips through an old photo album. The weight of his choices hangs heavy as 1951 unfolds before him.
The Wake-Up Call
Your morning starts abruptly with a phone ringing. This time, answering triggers an immediate cutscene rather than standard gameplay. After the conversation ends, get dressed and head downstairs into the pouring rain.
Your ride arrives quickly, but the passengers inside are unexpected. Leo sits alongside Mr. Chu, the Chinese gang leader whose men you recently killed. The tension is palpable.
A Final Ultimatum
Leo delivers grim news: rival gangs have united against you, demanding your death. The Commission and Mr. Chu both want you eliminated. However, Leo has negotiated one last chance for survival.
Your task is simple but deadly: kill Carlo yourself. Success means you live. Failure means death.
Accept the terms and prepare for what’s coming.
Preparing for the Observatory
After being dropped off, you’ll need to drive to the observatory where Carlo has barricaded himself. Take any vehicle you prefer and drive at your own pace.
Weapon Preparation:
You can visit weapon shops to stock up
However, you’ll find plenty of weapons during the mission
Choose based on your comfort level and playstyle
Breaching the Perimeter
Arrive at the designated location outside the observatory. Carlo’s guards will demand your weapon. Vito’s response comes in the form of gunfire, and the assault begins immediately.
Initial Courtyard Battle
The opening firefight requires careful positioning. Rush to the large concrete planter in the courtyard’s center as soon as combat starts. This structure provides crucial cover from the machine gun fire coming down the stairs ahead and to your right.
Combat Tips:
Use automatic weapons to fire down the staircase quickly
Watch for flanking enemies approaching from the right
Prioritize threats near your cover position
Eliminate at least half a dozen initial attackers
Ascending the Observatory
Once the courtyard clears, advance up the stairs where enemies previously attacked from. You’ll find yourself on a circular pathway wrapping around the main building’s exterior.
Don’t rush forward recklessly. Keep your weapon ready and engage enemies in small groups. Progress methodically around the building’s circumference, using available cover while staying aggressive enough to prevent enemy advances.
Interior Confrontation
Enter the observatory building and approach the stairwell ahead cautiously. Take cover behind the near wall before fully entering, as enemies will attack from multiple angles.
Priority Targets:
Enemy hiding along your cover wall
Foes on the stairs above
Attackers on the upper balcony
Sniper in the skylight overhead
Clear all threats before ascending the stairs. Turn left into the next stairwell to eventually reach the exterior again.
Rooftop Engagement
Don’t emerge onto the roof carelessly. Several enemies hide behind planters ahead, and you won’t reach cover in time if you rush out.
Stay in the stairwell doorway and use it for protection while thinning enemy numbers. Once clear, advance to the first planter and eliminate reinforcements rushing from ahead and to the right. This engagement is manageable if you maintain defensive positioning.
After clearing the roof, locate the glowing door at the far end. Before entering, explore the area near the door for any remaining supplies.
The Telescope Room
Enter through the glowing door into a small, circular chamber. You’ll notice staircases leading both up and down. Ignore the upward path, as it leads nowhere useful.
Descend the lower staircase with weapons drawn. An enemy will charge up toward you immediately, so be ready to engage. After eliminating this threat, advance to the next room cautiously.
Display Room Combat
Take cover behind walls leading into the long gallery filled with display cases. Carlo’s remaining forces make their final stand here. Use the wall for initial cover, then advance using the low display cases for protection as you push forward.
Key Areas to Watch:
Nooks left and right of central displays
Corners where enemies frequently hide
The circular structure in the adjacent room
Guards near the green door on your right
Draw out enemies by advancing slowly, then retreat to cover and pick them off systematically. When only stragglers remain, push aggressively toward the green door leading to the planetarium.
The Planetarium Showdown
Entering through the green doors triggers the final confrontation cutscene. Carlo waits with his last remaining guards. As he taunts Vito about his inevitable death, Joe arrives unexpectedly.
Joe holds a magnum to Vito’s head initially, creating a moment of doubt. But when Carlo orders Joe to execute Vito, the old friends instead turn their weapons on Carlo together. The final battle begins.
Final Combat Strategy
This encounter is less difficult than it appears. Start by engaging nearby enemies among the planetarium seats, then retreat to the room’s outer edge for better protection.
Winning Approach:
Let Joe provide covering fire while you eliminate threats
Work methodically around the circular room
Your primary target is Carlo at the central console
Clear surrounding enemies before focusing on Carlo
Don’t rush the center until most threats are neutralized
The fight concludes once Carlo falls, regardless of remaining enemies. However, eliminating most guards first prevents overwhelming crossfire.
Victory and Aftermath
After Carlo’s defeat, a final cutscene plays out. The mortally wounded crime boss continues his provocations from the ground. Vito reflects that he’s killed for everyone else throughout his criminal career, but this death is personal. He delivers the final shot, ending Carlo and concluding the game’s combat missions.
Before leaving the planetarium with Joe, thoroughly search the central console area where Carlo fought from. Ensure you’ve collected all items and haven’t missed anything important.
Follow Joe outside to witness the game’s bittersweet conclusion.
Published
Modified
nikreg1607
Nik Reg
Game Guide Author & Barista
Barista by day and a gamer by night. While mastering the art of brewing the perfect espresso, he also spends his time exploring virtual worlds, testing strategies, and figuring out the most efficient ways to overcome tough moments in games. He enjoys breaking down game mechanics, discovering hidden tricks, and sharing helpful tips with other players.
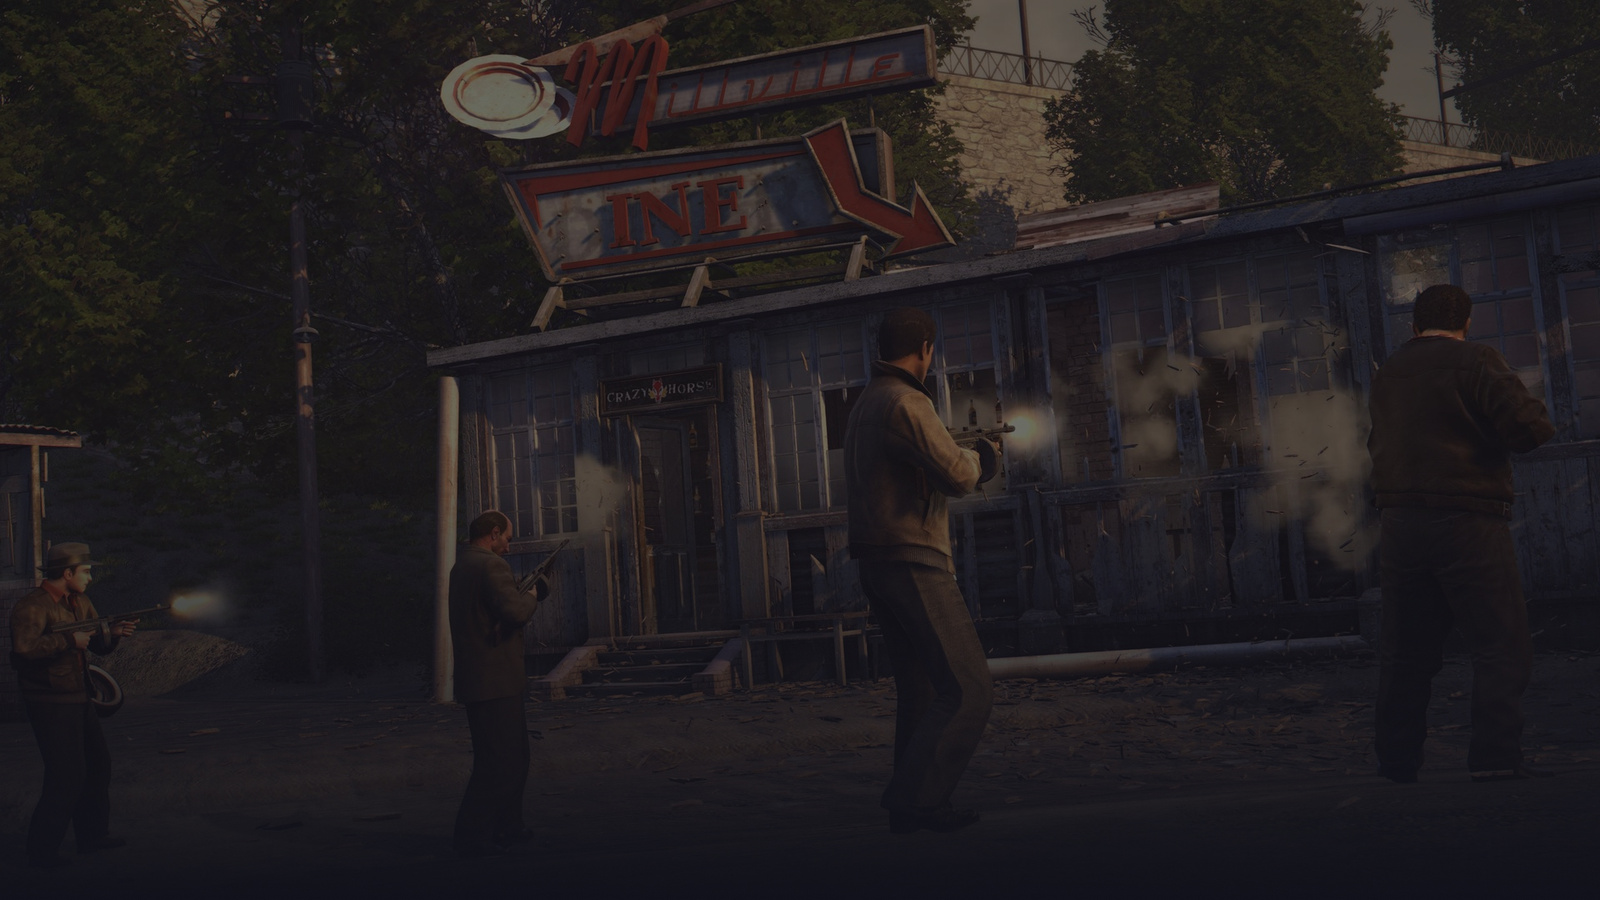
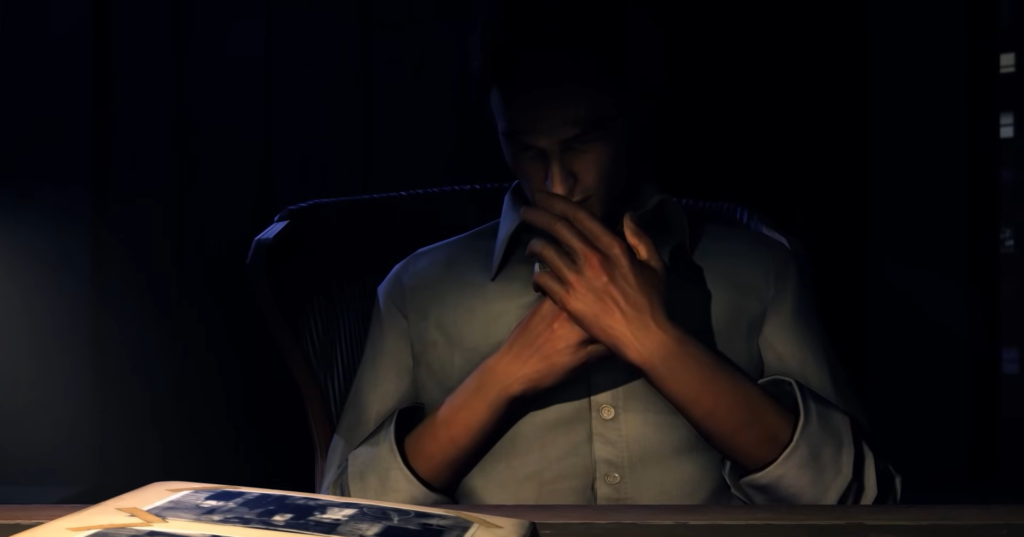
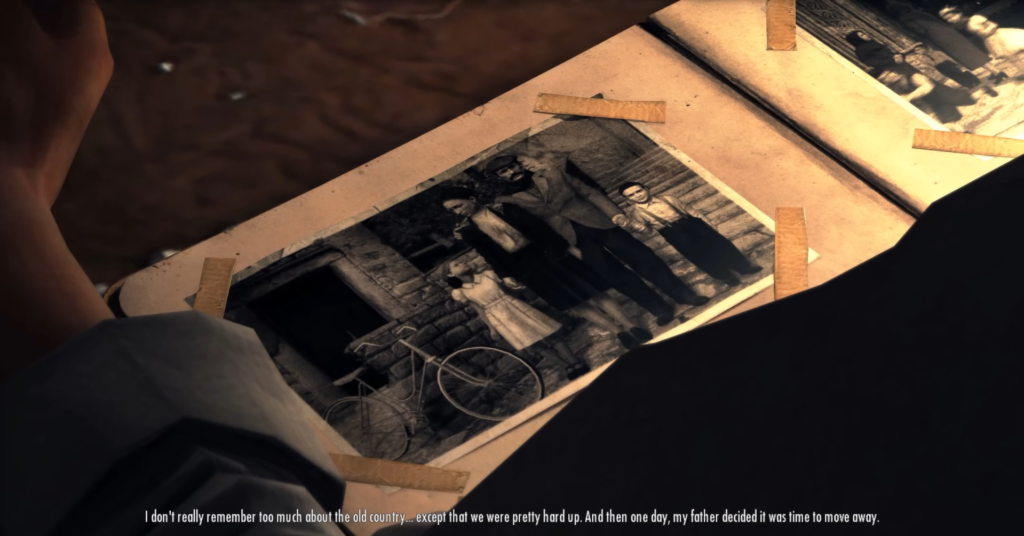
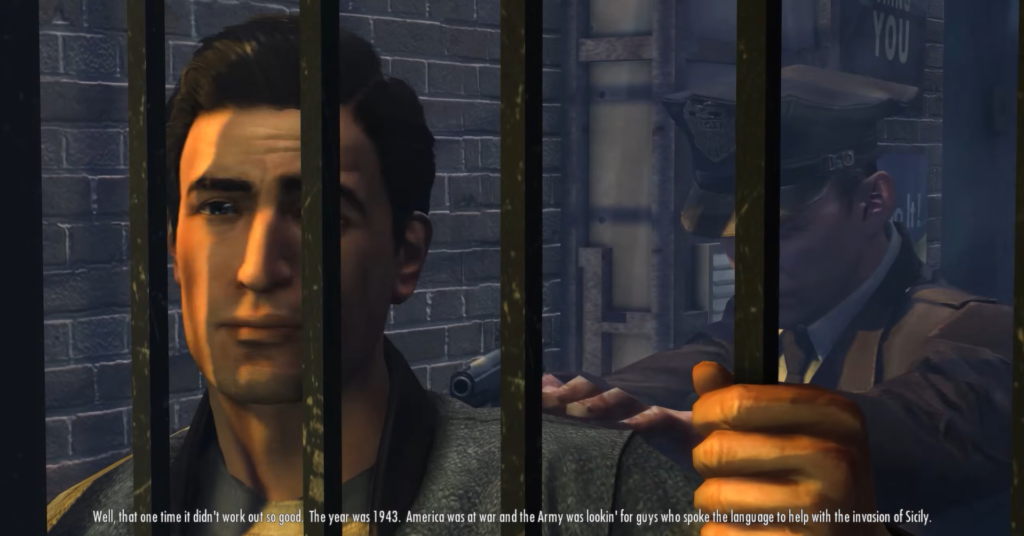

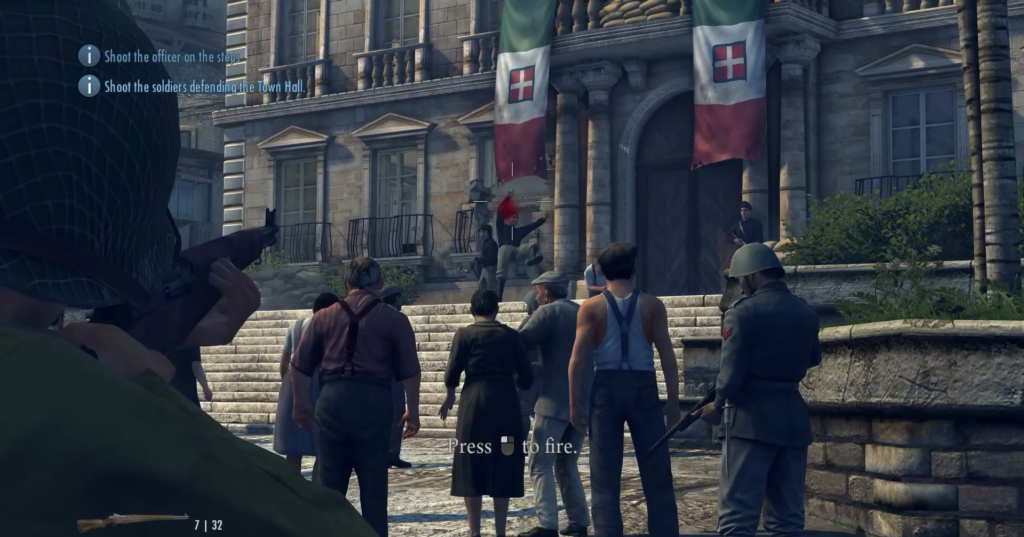
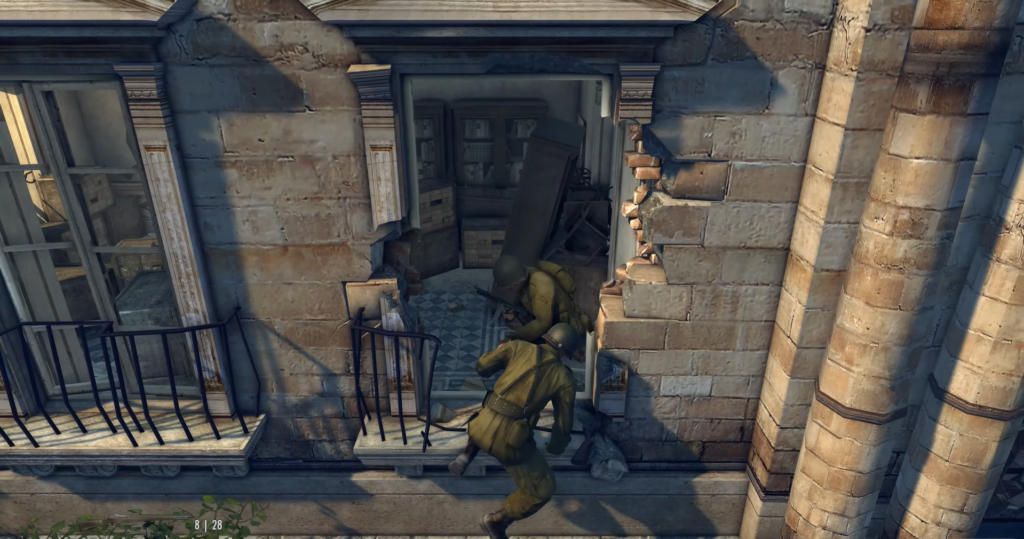
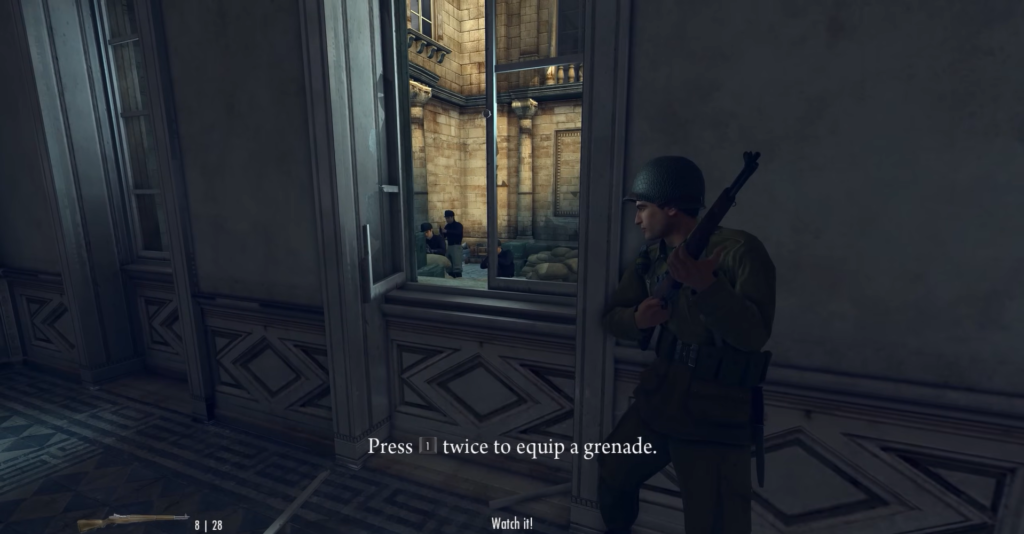
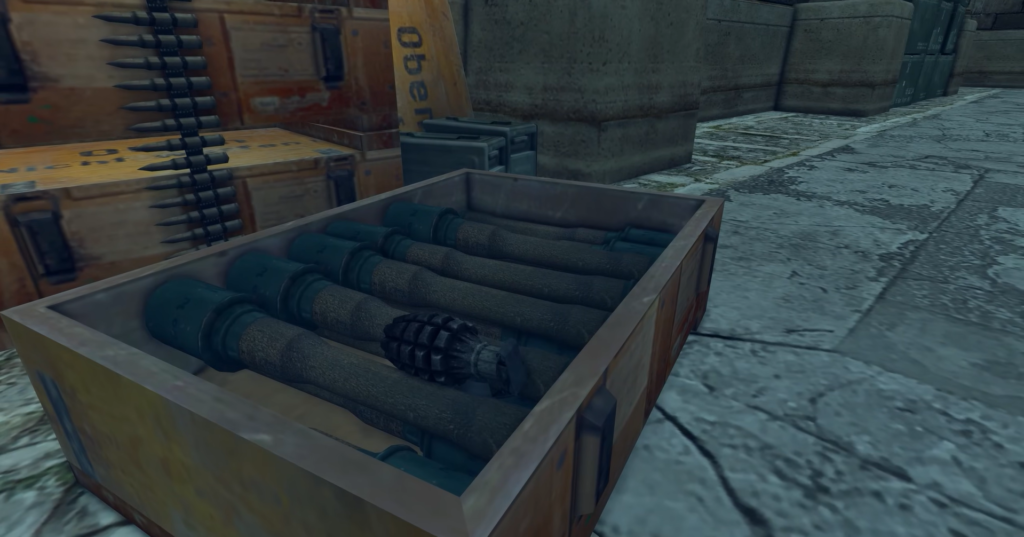
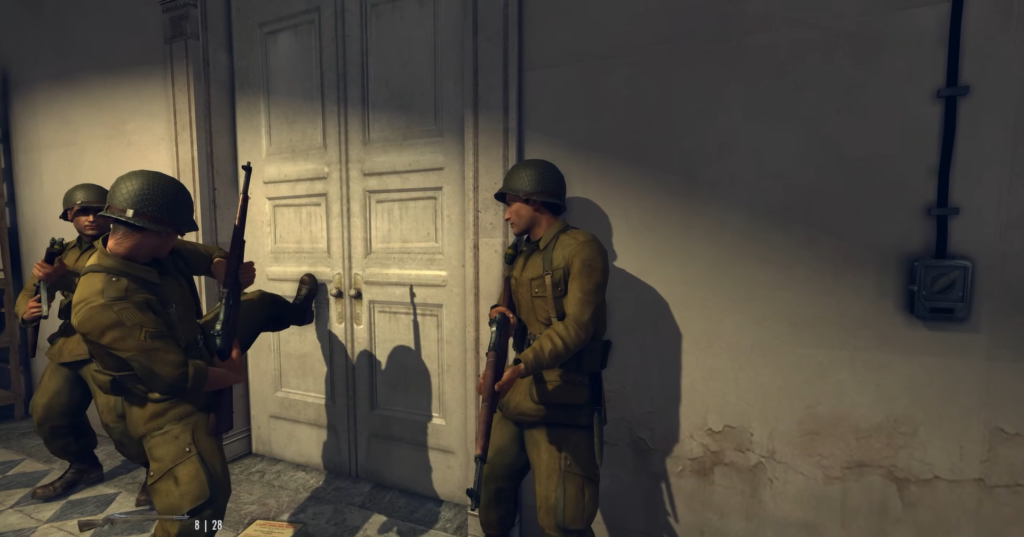
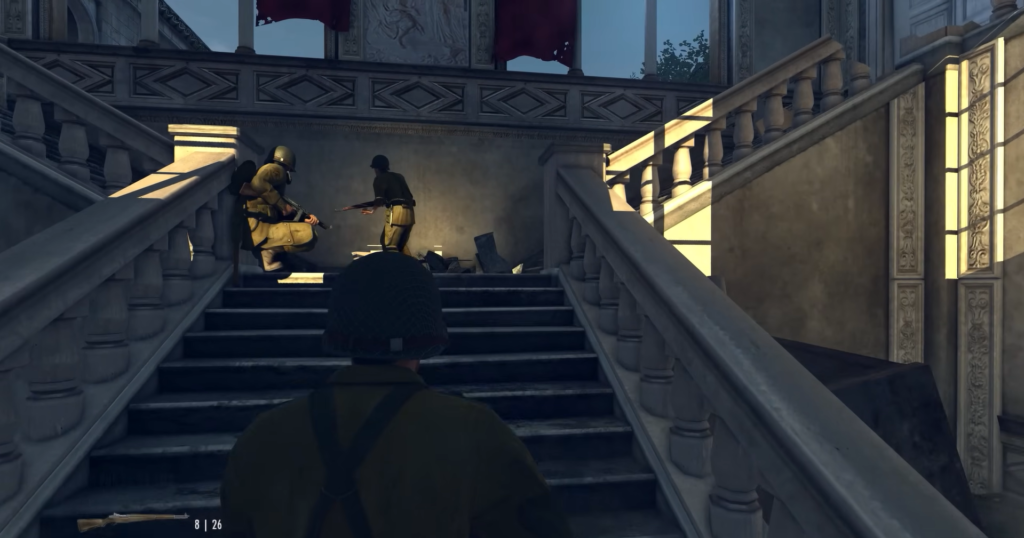
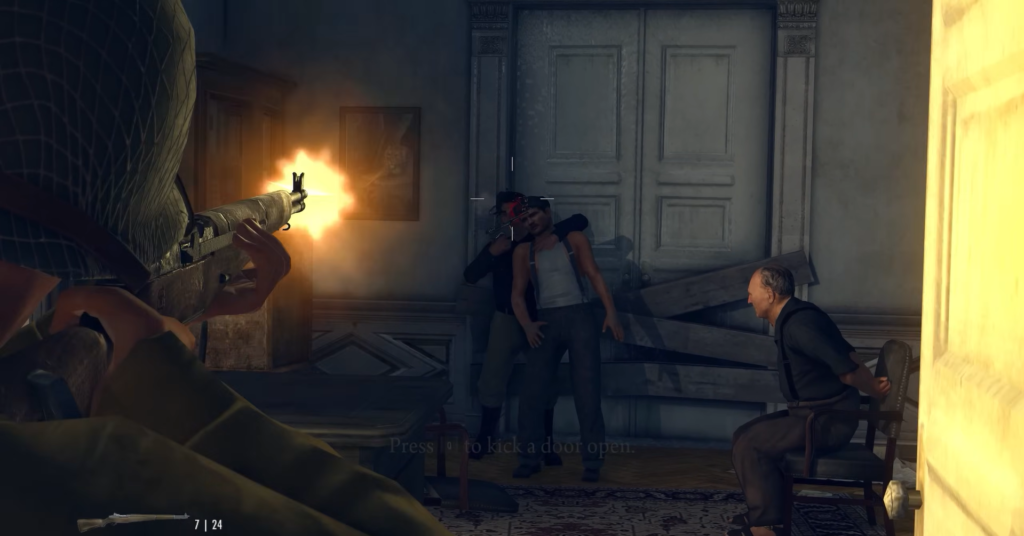
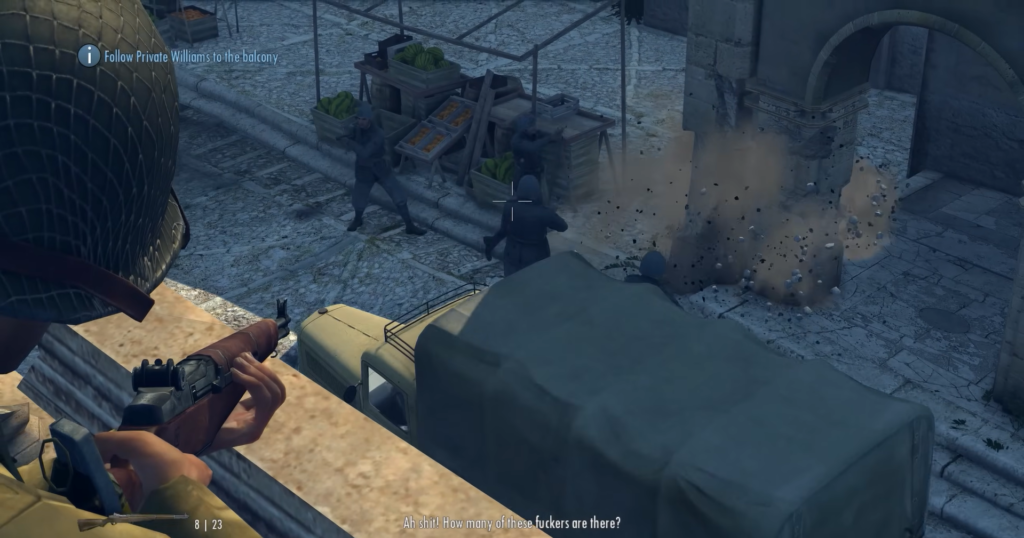
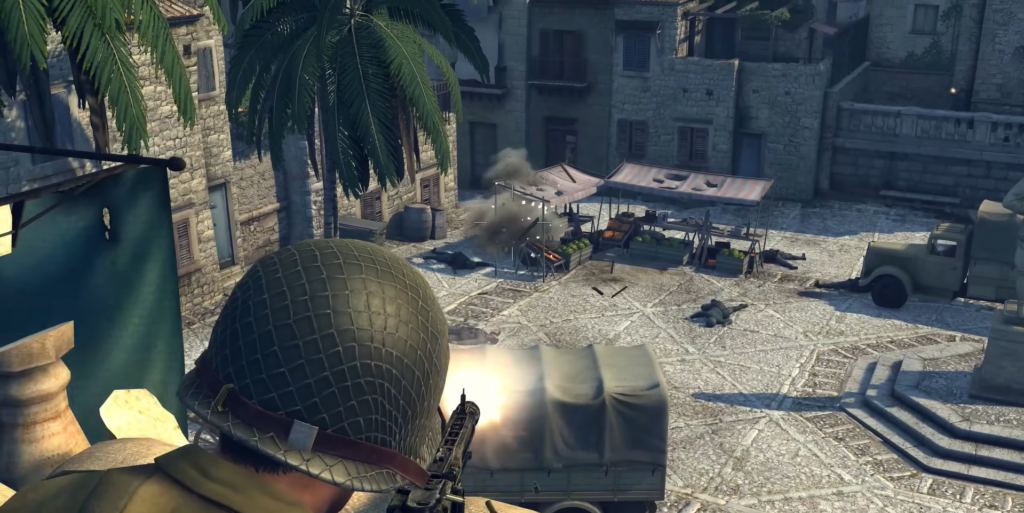
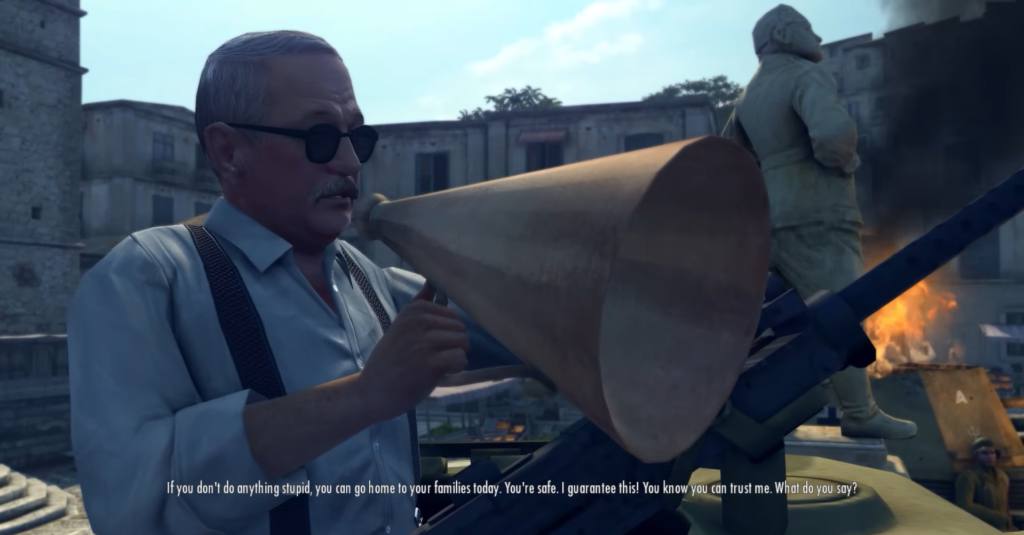
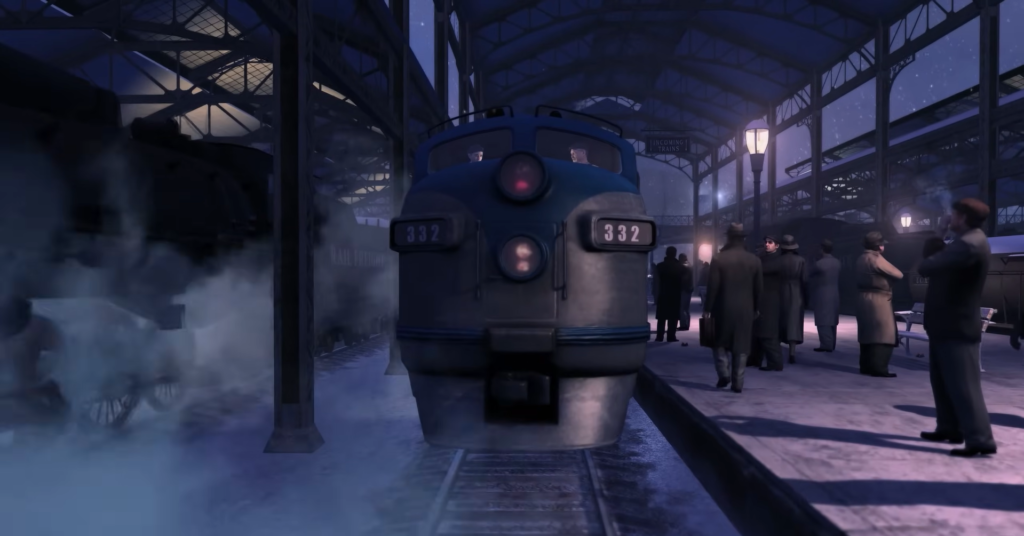
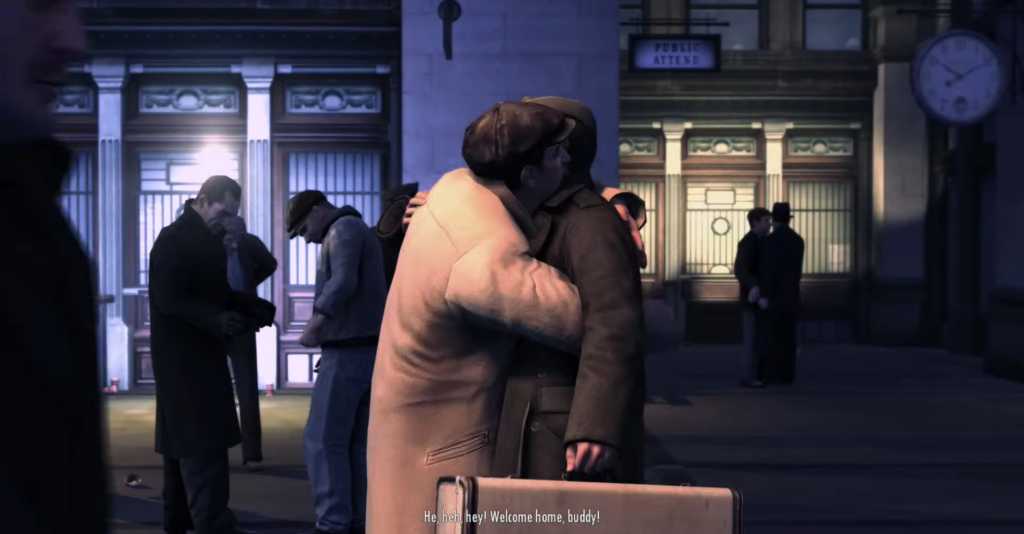
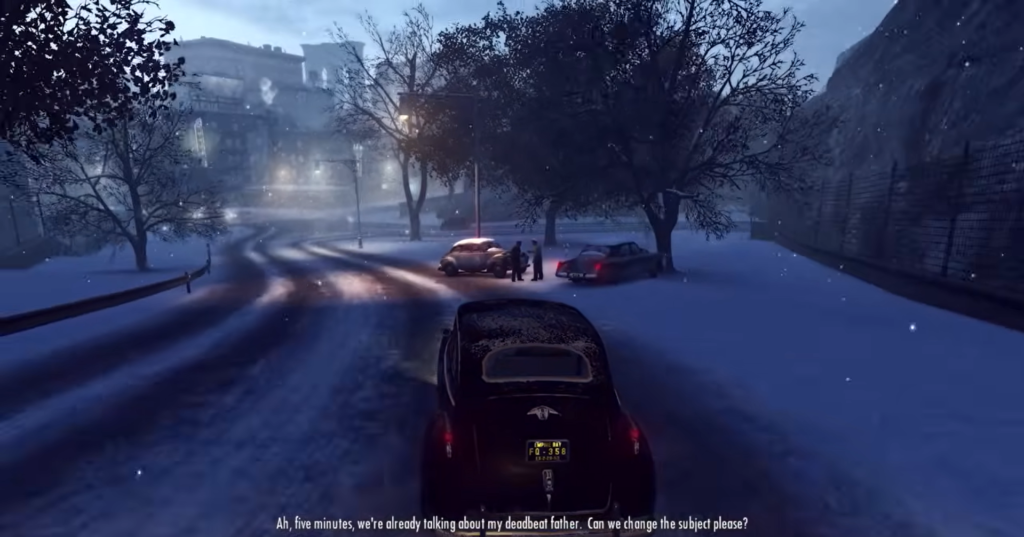
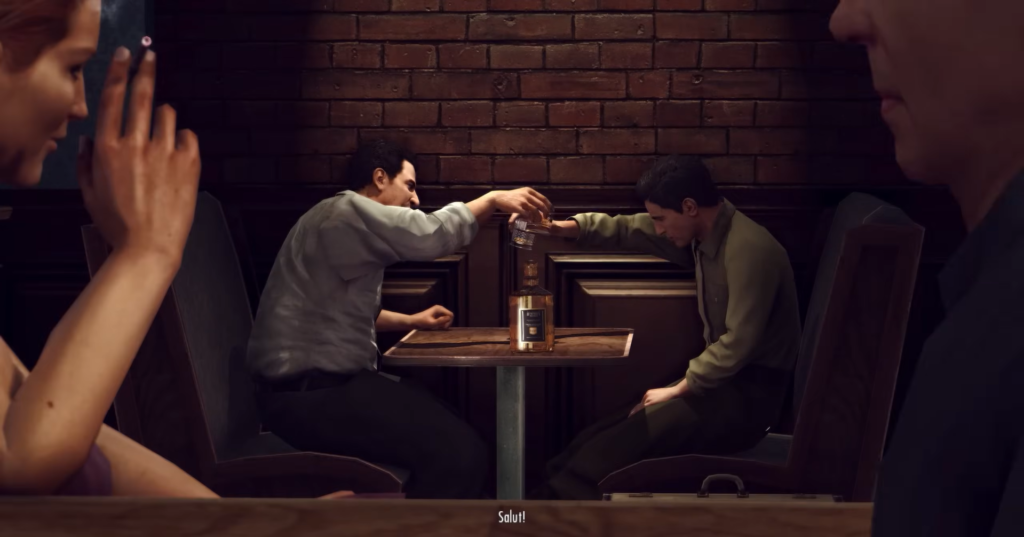
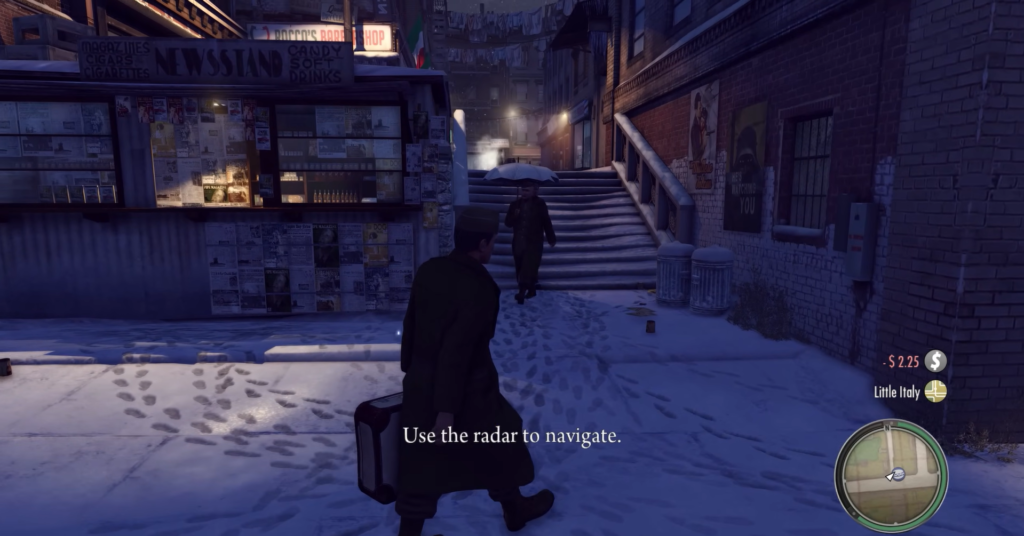
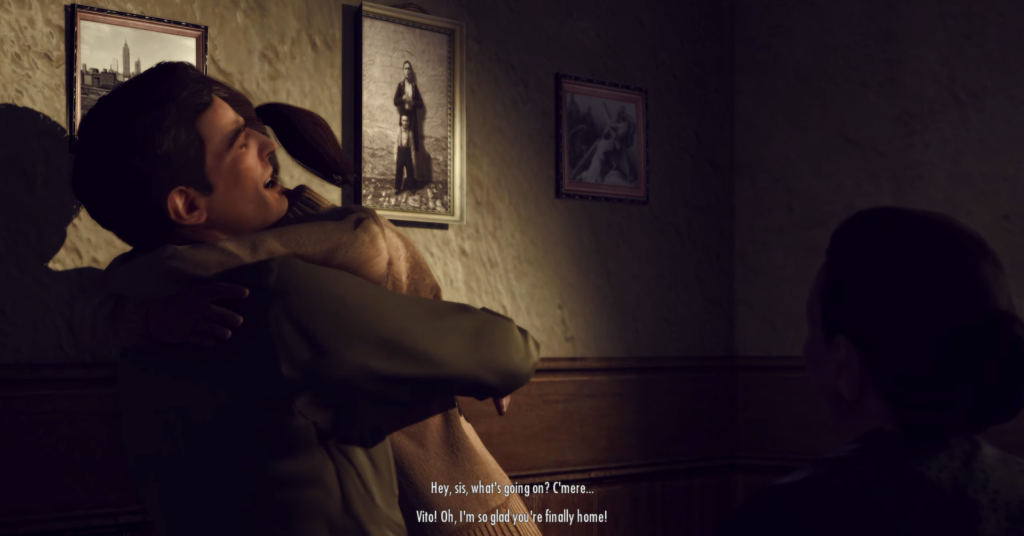
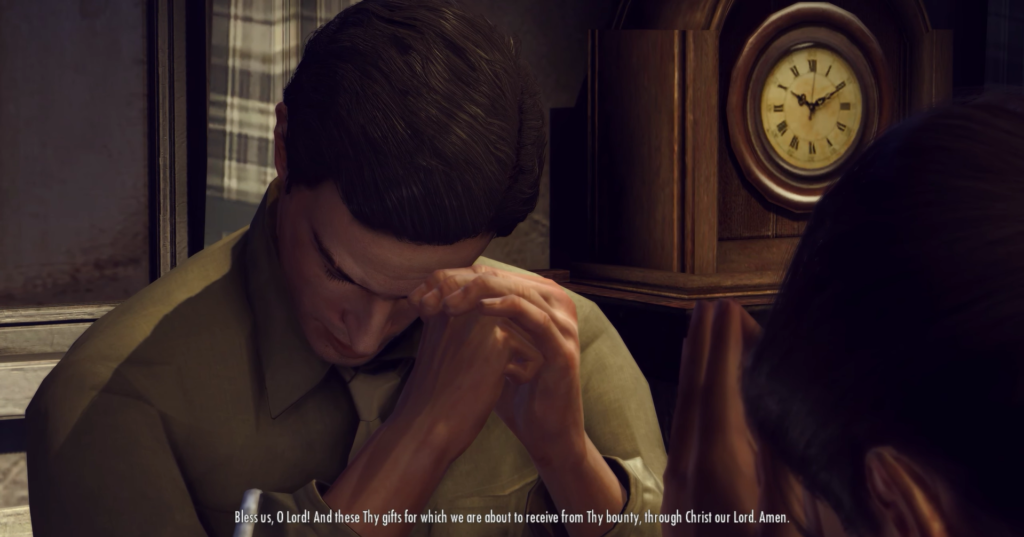
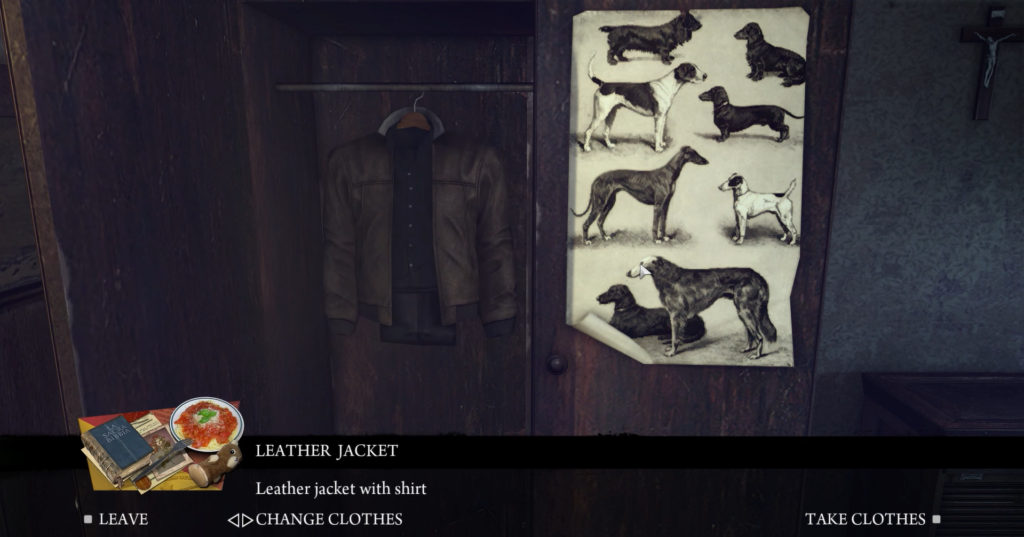
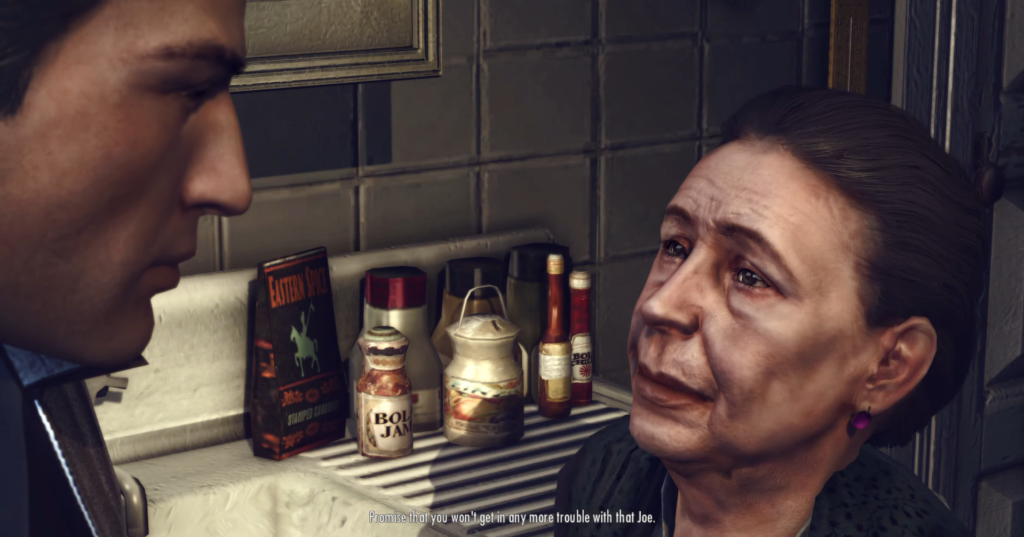
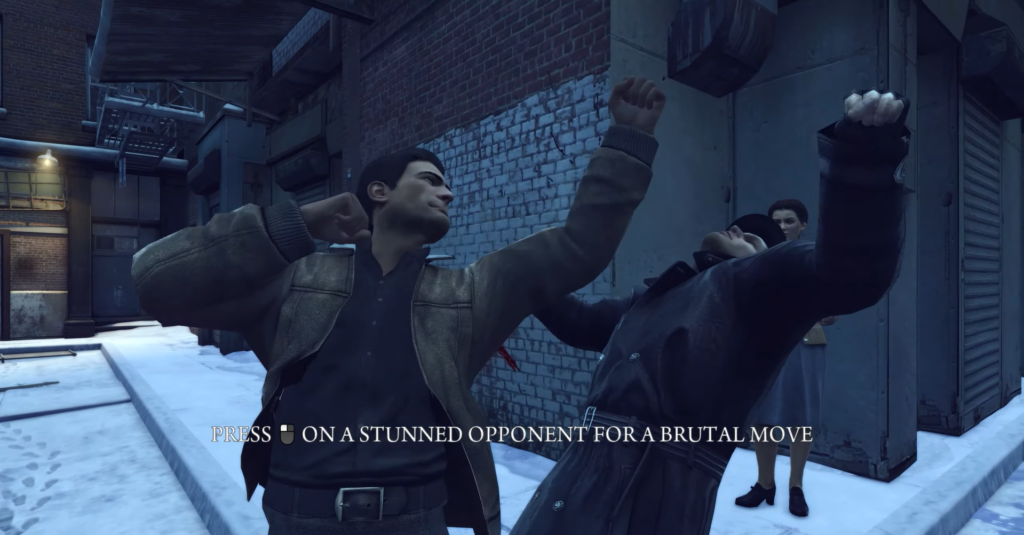
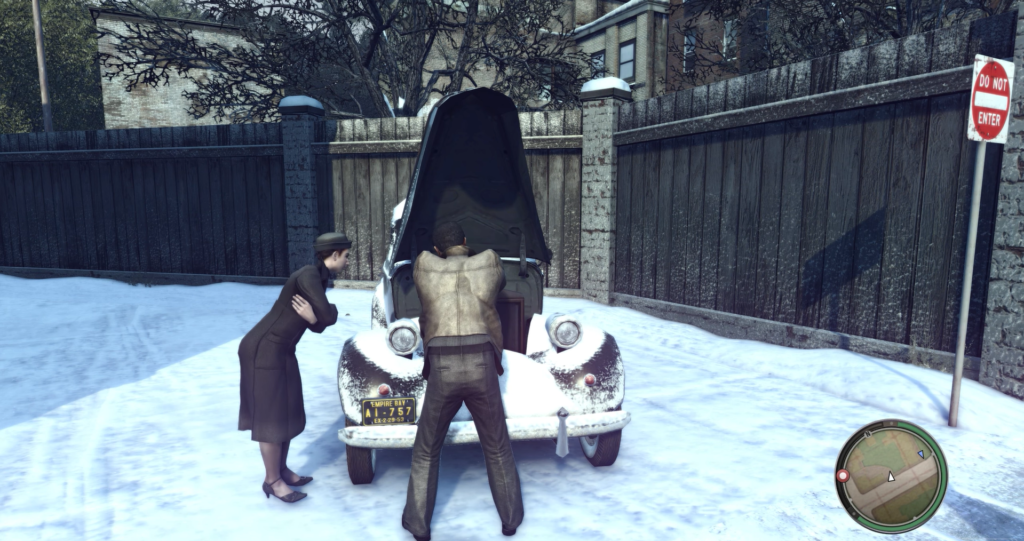

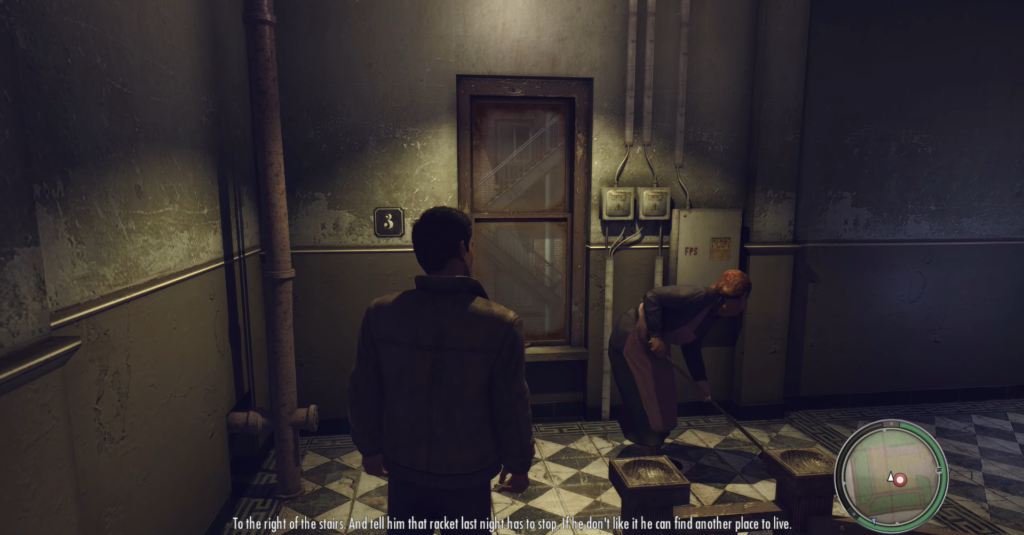
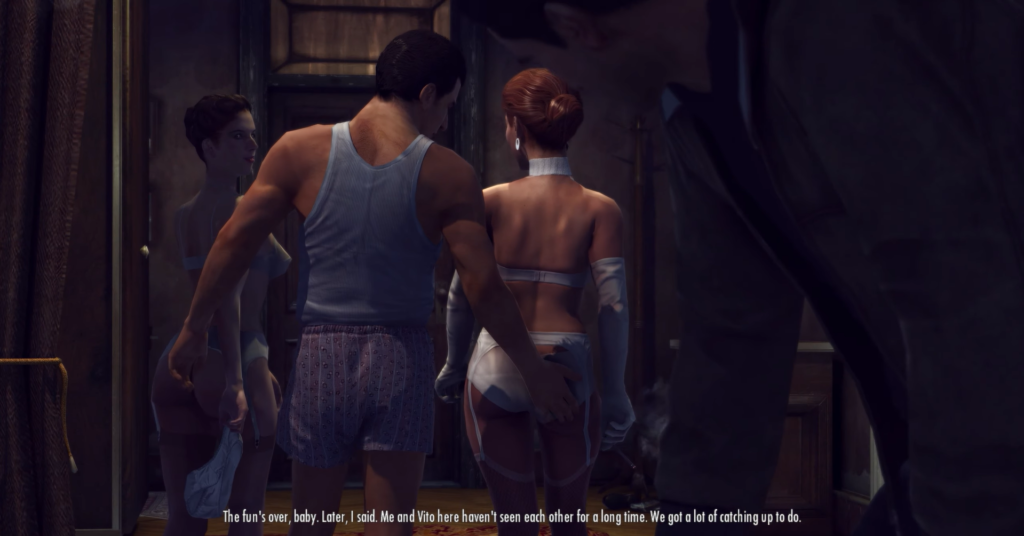

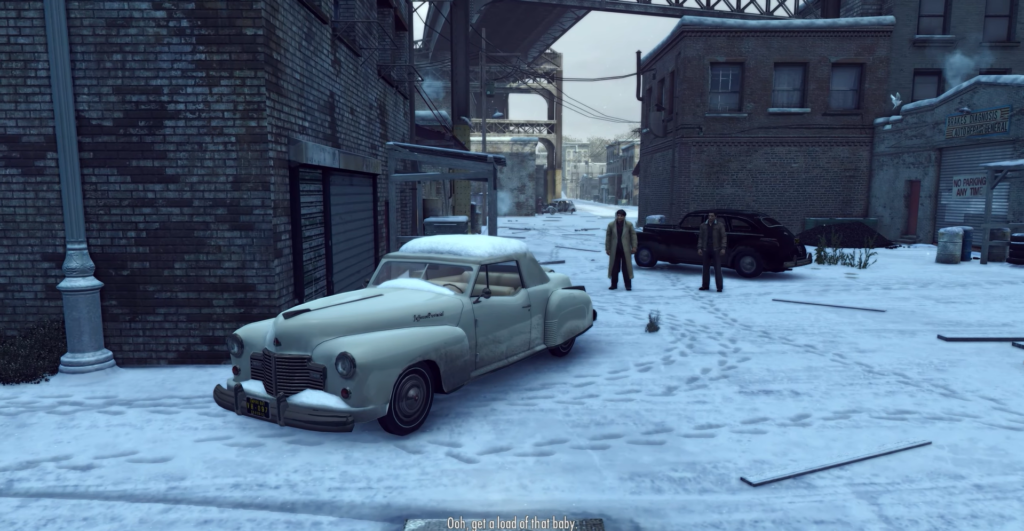
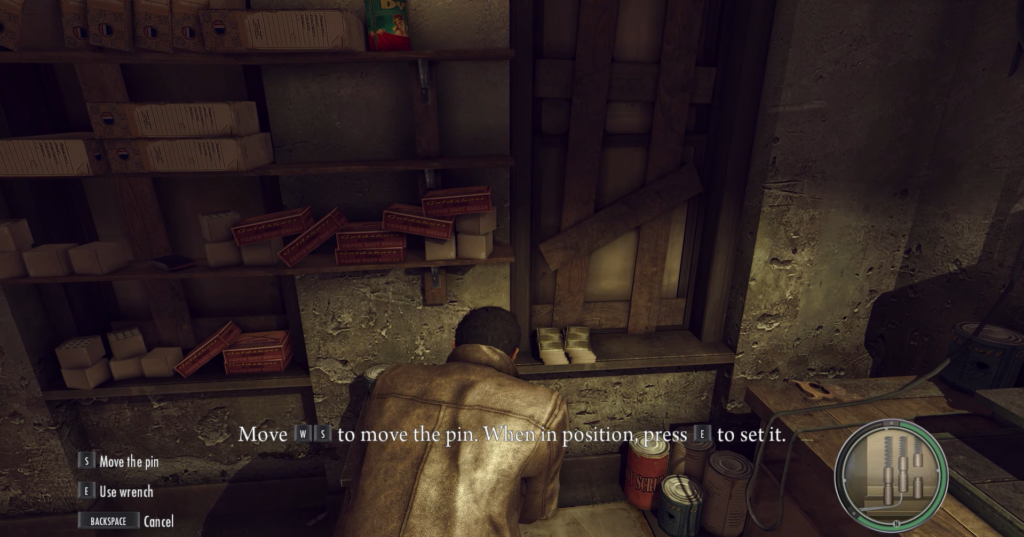
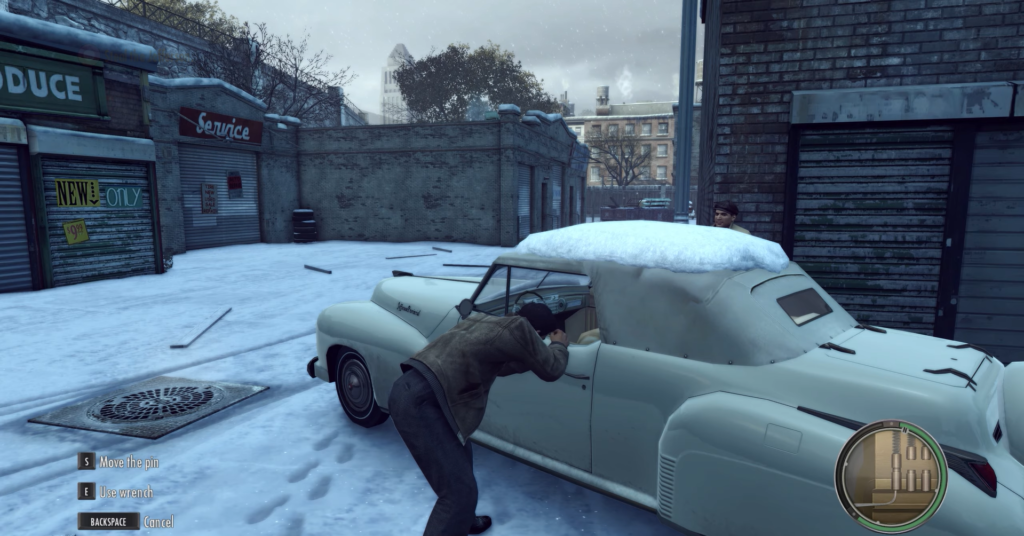
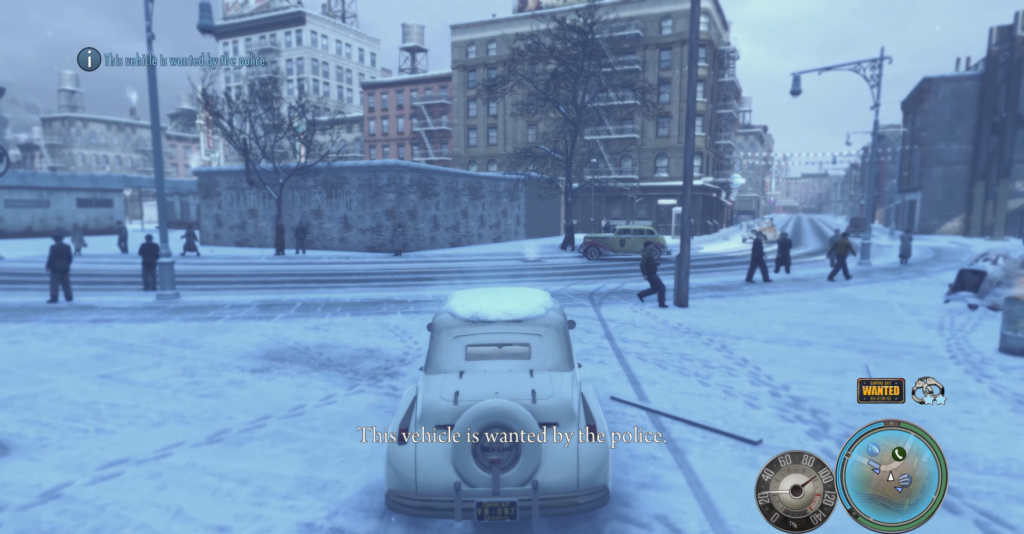
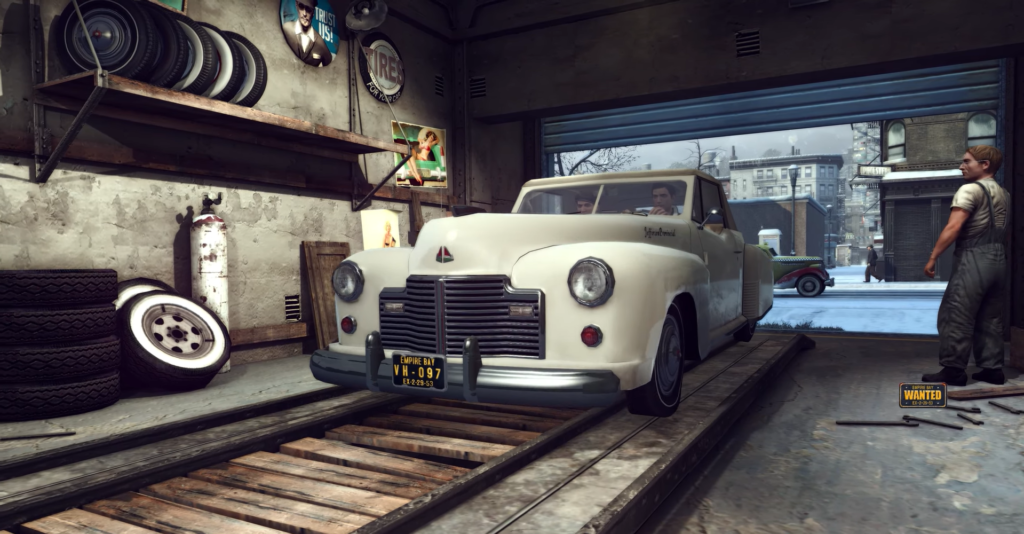

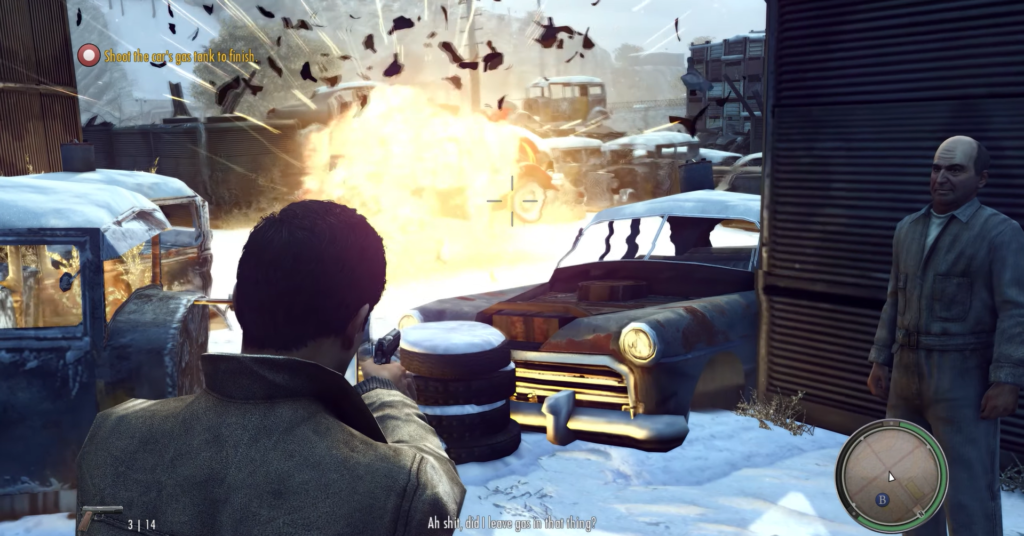
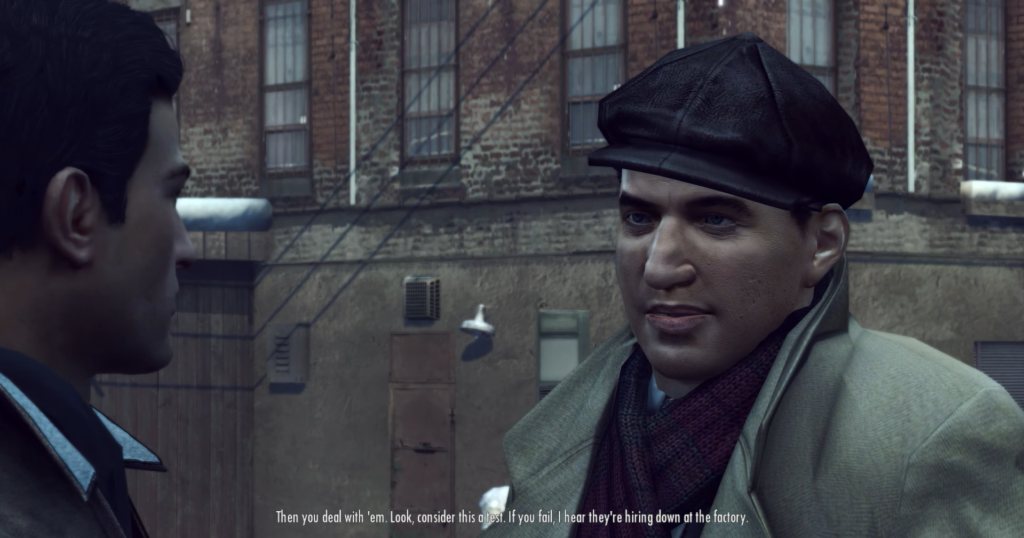
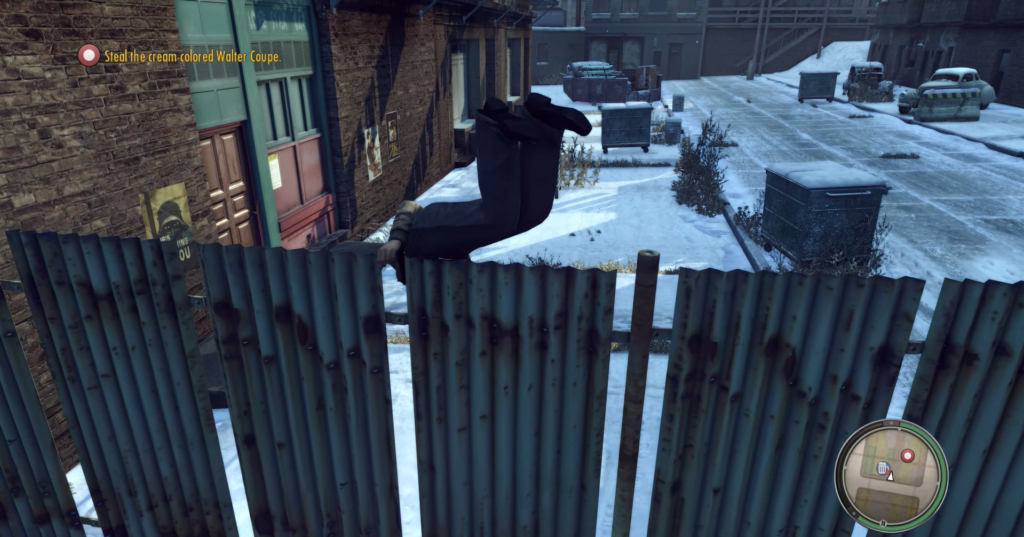
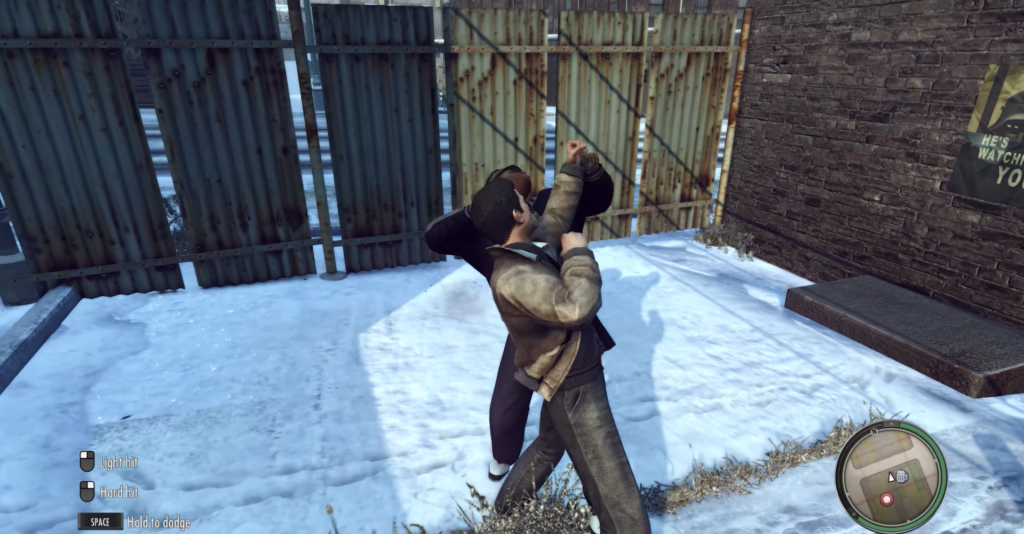
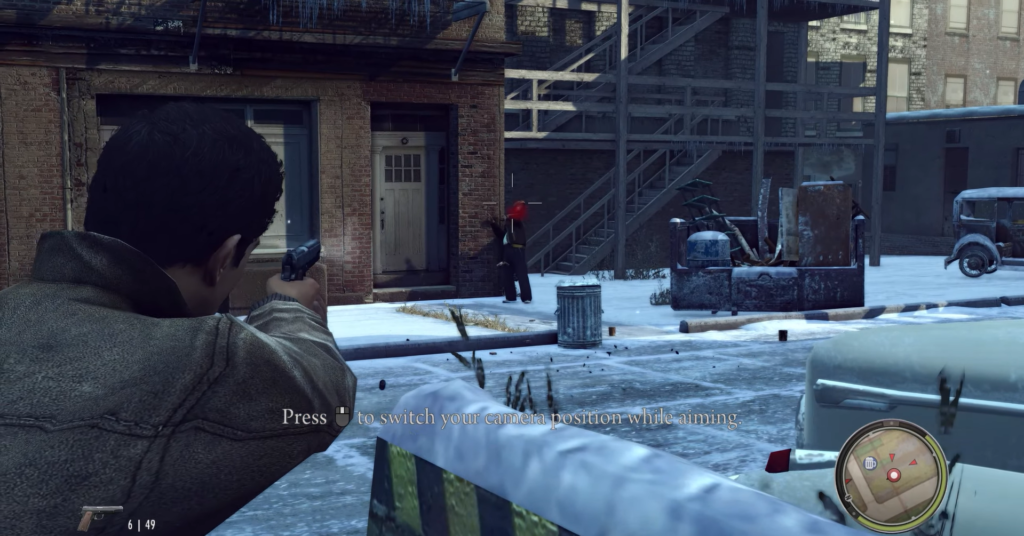
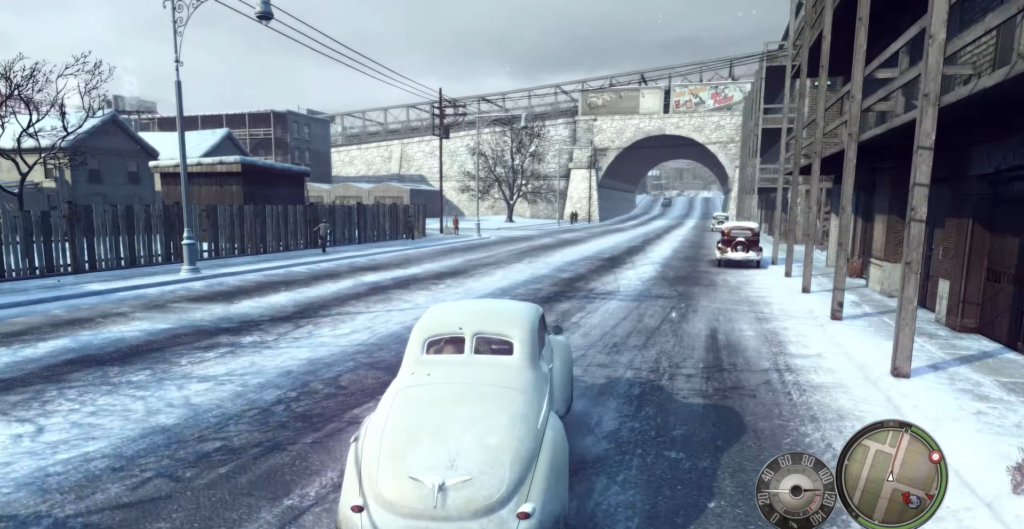

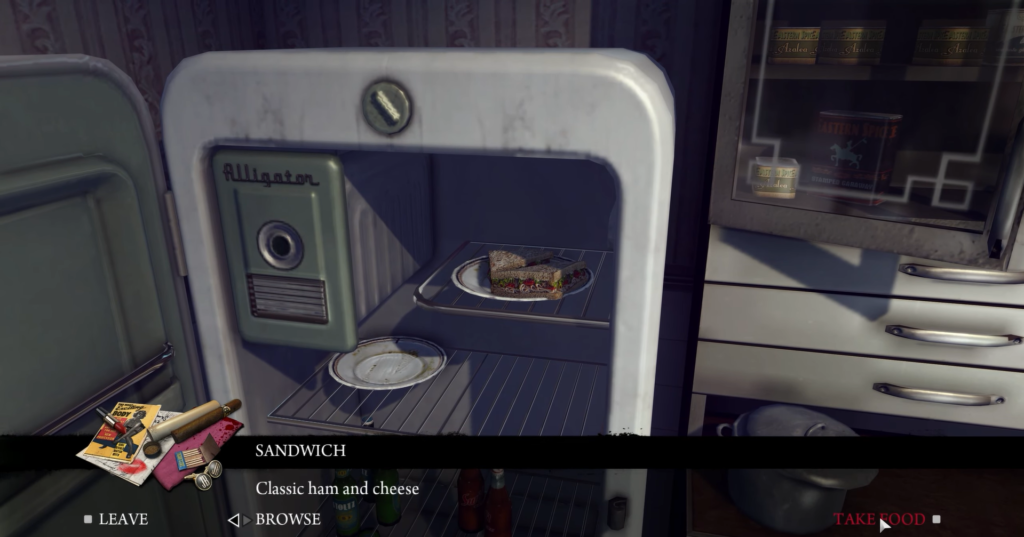
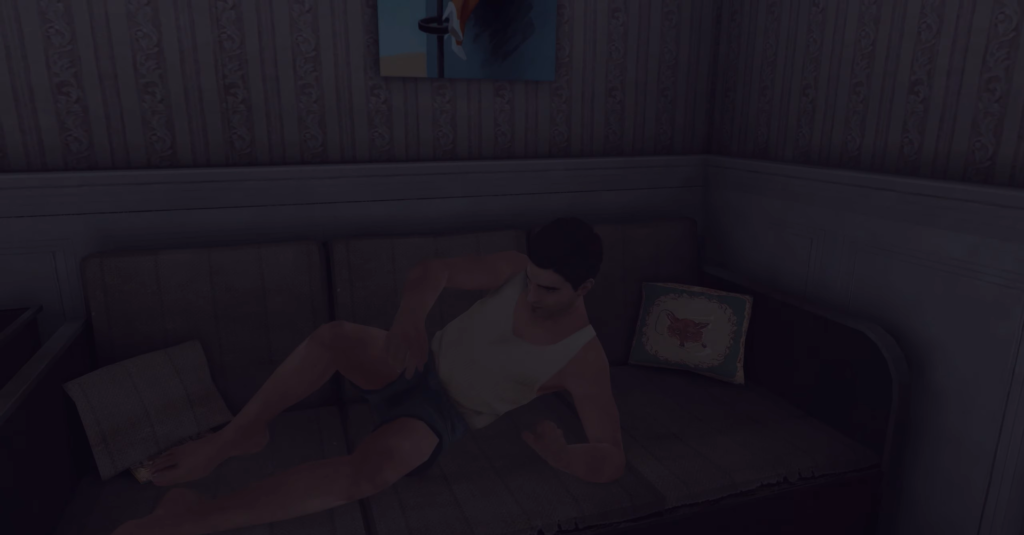


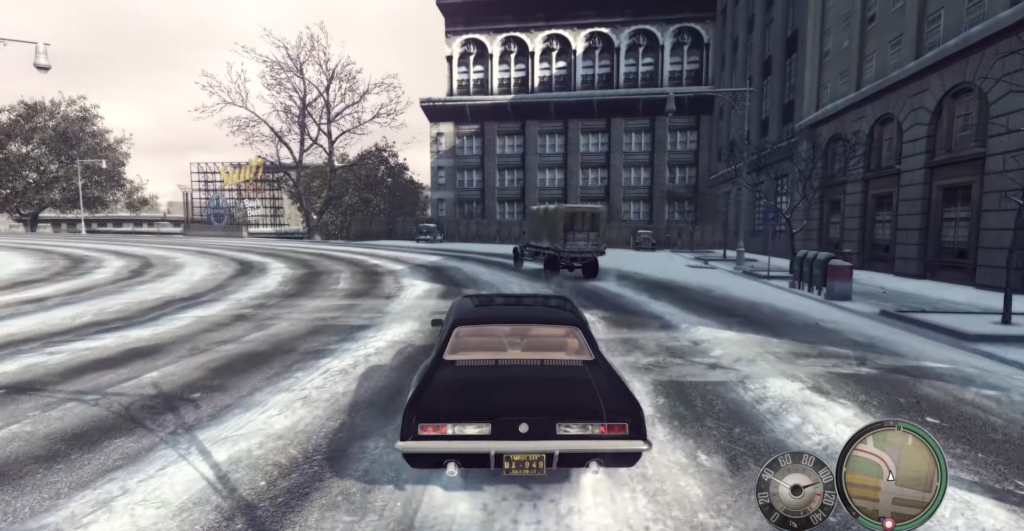
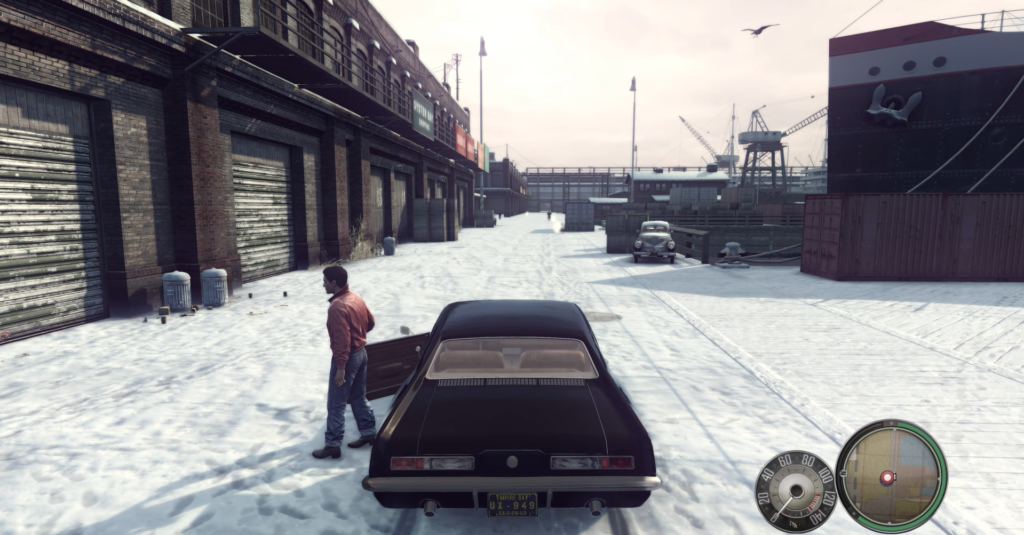

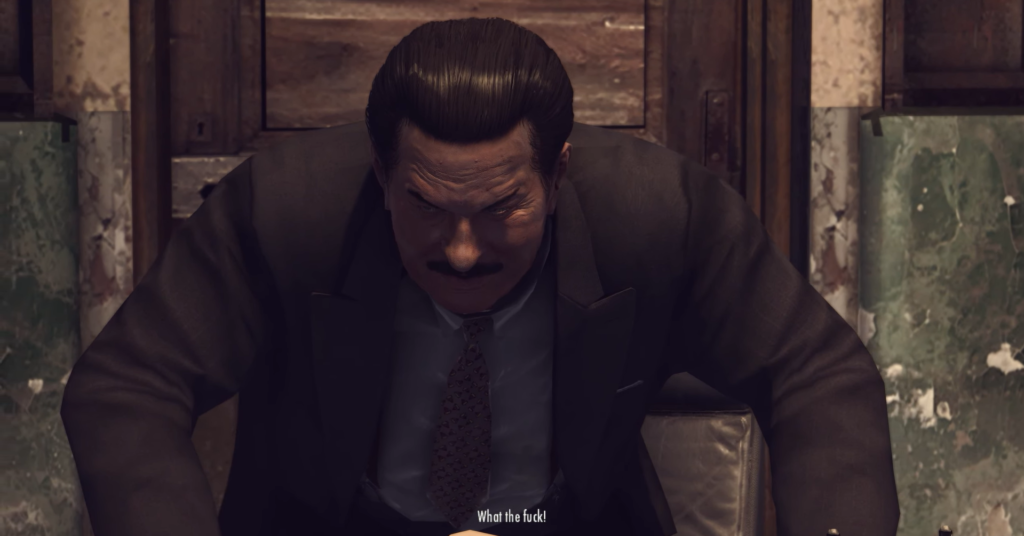
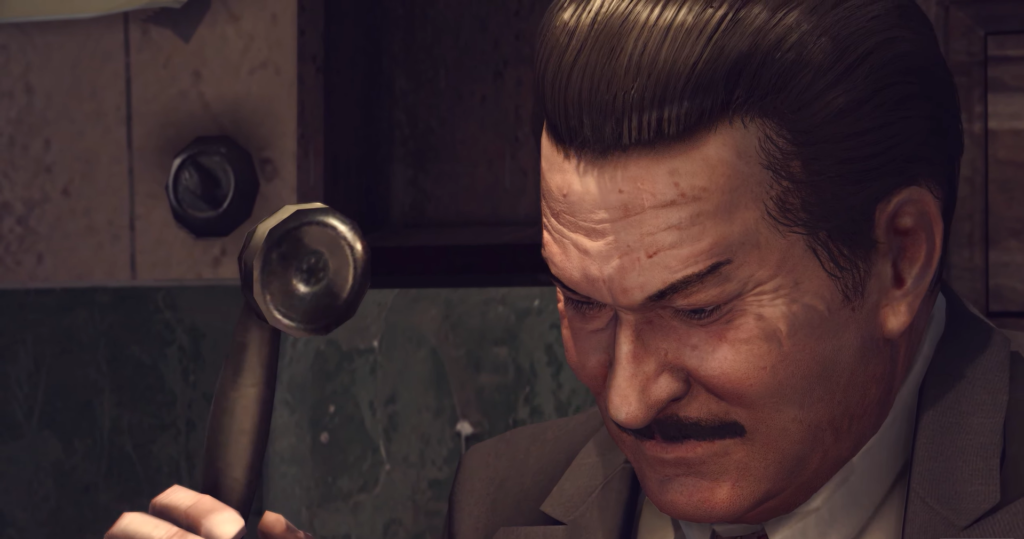
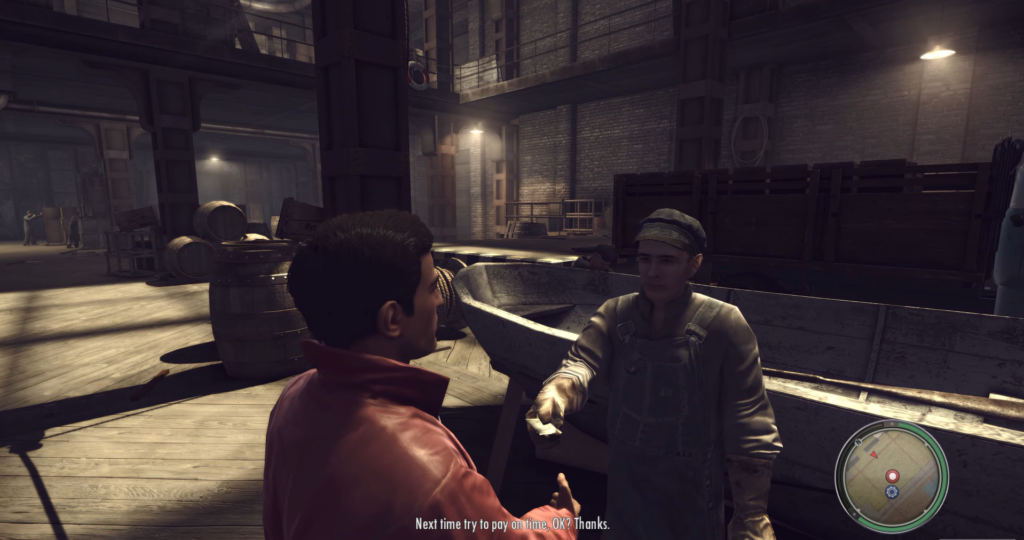
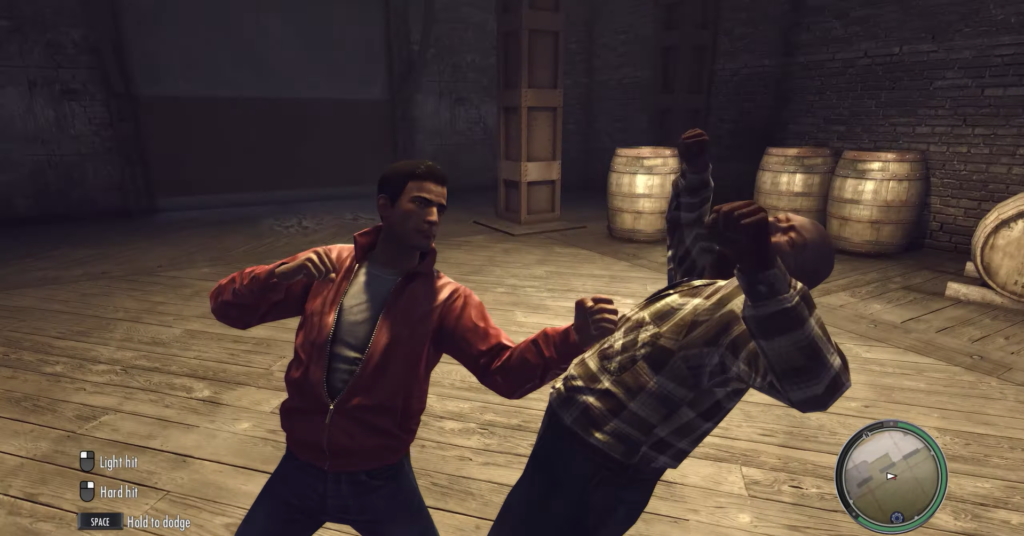
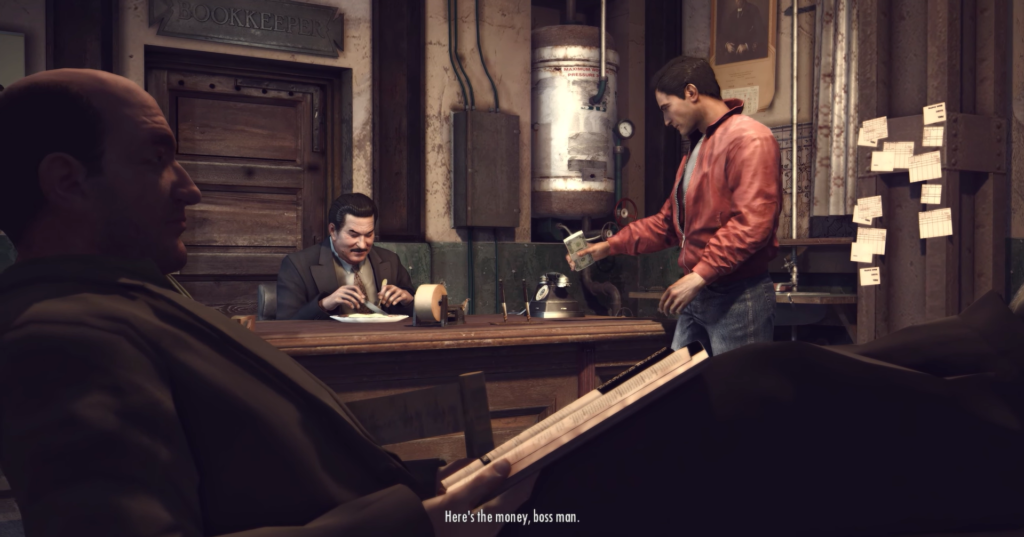


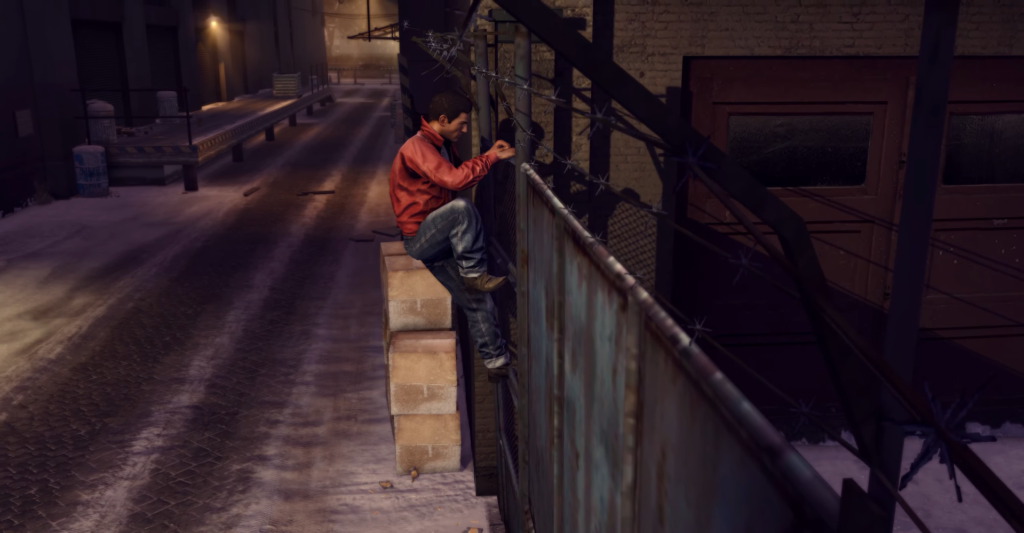


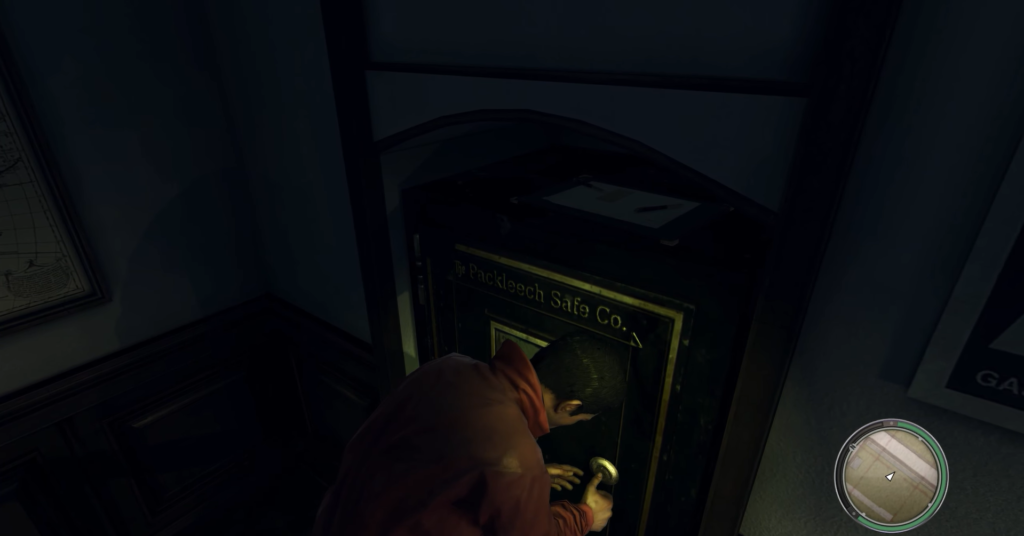
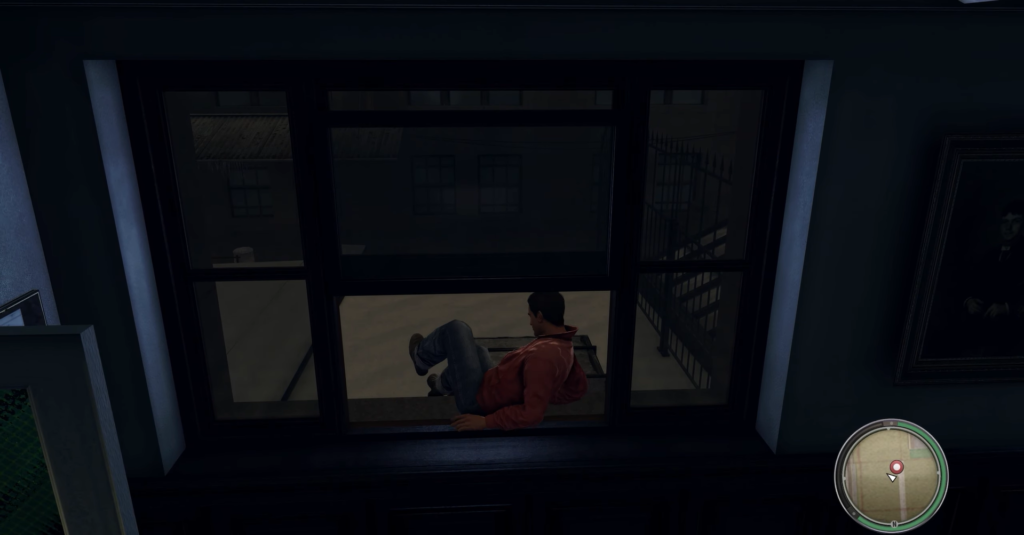
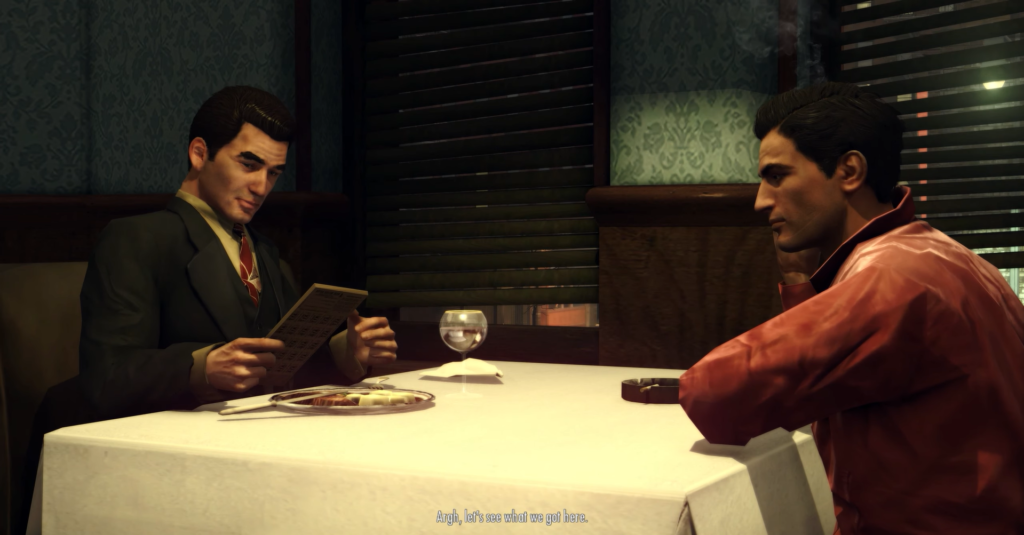

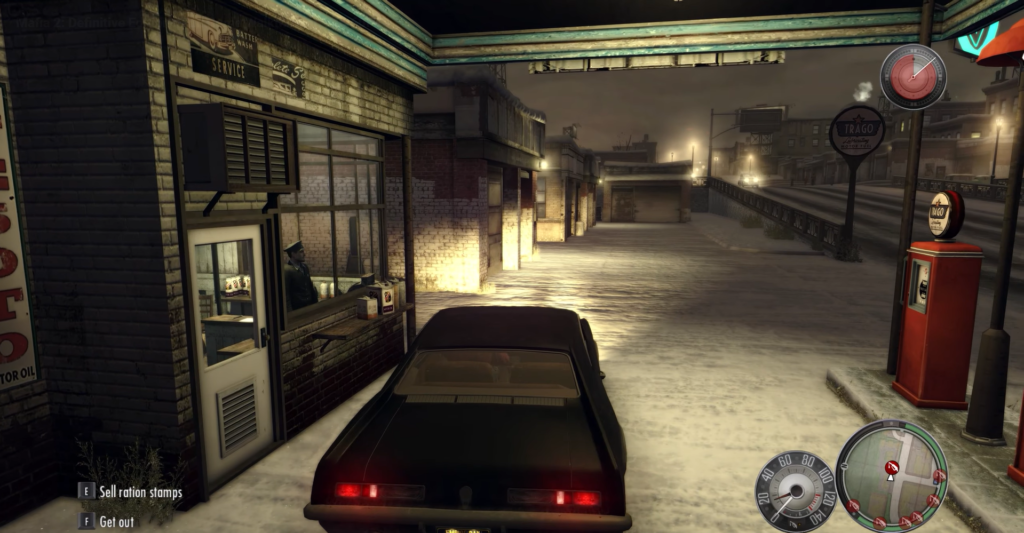
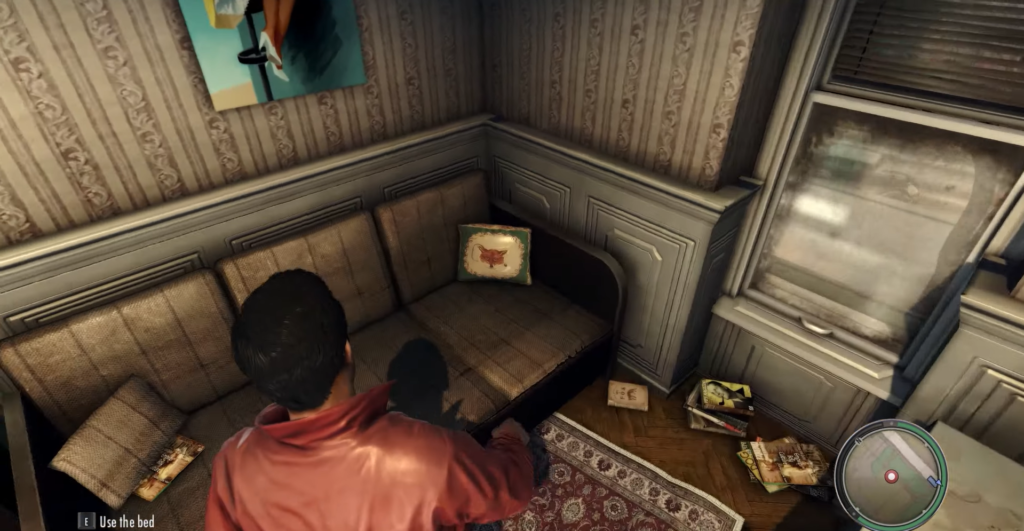
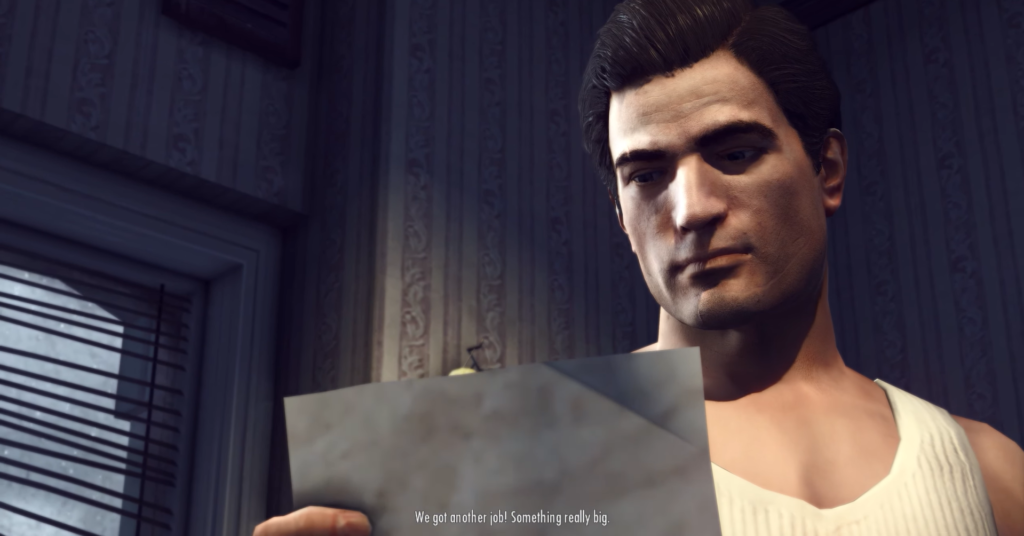
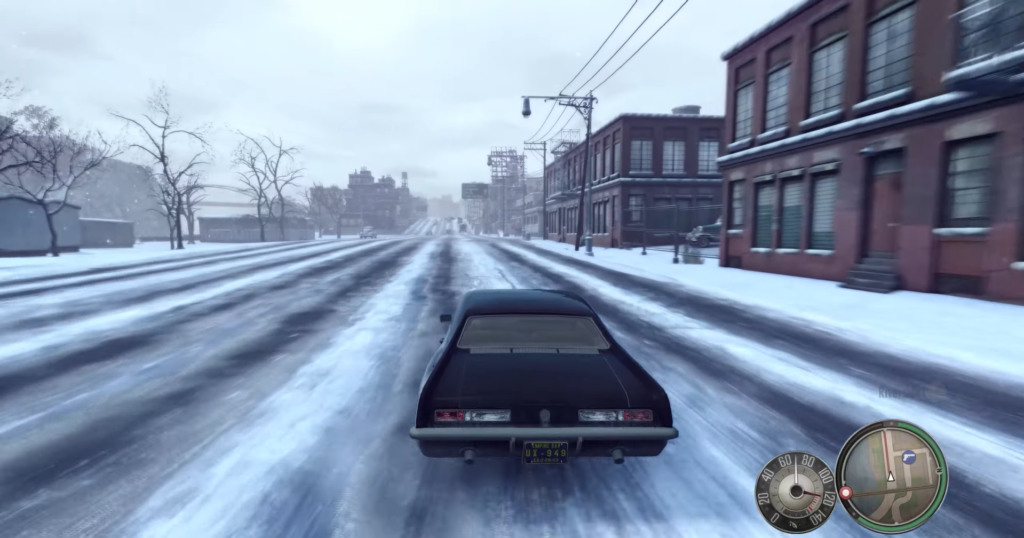
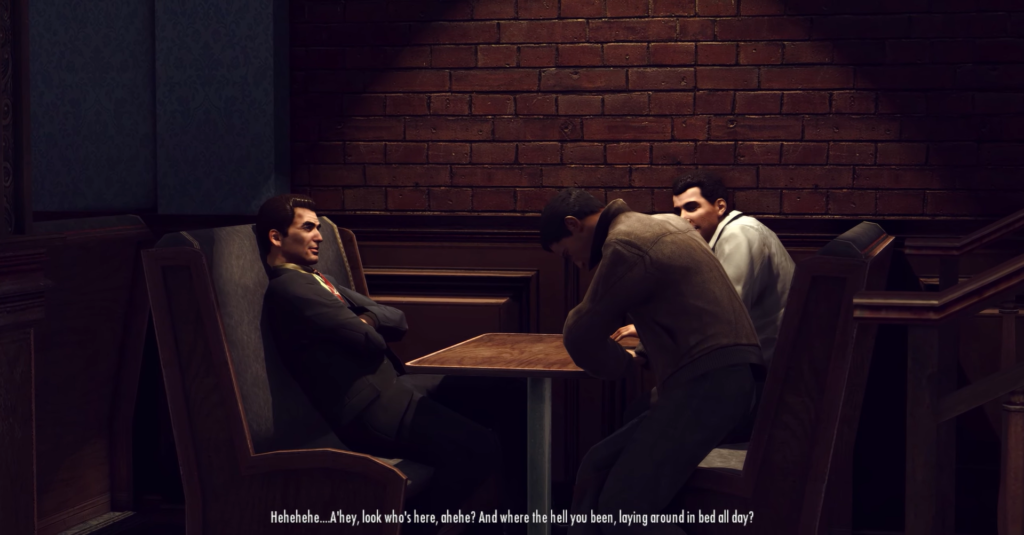
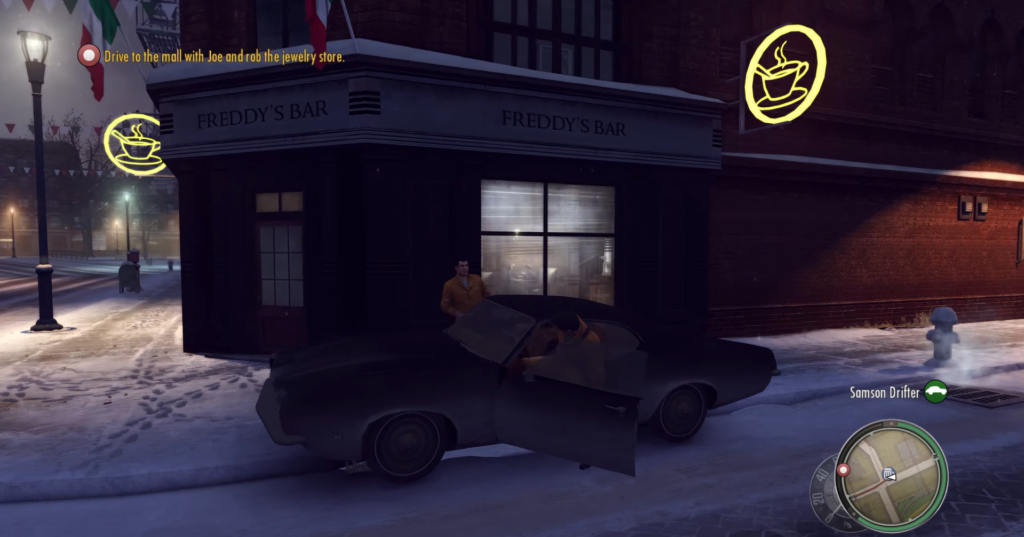
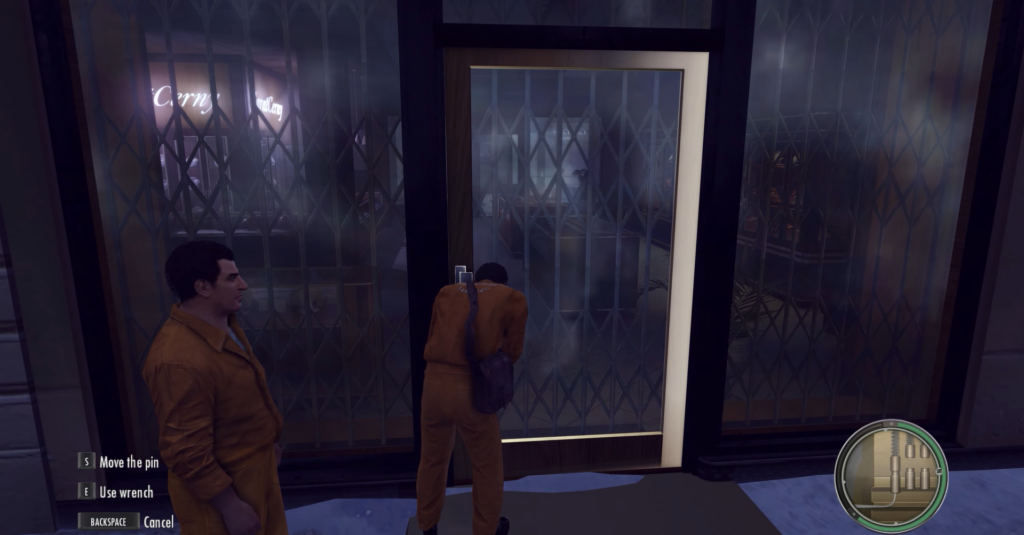
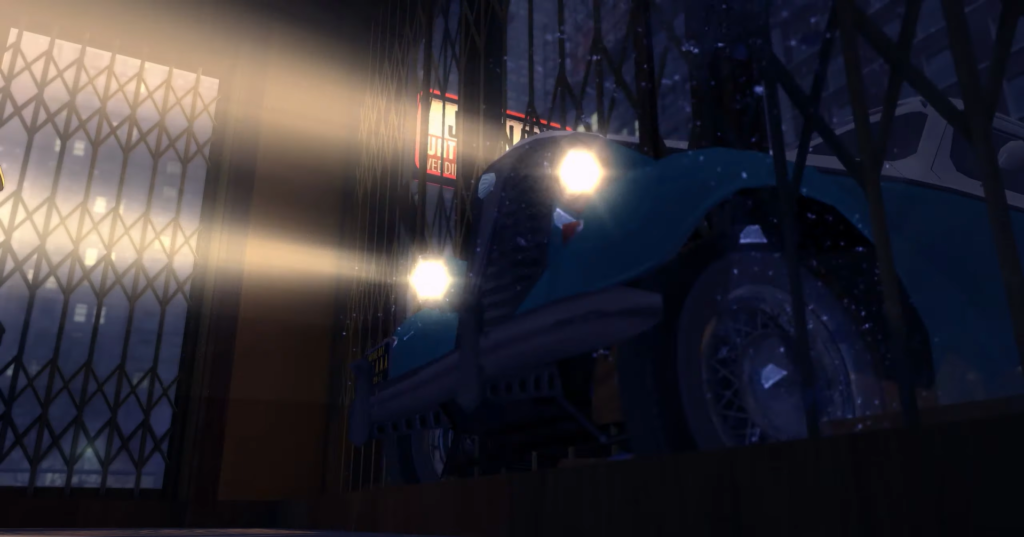


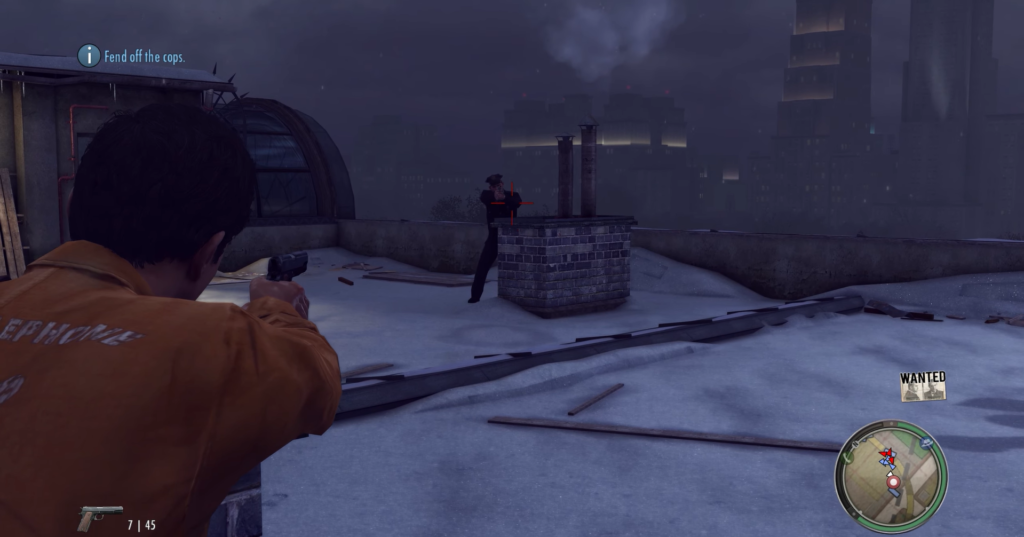

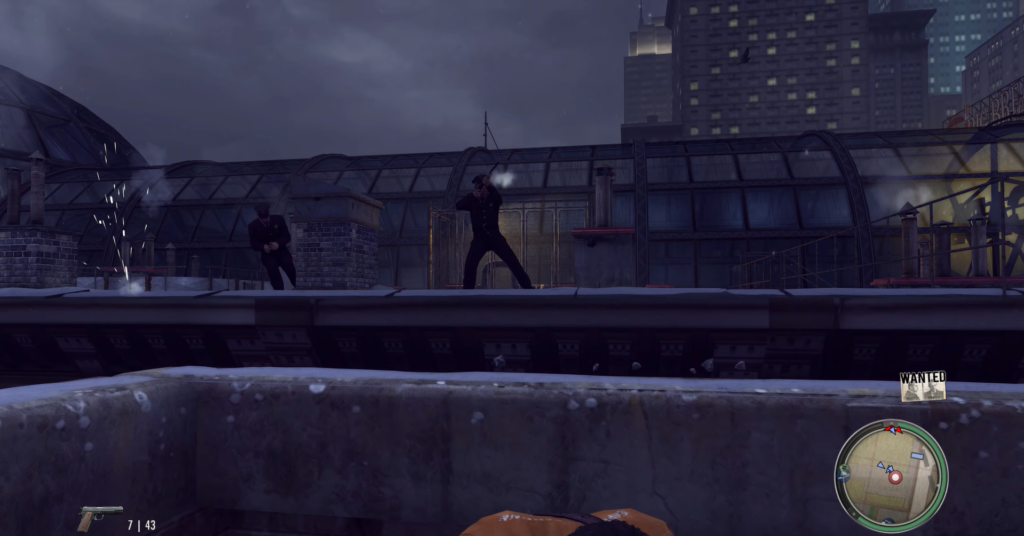


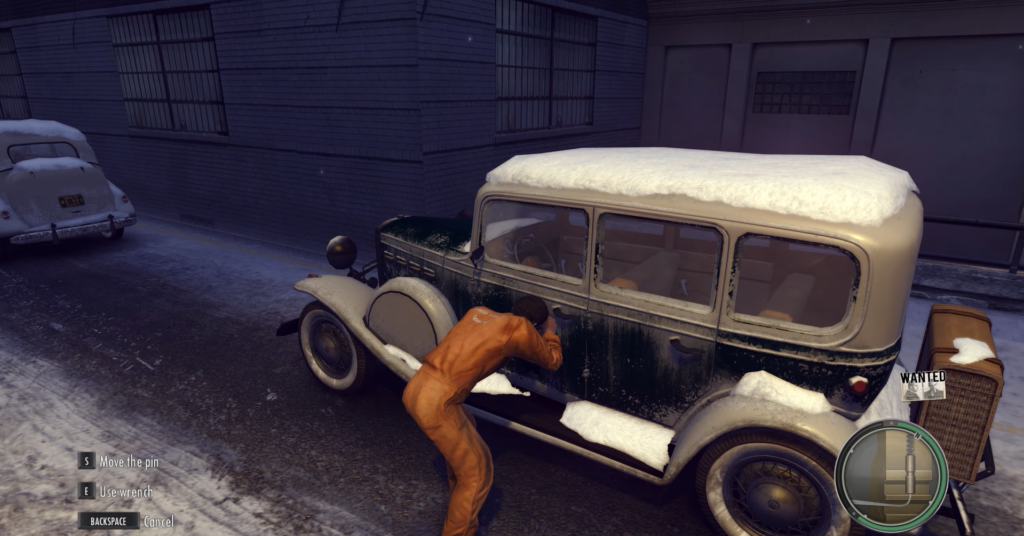
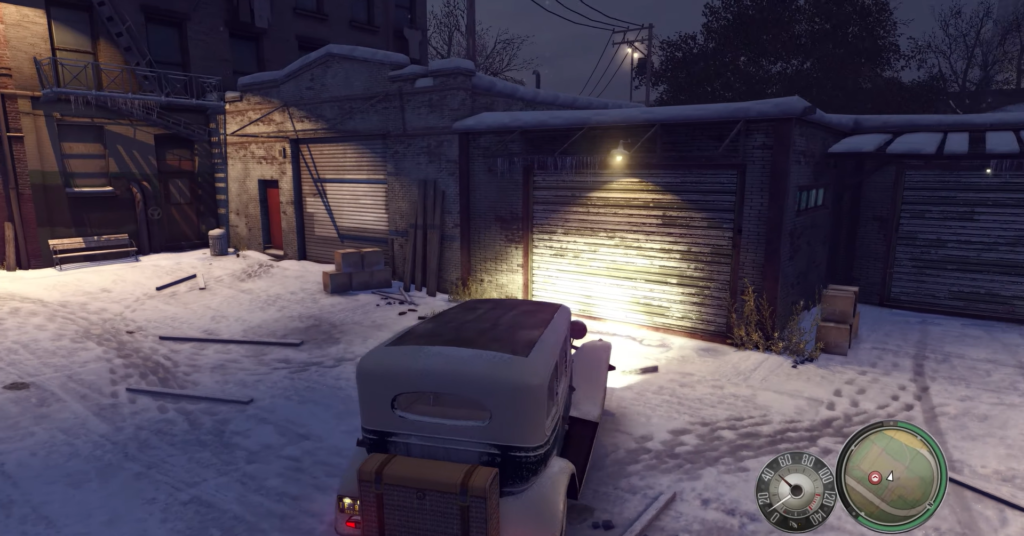
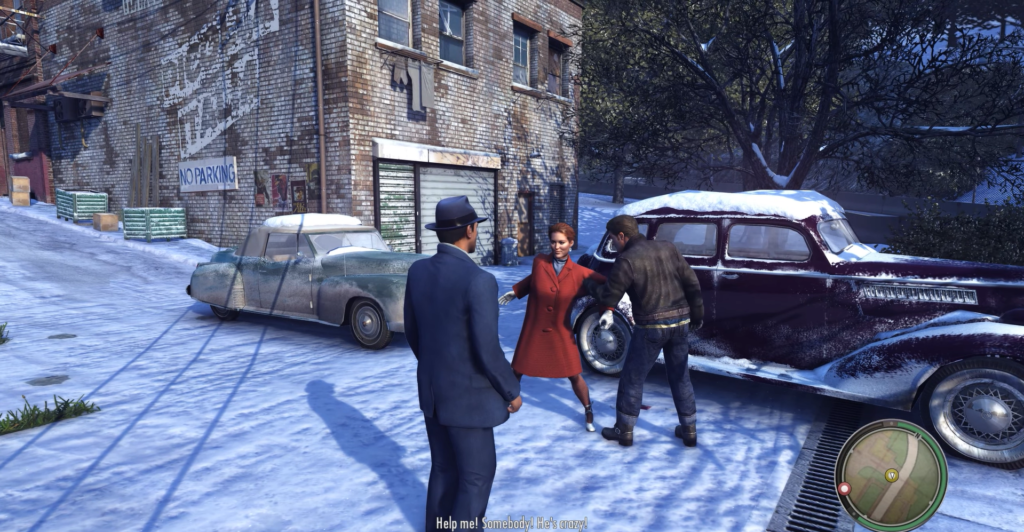
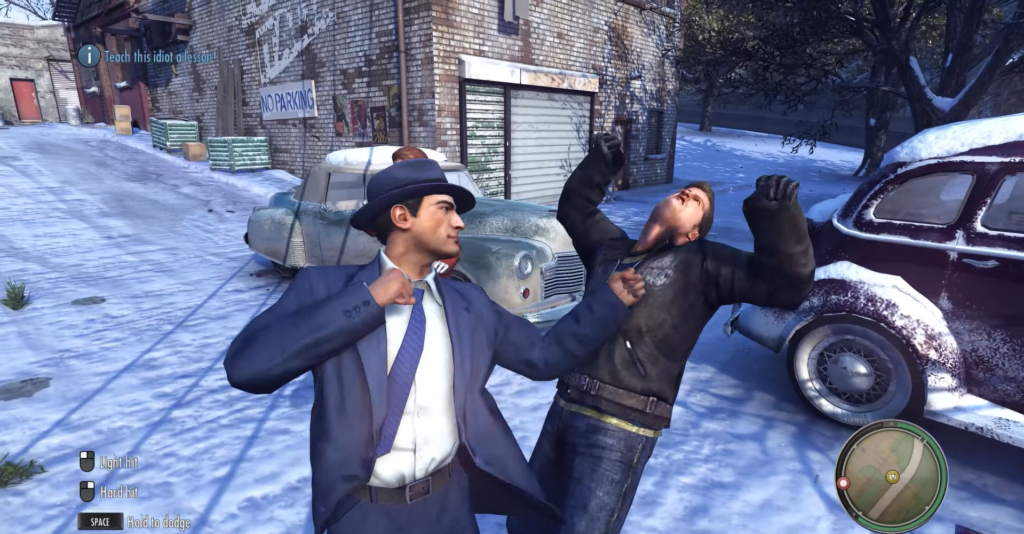
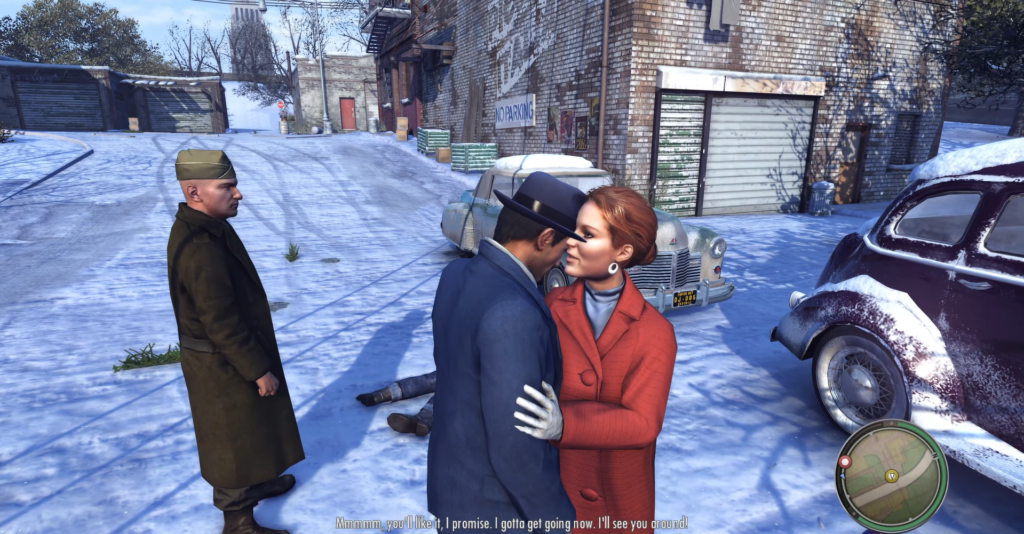
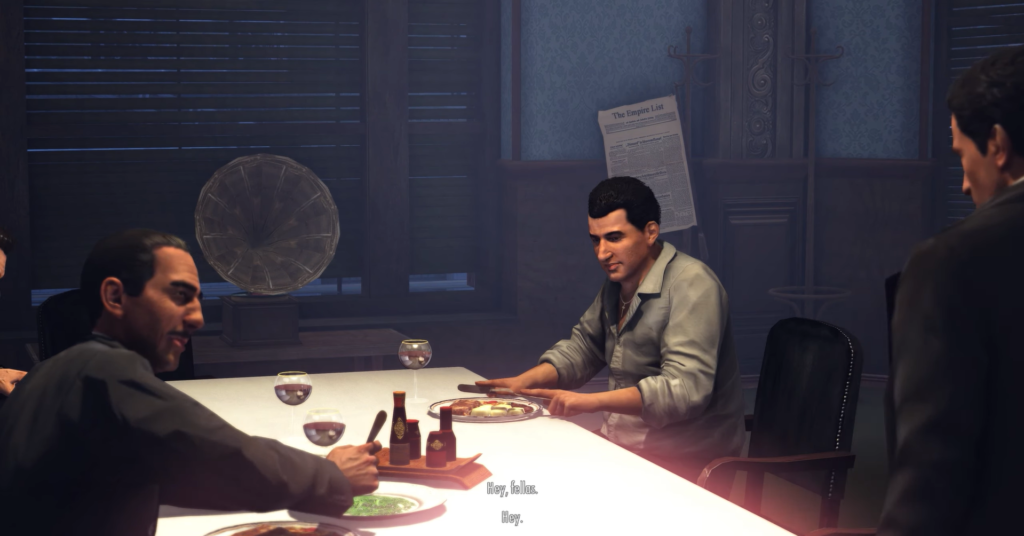
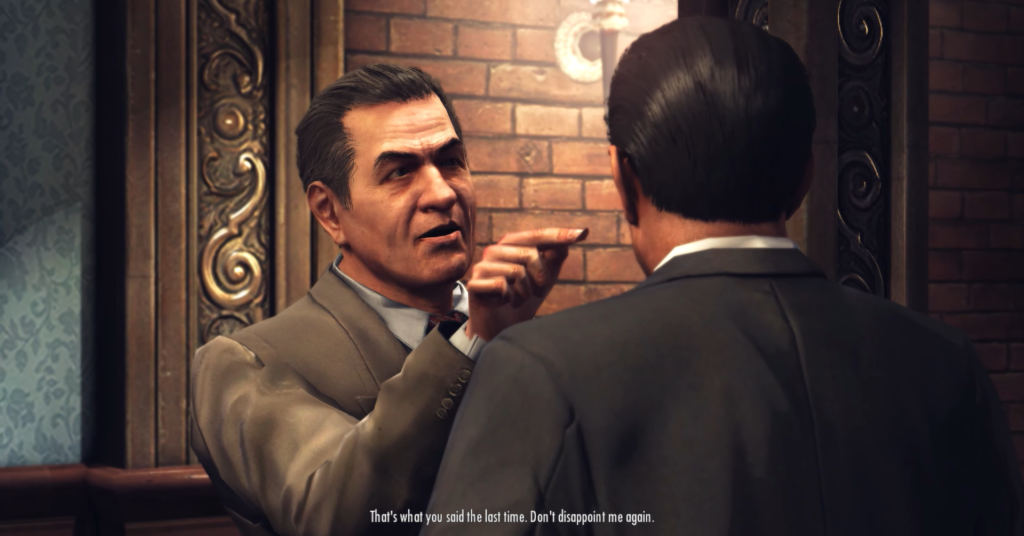
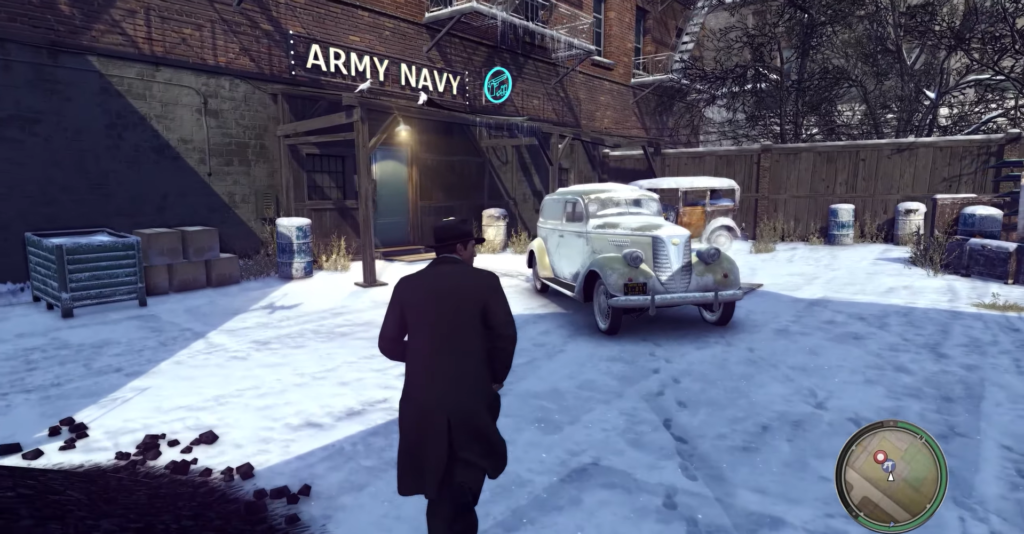

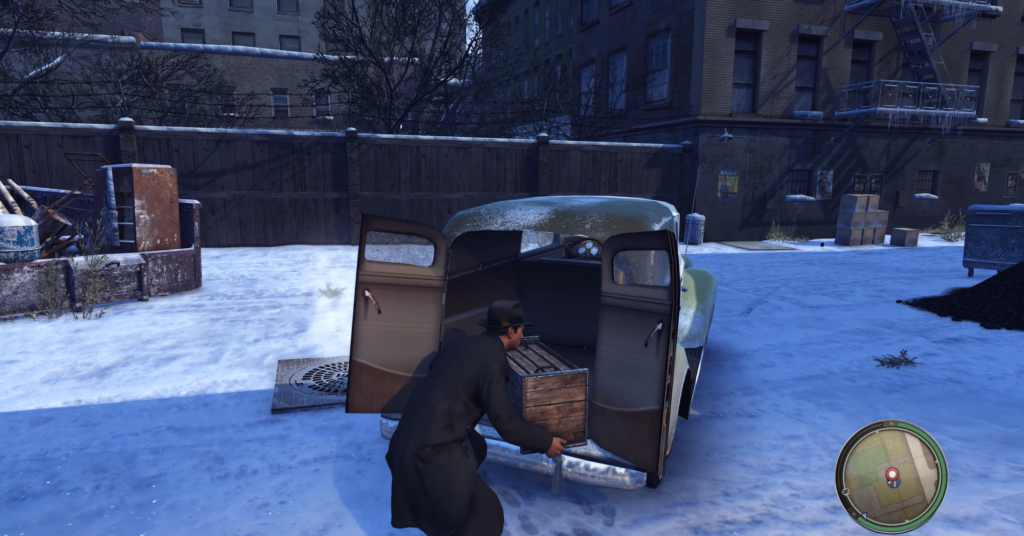
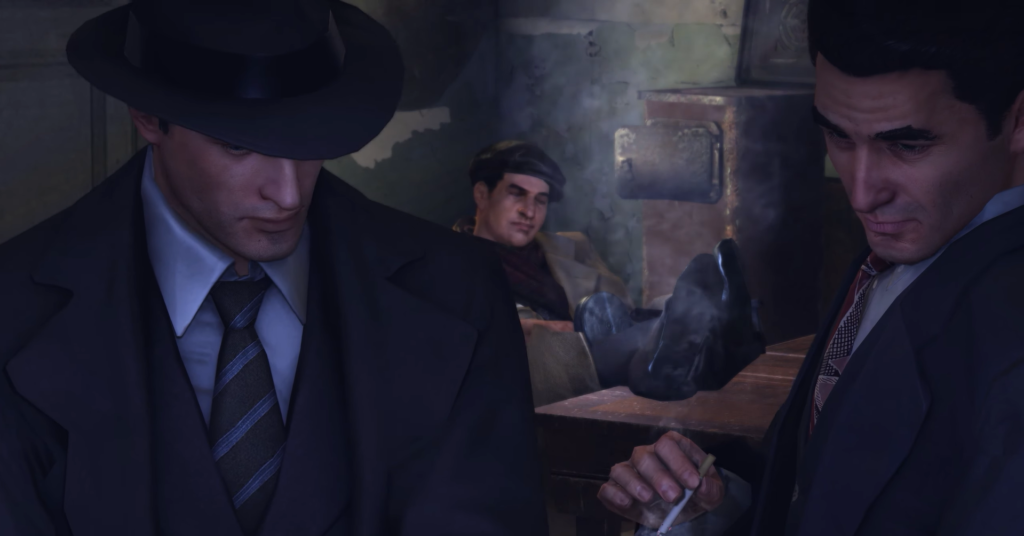

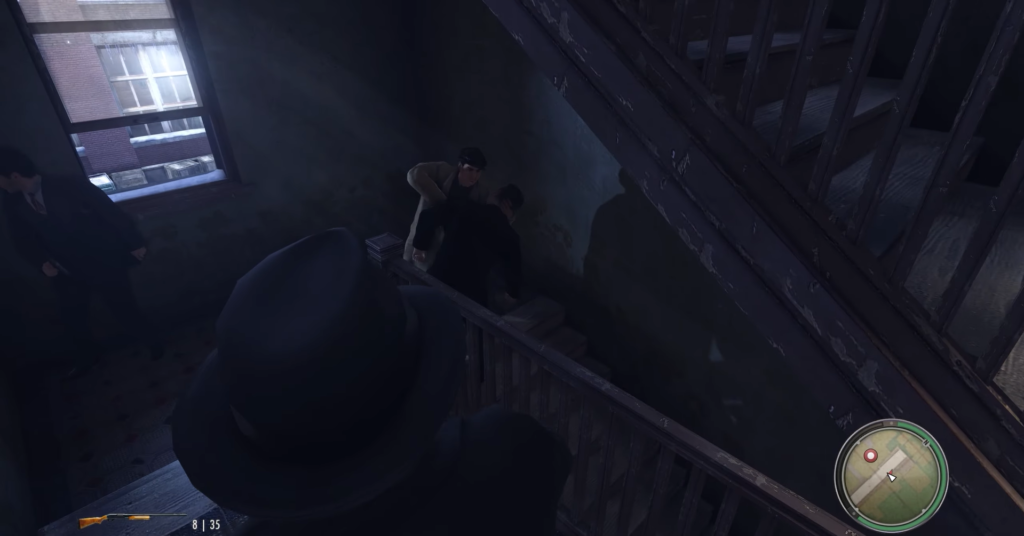

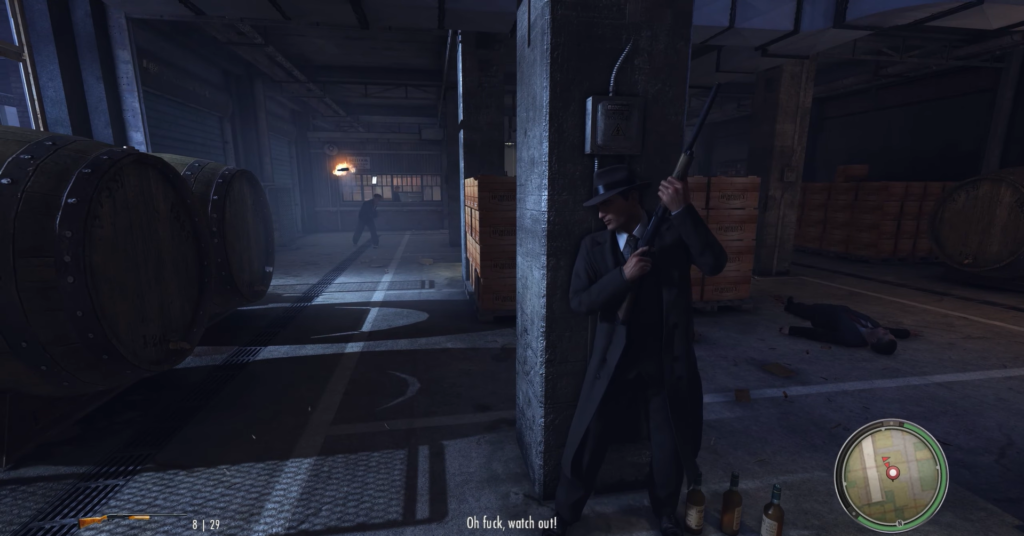
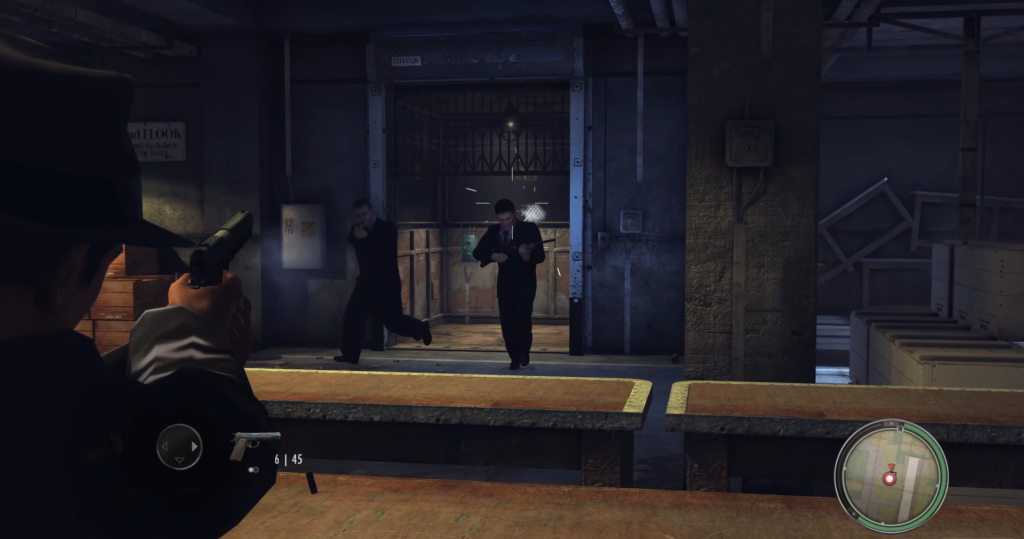
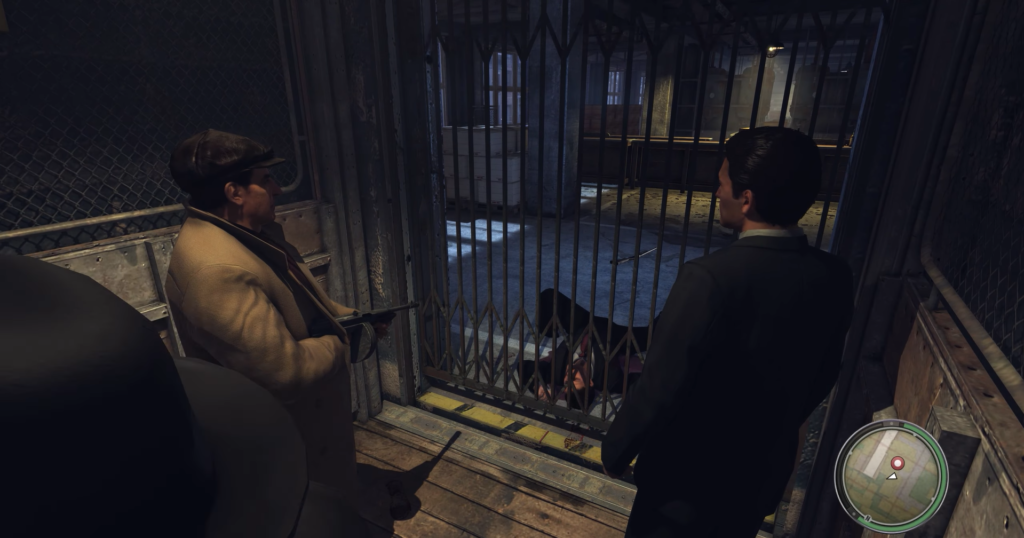
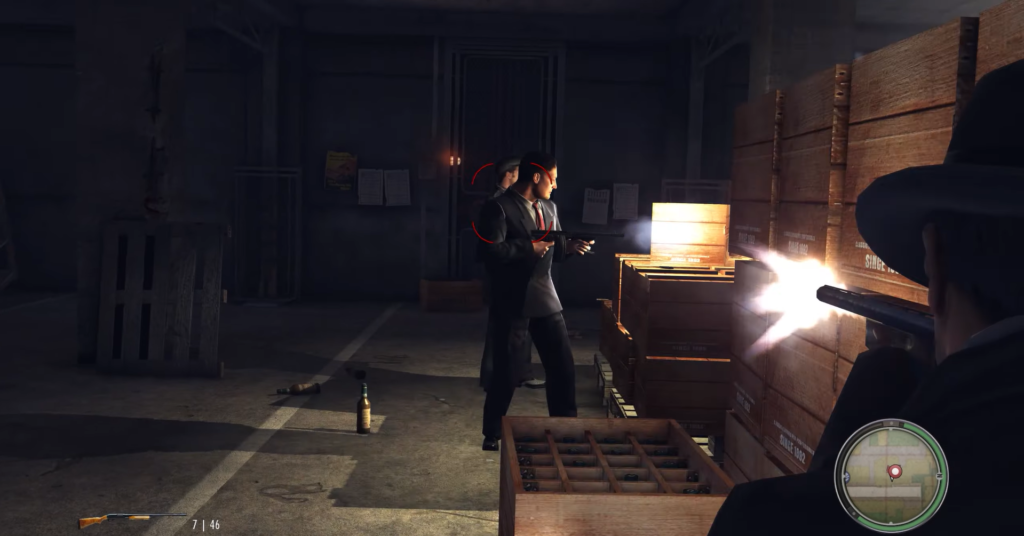
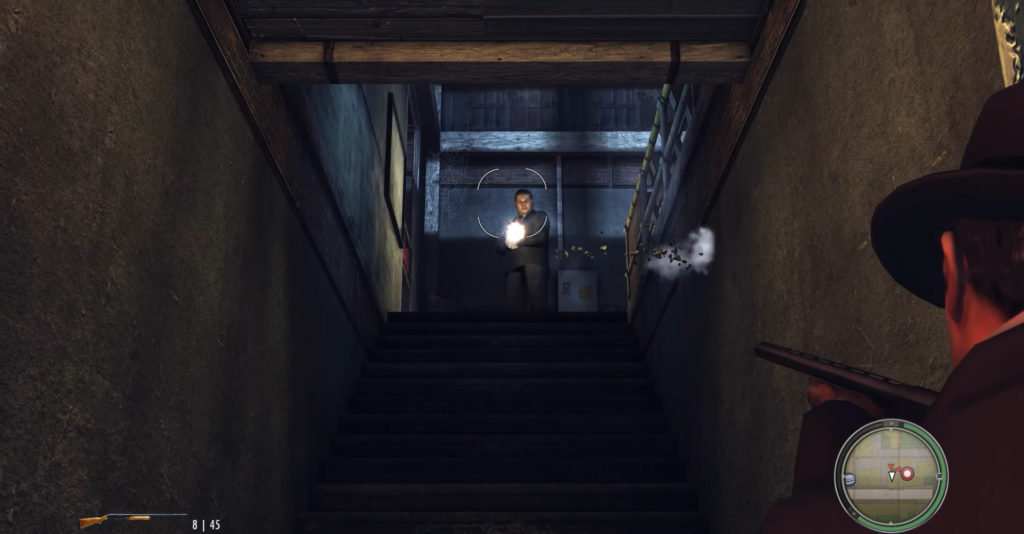

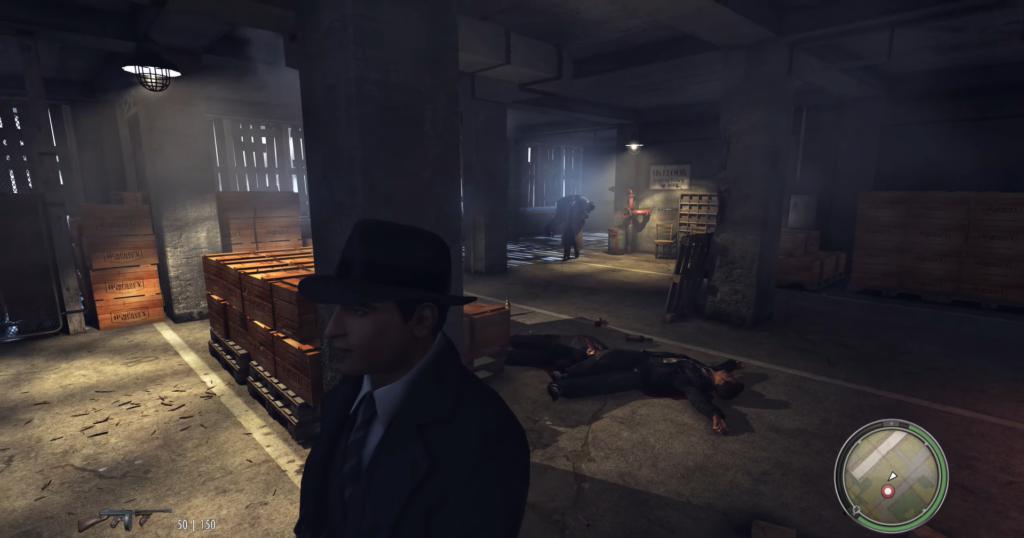
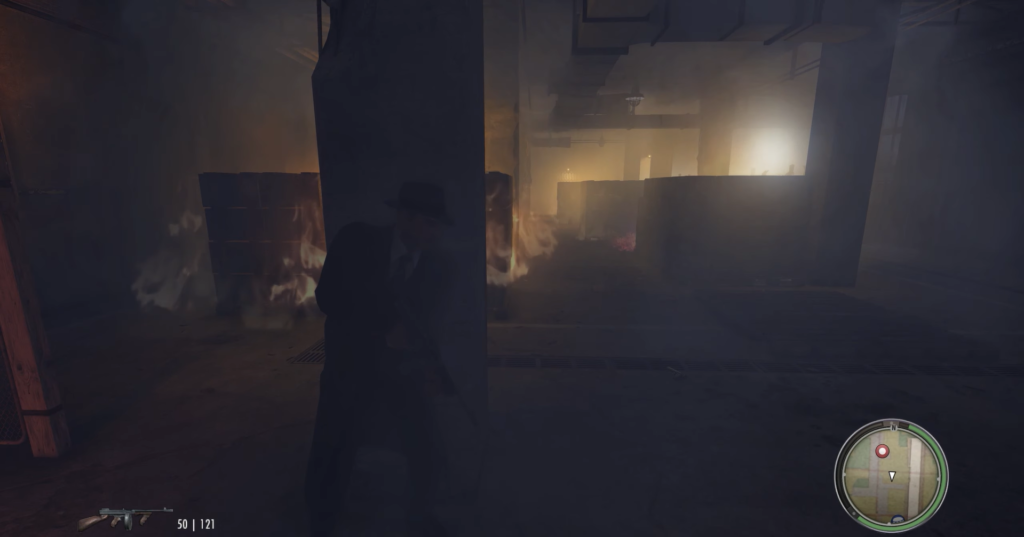
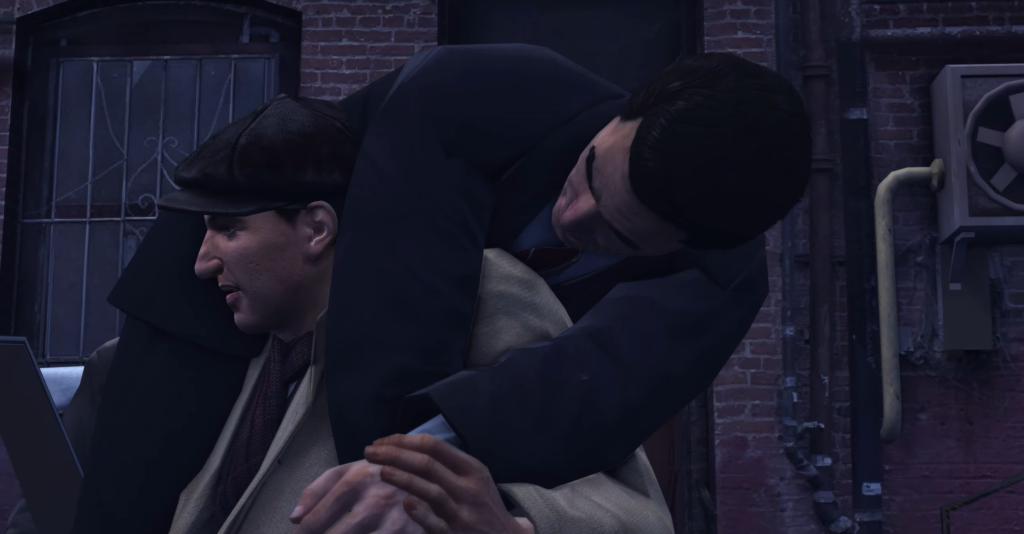
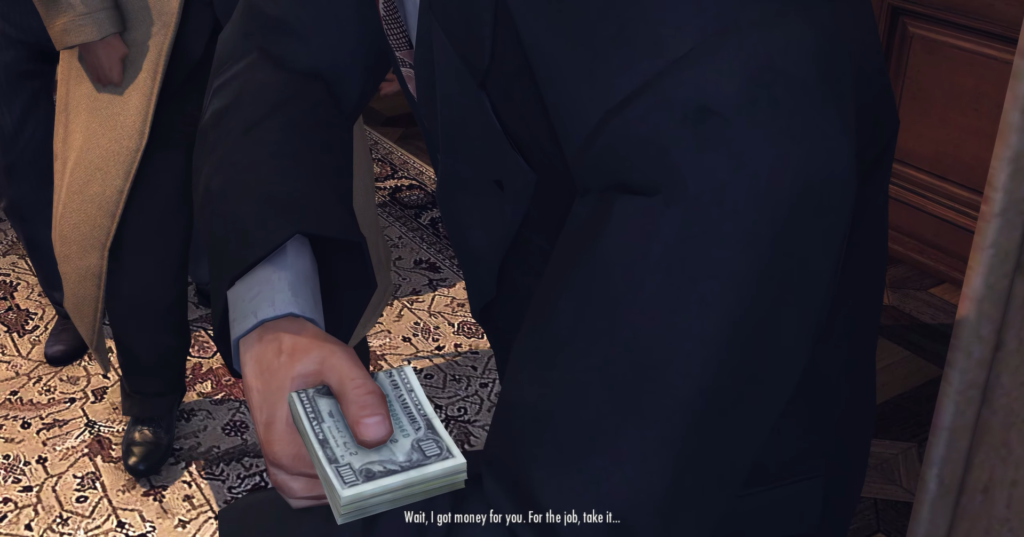
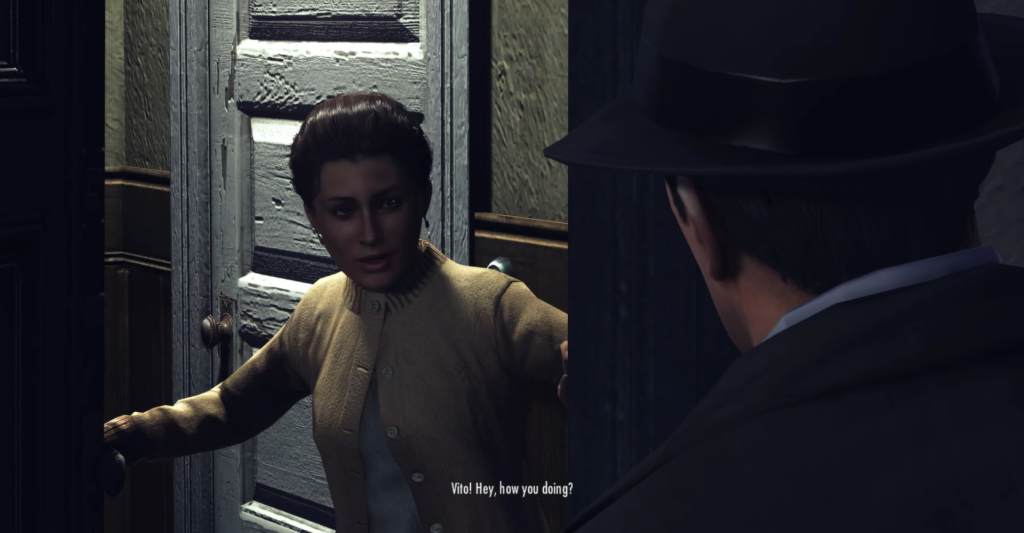
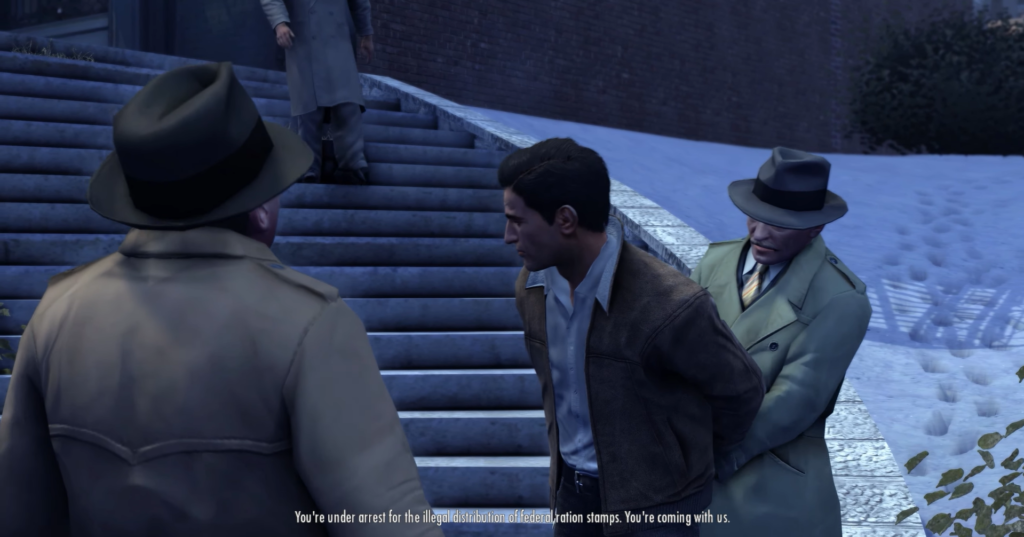

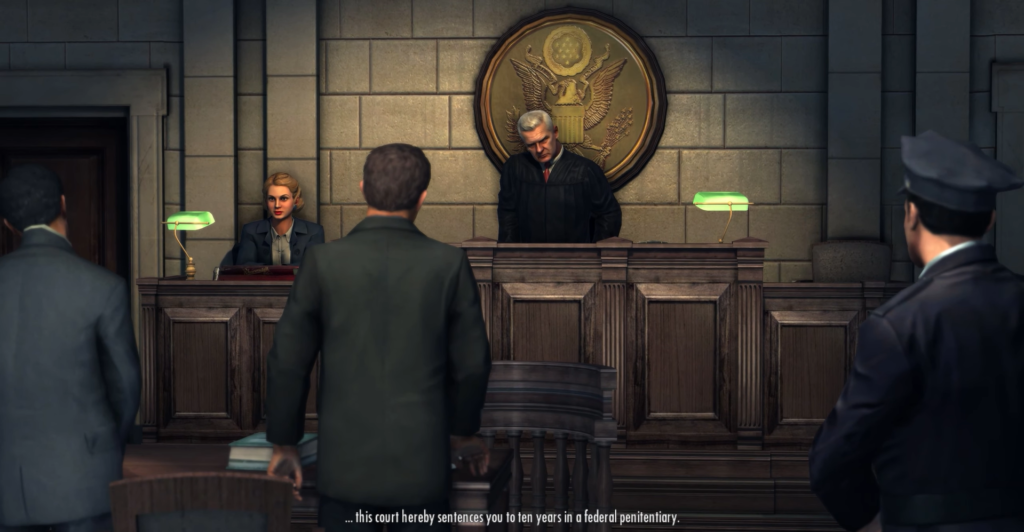

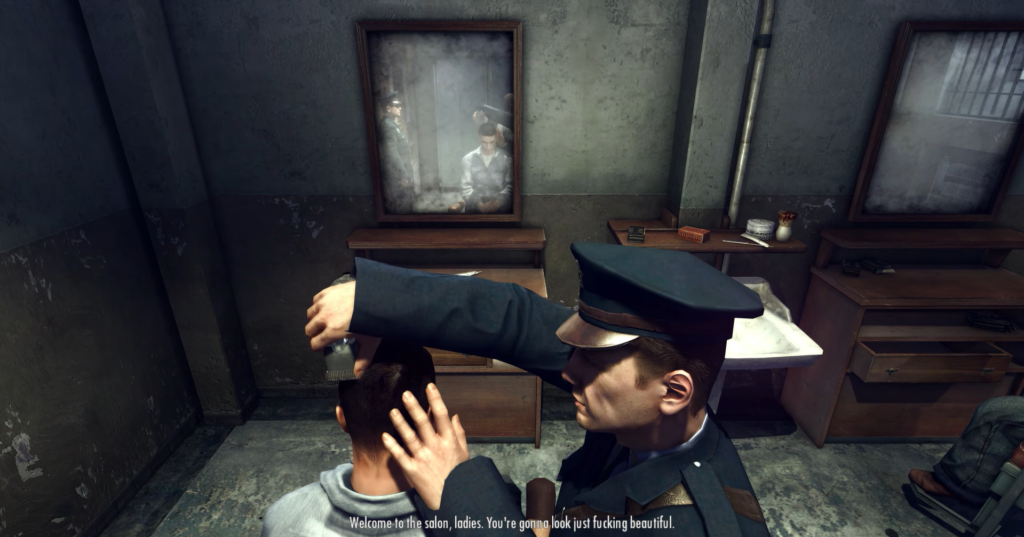
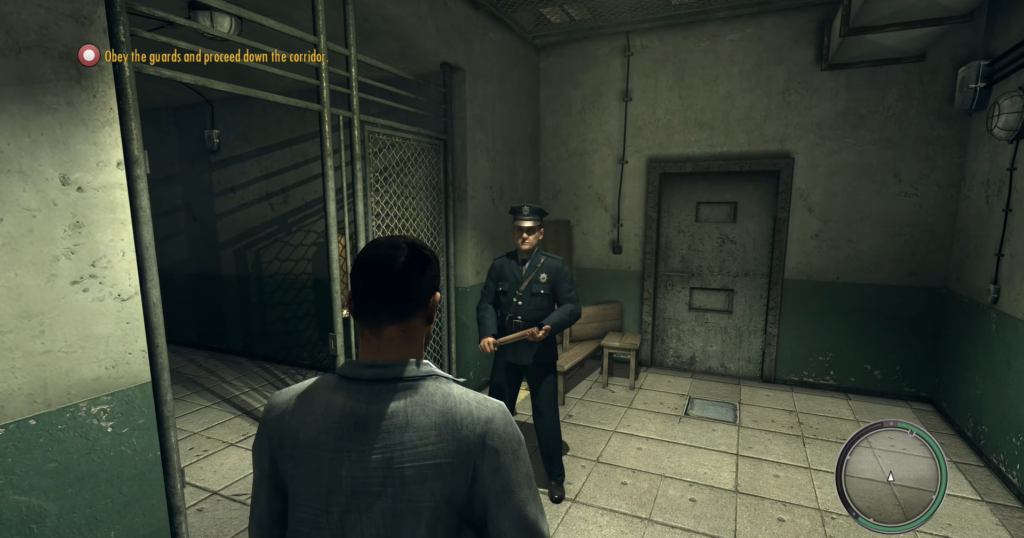
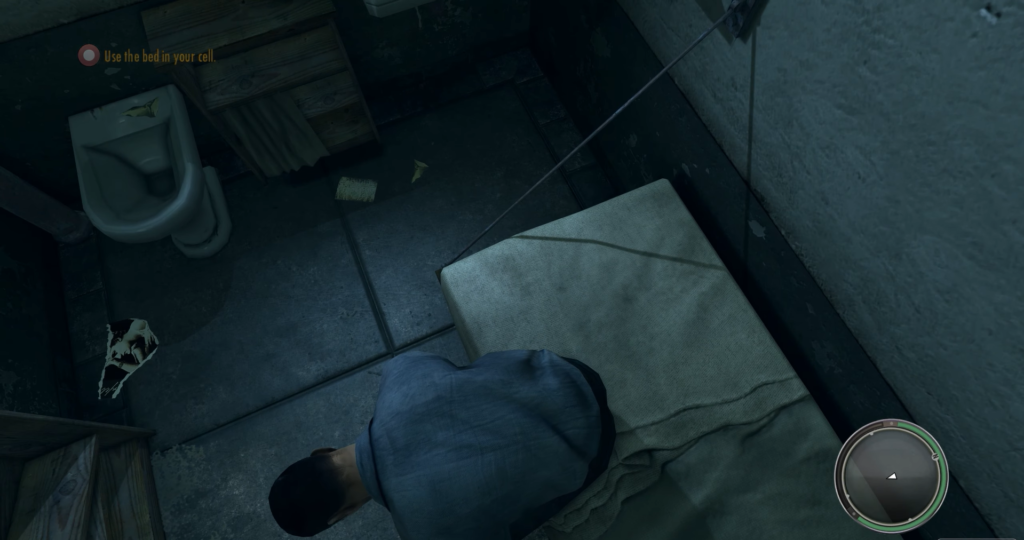

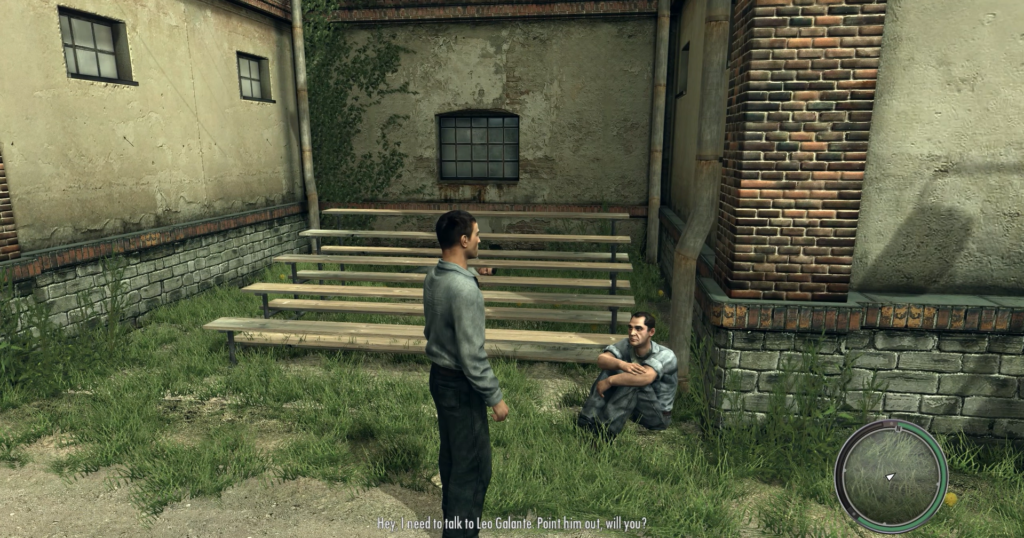
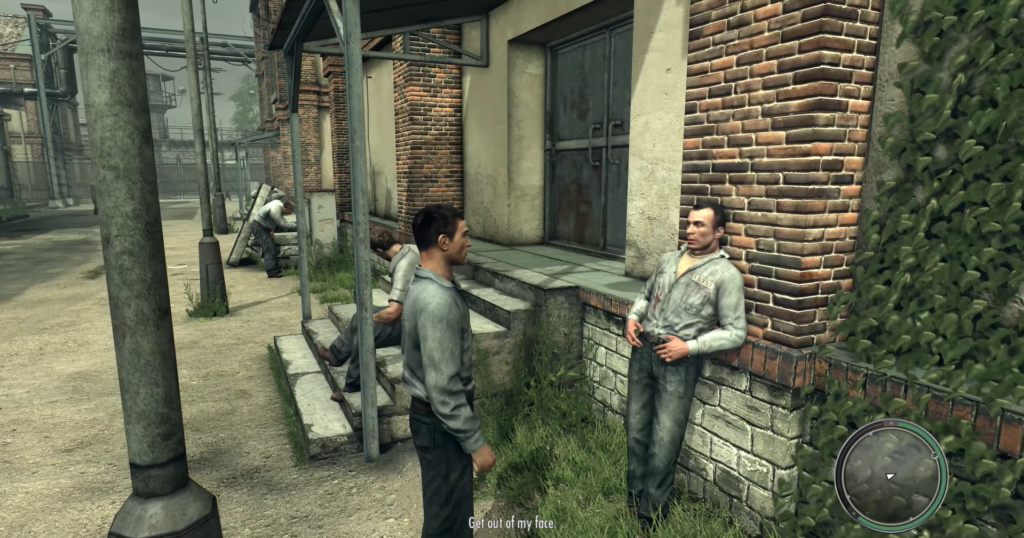
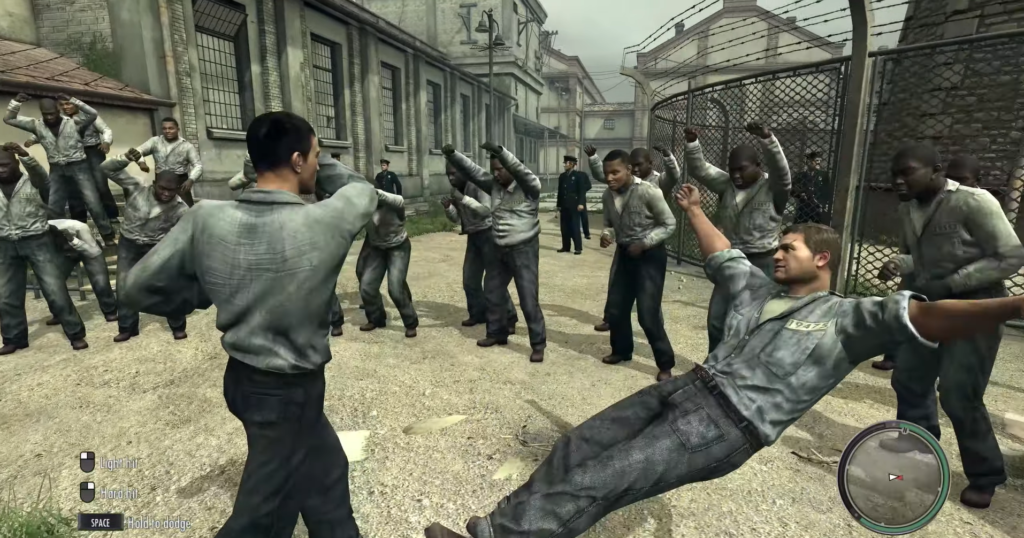

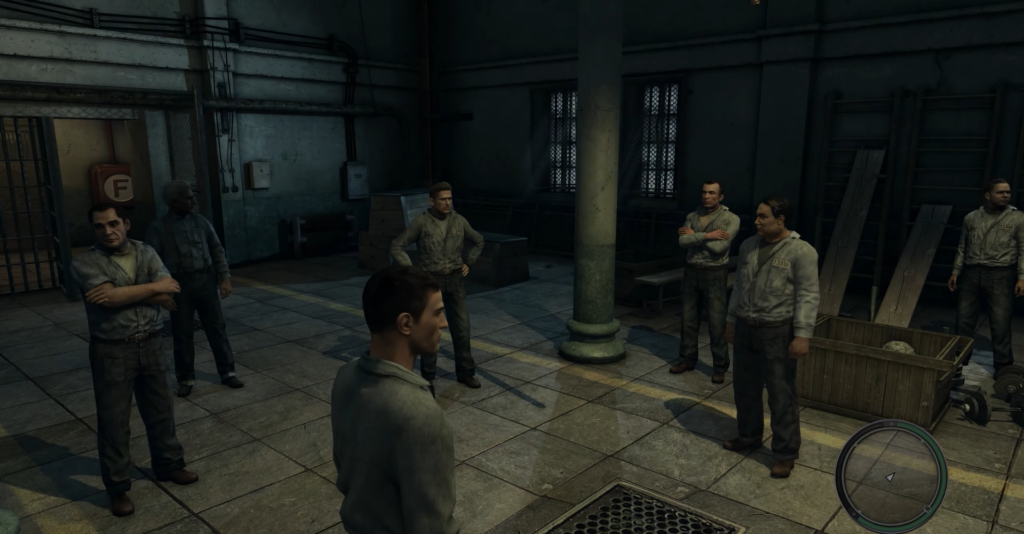
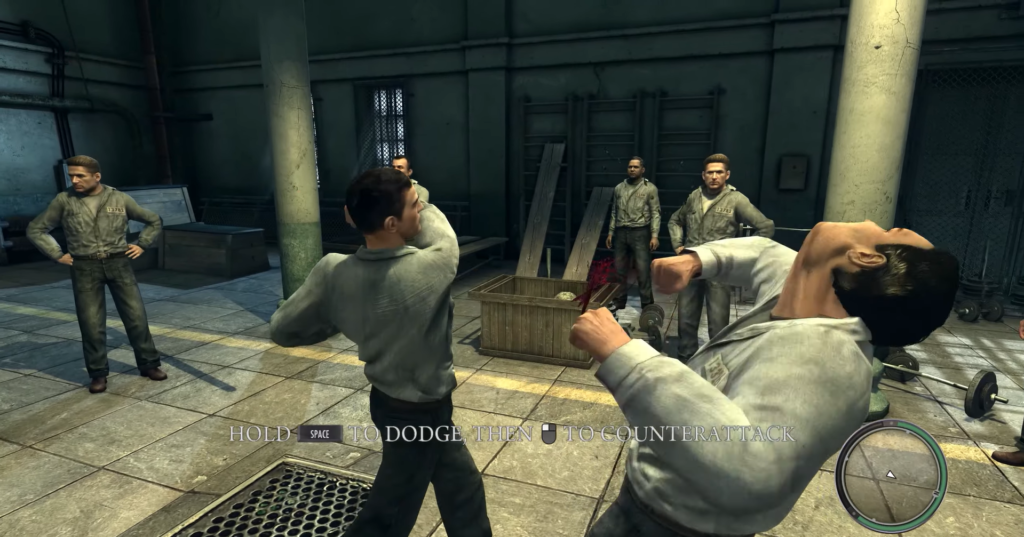

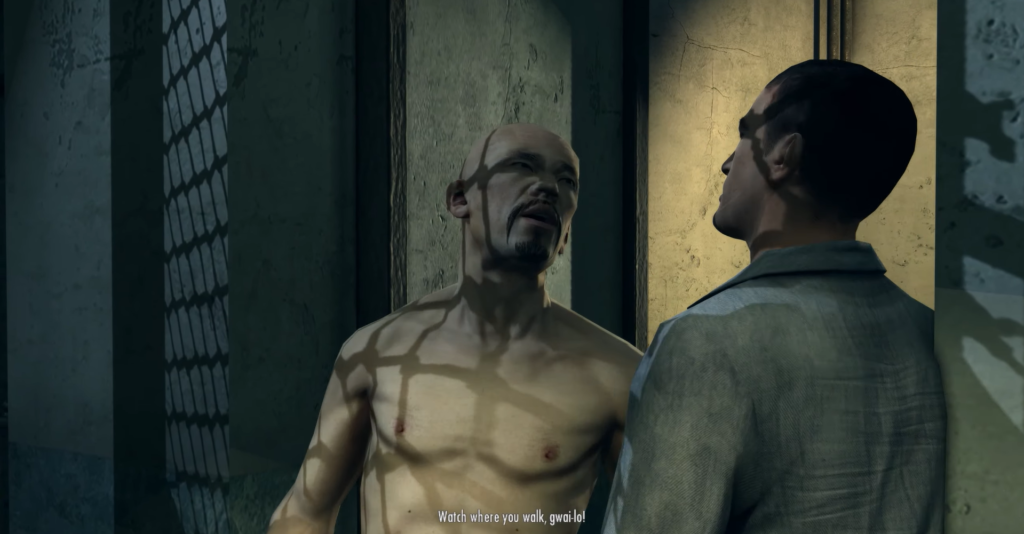
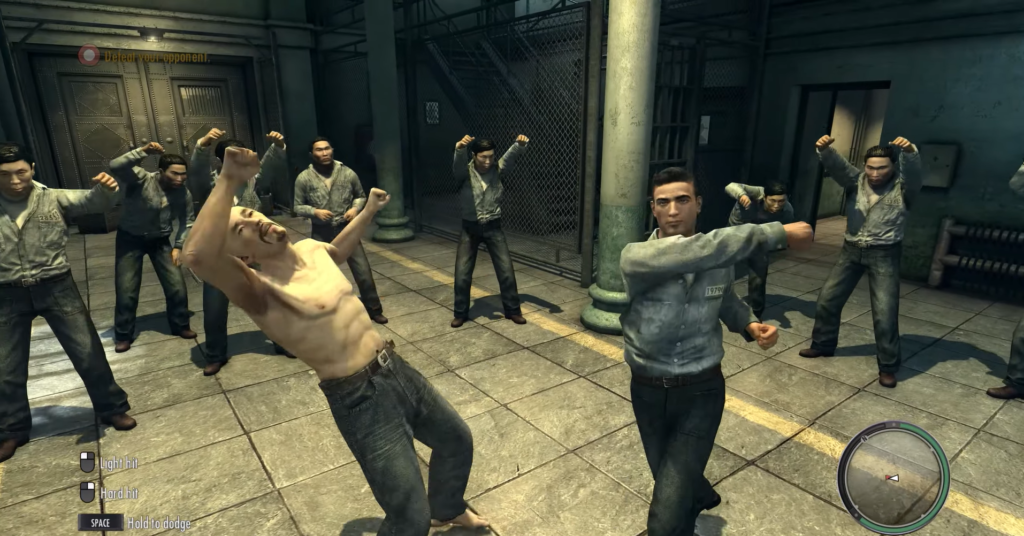
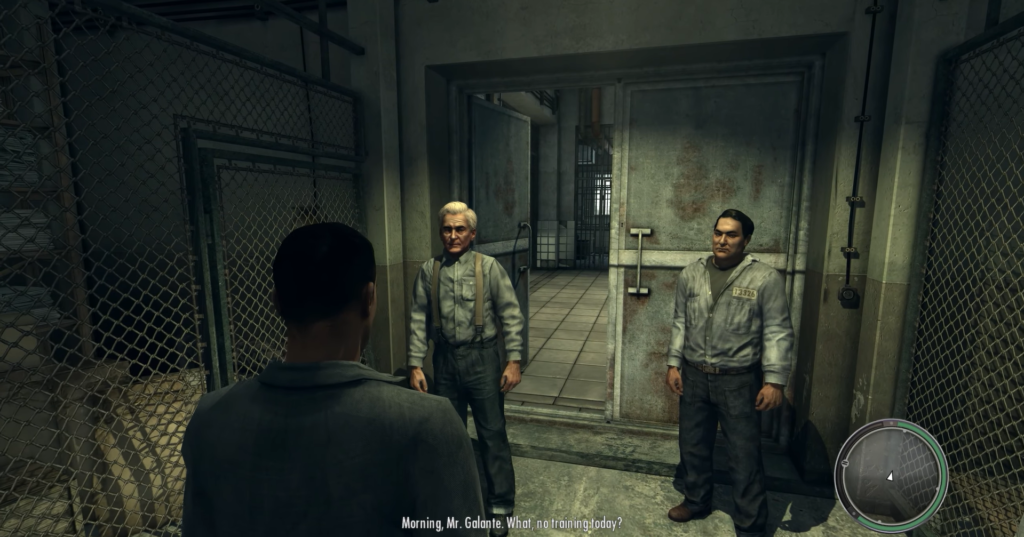
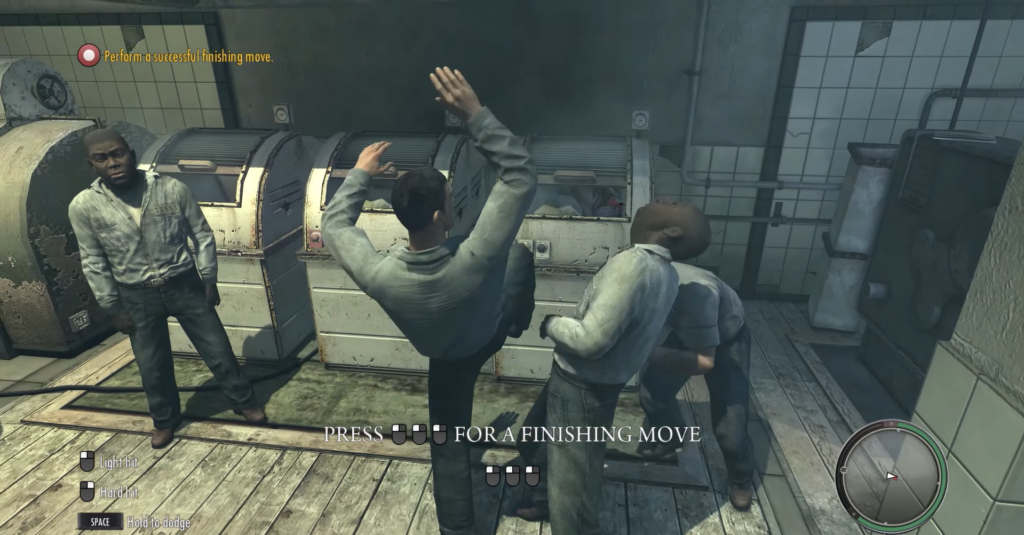

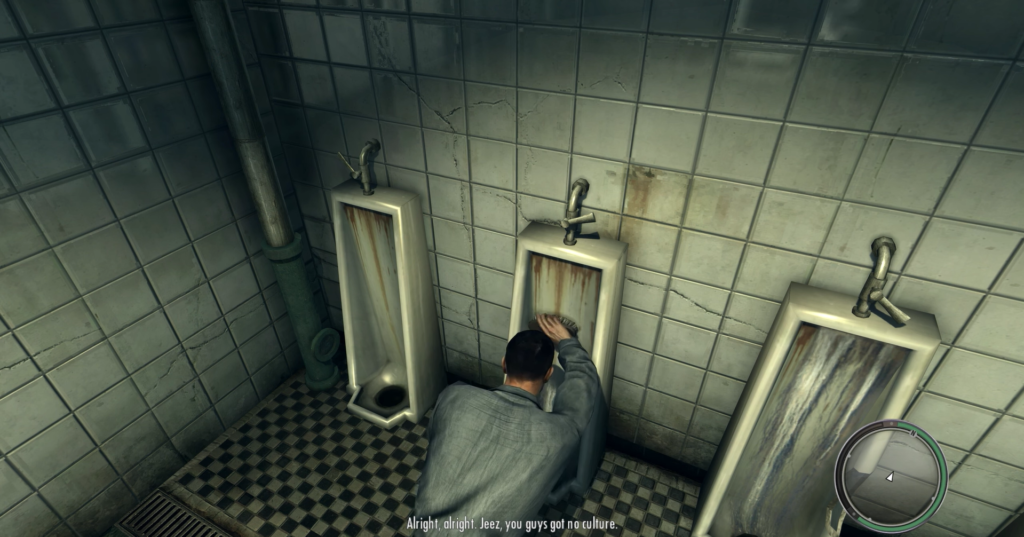
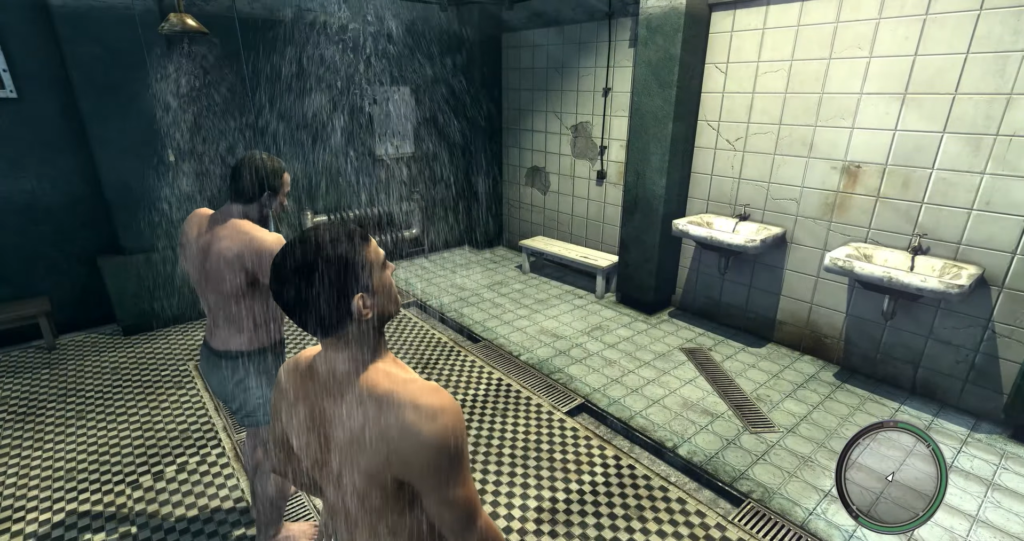
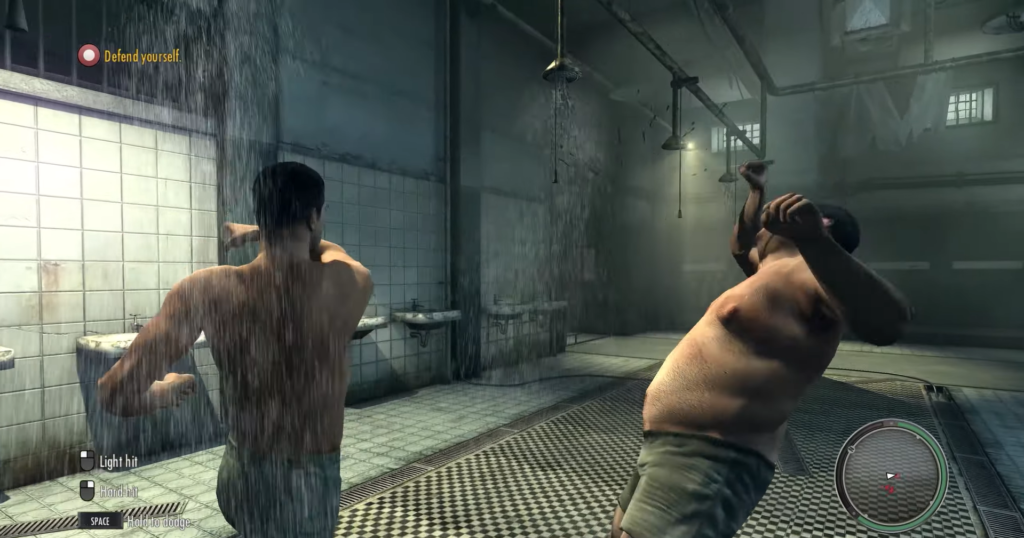

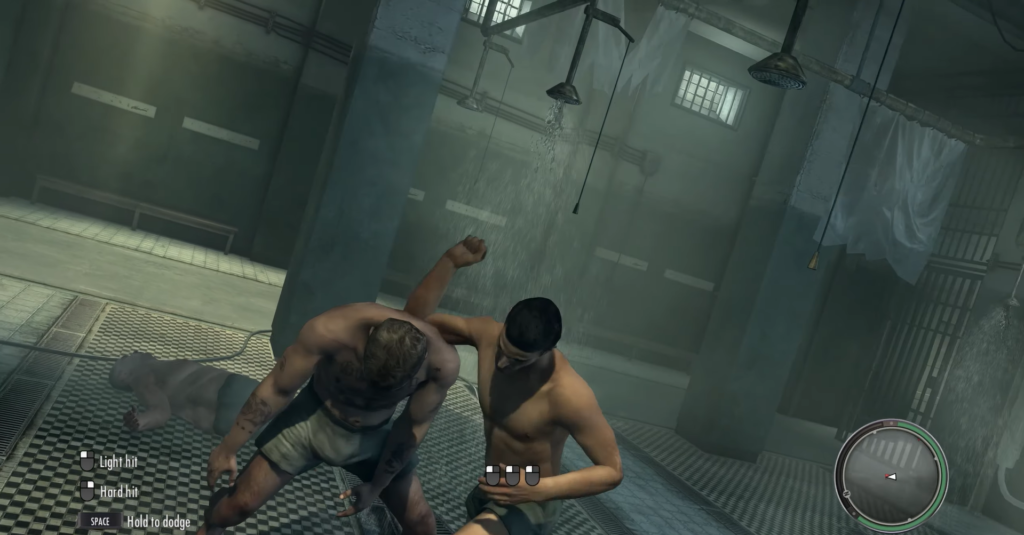
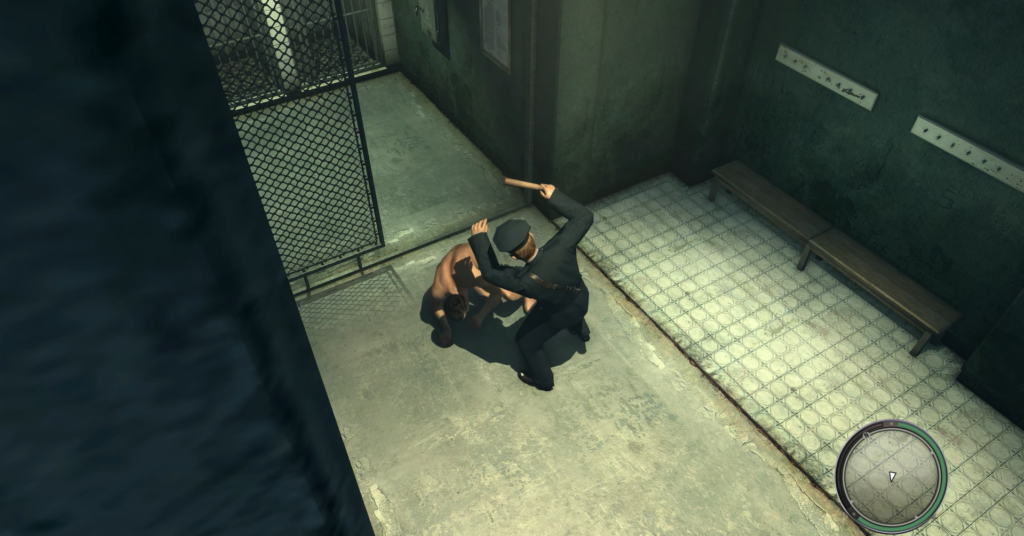
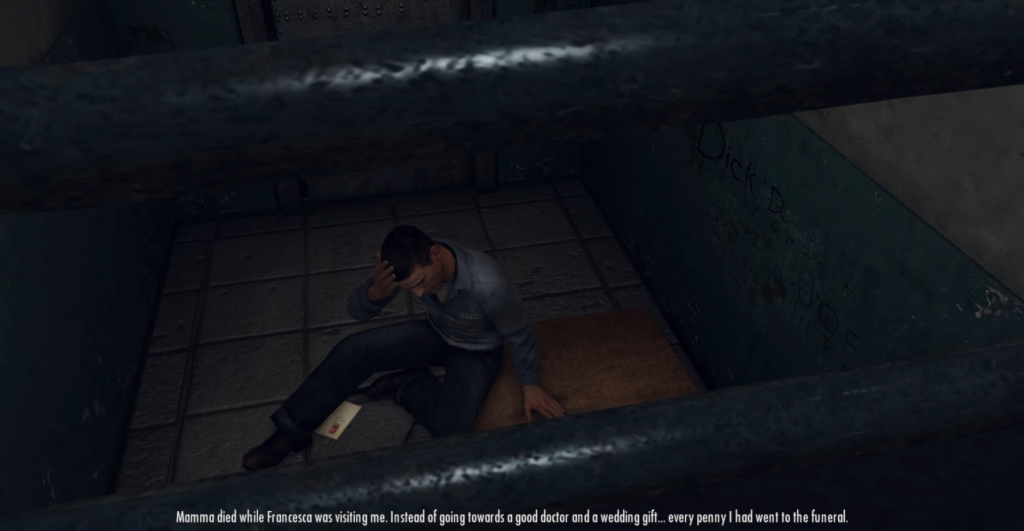
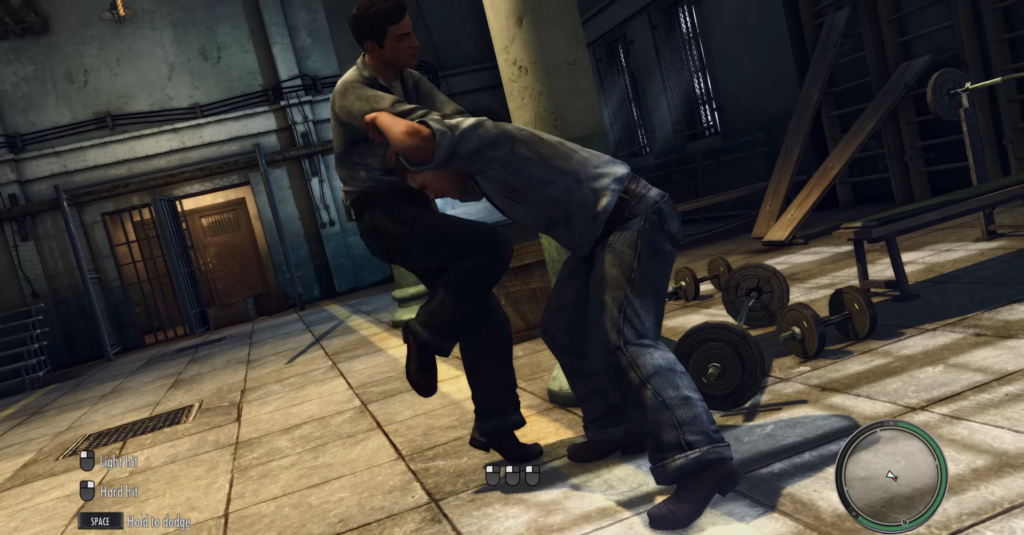
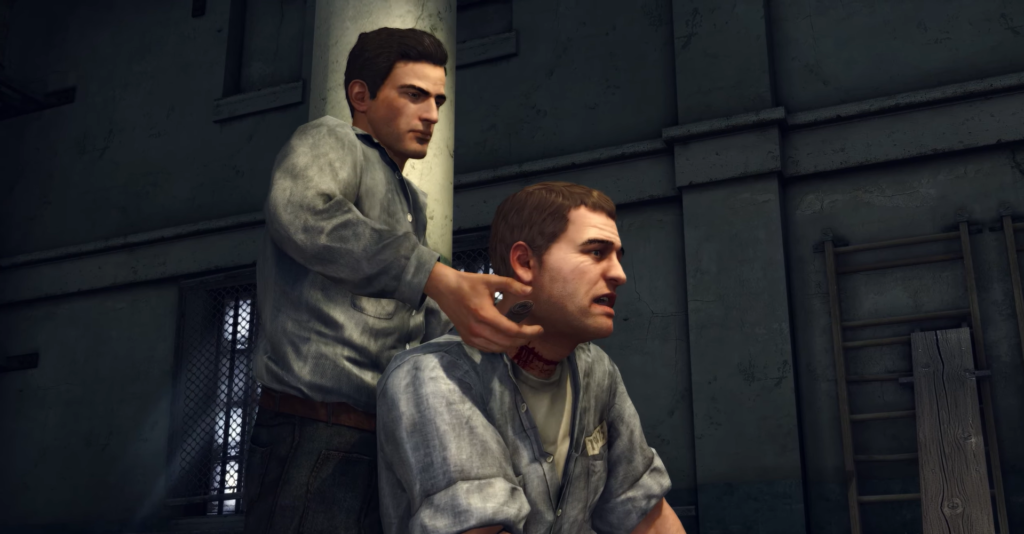
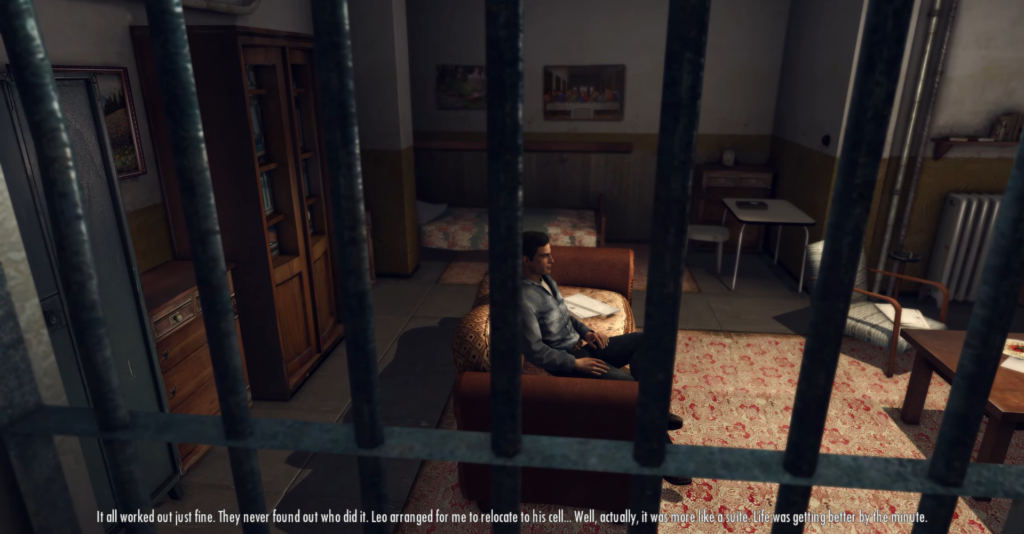
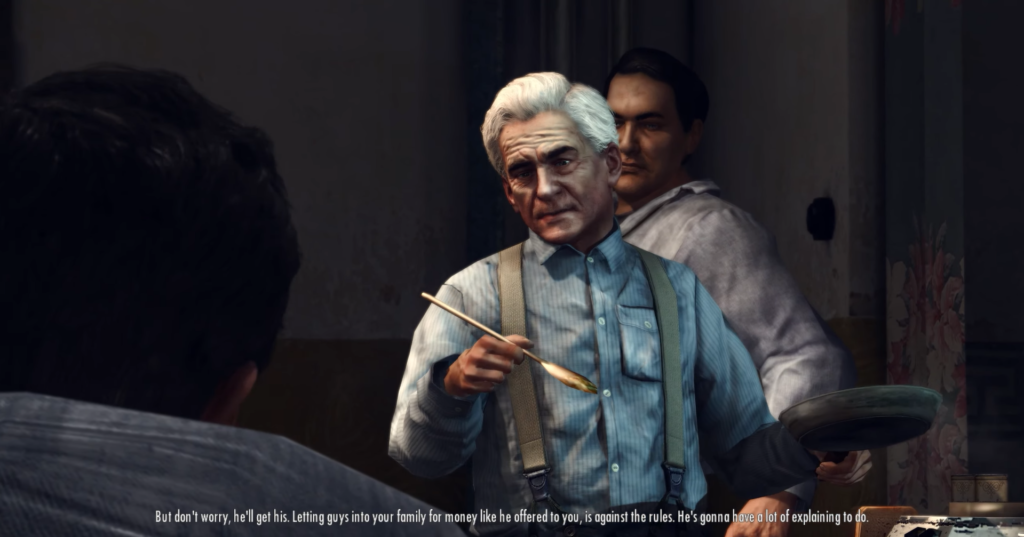
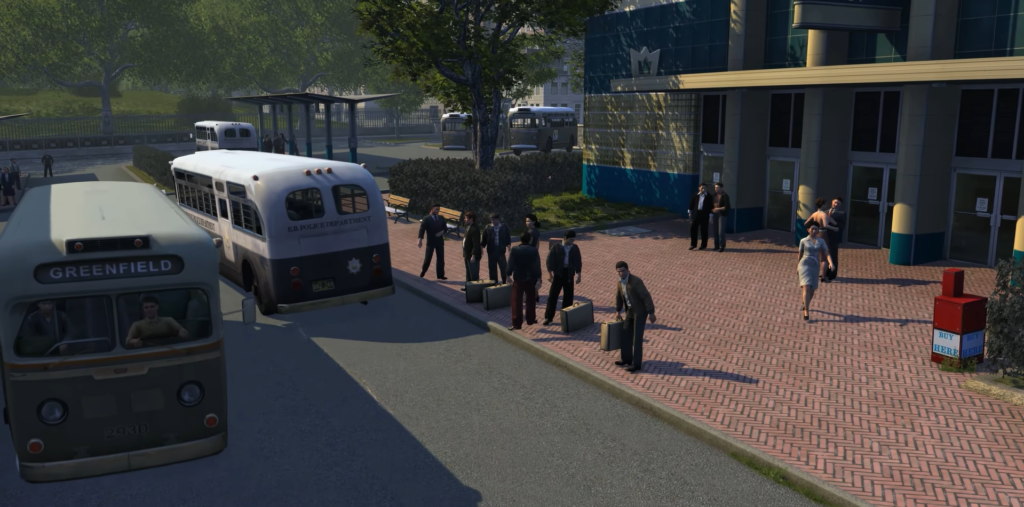
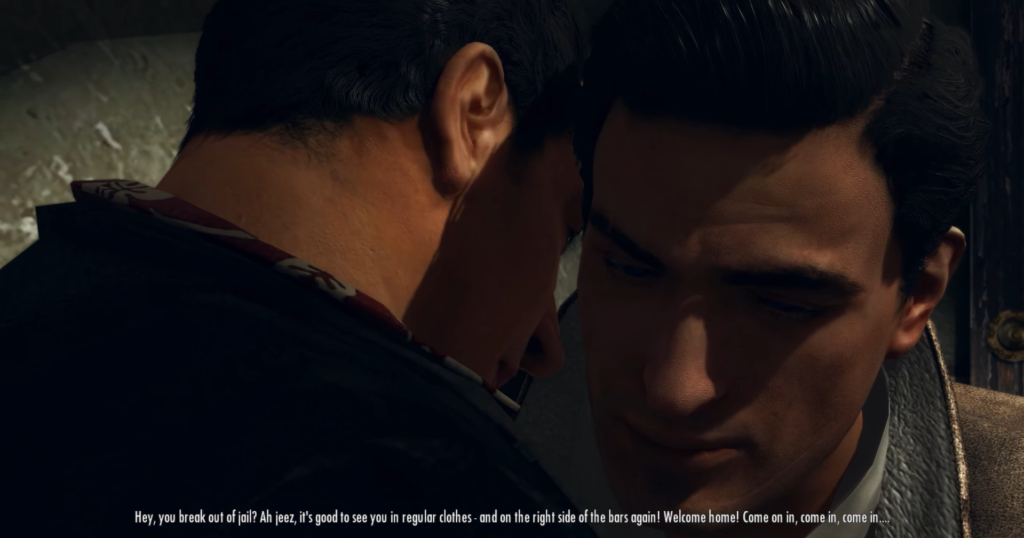
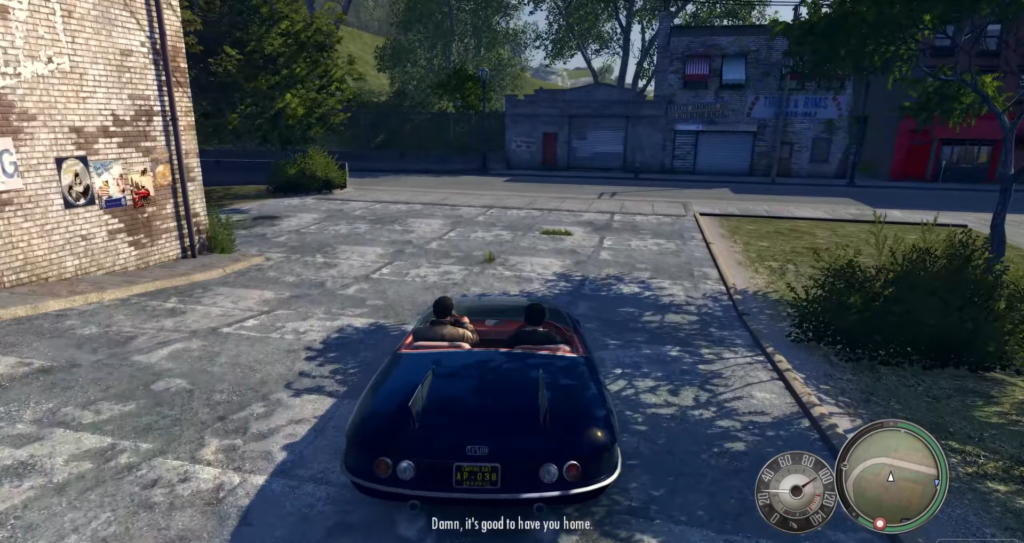
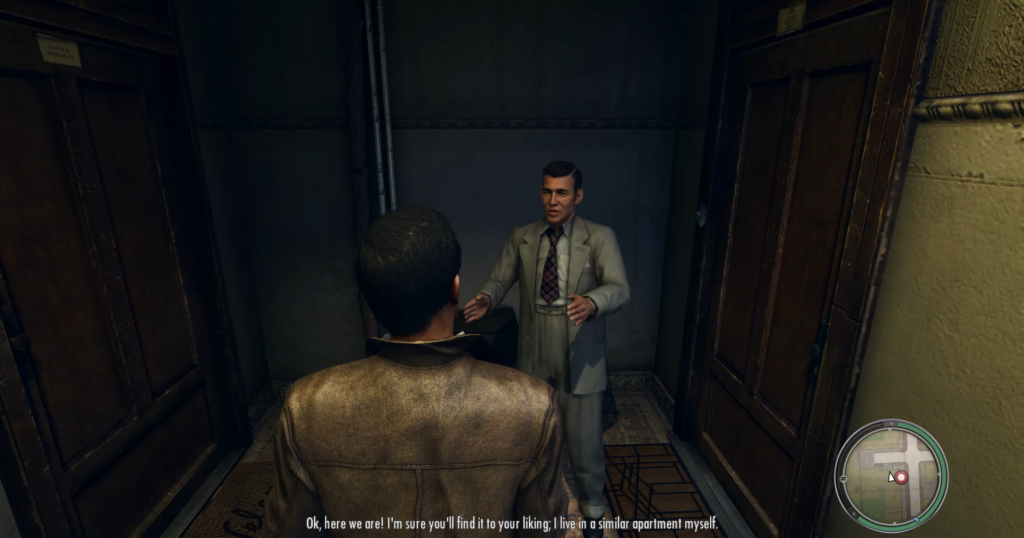

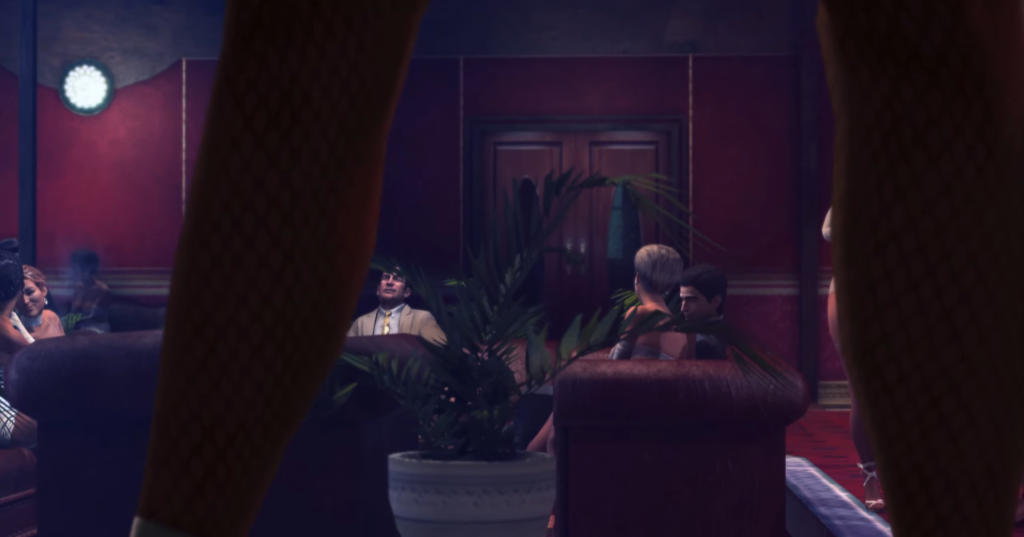

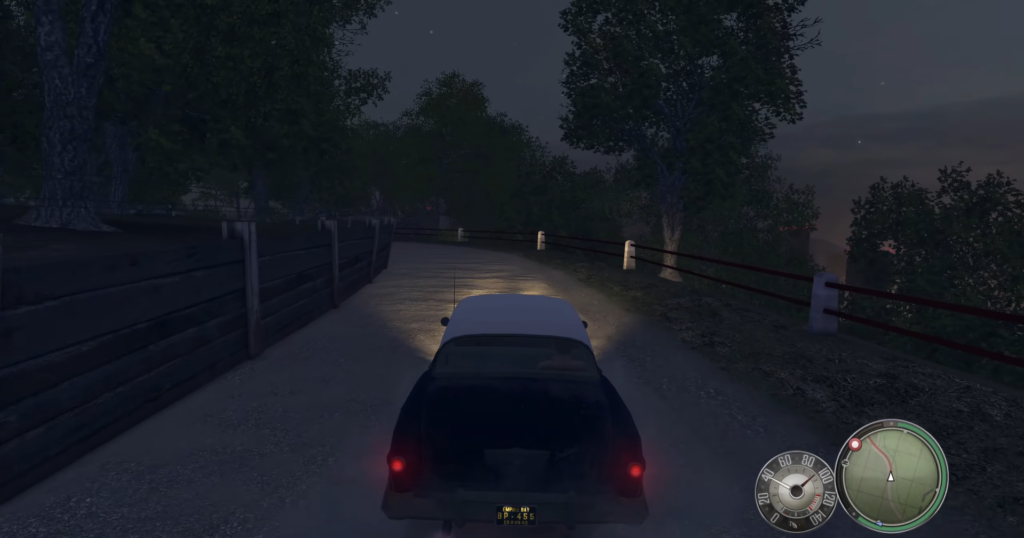
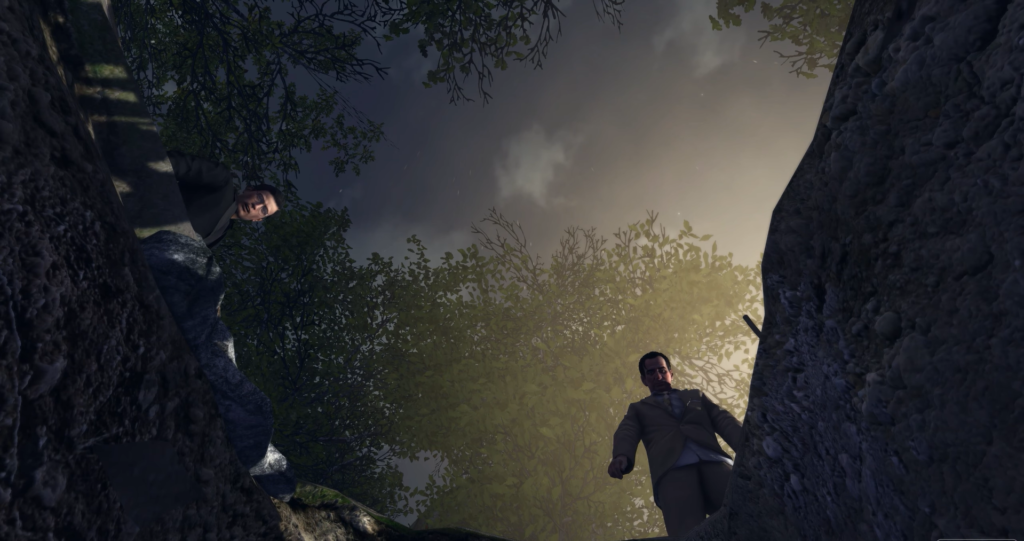
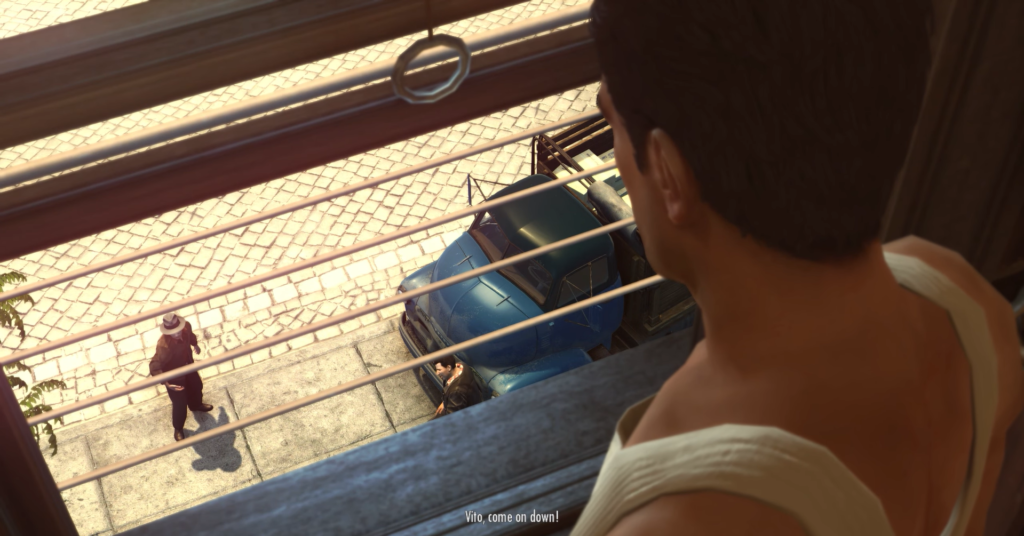
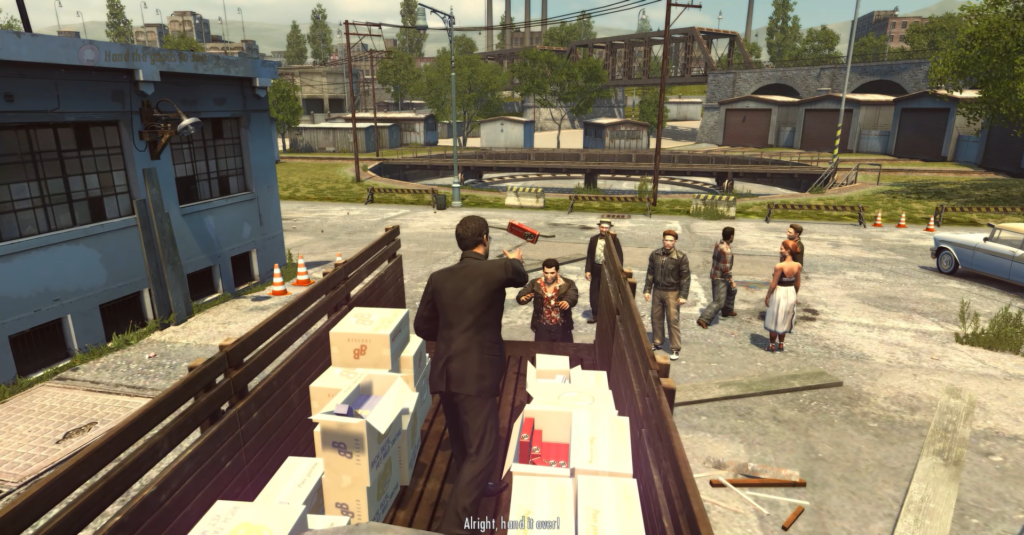
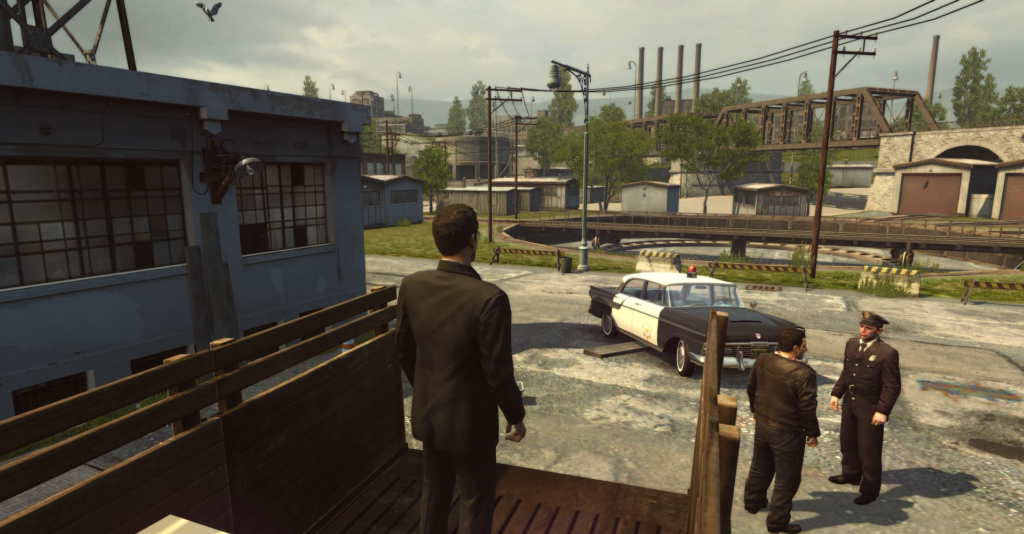
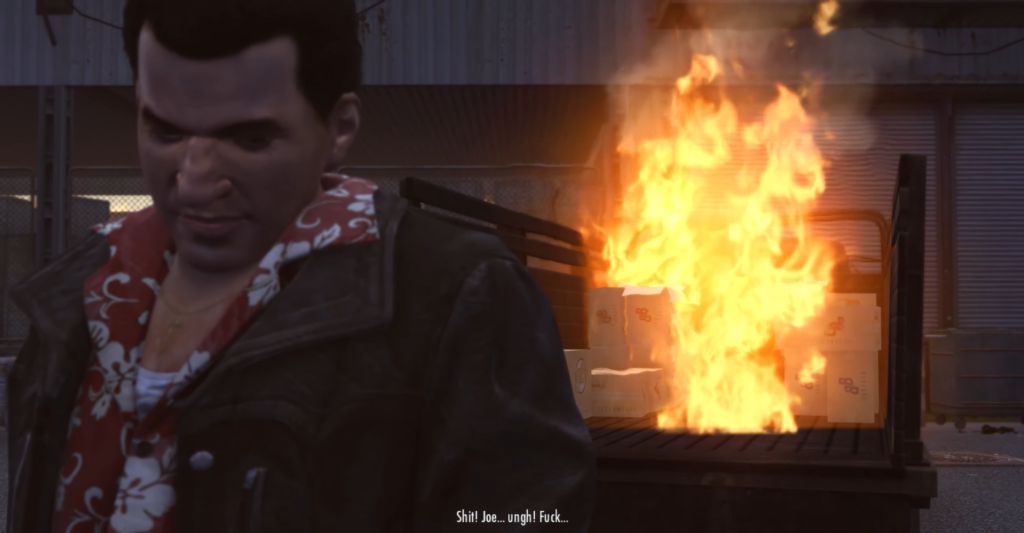
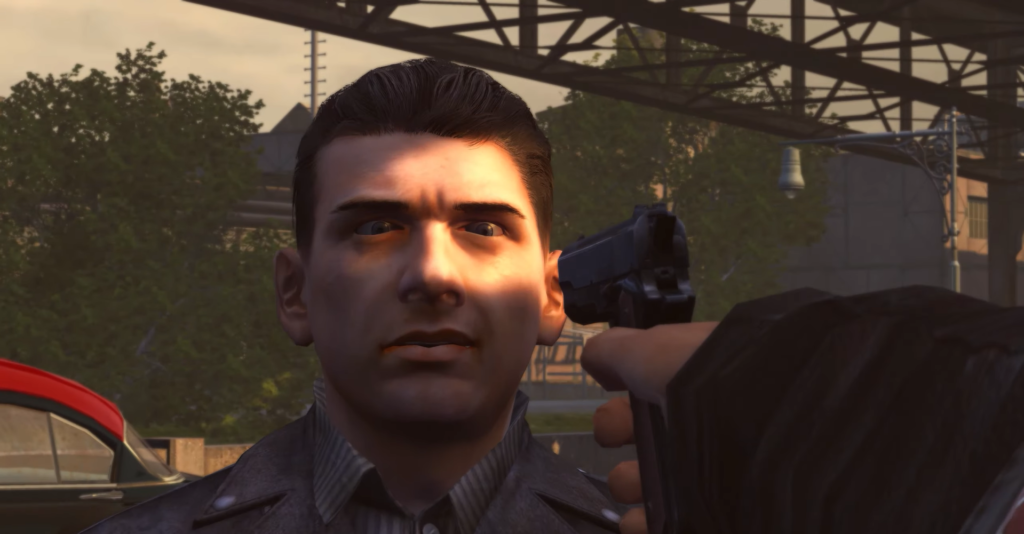
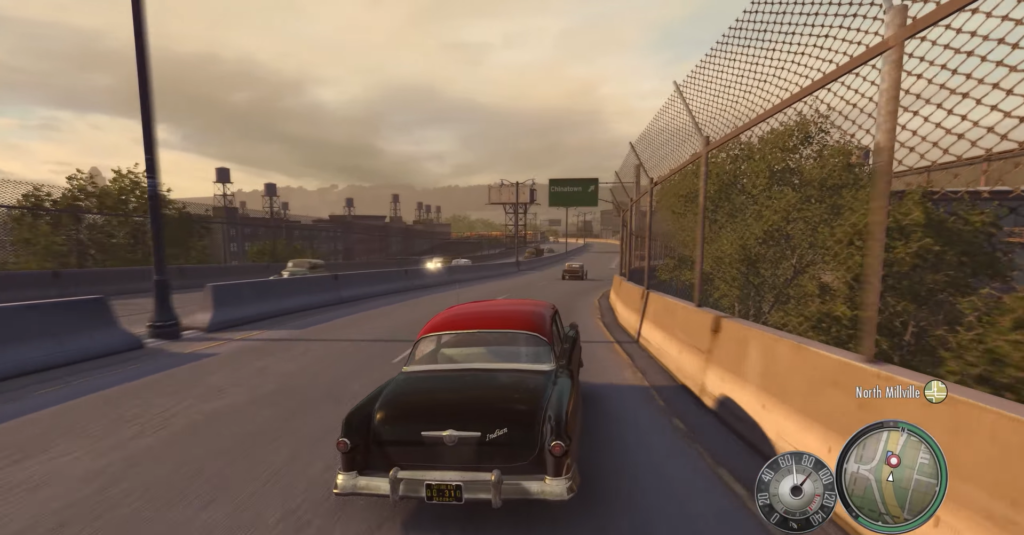
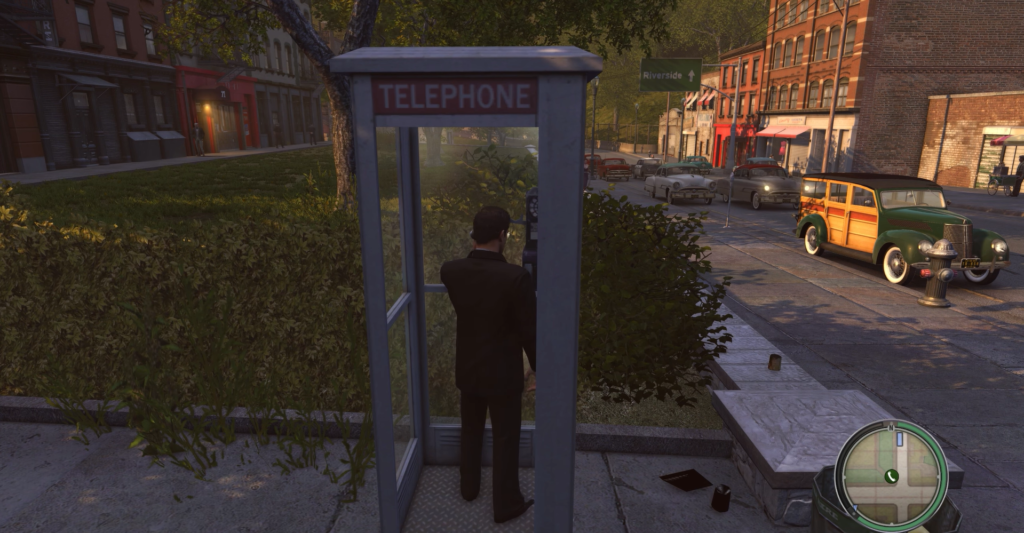
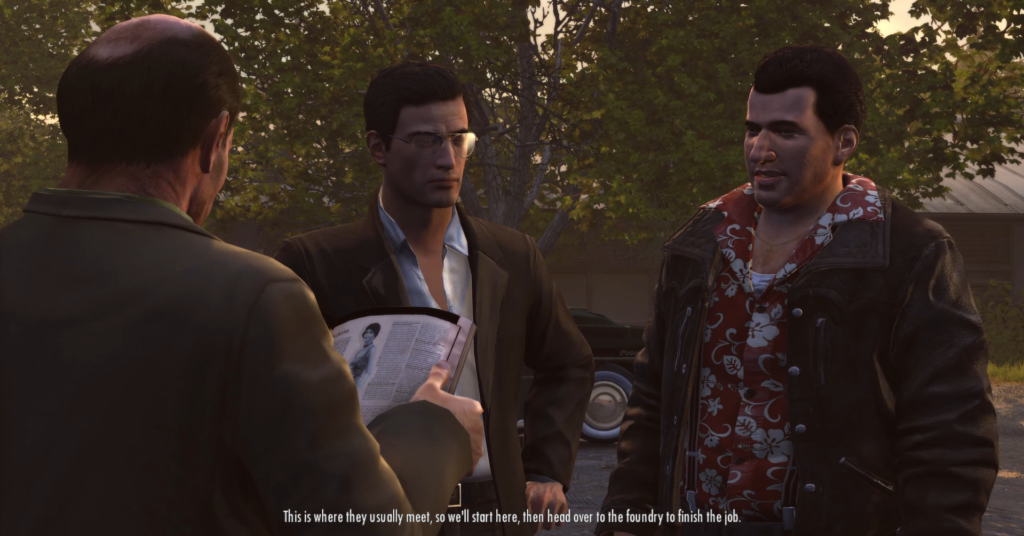
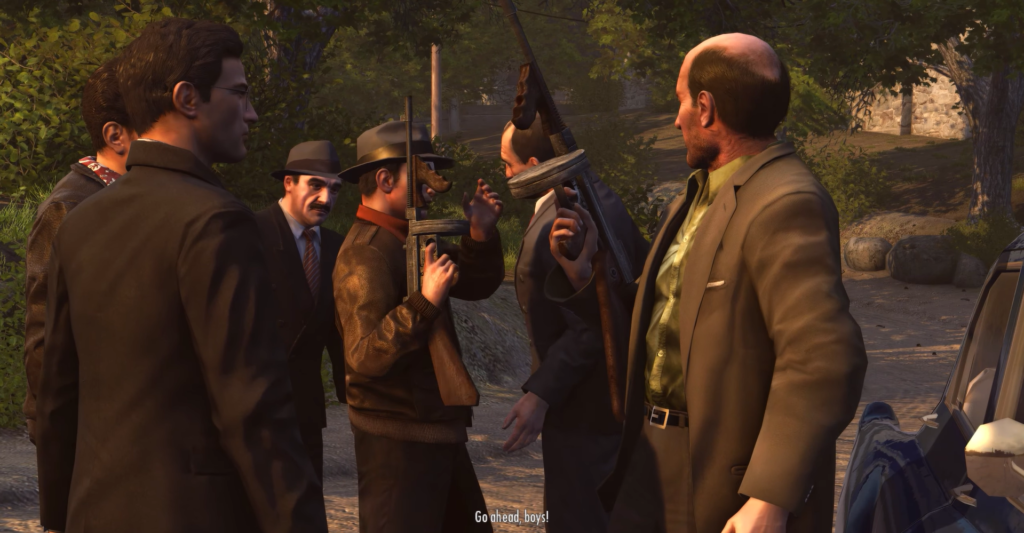
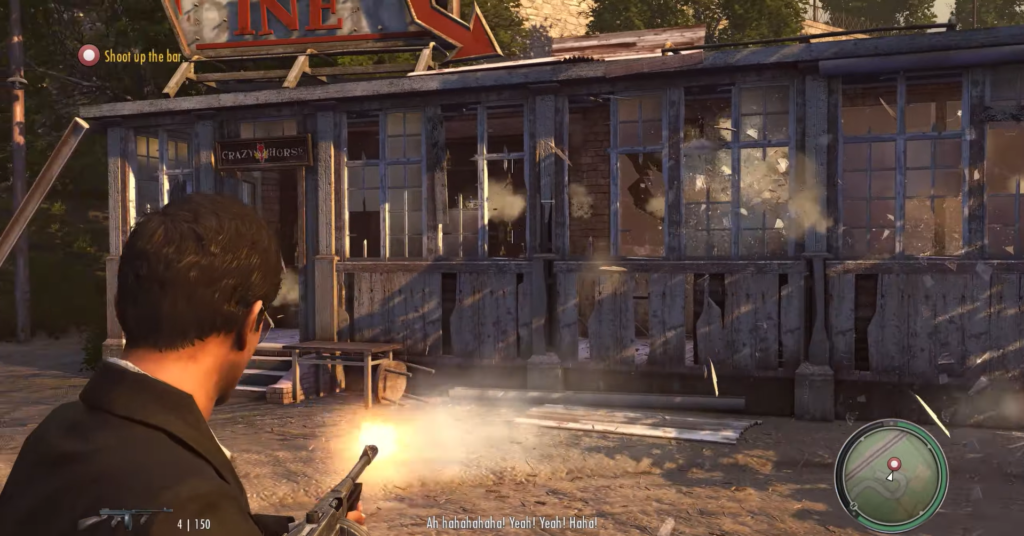
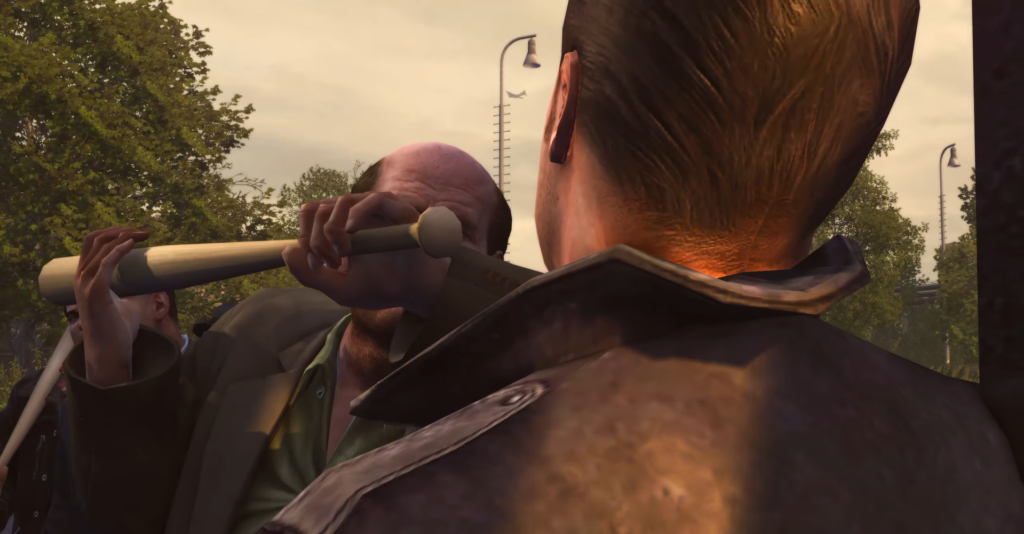
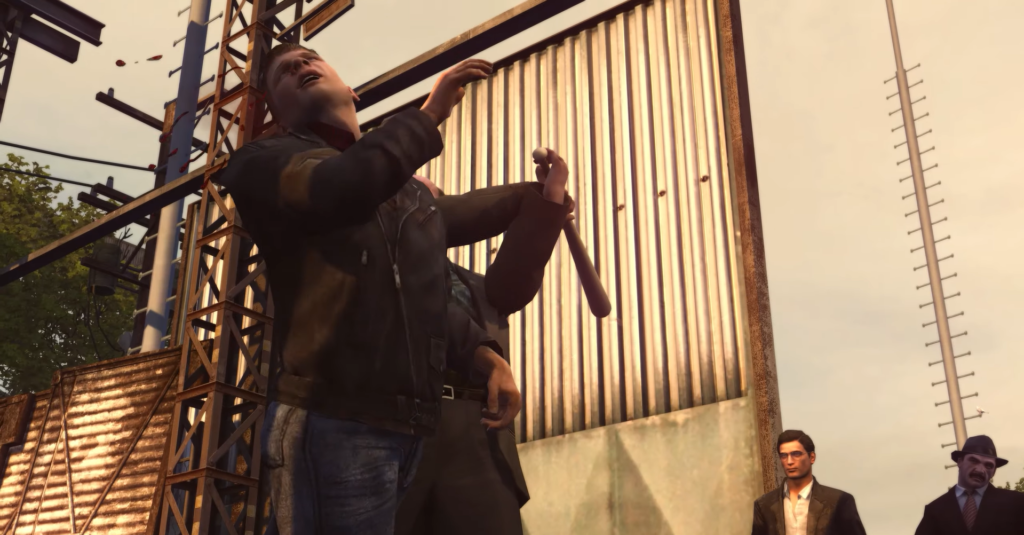
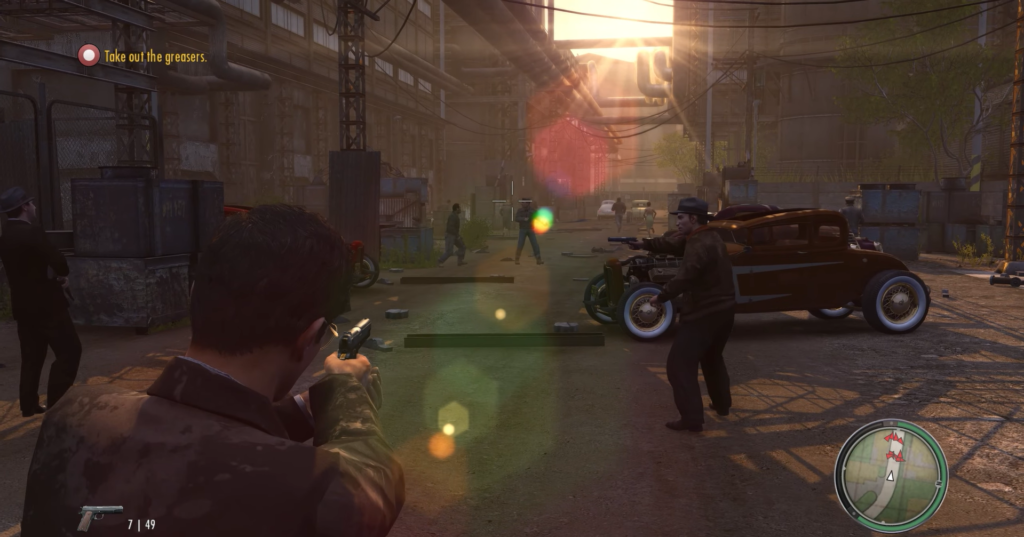
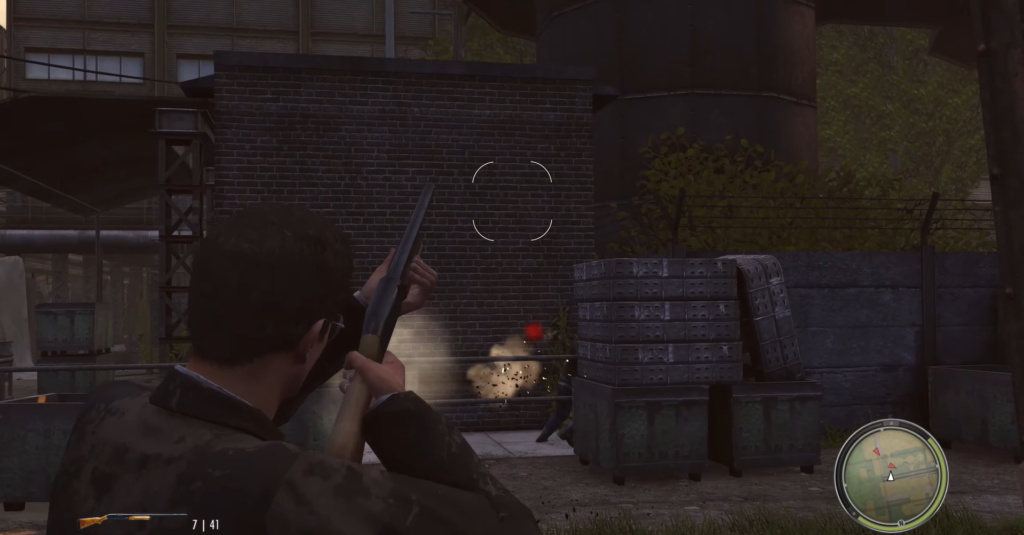
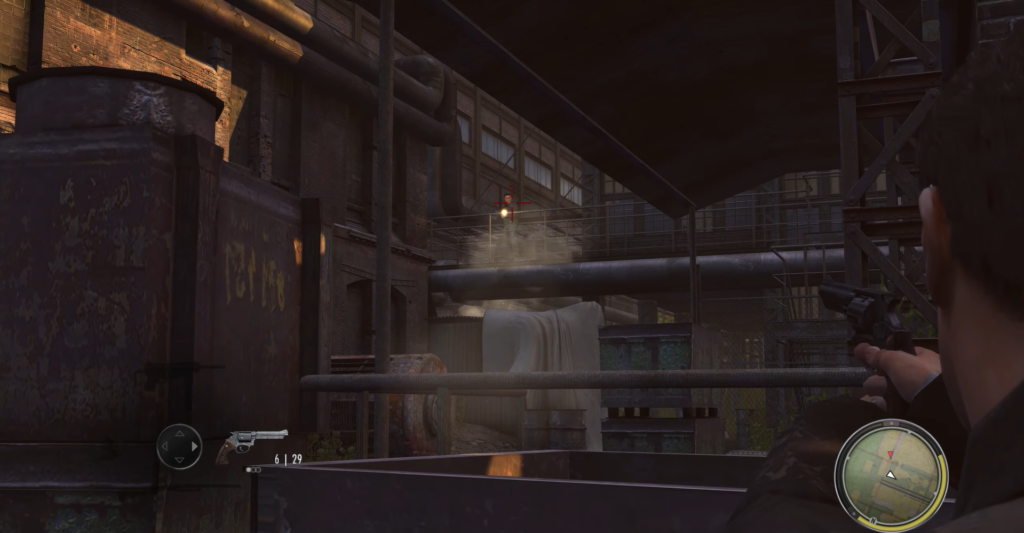
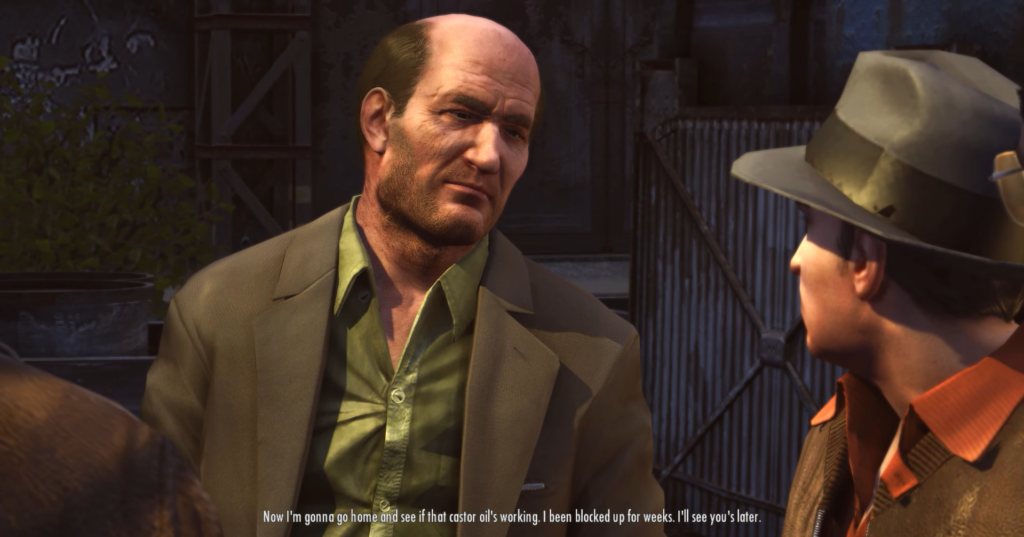
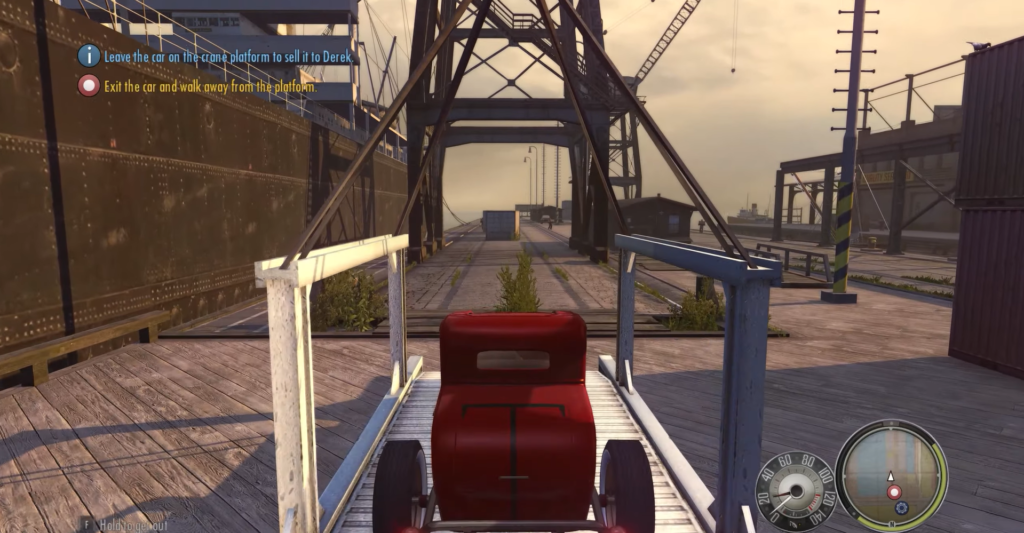
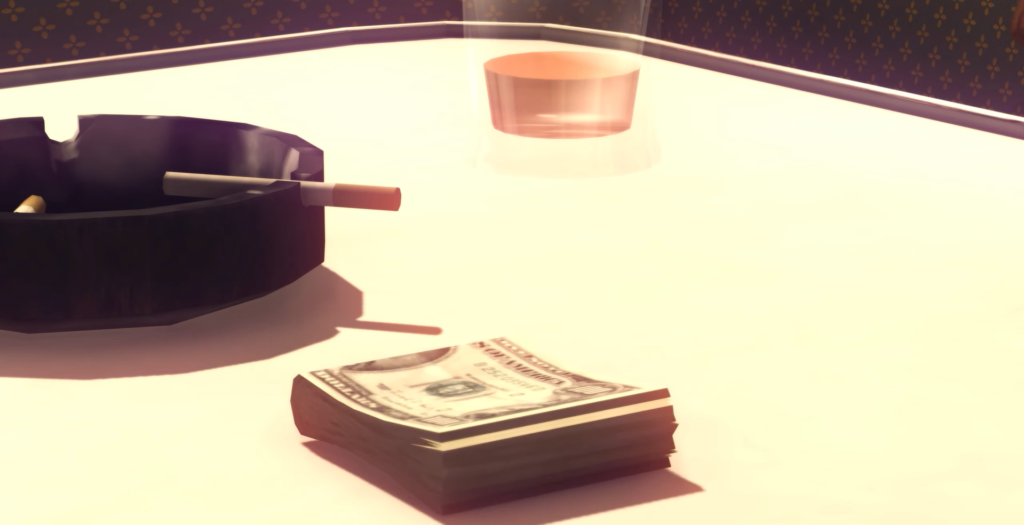
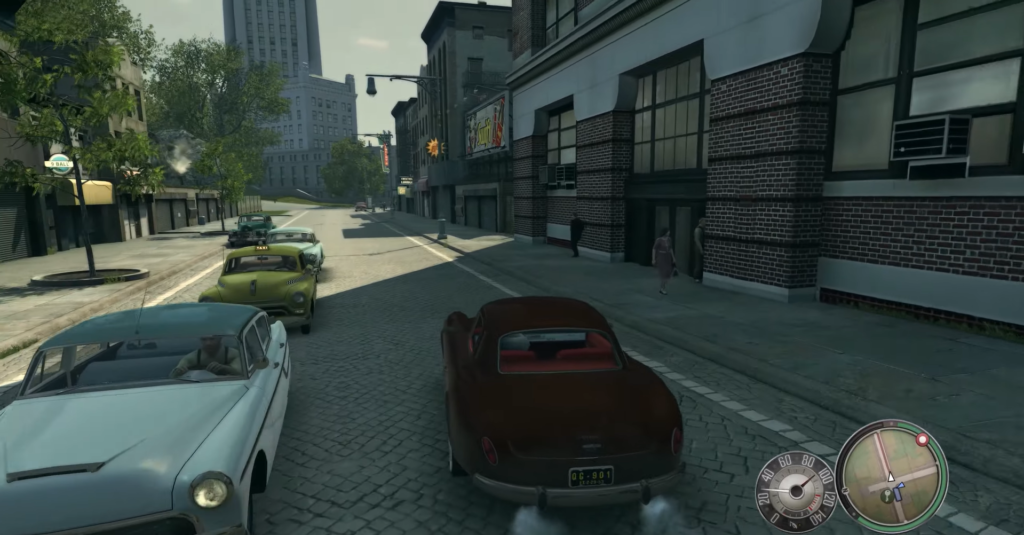
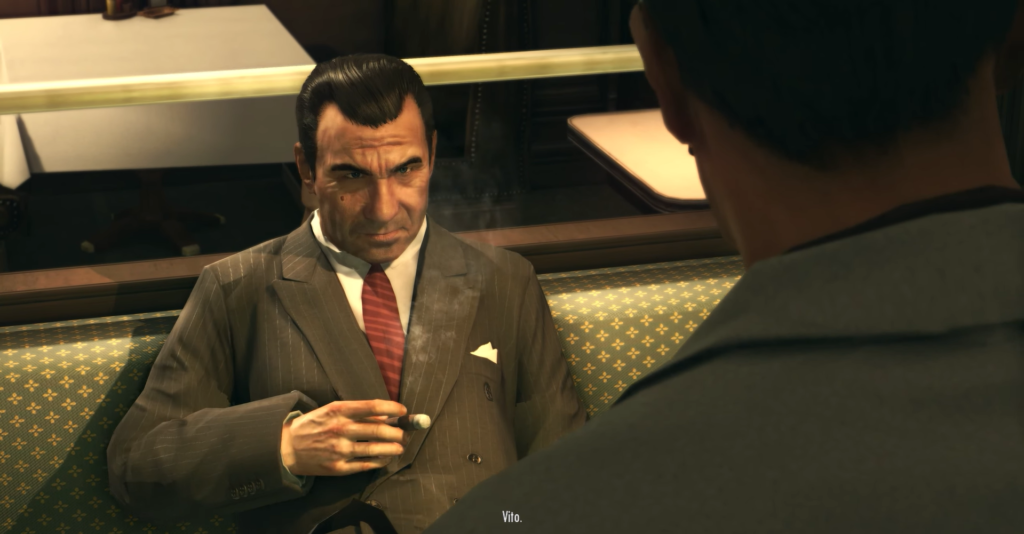
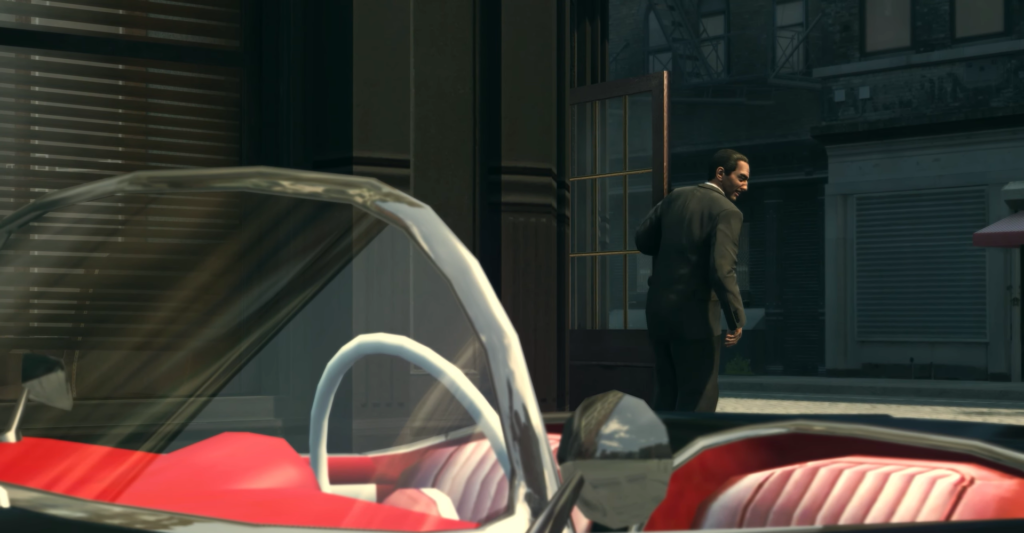
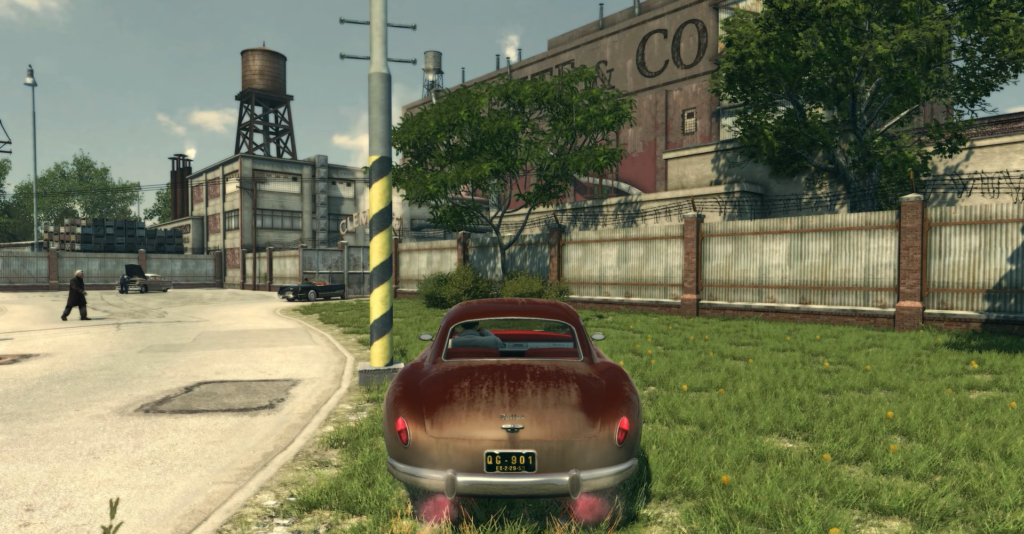
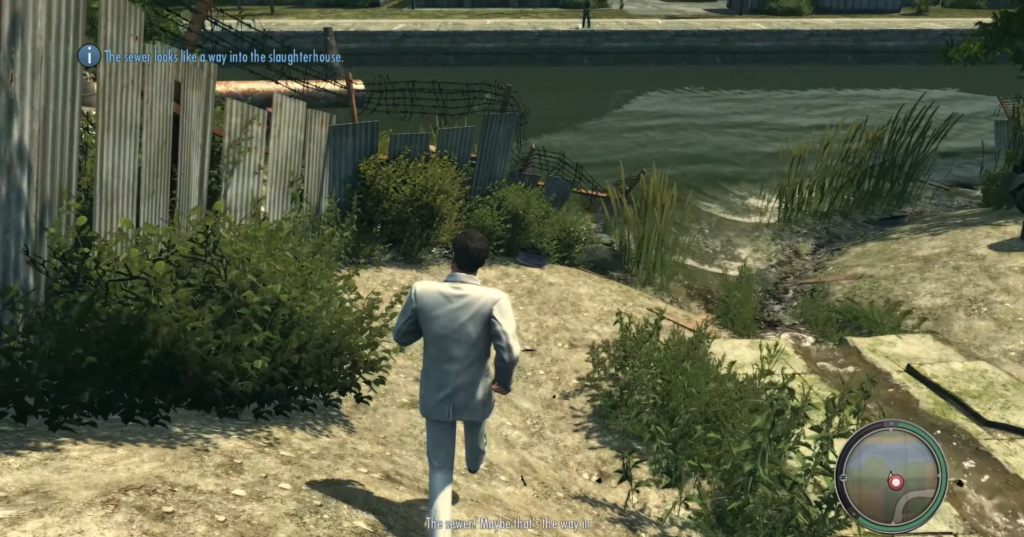
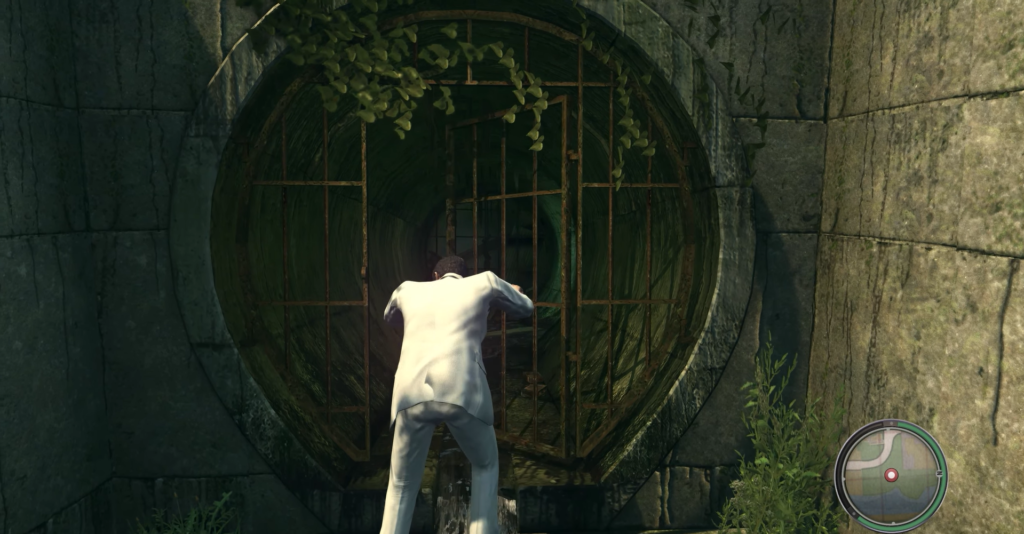
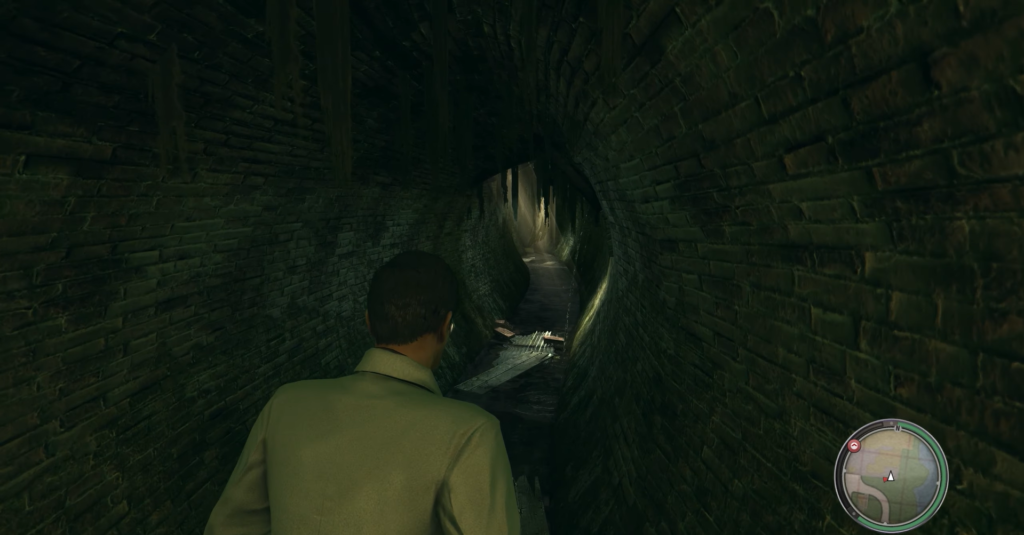
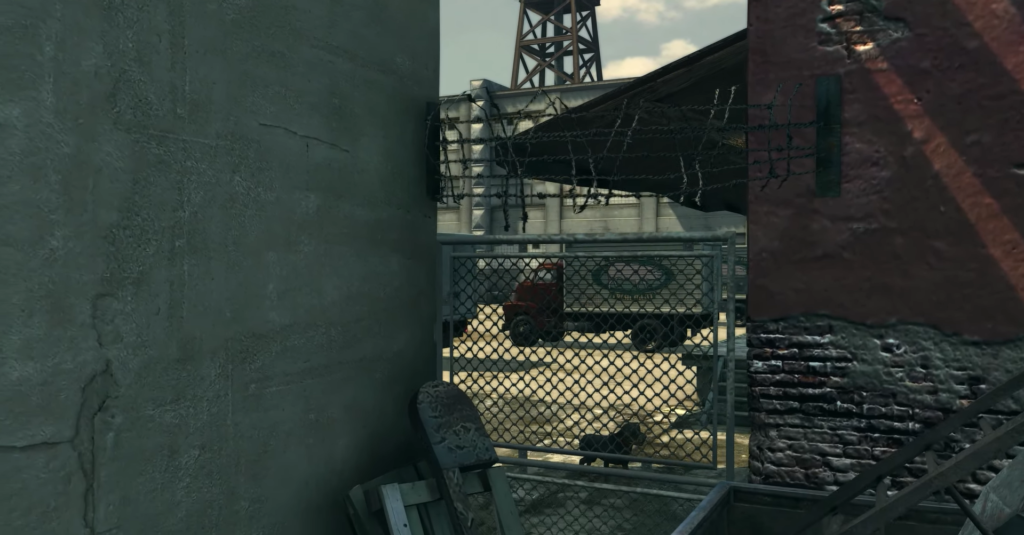
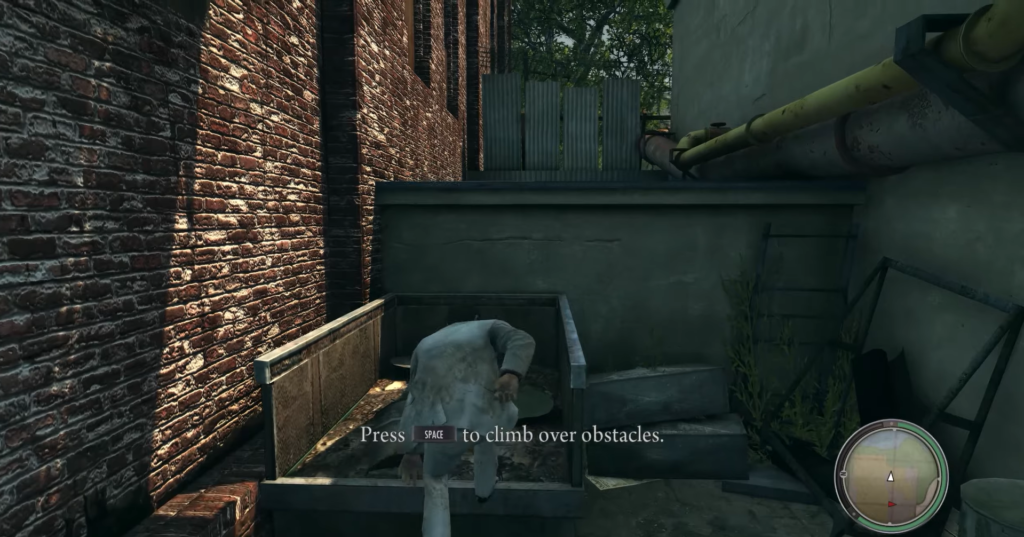
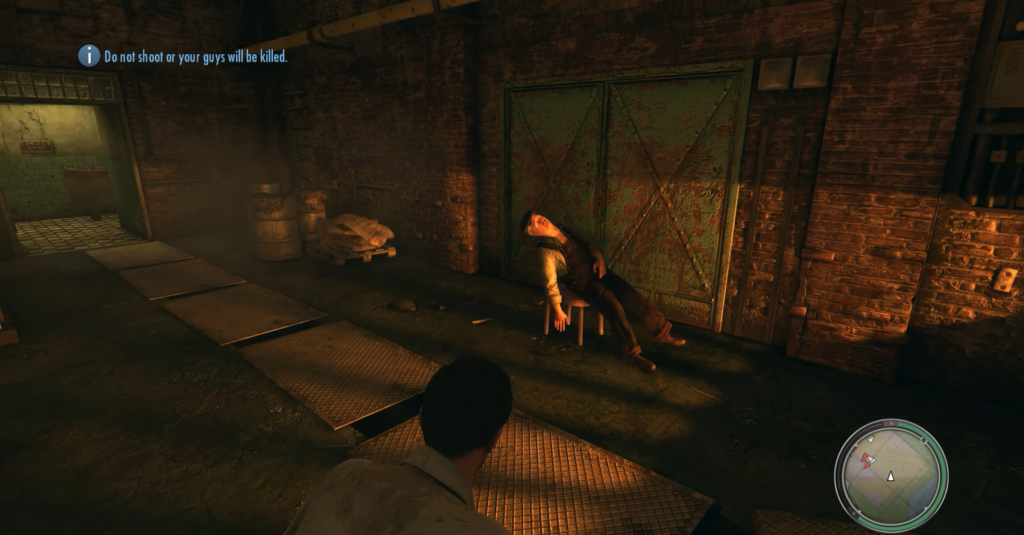
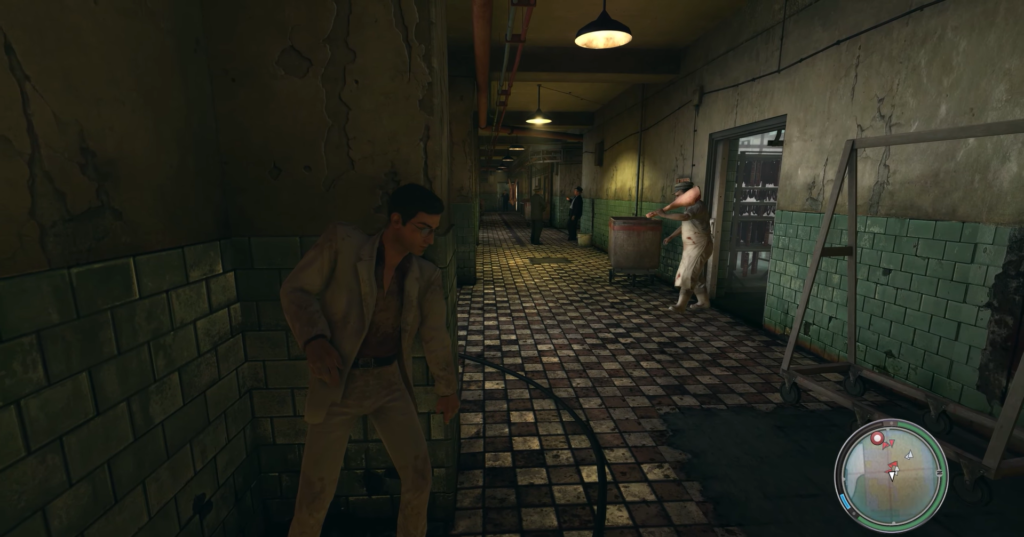
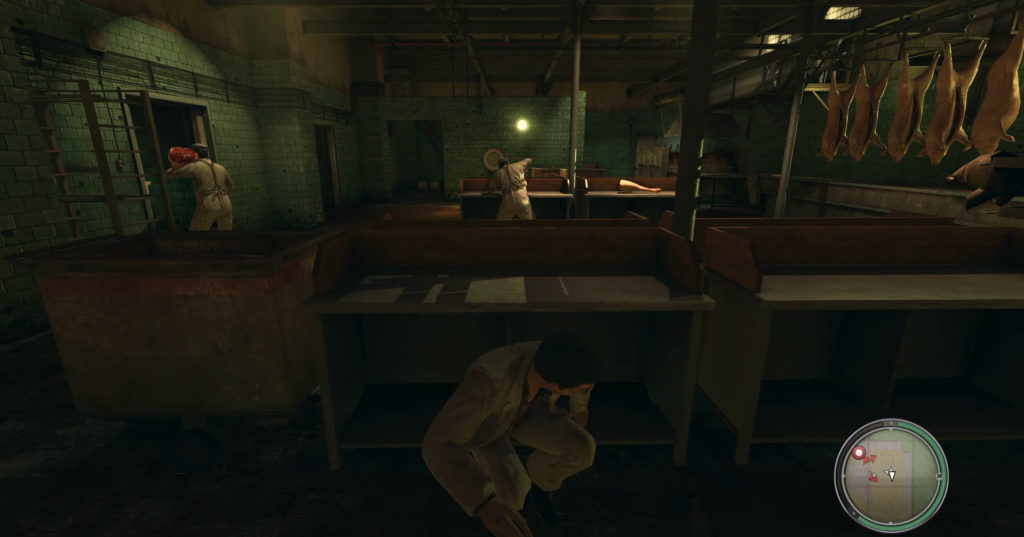
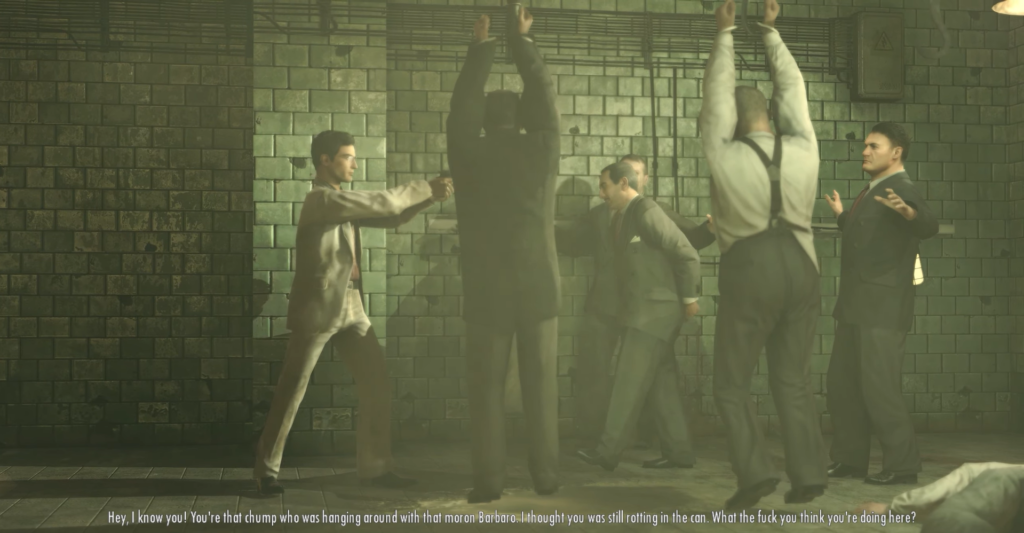
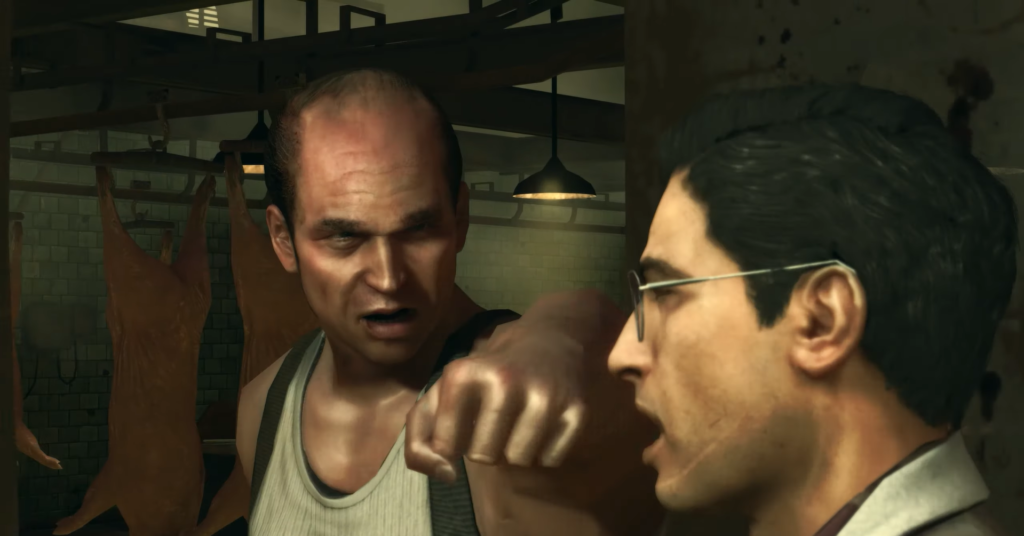
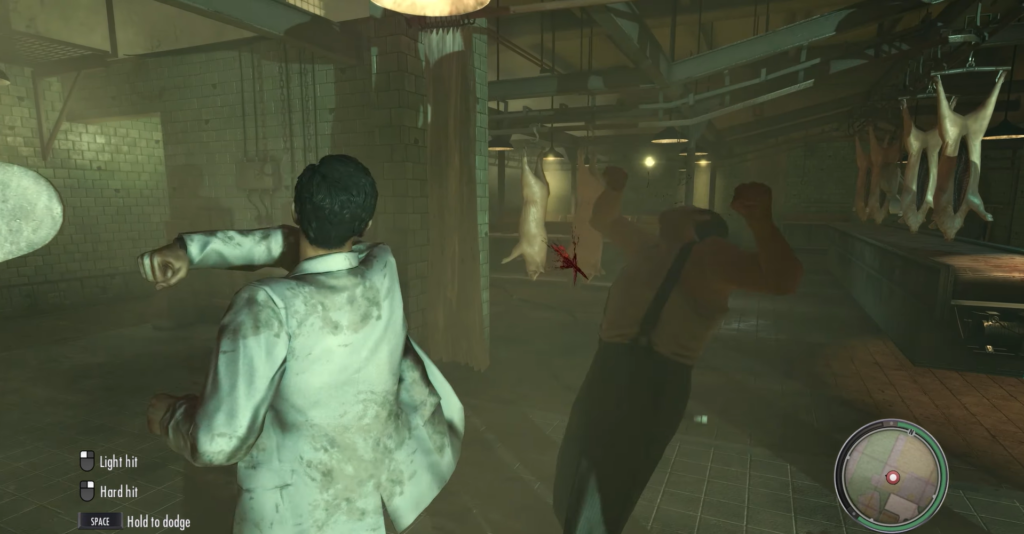
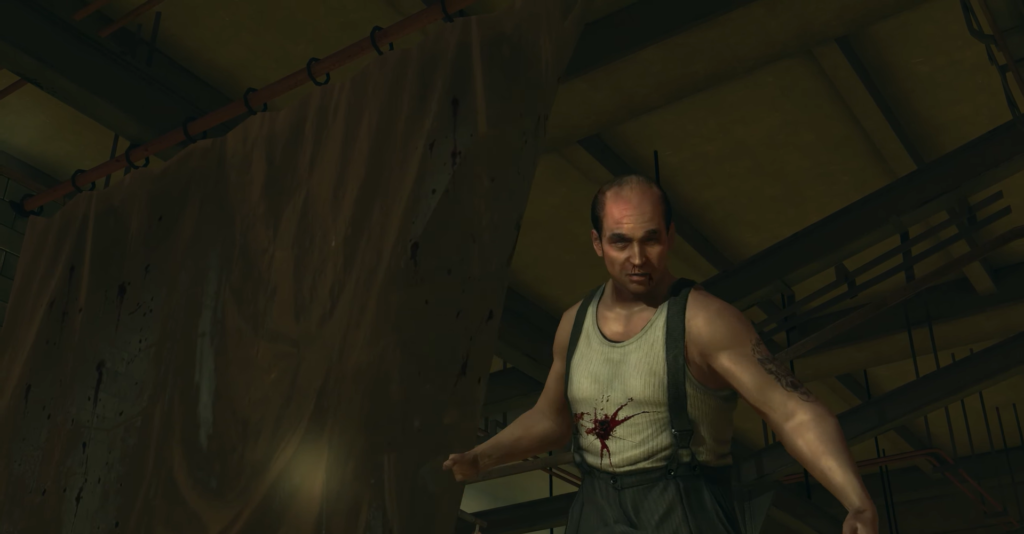
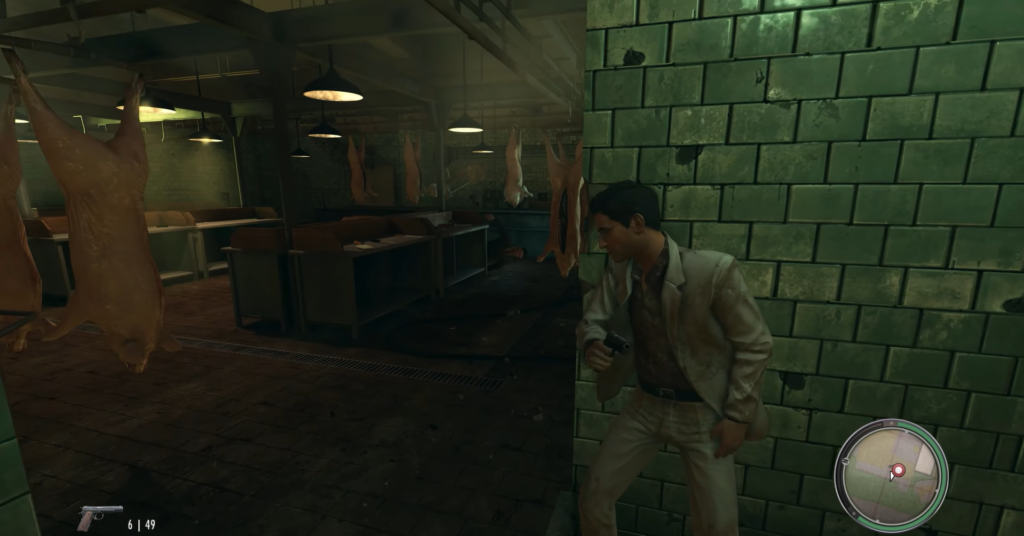
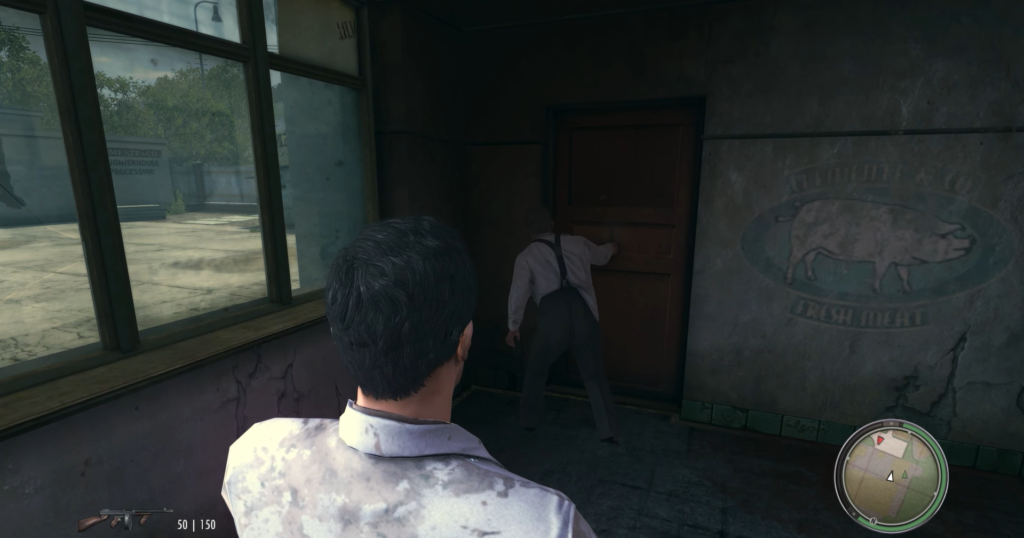
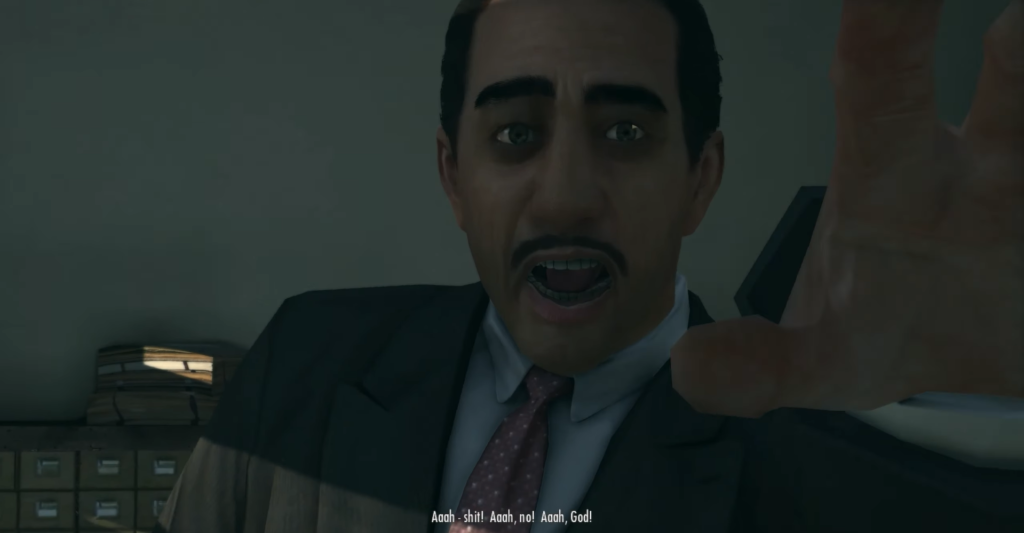

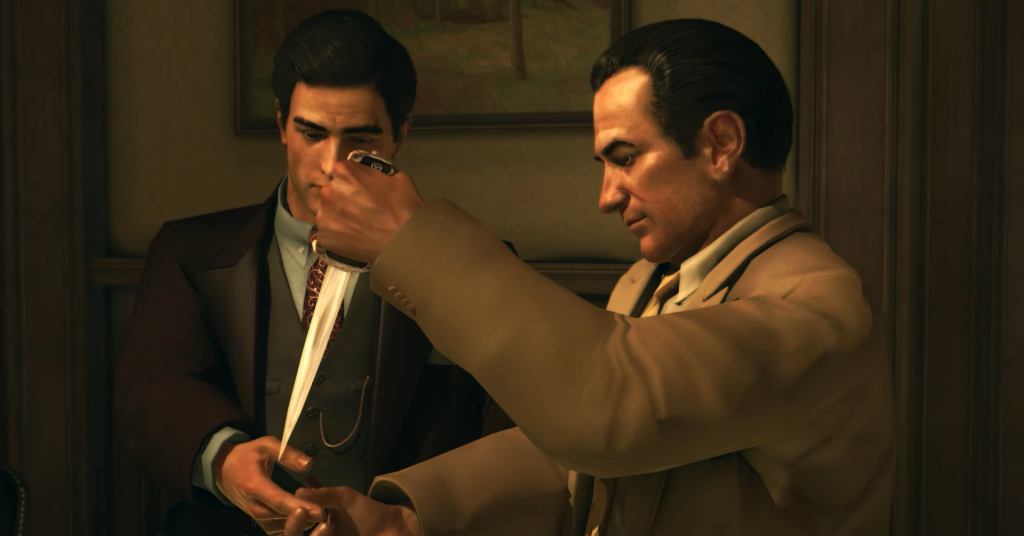

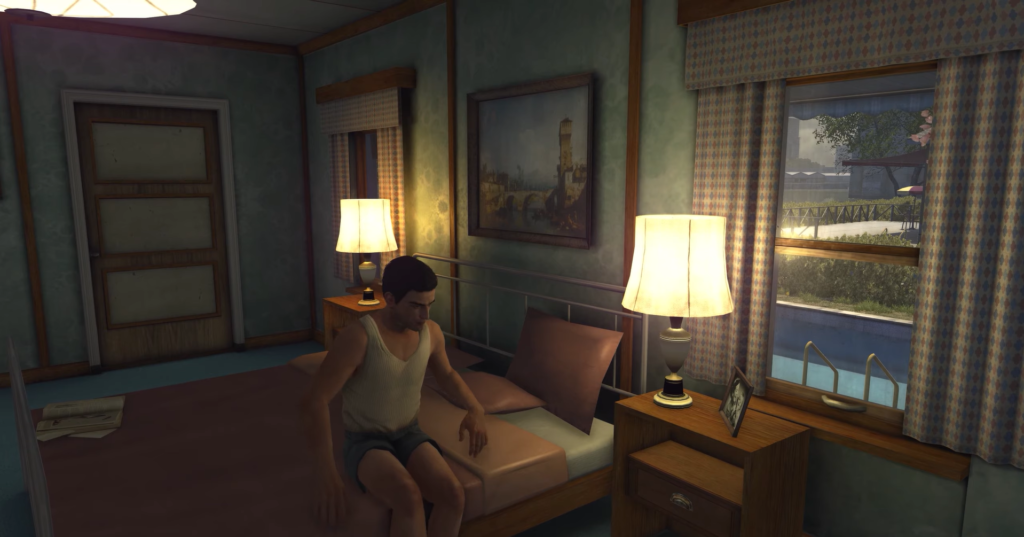
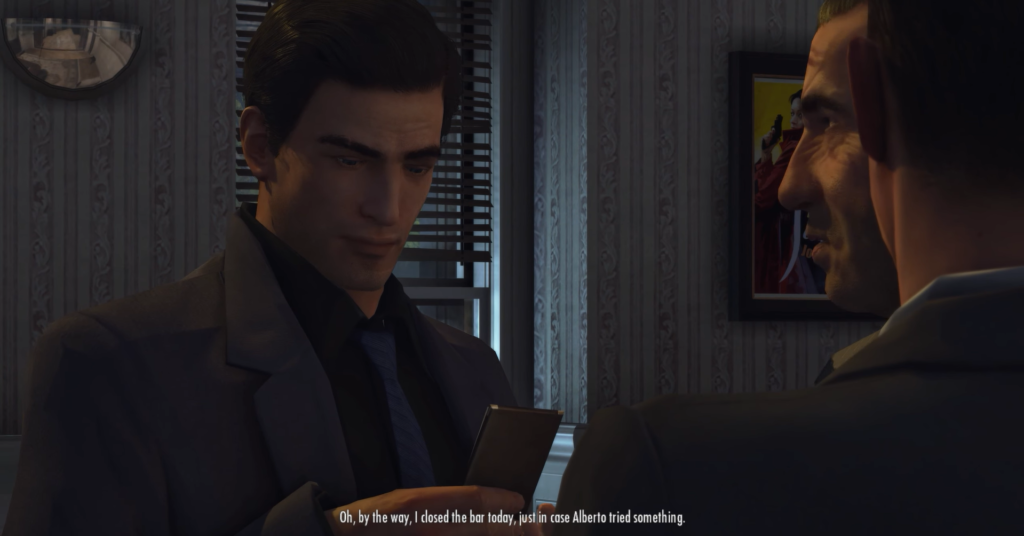
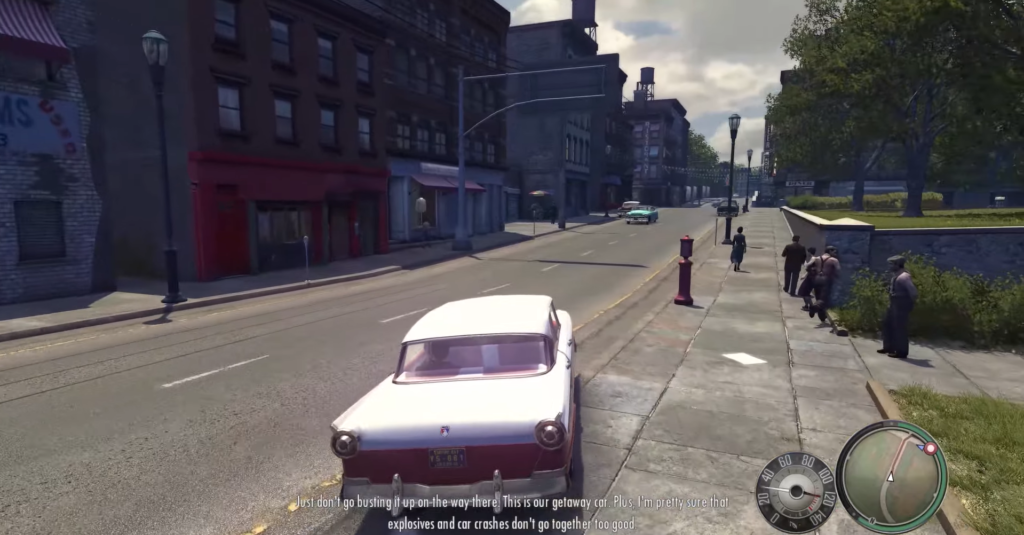
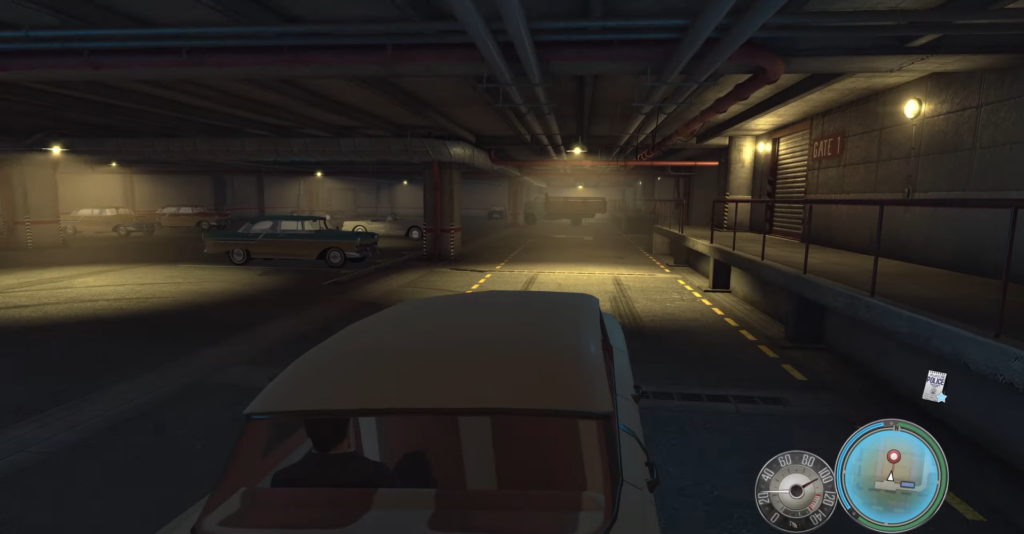
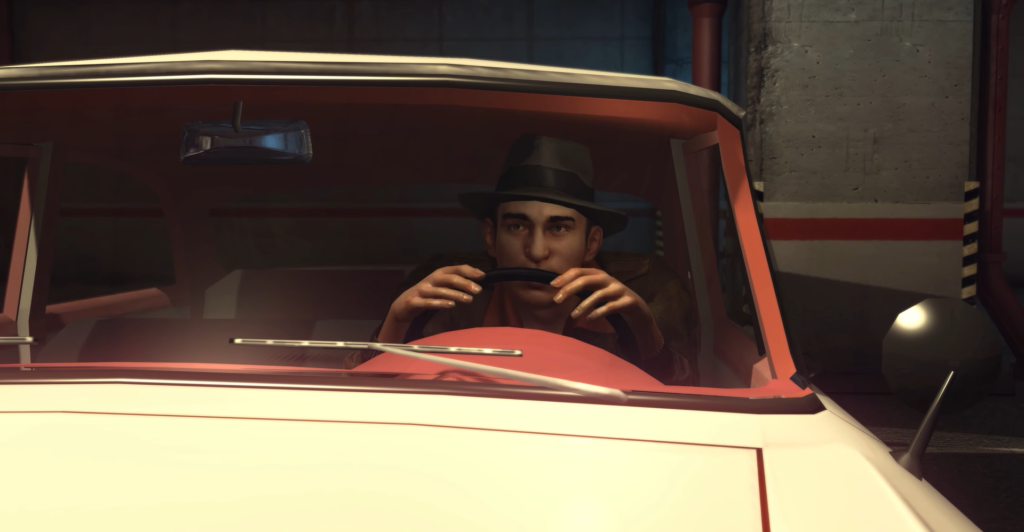
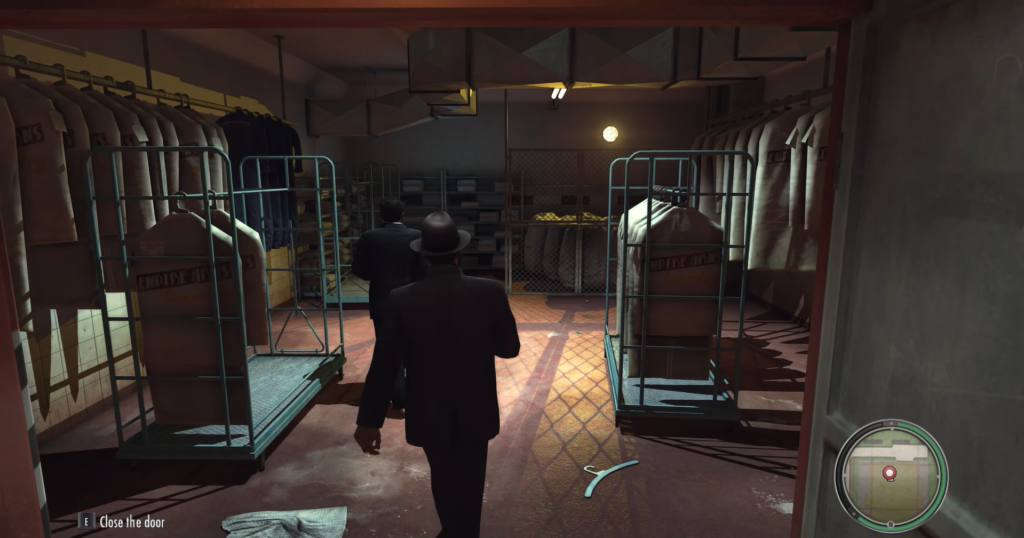
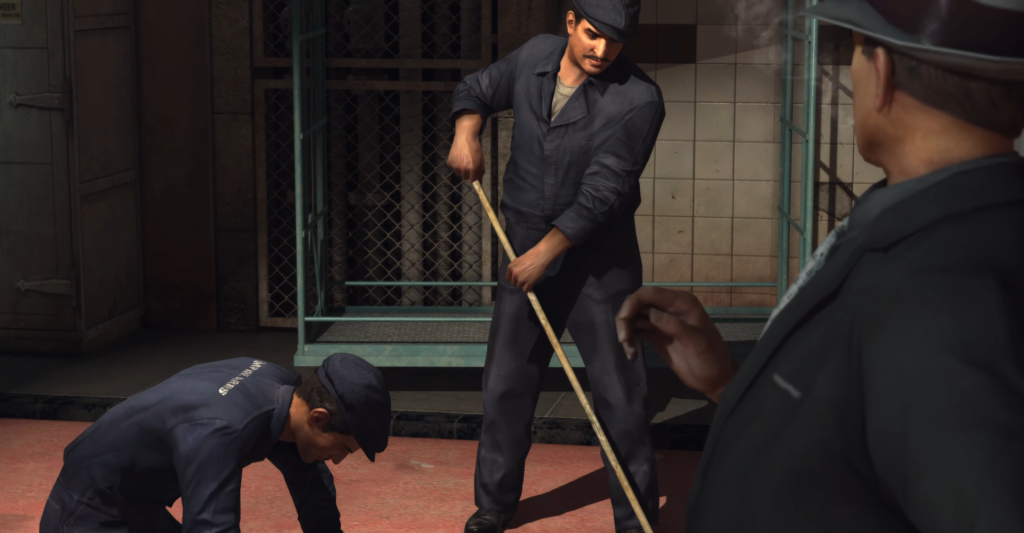
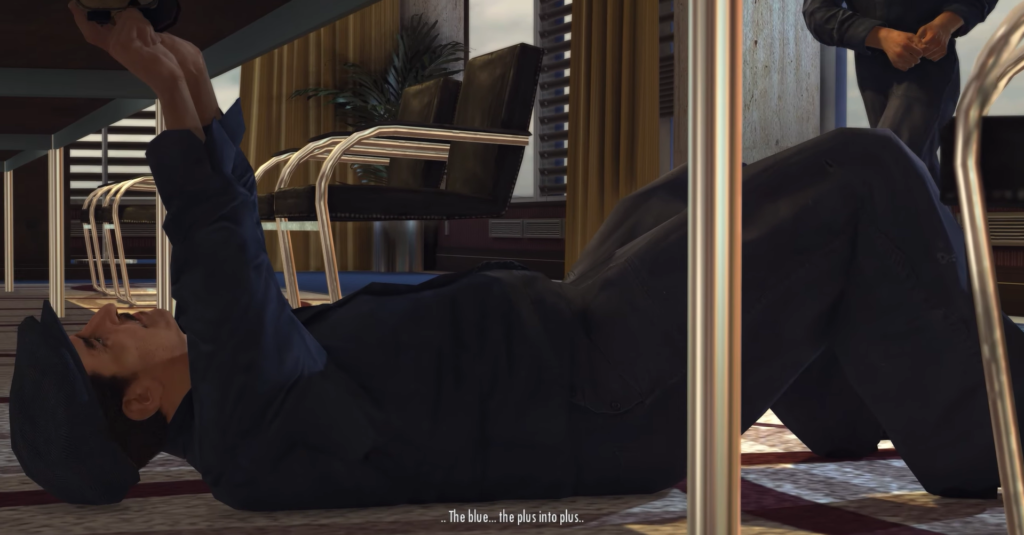
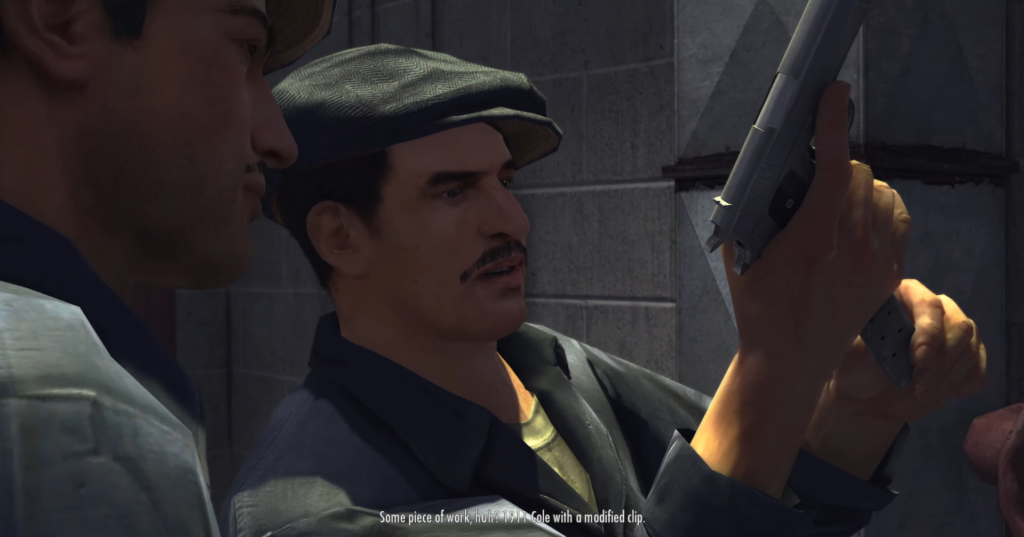
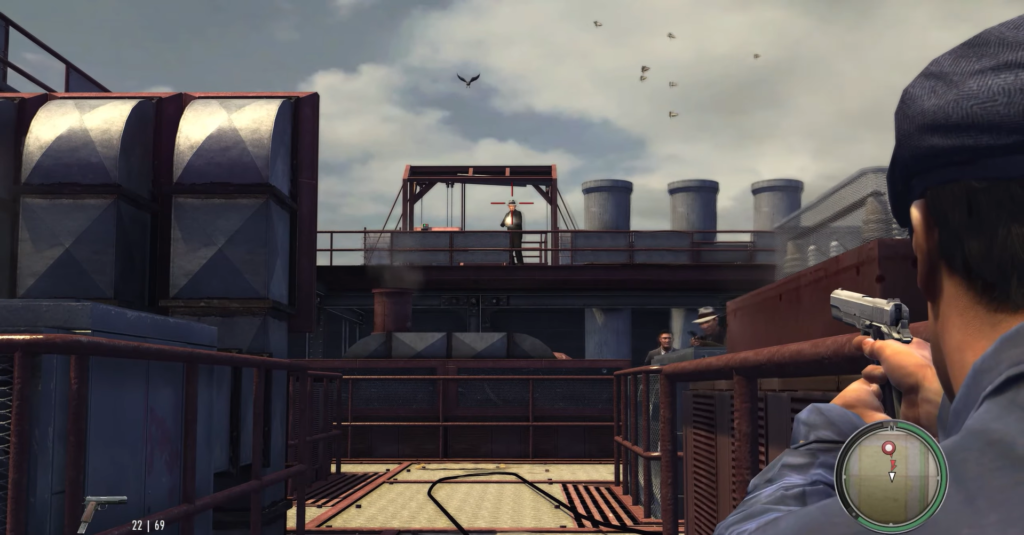
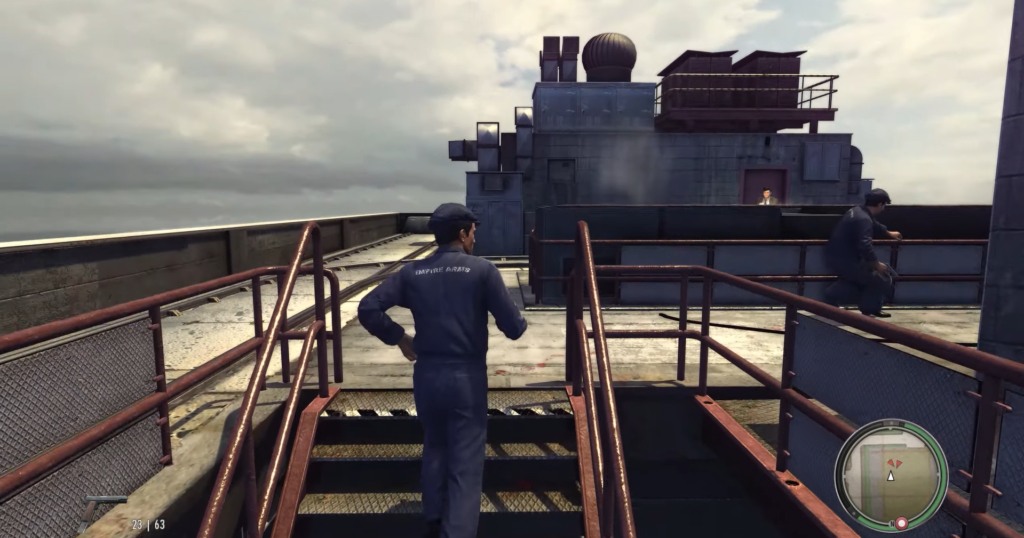
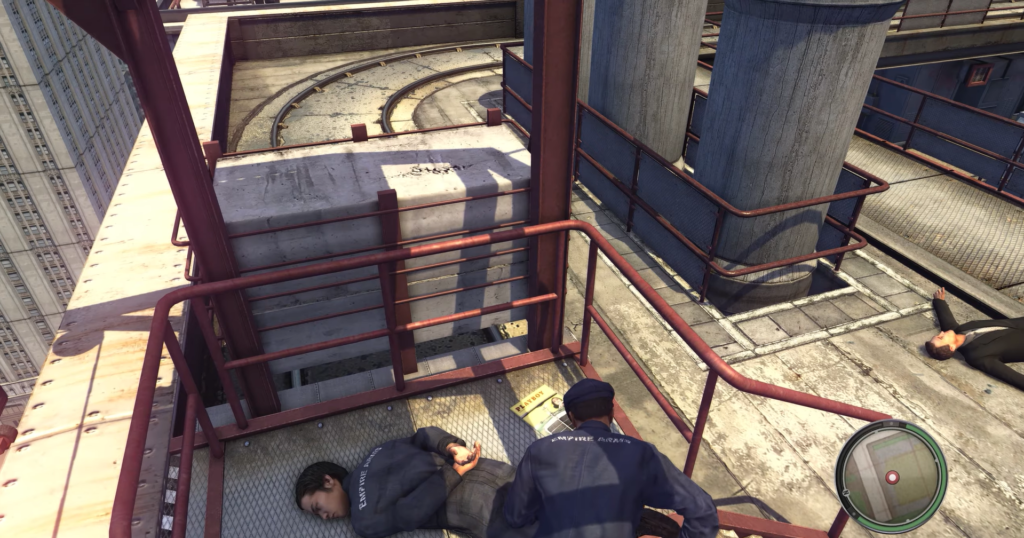
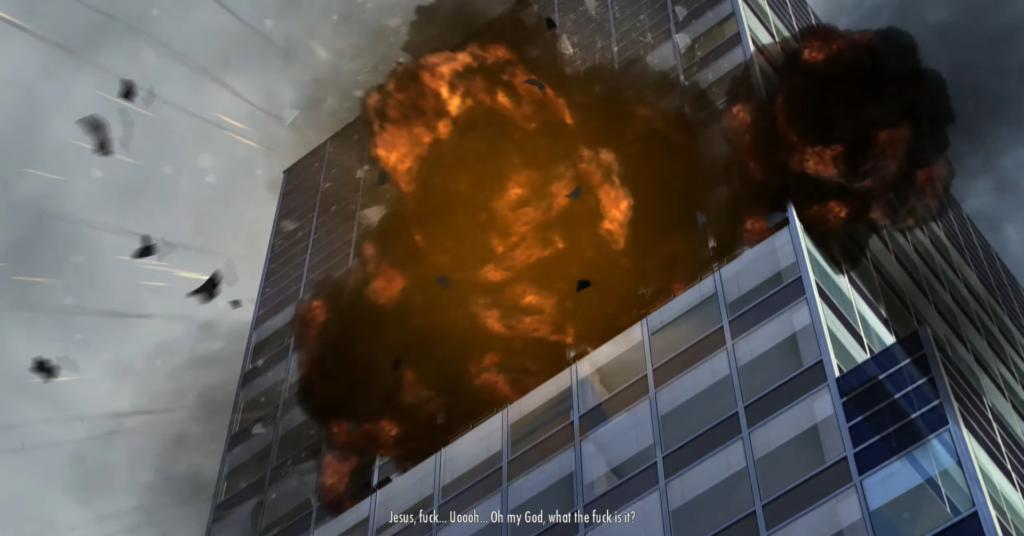


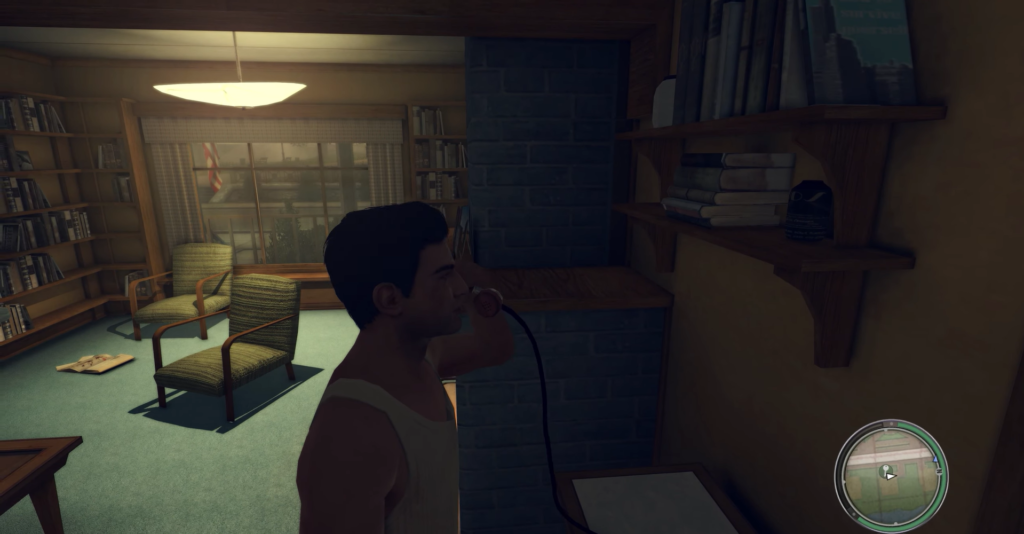
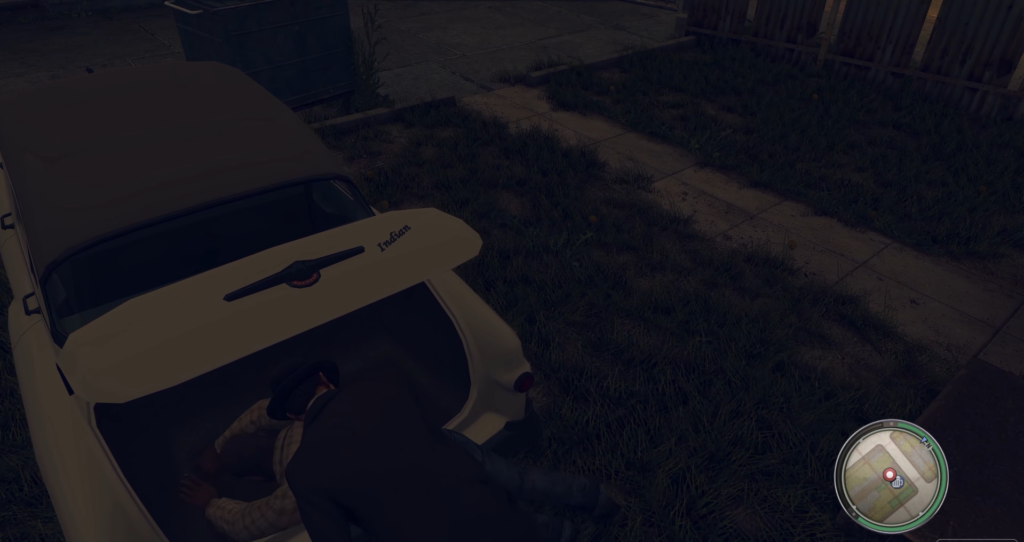
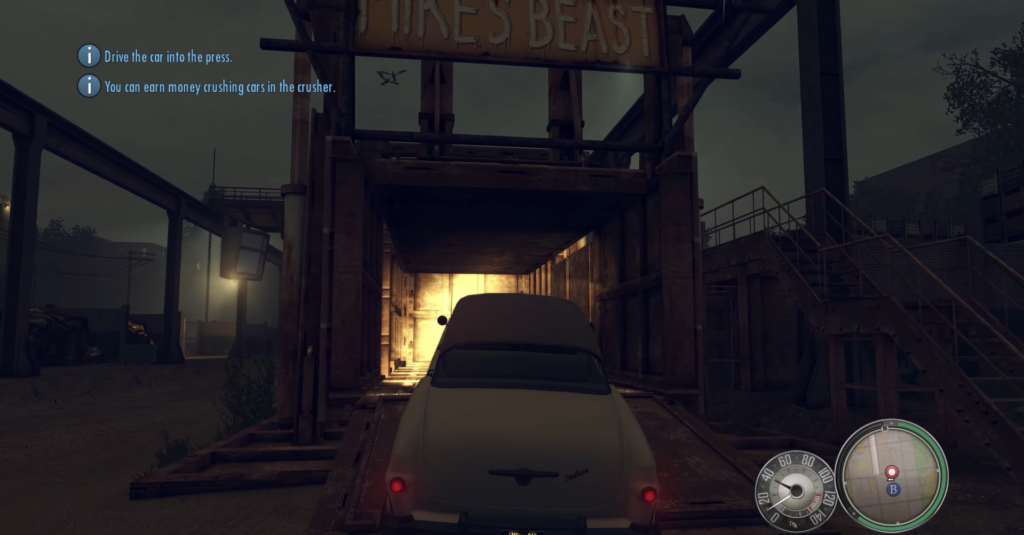
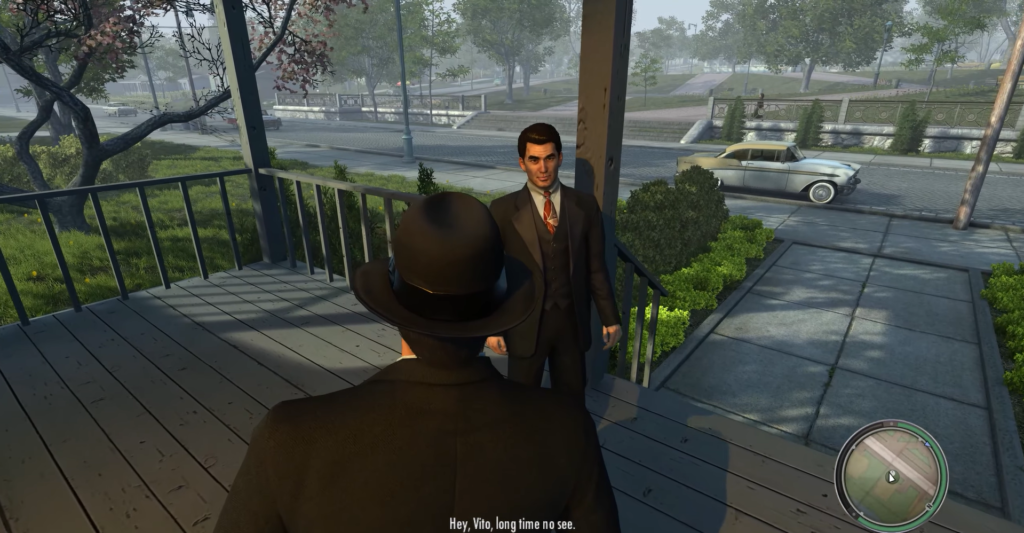
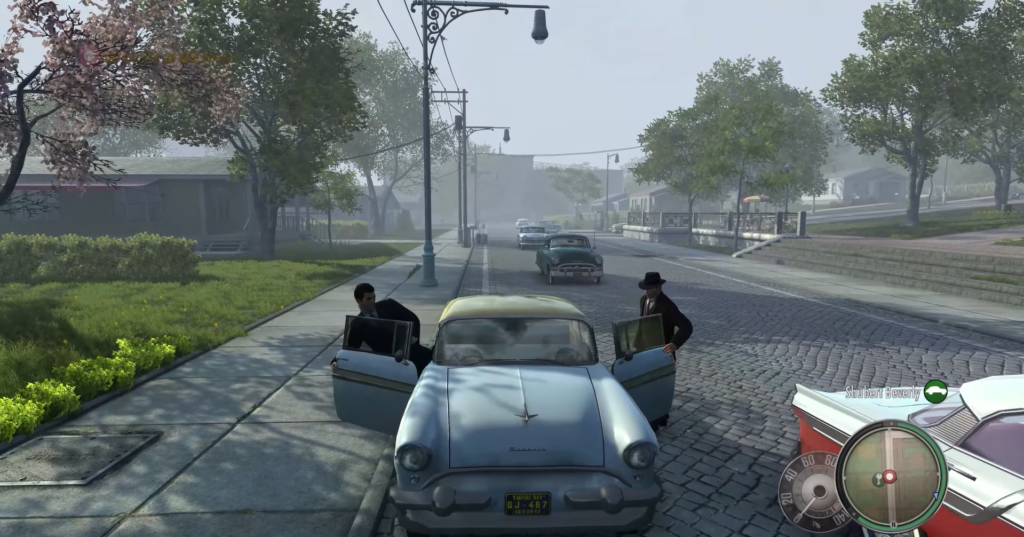

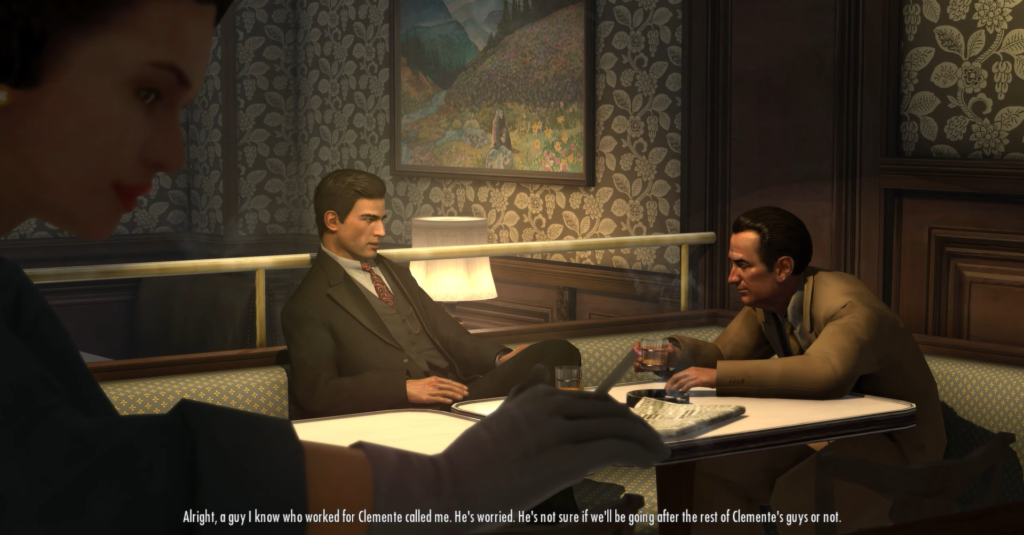
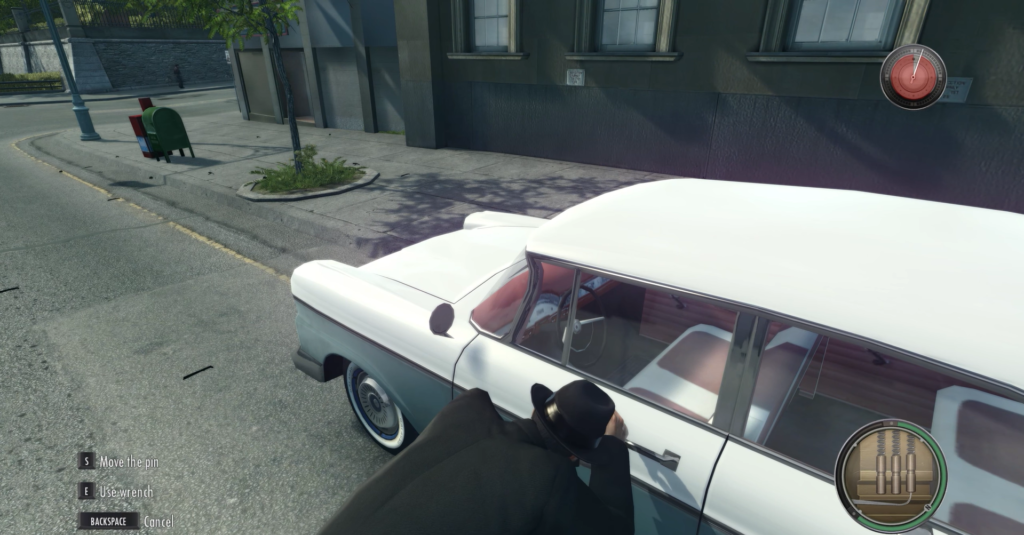
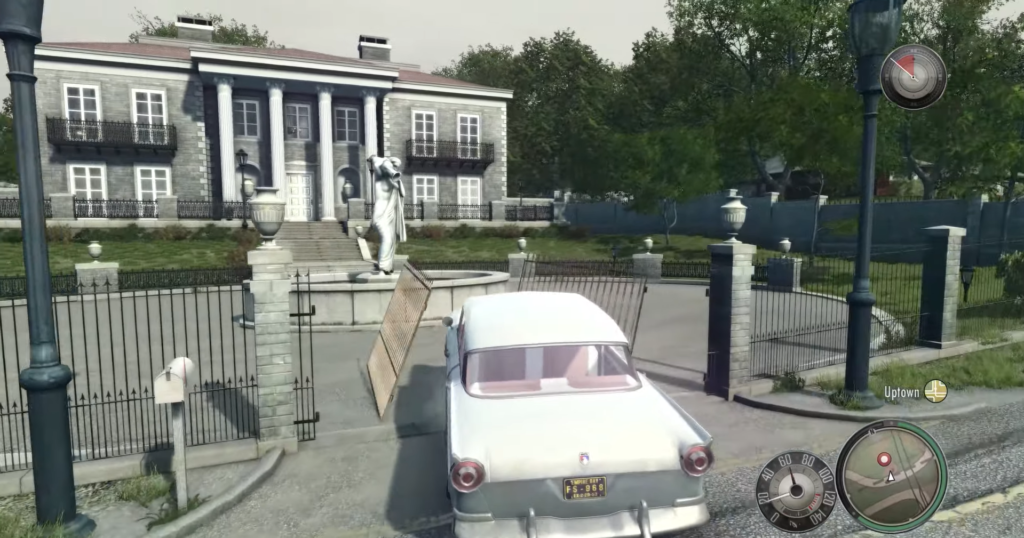
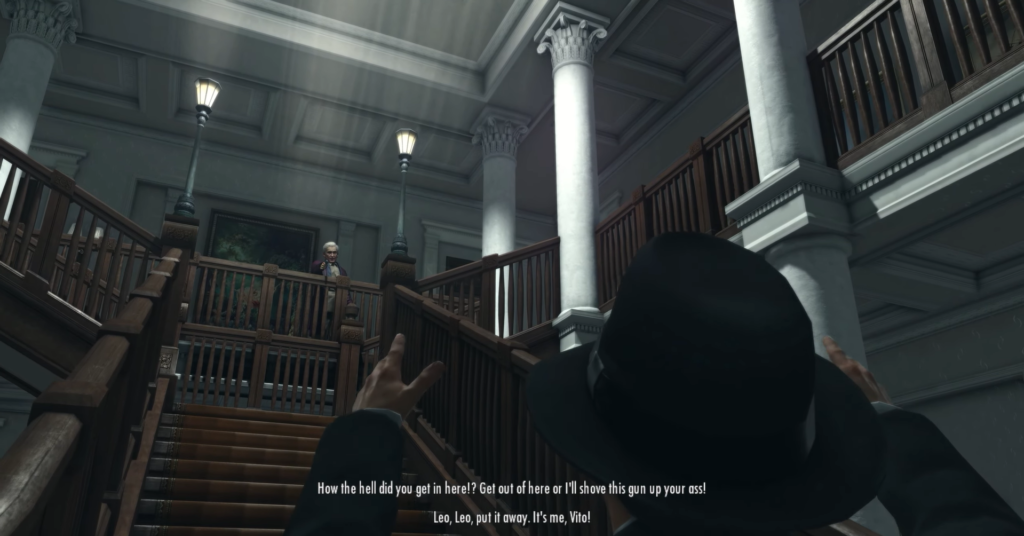
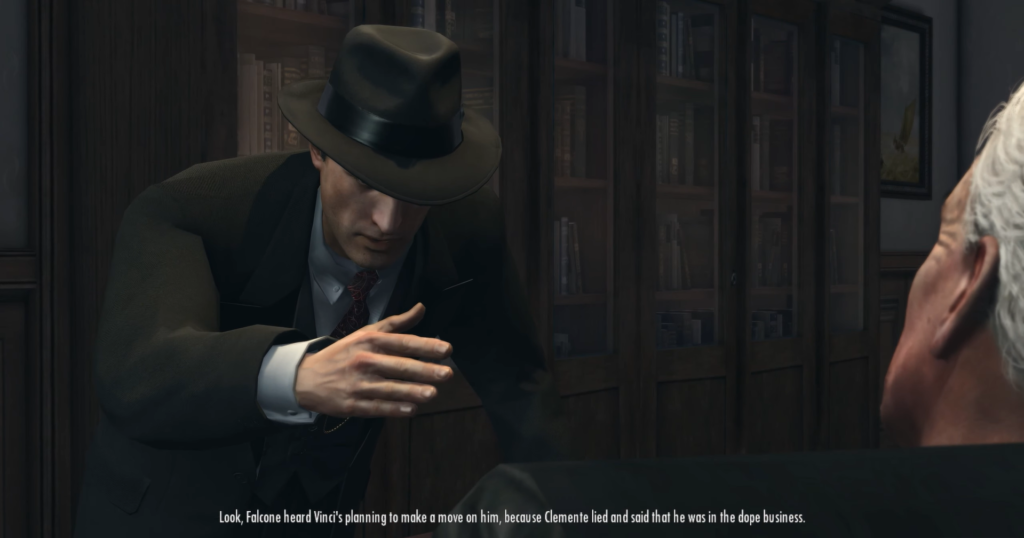


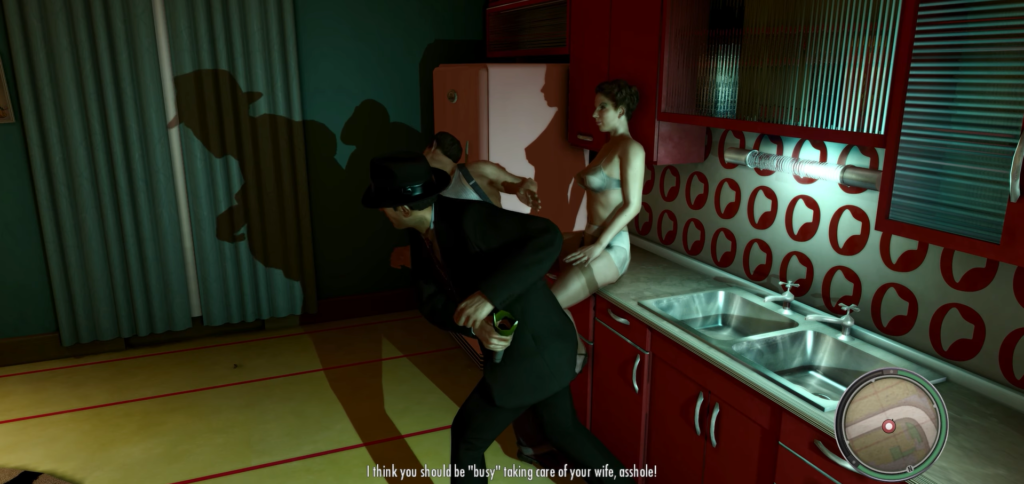
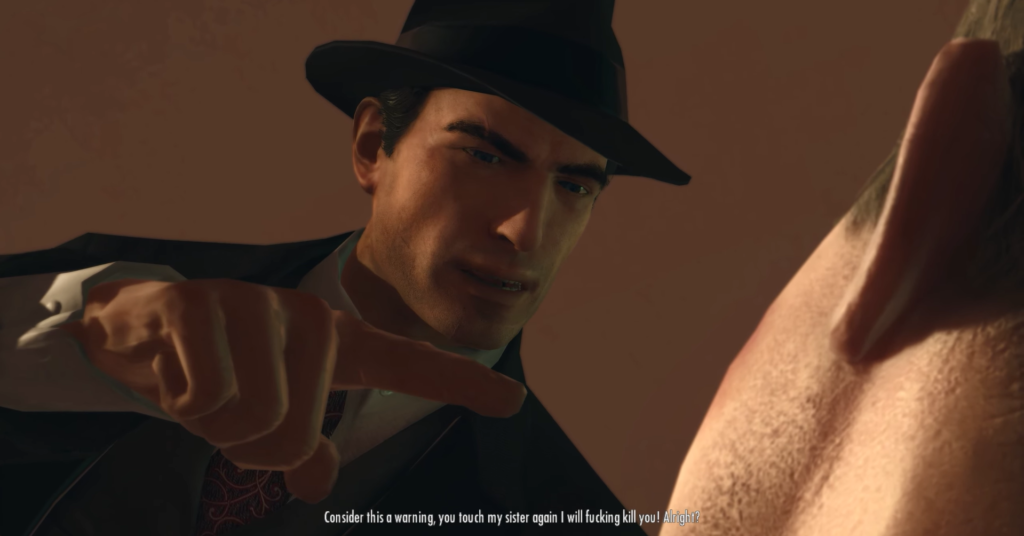
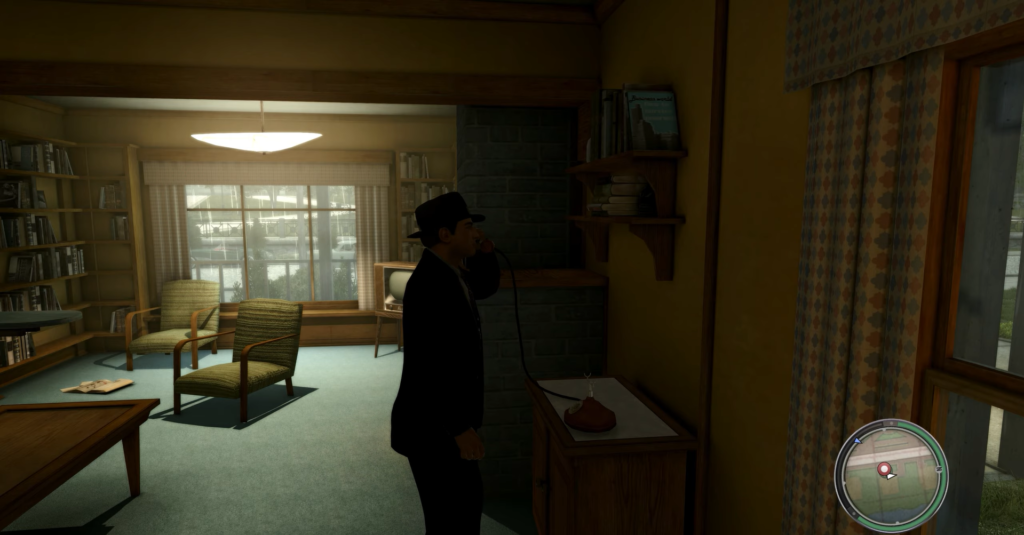
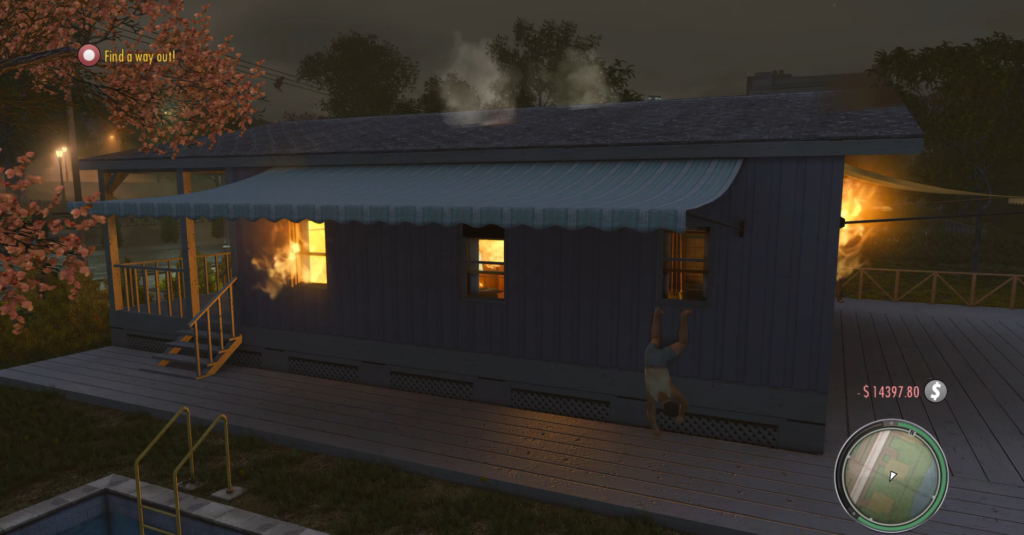
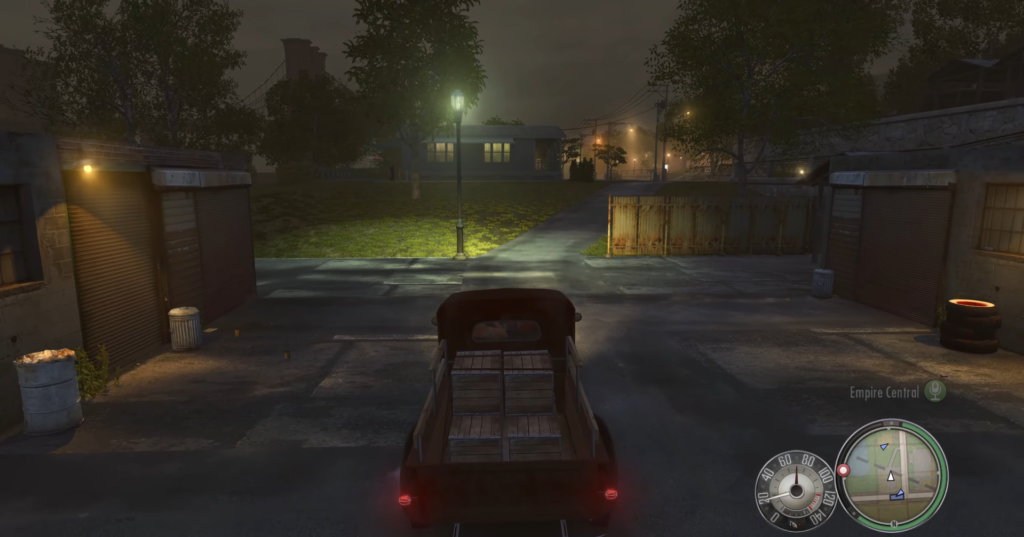
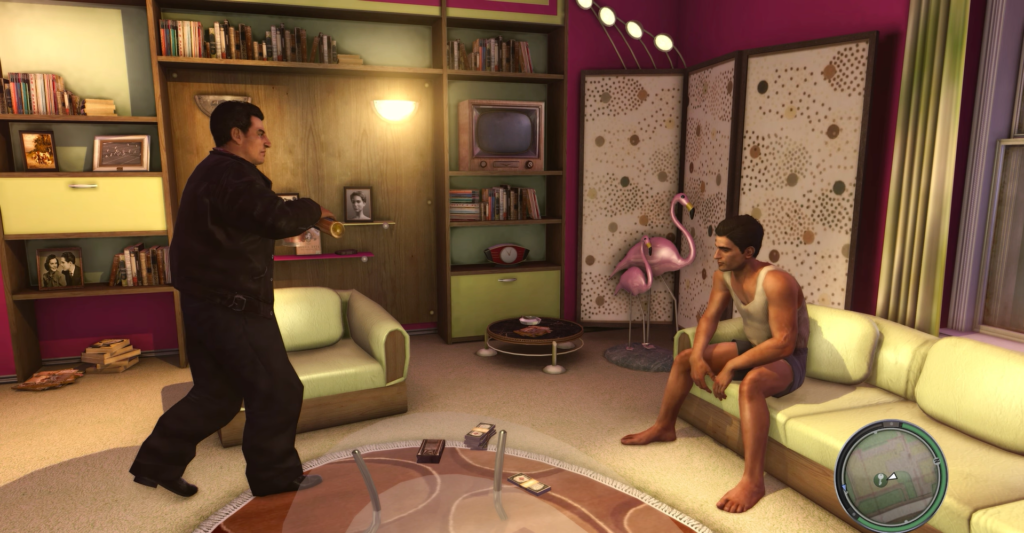

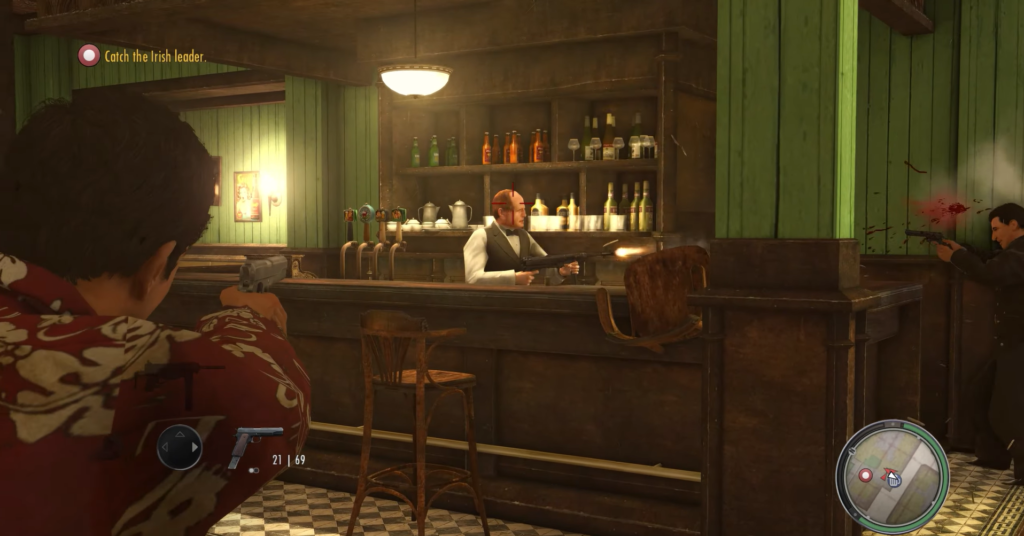
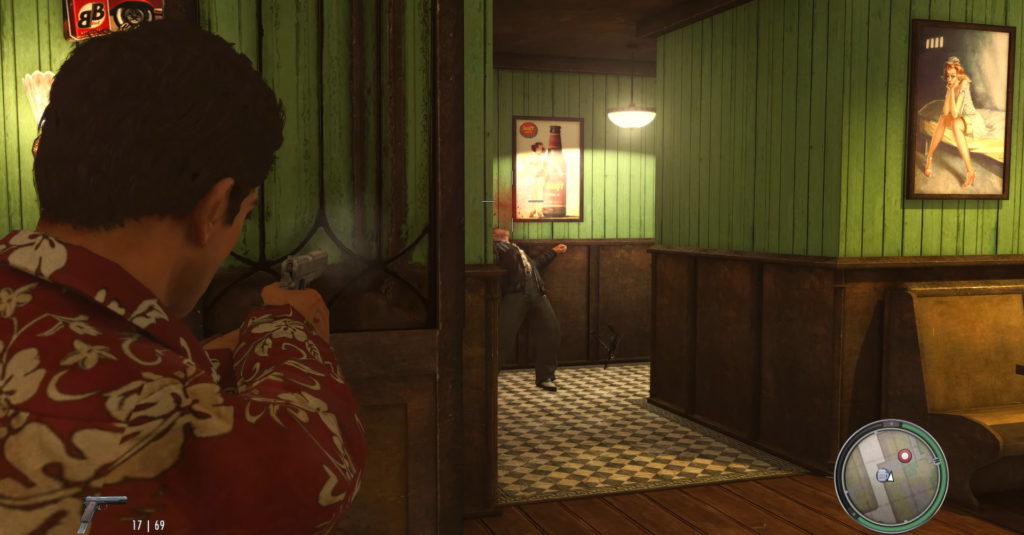
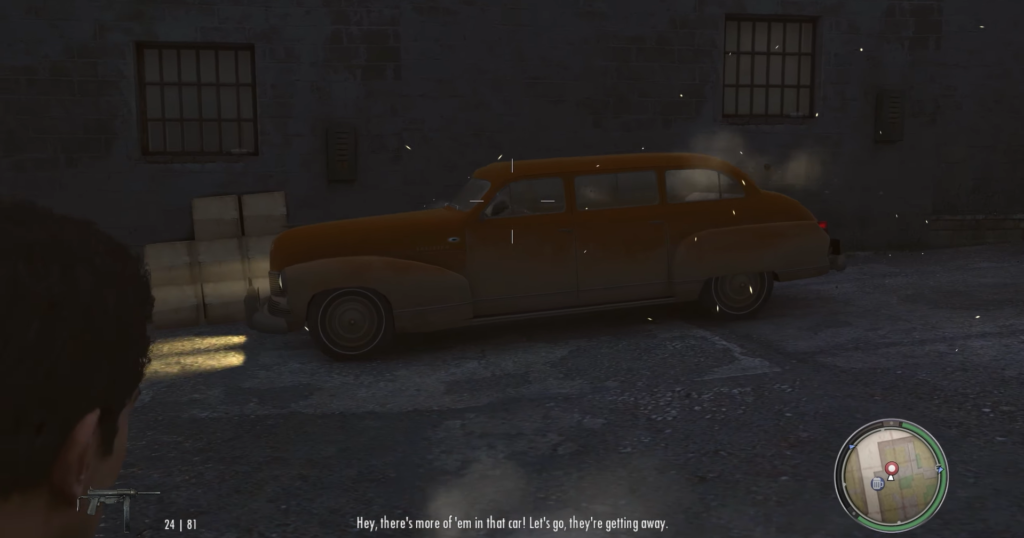
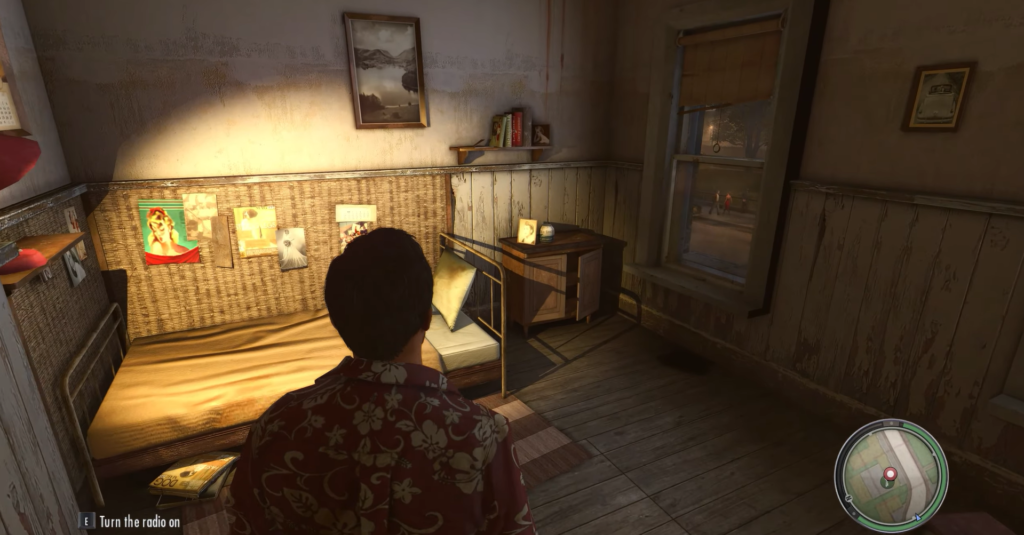
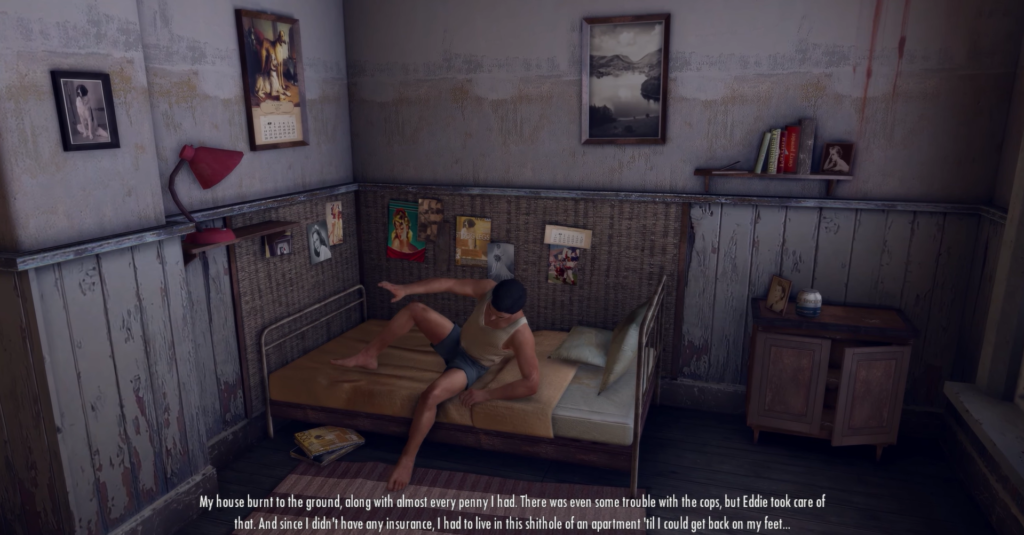


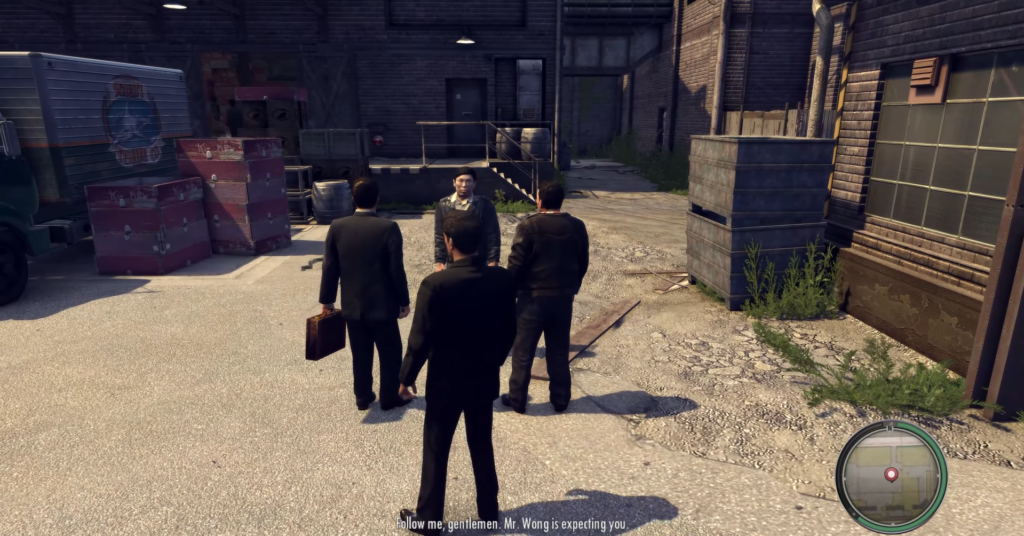

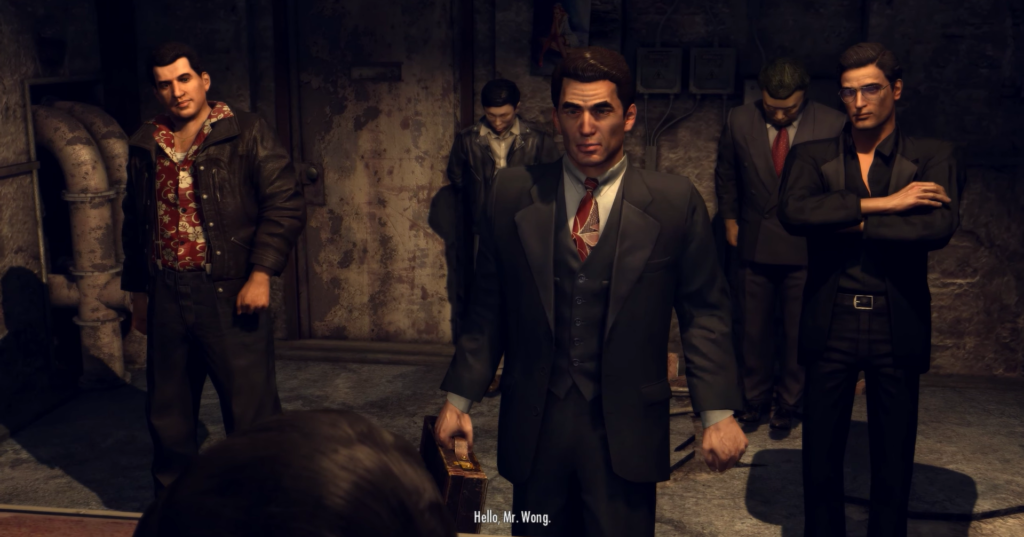
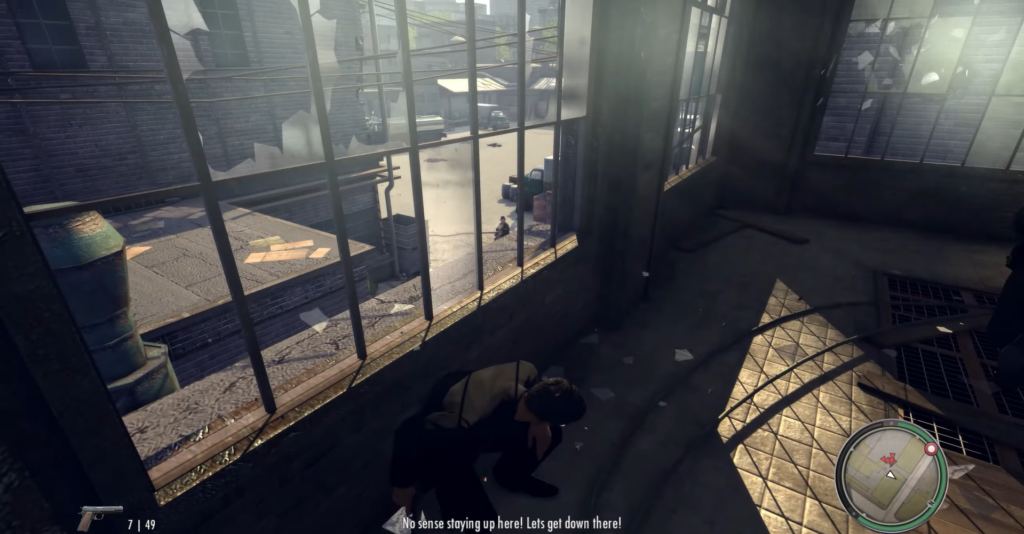

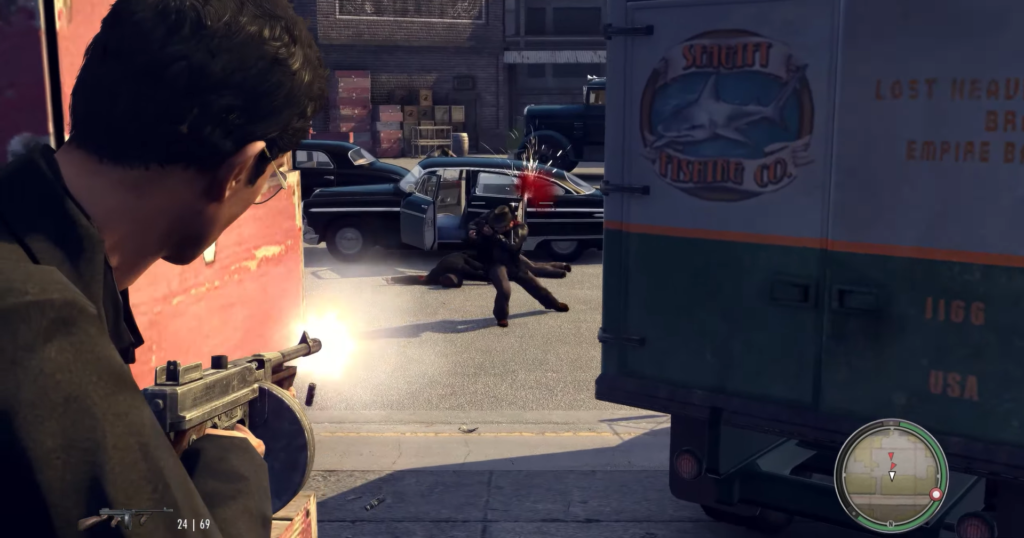
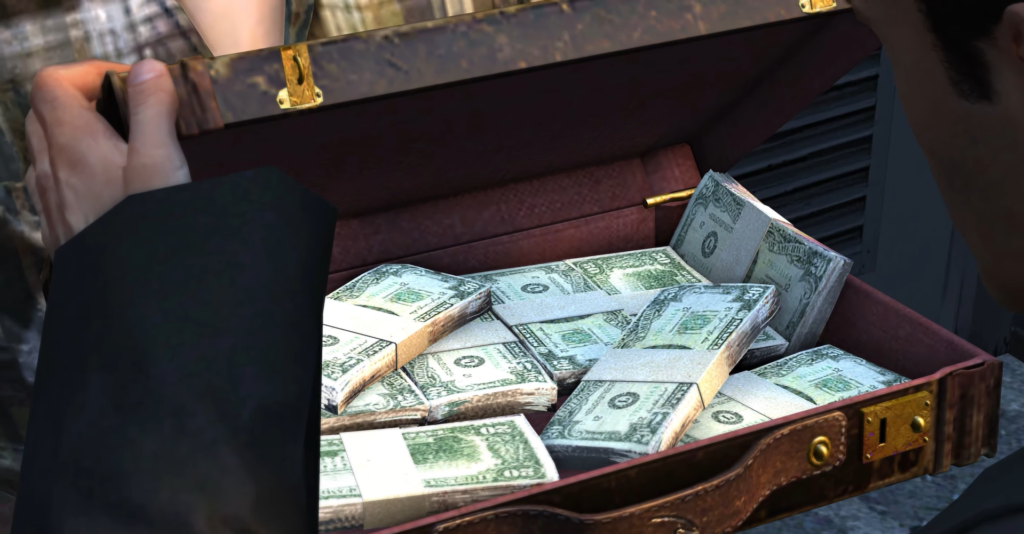
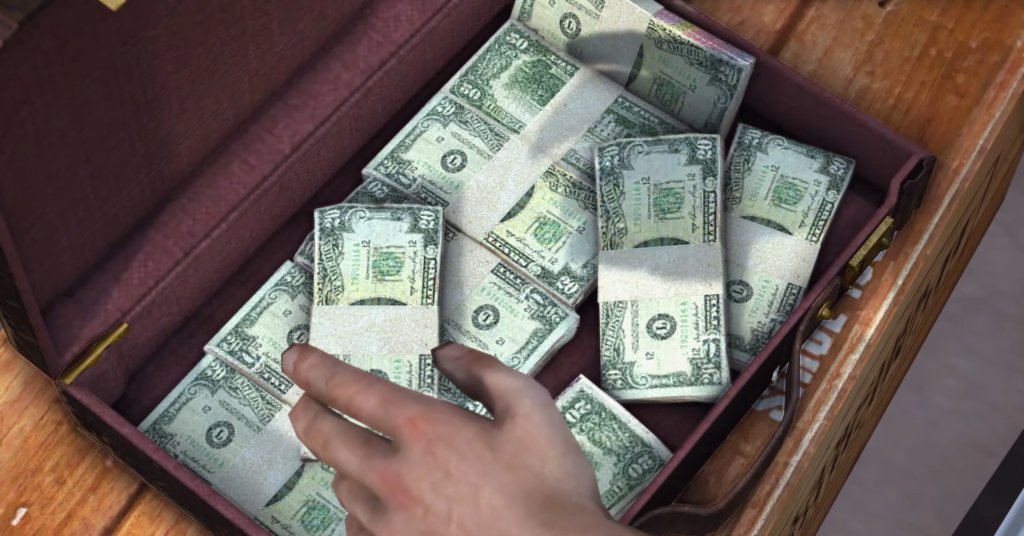
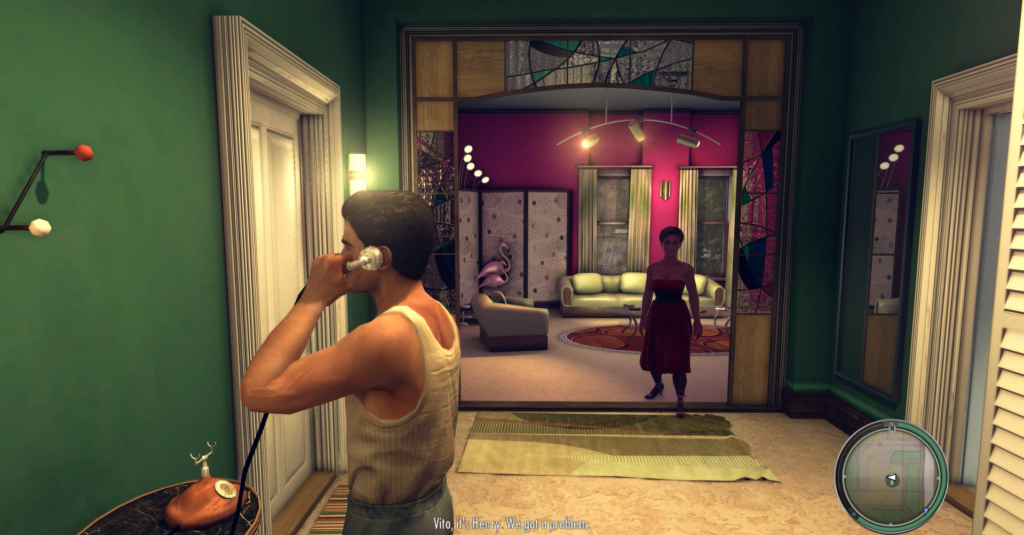

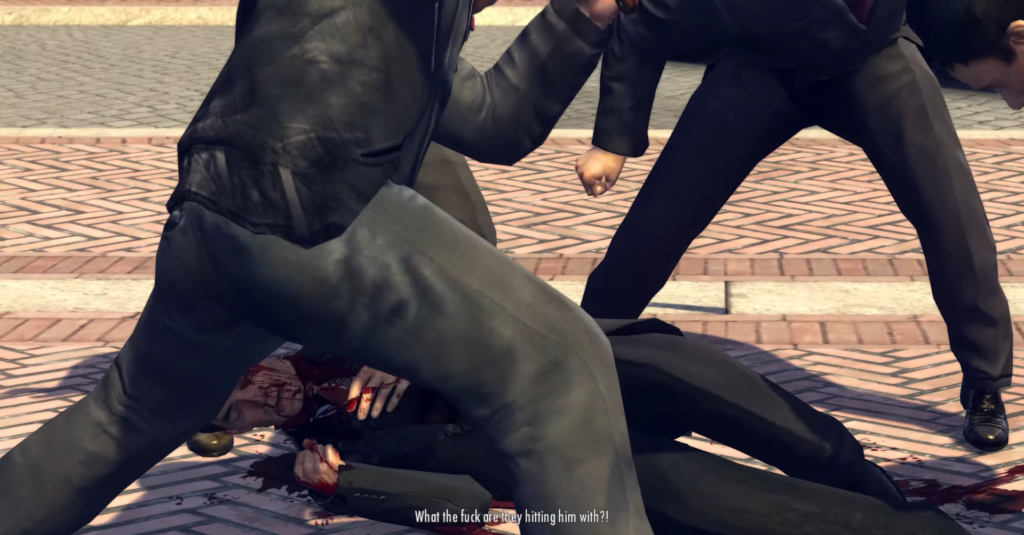

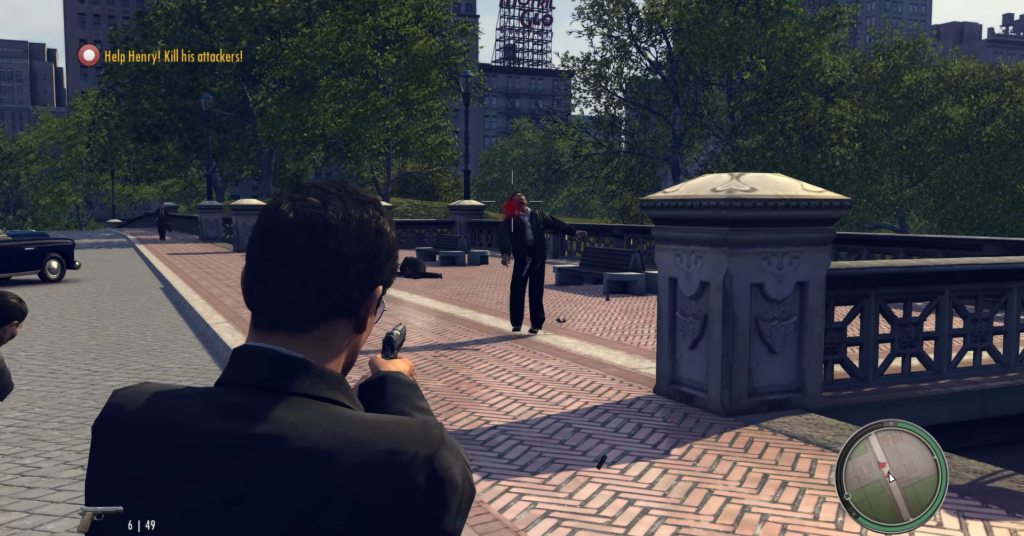
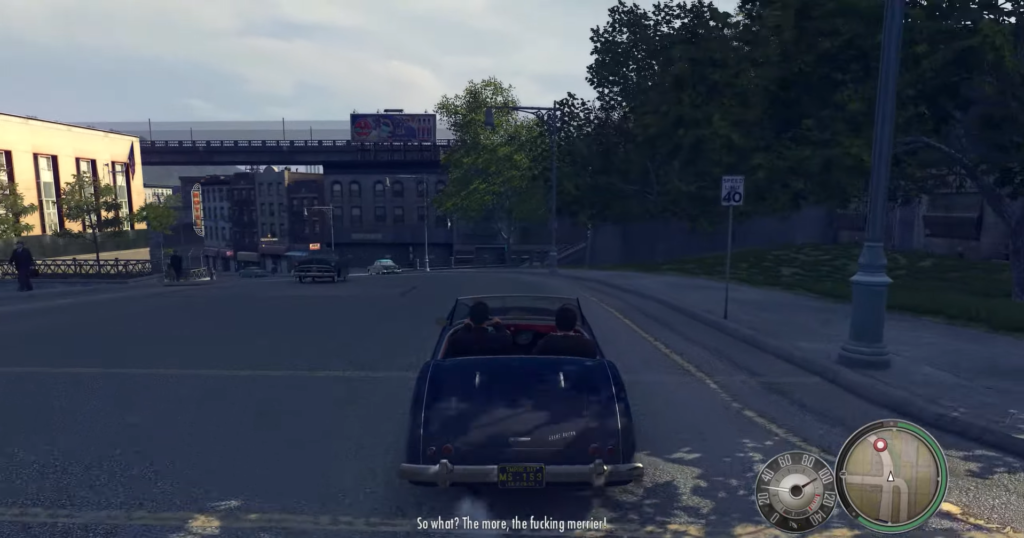
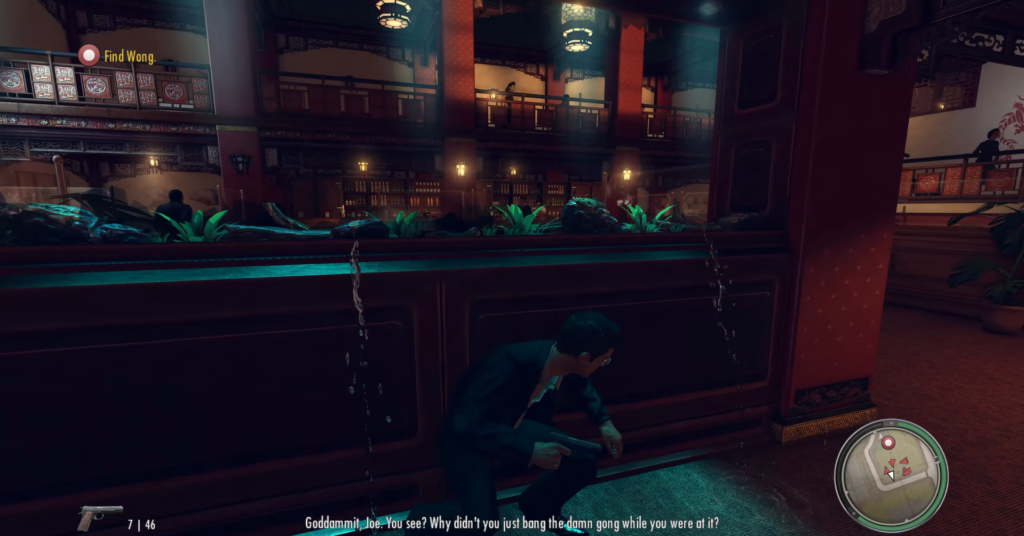
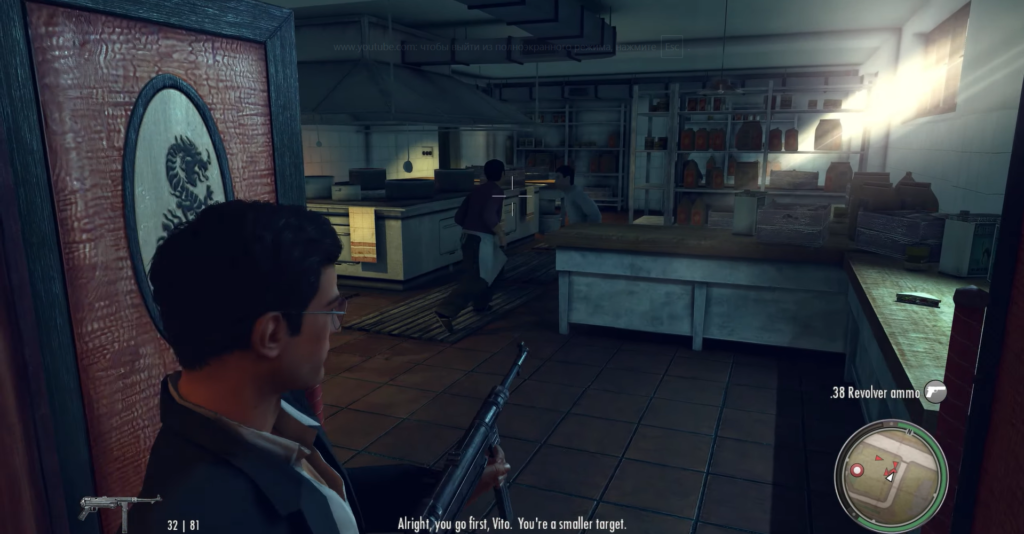
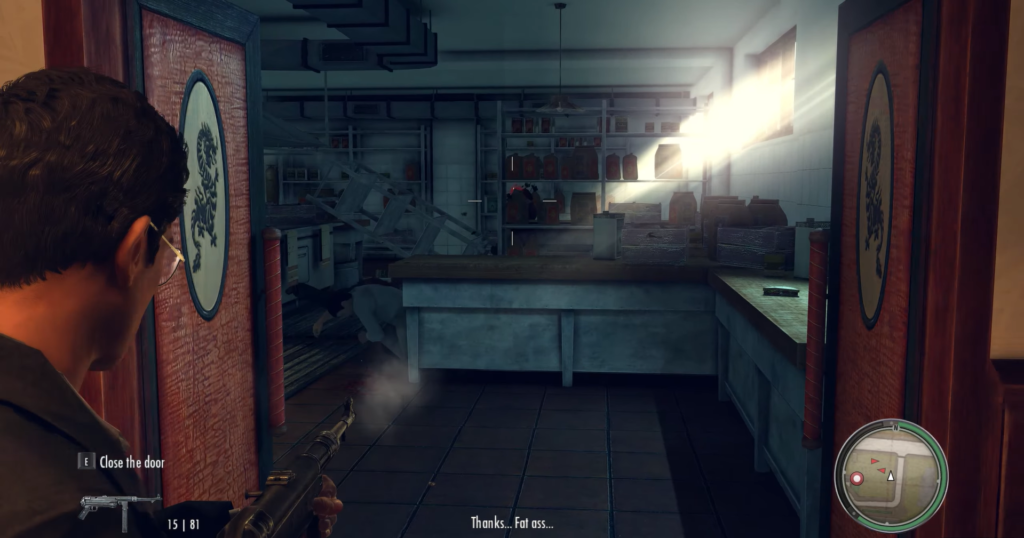
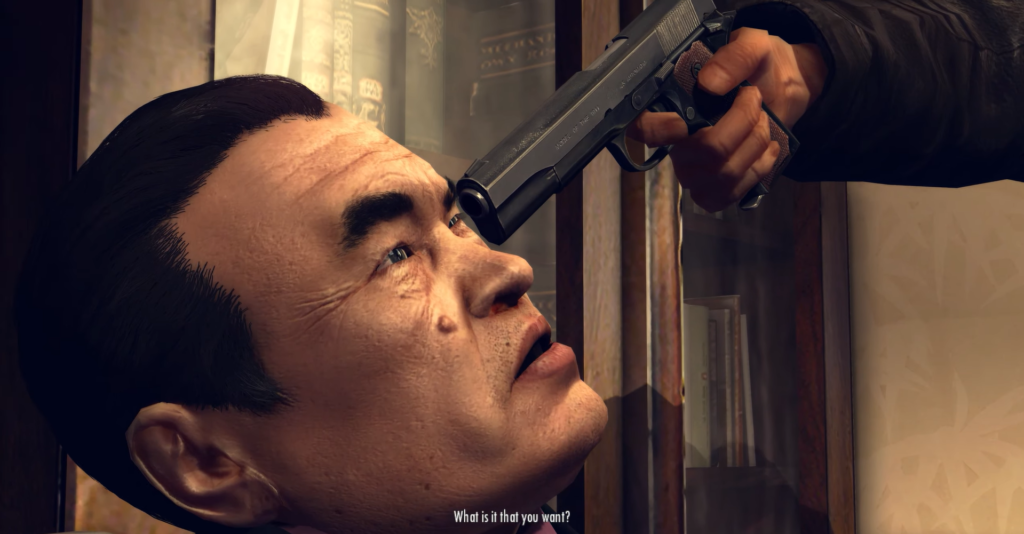
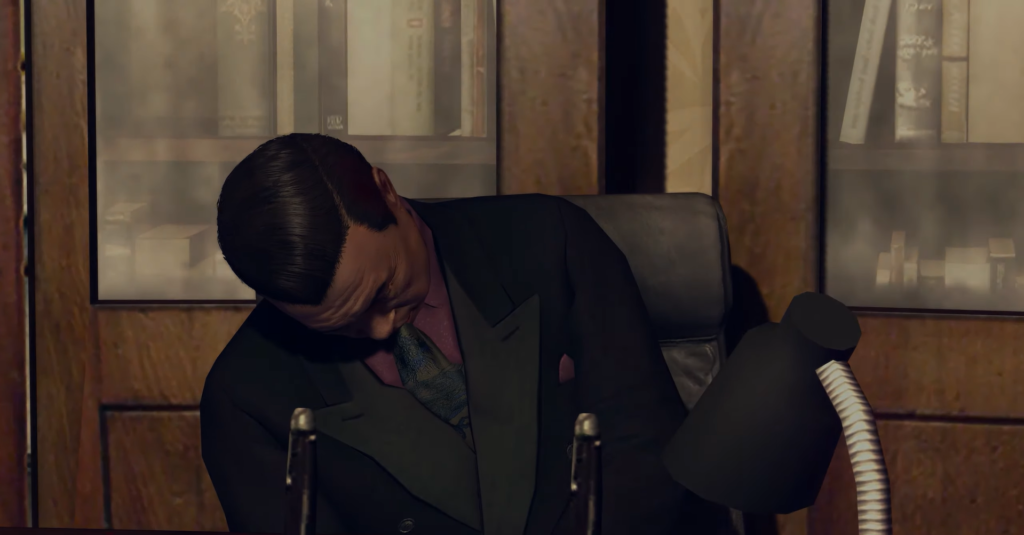
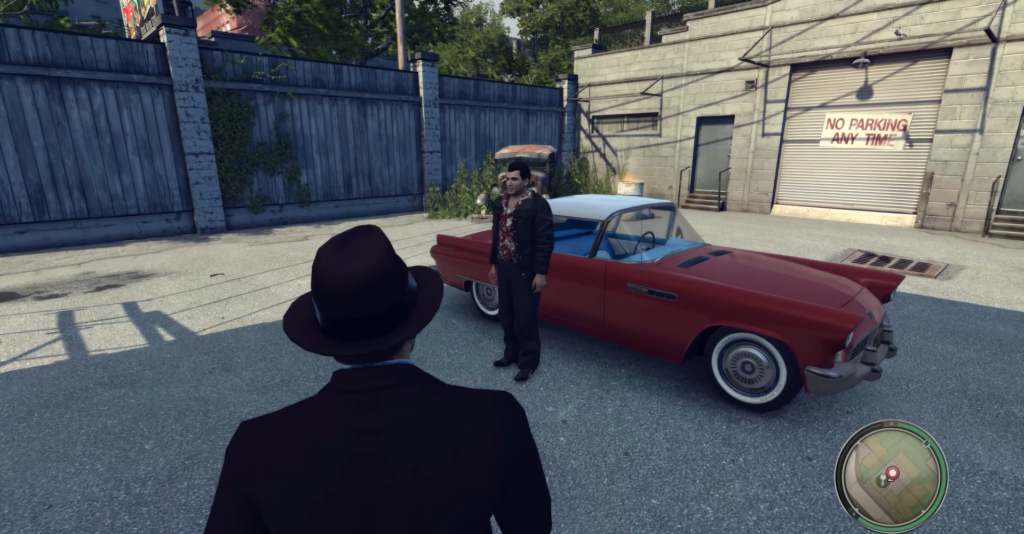

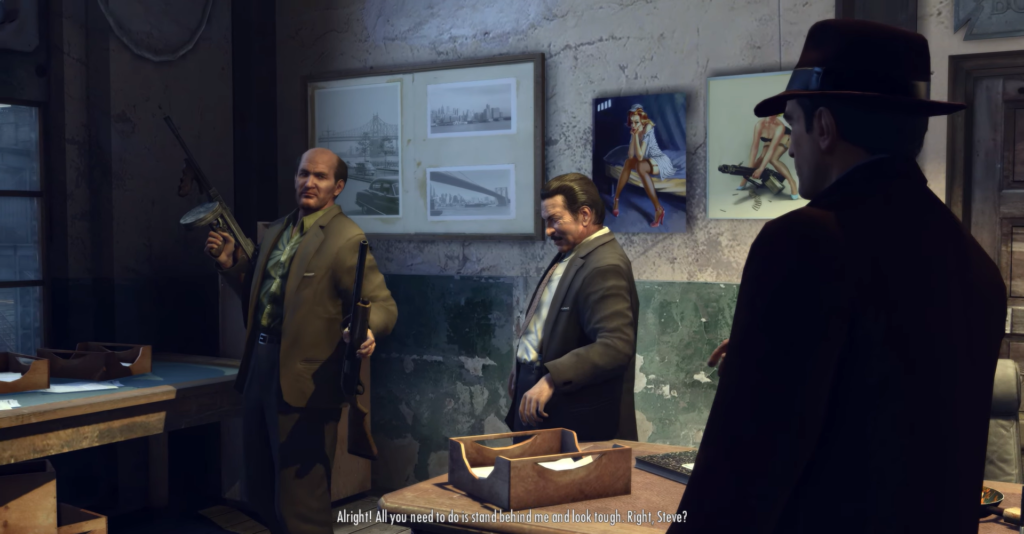
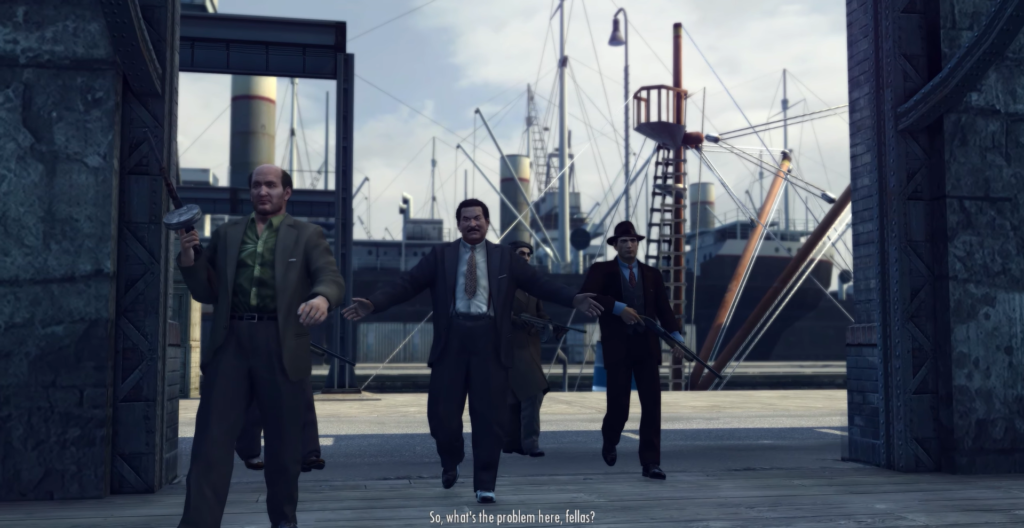
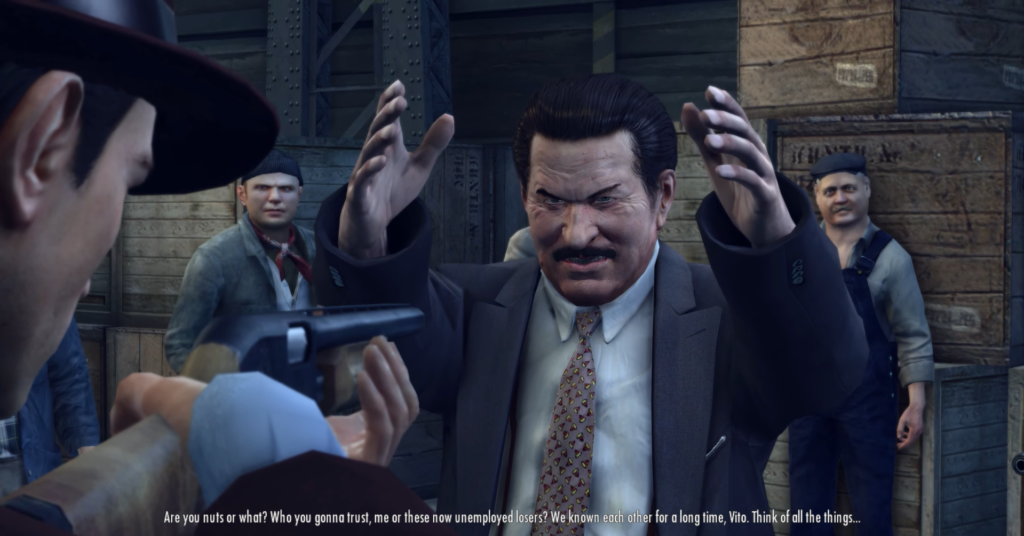

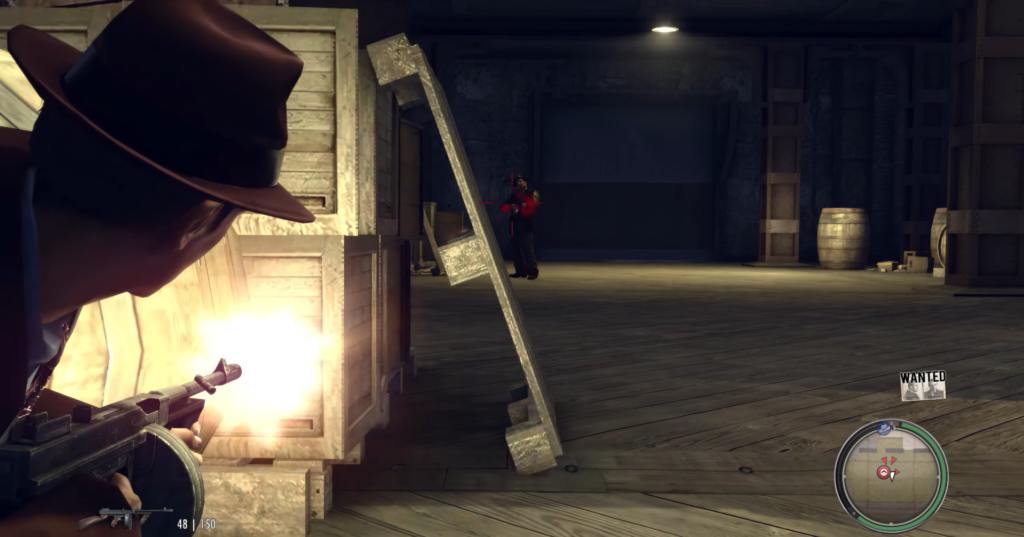
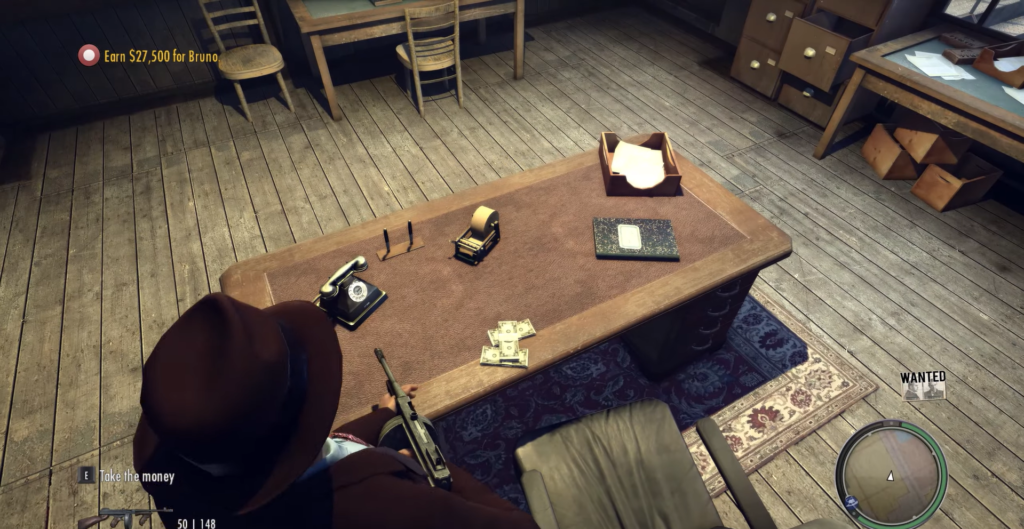


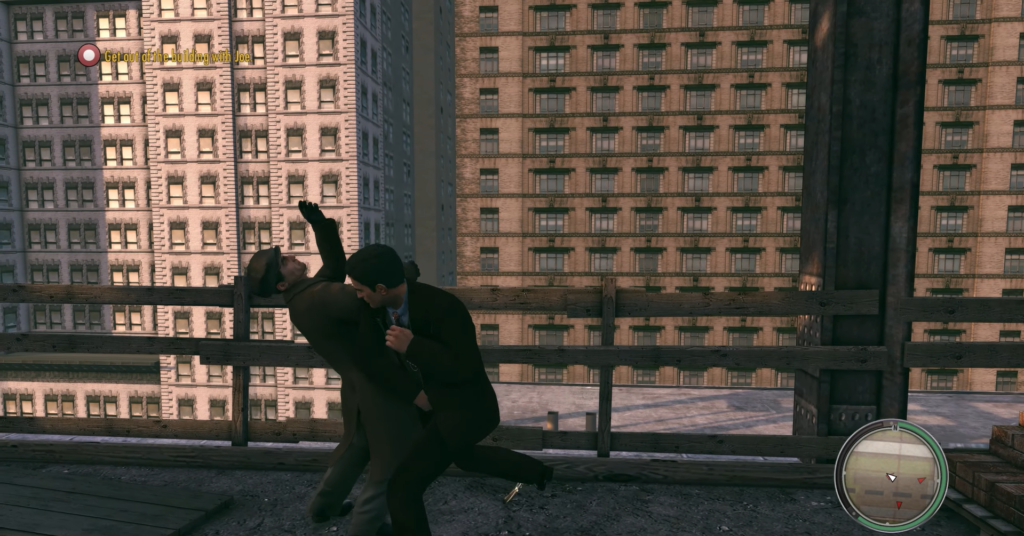
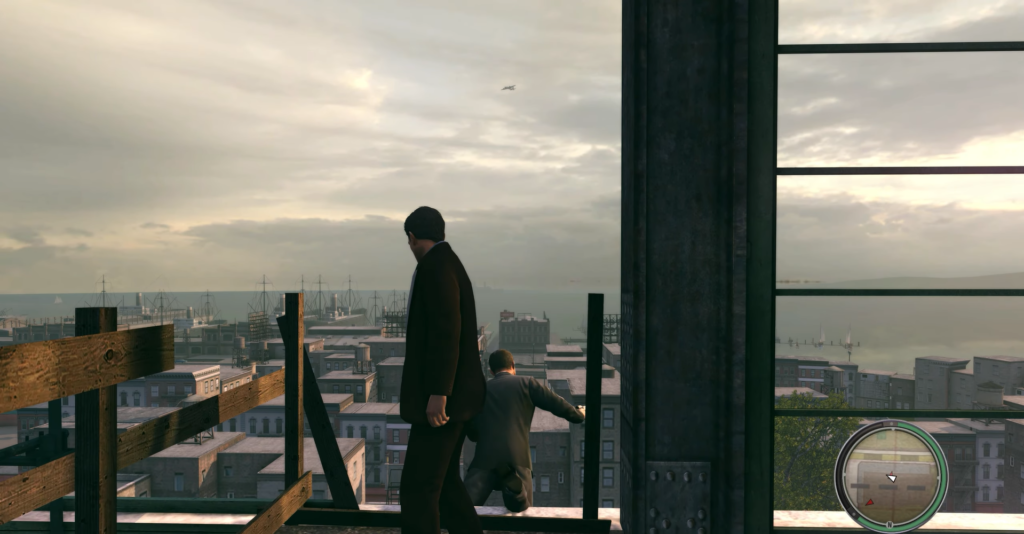
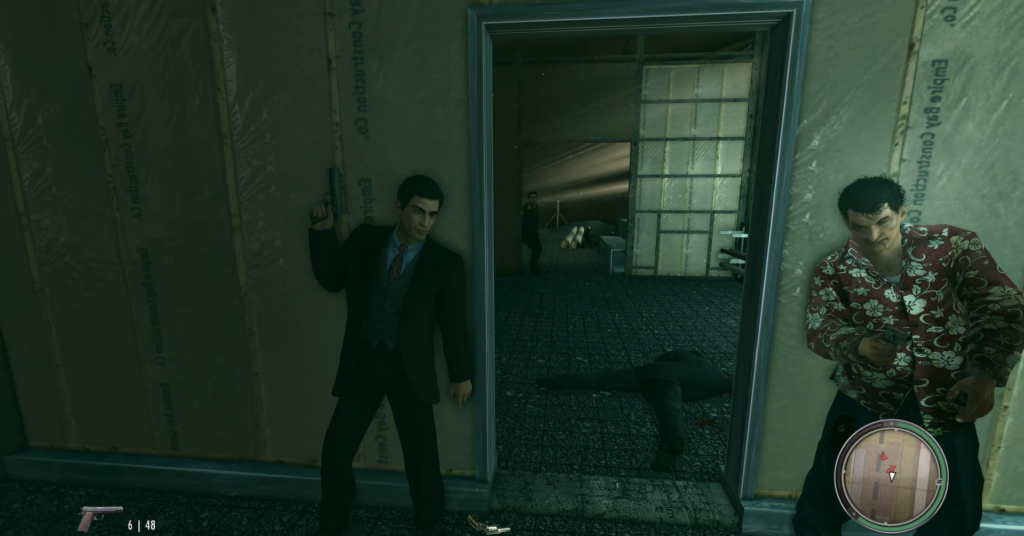
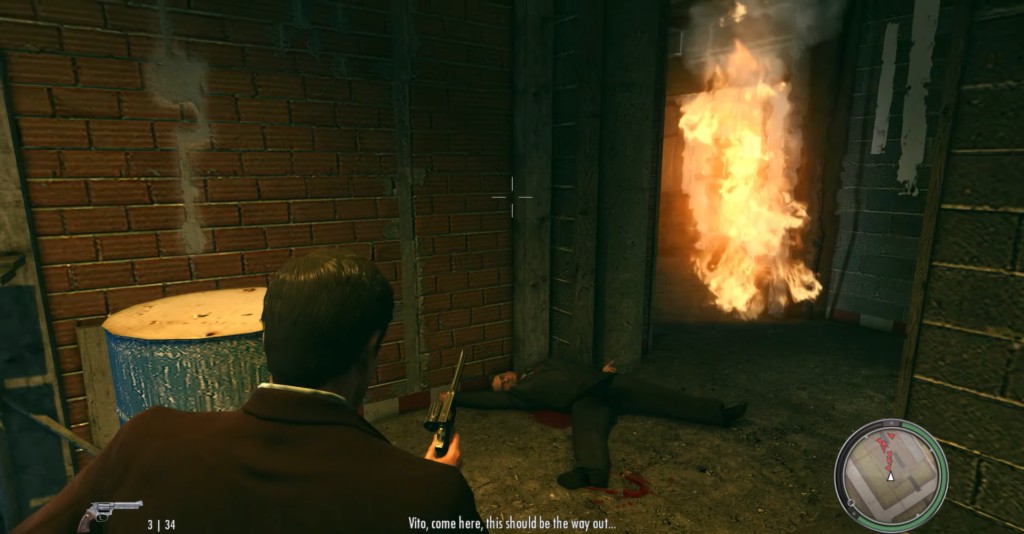
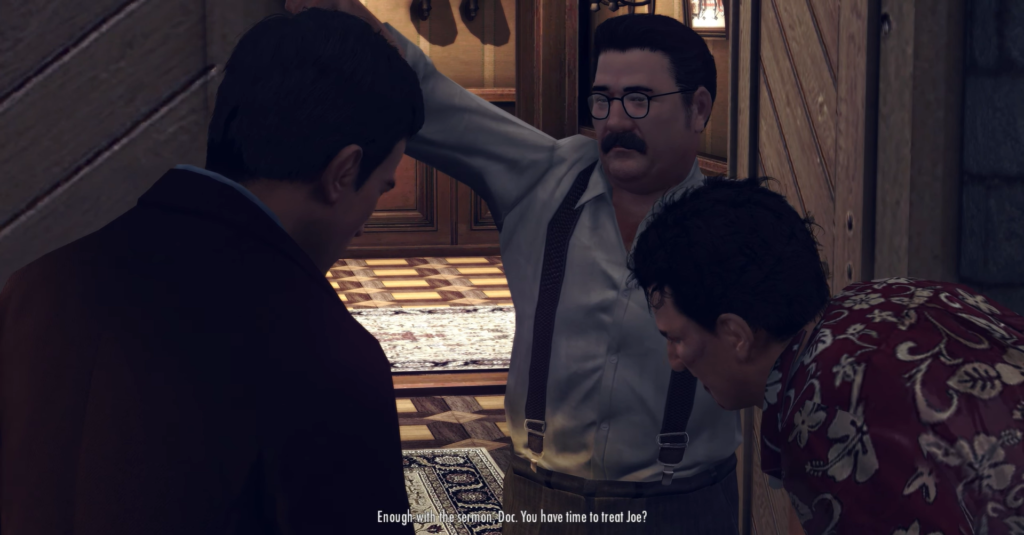
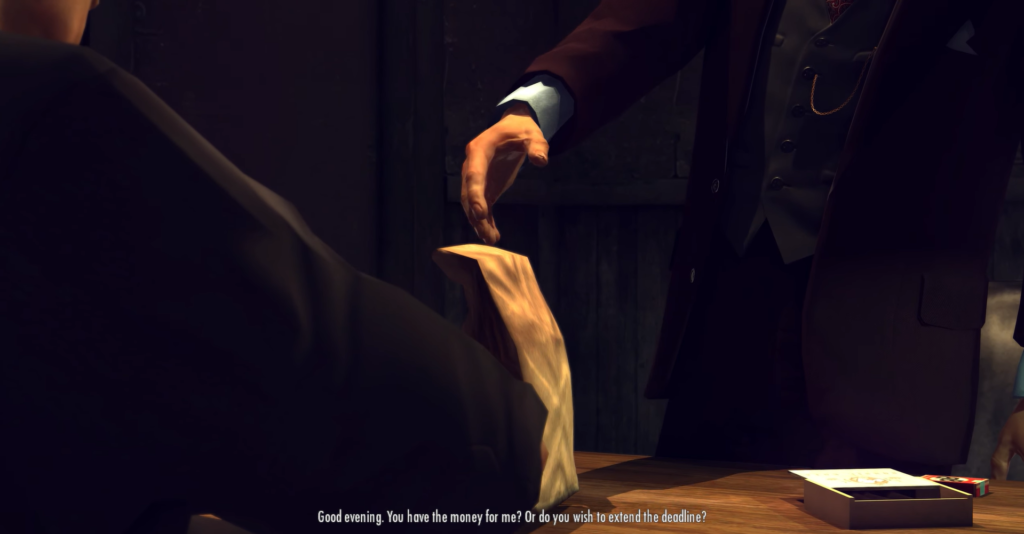
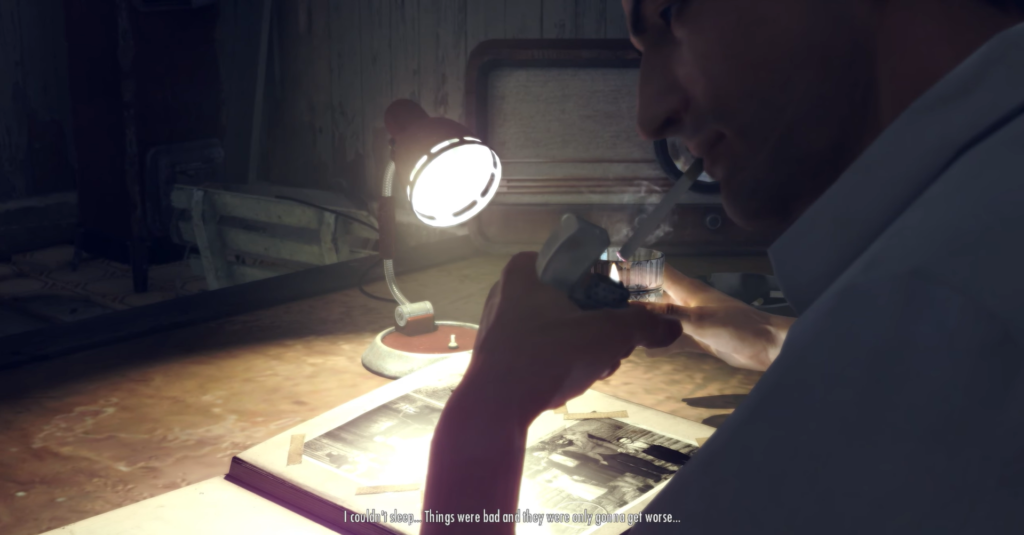
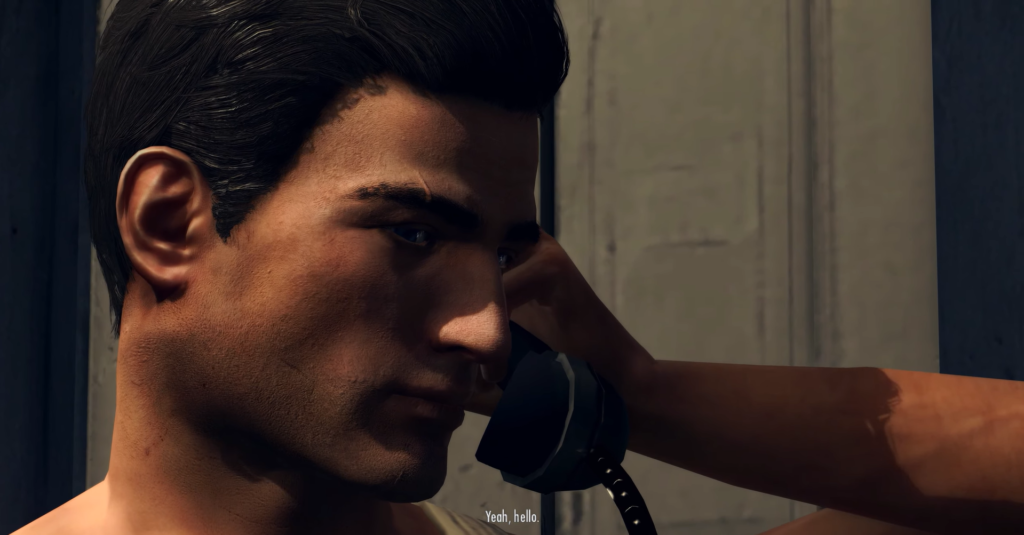
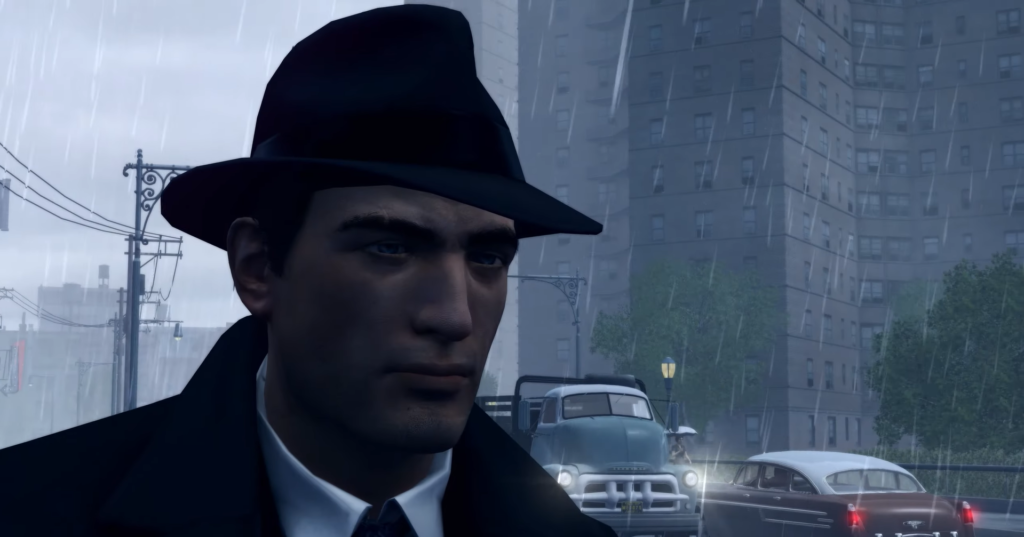
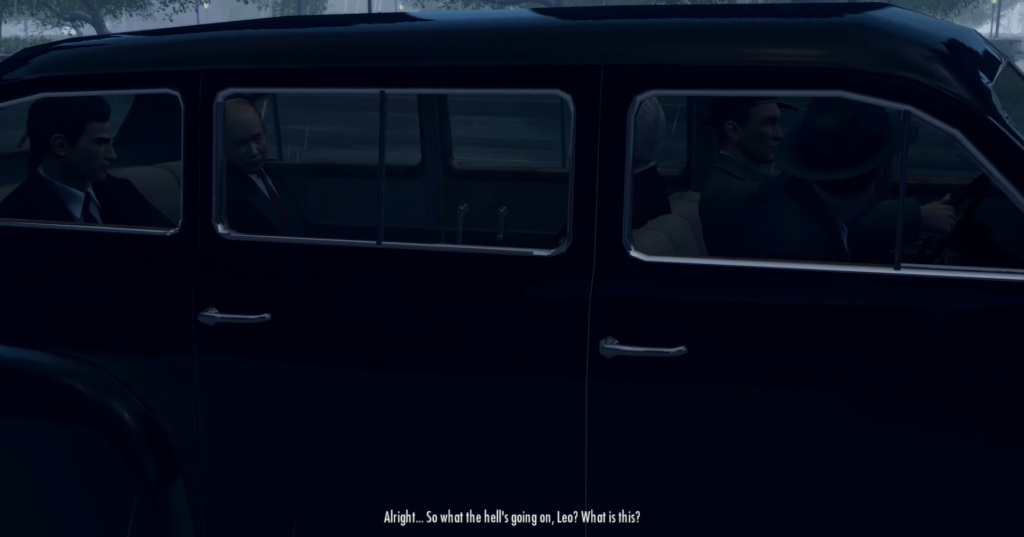
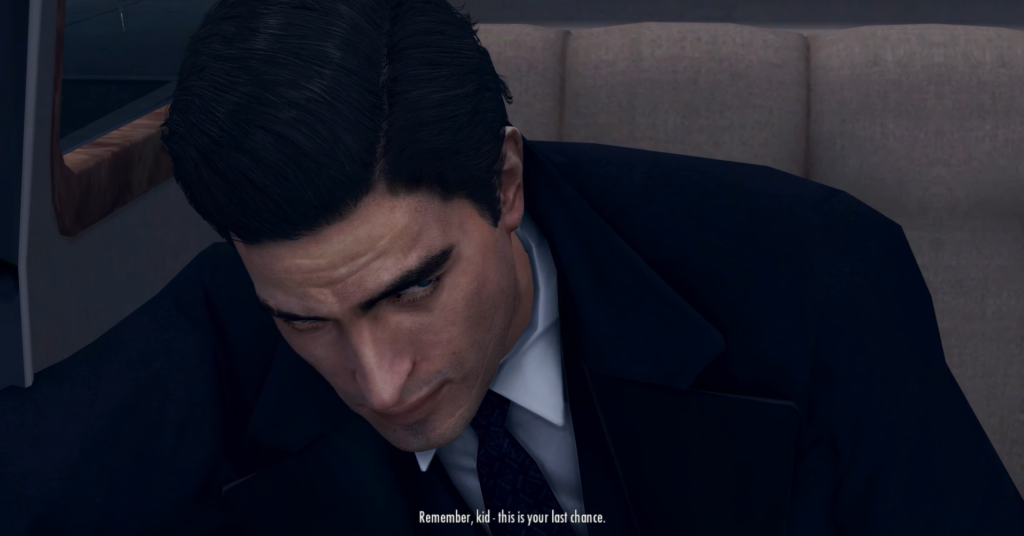
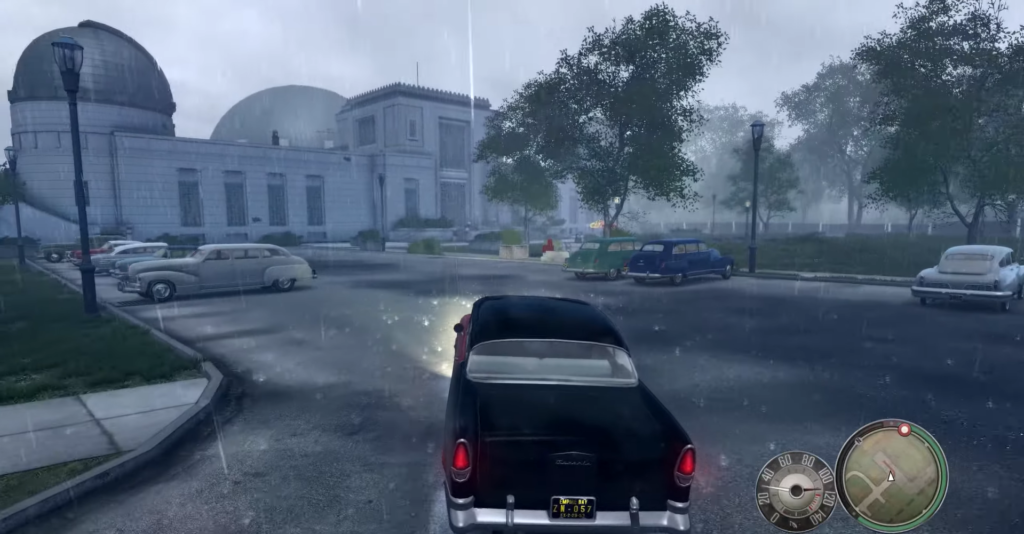
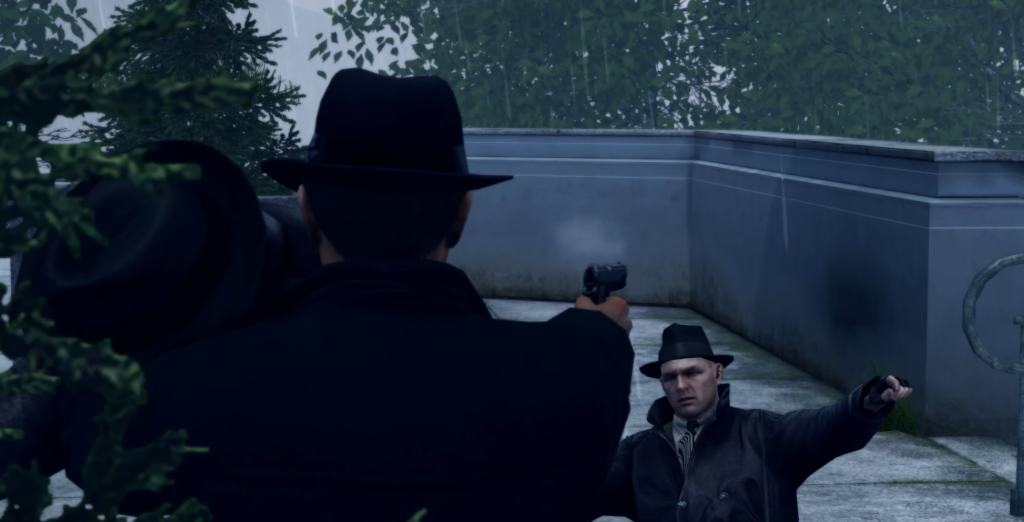

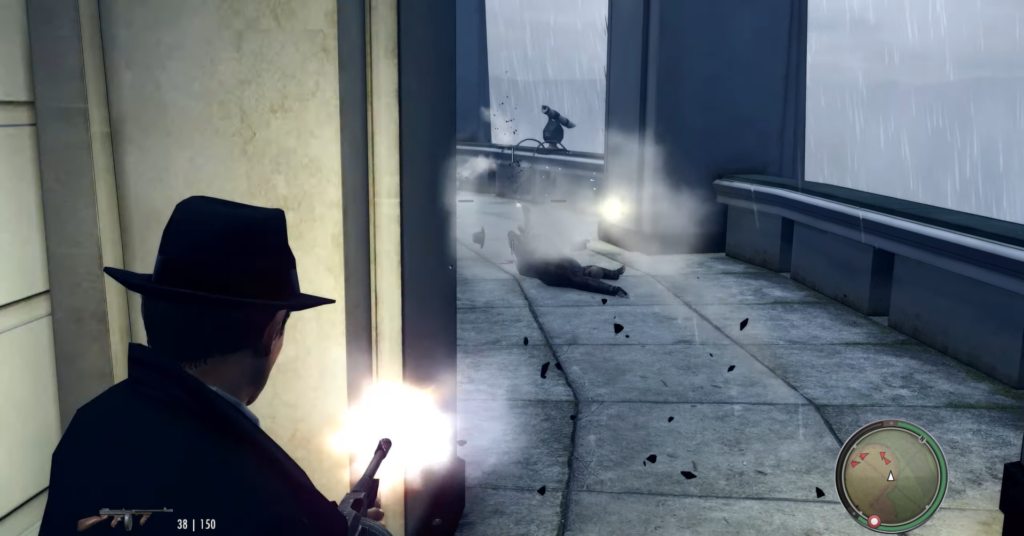
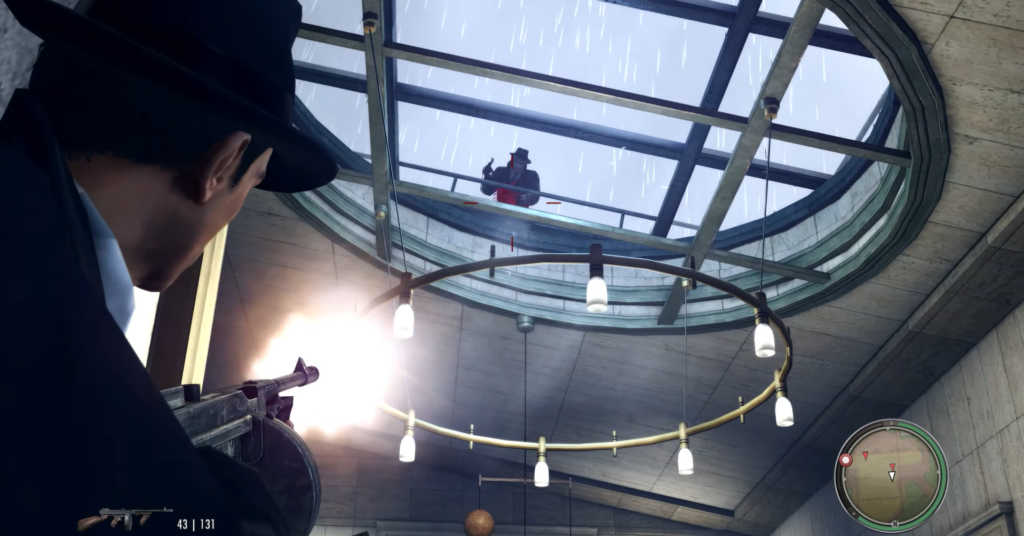
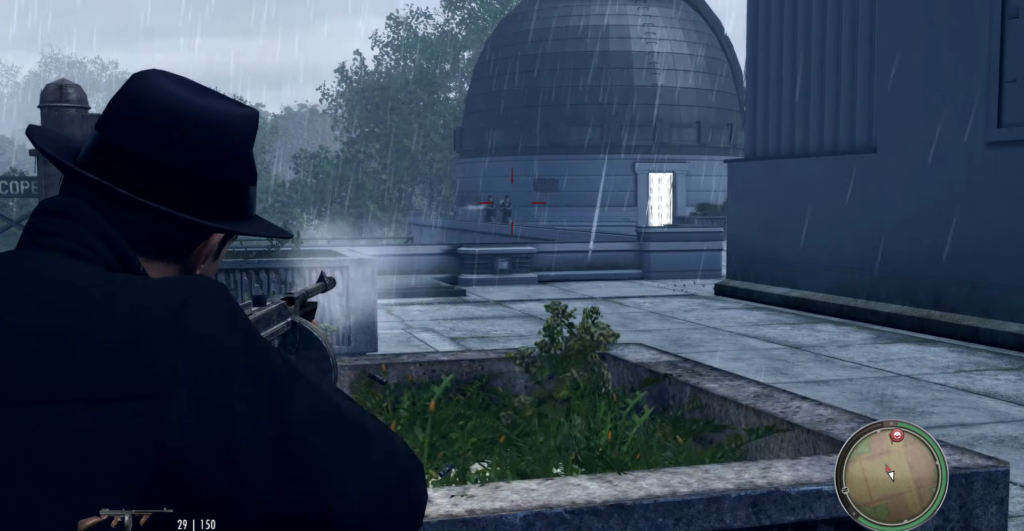

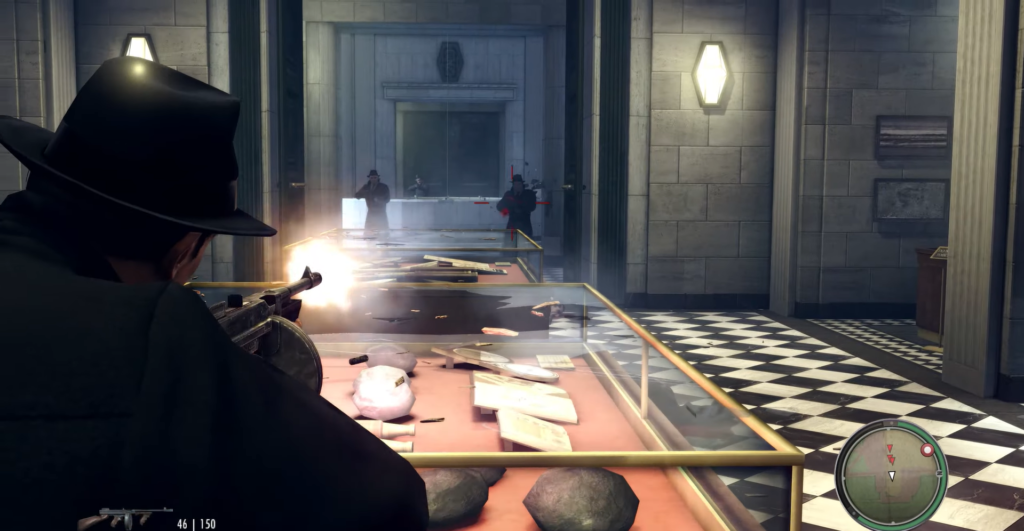
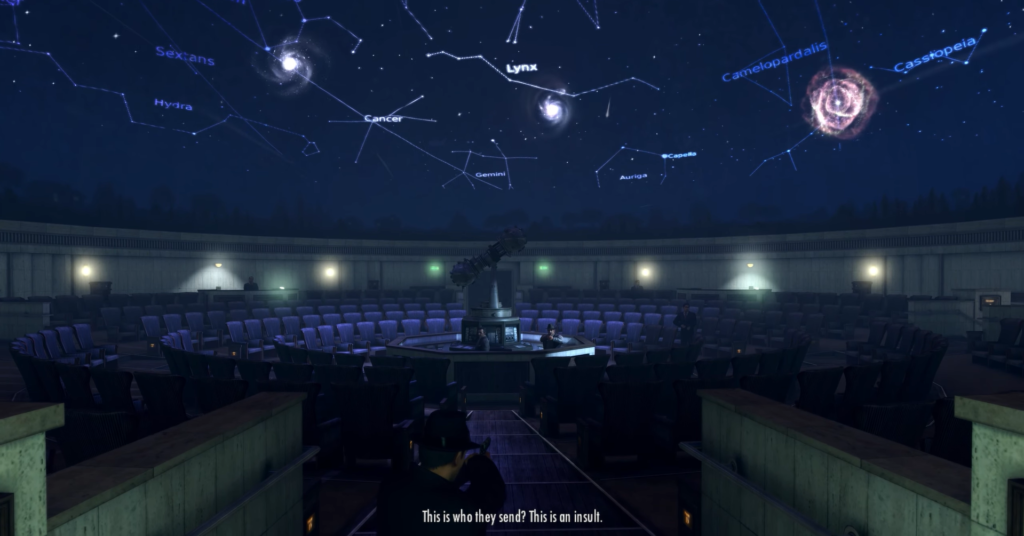
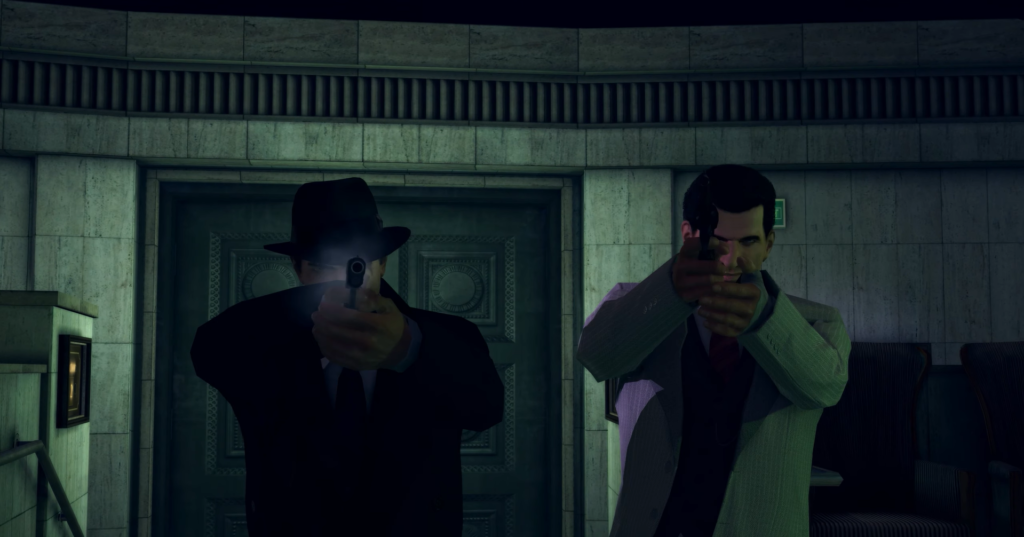
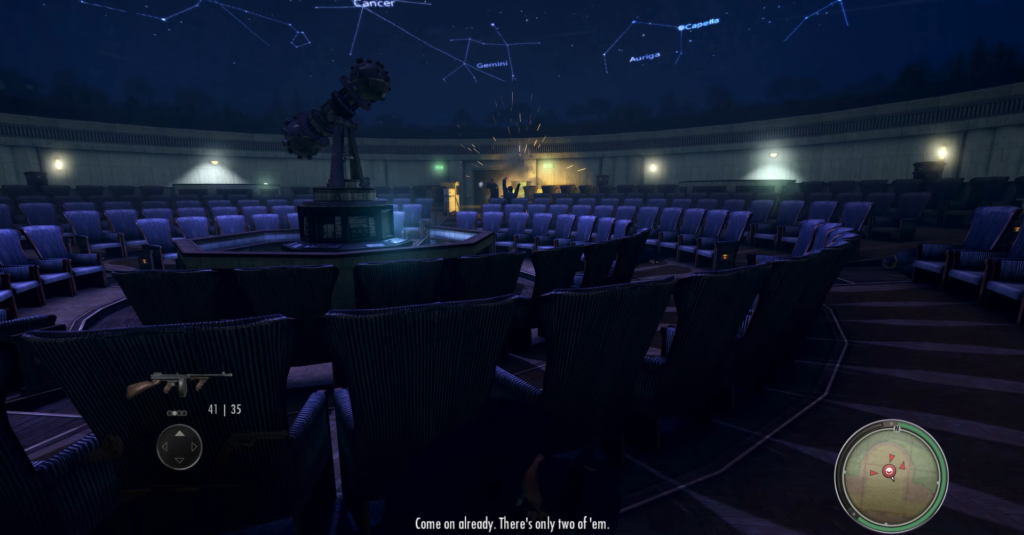
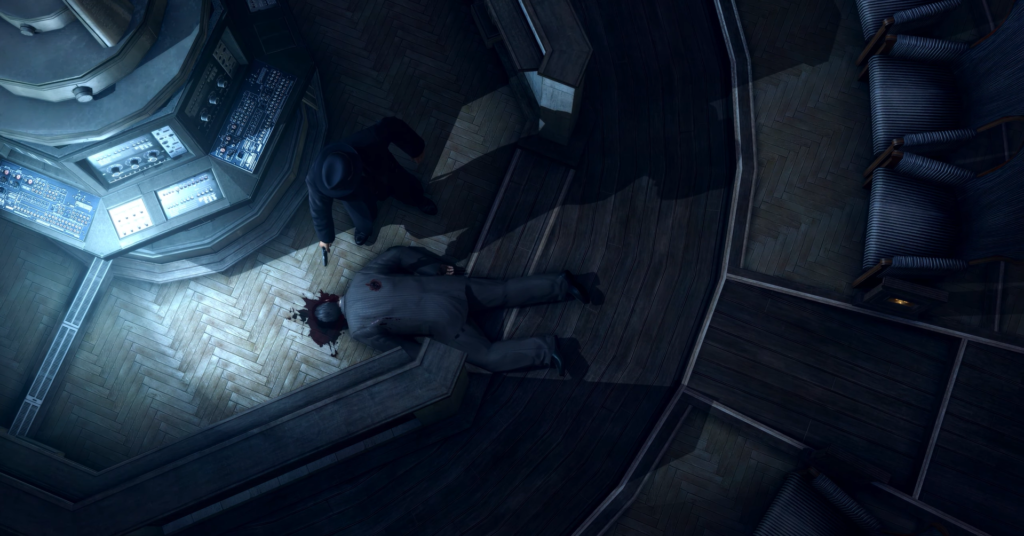
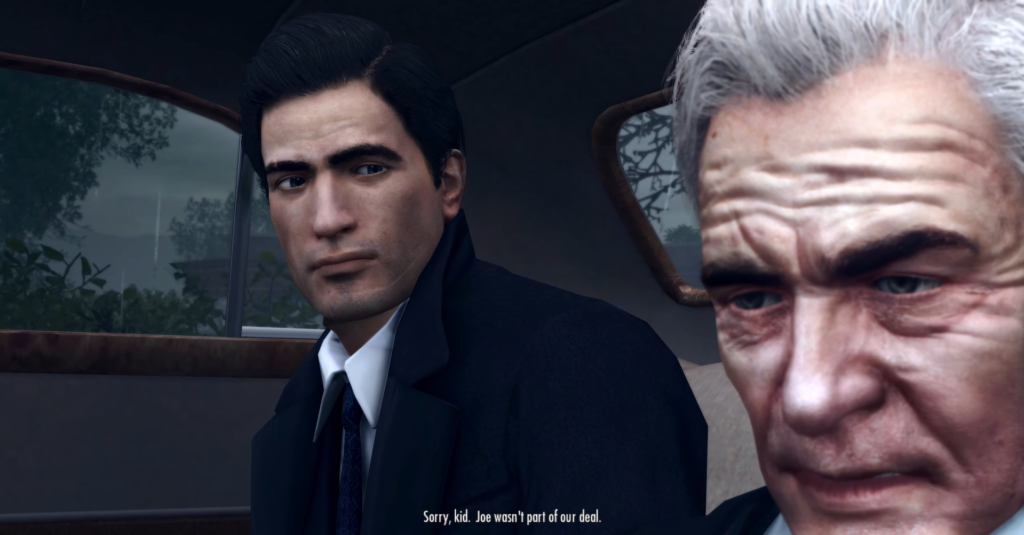


Comments (2)
Sign In / Sign Up
Sign in to leave a comment.
Please add for free for mobile
Thank you!