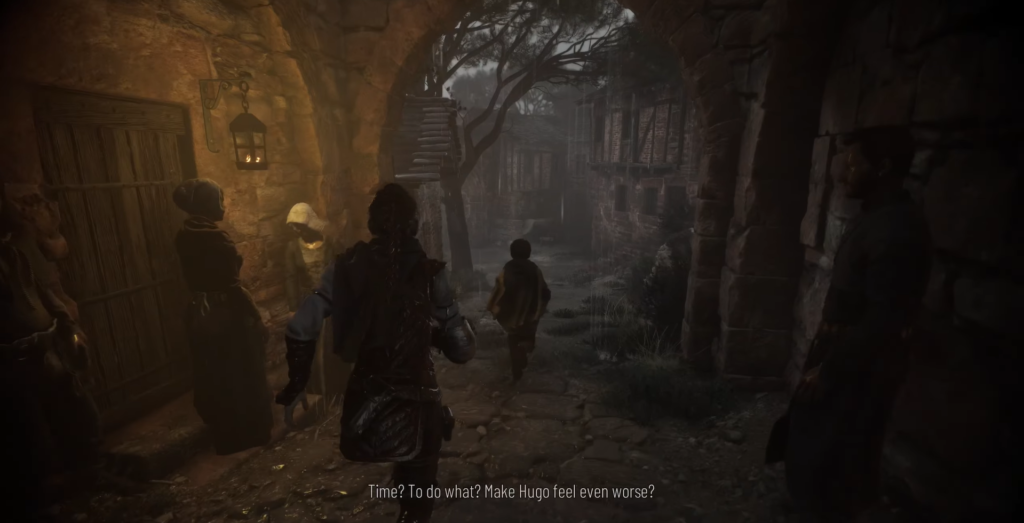
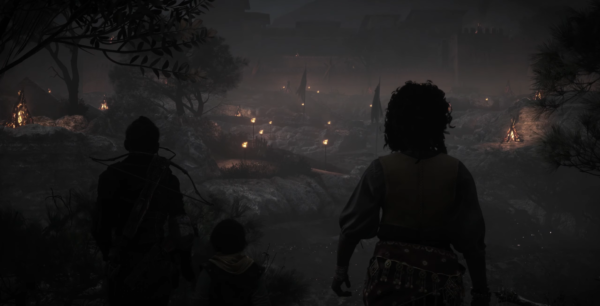
In the third chapter, you’ll navigate through the city alongside Lucas to reach a different district. Your journey begins with a straightforward path toward the gates of the new area, with your primary objective being to escape the city.
Finding an Alternative Route
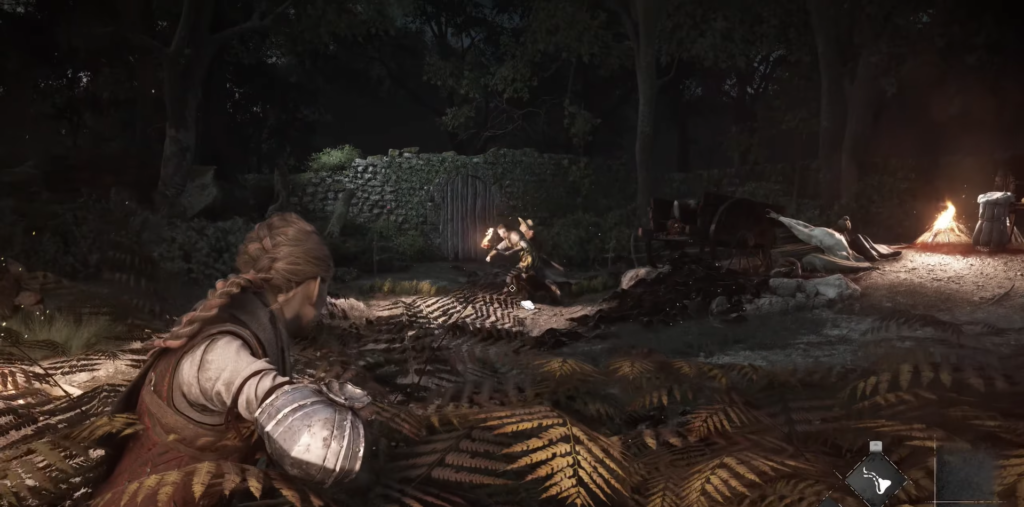
When you reach the guard-protected checkpoint, Lucas will discover a way around. Wait for him to move a crate and squeeze through the narrow passage. You’ll slide down into the butcher’s waste area—keep moving forward from there.
Resource Collection Tip: Loot is scattered throughout this area, either visible on the ground or hidden inside crates. Make sure to collect everything you find along the way.
Navigating the Rat-Infested Areas
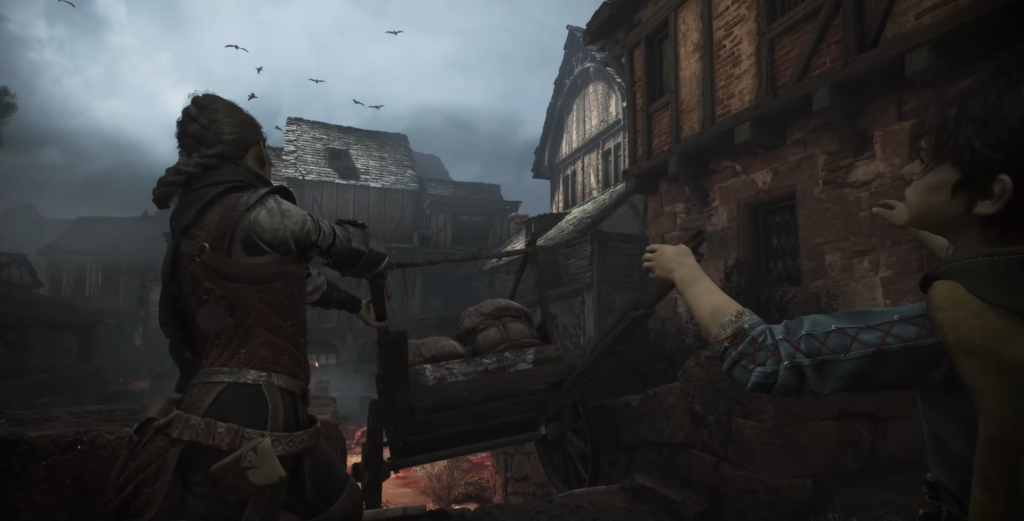
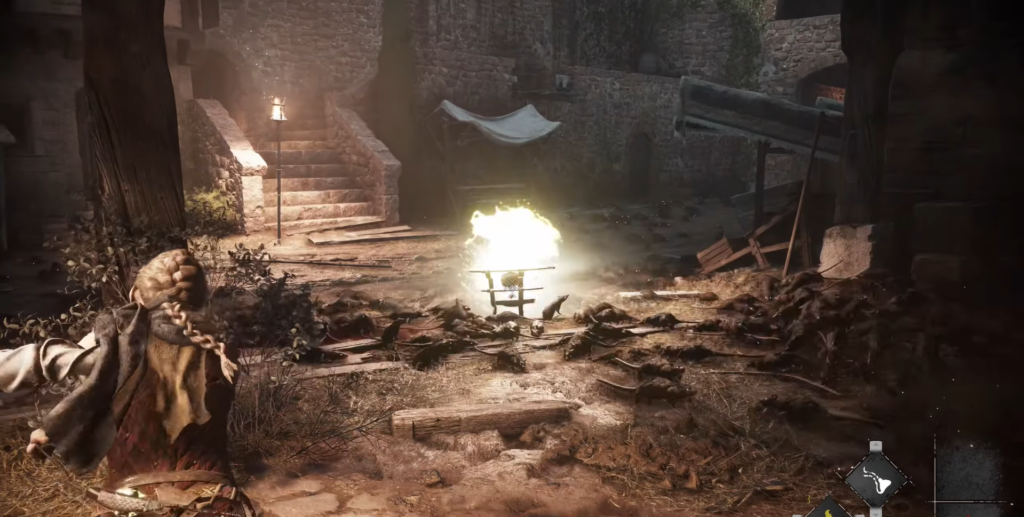
After interacting with the cart, rats will suddenly block your path. Here’s how to proceed safely:
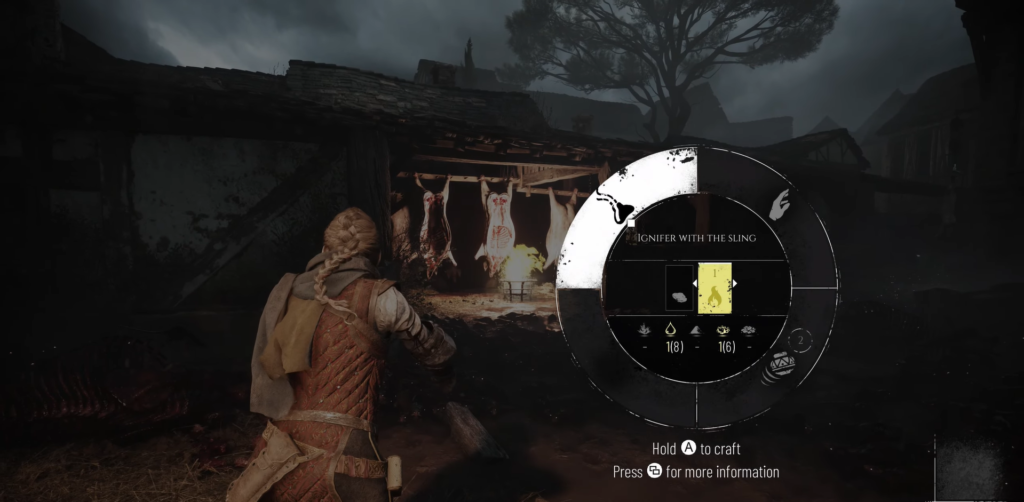
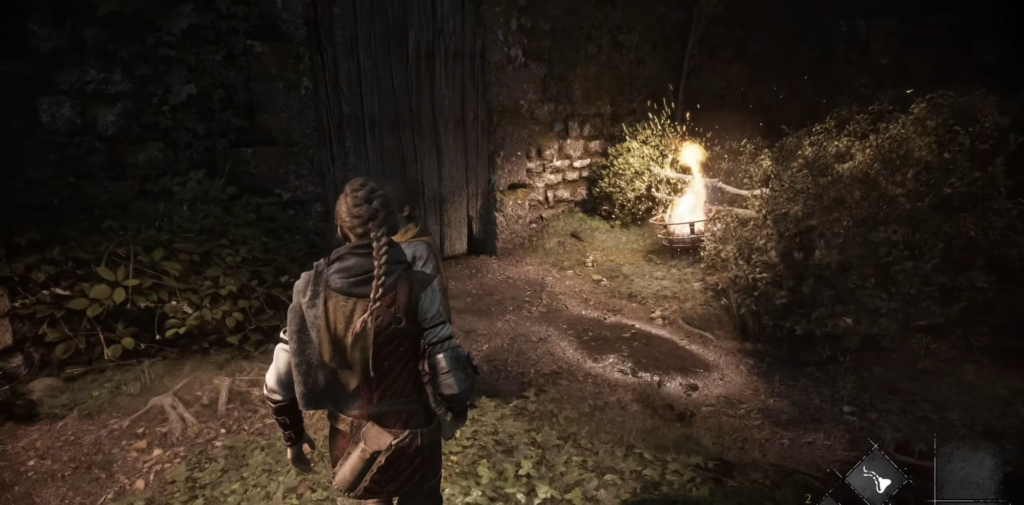
Start by using Ignifer to light the braziers. Throw a pot to create an explosion that clears a path to the light source. In the next section, shoot hanging meat with your sling to drop it, then hit the saltpeter pouch. This extinguishes the light, causing rats to swarm the fallen meat instead of you.
Push the saltpeter cart to access the new room. Once again, you’ll need to drop suspended meat. Push the cart to the end and shoot it with your sling. When you turn off the light, rats will gather around both pieces of dropped meat, allowing you to reach the staircase safely. Exit the building to encounter a guard throwing spears—quickly aim with your sling and eliminate him before he throws a second spear.
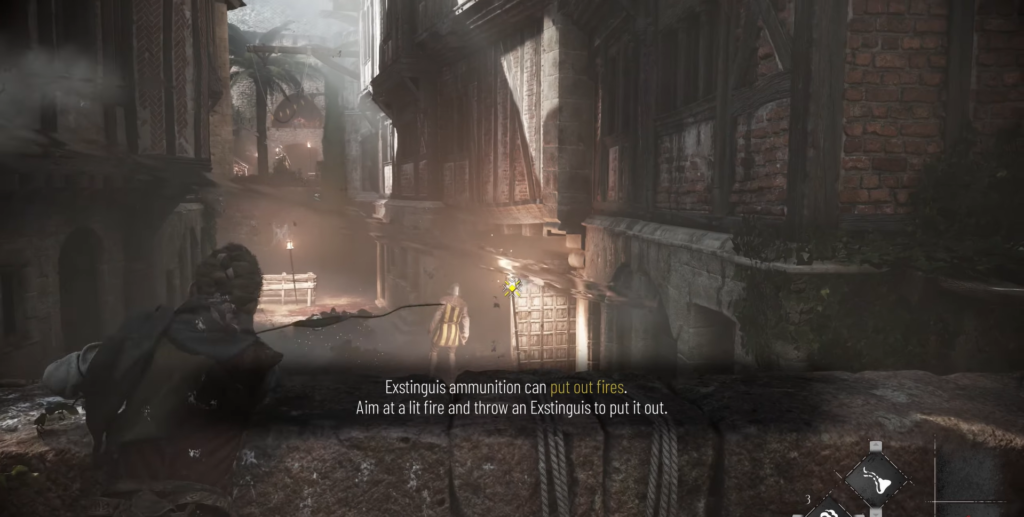
Learning the Extinguish Ability
Approaching the wall reveals another enemy. Lucas introduces a new gadget called Extinguish, which lets you put out fires. Open your weapon menu and craft several rounds of this ammunition type. Aim your sling at the guard’s torch and select Extinguish. Once the torch goes out, the guard loses his protection and becomes rat food.
Continue into the next area, crafting more Extinguish ammunition to target torches held by guards. Remember that rats only attack enemies when there are no other nearby light sources that you can also deactivate.
Reaching the City Gates
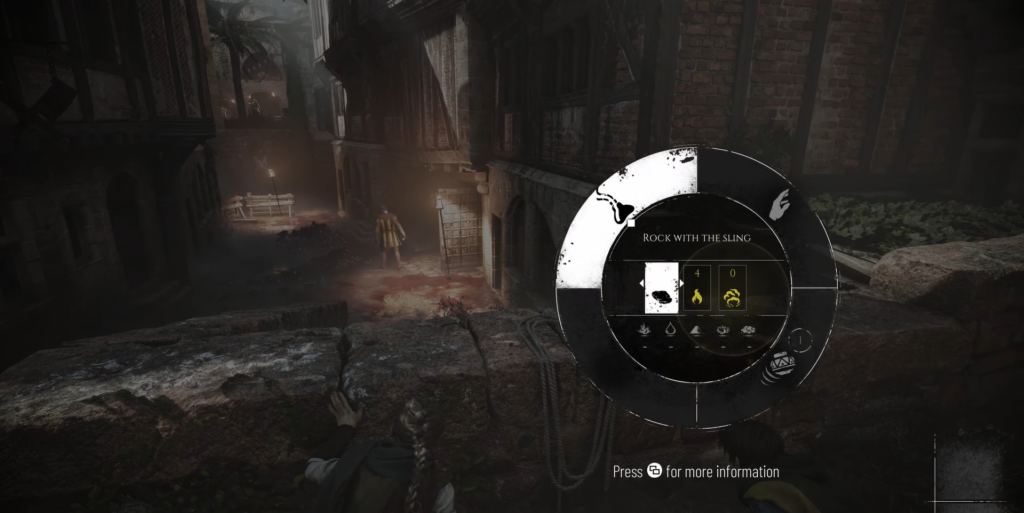
Move forward until you spot the city gates in the distance. Use incendiary ammunition to ignite surrounding braziers and drive away the rats.
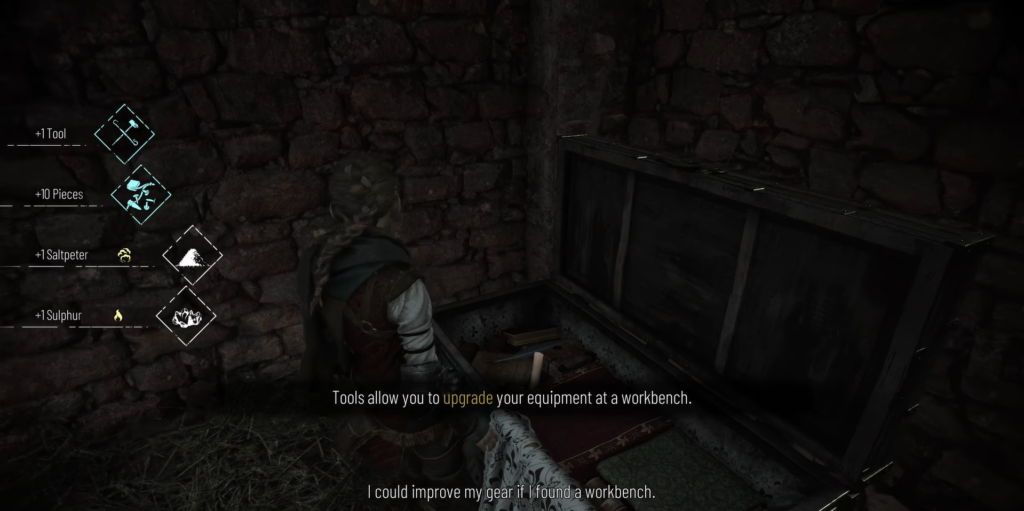
A secret chest near the staircase contains a tool for upgrading Amicia’s equipment—don’t miss it!
Proceed to the upper walls and listen to Lucas’s advice. You can combine a pot with Extinguish and throw it at a group of guards. Upon impact, the pot will extinguish the torches of all enemies within its radius. Reach the winding staircase that leads to the gate’s lifting mechanism.
Raise the gates as high as possible, release the handle, and sprint downward. Pass through the gates before they lower again.
The Herbalist’s Outpost
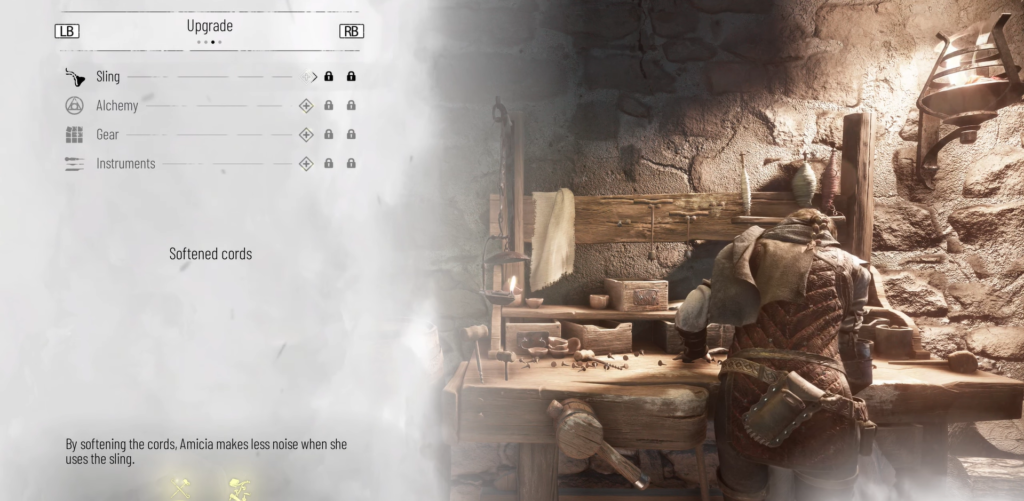
After leaving the city, follow the path to the forest outbuildings. Here you’ll discover your first workbench for weapon upgrades. Four upgrade categories are available, each containing three unlockable improvements. Each upgrade requires parts and one or more tools found throughout the game world.
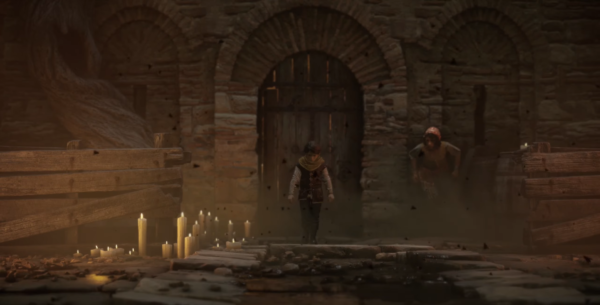
Before proceeding, examine the building to the right of the workbench. You’ll find locked gates that can be opened. Stand to the side and shoot with your sling to access the “Grave” memory. To advance, descend the ladder and open the door to enter a rat-infested area. Use Ignifer to reach the hole in the hut’s wall and quickly eliminate the spear-wielding enemy. Pick up and light a stick to continue.
The Abandoned Church Area
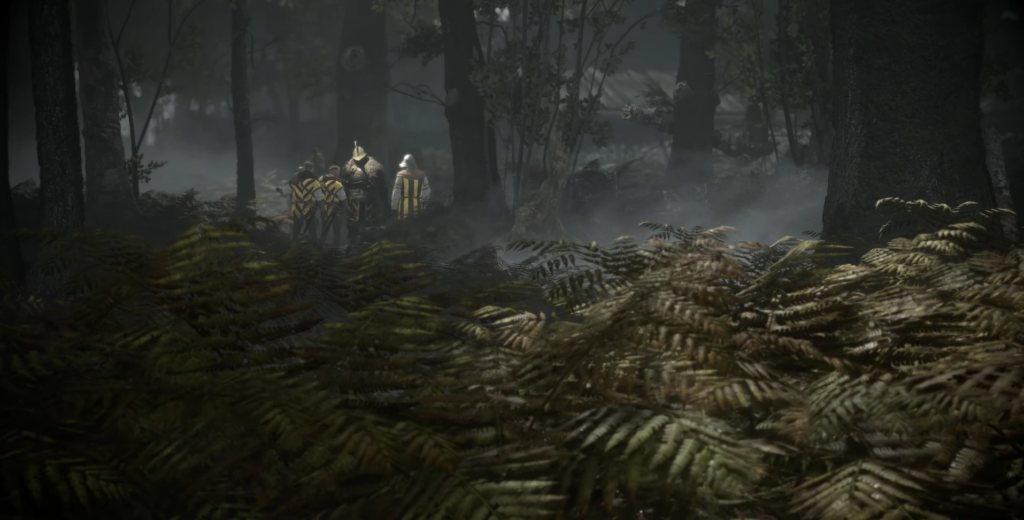
You’ll arrive at an abandoned church patrolled by new enemies. You have options: hide from them using crates as distractions by throwing stones, or use Extinguish on their torches so rats consume the guards. Also employ Ignifer to light torches and braziers, creating safe passages for yourself.
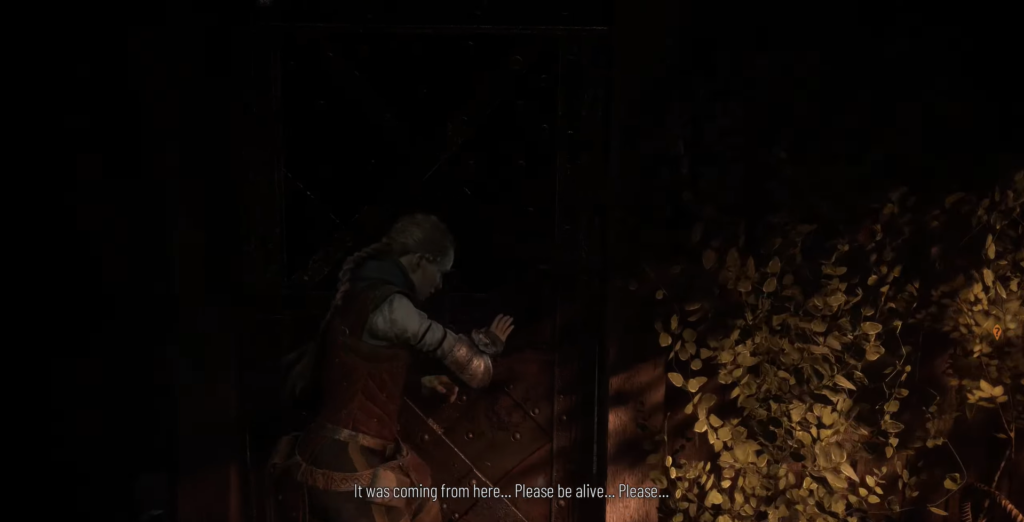
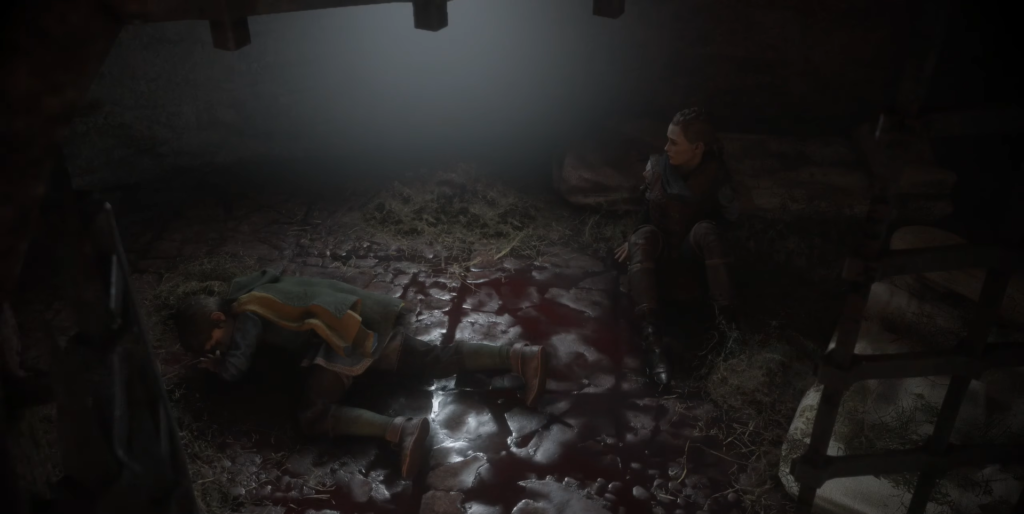
Soon you’ll witness an herbalist accompanied by a guard. There’s no way to save him—the herbalist dies regardless of your actions. If you do nothing, the guard kills him after their conversation. If you distract or kill the guard, rats devour the herbalist. Before leaving, search nearby buildings for a secret chest containing tools.
Your goal is to reach the gates through which the herbalist and guards passed earlier. Use Ignifer to create light sources as needed.
The Herbalist’s Garden
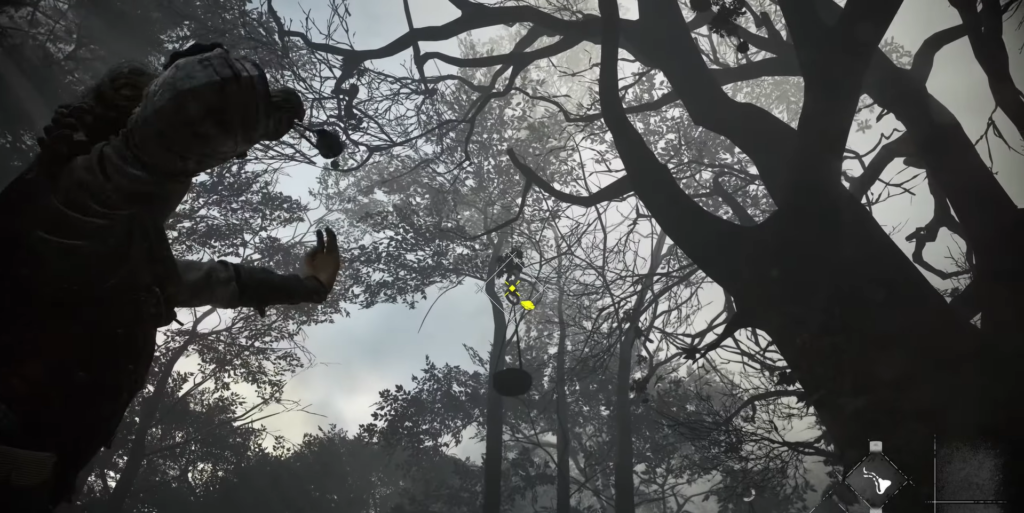
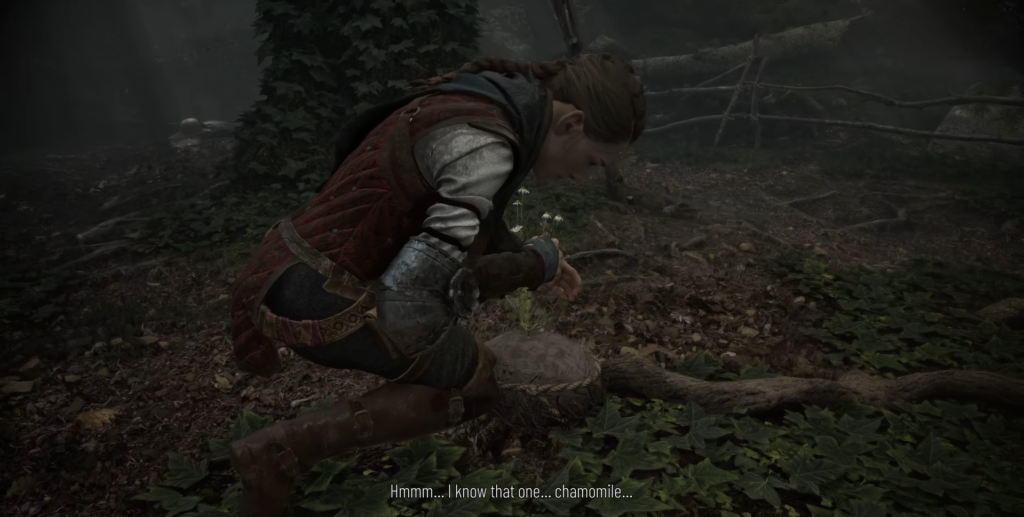
The gates are closed, so explore the area to their left. A breach allows you to cross into the herbalist’s garden. First, look around for a purple flower. Near the pond lies the corpse of the florist, the herbalist’s wife. A tree stands nearby—shoot the pot hanging from it with your sling to collect a daisy (a flower for Hugo’s collection).
Enter the hut afterward and watch the cutscene.
Rescuing Lucas
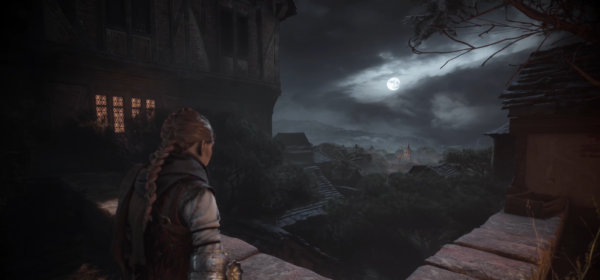
Lucas is being held in the house on the hill—the far-left corner of enemy territory. The best approach involves hiding in tall grass and avoiding unnecessary confrontations. While a staircase leads to the upper level, it’s safer to climb the ledge leading into the tall grass.
In this new area, sneak through the buildings on the left. Keep moving from cover to cover, waiting for the right moments. You can distract enemies by throwing stones at crates containing parts. Eventually, reach the door leading to the barn.
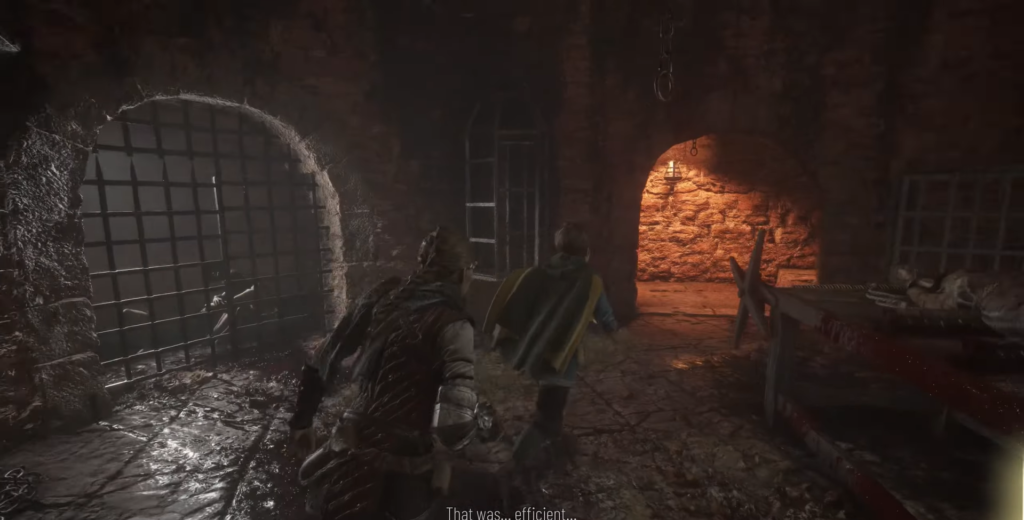
Go inside and shoot the man about to kill Lucas. Use your sling or approach from behind for a melee attack by holding left mouse button.
The Barn Combat
New enemies will enter the barn after your rescue. Engage everyone in direct combat using your sling. Hold it drawn to perform charged shots that guarantee hits on targets. Regular enemies die from a single hit.
Your first shielded opponent appears. You cannot kill him with the sling and must maintain a safe distance. White sacks are scattered around the barn—when the enemy stands near one, shoot it with your sling. The stunned guard becomes vulnerable—attack his back immediately. Continue eliminating enemies until a second shielded opponent arrives. Handle him the same way: after stunning, either strike his back or shoot his exposed head with the sling.
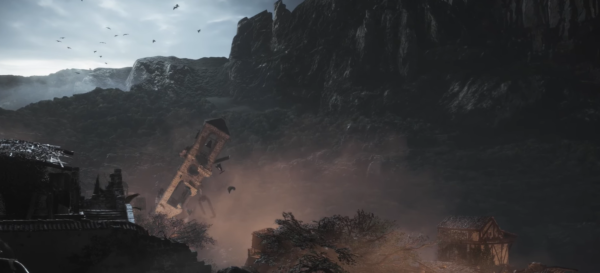
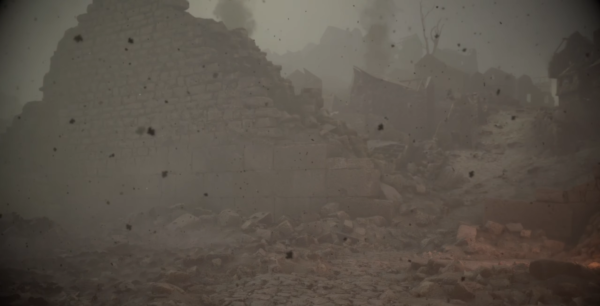
The Beast and Escape
Shortly after, the Beast appears and captures the heroes. Once you regain control of Amicia, leave the chamber. While holding ALT, face the fire and command Lucas to use Stupefacio to blind enemies. Flee through the only available path to an open window. Turn right, press against the wall, and follow it to the next roof. You’ll need to sneak—Amicia lost her equipment and cannot fight enemies directly.
Sneak past the archer and use the ladder. At the next bonfire, order Lucas to use Stupefacio and slip past the blinded guard. You’ll reach walls guarded by two enemies. Descend, hide under the table, and wait for the guard to pass. Once he does, emerge from under the table, climb up, and open the door on the right.
The Ballista Barn
You’ll reach a large barn with a suspended ballista. Start by using the two nearest ladders to get to the lower floor. Move forward to another wall and turn left to retrieve all of Amicia’s equipment, including her sling. Once you do, turn 180 degrees to find a locked workbench. This time, unlocking it requires a knife, which will be lost during the process. If you manage to open the workbench, you’ll find a tool and several crafting reagents.
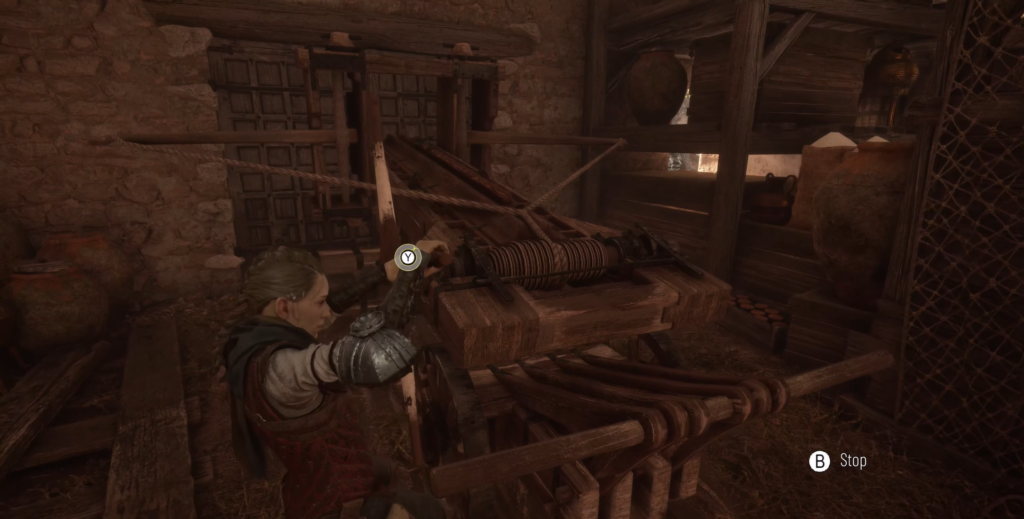
During your first attempt to leave the barn, the group realizes guards are stationed outside. To create a distraction, Lucas suggests using the ballista. Wait for Lucas to move one of the items in the barn, then push the wheeled platform where you can climb the step and reach the handle above.
But first, go back and climb the ladder on the left. Use your sling to shoot the hook holding the wooden bridge. Once lowered, cross to the other side and collect the “Our Home” memory.
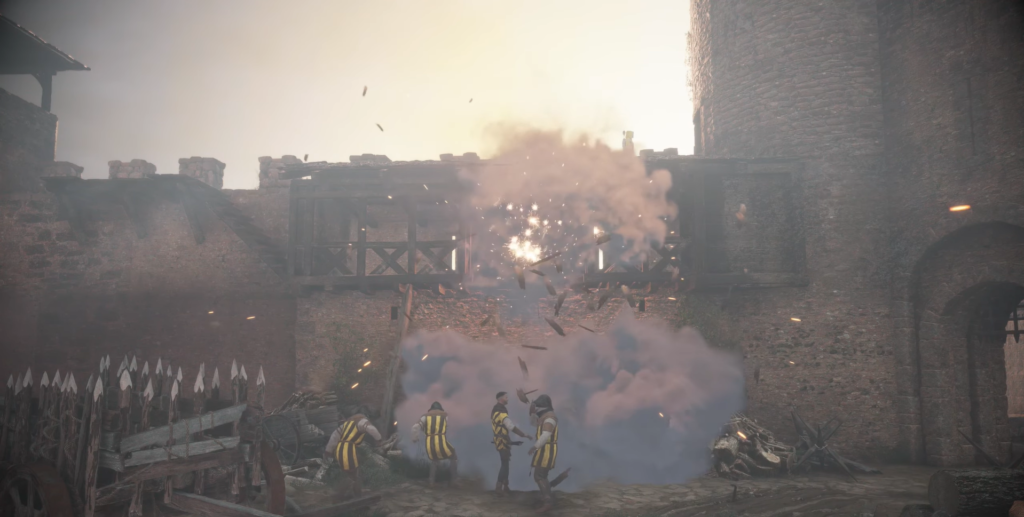
Return to the ballista. Command Lucas to use the handle to lower the weapon. Shoot the hook under the ceiling holding the ballista. It will fall down. Push the ballista until it stops in front of the barn doors. Finally, use the ballista’s handle to load the weapon and fire at full power. Watch the cutscene.
Published
Modified
nikreg1607
Nik Reg
Game Guide Author & Barista
Barista by day and a gamer by night. While mastering the art of brewing the perfect espresso, he also spends his time exploring virtual worlds, testing strategies, and figuring out the most efficient ways to overcome tough moments in games. He enjoys breaking down game mechanics, discovering hidden tricks, and sharing helpful tips with other players.


Comments (0)
Sign In / Sign Up
Sign in to leave a comment.
No comments yet
Be the first one to share your thoughts!