
Conversation with Amanda on a frozen lake
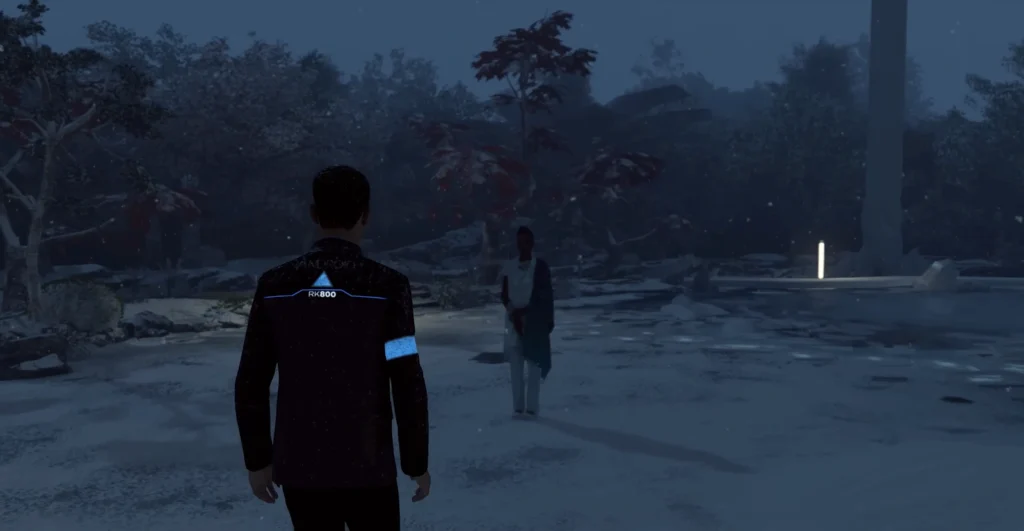
At the beginning of the chapter, you control Connor. Your goal is to find Amanda: she is standing in the middle of a frozen lake. Walk around the shore and approach her to start a dialogue.
The choice of responses depends on the previous chapters. If you have already learned the location of Jericho from Kamski, an additional response option will become available. Otherwise, choose Kamski’s response and observe how the conversation develops.
Next, the dialogue will offer several options:


| A moment of dialogue | Recommended choice | Result |
|---|---|---|
| Second choice | Emotional response | Amanda’s trust declines, software instability increases |
| Third choice | Amanda’s photo | Continuation of dialogue |
| Fourth and fifth choices | Any option | Software instability increases, Amanda’s trust decreases |
After the conversation ends, the scene will shift to Hank’s office.
The path to the archives: a conversation with Hank
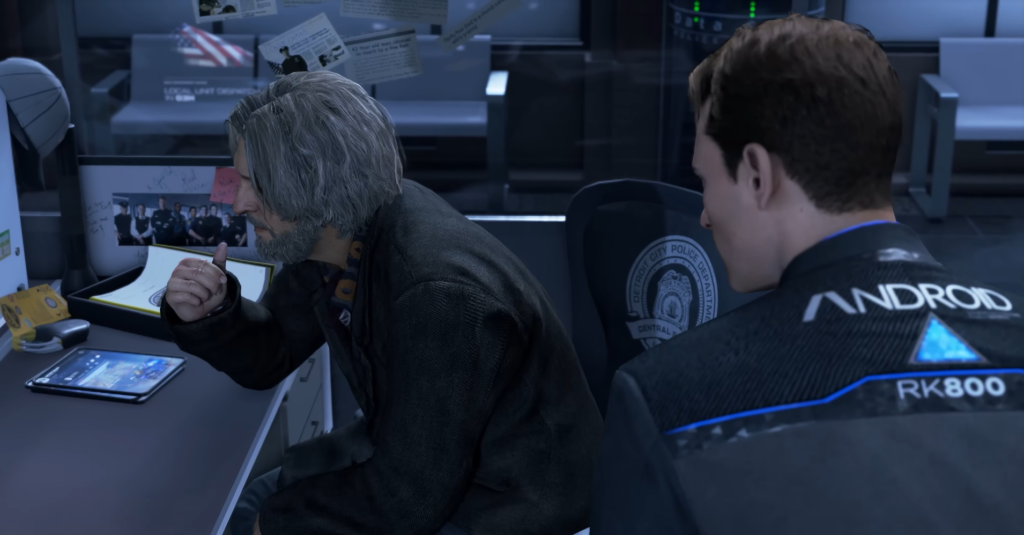
A short cutscene with three characters will end, and you will need to approach Hank’s table. In the dialogue with him, follow this sequence:
- Replica DISAPPOINTED
- Reply NO DOUBT
- Reply: DETERMINED
- Reply SINCERE
The first two answers will increase Hank’s trust, while the last two will increase Connor’s software instability.

Important: Hank will only give you the key to the archive room if you have a high level of trust and friendship with him. If your relationship is not strong enough, this path may be closed to you.
Take the key from Hank’s desk and move to the left side of the room to the very end — there you will find the door to the archive. You have limited time, so act quickly.
Clash with Gavin
Gavin will intercept you at the entrance to the archive. Do not engage in conversation with him — choose to ignore him and go straight inside. Any response to him will only waste precious seconds on the timer.
Go down the stairs, through the door, and approach the terminal. The system will ask for a password—enter FUCKINGPASSWORD to access the evidence.
Evidence collection and analysis
All the evidence collected during the game will appear on the wall in front of you. The set of evidence depends on your actions in previous chapters, including the fate of the deviant androids. The timer continues to run, so examine everything as quickly as possible.
Inspection procedure:
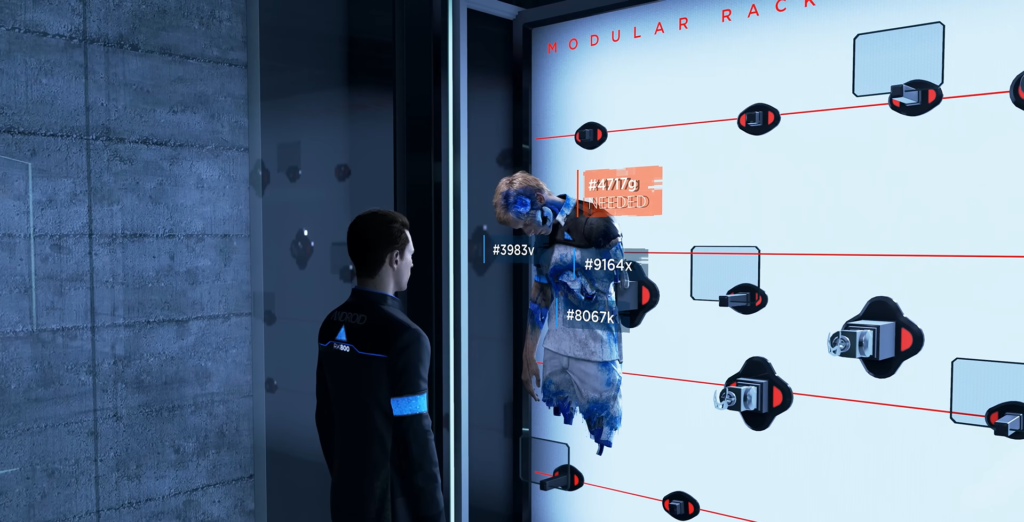
- The android on the left — examine it. It is missing one key biocomponent, but the rest are in place.
- The tablet in the center (interrogation of the deviant) — study the recording of the interrogation of the deviant android, it will give you additional clues.
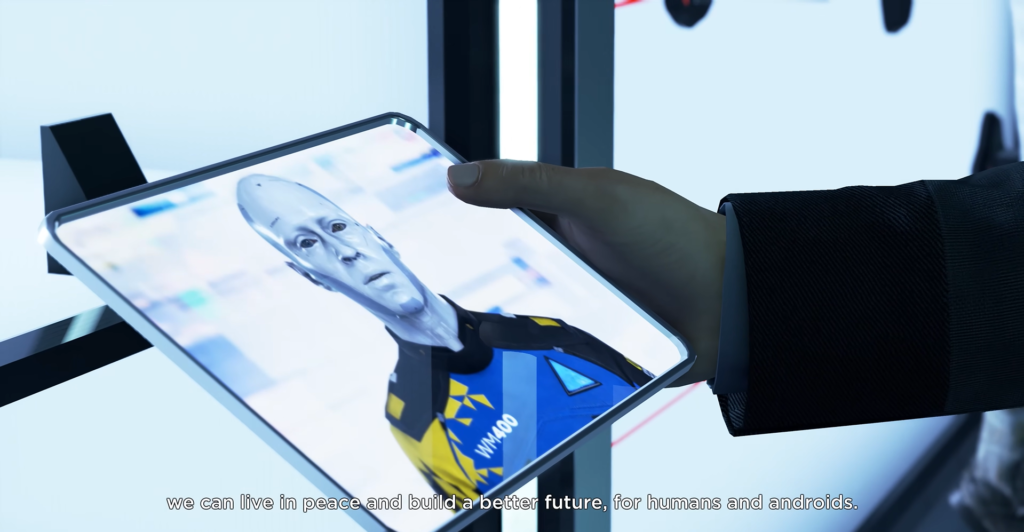
- Second tablet (Marcus’ speech) — watch Marcus’ speech to unlock additional options later on.
- The statue in the center — break it. Inside is a note with information for cross-analysis.
- The android on the right — examine it: it is missing components that can be extracted from the android on the left. Transfer the missing parts and activate the android on the right.
In the dialogue with the activated android, select the HELP option. He will refuse, but after that you will be able to scan him and read the data from his memory. The information obtained, combined with the other clues, will allow you to determine Jericho’s location.
Fight with Gavin and end of chapter
Once Jericho’s coordinates are found, Gavin will burst into the room and attack Connor. Button prompts will appear on the screen — press them in time so that Connor dodges the blows and does not die. After successfully completing the entire QTE sequence, you will knock Gavin out, after which Connor will leave the archive.
This concludes the chapter “Last Chance, Connor.”
Comments (0)
Sign In / Sign Up
Sign in with your Google account to leave a comment. It's fast, easy, and secure.
No comments yet
Be the first one to share your thoughts!