

You’re flying over the clockwork canyon on your bird mounts. The main clock tower is blocked by a protective dome. To drop it, you must clear both side towers and destroy the two shield devices they power.

First Tower: Symbol Wheel + Clock Order
- Reach the symbol wheel. Inside the tower is a round floor platform with multiple icons (animals + moon + sun).
- Get May through the timed door.
- Cody rewinds time on the broken bridge so May can cross.
- May leaves a clone near the door/entrance area, then returns.
- When the door opens (based on Cody’s time action), May teleports to her clone to slip inside before it shuts.
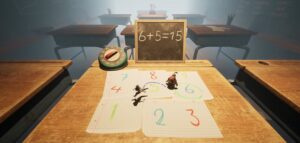
- Solve the clock order puzzle. In the next room, wall clocks show the same icons. May reads the clock times, Cody ground-pounds the matching icon buttons on the floor wheel from earliest time to latest time.
- Commonly reported order: insect icon (often described as wasp/bee) → bird → cat → moon → dog → sun.
- If you’re unsure about the first icon name, don’t guess—use the clock times: earliest-to-latest is the rule.
- Damage the tower’s shield device. After the tower’s top breaks, fly outside: grab the glowing fireflies in the air and throw them into the device that’s maintaining the dome.

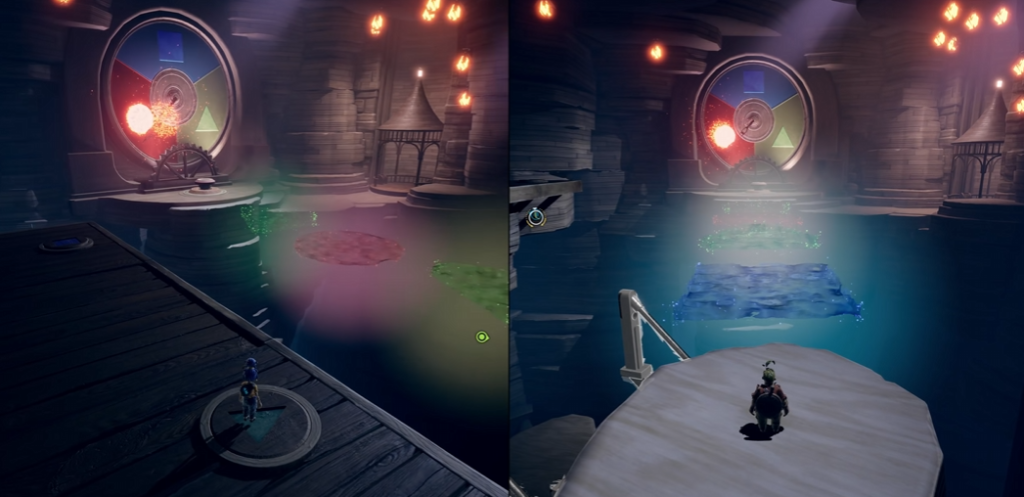
Second Tower: Three-Color Clock Platforms
- Read the big three-color clock. Platforms activate only when the clock hand points to their matching color (and/or shape). Time your jumps to the active set.
- Bridge + button coordination room.
- Cody rewinds/restores a bridge so May can reach two buttons (green and blue).
- May uses these buttons to switch the color of specific platforms so Cody can keep moving and reach the far side.
Callouts that keep this clean: - Cody: “On BLUE / GREEN—ready to switch.”
- May: “Switching now.”
- Destroy the second shield device the same way (fireflies into the device).
Finish: Open the Central Tower
Once both devices are destroyed, the dome drops and you can open the way into the central clock tower.


Comments (0)
Sign In / Sign Up
Sign in to leave a comment.
No comments yet
Be the first one to share your thoughts!