Survive the first wasp encounters and push toward the next boss arena.
Fresh Air
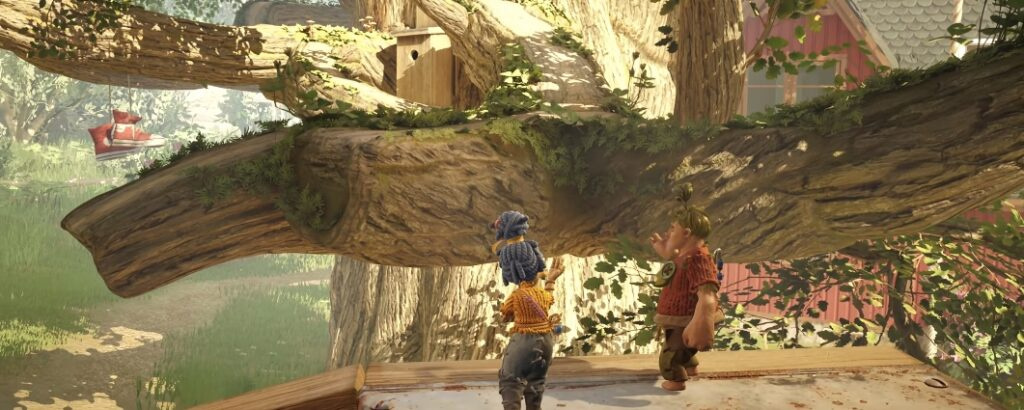
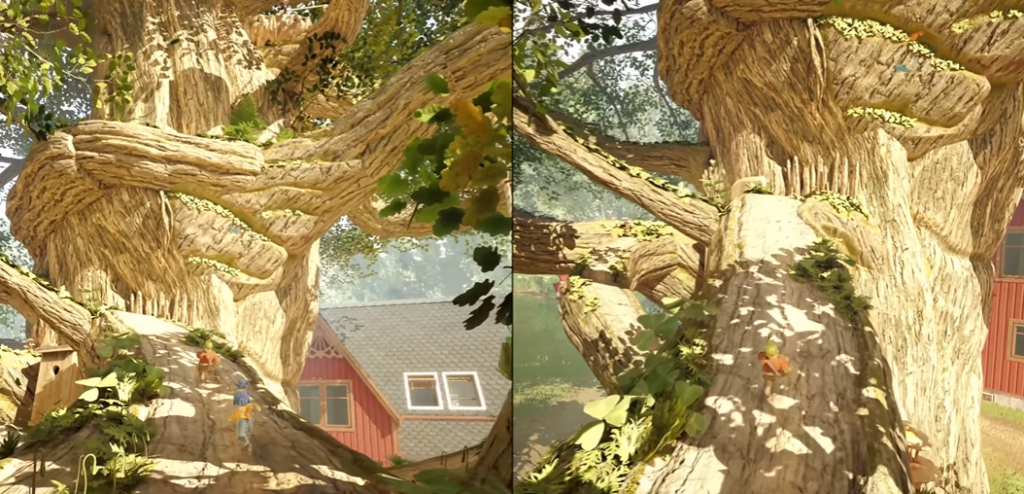
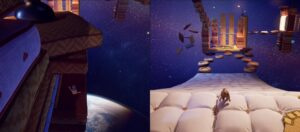
Climb to the squirrels’ base
You start on a huge tree trunk with clear grapple hooks above you. Use those hook points to pull yourselves upward, chaining climbs until the route funnels you into a story moment at the squirrels’ base.
Key takeaway: If you’re unsure where to go, look up—this section is built around visible grapple hooks that lead “higher,” not sideways.
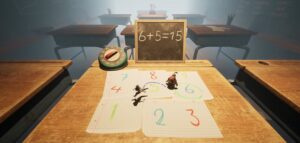
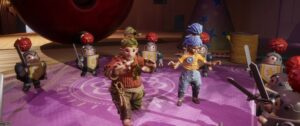
In Captivity
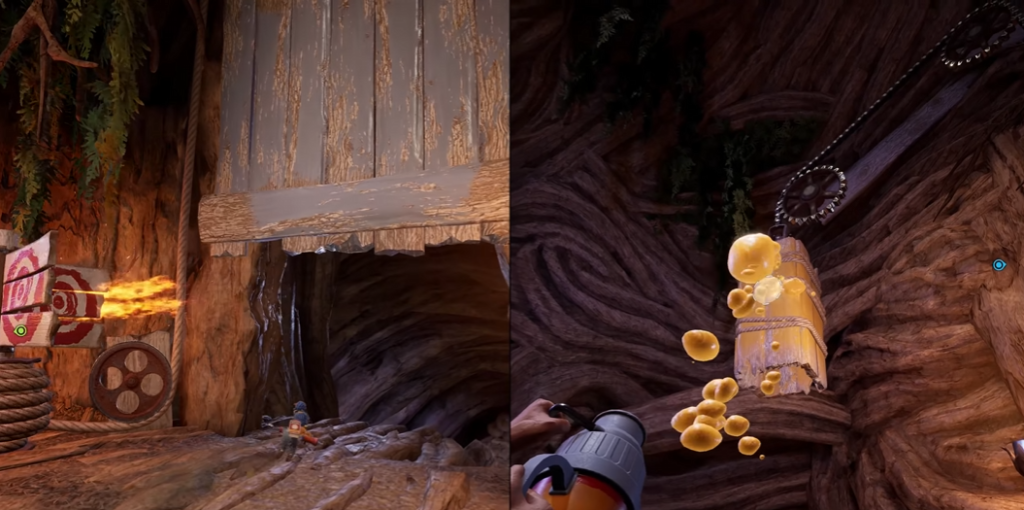
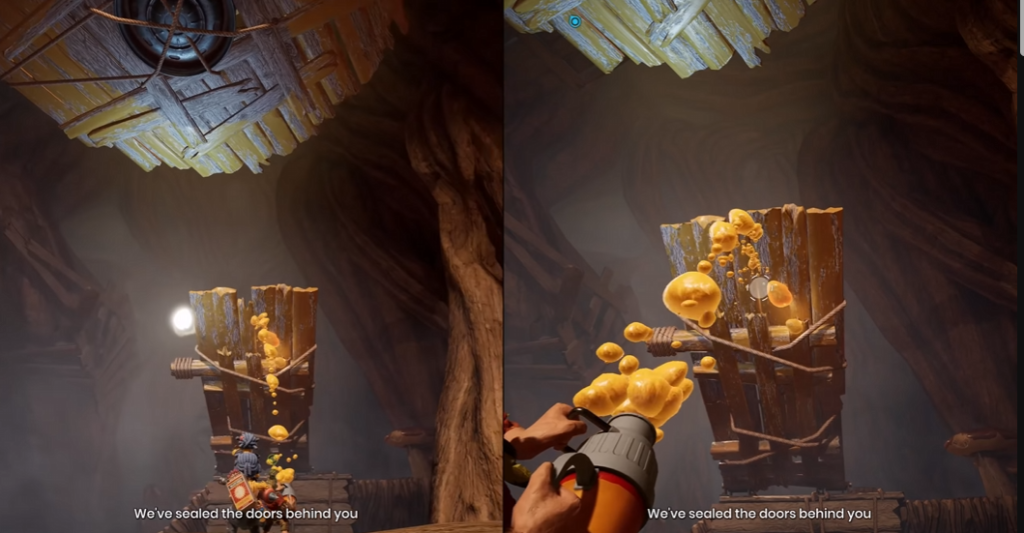
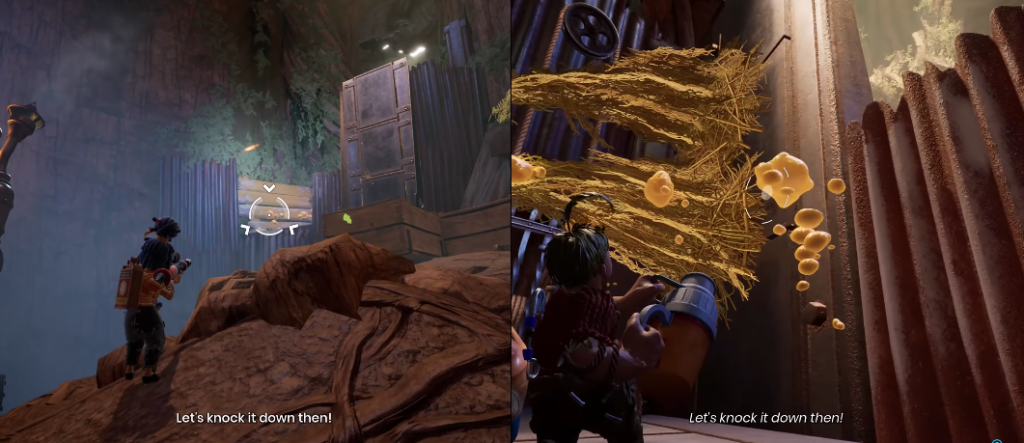
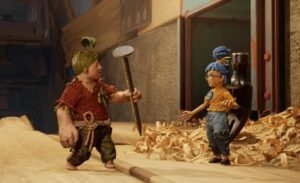
New abilities: sap + matches (how they work together)
A short sequence introduces the core combo for this chapter:
Cody sprays sap onto wooden objects and surfaces (often to “load” or weigh down mechanisms).
May fires match shots that can ignite the sap to trigger the effect you need (opening paths or handling enemies).
Common mistake: Spraying sap near a target often does nothing. When a wooden barrier/mechanism is blocking you, coat the actual obstacle or its trigger piece, then ignite from a safe angle.
Training room: open the gate and ride the platform up
Move into the first room where the game gives you targets and obvious interaction cues.
May opens the way forward. Use her shots to break/open the metal gate that blocks the exit.
Cody prepares the lift. Spray sap onto the raised platform mechanism.
Cross, then ignite. Once May is across on the platform, she shoots the sap to trigger the change, letting you climb to the next height.
Keep pushing upward as the path reveals the next sap-and-burn interactable.
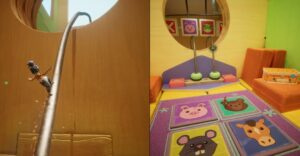
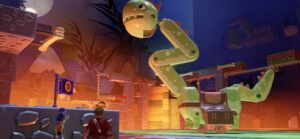
Free the platform from the plant and reach the cage section
You’ll spot a plant-like hold that’s pinning a wooden platform.
Cody coats the holding point with sap.
May ignites it to release the platform and open the route.
Right after, you’ll come to a cage used as a traversal tool:
Use sap to pull the cage down far enough to climb inside.
Exit on the far side, then sap it again so it drops/settles into a new usable position.
Once you’re standing on top of the cage, May clears the sap effect so you can continue.
Key takeaway: Treat the cage like a moving elevator. Sap changes its position; May’s shot “finalizes” the step so you can climb again.
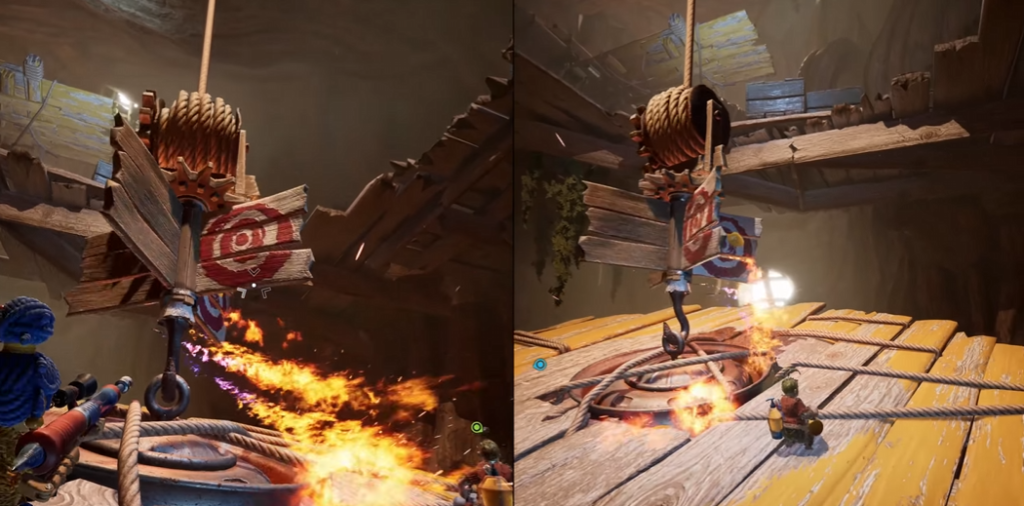
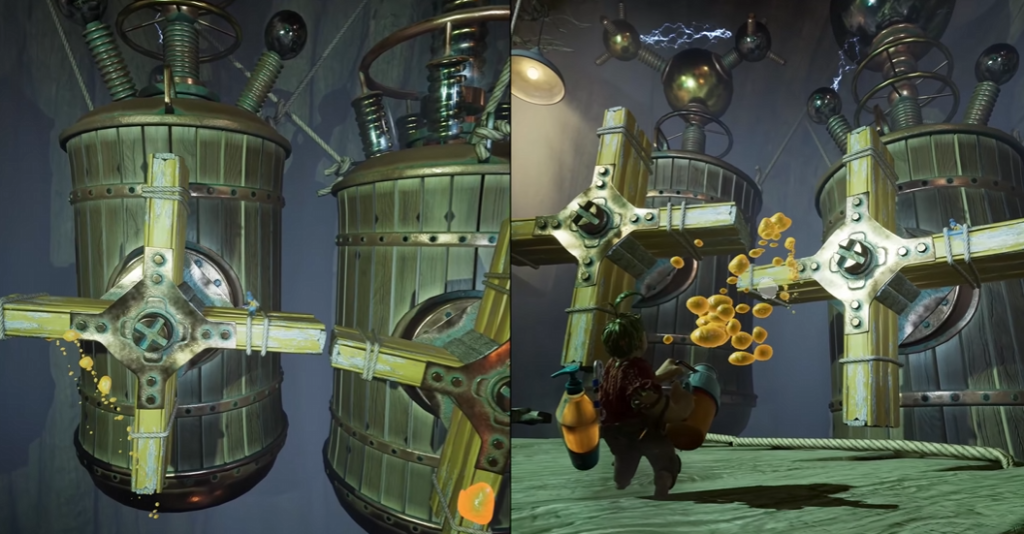
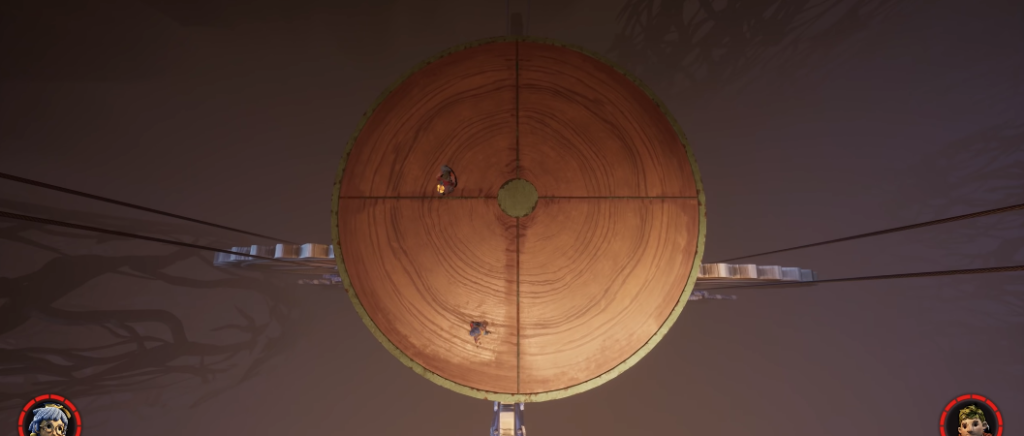
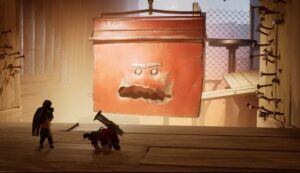
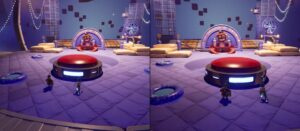
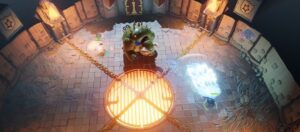
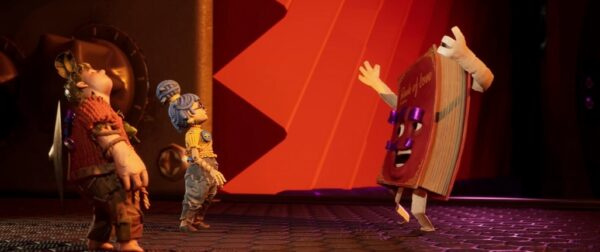
The hanging red box: rotate it with targets
In the next room, a large red suspended box hangs in the center with a visible target system.
Cody should sap the wooden structure with a hook on the right side and use it to reach the box.
When Cody is latched onto a side of the red box, May shoots the targets to rotate the box into the orientation Cody needs to progress.
This is a pure co-op moment: Cody “anchors,” May “steers.”
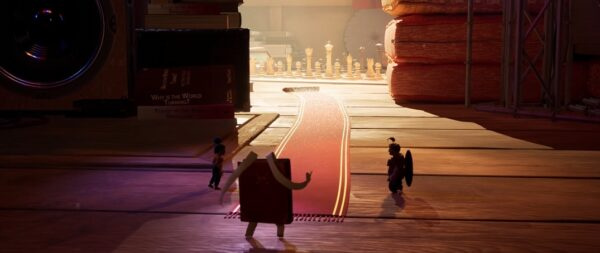
Barrel platforms: raise the hatch and build a path
Soon you’ll find three barrels fitted with rotating platforms.
May stands on the hatch cover on the right side of the area.
Cody sprays sap on the barrel connected to that hatch so the cover lifts higher.
With the hatch raised, May advances across the barrel platforms while Cody rotates/adjusts them with sap so she can keep moving forward.
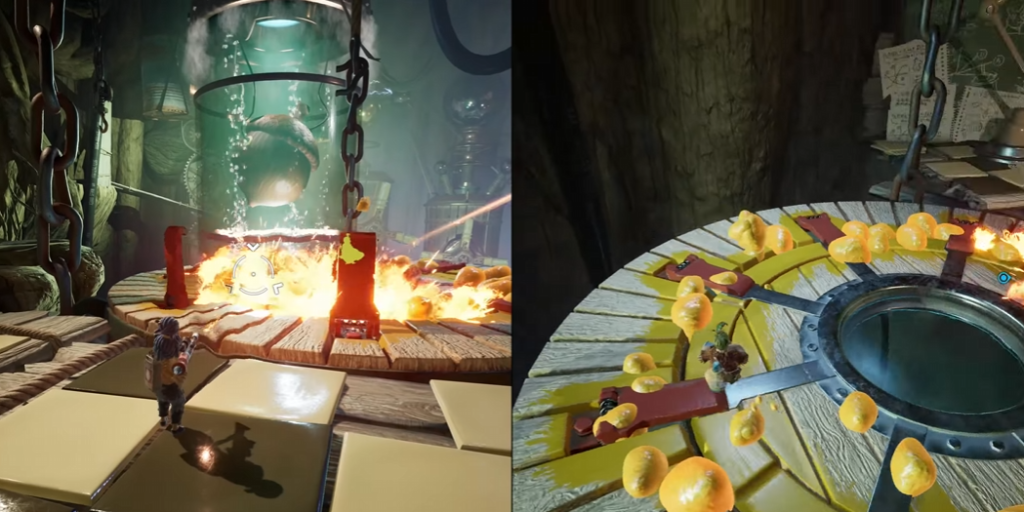
Timed red clamps: trigger a chain reaction
Drop down toward a locked cover held by red clamps.
Sap + ignition pops a clamp open, but only for a short time.
The solution is to lay sap so that one ignition cascades into opening every clamp fast enough.
Common mistake: Igniting too early. If the last clamp isn’t connected by your sap pattern, you’ll waste the window and have to reset the setup.
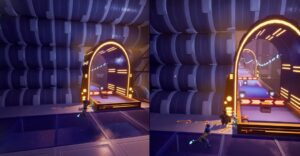
Moving platform: call it over with a lever
You’ll reach a mobile platform controlled by a nearby lever.
Cody sprays sap on the lever so the platform rolls toward you.
Once it arrives, May removes the sap effect with her weapon so the mechanism can reset and you can continue the sequence.
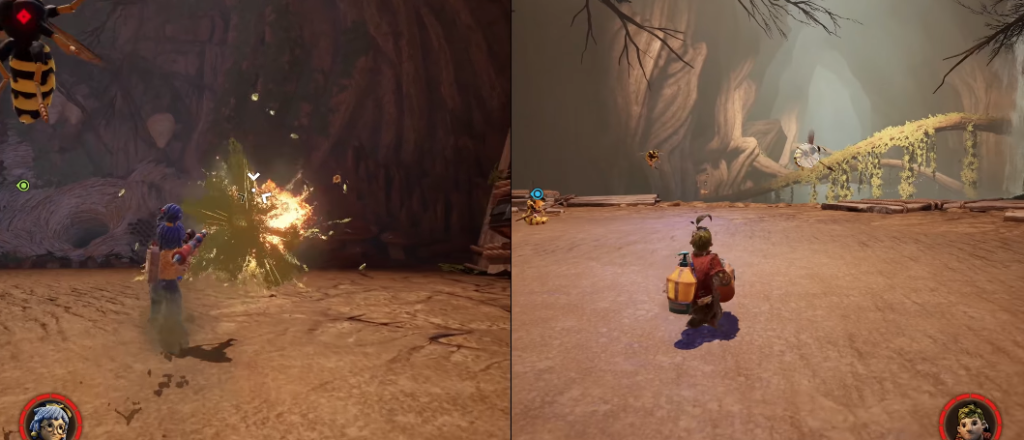
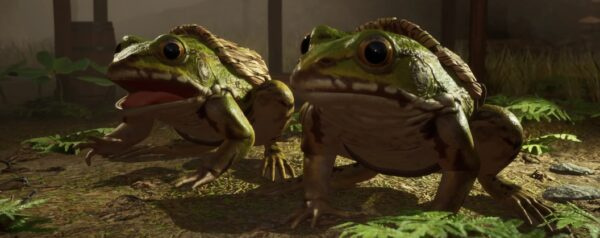
First combat beats: wasps and the “Wasp Shield”
Wasps: split roles to manage pressure
Wasps begin attacking here for the first time.
May can defeat them with standard shots.
Cody’s sap can temporarily hinder them, buying time.
Key takeaway: May’s firing has downtime due to reload pacing, so Cody should actively slow enemies instead of treating sap as “optional damage.”
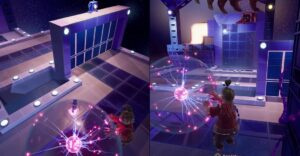
Two lift platforms: launch Cody across
At a pair of lift platforms, Cody must coat each platform with sap and step onto it.
Cody stands on the first sap-loaded lift.
May shoots the sap to trigger the lift’s effect, allowing Cody to reach the next platform/side.
Repeat for the second lift to complete the crossing.
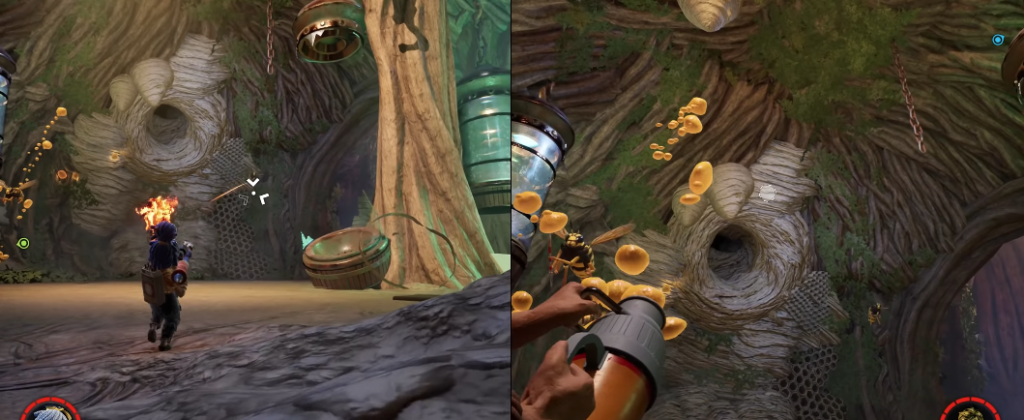
Clear the yellow plant barrier
A yellow plant blocks the route.
Cody must lay sap from the plant across to a position where May has a clear shot.
May ignites the sap line to clear the blockage and reopen the path.
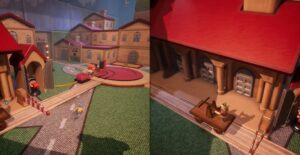
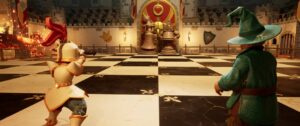
Three-lever door + fight waves
You’ll reach a large door with three levers that need sap applied.
Cody coats the levers to start the opening sequence.
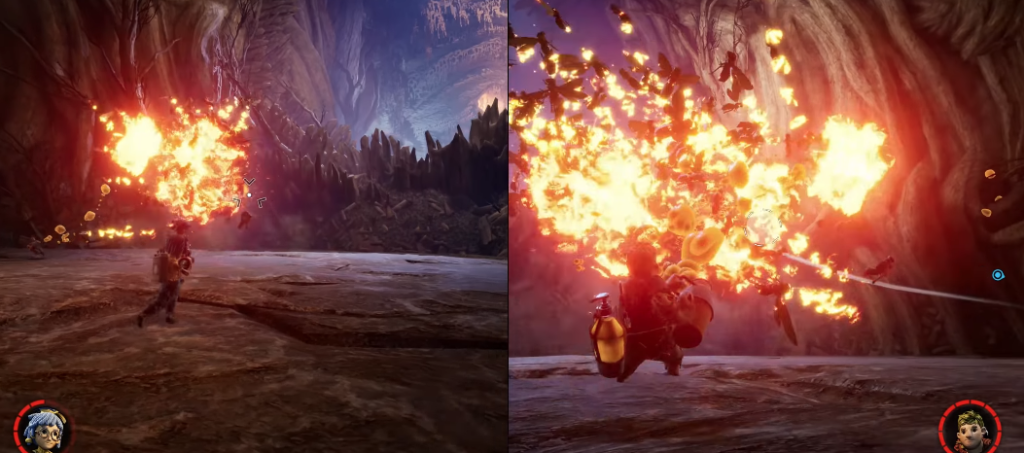
As the door begins moving, wasps attack in waves.
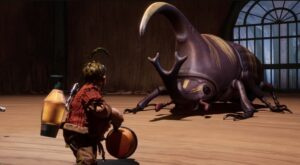
A stronger enemy appears: the Wasp Shield, which uses a shield to resist straightforward hits.
To beat the Wasp Shield using the supported loop:
Dodge its attacks while watching for a brief opening when it pauses.
Cody saps the enemy’s vulnerable point at that moment.
May shoots to deal damage.
Repeat the sap-then-shot punish until it goes down.
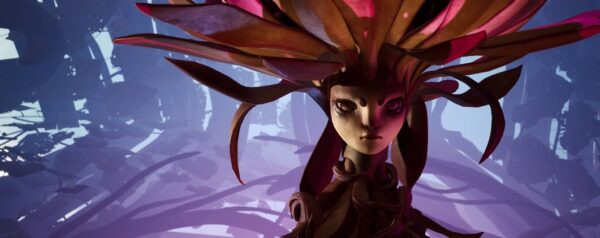
Rooting
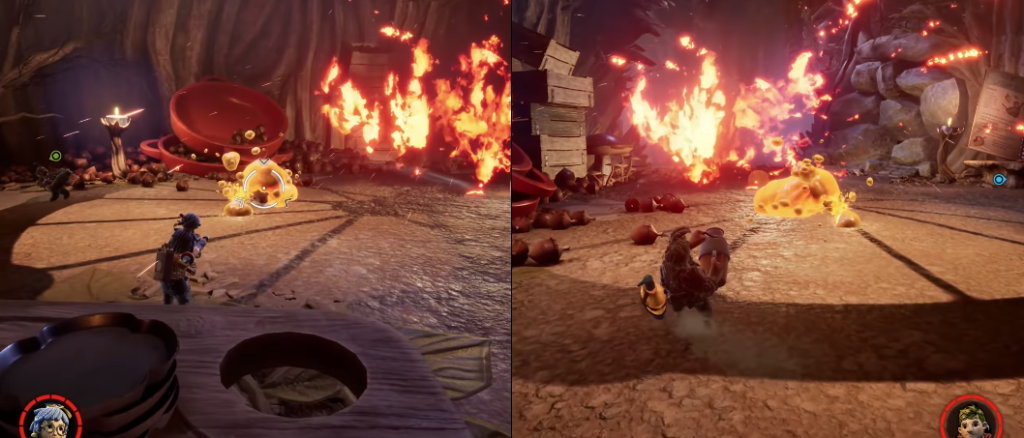
Exploding larvae: stop the spawns
At the start of this segment, larvae rush you and explode if they get close.
Prioritize destroying the special honeycombs that generate them to cut off the threat.
Safety note: Don’t backpedal forever—if you ignore the spawners, the arena stays chaotic and the explosions will eventually corner you.
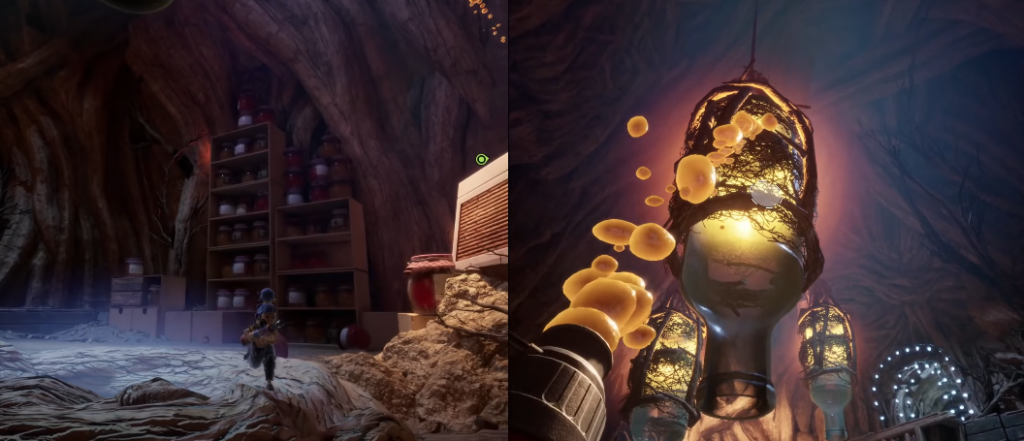
Bottle sequence: shut down the nests fast
In the next area, lowering the first bottle triggers wasps from nearby nests.
Move quickly to lower the remaining bottles as soon as the attack starts.
Once the nests are blocked off, clean up the remaining enemies.
Swarms and the long descent to the roots
After an open section with heavy swarms, you’ll transition into a sustained descent path that leads down toward the tree’s roots. Stay together and keep the route moving forward.
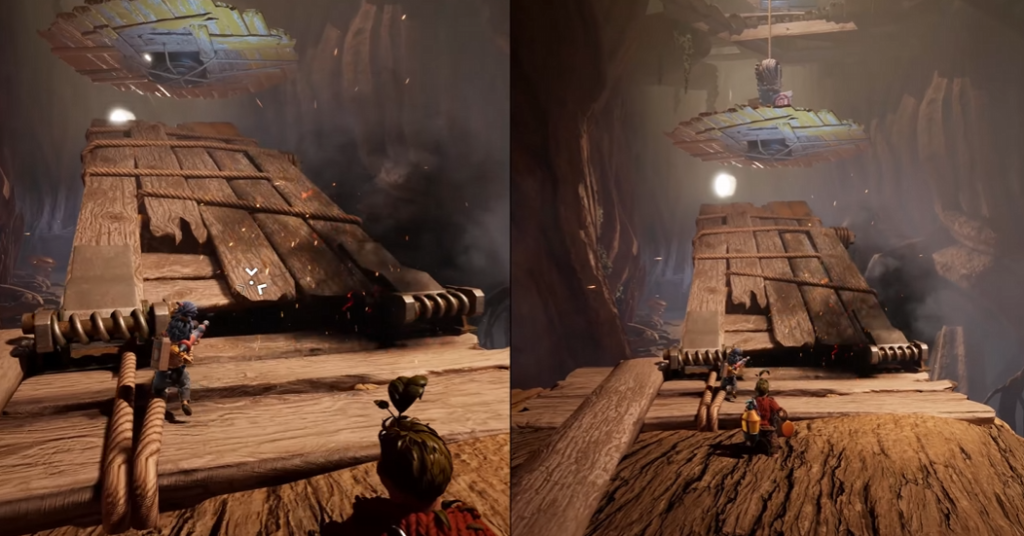
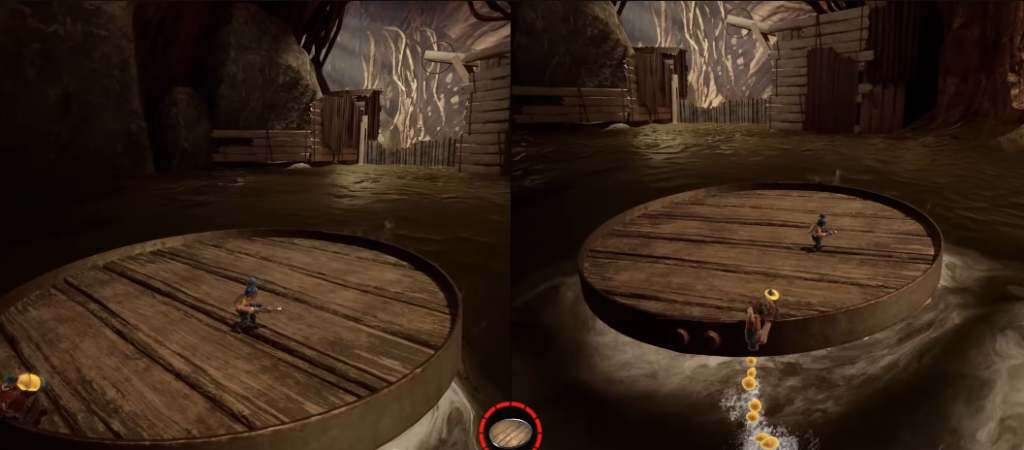
Raft ride: Cody steers, May clears hazards
At the bottom, you’ll land on a large wooden lid used as a raft.
Cody controls the raft’s direction.
May shoots down hazards in your path to keep the ride safe.
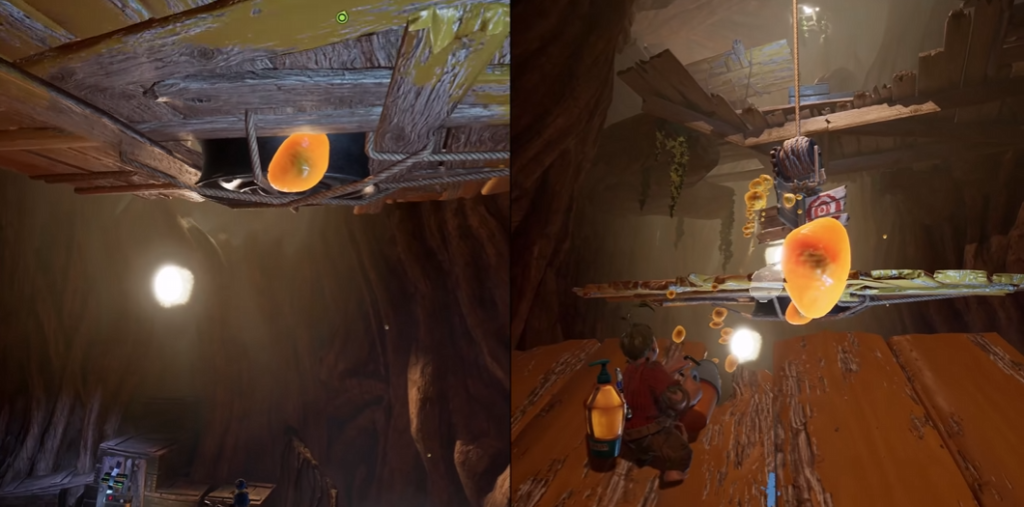
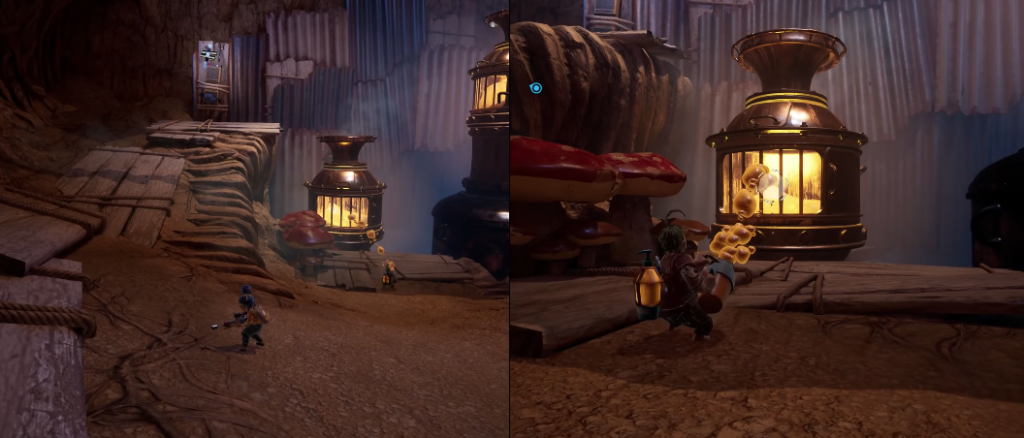
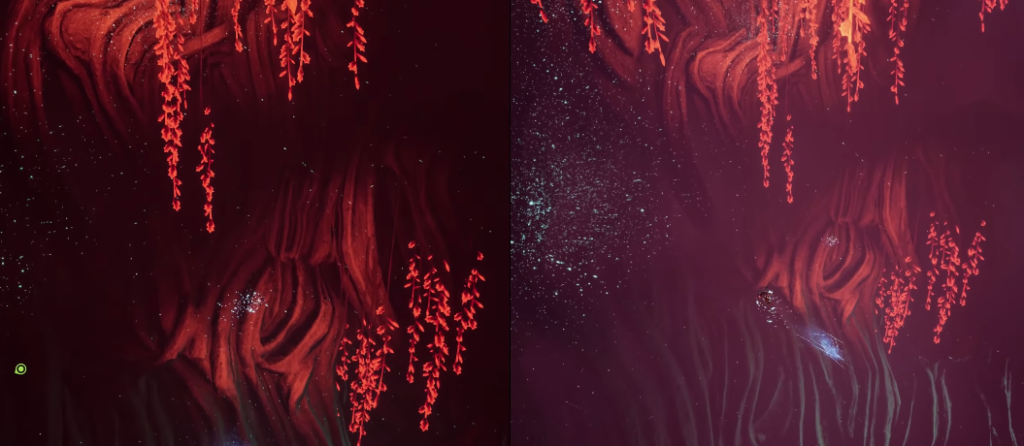
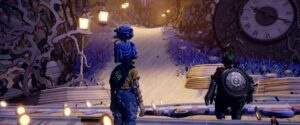
You’ll reach an area with jellyfish-like hazards and lanterns:
Light the lanterns using sap + ignition mechanics.
Follow the lit route through the cave.
Blue clouds, flying catfish, and the next boss
Blue clouds: use them for long gaps
At a major cliff, you’ll see small blue clouds floating in the air. Use them to launch yourselves and cover long distances that normal jumps can’t reach.
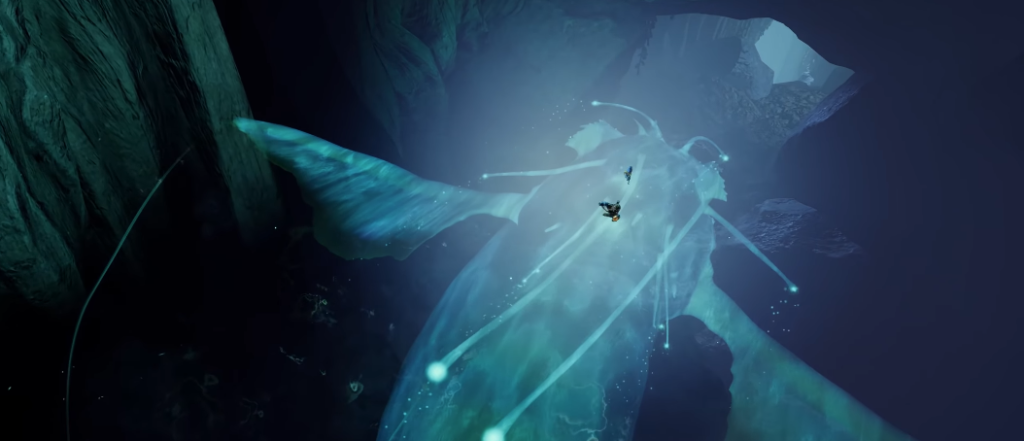
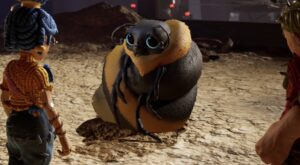
Ride the giant flying catfish
Later, both players end up riding on the back of a massive flying catfish.
It periodically dives or flips, so adjust quickly and focus on staying aboard.
Final approach: hold off insects, reach the boss arena
When you arrive at a wooden platform, dodge incoming insects and use your weapons to keep wasps under control. Continue forward until the path leads you to the next boss encounter: the Giant Beetle.
Published
Modified
ZEPHICK
Rimus Mirotvoretz
Game Guides Author
An old-school gamer who started playing at around age three, when the keyboard was almost bigger than he was. Long before gaming became mainstream, he was already exploring virtual worlds, breaking game mechanics, and searching for the fastest ways to beat levels.


Comments (0)
Sign In / Sign Up
Sign in to leave a comment.
No comments yet
Be the first one to share your thoughts!