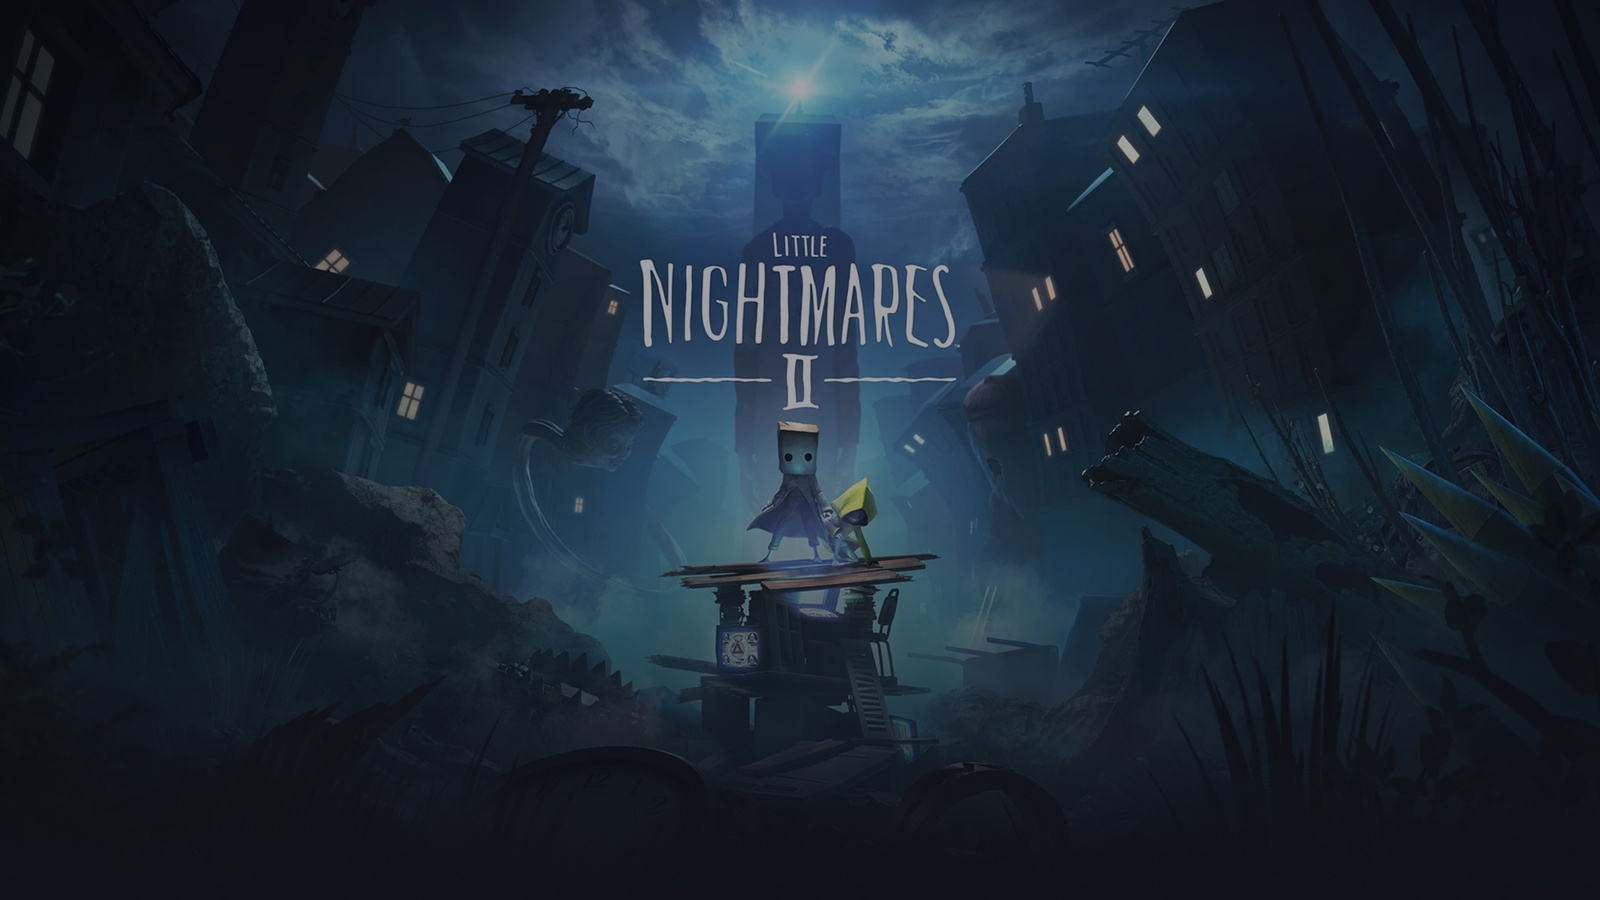
Little Nightmares II is the darkly atmospheric sequel that expands on everything the original did so brilliantly. This time you play as Mono — a boy with a paper bag on his head — alongside Six, the yellow-raincoat girl from the first game. Together they navigate a decaying world dominated by a mysterious signal broadcast from a tall, ominous tower.
The game introduces new mechanics including combat, cooperative puzzle-solving with Six, and a much larger, more varied world. This complete walkthrough covers all five chapters, every boss fight, all collectibles, and both endings.
Story Overview
Mono and Six find themselves in a twisted, signal-corrupted world where televisions act as gateways to a dark dimension. To escape, they must reach the Signal Tower at the center of the city — a place that warps reality and controls the monstrous inhabitants of the world. Along the way, the bond between Mono and Six is tested, and the ending delivers one of the most shocking twists in modern gaming.
New Mechanics in Little Nightmares II
Combat — Unlike the first game, Mono can fight back. He can pick up objects like axes, hammers, and planks to stun or defeat smaller enemies. Combat is not always the answer — sometimes running is smarter.
Cooperative Puzzles — Six is your companion throughout. You can call her, hold her hand, boost her up to ledges, and she will return the favour. Many puzzles require teamwork.
Flashlight — In certain sections, Mono uses a flashlight that can freeze shadow creatures in place. Keep the beam on them to hold them still.
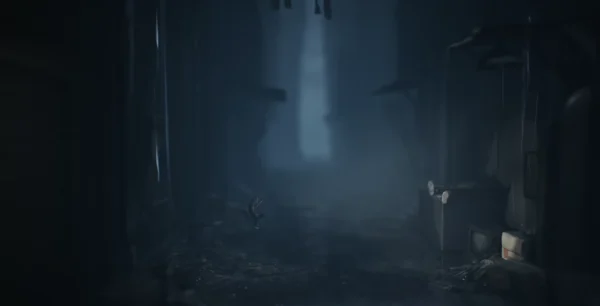
Chapter 1: The Wilderness
Starting Out
Mono wakes up alone in a dense, foggy forest. Explore to the right, learning the basic movement and interaction mechanics. Push objects, climb, and squeeze through gaps.
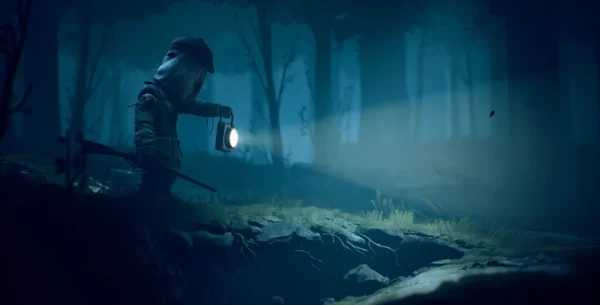
The Hunter’s Cabin
You reach a dilapidated cabin and discover the first major threat: the Hunter — a large, faceless figure with a shotgun. Stay hidden in tall grass and move only when he is looking away. Crawling through the grass keeps you out of sight.
Key Tips:
- Never stand upright in open areas when the Hunter is nearby
- Watch the direction he faces before moving
- The grass rustles when you move — go slowly
Boss Fight: The Hunter
The Hunter chases Mono through his cabin in a frantic sequence. Run forward, avoid obstacles, and do not stop. When you reach the attic, the environment collapses — use the falling debris to your advantage and climb rapidly. At the top, Six saves Mono by blinding the Hunter with light, giving you a chance to strike him with a falling object.
Strategy: Pure running — do not hesitate at any doorway or gap. Memorise the layout on your first attempt, then execute cleanly on the second.
Chapter 2: The School
This is widely considered the most terrifying chapter in the game. The school is massive, dark, and filled with grotesque children and the Teacher — a creature with an impossibly long neck.
The Pale Children
These twitching, monstrous former students roam the hallways. They react to sound and movement. Walk slowly, crouch when necessary, and avoid knocking objects over. If one spots you, sprint immediately — they are fast but limited in range.
Key Puzzle: The Gymnasium
You need to climb the rope and ring the bell at the top to progress. The challenge is doing it while pale children patrol below. Wait for them to cluster away from the rope, then climb as fast as possible.
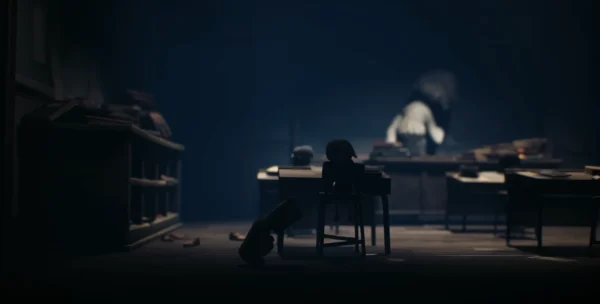
The Library
One of the game’s standout sequences. The Teacher’s neck stretches impossibly long to search shelves for you. When her head moves away, sprint across the open areas. When she turns back, freeze completely behind a bookshelf.
Teacher Patrol Pattern: Her head moves in a fixed arc — left, centre, right, then back. Learn the timing. You have approximately three seconds to cross each open section.
Boss Fight: The Teacher
The Teacher chases you through collapsing hallways. Run forward, jump over gaps, and use doors to slow her down. At the finale, you must drop a heavy object onto her — lure her beneath the suspended weight, then release it.
Key Tip: Do not stop running in the chase sequence. She is faster than she appears.
Chapter 3: The Hospital
The Hospital is perhaps the most unsettling chapter visually. It is run by the Doctor — a contorted figure who scuttles across walls and ceilings like an insect.
Navigating the Wards
The wards are filled with severed hands that crawl independently. Stomp them to deal with smaller groups, or use objects to knock them aside. In larger swarms, run.
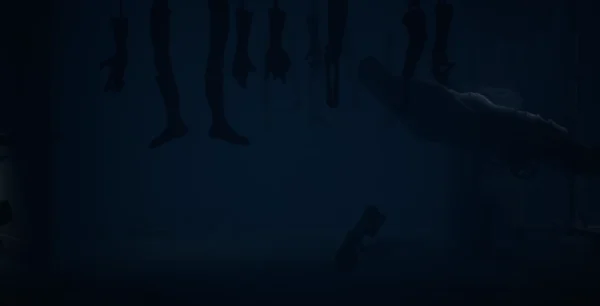
The Mannequin Room
One of the game’s most iconic horror sequences. A room full of mannequins — they only move when you are not looking at them. Face them to freeze them, then look away briefly to progress, but never leave them unattended for long.
Strategy: Move backward through this room, keeping your flashlight on the nearest mannequin at all times. Move in short bursts, checking frequently.
Boss Fight: The Doctor
The Doctor skitters around a large room on the ceiling. You must use your flashlight to freeze him mid-movement, then sprint to the next safe position. Repeat across three phases, each time getting closer to the exit mechanism.
Phase 1 — He moves slowly. Freeze, sprint, hide behind beds.
Phase 2 — He accelerates. Use the flashlight in short targeted bursts.
Phase 3 — He becomes erratic. Stay near the wall and time your sprints to his pauses.
Chapter 4: The City
Mono and Six reach the city — a crumbling, television-obsessed urban sprawl. The residents here are the Viewers: hunched figures who stare at static-filled screens and are extremely sensitive to noise.
Navigating the Apartments
Move through apartments carefully. Viewers sit motionless in front of televisions — do not disturb them. Avoid knocking furniture, and step around squeaky floorboards.
The Transmission Sequence
A stunning section where Mono must enter televisions to manipulate the world from inside a shadowy dimension. Use this to open doors and create paths for Six in the real world.
Key Puzzle: The Signal Room
You need to power on multiple televisions in sequence to open a locked door. Each television activates a viewer, so plan your exit route before turning on the last screen.
Thin Man: First Encounter
The Thin Man — a tall, suited figure who can distort reality — appears for the first time here. He captures Six. This moment drives the rest of the chapter and sets up the finale.
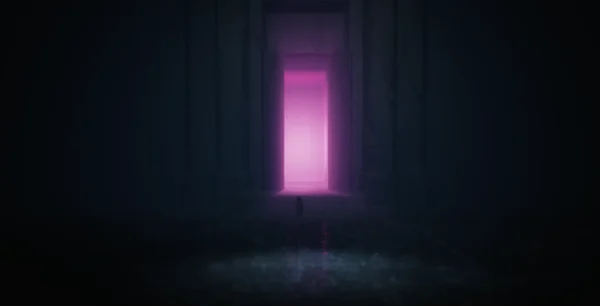
Chapter 5: The Signal Tower
Mono enters the Signal Tower alone to rescue Six. This chapter is shorter but deeply atmospheric and ends with the game’s most significant story beats.
Tower Navigation
The tower distorts gravity and space. Trust your instincts — if a path looks wrong, it probably leads somewhere important. Push through visual distortions rather than retreating.
Boss Fight: The Thin Man
The Thin Man is a reality-bending boss who teleports and distorts the environment. He cannot be harmed directly — instead, you must use the television portals to outmanoeuvre him and reach the control mechanism at the top of the room.
Strategy:
Stay mobile and never stand in one spot. When he reaches toward you, dodge sideways. Enter televisions to teleport across the room and get behind him. At the top platform, activate the mechanism when he is momentarily stunned by his own reality distortion.
The Ending (Spoilers)
After defeating the Thin Man, Mono rescues Six — but she drops him into a pit and leaves him behind. It is revealed that Mono becomes the Thin Man, trapped in the tower, sending the signal that corrupts the world — creating a time loop. Six escapes but is shown absorbing the signal’s power, hinting at her dark fate in the first game.
Secret Ending
Collect all 18 hats hidden throughout the game and return to the tower finale. After the main ending plays, an additional scene shows Mono in a different, more hopeful version of the tower — leaving the story slightly more open to interpretation.
Collectibles Guide
Glitching Remains (Statues)
There are 18 Glitching Remains hidden throughout the game — ghostly figures that crumble when you touch them. Finding all of them unlocks the “Release” achievement and reveals additional lore about the corrupted world.
Chapter 1: 3 Remains — check behind the Hunter’s shed, inside the bear trap area, and near the flooded log.
Chapter 2: 5 Remains — hidden in lockers, behind the piano, and inside the broken gymnasium storage room.
Chapter 3: 4 Remains — in patient wards behind curtains and inside the flooded basement.
Chapter 4: 4 Remains — check apartment balconies, the rooftop, and inside the television repair shop.
Chapter 5: 2 Remains — near the tower entrance and inside the distortion corridor.
Hats
There are 18 hats Mono can wear, hidden in each chapter. They are cosmetic only but required for the secret ending.
Achievements & Trophies
| Achievement | How to Unlock |
|---|---|
| Together | Complete the game |
| Release | Find all 18 Glitching Remains |
| Fashionista | Collect all 18 hats |
| Hunter’s Prey | Escape the Hunter without being caught once |
| Bully | Defeat 5 pale children using combat |
| What Are You? | Unlock the secret ending |
| Resilient | Complete the game without dying |
General Tips & Tricks
Hold Six’s hand whenever possible. She will pull you to safety, boost you over gaps, and solve puzzles faster. The game rewards cooperation — use it.
Use combat selectively. Mono’s combat is effective against small enemies but useless against major threats. Know when to fight and when to flee.
The flashlight is a weapon. In sections with shadow creatures or the Doctor, your flashlight is your most important tool. Keep it aimed and steady.
Sound matters enormously. Running creates noise. Dropping objects creates noise. In stealth sections, always default to walking unless fleeing.
Watch the environment for clues. The game rarely explains its puzzles — instead, it shows you the solution through environmental design. Look at what objects are nearby, what is moveable, and what is highlighted by the lighting.
Save exploration for calm moments. Collectibles are found in non-scripted areas. If a section feels safe, explore thoroughly before moving on.
Little Nightmares vs Little Nightmares II — Key Differences
Little Nightmares II is a bigger, more mechanically varied game than its predecessor. It introduces combat, a companion character, and a much more elaborate world. However, some players feel the first game has a tighter, more focused atmosphere. Both are essential experiences — ideally played in order.
Final Thoughts
Little Nightmares II is a rare sequel that surpasses the original in scope while preserving everything that made it special. The enemy designs are more varied, the world is richer, and the ending is genuinely devastating. The Thin Man reveal and the time-loop implications make it one of the most thoughtfully constructed horror narratives in recent gaming history.


Comments (0)
Sign In / Sign Up
Sign in to leave a comment.
No comments yet
Be the first one to share your thoughts!