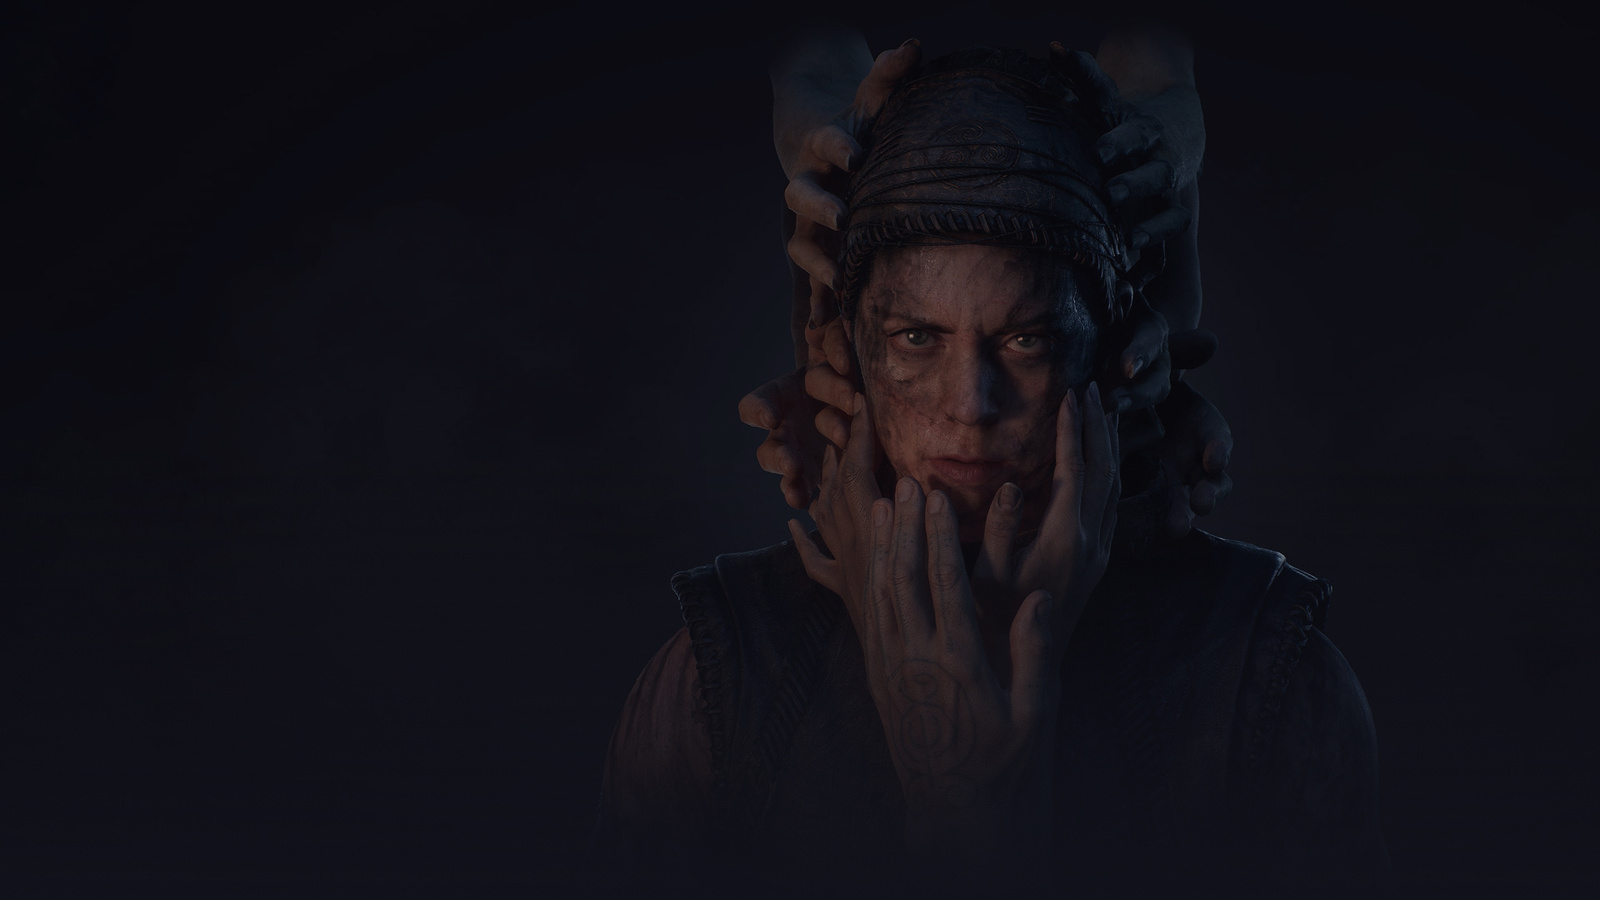
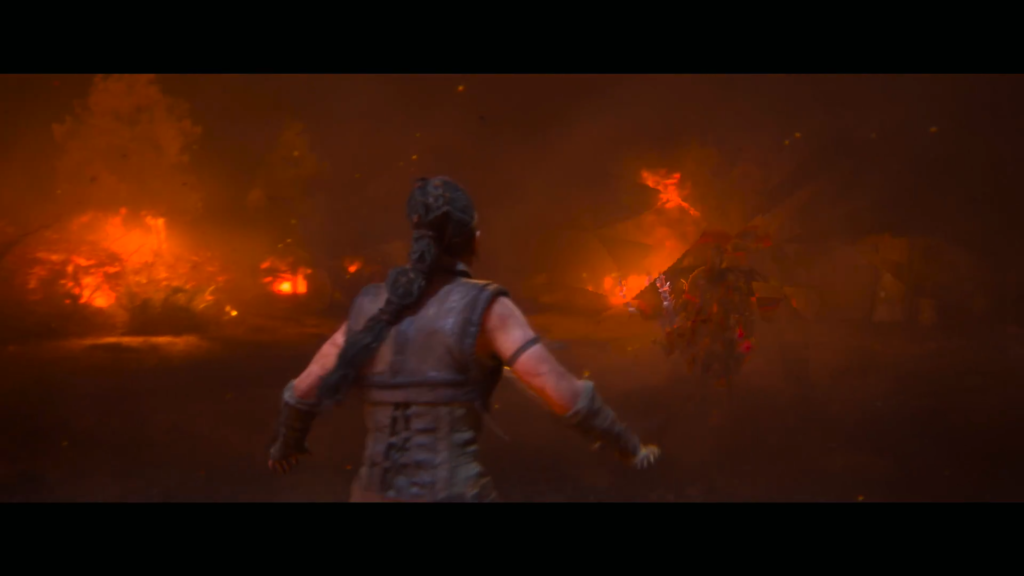
Freyslaug serves as the second chapter of Hellblade 2, picking up right after Senua defeats a slaver and forces him to reveal where the captured slaves are held. Throughout this section, you’ll encounter environmental puzzles, intense combat encounters, and six collectibles scattered across the area.
Once you complete this chapter, the game unlocks a chapter select feature from the main menu. This allows you to replay previous sections and track your collectible progress.
First Lorestangir Location

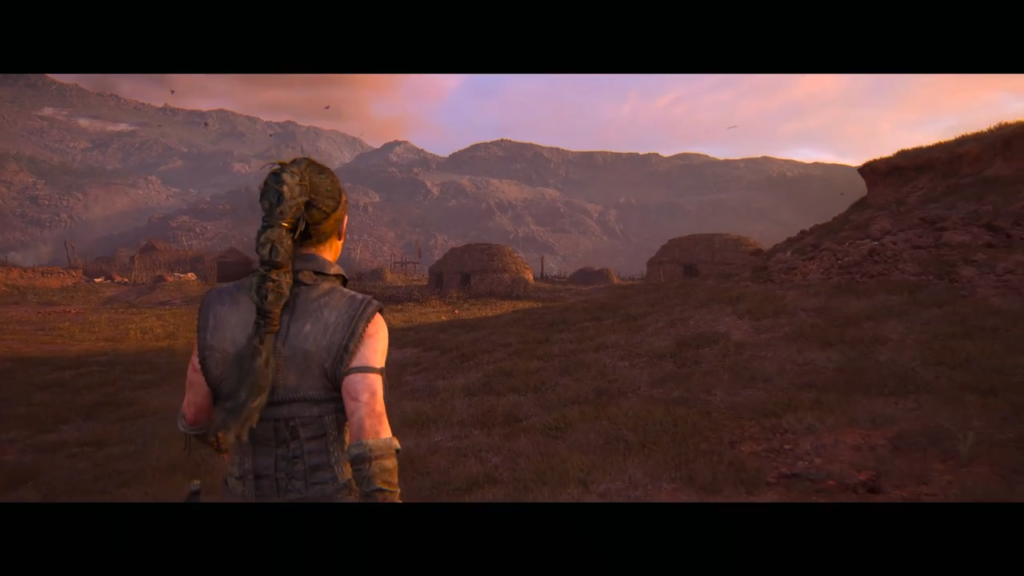
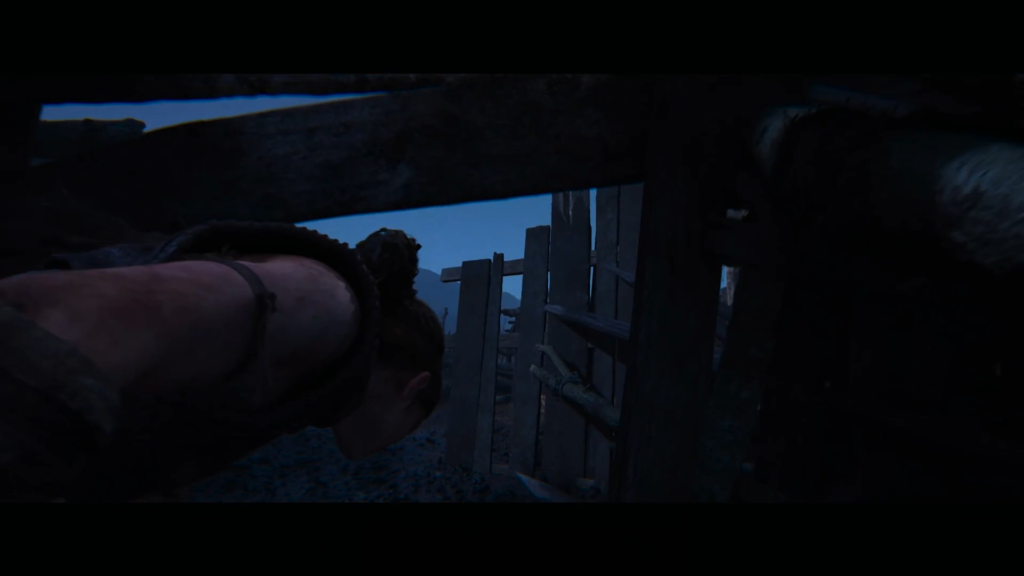
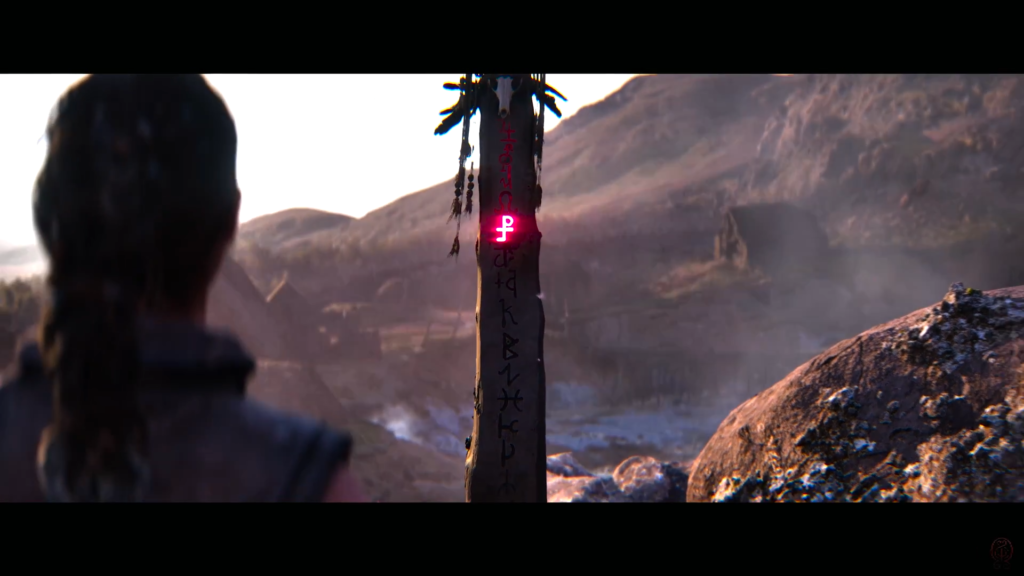
Your collectible hunt begins immediately. After gaining control of Senua, head to the right toward an enclosed space near two houses. A Lorestangir post stands here, though spotting it requires attention—these totems blend seamlessly with their surroundings and only glow when you get close.
Navigating to the Settlement

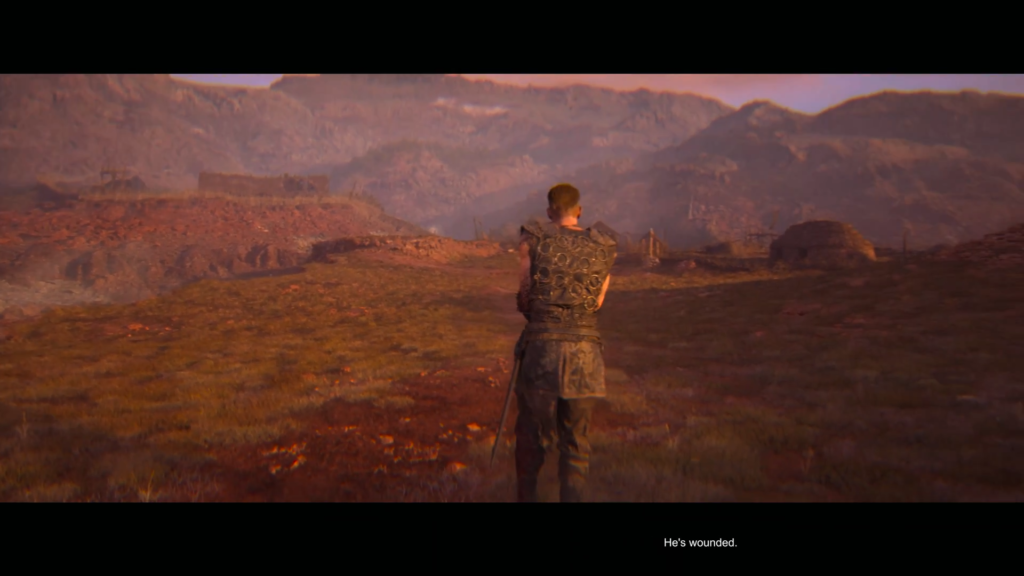
The slaver will guide you along the main path. A collapsed bridge blocks direct access to the settlement, forcing you to detour right through a graveyard. A cutscene triggers partway through, after which you’ll tie up the slaver and enter through some broken boards.
Useful tip: White chalk markings indicate interactive objects throughout the game—ledges, doors, walls, and breakable barriers all feature this visual cue.
Three-Symbol Puzzle Solution
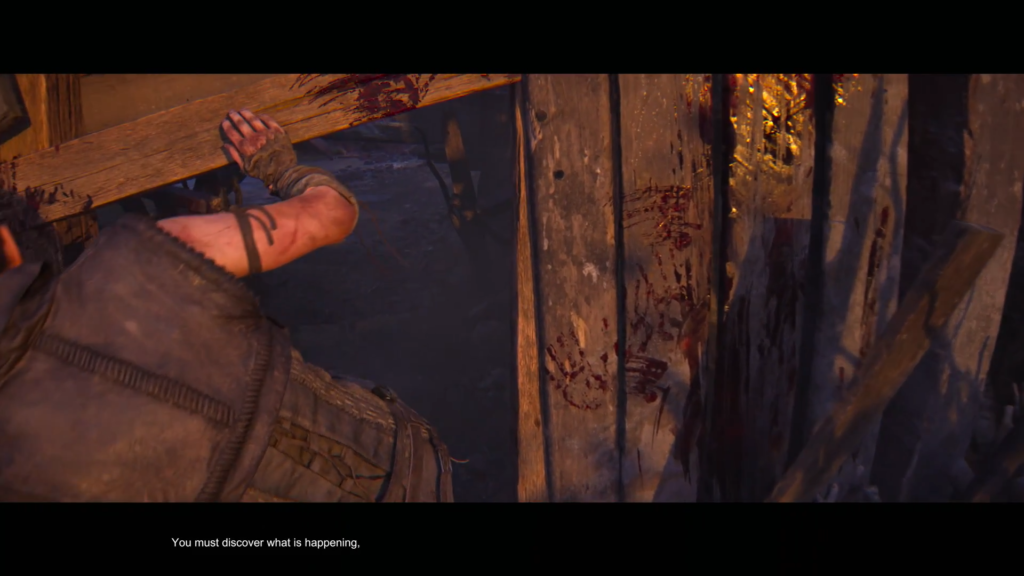
Inside the settlement, proceed through the house on your left and approach the bridge at the far end. Focusing on the scattered body parts activates a perception puzzle requiring you to align three separate symbols.
| Symbol | Location | How to Solve |
|---|---|---|
| First | House with ladder near the bridge | Climb up and look left to align the red sticks into the correct shape |
| Second | Near camp entrance | Face the distant red objects and position yourself until they form the symbol |
| Third | Path on the right side of camp | Walk through the hilltop house, continue along the path, then view the red sticks from above |
Standing still displays the required symbols on-screen. The voices in Senua’s head provide audio feedback when you’re approaching the correct angle.
Mirror Discovery and Combat Tutorial
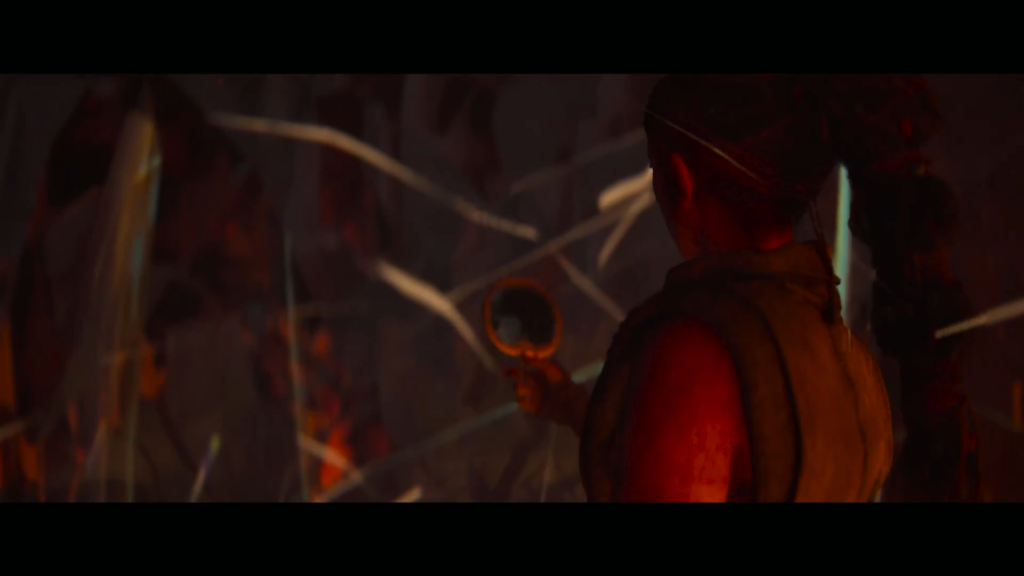
After solving the puzzle, return to the bridge. Senua experiences a flashback triggered by the devastation around her. Enter the house at the path’s end and interact with the mirror on the table.
This mirror grants the Focus ability—a combat mechanic that slows time. During fights, the mirror charges gradually, and a complete symbol indicates readiness. Senua’s voices announce when Focus becomes available.
Combat immediately follows this discovery. The enemies hit hard with few openings unless you parry successfully. Dodging until Focus charges offers a safer approach. The sequence concludes upon defeating an axe-wielding Northman.
Second Lorestangir Location

Cross the bridge after the subsequent cutscene. Turn right and break through the white-chalk boards blocking the large house entrance. Upon exiting, go left and follow the path back toward your previous position. The voices hint at a nearby secret. Crouch under the debris to claim the second Lorestangir.
First Hidden Face Collectible
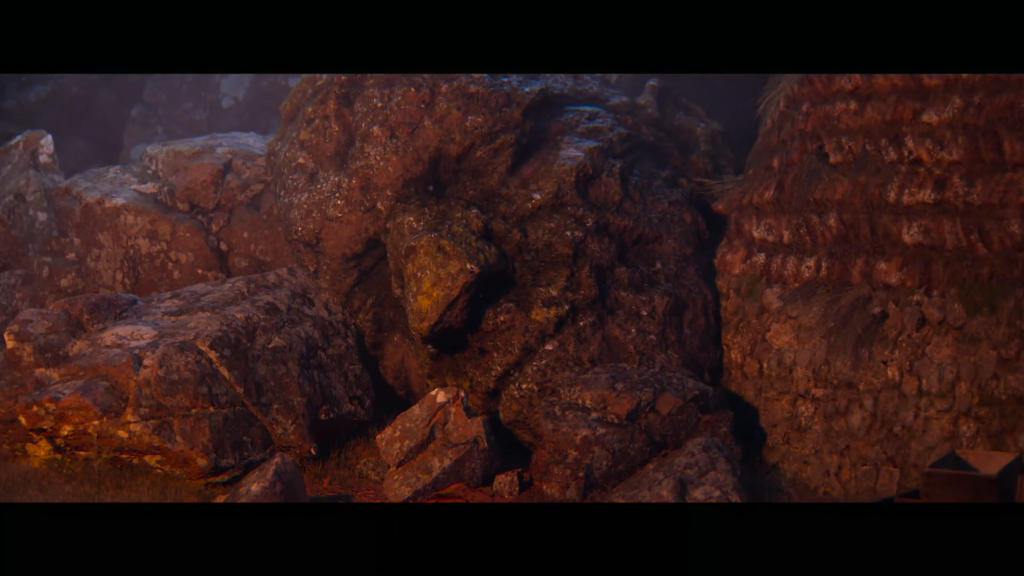
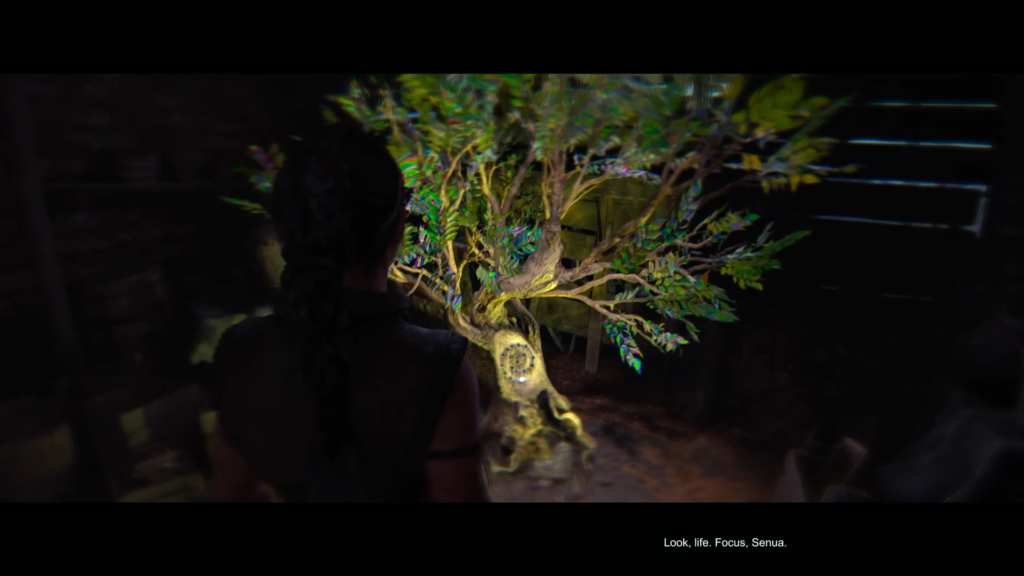
Return to the main path near the large house. A solitary torch stands directly ahead—behind it, a face carved into stone awaits discovery. Focus on this carving to reveal a hidden path leading to a small tree that also requires your focus.
Continuing Through Freyslaug

Cross the long bridge opposite the torch and follow the linear route. After a cutscene, you’ll pass through a point of no return via a narrow passage, then descend toward a man visible in the previous scene.
Third Lorestangir Location

At the path’s fork, turn left and ascend the ladder. A subtle audio cue confirms you’re heading toward a collectible. The third Lorestangir awaits at the top.
Draugar Combat Encounter
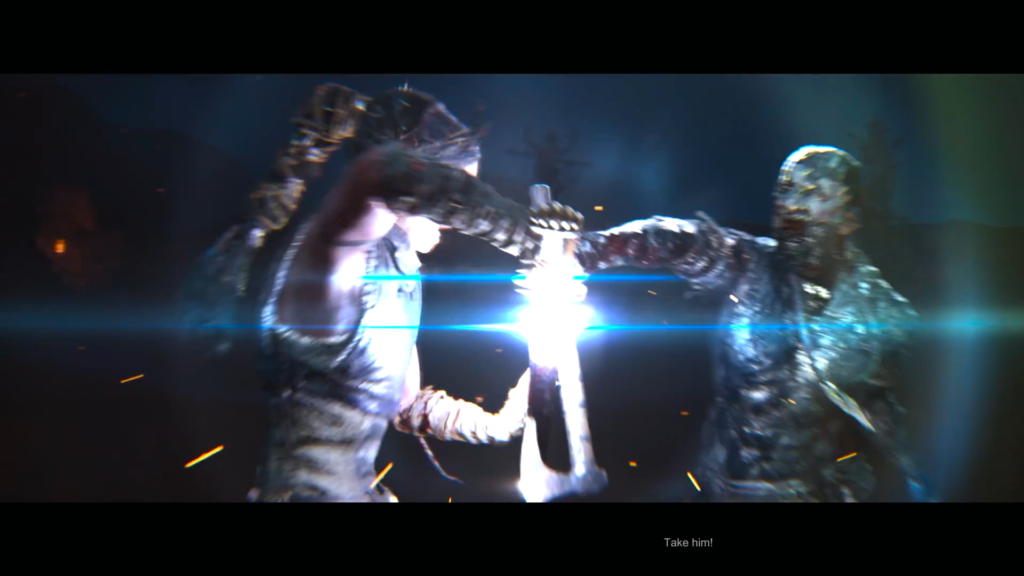
Descend and continue toward the man Senua spotted earlier. The rescue attempt fails, initiating an extended combat sequence with new enemy types:
- Axe throwers — Block or dodge their ranged attacks
- Fire spitters — Sidestep the flames; blocking won’t help
- Standard warriors — Vary your approach based on their speed and weapon type
Listen carefully to Senua’s voices—they provide tactical advice for each opponent.
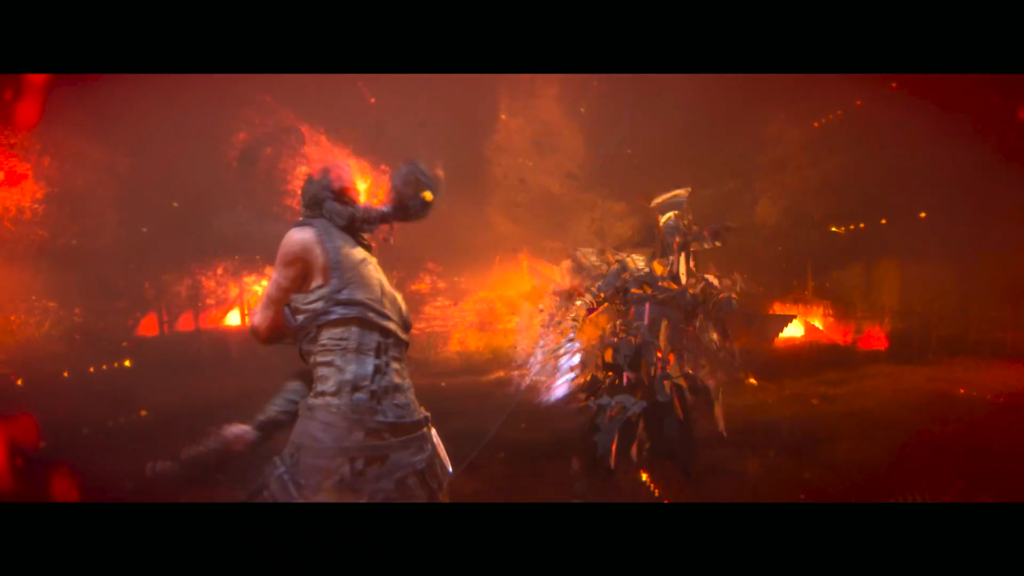
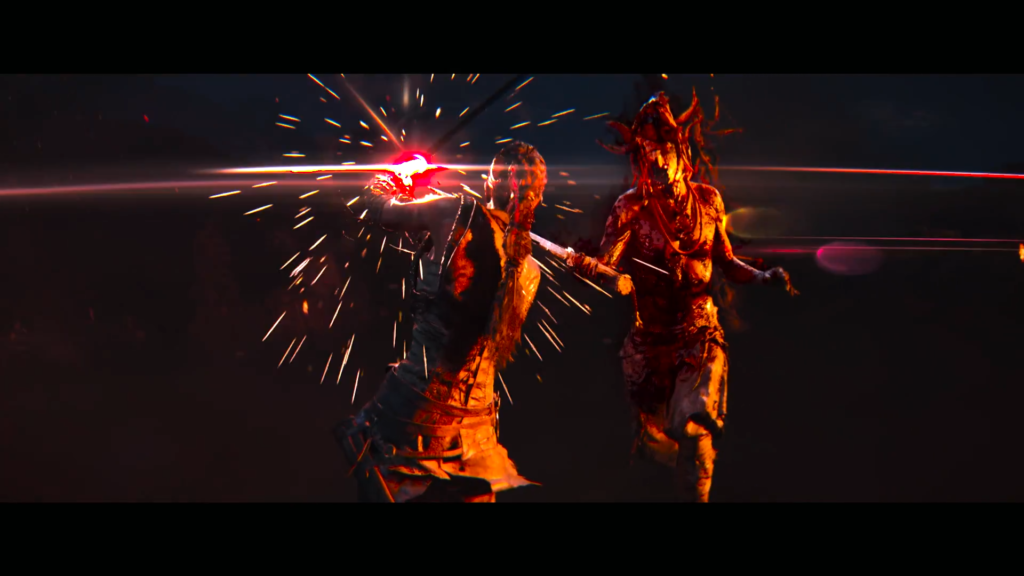
The encounter’s climax features a dark red glowing enemy whose initial attacks cannot be blocked. Dodge his full combo, wait for openings, and activate Focus immediately when available to maximize damage output.
Victory ends the draugar ritual. Senua escapes alongside Fargrimr, a stranger who explains he was meant as an offering to Illtauga, the supernatural entity you narrowly avoided.
Second Hidden Face Collectible

Walk with Fargrimr until reaching a fork. The left path leads to the second Hidden Face—look carefully at the rock formations to spot the carving.
Fourth Lorestangir Location
Continue following Fargrimr to another fork. Again, take the left path to find the fourth and final Lorestangir at the dead end. This completes your collectible hunt for Freyslaug.
Chapter Conclusion
Rejoin Fargrimr and accompany him to the path’s end. He reveals the wounded slaver’s name—Thorgestr—and suggests an alternative method for finding Senua’s destination. The journey continues to Raudholar (Rauðhólar).
Comments (0)
Sign In / Sign Up
Sign in with your Google account to leave a comment. It's fast, easy, and secure.
No comments yet
Be the first one to share your thoughts!