
Chapter Overview
Bardarvik represents the fifth chapter of Senua’s Saga: Hellblade II. With Illtauga defeated, Senua now pursues a new objective — confronting Thorgestr’s father to end the cycle of slavery. This chapter introduces Astridr and the fearsome sea giant Sjavarissi.
Collectibles in this chapter: 10 total
- Hidden Faces: 6
- Lorestangir: 4
Important: Chapter six contains zero collectibles, making Bardarvik your final opportunity to hunt for secrets.
Part One: The Scenic Path
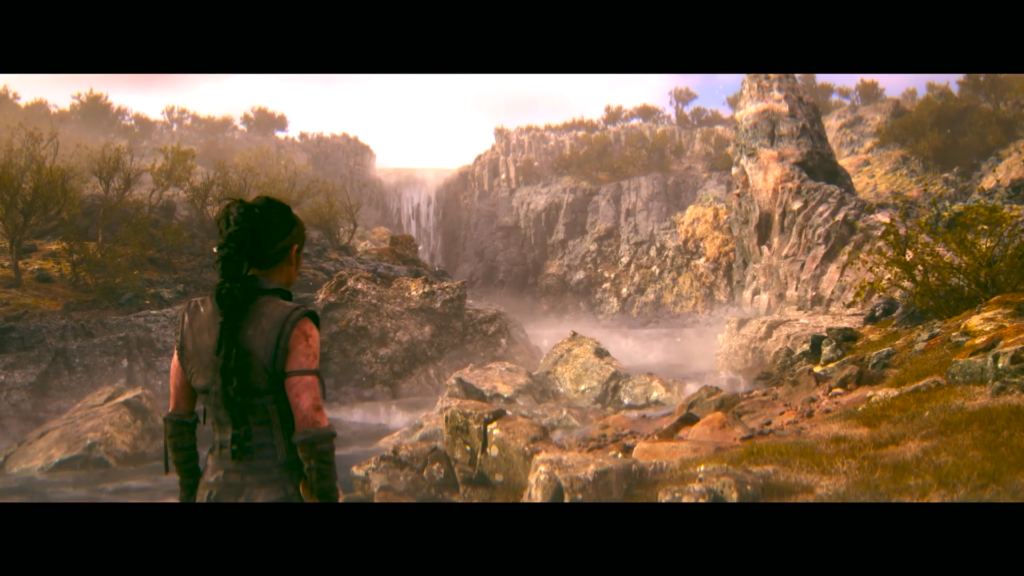
Your journey begins following Thorgestr and Fargrimr through breathtaking landscapes. Upon reaching a small waterfall, pause before continuing.
Hidden Face #1
Location: Directly behind the waterfall on your right side. Easy to spot if you take a moment to explore.
Lorestangir #1
Positioned above the waterfall area. Take the right turn further along the main path and loop around. Looking upward from the Hidden Face location reveals this collectible waiting above.
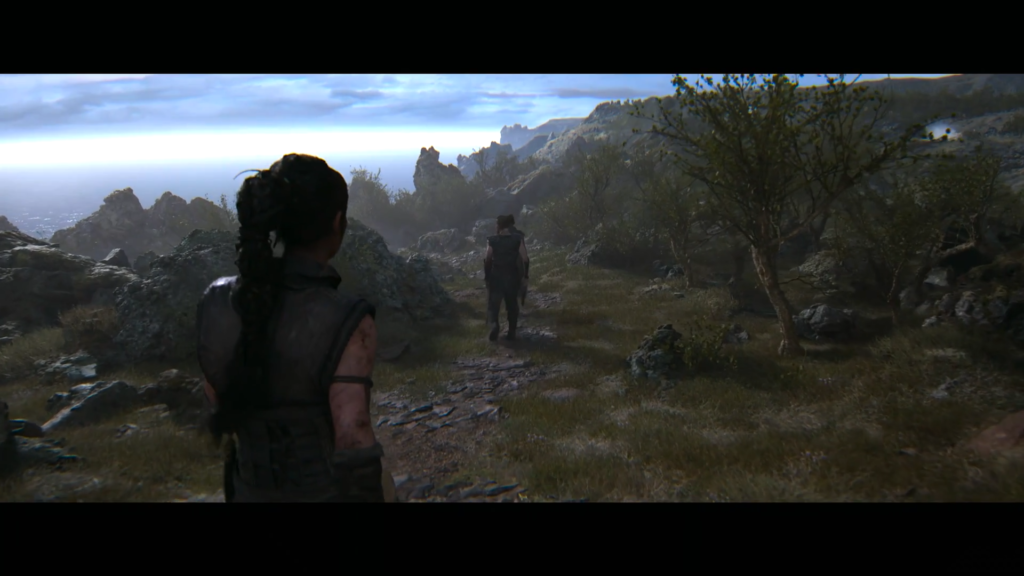
Part Two: Meeting Astridr
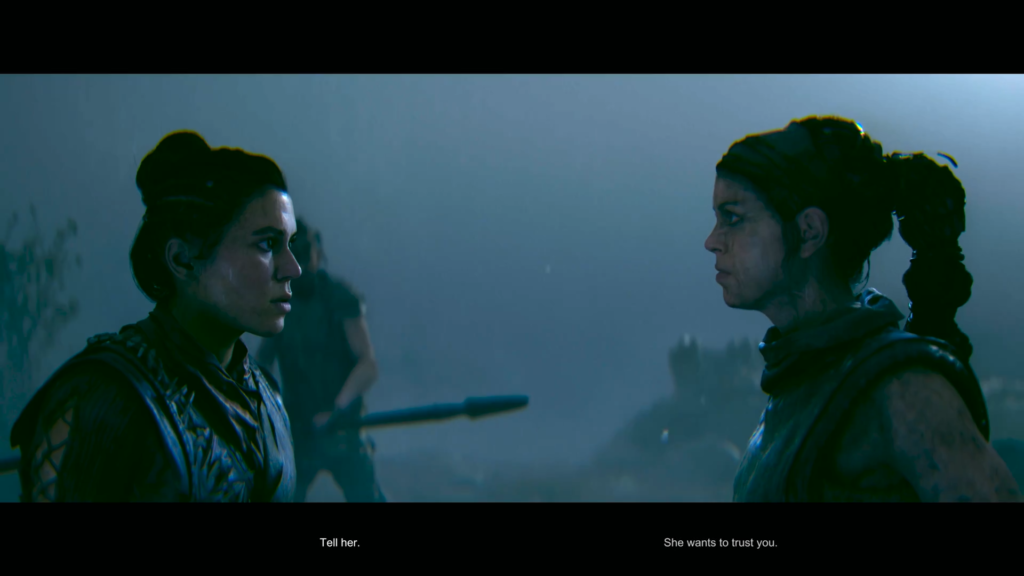
Continue along the main path until strangers ambush your group. Their leader, Astridr, requests Senua’s help defeating a nearby giant. She becomes your guide to Sjavarissi’s domain.
Hidden Face #2
Don’t miss this one! Before squeezing through the narrow rock passage behind Astridr, check the ground to your right. The face lies on its side — easily overlooked when focused on following your companion.
Astridr explains that Sjavarissi, a sea giant, generates storms that block sunlight from reaching the land.
Lorestangir #2
After entering a more open field area, head to the right edge. A narrow side path leads directly to this collectible.
Part Three: Combat Encounter

Draugar attack after reuniting with Astridr. Enemy breakdown:
| Wave | Enemies |
|---|---|
| First | Standard swordsman |
| Second | Torchbearer (ignites himself when approached) |
| Third | Quick swordsman, axe-wielder, torchbearer |
Combat tip: Reserve your focus ability for torchbearers. Their flaming attacks prove most difficult to dodge. Watch for the raised torch animation — this signals an incoming attack requiring dodge or focus activation.
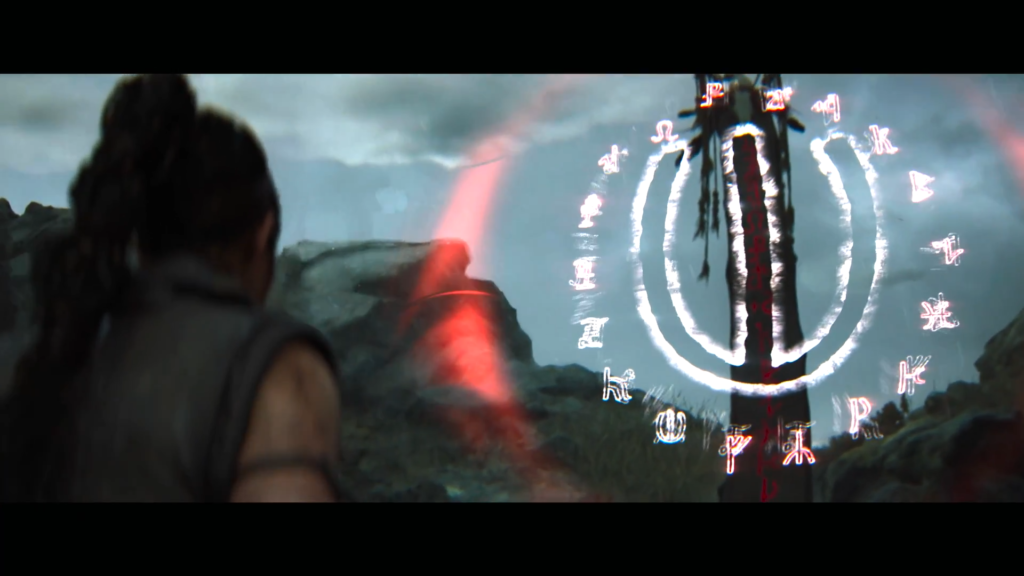
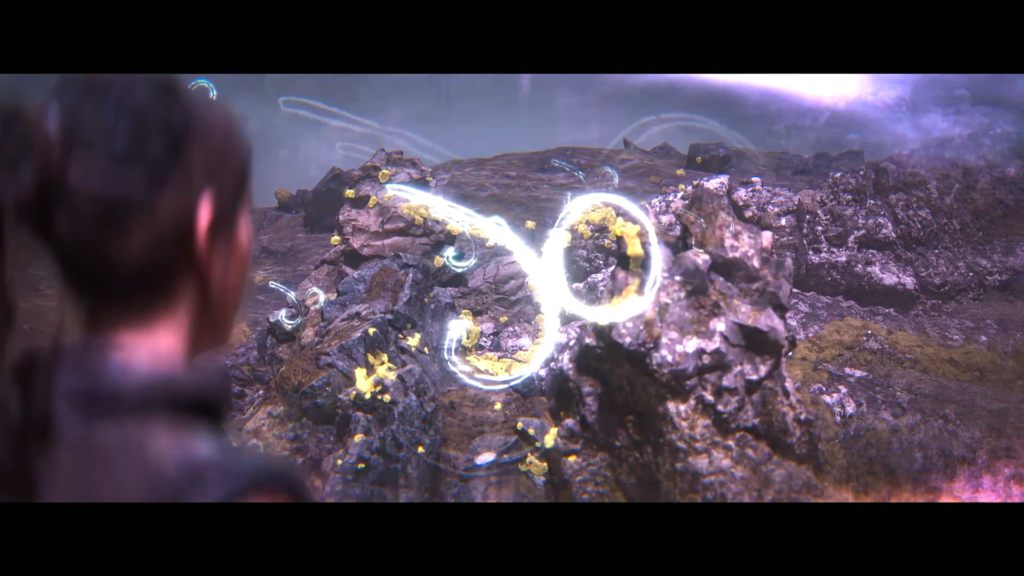
Part Four: Shape Barrier Puzzle #1
A shape barrier blocks your progress. Activate focus on the symbol to begin.
Symbol 1: Turn completely around. Climb the small incline directly behind you. Yellow rock markings form the required shape from this angle.
Symbol 2: Focus on the giant bubble behind you — this transforms the landscape by removing rainbow-colored rocks. Take the far-left path near the barrier. Align the rocks to reveal the second symbol.
Symbol 3: Proceed forward and focus on another giant bubble to revert terrain changes. Near a destroyed house, the third symbol awaits. One final bubble interaction clears your exit back to the barrier.
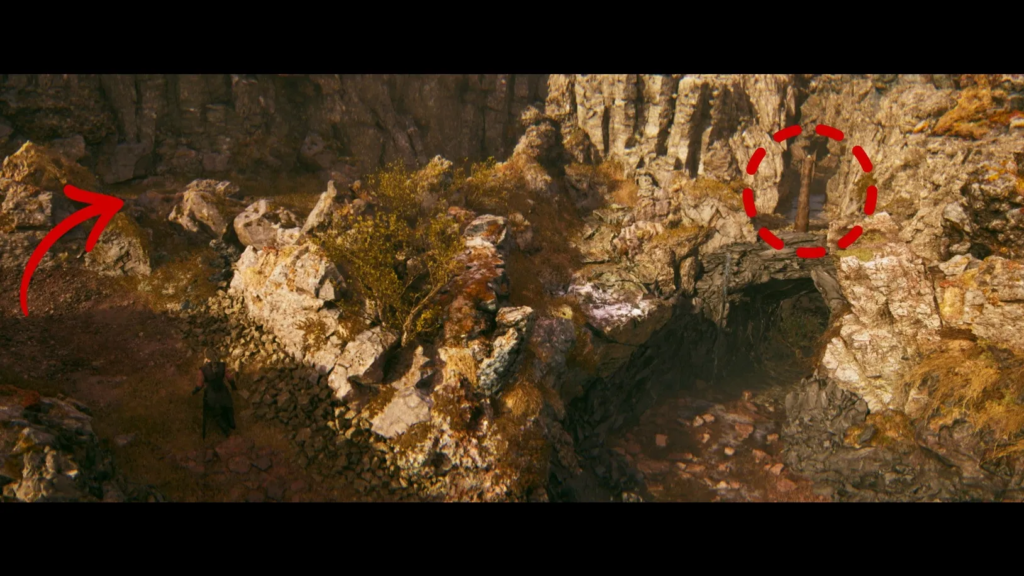
Hidden Face #3
When the main path branches, look right before approaching Astridr in the distance. Collect this face, then join her atop the hill.
Part Five: Beach Puzzle — Sjavarissi’s Name
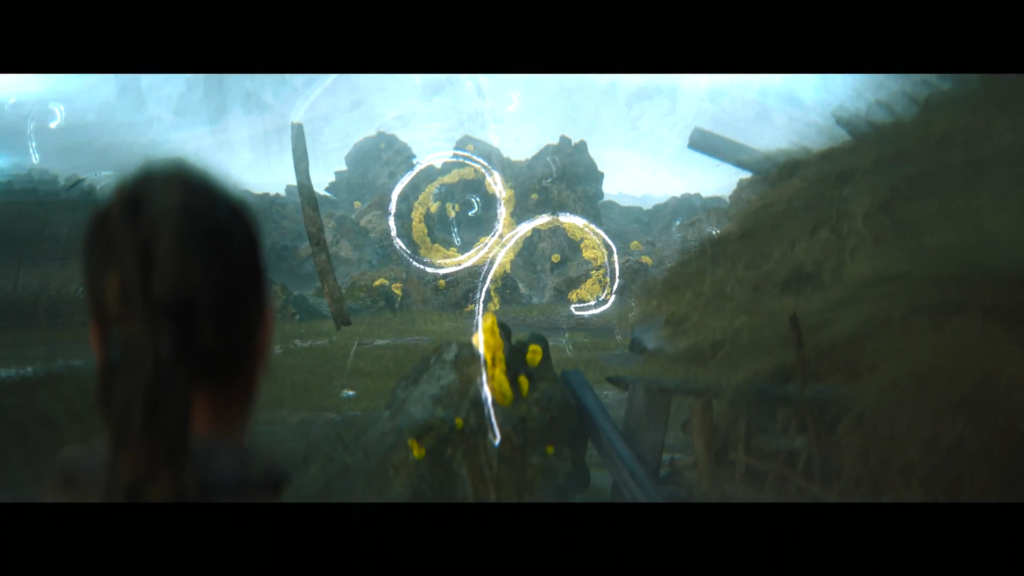
Descend to the beach to commune with the Hiddenfolk and learn Sjavarissi’s true name. A new barrier appears on the beach’s left side requiring three symbols.
Puzzle Solution:
- Focus on the water bubble to alter surroundings
- Enter the blue mist behind the shipwreck near the barrier
- Focus on the bubble again from your new position
- Climb chalk-covered ledges, follow the path to another bubble
- Focus to reveal the path — yellow seaweed on the shipwreck forms Symbol 1
- Return to beach, focus on bubble to clear the rainbow rock ahead
- Align yellow seaweed along rocks and debris for Symbol 2
- Before touching the third bubble, collect nearby secrets
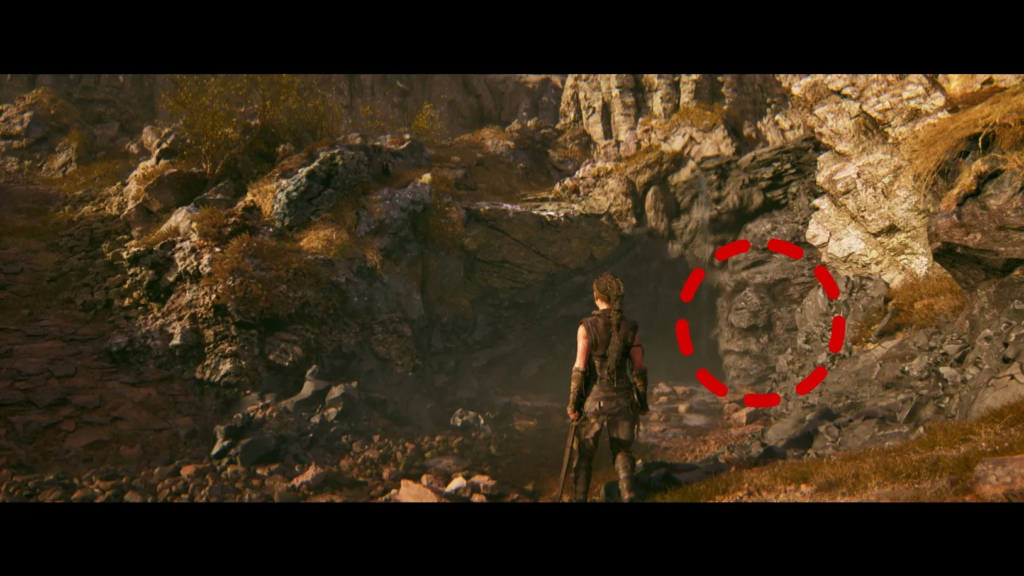
Lorestangir #3
Enter through the wall crack (detailed below), stay right on the other side. Ignore floating symbols overhead — wrong angle for the puzzle shape.
Hidden Face #4
While exiting the Lorestangir area, check the left cave wall near the entry crack. Invisible from the opposite approach direction.
Completing the puzzle: Climb the chalk ledge on the left, position yourself above the blue mist area. Focus on the appearing bubble to solidify the mist. At the dead end, focus on the water bubble creating a path. Inside the destroyed house, yellow seaweed reveals Symbol 3.
Part Six: Underwater Journey

After barrier removal, descend to the water behind it for another Hiddenfolk encounter. Follow the Huldufolk light through the underwater sequence, witnessing Sjavarissi’s history. Astridr holds the key to the giant’s true name.
Part Seven: Storm Village

A massive storm engulfs the beach. Navigate using torches as waypoints through the village.
Hidden Face #5
When the path branches right, search for a torch positioned away from the main road. The face hides nearby.
Lorestangir #4
Return to the main path. At the next split (before the torch house), turn left. The final Lorestangir stands beside the first hilltop house.
This marks collectible #18 of 18 Lorestangir in Hellblade 2.
Hidden Face #6
Continue past the Lorestangir toward the second house. At the torch, turn left. The final Hidden Face awaits.
Congratulations — all 17 Hidden Faces collected. Every Hellblade 2 collectible is now yours.
Part Eight: Village Defense

Find Astridr in the open house at the road’s end. She reveals Sjavarissi’s true name and the full betrayal story.
Draugar immediately assault the village. New enemy type introduced:
Shield-bearer
- Wields spear (throwable) and defensive shield
- Blocks standard attacks
- Counter-strategy: Stay close to avoid thrown spears, use heavy attacks to break through defense
Astridr and Thorgestr assist during combat. Each fight remains one-on-one — take your time with individual opponents.
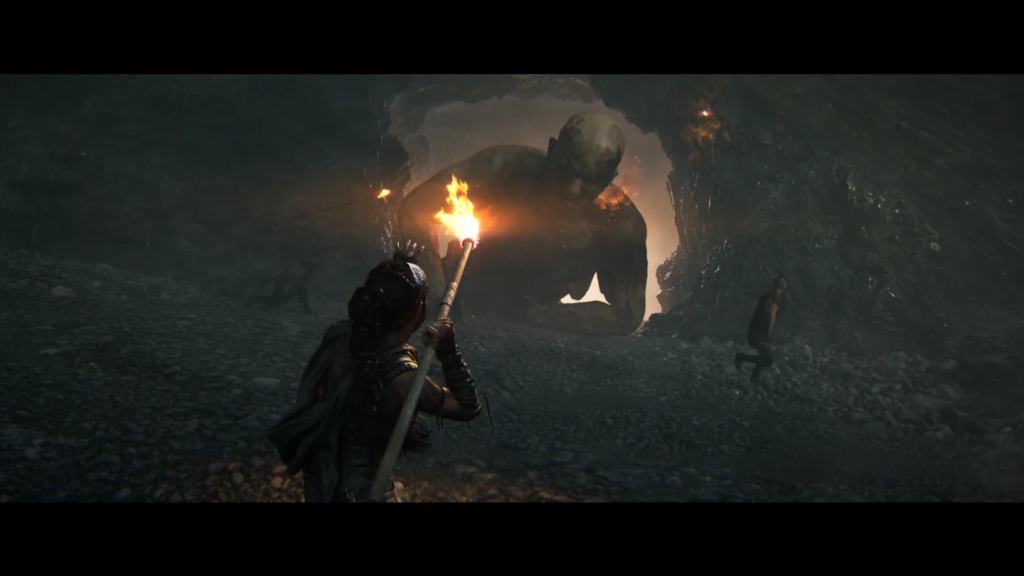
Part Nine: Confronting Sjavarissi

Post-battle, Senua outlines her plan. Fargrimr performs a ritual summoning the sun while Senua draws out the sea giant.
Cave escape sequence: Travel through the massive tunnel with your companions. When Sjavarissi notices you, retreat while grabbing and throwing flaming spears to slow his advance.
Wave survival section:
- Hold onto symbol-marked stones (grip the base rings) when waves approach
- Wooden structures provide single-use protection
- Wave frequency increases over time
- Failure respawns you at the previous checkpoint
Debris dodging finale: Watch the sky or ground shadows to predict where large objects will land. Move laterally to avoid impacts.
Reaching the storm’s eye concludes Bardarvik. One final challenge remains: the giant of Borgarvirki.

Comments (0)
Sign In / Sign Up
Sign in with your Google account to leave a comment. It's fast, easy, and secure.
No comments yet
Be the first one to share your thoughts!