
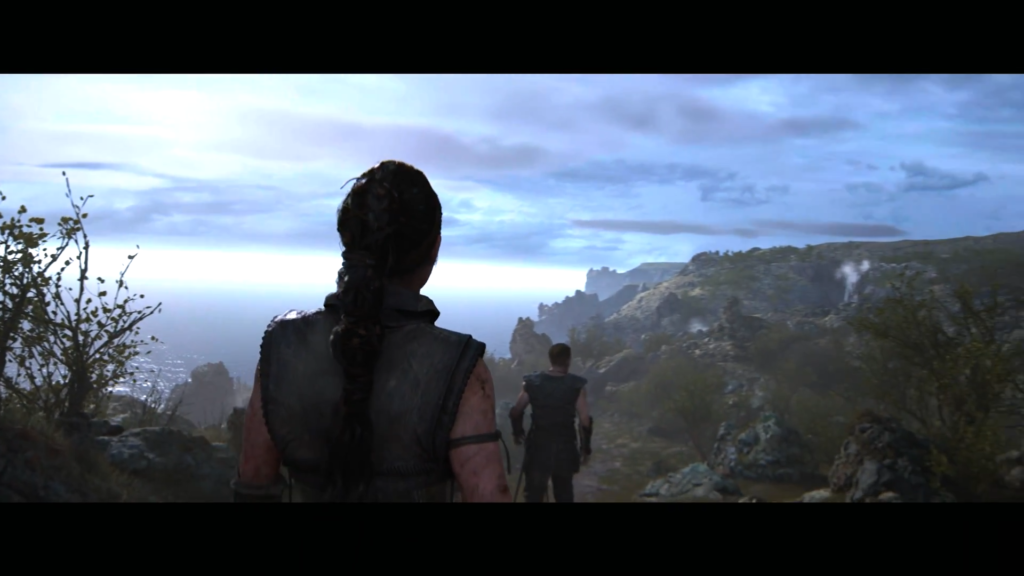
The fourth chapter of Senua’s Saga: Hellblade II takes you deep into the mysterious caves of the Hiddenfolk. Senua must navigate treacherous darkness, solve brazier-based puzzles, and ultimately confront Illtauga. This guide covers every puzzle solution, combat encounter, and collectible location.
Collectibles Overview
| Type | Quantity |
|---|---|
| Lorestangir | 3 |
| Hidden Faces | 4 |
Cave Entrance and First Collectibles

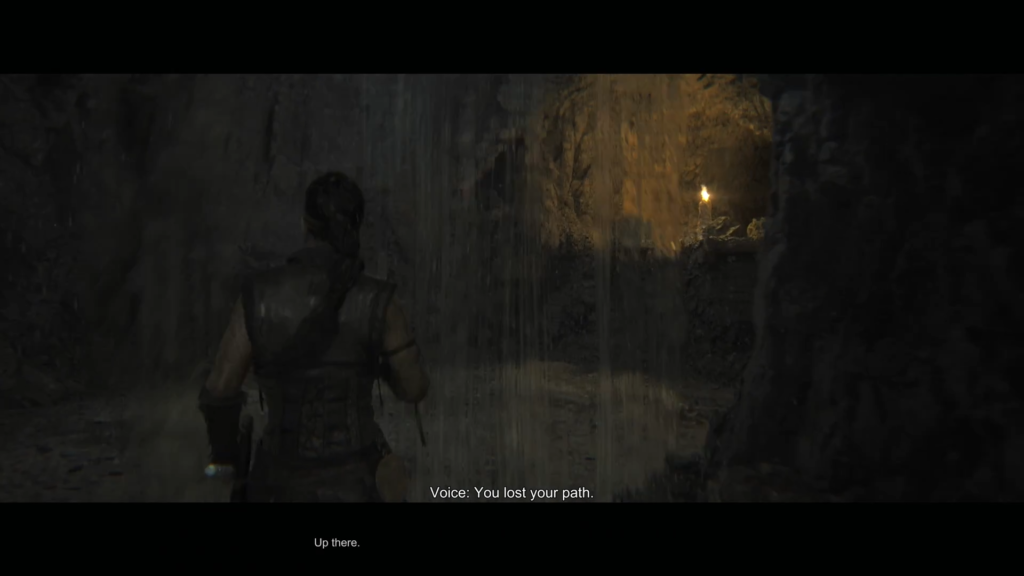
At the cave mouth, pick up the torch — your lifeline throughout this chapter. Hug the left wall as you proceed through the narrow passage. The first Hidden Face awaits on your left, visible only when your torch illuminates the stone surface.
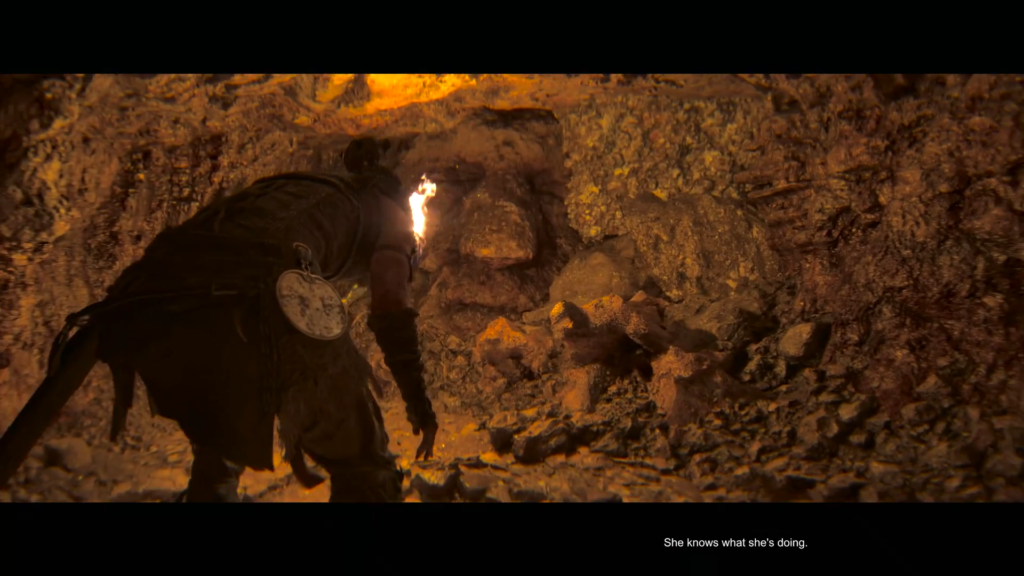
Shortly after, a hole in the right wall reveals a Lorestangir beyond your reach. Move forward a few steps, drop from the elevated ledge, then turn right to claim the first Lorestangir. Return to the shallow pool area and exit through the remaining open passage.
Understanding the Brazier Mechanics
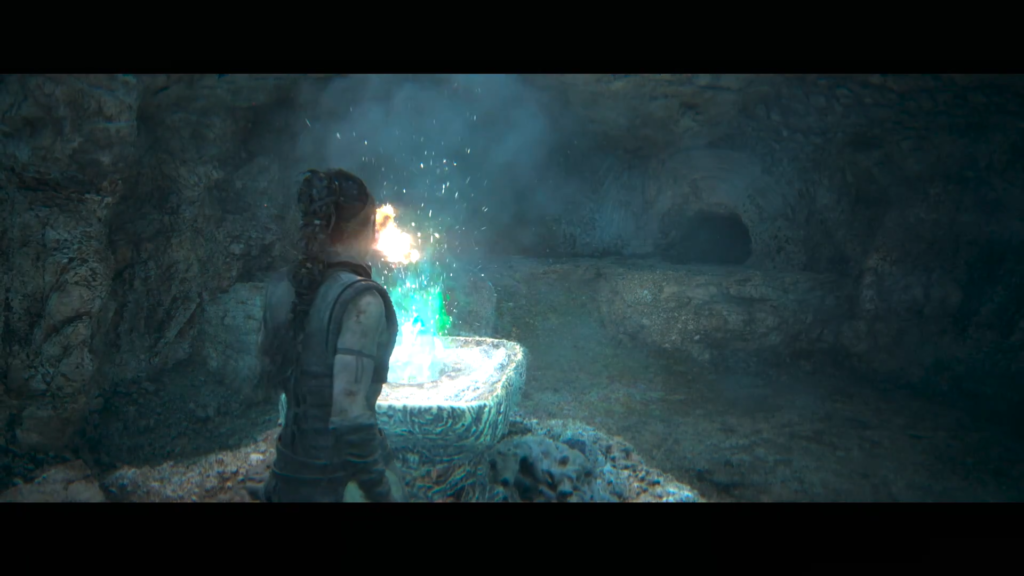
Blue mist and rainbow-colored surfaces indicate transformable terrain. Lighting a brazier solidifies these ethereal elements into walkable platforms. Extinguishing the flame returns solid objects to their misty state. This mechanic forms the foundation of every puzzle ahead.
Your first demonstration occurs when you interact with a brazier that creates a ramp from blue mist. Ascend and continue forward.
The Second Brazier Chamber
Drop into the widened cavern where another blue fire burns. Access the flame through a small opening on your right. Extinguishing it reveals two hidden passages — one at ground level where you entered, another directly behind the brazier.
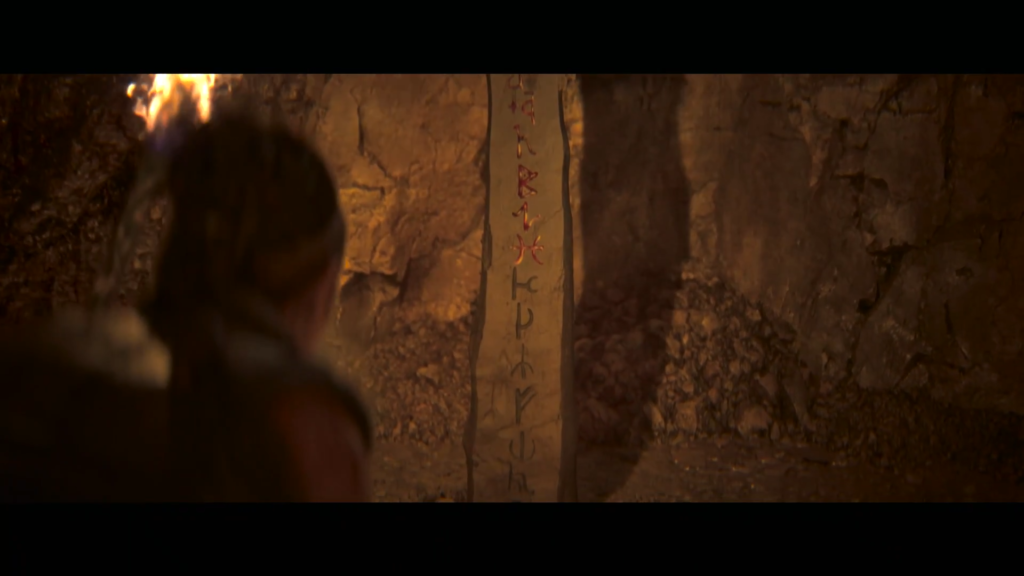
Before leaving, turn around. The second Hidden Face hides in the wall behind the brazier. Your torch helps illuminate it in the now-darker chamber.
Descend the ledge in front of the brazier and pass through what was once a solid rainbow wall. After dropping through a large hole, spin around immediately — the third Hidden Face is carved into the wall behind you.
The Torch Preservation Puzzle
Continue until you reach a fire near more blue mist. This fire serves as a checkpoint for relighting your torch. Rather than walking through the running water to your right (which extinguishes your flame), shimmy through the narrow pass on the left.
Light the blue brazier with your torch to solidify a ramp on the right. Climb up, turn left, and ignite the regular torch you find — creating another backup light source. Now extinguish the brazier to transform the ramp back to mist.

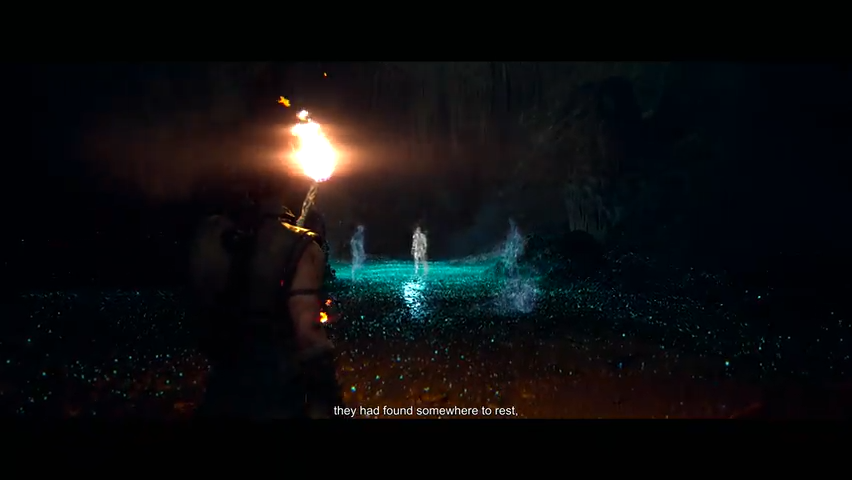
Walk through the mist and under the waterfall safely. A phantom appears as your guide, but ignore it momentarily. Turn left, relight your torch, then ignite the brazier directly ahead. Cross the newly formed bridge, retracing the phantom’s path.
Second Lorestangir Location
Watch the right wall as the path narrows again. Upon entering a larger chamber, the second Lorestangir sits to your right. Drop down while crouching at the marked spot. This detour loops back to the main route.
The Water Chamber Sequence
Another phantom guides you through tunnels toward an elevated blue fire surrounded by water. Wade in and extinguish it, revealing a hole in the rainbow wall below.
The next section forces you through running water. Immediately after your torch dies, turn left and shimmy across the low ledge to find another fire.
After relighting, cross to the opposite side. Another waterfall awaits, and while a fire appears visible beyond it, this is a decoy. Instead, turn left immediately after passing under the water. Follow the path beneath more falls into a small opening where the actual fire waits on a ledge.
Light the fires above the water — your torch cannot stay lit while wading here. When ready, return to the cavern entrance and cross through the water, staying within the illuminated zones created by your lit fires. Reignite your torch at the end.
Sprint through the final waterfall section to reach a chalk-covered ledge. Follow the phantom through the darkness when it appears.
The Bridge Network Puzzle
Grab the fresh torch from the wall and observe the cavern’s transformation. Light the blue brazier to create a bridge on the right.
Cross and drop down to another brazier. Extinguish it to open a path through the rocks. Repeat with the next brazier. Now reignite both fires in sequence to construct a bridge along your route.
After crossing, notice the hole in the right wall. Pass your torch through to the blue phantom on the opposite side. The phantom creates a bridge, allowing you to drop back down and cross the pit. Extinguish that fire after crossing, follow the path to another wall hole, and retrieve your torch. Light both braziers to complete the bridge system.
Return to the very first brazier in this area. Extinguish it to reveal the forward path. Pass through the resulting mist, climb to where the phantom stood, and place your torch in the wall one final time. The phantom illuminates your way forward.
Combat: The Hiddenfolk Caves
Enter the cavern and drop into the hole when the Hiddenfolk offer guidance. Follow their light until creatures attack.
Combat Tips:
- These weaponless enemies rely on speed and disorientation
- They throw dirt, crawl from blind spots, and attempt quick grabs
- Mash attack when grabbed
- Prioritize dodging lunges and parrying strikes
Multiple ambushes occur as you progress:
- Initial encounter after following the light
- Sudden appearance during continued travel
- Total darkness fight — hold block until light returns
- Multi-enemy ambush at a wall crack
Final Collectibles
After escaping the darkness sequence, look left immediately. The fourth Hidden Face is carved beside floating rocks.
Continue until the path appears to dead-end. A hidden right turn conceals the third Lorestangir. Return and take the left fork to resume the main route.
The Giant Bubble Chamber
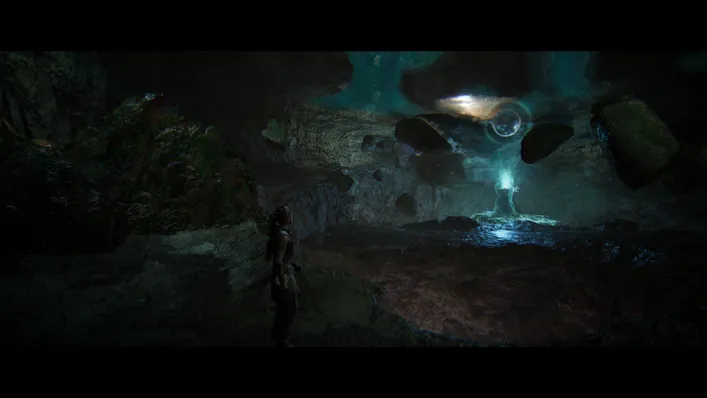
Focus on the large bubble near the ceiling-mounted blue fire. This shifts the room’s geometry.
Solution sequence:
- Focus on the central bubble
- Walk left until a boulder blocks you
- Focus again to remove the boulder
- Proceed past it and focus on small bubbles to lower the floating rock
- Walk to where that rock was, focus on the center bubble to create a bridge
- Focus once more to form another bridge reaching the smaller bubbles
- Focus on those to bring your goal down
- Return to the entrance side and walk through the lit tunnel
Crawl through and approach the pool to converse with the Hiddenfolk.
The Sword and Final Battle
Follow the Hiddenfolk light until your sword returns — just as undead creatures attack in large numbers.
Combat Tips:
- Quick attacks outperform heavy strikes against these swarms
- Activate Focus during overwhelming moments
- Expect a prolonged engagement
Victory reveals something precious to Illtauga and her true name. Fargrimr arrives, and together you devise a confrontation plan.
Illtauga Boss Encounter
The villagers’ ritual transports Senua to Illtauga’s volcanic realm. Survive her heat waves by hiding behind stone structures scattered across the beach.
Mechanics:
- Rocks pull toward Illtauga as she charges
- Blasts sync with the music
- Stone cover deteriorates over time
- Timing tightens after each broken chain
Progression:
- Move right, alternating between sprinting and hiding
- Break the first chain
- Continue circling, breaking subsequent chains
- After the third chain, brief respite before resuming
- Final stretch removes all cover — vault ledges and sprint continuously
- Sever the last chain to free Illtauga and complete the chapter
Comments (0)
Sign In / Sign Up
Sign in with your Google account to leave a comment. It's fast, easy, and secure.
No comments yet
Be the first one to share your thoughts!