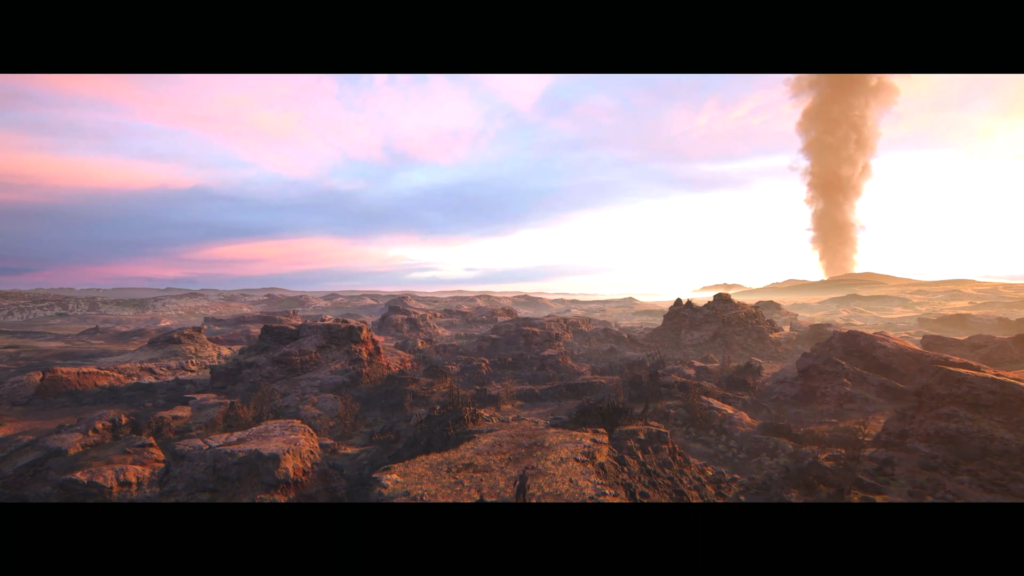
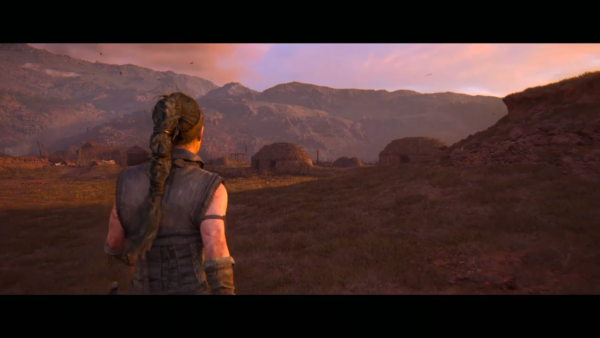
Raudholar (Rauðhólar) marks the third chapter of Senua’s Saga: Hellblade II. After reluctantly rescuing the slaver Thorgestr, Senua joins a stranger named Fargrimr on a mission to liberate more captives. This volcanic wasteland hides six Lorestangir and five Hidden Faces scattered throughout its treacherous paths.
Collectibles Overview
Type
Total Count
Lorestangir
6
Hidden Faces
5
Opening Area: First Collectibles
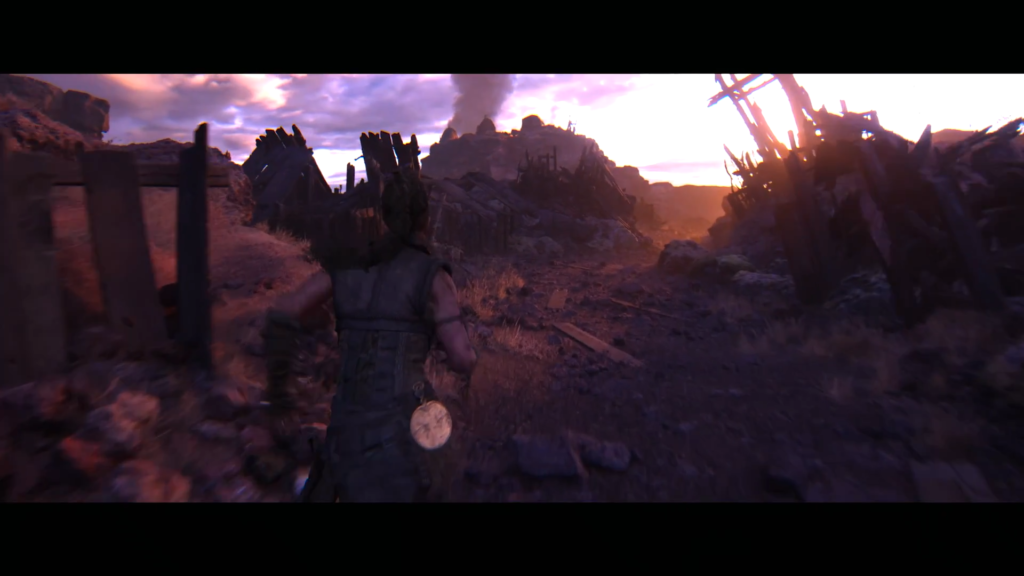
Your journey begins following Fargrimr as he shares stories about his homeland and the destruction caused by Illtauga. Pay attention to the terrain once the path opens up.
Hidden Face №1 awaits on the left side of the area. Locate it by tracing the massive ground crack leftward — the face becomes visible near its end.
Lorestangir №1 stands directly to your right after reaching the Hidden Face. Both collectibles camouflage themselves within the environment, so observe carefully. The Lorestangir appears near the same tree used as a reference point for the Hidden Face.
Hidden Face №2 requires backtracking. From the ground crack, head right and loop back toward your original starting direction. The face hides at the far end of this detour.
With these three collectibles secured, rejoin your companions at the main path beside the large crack.
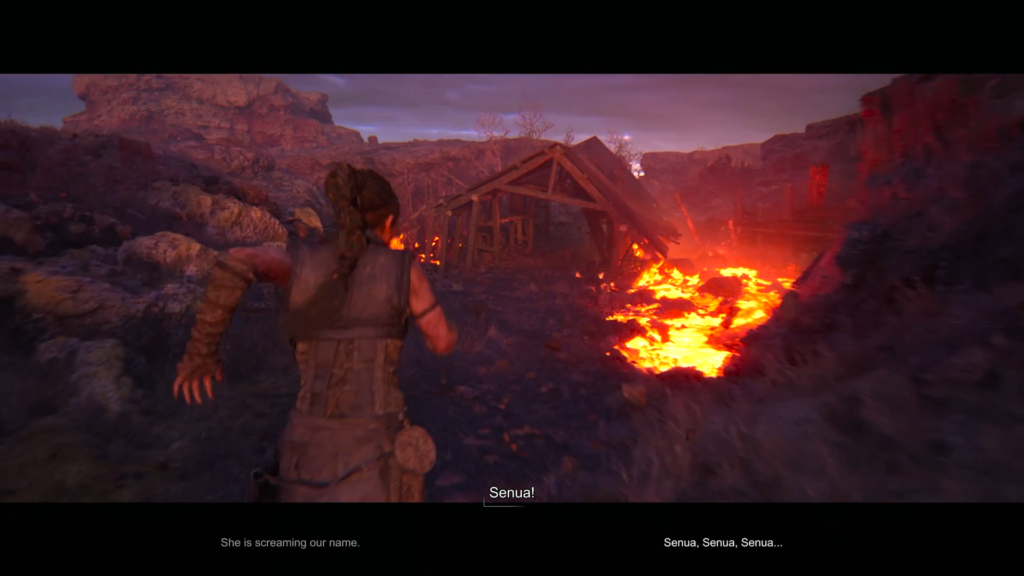
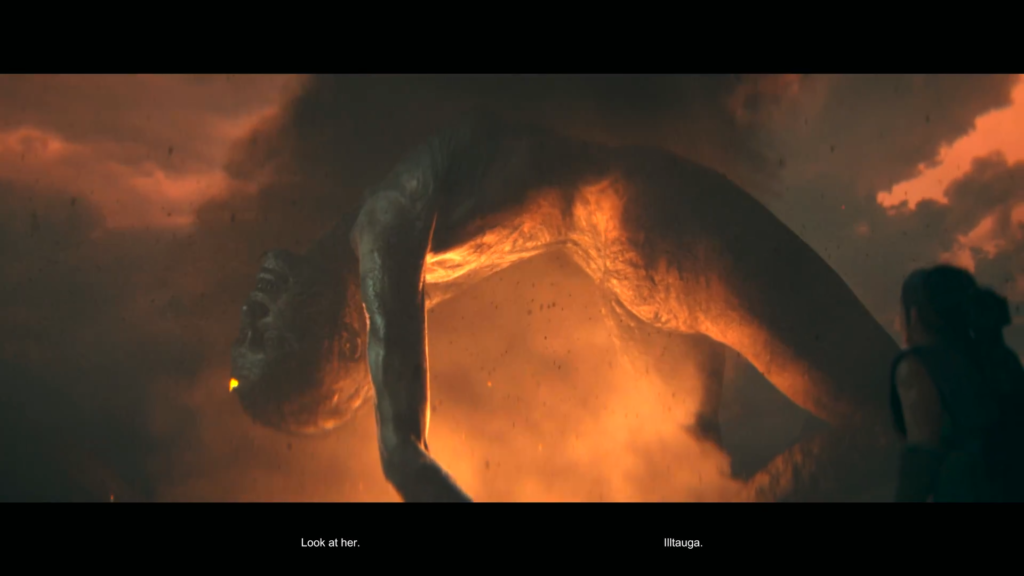
Illtauga’s Emergence: Escape Sequence
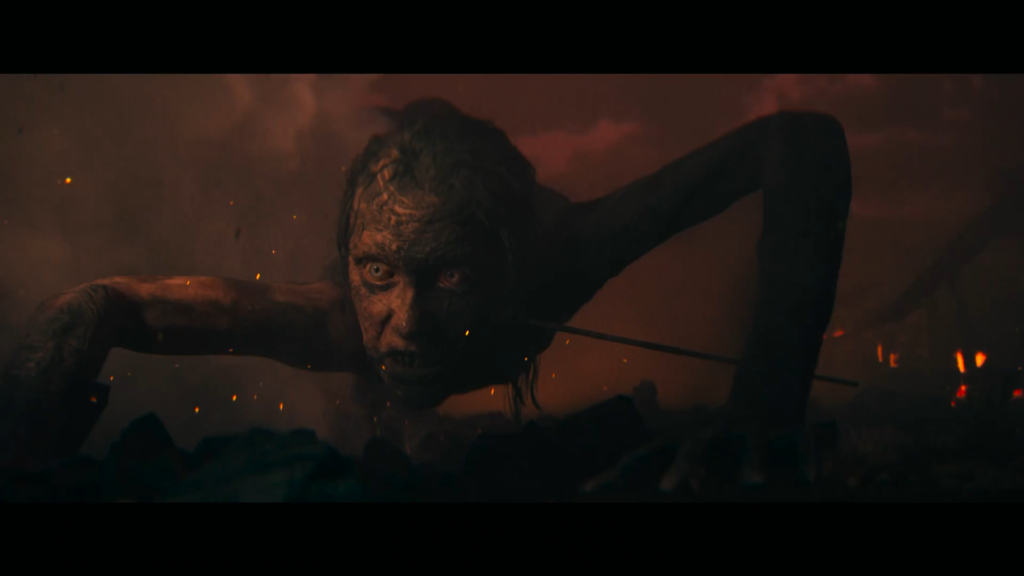
A cutscene triggers as you walk with Fargrimr and Thorgestr — Illtauga begins rising from the earth. Sprint toward the hills immediately.
Important: After vaulting the first debris pile, stick to the left route. The right path becomes blocked.
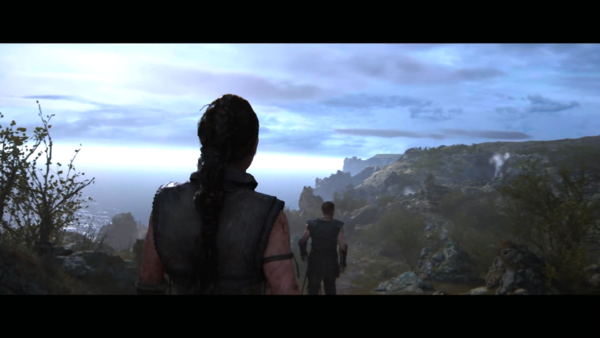
Continue running through this linear section until the group reaches safety. Fargrimr then explains that volcanic eruptions tore open barriers between worlds, allowing giants from Jotunheim to cross over. He also reveals the true purpose behind the slave labor.
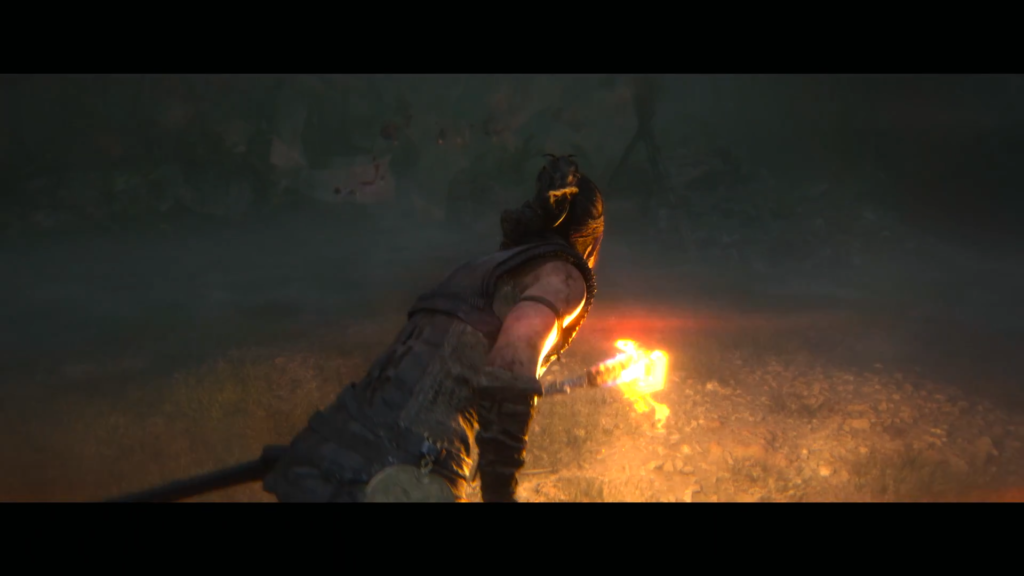
Darkness Section: Torch Navigation
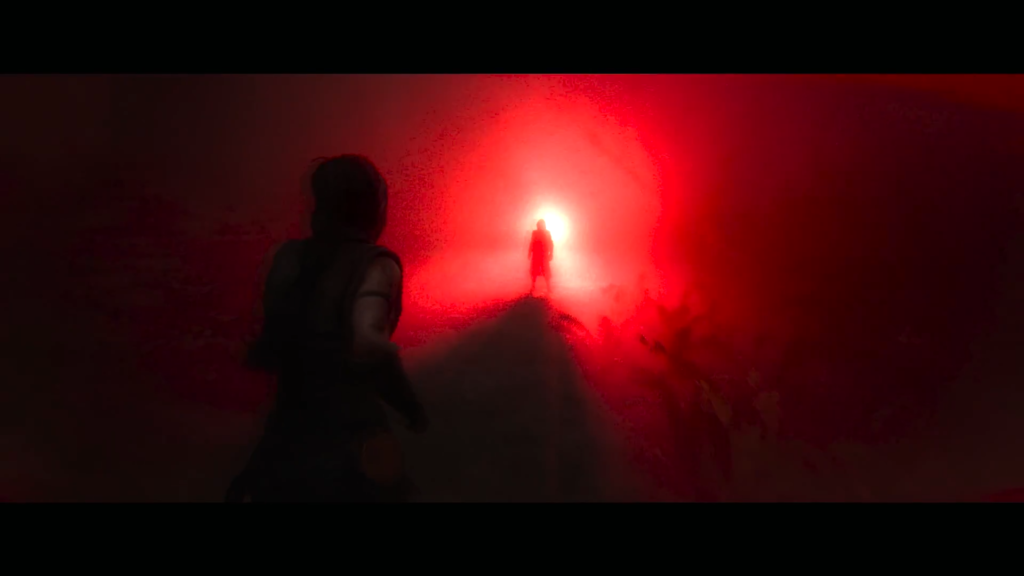
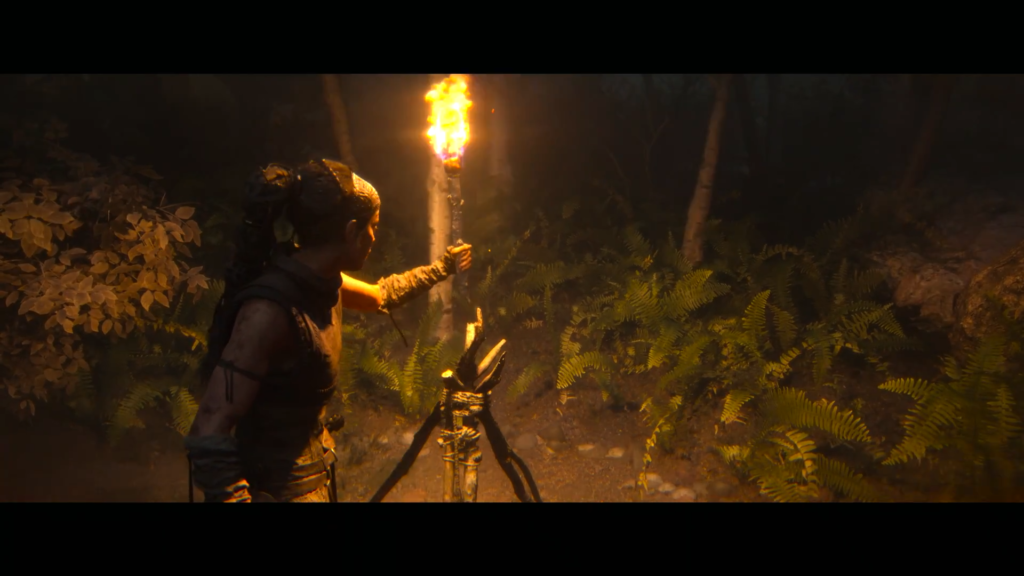
When control returns, approach the man bathed in red light. A barrier blocks your advance, so turn right instead. Grab the torch ahead and ascend the left path.
Drop down the ledge, then circle right to dissolve the barrier with your torchlight. At the three-way fork, choose the middle path — it leads to a combat clearing.
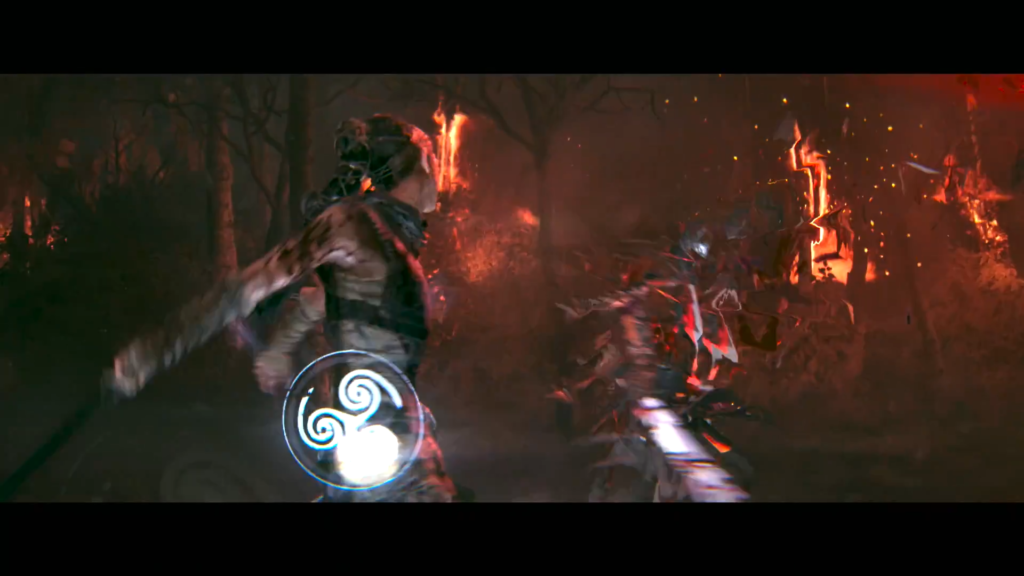
Combat Encounter #1
Enemy Type
Strategy
Heavy axe wielder
Dodge or parry slow swings; counter with quick attacks to build Focus
Swordsmen (×2)
Defend first, then use heavy attack followed by quick combos
Conserve heavy attacks against the axe enemy to avoid counterattacks. Spend your Focus meter to finish fights efficiently.
Navigating the Dark Paths
Retrieve the torch after combat. Three exits present themselves — avoid paths marked by bright red light. The safe exit lacks this warning glow.
Proceed even when your torch extinguishes. Another clearing with identical enemy types awaits. Apply the same combat tactics, collect the torch afterward, and again select the exit without red light.
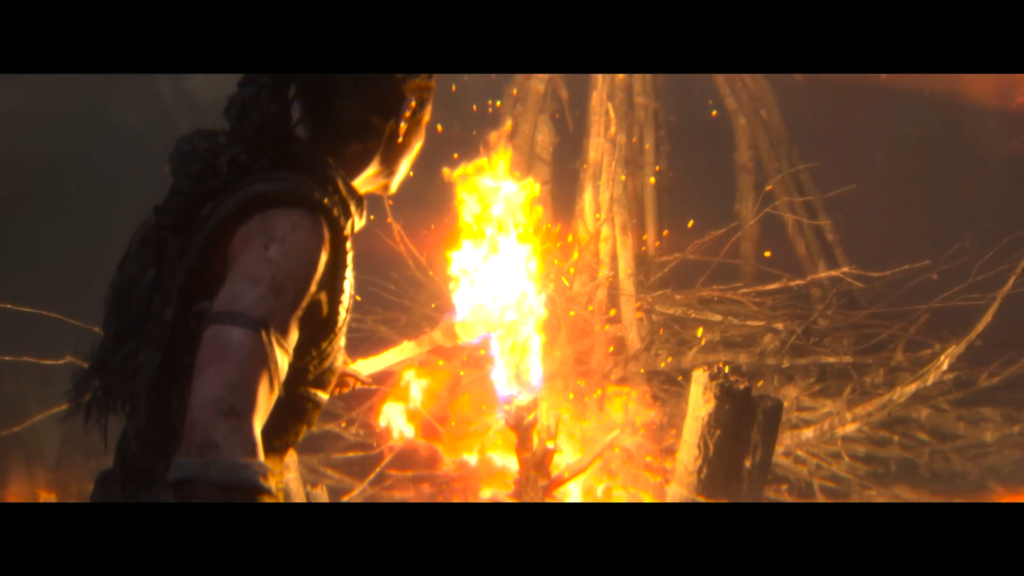
The path terminates at a dead end. Light the short sticks near the wall to escape the shadow realm.
Fargrimr’s Camp: Lorestangir №2
Upon returning from darkness, Fargrimr speaks about the Hiddenfolk — mysterious beings capable of slaying giants. Before pursuing them, collect a nearby Lorestangir.
Turn around immediately after the conversation ends. Walk past Fargrimr’s tent and loop around the area. Dialogue between villagers confirms you’re heading correctly. Lorestangir №2 stands at this path’s end.
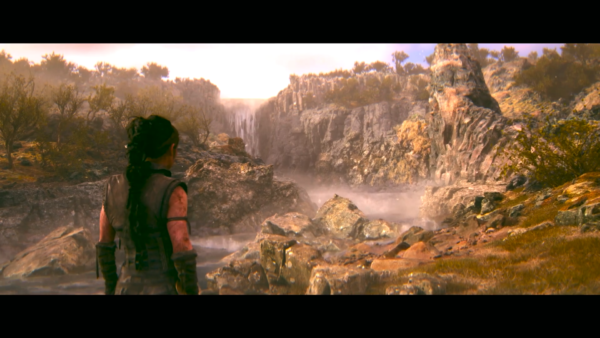
Descent to Hiddenfolk Territory
Return to the tent and descend the chalk-covered ledges. The linear route eventually splits.
Hidden Face №3 appears prominently on your left — likely the largest face encountered so far, illuminated by sunlight. Focus on both the face and the tree behind it.
Hiddenfolk Puzzle №1
A pedestal blocks interaction initially. Take the only available left path past it.
Listen to Senua’s voices and collect the round stone from the next pedestal. The world inverts upon pickup — everything appears upside-down yet mirrors reality.
Solution:
Carry the stone back to the first pedestal
Focus on appearing bubbles to unlock a new pathway
Retrieve the second stone from this new route
Return both stones to the central altar
The obstacle dissolves upon completion.
Post-Puzzle Collectibles
Hidden Face №4 appears immediately on your right after passing through. Despite blending with surroundings, its size draws attention upon approach.
Lorestangir №3 lies nearby. At the path branch, turn left. Climb a short chalk ledge and squeeze through a narrow gap to reach it.
Return to the branch and proceed right to continue.
Hiddenfolk Puzzle №2
Two stones are visible upon entering, but only one path opens initially.
Solution:
Grab the stone on the right hill first
Place it on the main altar
Turn around — focus on bubbles behind Senua to form a bridge
Cross the bridge; focus on new bubbles to relocate the ceiling pedestal to ground level
Return to ground level and remove the bridge to access the second stone
Deliver it to the altar
Focus on bubbles near the elevated left pedestal to create climbing access
Ascend, focus again to retrieve the pedestal from above
Carry the third stone across and complete the puzzle
Triple Collectible Zone
The opened passage leads to an area containing three collectibles close together.
Hidden Face №5: Turn right at the path branch. Climb two chalk ledges (appearing just after descending two on the main route) to find this large sideways face.
Lorestangir №4: Return to the main path, walk a few steps, then turn left. Shimmy through a narrow pass and circle around to locate it on a small hill.
Lorestangir №5: Watch for a right-branching tunnel — easily missed. Pass through to claim the collectible on the opposite side.
Hiddenfolk Puzzle №3 (Final)
Begin with the right-side stone pedestal again.
Solution:
Collect the stone, triggering world alteration; place it on the altar
Focus on left-side bubbles; grab the newly appearing right-side stone
Return it to the altar
Focus on the same bubbles to reset the left pedestal position
Return to the first stone’s original location
Focus on new bubbles there to create a path toward the third pedestal
Combat Warning: Focusing on the second bubble set spawns enemies — an axe thrower, swordsman, torchbearer, and mace user. Prioritize the torchbearer with your Focus ability since fire attacks cannot be blocked.
After combat, focus on the first bubble set again to complete the path to the third pedestal.
Lorestangir №6: Before grabbing the final stone, look left. The last Lorestangir hangs upside-down on the ceiling. Focus on it from your current position — orientation doesn’t matter for collection.
Place the third stone to solve the puzzle. Follow the rushing water into the lake to enter the Hiddenfolk realm and conclude the Raudholar chapter.
Quick Collectible Checklist
Hidden Face №1 — Opening area, left of ground crack
Lorestangir №1 — Right of Hidden Face #1
Hidden Face №2 — Backtrack from crack, loop toward start
Lorestangir №2 — Behind Fargrimr’s tent after darkness section
Hidden Face №3 — Left side before first Hiddenfolk puzzle
Hidden Face №4 — Right side immediately after Puzzle #1
Lorestangir №3 — Left branch after Hidden Face #4, through narrow gap
Hidden Face №5 — Right branch in triple collectible zone, up two ledges
Lorestangir №4 — Left turn in same zone, through narrow pass
Lorestangir №5 — Right tunnel in same zone
Lorestangir №6 — Ceiling above third pedestal in final puzzle
Published
Modified
nikreg1607
Nik Reg
Game Guide Author & Barista
Barista by day and a gamer by night. While mastering the art of brewing the perfect espresso, he also spends his time exploring virtual worlds, testing strategies, and figuring out the most efficient ways to overcome tough moments in games. He enjoys breaking down game mechanics, discovering hidden tricks, and sharing helpful tips with other players.


Comments (0)
Sign In / Sign Up
Sign in to leave a comment.
No comments yet
Be the first one to share your thoughts!