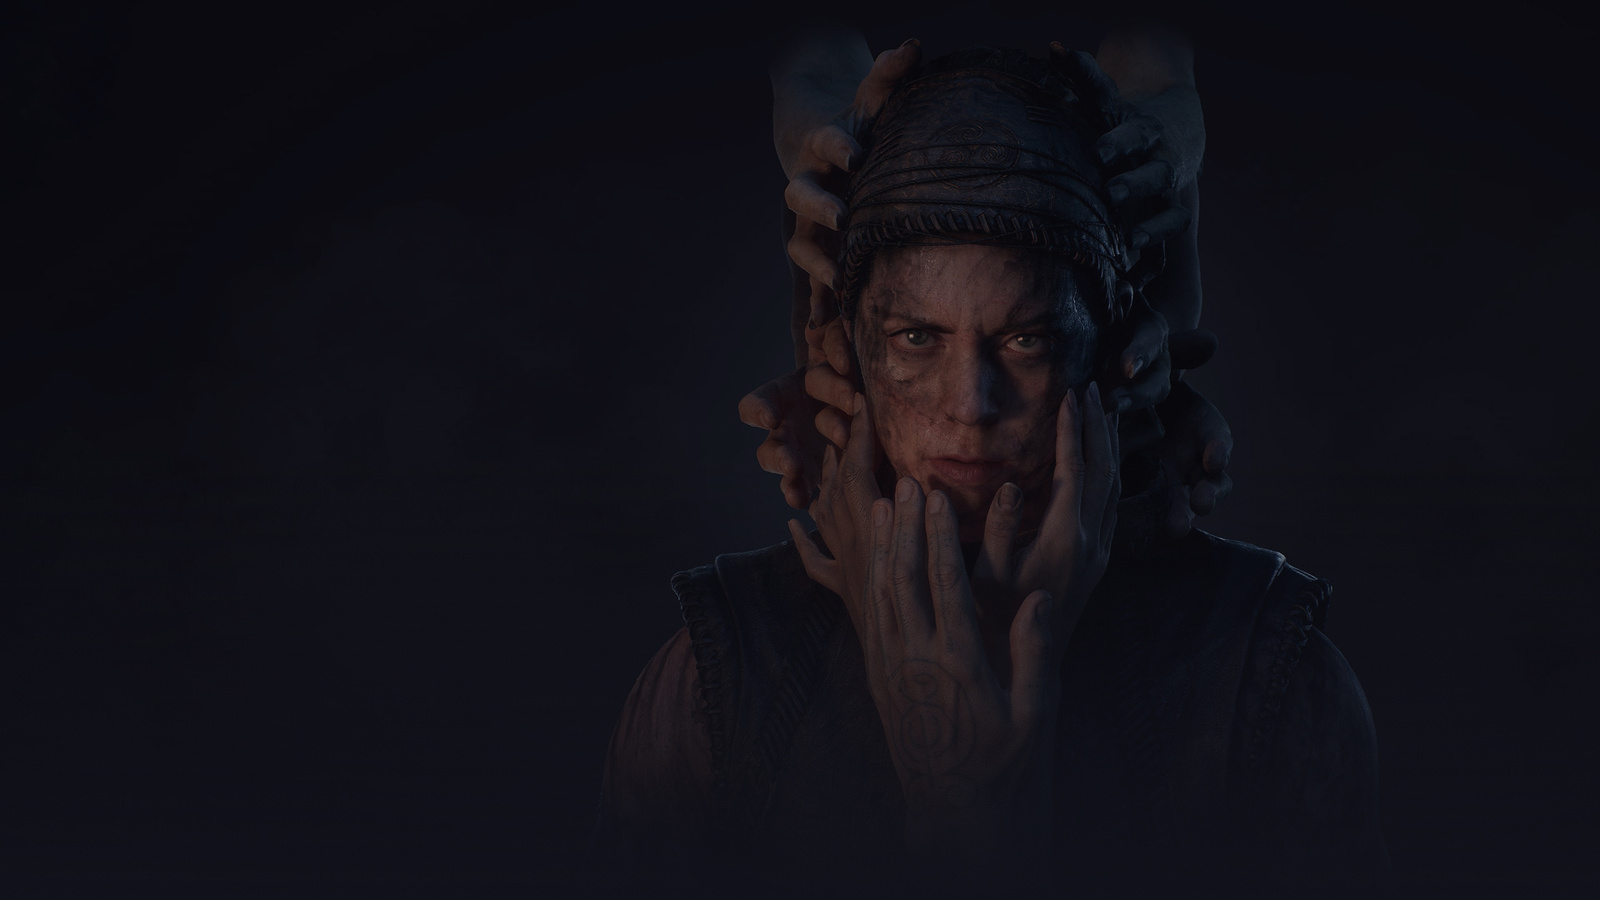


The journey begins with Senua washing ashore after a devastating shipwreck. Her plan to infiltrate the Northmen slavers has gone terribly wrong, and now survival becomes the priority. This opening chapter serves as both an introduction to gameplay mechanics and a haunting reminder of Senua’s troubled past.
Navigating the Shoreline
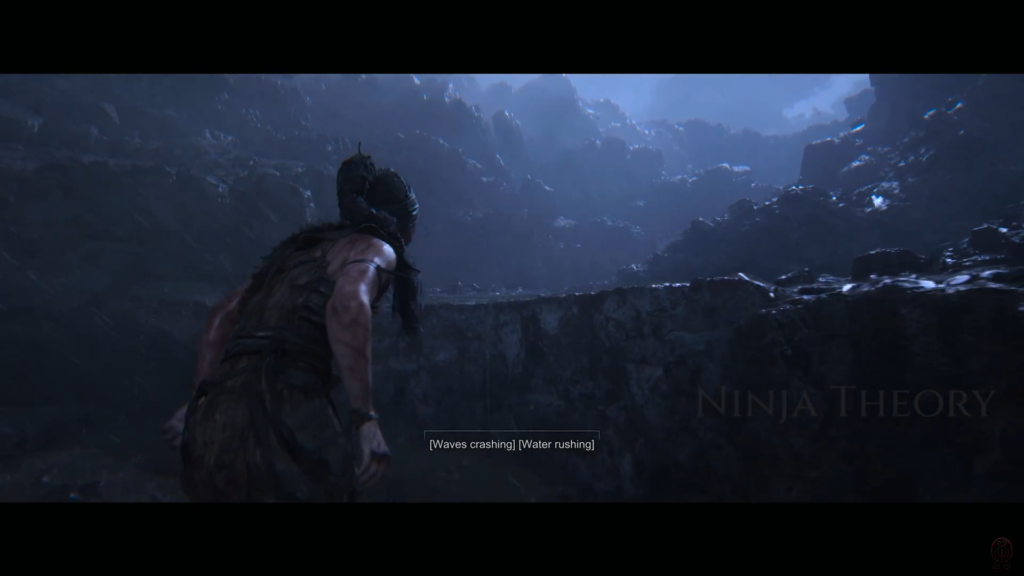
As the opening credits roll, ascend the stone steps and follow the linear pathway. The voices of Senua’s father will echo through her mind — a recurring theme players of the original game will recognize immediately.
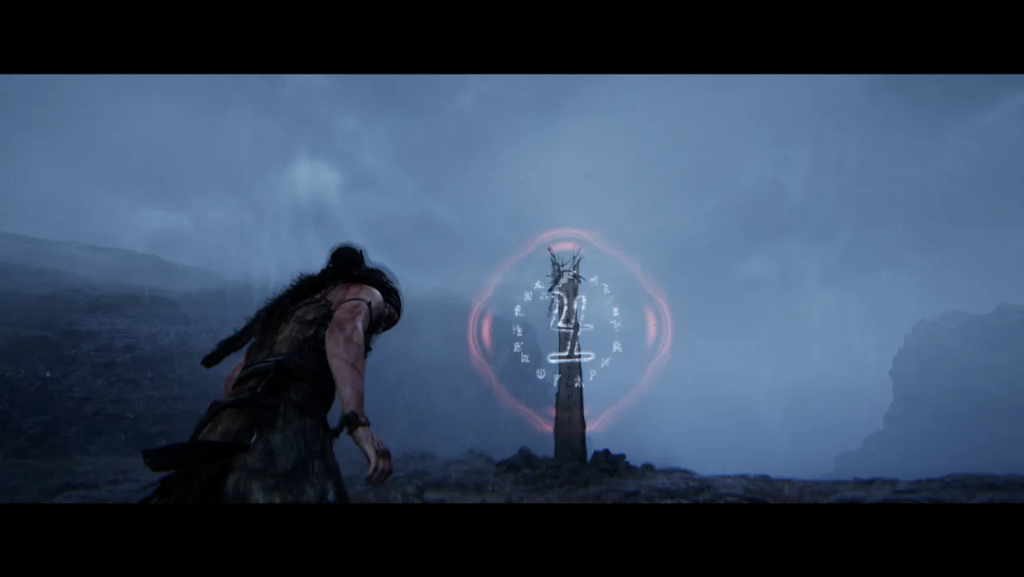
Your first collectible awaits nearby: a Lorestangir. These glowing pillars feature 18 symbols representing all collectibles in the game. Each discovered Lorestangir illuminates another symbol in red. To interact with it, activate Senua’s focus ability (LT/RT on Xbox, E on keyboard).
The Rocky Maze and Your First Puzzle
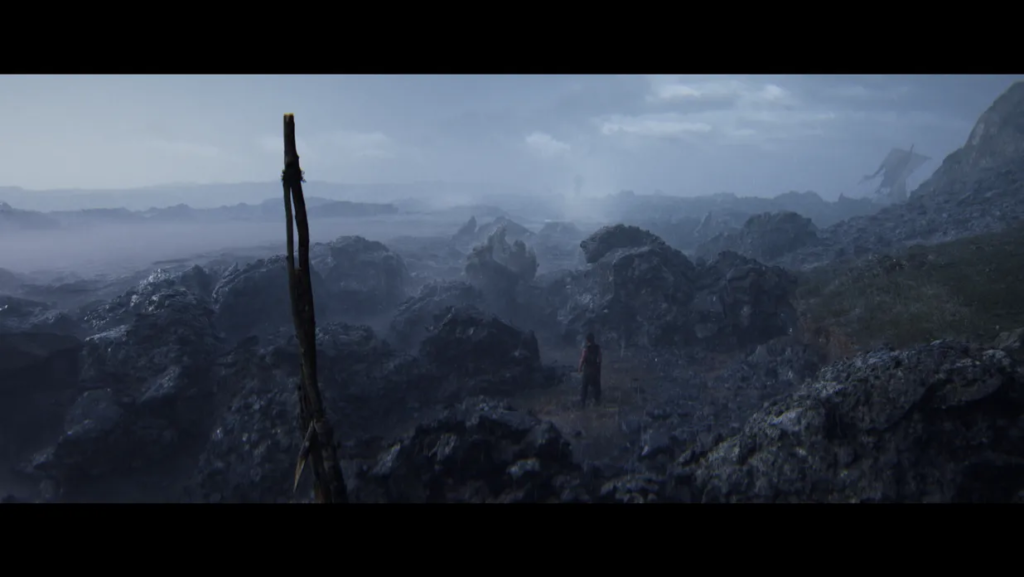
Past the encampment where a lone Northman slaver wanders, a maze of rocks blocks your path. Look for tall sticks marking the correct route — once you pass them, the path seals behind you permanently.
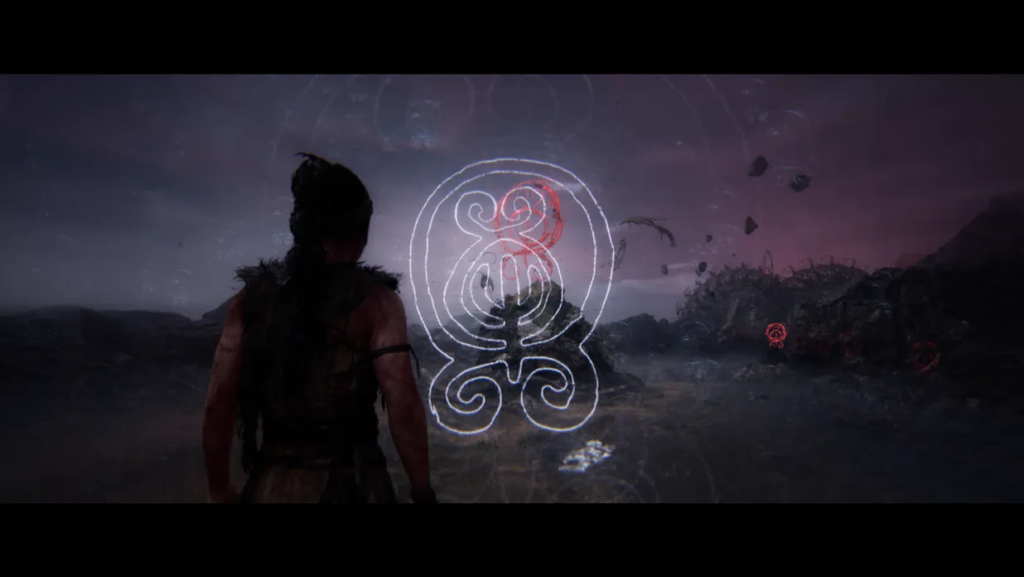
Approaching the beach triggers the first symbol puzzle. A red symbol blocks your progress, requiring you to find its matching shape in the environment. When you’re close to the solution, the symbol floods your screen as a visual hint.
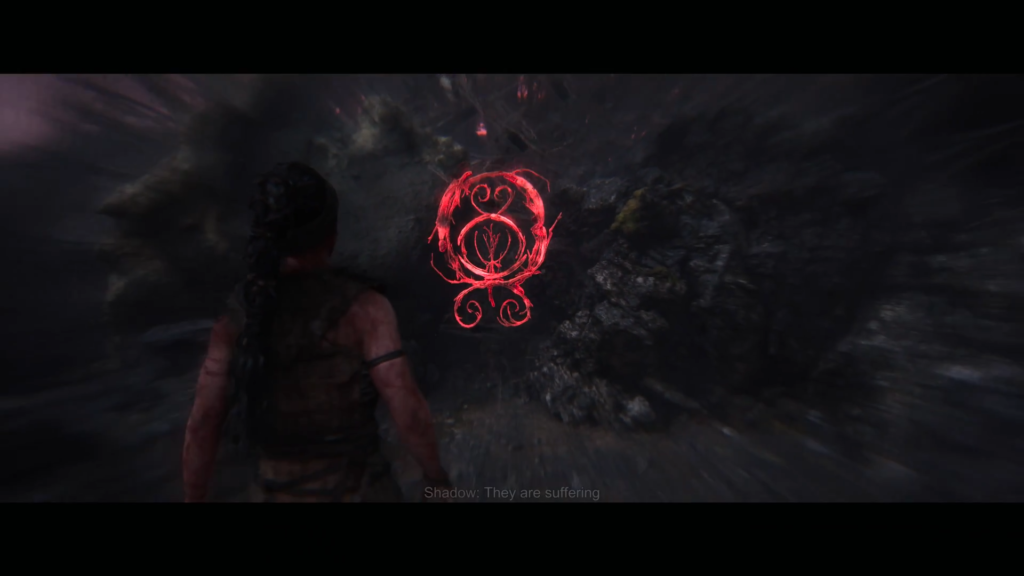
Solution: Return to the clearing’s entrance. Align the red symbol on the rock with floating debris in your field of view. Once matched, focus on it to clear the obstruction.
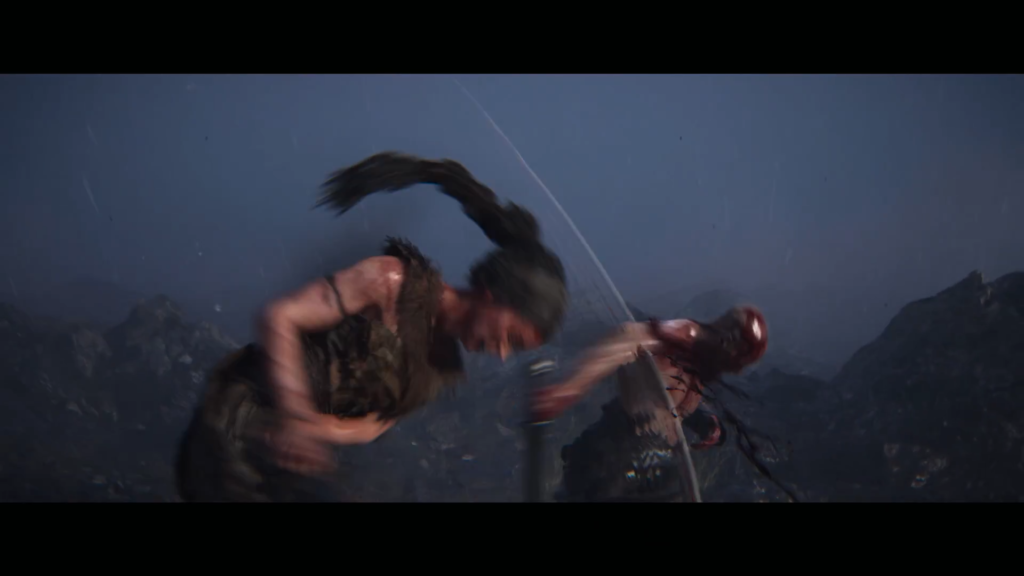
Combat Fundamentals
A slaver ambushes you near the shoreline after you investigate the lone boat. Combat in Hellblade 2 lacks any HUD — reading enemy animations is essential for survival.
| Enemy Cue | Meaning | Your Response |
|---|---|---|
| White glow on weapon | Standard attack incoming | Block or parry |
| Red glow on weapon | Staggering attack | Avoid blocking, dodge instead |
| Dark fiery red glow | Unblockable attack | Dodge immediately |
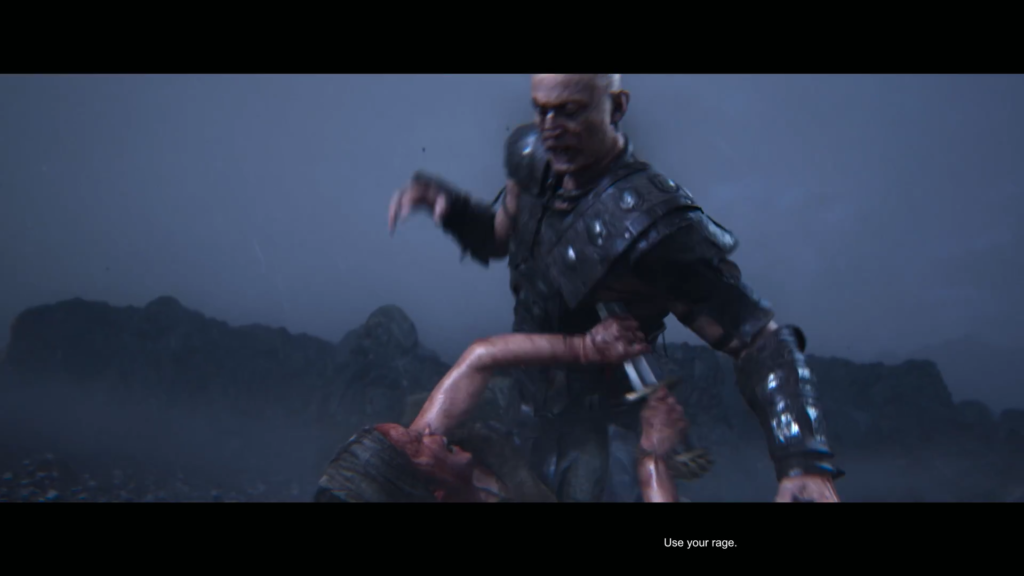
Heavy attacks break enemy guards effectively. Successful parries occur when you block at the precise moment before impact. If grabbed, mash the attack button to escape.
Progressing Along the Beach
After your first victory, locate the wooden ledge marked with white chalk — this visual indicator frequently shows climbable surfaces throughout the game. Two more combat encounters await:
- Second fight: Standard enemy reinforcing combat basics
- Third fight: Introduces unblockable attacks requiring dodge responses
Between battles, crawl beneath a shipwrecked boat to trigger a sequence exploring Senua’s psychosis and guilt. Three Northmen ambush you upon emerging.
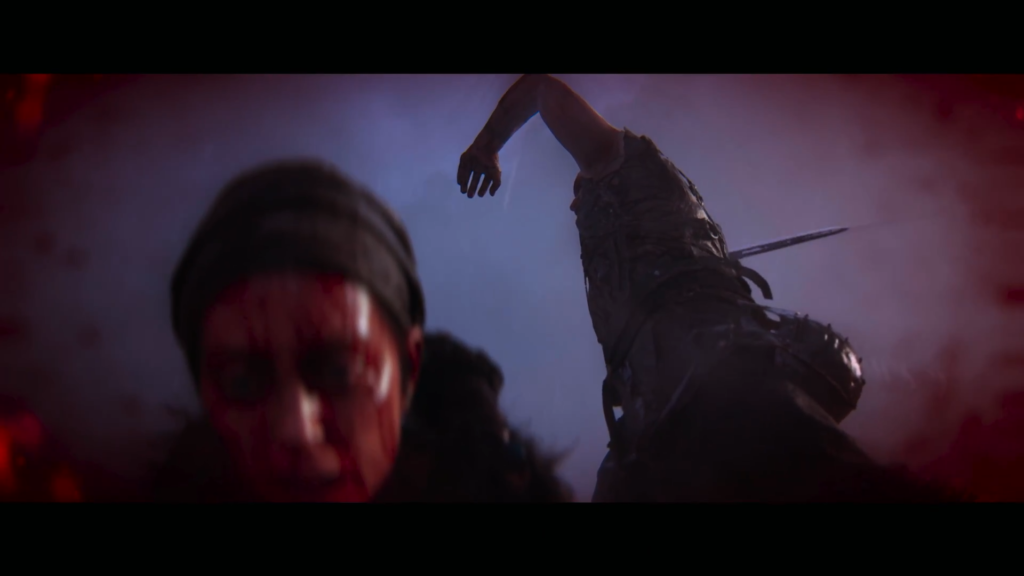
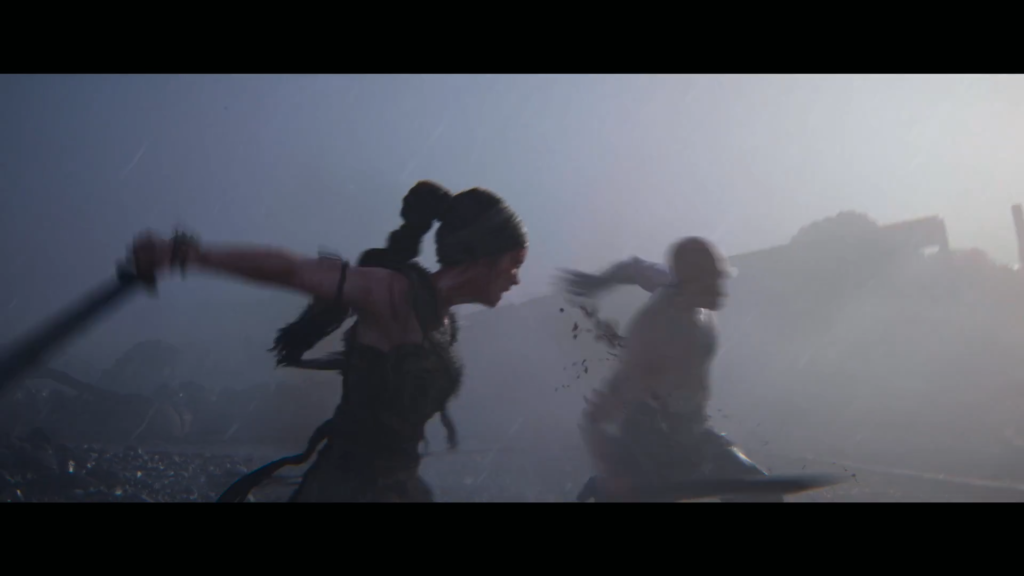
Boss Battle: The Slaver Leader
This confrontation pits you against the primary slaver Senua originally intended to face. His fighting style demands patience and observation.
Combat Strategy:
- Open with heavy attacks to break his guard
- Land only a few hits before preparing to defend — he counterattacks swiftly
- Watch for combo finishers, which are frequently unblockable
- Well-timed parries interrupt his attack chains completely
Scripted knockdowns indicate you’re progressing through the fight. Victory concludes with a cutscene where Senua forms an unlikely alliance with the wounded slaver to free the remaining captives. Together, they set course for Freyslaug.
Comments (0)
Sign In / Sign Up
Sign in with your Google account to leave a comment. It's fast, easy, and secure.
No comments yet
Be the first one to share your thoughts!