
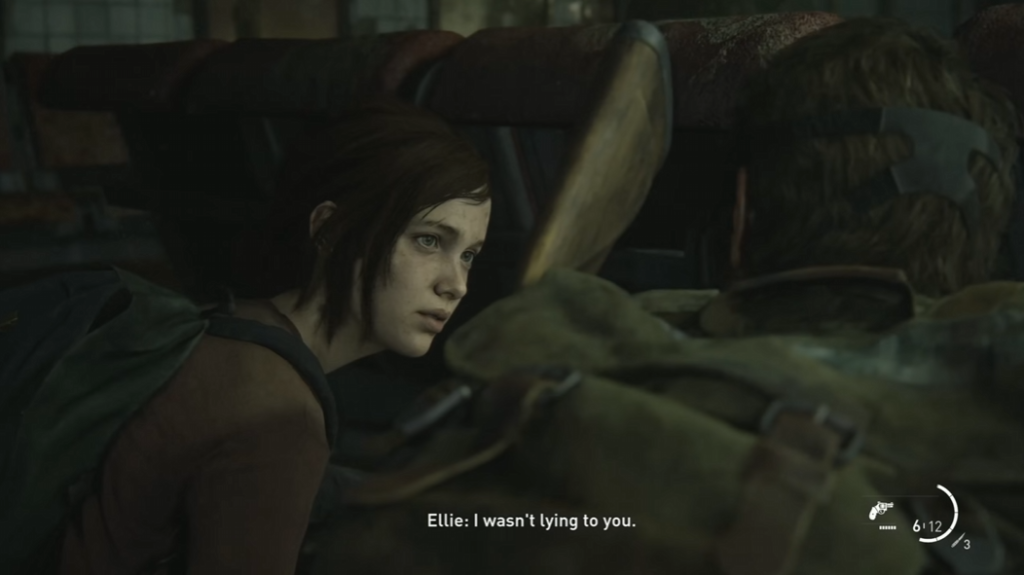
Outskirts is the chapter where Joel and Ellie escort mission begins after leaving the quarantine zone. The military discovers Ellie’s immunity, Joel and Tess escape through infected buildings, and Tess sacrifices herself at the Capitol after becoming infected. The chapter ends with Joel and Ellie escaping through flooded metro tunnels.
| Objective | Trigger to Complete | Next Location |
|---|---|---|
| Wait for nightfall | Rest in building until Tess arrives | Underground passage |
| Cross military checkpoint | Soldiers scan for infection | Military pursuit begins |
| Escape military patrols | Reach canal and sewer exit | Goldstone Building |
| Navigate Goldstone Building | Survive Clicker encounters | Metro station |
| Clear metro station infected | Defeat 8 infected, access safe | Museum entrance |
| Find alternate route in museum | Reach rooftop after separation | Capitol Building |
| Reach Capitol and escape soldiers | Tess dies, eliminate soldiers | Flooded metro tunnels |
How to Reach the Underground Passage?
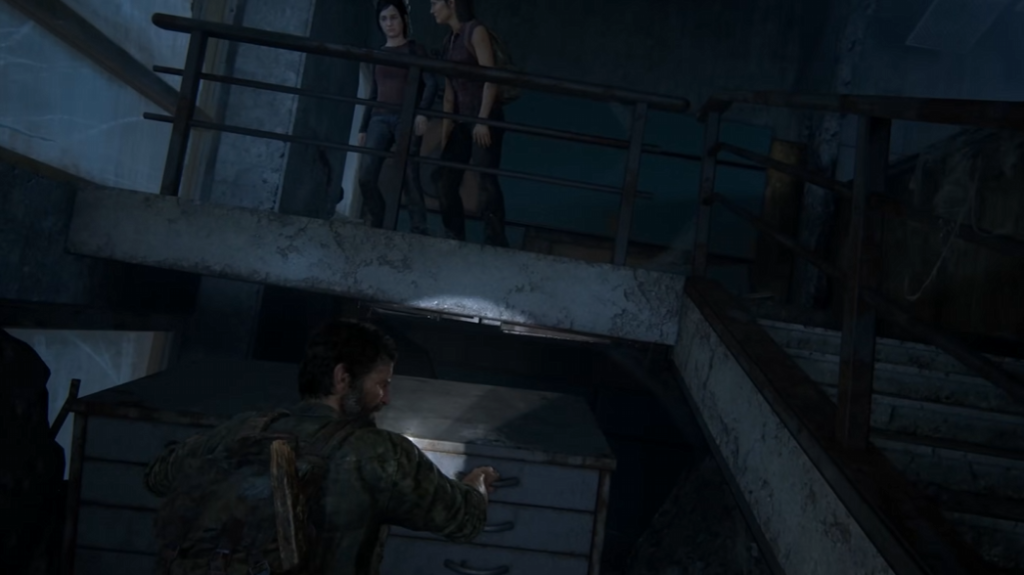
Joel and Ellie descend stairs on the right side of the street to go underground. Move through the alley, grab the crate ahead, and drag it under the staircase to climb up. Enter the building and rest in the far room to wait for nightfall. Tess catches up after dark.
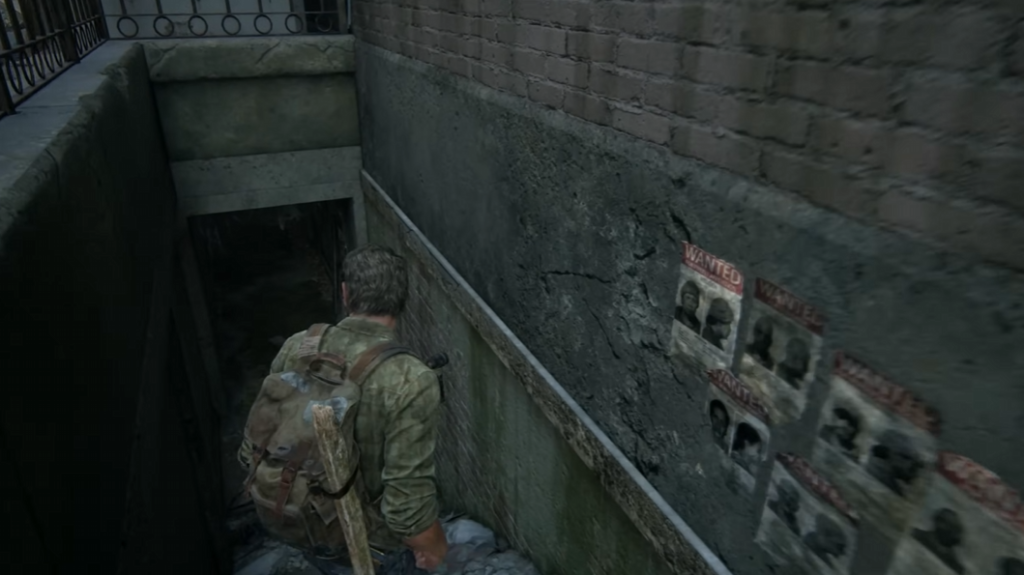
- Go down the right staircase from street level.
- Walk through the alley.
- Pick up the crate.
- Drag the crate under the staircase.
- Climb the staircase using the crate.
- Enter the building.
- Go to the far room to rest and wait for night.

Talk to Tess at the window after nightfall (optional dialogue 5). Enter the adjacent room and collect artifact 8 (note). Push the cabinet in the corner and enter the wall breach. Start the generator and take the elevator down.
| Item | Location | Purpose |
|---|---|---|
| Artifact 8 (note) | Adjacent room after nightfall | Story document |
| Artifact 9 (patrol map) | Elevator basement, right wall | Story document |
Collect artifact 9 (patrol map) on the right wall at the bottom. Climb the ladder and slide open the hatch. Walk through the drainage ditch on the street. Climb through the train car.
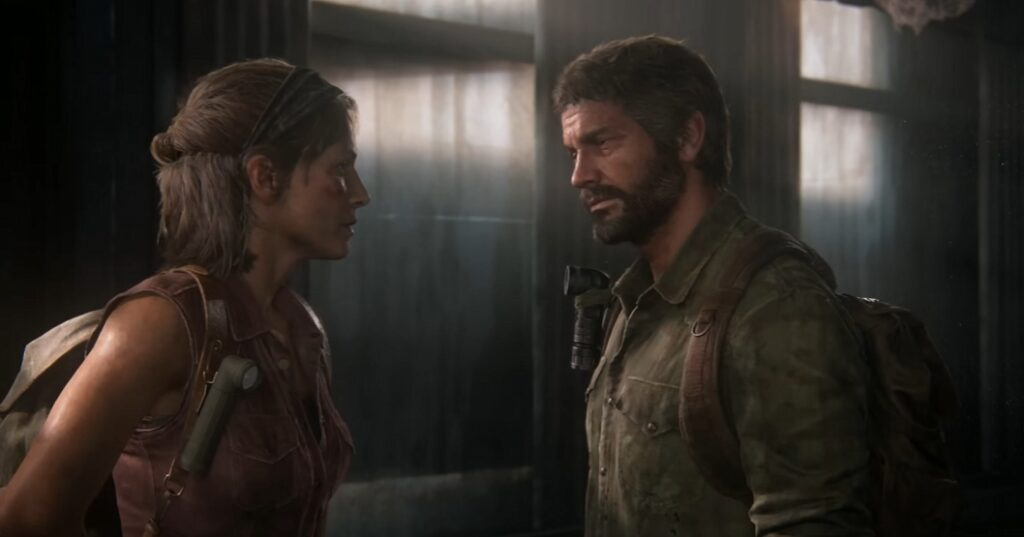
What Happens at the Military Scan?
Soldiers capture Joel, Tess, and Ellie and scan them for infection. Joel kills the soldiers in time, but Ellie’s infection is discovered. Ellie shows a bite mark from 3 weeks ago—she has not turned into infected despite all other infected mutating within 2 days. Ellie is immune to the infection.

Military alert triggers immediately after the scan. This reveals Ellie’s immunity and starts the escape sequence.
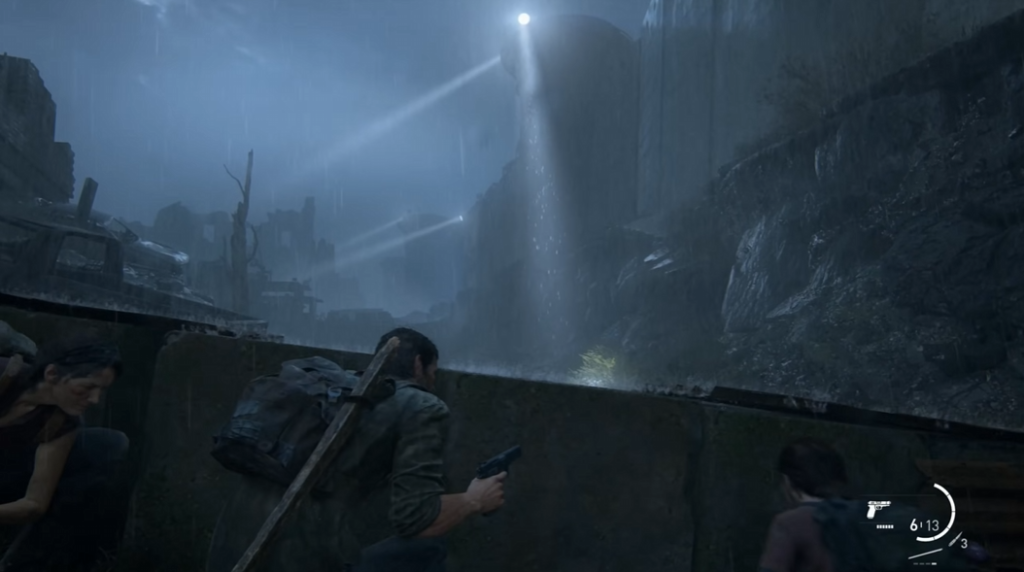
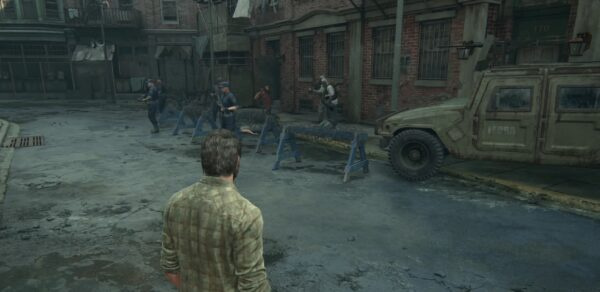
How to Escape the Military Patrol?
Military forces pursue Joel’s group after discovering Ellie’s immunity. Use cover, darkness, and stealth to evade patrols with searchlights and reach the sewer exit.
- Run after Tess, hide behind cars.
- Move left through the drainage ditch.
- Hide behind the metal sheet when searchlights sweep the area.
- Wait for soldiers with flashlights on elevated positions to turn away.
- Sprint through when soldiers face away.
- Enter the building and turn the chain mechanism.
- Crawl under the gate.
| Area | Enemies | Strategy |
|---|---|---|
| Street with cars | Soldiers with searchlights above | Hide behind cars, wait for lights to turn |
| Drainage ditch | Patrolling soldiers | Use metal sheet for cover |
| Building with gate | 0 enemies inside | Turn chain, crawl under gate |
Run right past the tank on the street. Wait inside the building for the nearest soldier, eliminate in melee combat. Two more soldiers are outside—shoot them from distance. Move forward and descend into the water canal.
Inside the next building, soldiers are heard but leave before contact. Collect parts from the corner table, ingredients and ammunition from lockers. Enter the sewer pipe. Break open the grated door to exit the military zone.
| Item | Location | Purpose |
|---|---|---|
| Parts | Corner table in building | Weapon upgrade materials |
| Ingredients | Lockers in building | Crafting materials |
| Ammunition | Lockers in building | Weapon reloads |
How to Navigate Goldstone Building?
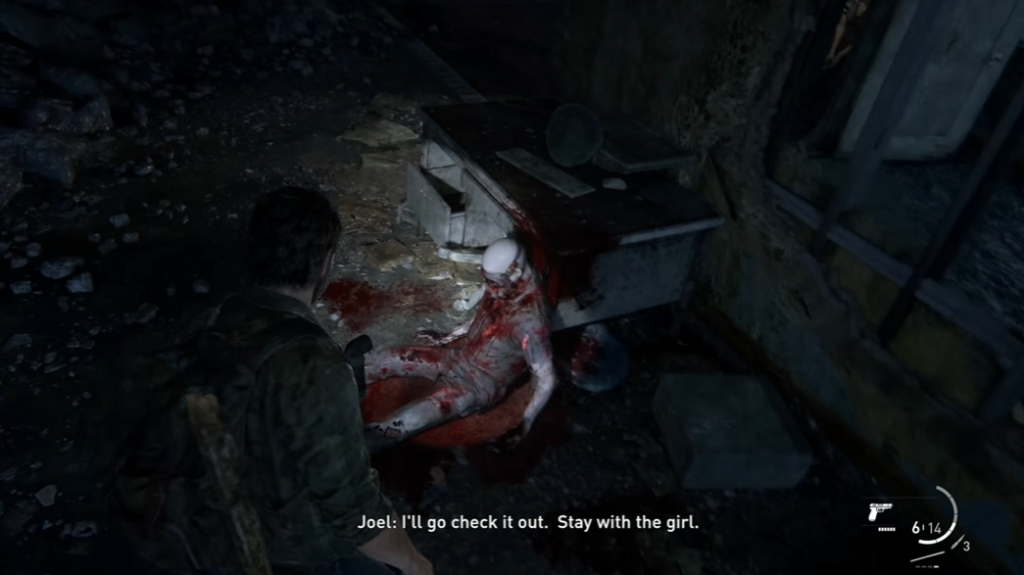
Goldstone Building is a ruined structure infested with Clickers, blind infected that navigate by echolocation. Joel’s group encounters the first Clicker corpse here and learns Clickers detect prey by sound only.
Cross the bridge in the ruined city, stay on the right side. Collect artifact 10 (flyer) near the car on the right. At the “Goldstone Building” sign, inspect the tree on the right and shoot down Firefly pendant (collectible 4).
Enter the building and examine the body between two doors (optional dialogue 6). Collect artifact 11 (note) on the staircase landing. Find parts in the dead-end at the highest landing.
| Item | Location | Purpose |
|---|---|---|
| Artifact 10 (flyer) | Right side near car before building | Story document |
| Firefly pendant 4 | Tree right of Goldstone Building sign | Collectible |
| Artifact 11 (note) | Staircase landing inside building | Story document |
| Parts | Top landing dead-end | Weapon upgrade materials |
On the upper floor, examine the dead Clicker monster. Learn that Clickers are blind and rely only on sound to detect targets. Remove the body and break down the door. Collect ingredients from the table in the room. Kick down the next door with Tess. A Clicker attacks—Tess shoots it.
Use the shiv to unlock the door on the right (shiv door 1). Enter the kitchen and collect ingredients from cabinets. Craft a health kit from gathered resources before continuing. Boost Tess and Ellie up at the wall with the hanging body.
How to Clear the Upper Floors of Goldstone Building?
After climbing up, immediately hide from the Clicker. Throw an object to distract, run left, then climb higher on the right side. A health kit is available at the top.
- Climb to upper floor with companions.
- Crouch immediately when Clicker is nearby.
- Throw a brick or bottle to distract the Clicker.
- Sprint left while Clicker investigates the sound.
- Climb the structure on the right side.
- Collect the health kit at the top.
- Pull the dresser toward yourself near the staircase.
- Climb over the dresser.
- Exit through the window onto the suspended construction platform.
- Walk around the corner on the platform.
- Re-enter the building through the next window.
| Area | Enemies | Loot |
|---|---|---|
| Upper floor first room | 1 Clicker (distract and avoid) | Health kit at top of climb |
| Dresser area | 0 enemies | — |
| Construction platform | 0 enemies | — |
Collect the revolver from the dead body ahead. Find a pipe piece in the room on the right. Drop to the floor below and silently eliminate the first infected. Distract the second enemy by throwing an object, then attack from behind. A Clicker patrols farther ahead. Two health kits are in the left room. The third and fourth enemies are at the slanted ladder ahead. After clearing all enemies, push the dresser at the top and exit through the doors.
| Area | Enemies | Strategy |
|---|---|---|
| Floor below construction entrance | 2 infected runners | Stealth kill, use distractions |
| Corridor ahead | 1 Clicker | Avoid or stealth kill |
| Slanted ladder area | 2 infected runners | Stealth kill both |
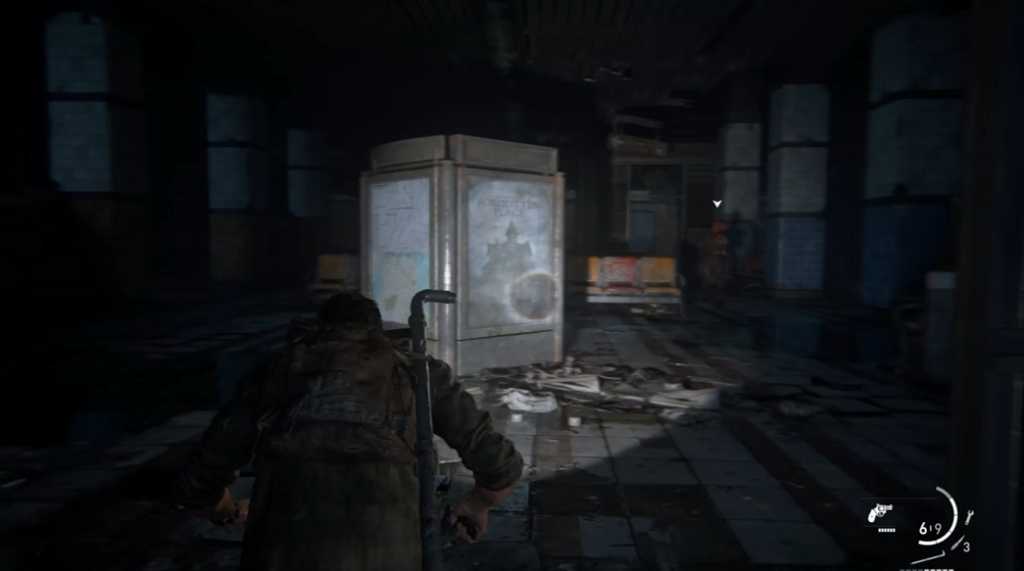
How to Navigate the Metro Station?
The metro station contains 8 infected enemies, including multiple Clickers. A safe with a code puzzle is located in the right shop, unlocked using a password found in the left shop.
Collect ingredients and a health kit, then descend the collapsed floors. On the metro platform, find ingredients on the left and a Molotov cocktail near the body ahead. At the blocked wide staircase, examine the body and collect artifact 12 (map).
| Item | Location | Purpose |
|---|---|---|
| Ingredients | Left side of platform | Crafting materials |
| Molotov cocktail | Near body on platform | Area damage weapon |
| Artifact 12 (map) | Body on blocked staircase | Story document |
Eight infected patrol the station beyond the debris:
| Enemy Position | Enemy Type | Location |
|---|---|---|
| 1st | Infected runner | Center of platform |
| 2nd | Infected runner | Left side |
| 3rd | Clicker | Patrols forward area |
| 4th | Clicker | Right path |
| 5th | Clicker | Right path |
| 6th | Infected runner | Near storage lockers |
| 7th | Clicker | Station exit |
| 8th | Clicker | Station exit |
Lure all Clickers to one location by throwing a bottle, then throw the Molotov cocktail at the group for an instant kill.
Enter the left shop, open the desk drawer behind the counter, and collect artifact 13 (note with password). Go to the shop on the right side of the hall. Behind the counter is safe 1—enter code 03-43-78 to unlock 50 parts inside. Boost Tess near the grated door so she can pull down the hanging ladder. Climb up and exit to the surface.
| Location | Interactive Element | Reward |
|---|---|---|
| Left shop desk drawer | Artifact 13 (password note) | Safe code: 03-43-78 |
| Right shop counter | Safe 1 | 50 parts |
| Grated door area | Ladder (Tess lowers it) | Exit to surface |
How to Get Through the Museum?
A shipping container blocks the path at the museum. Clear two infected inside the building on the left, push out a dresser, use it to climb the container, open the gate, then upgrade weapons at the first workbench.
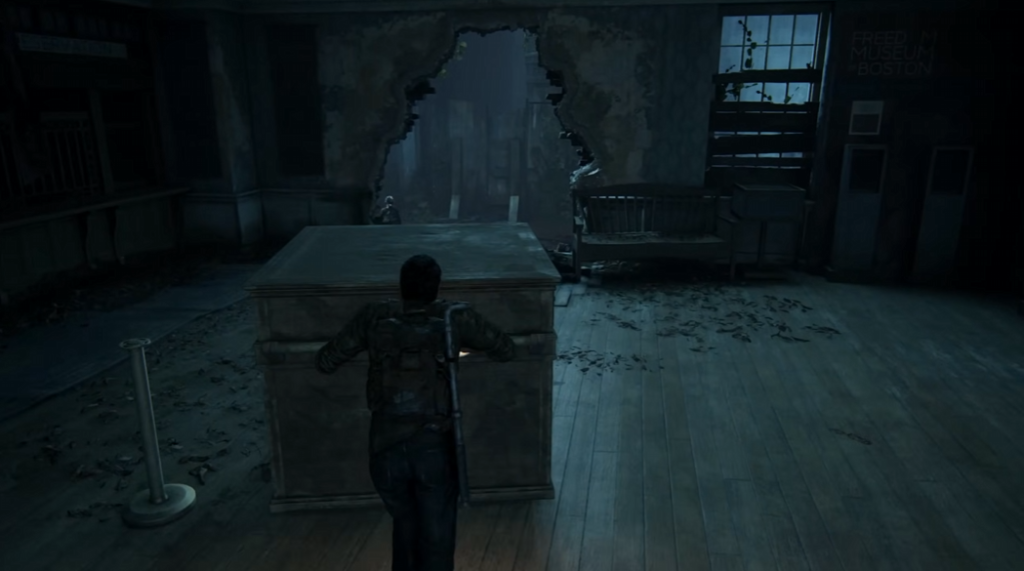
Two infected runners are inside the left building. Collect ingredients from furniture. Push the dresser out of the building onto the street, position it against the container, and climb up. Artifact 14 (note) is inside the container. Turn the chain mechanism to open the gate. Infected chase Joel’s group—run through the gate immediately.
Inside the building, find workbench 1 where weapons can be upgraded using collected parts. Ingredients and pills are in the dead-end on the right rear. Ammunition is in the next room.
| Item | Location | Purpose |
|---|---|---|
| Artifact 14 (note) | Inside container | Story document |
| Workbench 1 | Building after gate | Weapon upgrades |
| Ingredients and pills | Right rear dead-end | Crafting and health |
| Ammunition | Next room after workbench | Weapon reloads |
Climb to the second floor near the busts and bell. Walk along the left wall ledge backward, collect Firefly pendant 5 from the broken display case. Gather ingredients. Lift the beam in the rubble to let Tess and Ellie through. After the collapse, Joel remains trapped in the room and must find an alternate route.
- Reach second floor near busts and bell.
- Walk backward along left wall ledge.
- Collect Firefly pendant 5 from broken display.
- Return to main area and lift beam.
- Let Tess and Ellie pass through.
- After collapse separates the group, find alternate path.
- Distract and eliminate the Clicker on the right.
- Use shiv to unlock door on left (shiv door 2).
- Unlock the double door.
- Climb the staircase.

| Floor | Enemies | Key Items |
|---|---|---|
| 2nd floor (main) | 0 enemies | Firefly pendant 5 |
| 2nd floor (after collapse) | 1 Clicker (right side) | Shiv door 2 (left) |
What Happens on the Third Floor of the Museum?
On the third floor, an infected pounds on doors ahead—kill it from behind. Help Tess and Ellie fight several infected in the room. Talk to Tess and Ellie before the window (optional dialogues 7 and 8). Two more infected are on the balcony. Grab the plank on the roof, carry it back, and place it between buildings as a bridge.
| Area | Enemies | Action Required |
|---|---|---|
| Hallway | 1 infected runner | Stealth kill from behind |
| Room with Tess and Ellie | 3-4 infected | Combat assist |
| Balcony | 2 infected | Eliminate before roof access |
| Roof | 0 enemies | Use plank as bridge |
How to Reach and Clear the Capitol Building?
Descend from the museum roof and travel through a swamp to the Capitol. Inside the Capitol, all Fireflies are already dead. Tess reveals her infection and sacrifices herself to delay soldiers while Joel and Ellie escape through the building.

Descend from the roof. At the bottom of the staircase, collect ammunition and artifact 15 (note). Push the dumpster into the corner with the grate, climb over it into the alley. Exit to the street near the Capitol. Cross the swamp. Find Firefly pendant 6 inside the circular gazebo on the left.
| Item | Location | Purpose |
|---|---|---|
| Ammunition | Under staircase at bottom | Weapon reloads |
| Artifact 15 (note) | Under staircase at bottom | Story document |
| Firefly pendant 6 | Circular gazebo left of Capitol | Collectible |
Inside the Capitol, all Firefly members are dead. Tess reveals she is infected and asks Joel to take Ellie to Tommy before she dies. Tess stays in the hall to hold off soldiers. Joel and Ellie proceed alone.
Collect ingredients from the table. Climb the staircases. From the second floor, witness Tess being killed by soldiers. Collect ingredients from behind the podium in the right room. Go through the wall breach, find the body near the column with the hunting rifle.
Three soldiers block the path ahead—shoot them with the hunting rifle. Move through blue rooms to the far office, collect pills from the desk. Descend the staircases. Five soldiers patrol the lower floor—use stealth to eliminate them one by one in side rooms. A health kit is at the exit, another health kit is in the room on the right.

| Floor | Enemies | Strategy |
|---|---|---|
| Upper floor (after Tess death) | 3 soldiers ahead | Use hunting rifle from distance |
| Lower floor | 5 soldiers | Stealth kills in side rooms |
| Item | Location | Purpose |
|---|---|---|
| Hunting rifle | Column near wall breach | Sniper weapon |
| Pills | Far office desk (blue rooms) | Health upgrade materials |
| Health kits | Exit area and right room | Health restoration |
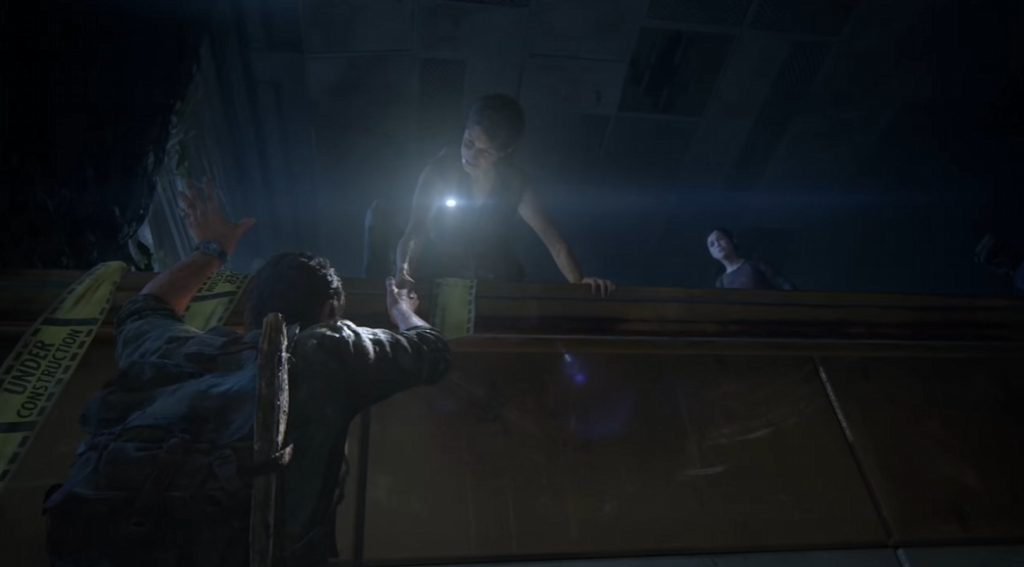
How to Escape Through the Flooded Metro?
After the Capitol, soldiers pursue Joel and Ellie into the metro tunnels. Navigate through train cars and flooded passages, collect the final collectible underwater, then use a wooden pallet to help Ellie reach a high platform where she lowers a ladder for escape.
Descend to the metro from the street. Soldiers begin pursuit. On the platform, hide and silently eliminate 2 enemies. Move through several train cars. Dive into the water and swim into the tunnel on the lower left.
Exit onto dry ground on the left. Read artifact 16 (note) near the body. Dive into the corridor here. Swim underwater toward the left wall to find Firefly pendant 7 submerged. Grab the wooden pallet ahead in the water and drag it to Ellie so she can sit on it. Push the raft to the high platform on the right. Ellie lowers the ladder. Climb to the surface.

| Area | Enemies | Key Actions |
|---|---|---|
| Metro platform | 2 soldiers | Stealth eliminations |
| Train cars | 0 enemies | Move through to water |
| Flooded tunnels | 0 enemies | Dive and swim |
| Underwater corridor | 0 enemies | Swim left wall for collectible |
| Item | Location | Purpose |
|---|---|---|
| Artifact 16 (note) | Dry floor left of dive point | Story document |
| Firefly pendant 7 | Underwater corridor, left wall | Collectible (final in chapter) |
| Wooden pallet | In water ahead | Transport Ellie to platform |


Comments (0)
Sign In / Sign Up
Sign in to leave a comment.
No comments yet
Be the first one to share your thoughts!