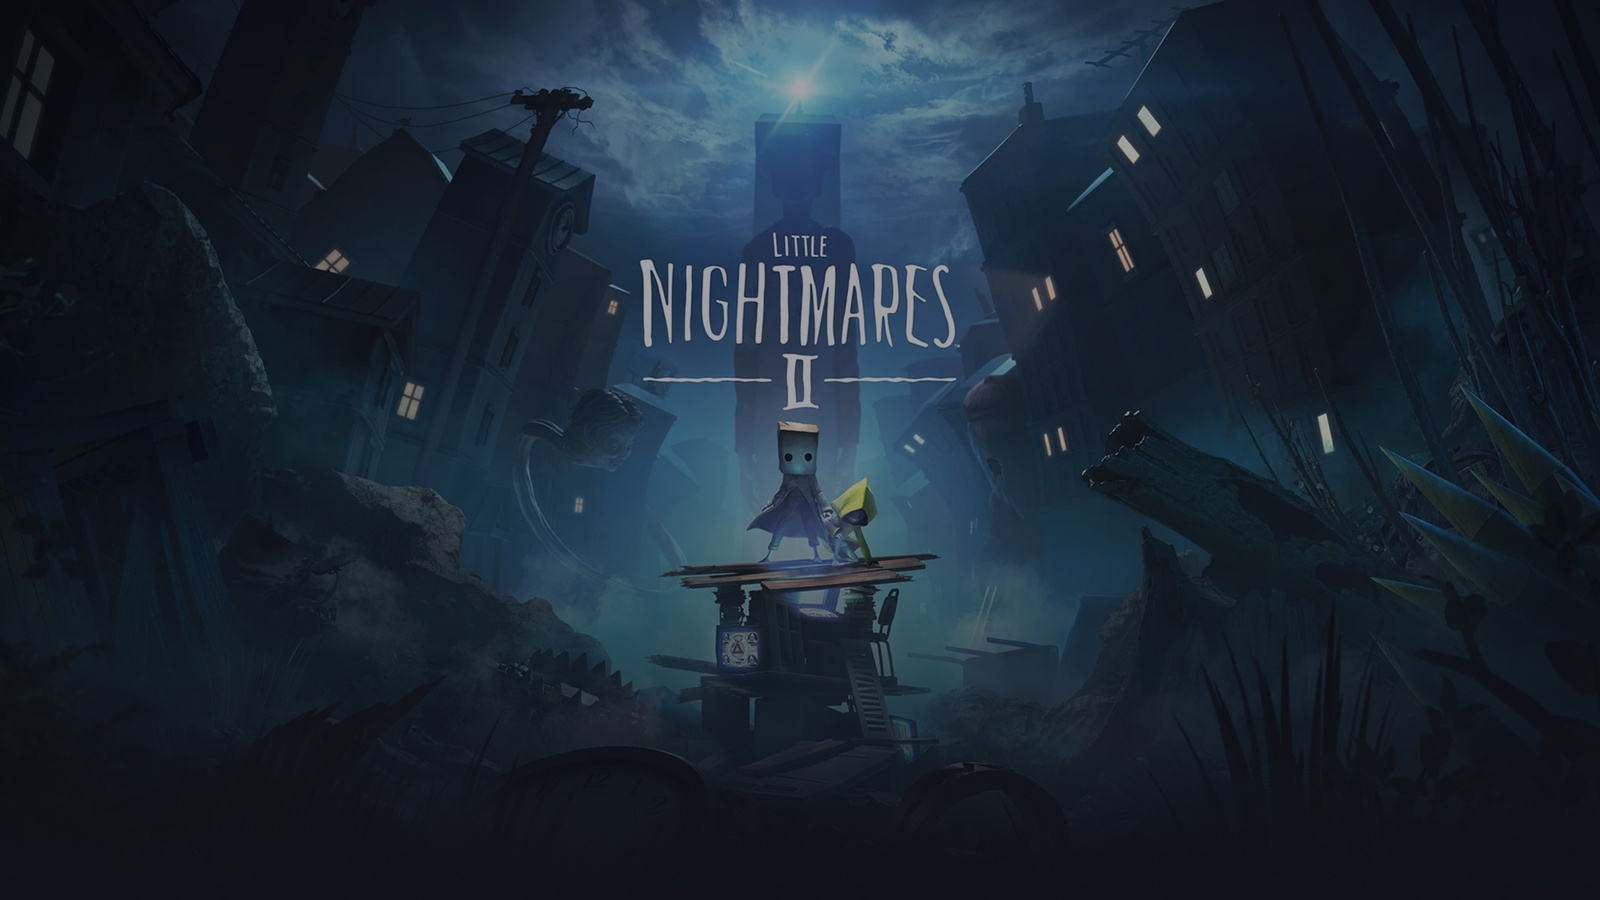
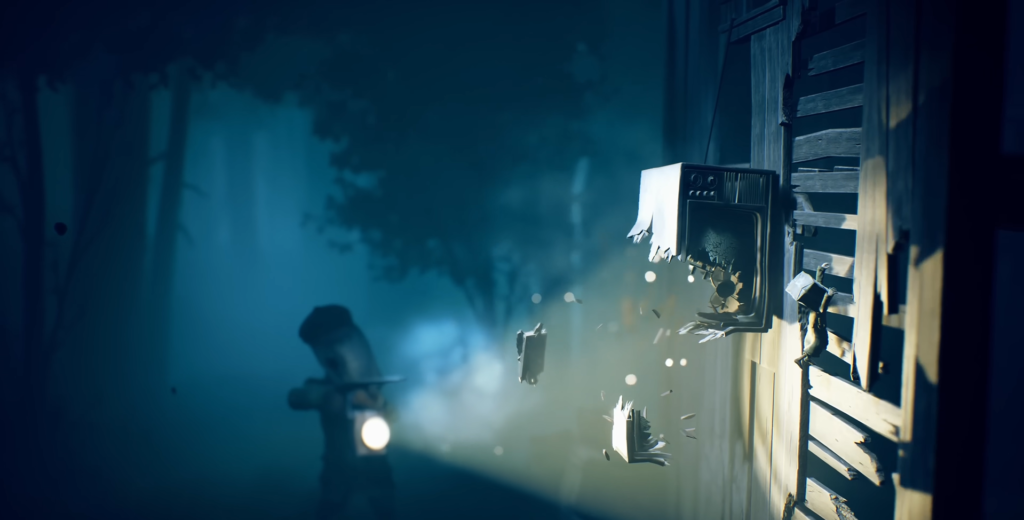
The first chapter of Little Nightmares 2 plunges the player into a dark forest long before they reach the Pale City. Mono, the main character, wakes up in front of a television set in the middle of the forest. Ahead of him lie deadly traps, an encounter with Six, and a confrontation with the dangerous Hunter. Below is a step-by-step guide to each section of this location.
First steps in the forest
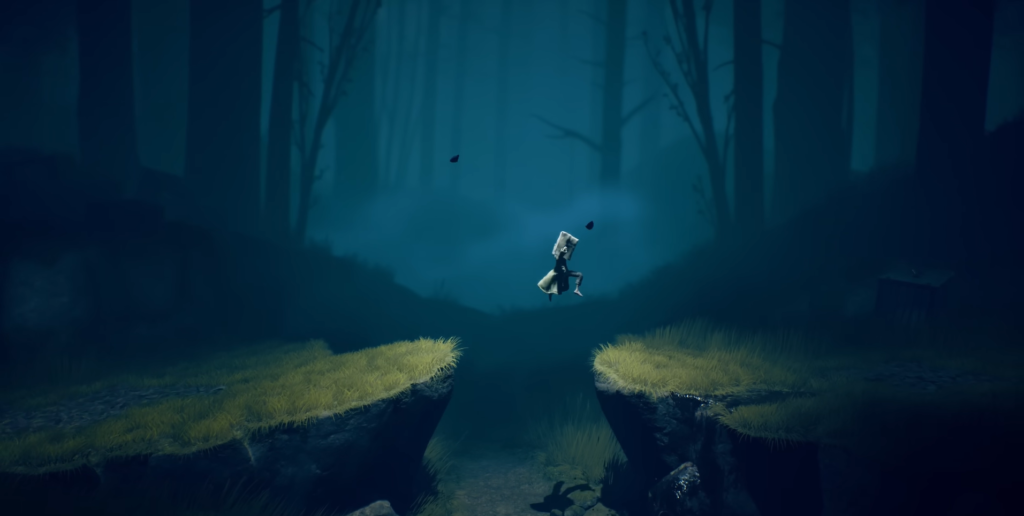
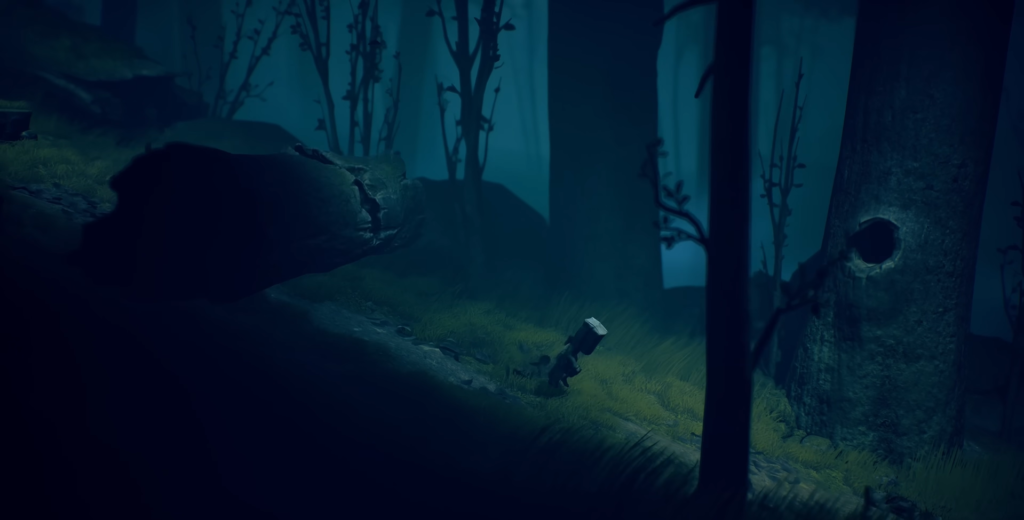
When you wake up, move to the right. You can cross the small gap in the ground with a normal jump. Continue walking until you reach a large tree — there is a ventilation grate at its base. Lift it up and crawl inside to get to the other side of the trunk.
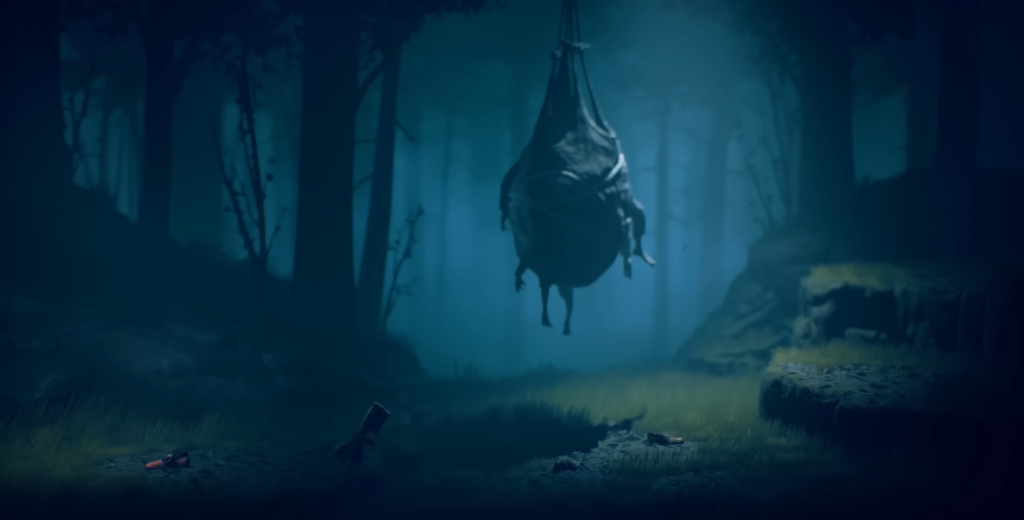
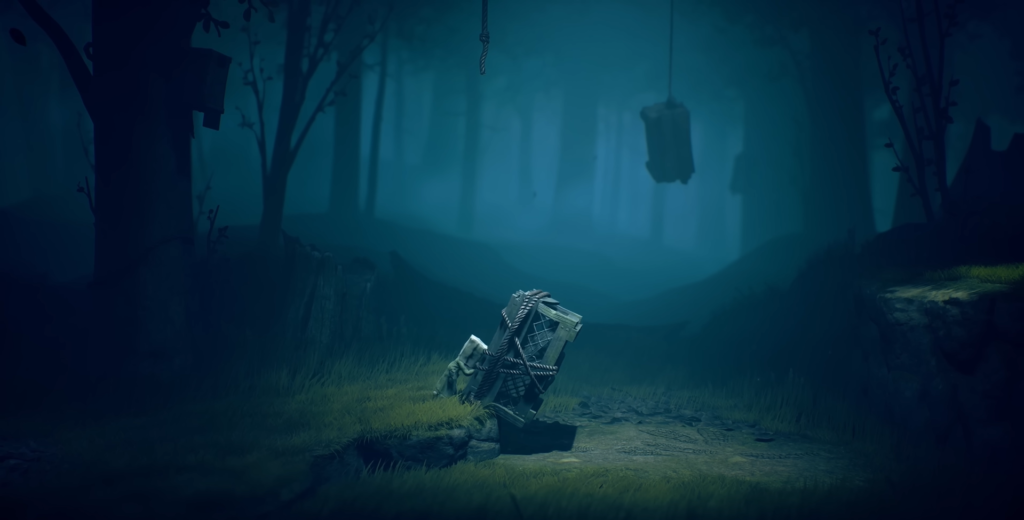
Behind the tree, you will see a bag with bodies hanging from a branch. Don’t linger and move on. After jumping off the log, a stretch will appear on the ground — jump over it or go around it. A little further on, there is a box: push it towards the cliff and use it as a step.
The next passage leads to a steep slope. Here, a log will roll down on you — immediately run down the hill until the trunk gets stuck between the trees.
Overcoming obstacles: loop, lift, bridge
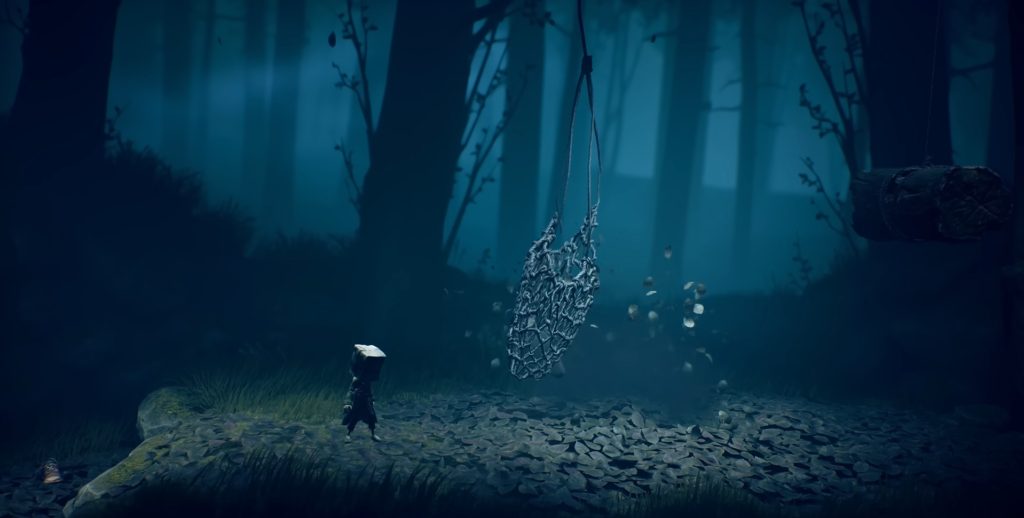
Loop. There is a loop hanging at the bottom of the hill. Underneath it lies a hollow tree trunk — crawl through it to the top, jump to the loop, swing and fly over to the other side.
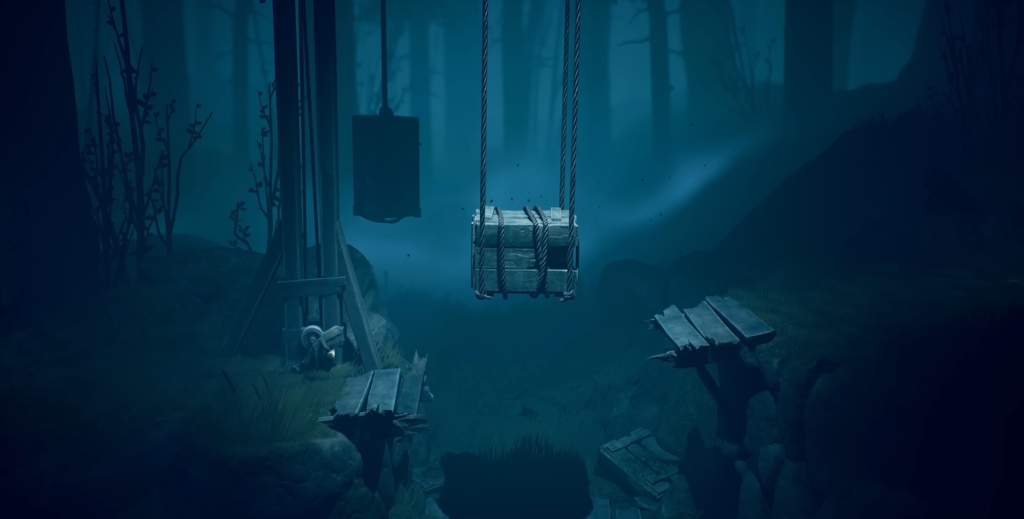
Lift with a box. Turn the lever until the top edge of the box is level with the boards. Then run to the box, grab it, climb up, and jump to the other side.
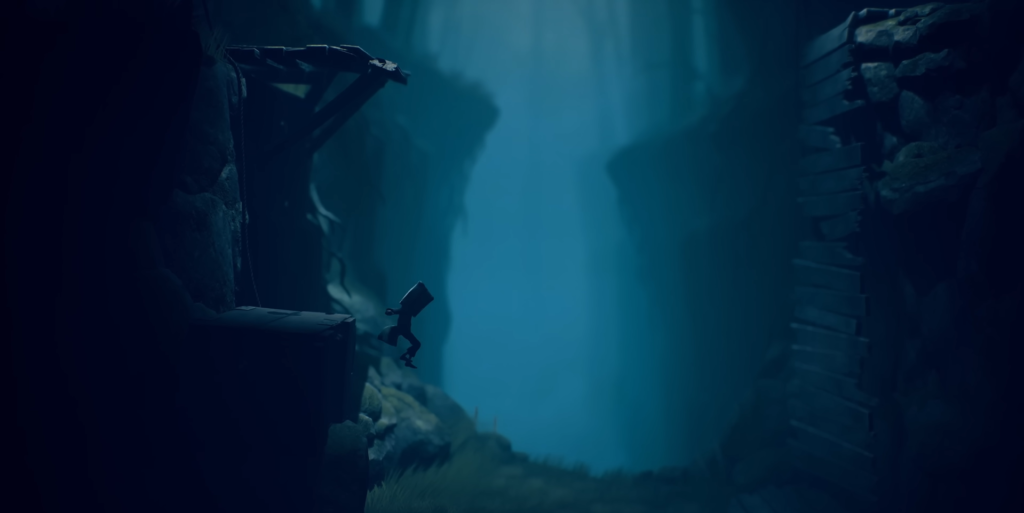
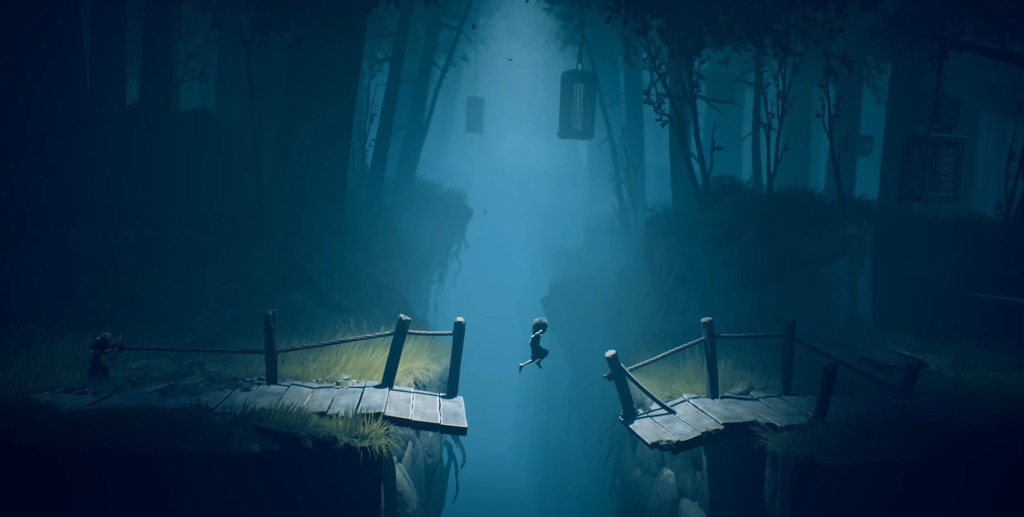
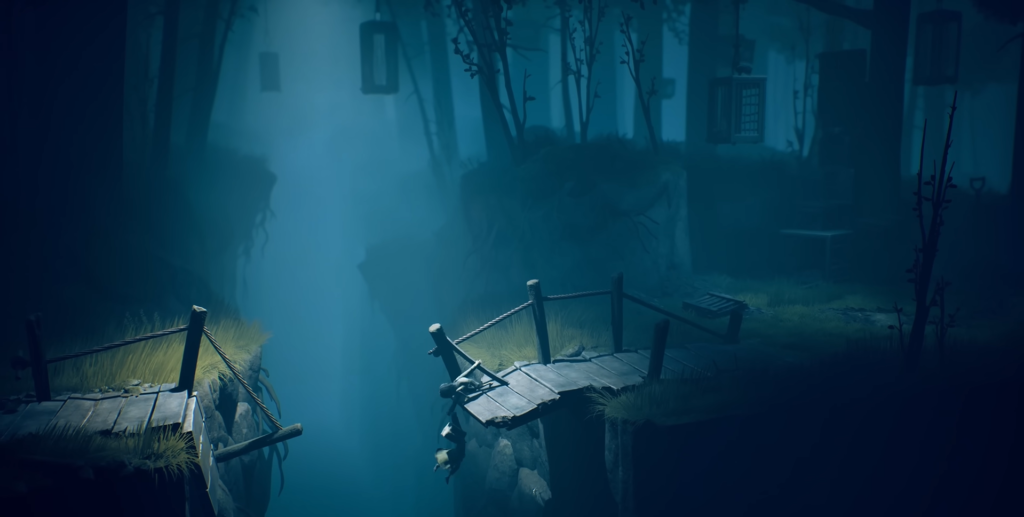
Destroyed bridge. Don’t try to run across — jump from the edge of the bridge onto the crate below, and from there onto the ground. To the right of where you land is a secret area with glowing remains. After exploring, return and climb up, grabbing the boards on the right side.
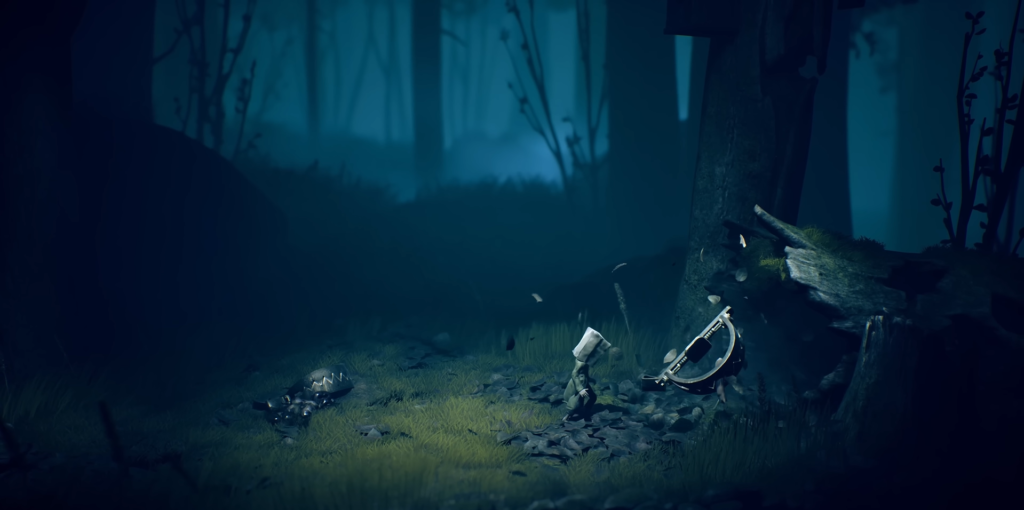
Trap Zone
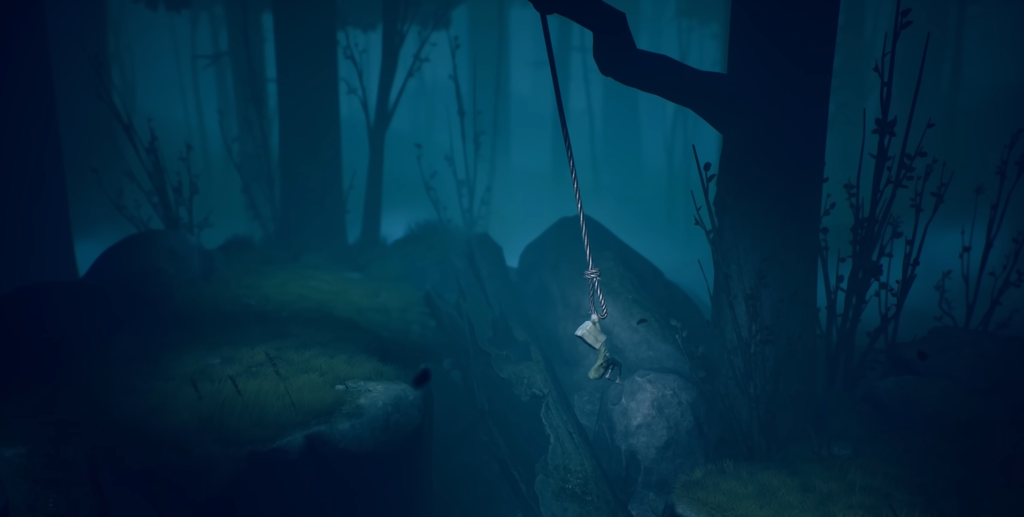
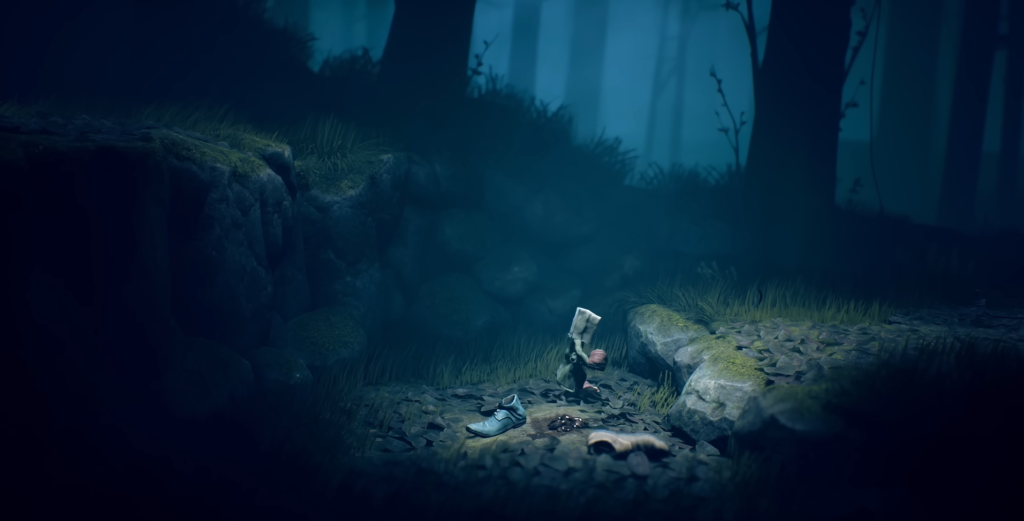
Once you descend, you will find yourself in an area littered with shoes. Pick up one boot—you will need it soon. There is a trap ahead: throw the boot into its center to activate the mechanism. The fallen log on the opposite side will serve as a ladder to climb up.
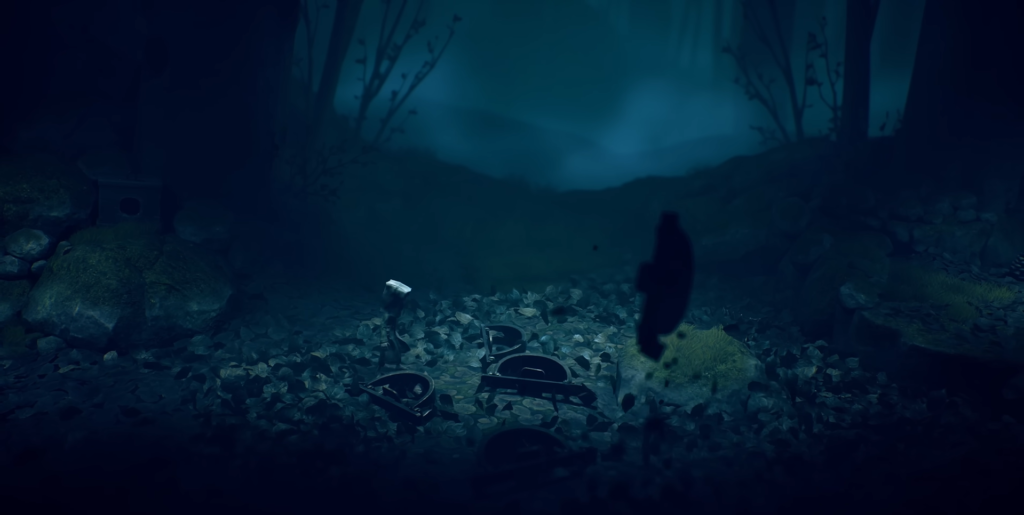
There are a few more traps in the next area. Carefully bypass them and get to the log with the stick stuck in it. Grab it and rock it back and forth until you pull it out. Use the stick to activate the trap in front of the hollow tree trunk, then crawl inside.
Tip: Once you’ve climbed out of the tree trunk, first look to the left under the log — there’s a secret area hidden there with glowing remains.
Pick up the stick at the bottom and start knocking down the leaves in front of you. There are traps hidden under the foliage, so hitting them with the stick will clear a safe path. Once you reach the rock, jump to the other side.
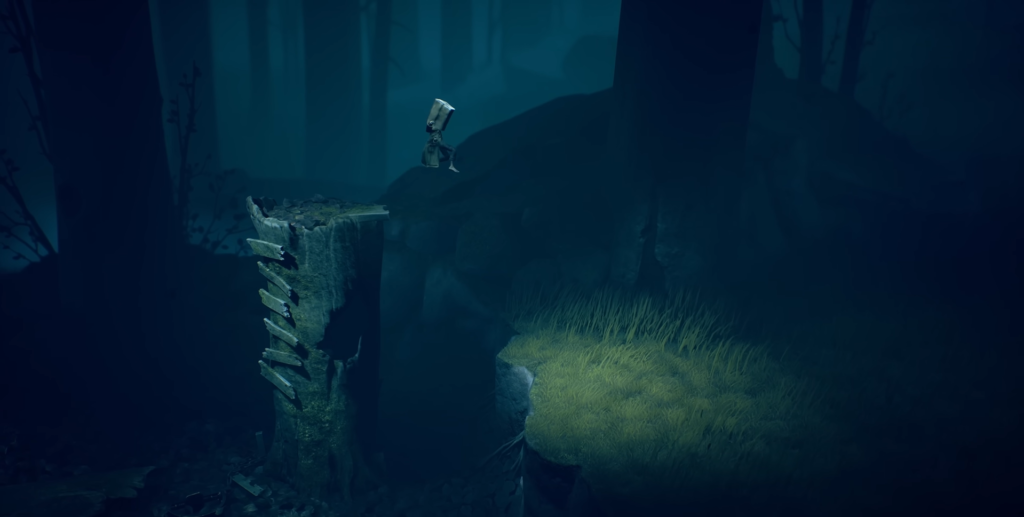
Bumps and the final sprint
Now you have pine cones at your disposal. Throw them at suspicious areas to disable traps. When you reach the stone ledge, climb the tree trunk to the boards on the opposite side. There is a trap beneath you, so proceed with caution.
Tip: You can return for additional cones and neutralize the remaining traps.
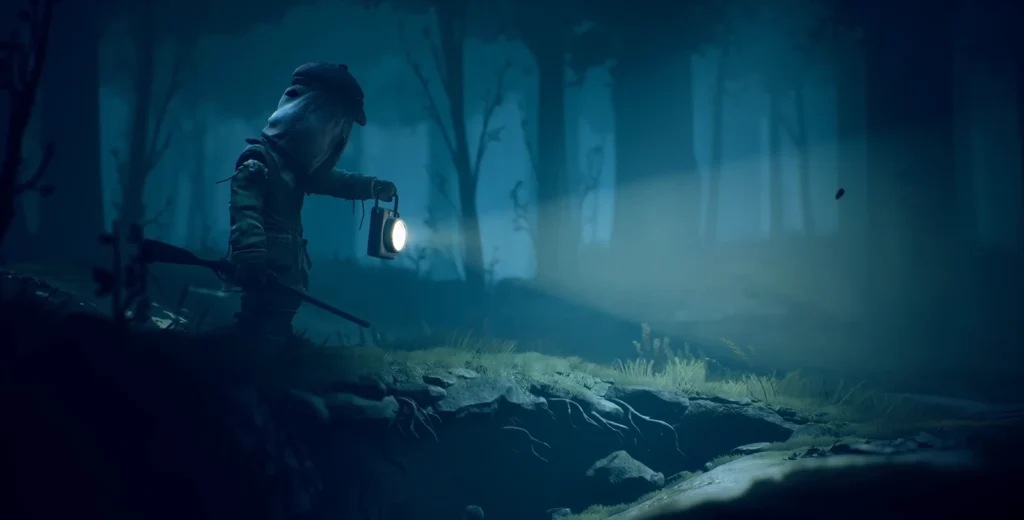
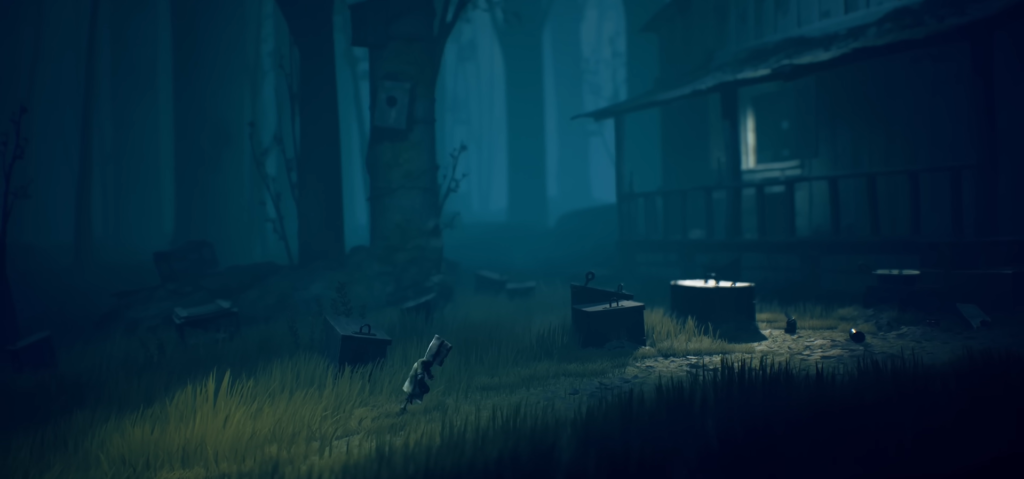
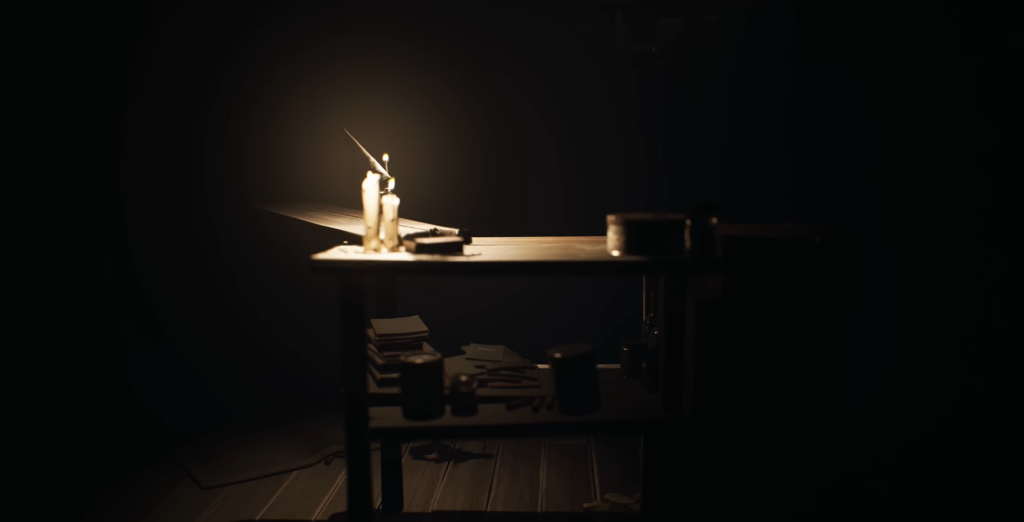
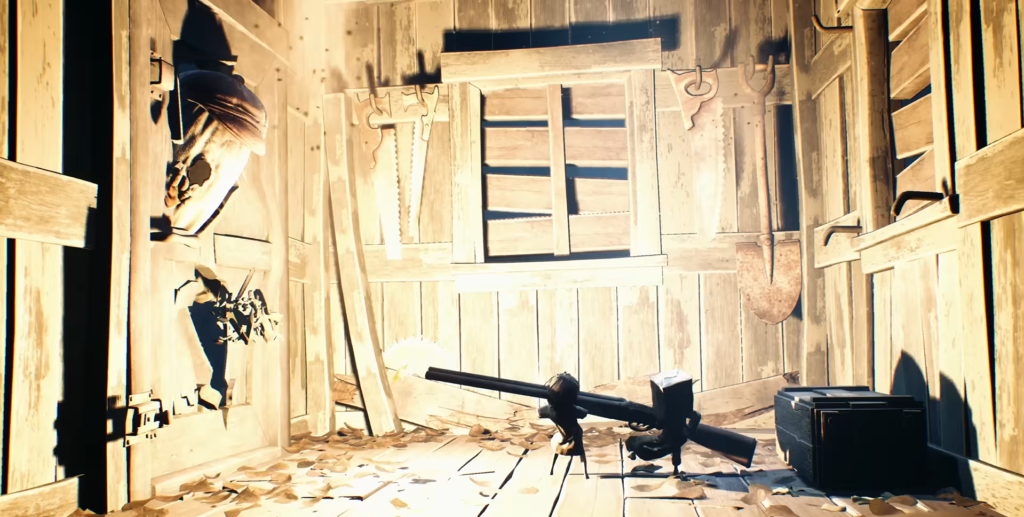
The Hunter’s House
Behind the traps is a house—the Hunter’s dwelling. The front door is locked, so go to the lit window, climb onto the box in front of it, and climb inside.
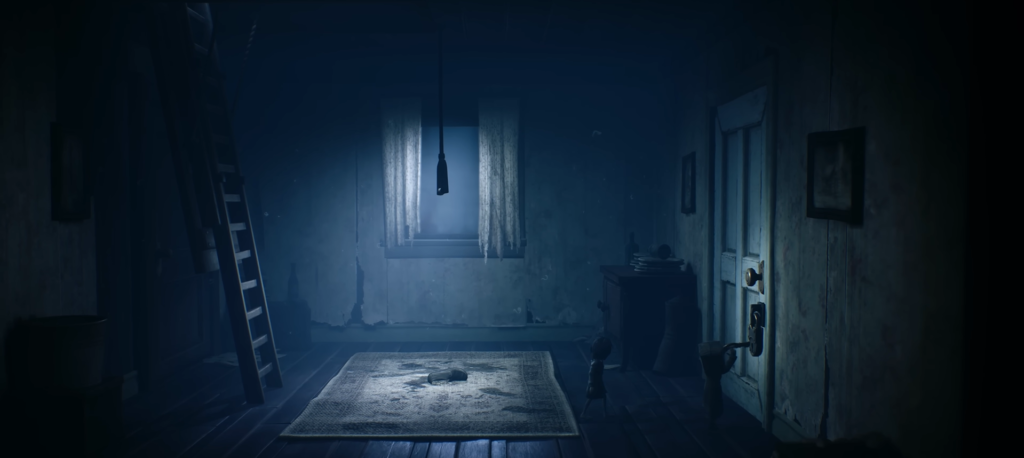
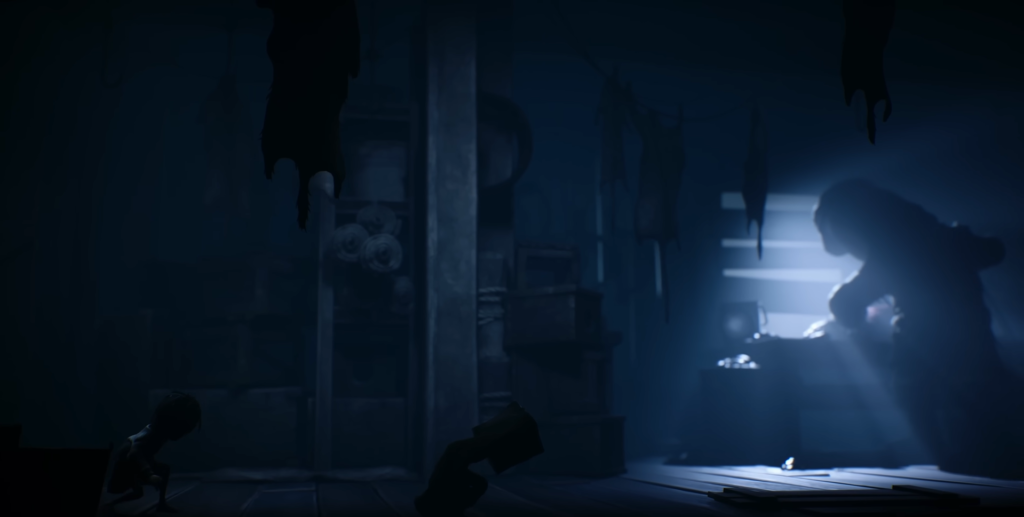
You will find yourself in the kitchen. Look around and go through the slightly open door opposite. In the corridor, don’t rush into the room directly in front of you — first turn left and look into the other room. There is a collectible hat on the floor. Pick it up, go back and enter the room with light coming from under the door.
Liberation of the Sixth
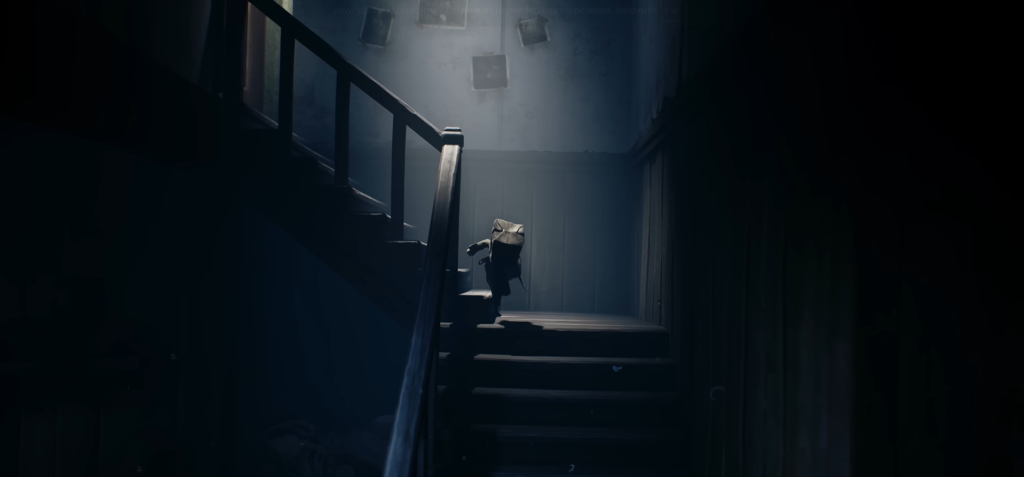
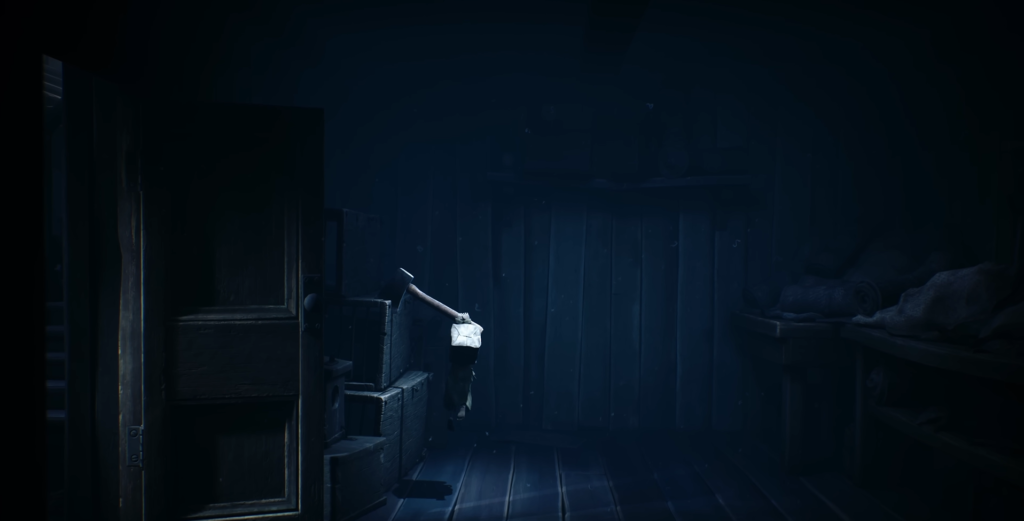
The stairs lead to the basement. To the left of the base of the steps is a door behind which a child is locked. This is the Sixth! To open the door, go to the opposite room. There is an axe stuck in the wall: jump up, grab it, and wiggle it to pull it out. Drag the axe to the door and chop it down.
The sixth one will run away — chase her up the stairs, through the hallway, and into the room opposite the one where you found the hat. You will find yourself in a dining room with creepy stuffed human figures at the table. They are harmless — just follow the sixth one.
Working together: the lever and the attic
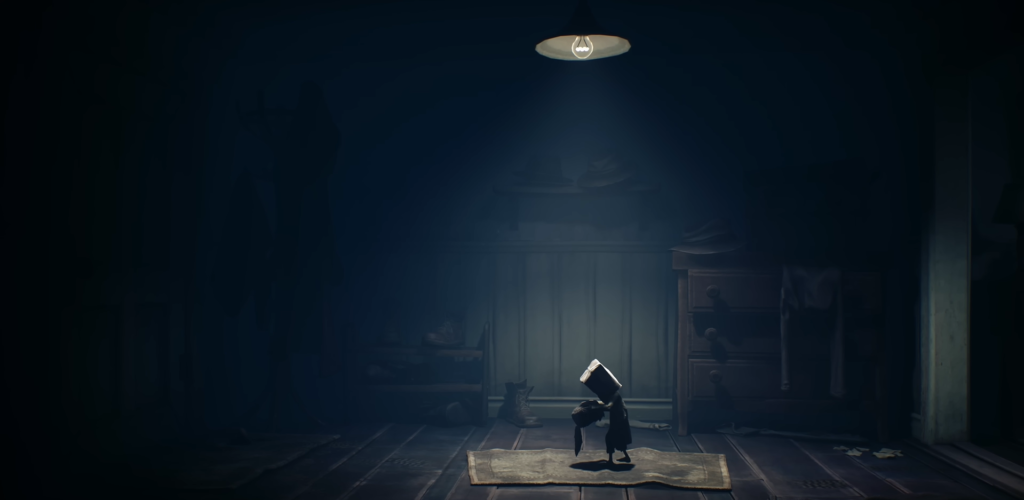
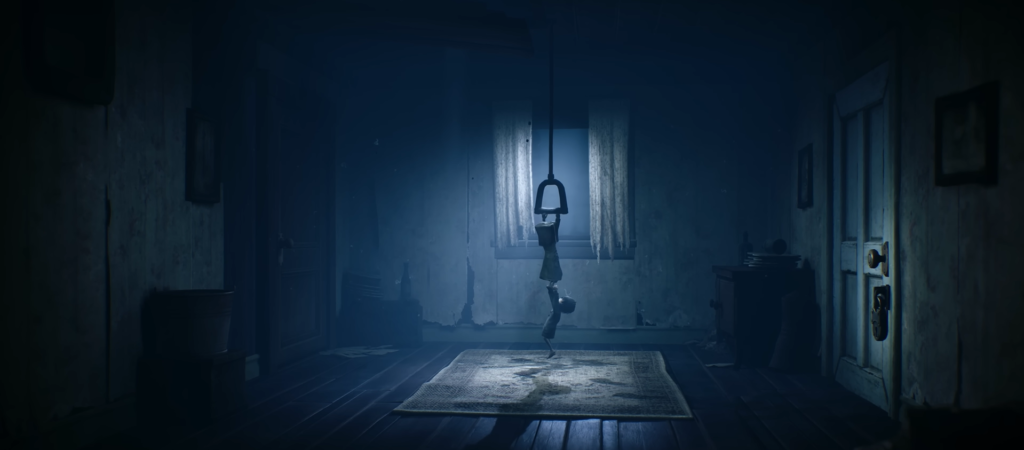
In the next room, there is a lever that neither Mono nor Sixth can reach on their own. Approach Sixth when she calls you—she will toss you up to the lever. Grab onto it, and she will pull you up by your feet. The ladder leading to the attic will fall down.
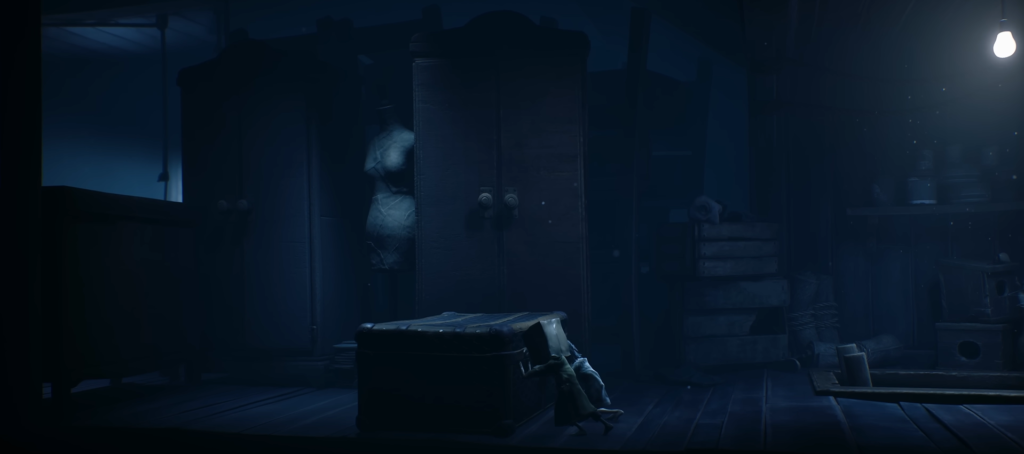
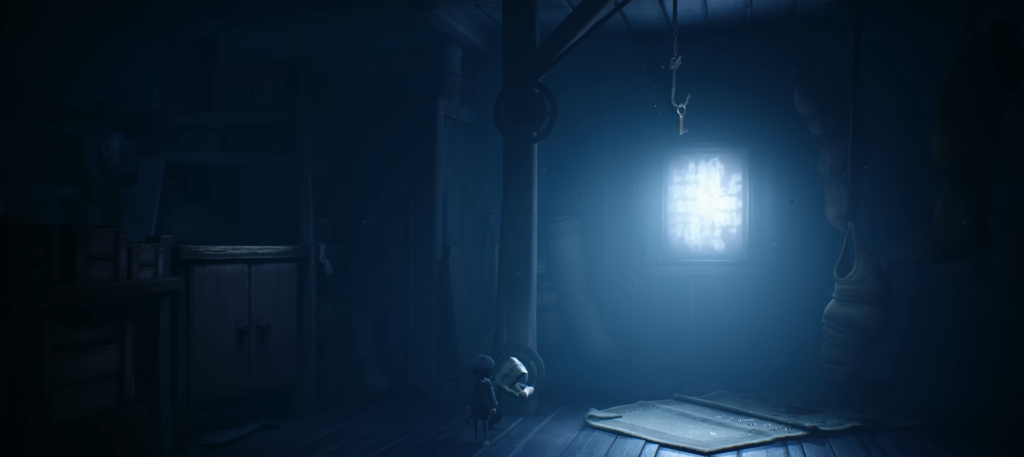
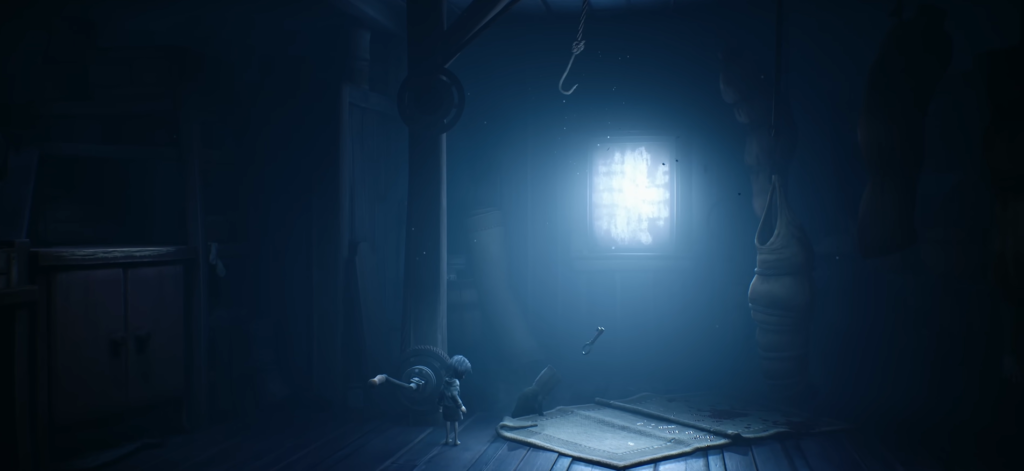
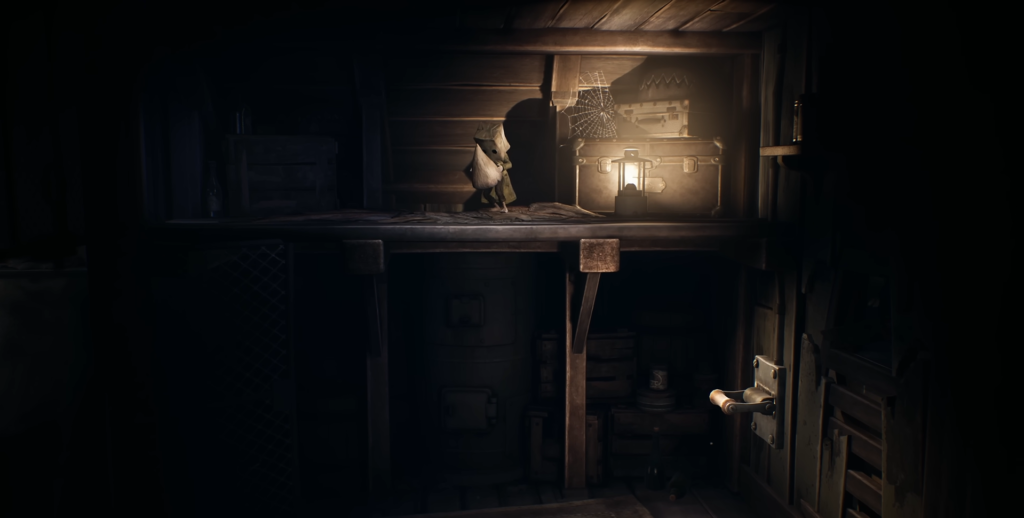
Attic: searching for the key
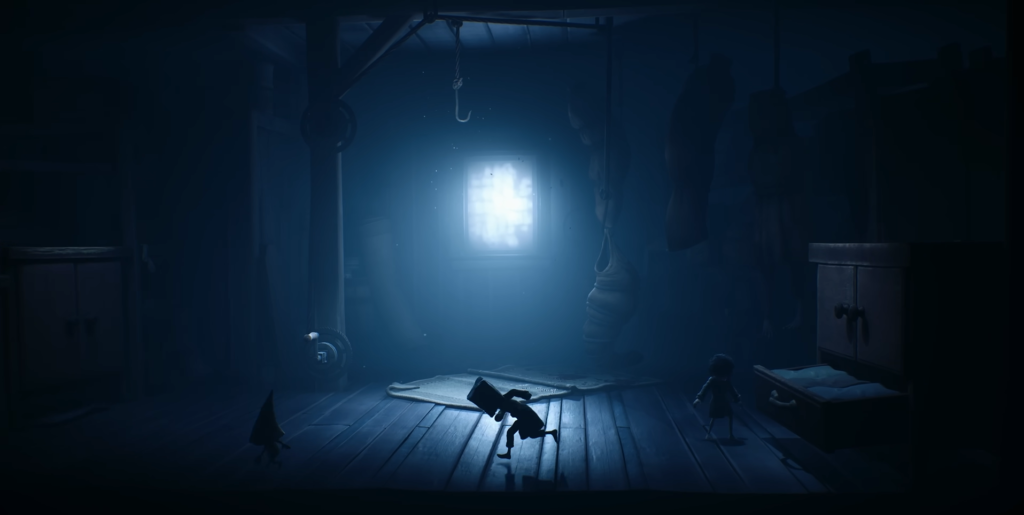
In the attic, you need to find the key to the door downstairs. First, move the suitcase to the chest of drawers and climb over it. The key is hanging in the center of the room, but to remove it, you need a handle, which is missing from the mechanism on the left.
Go to the small chest of drawers on the left — Sixth will help you get across. On the other side, climb down the board and crawl under the shelves. The handle is clamped in the hand of a female mannequin — pull it out and return to Sixth. She will insert the handle and start turning the mechanism.
Climb up the rope bag to the right of the key. Once you reach the top, jump towards the key, grab it, and swing until it falls.
DLC “Nomov’s Attic”: Nomov’s Hat
If you have the DLC from the first day edition installed, after the key drops, Nom will appear and run to the chest on the left. Steps:
Step
Action
1
Climb back over and find Noma climbing on the boxes opposite the scarecrow.
2
Follow him — he will hide in a suitcase. Open it.
3
Nom will run into the box on the right. Throw the boot from the floor into it.
4
Nom will hide in the box to the left of the suitcase. Open the box.
5
Nom will run to the chair. Climb onto the chair and jump onto the armrest.
6
Nom will move the painting on the floor, revealing an opening in the wall. Crawl through it.
In the dark room, Nom will light some candles. Move forward until you see a stack of boxes—drag them over to Nom. When he is on top of the boxes, push them forward. On the right is a gate, which Nom will open. Inside, pull the lever on the wall to turn on the light.
Go back out, pull out the drawer, jump on it, and climb up. Follow Nom’s route, but at a certain point, climb up to the candle on the shelf and continue on your way. Nom will crawl through a hole in the wall, leaving behind a collectible hat — pick it up and follow him.
Be careful: don’t jump too far — you could fall. Grab onto the panels in the wall and slowly climb down. At the bottom, jump to the opposite side to continue climbing down. At the base, pull the board away from the opening on the left and crawl through it to return to the attic to Sixth.
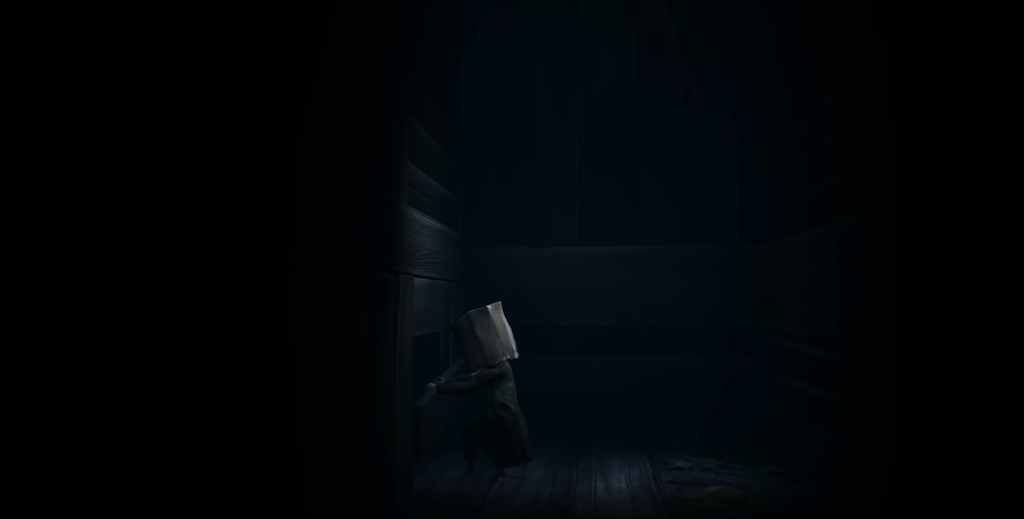
Escape from the Hunter
Go downstairs and unlock the door with the key—it leads outside. Don’t miss the toilet on the street: Sixth will push you to open the door, and inside you will find flickering remains.
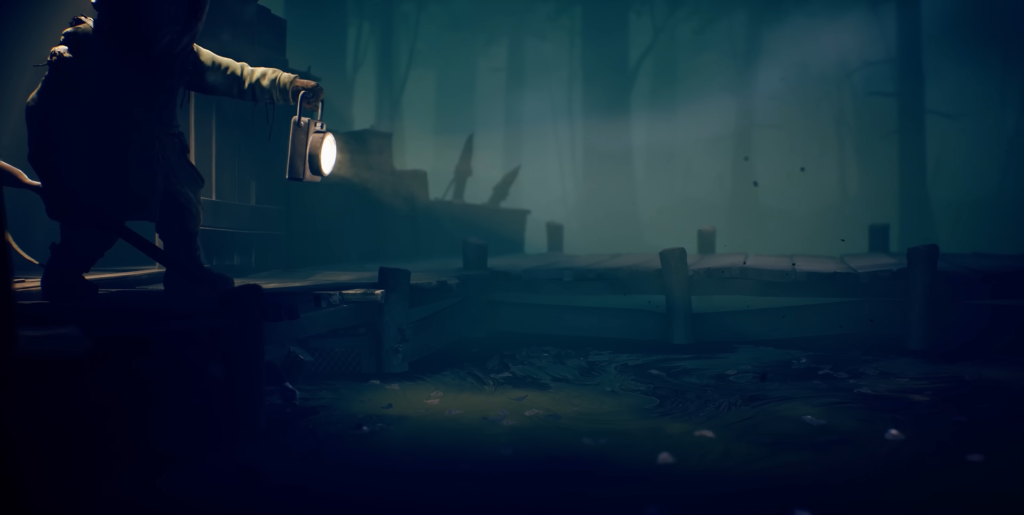
Next, go to the barn. Push the box toward the window—it will stop after a couple of pushes, so jump off it onto the window. Your first antagonist, the Hunter, is waiting for you outside the window.
The Barn and the Chase
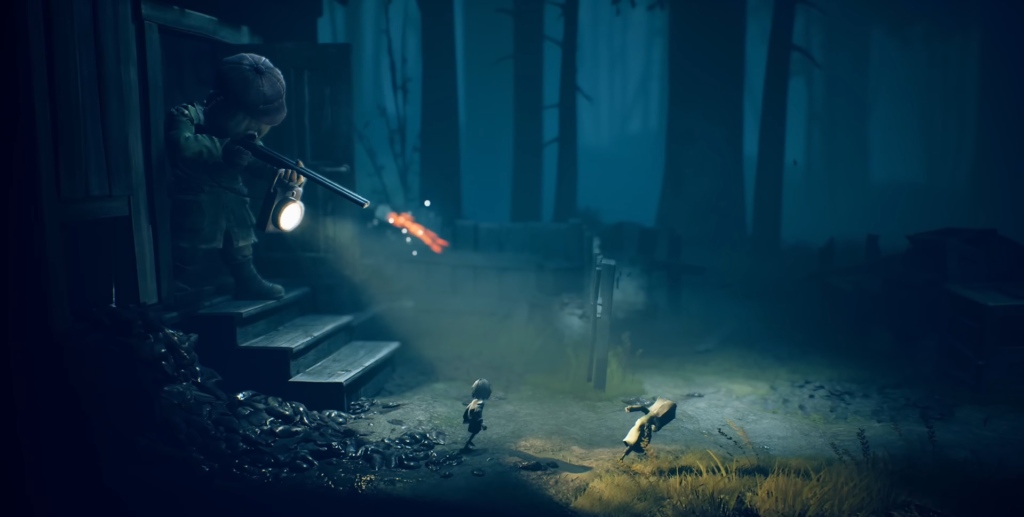
Make your way past the Hunter, avoiding the objects on the floor. At the exit, you will have to move a wooden plank, which will inevitably make noise and alert the Hunter. Be prepared to run.
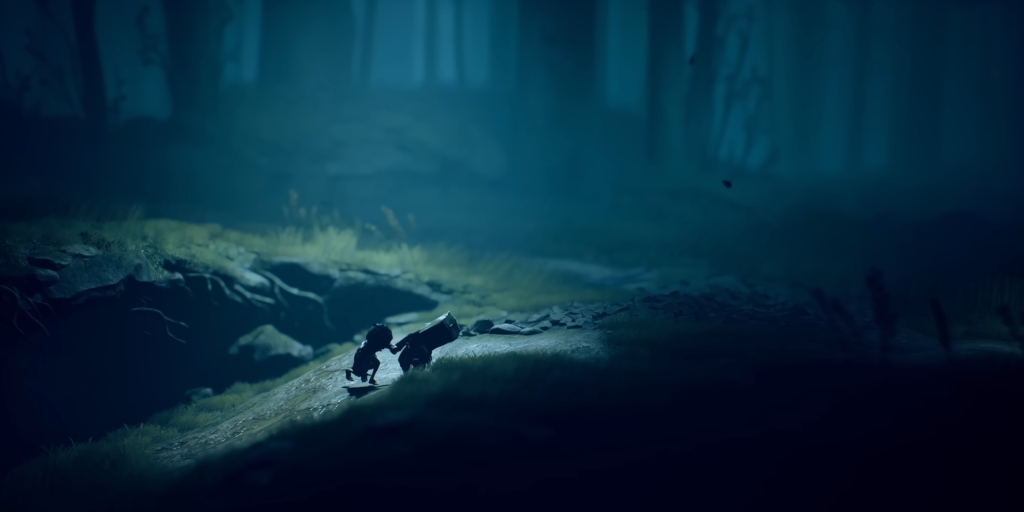
He will open fire with a shotgun. Hide behind the crates, running from one cover to another. At the cliff, jump down and rush left to the cover. When the Hunter starts to move away, the Sixth will reach out her hand—grab it to move together.
Tall grass and underground passage
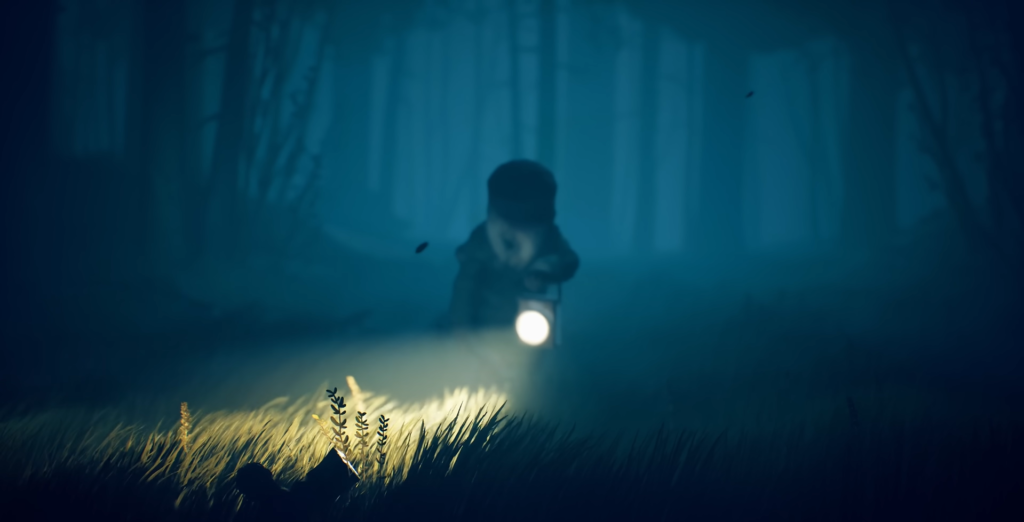
Enter the tall grass and crouch down. If the Hunter’s flashlight beam falls on you, freeze and don’t move until he turns it away. When you exit the grass, run as fast as you can to the opening at the base of the tree. Crawl inside, move right to the strip of light, and climb out.
Broken Bridge and Cages
At the destroyed bridge, pull on the end of the rope to lift the debris. The sixth will jump to the other side—call her, and she will come back closer. Jump to her and grab her hand.
On the other side, there are cages stacked on top of each other. Climb up, jump onto the cage in front of you, and start jumping on it until it falls. Inside, there is a collectible hat. Pick it up and return to Sixth.
The Final Chase and Battle
The hunter will reappear. Run to the building, climb to the top, and follow the Sixth through the window—you will slide down the canopy into the water. Hide under the pier and wait for him to leave.
Start swimming. At the next pier, dive under the board. Then swim to the stump, diving underwater every time the flashlight beam skims the surface. Once you reach the shelter, climb up and find the tree with the heart. Together with the Sixth, knock it down and use it as floating cover.
Jump back into the water and, using the barrel as cover, make your way to the planks on the shore. Ahead of you are crows, which will once again attract the Hunter’s attention. Run to the shed, take the shotgun off the wall, and use the Sixth Sense to aim it at the Hunter. Shoot.
Arrival in the Pale City
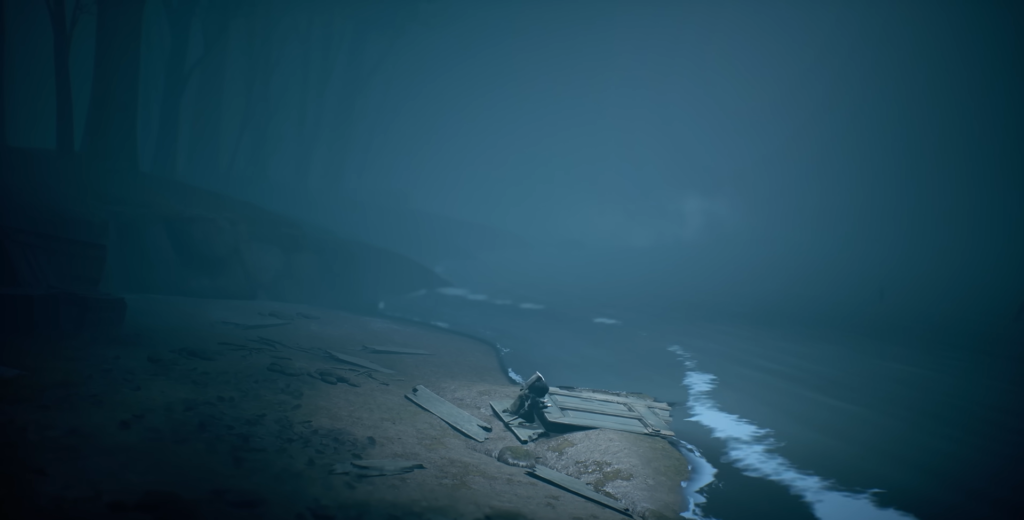
After the Hunter’s death, climb out through the window on the right. There is a broken door in the water — push it and use it as a bridge. You will find yourself on the beach of the Pale City.
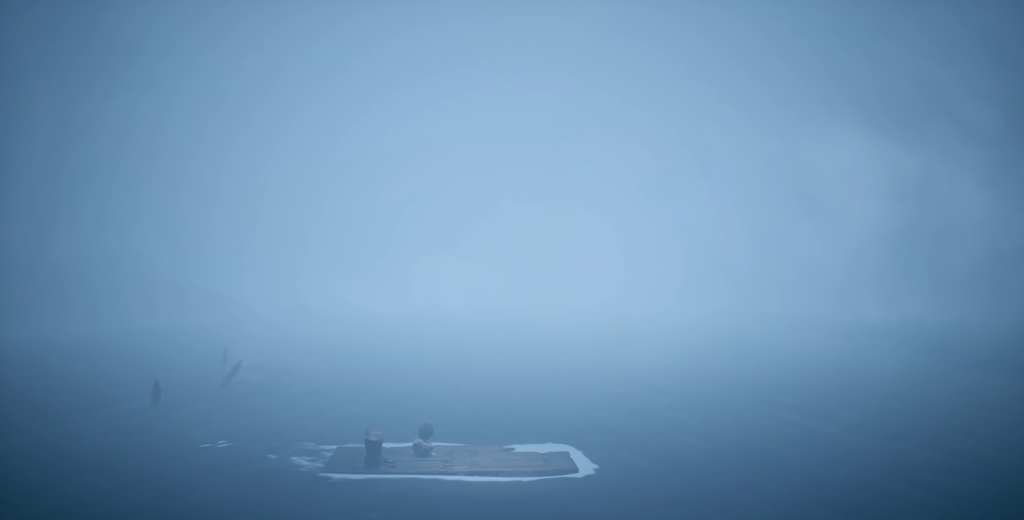
Before entering the door on the right, approach the television sticking out of the sand—there are flickering remains next to it. Then go through the open doorway, move forward through the rooms, climb through the hole in the wall into the alley, crawl through the open window, and you will find yourself in a room resembling a snack bar. Continue on to the next location.
All chapter secrets: a brief list
The Secret
Where to look
Shimmering Remains #1
To the right of the destroyed bridge (after jumping down from the crate)
Shimmering Remains #2
Under the hollow trunk after the trap zone (to the left of the exit)
Shimmering Remains #3
In the toilet on the street near the Hunter’s house
Flashing Remains #4
By the TV on the beach in Pale City
Collectible hat #1
In the room to the left down the hallway of the Hunter’s house
Collectible hat #2
Inside the fallen cage after the broken bridge
Nom’s Hat (DLC)
In the attic, after the quest with Nom
Comments (0)
Sign In / Sign Up
Sign in with your Google account to leave a comment. It's fast, easy, and secure.


Comments (0)
Sign In / Sign Up
Sign in with your Google account to leave a comment. It's fast, easy, and secure.
No comments yet
Be the first one to share your thoughts!