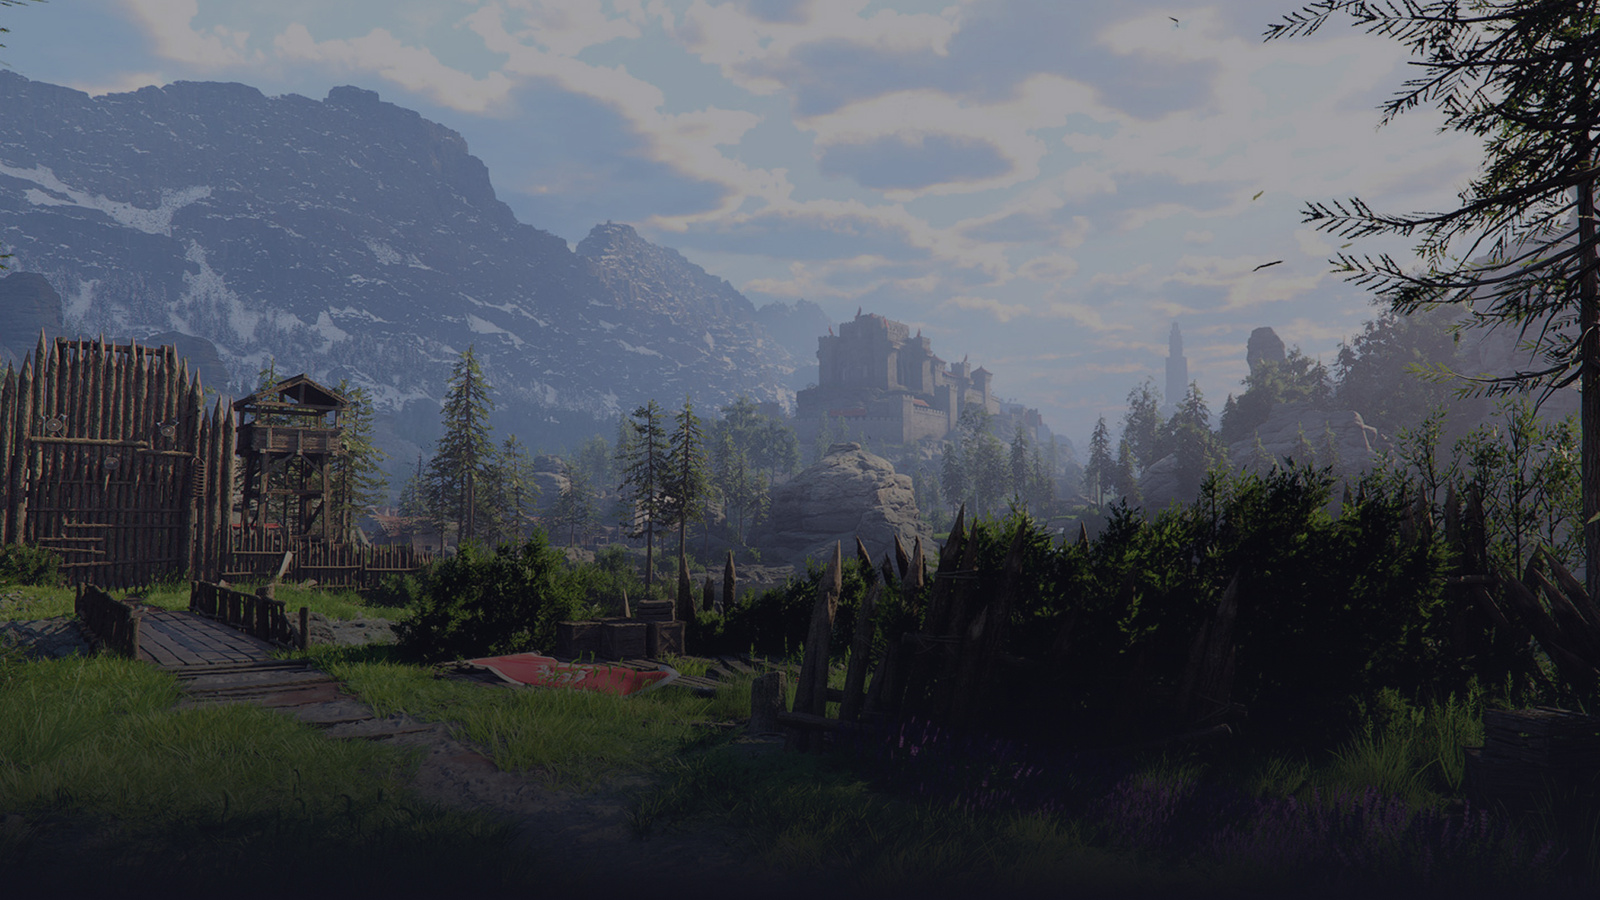
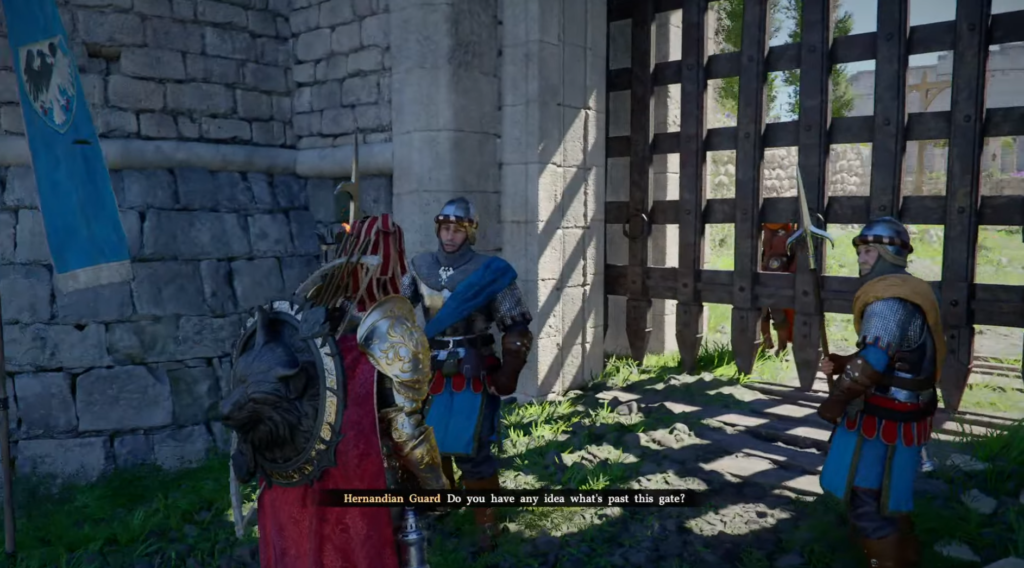
Chapter 2 begins inside Hernand Fortress. You can explore your camp, talk to residents, and store items. Near the camp you’ll find an entrance to the fortress itself — but you can’t go in yet. You’ll need a special outfit that you’ll find later in the chapter.
Head straight to the first main mission marker using the minimap. The world is open along the way — feel free to talk to NPCs like the banker, find recipes, and explore.
Part 2 — First Quests
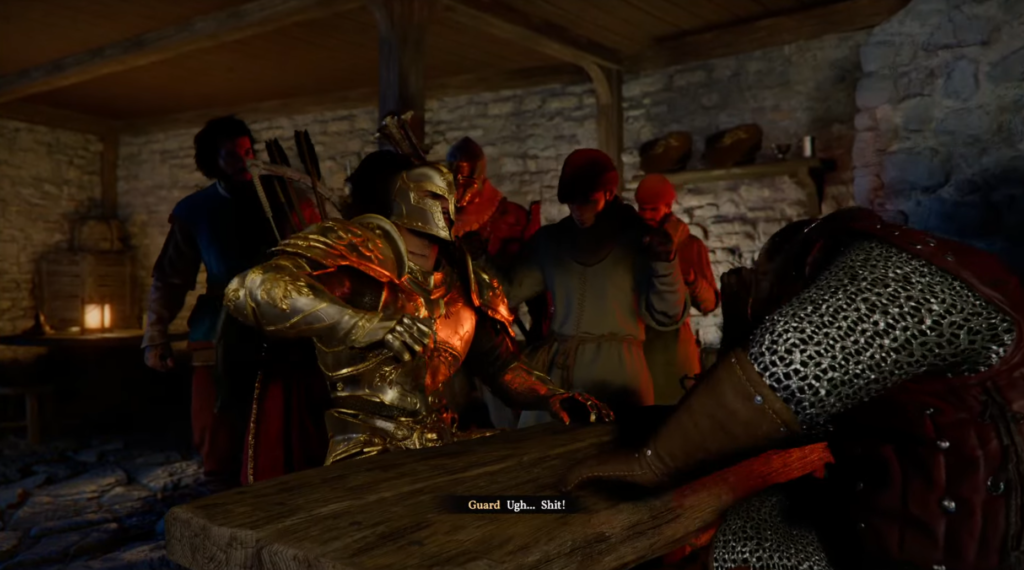
Arm wrestling
Your first objective is to win an arm wrestling match. This is a mini-game that you can win on the first try with decent timing.
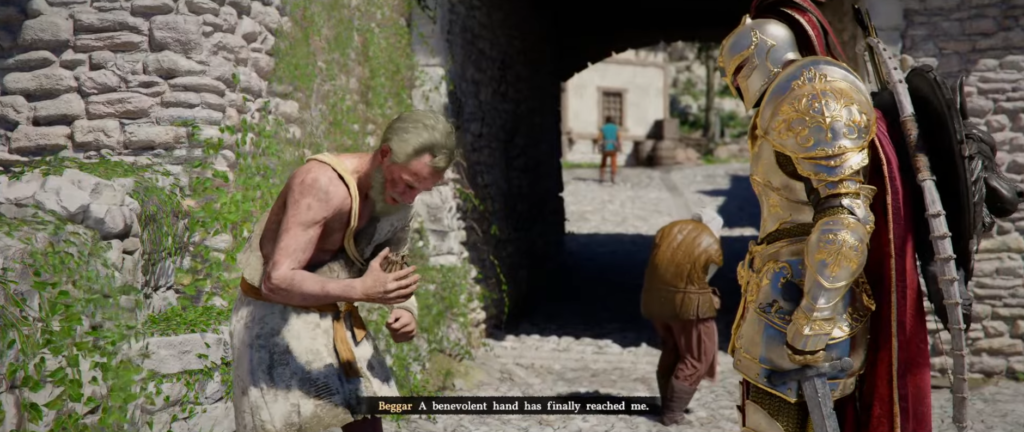
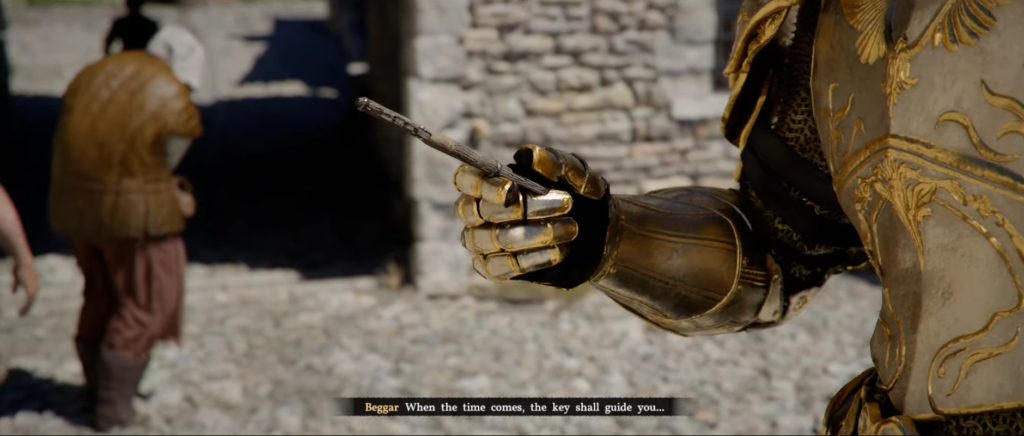
The beggar and the key
Next, give a coin to a beggar. He’ll thank you and hand over a key in return, then immediately disappear without explaining what the key opens. Keep it — you’ll need it soon.
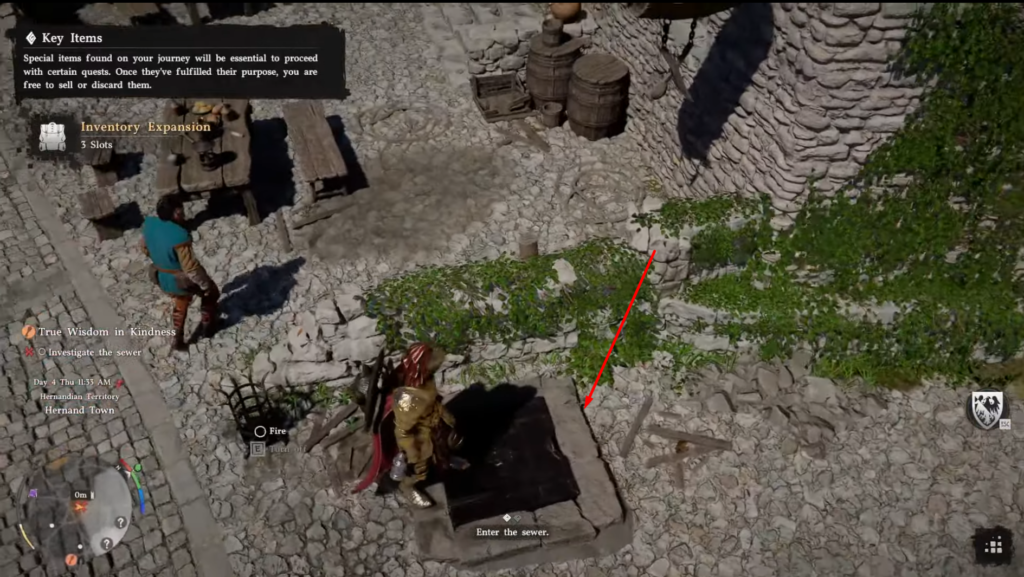
The basement
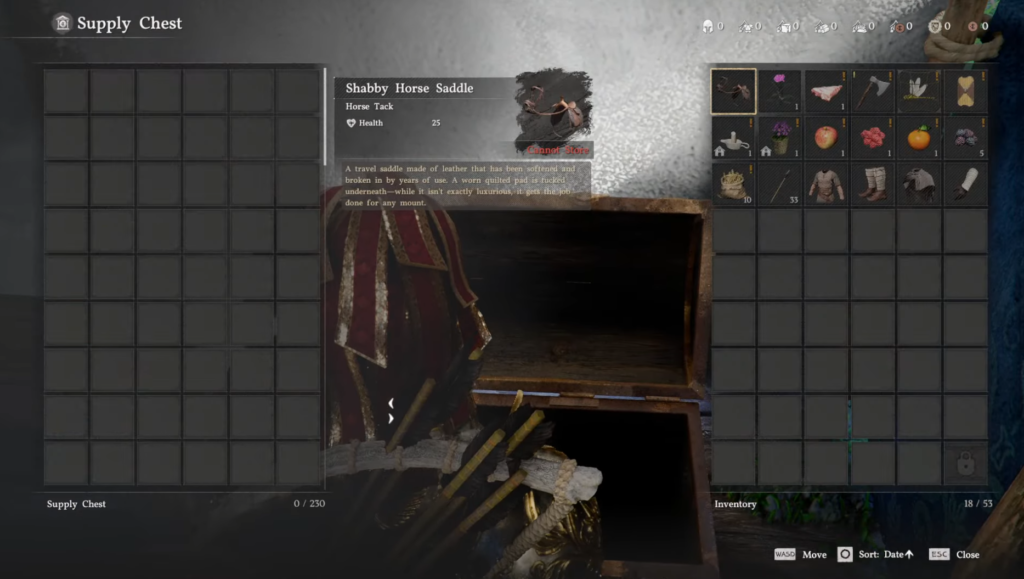
Find the basement entrance near where the beggar was sitting and use the key to go in.
Tip: As you start descending the stairs, look to the left — there’s a small chest with loot. Grab it before going further.
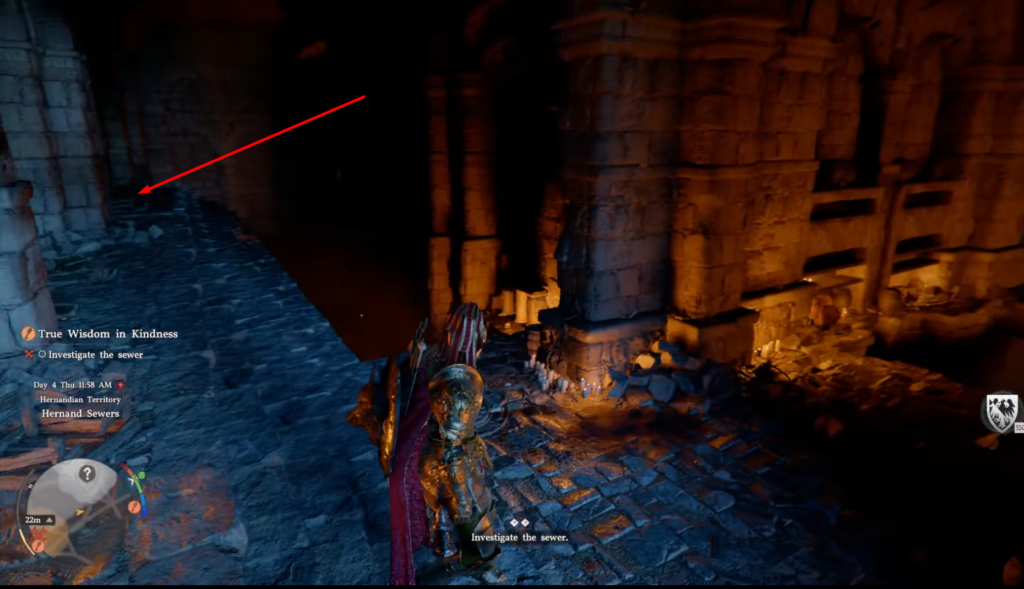
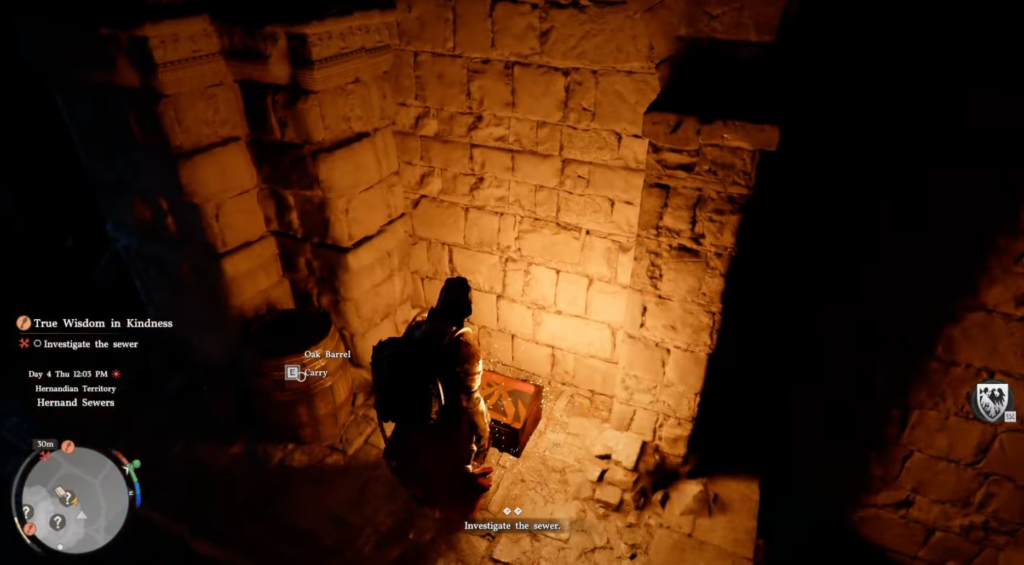
In the corridor ahead, stones have fallen away. Cross carefully to avoid falling into the water and reach the girl at the end of the corridor.
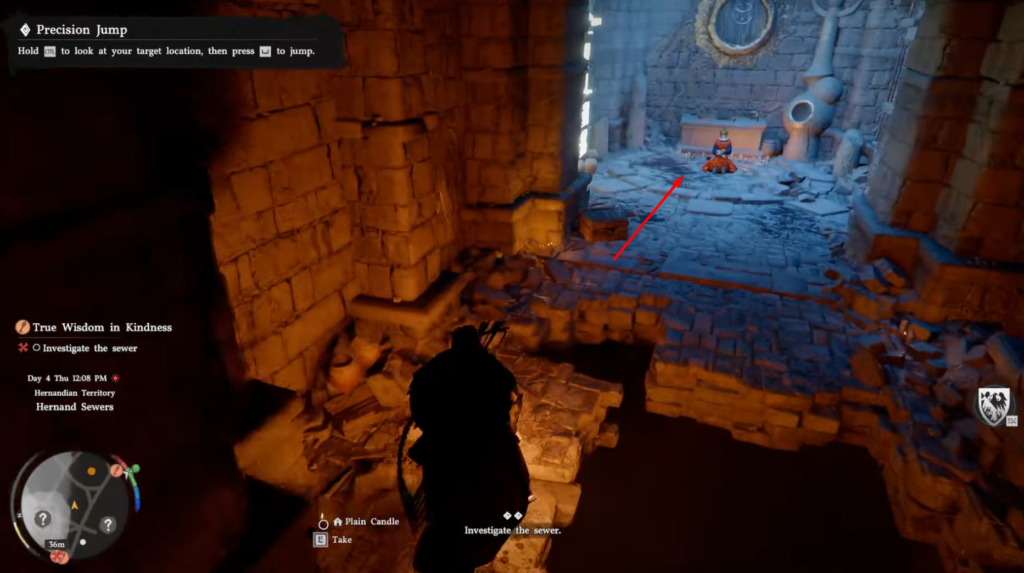
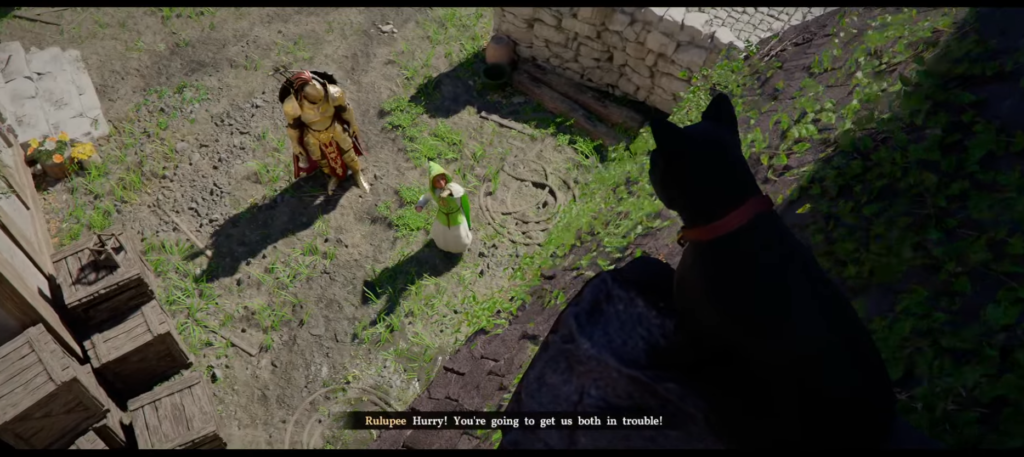
Saving the girl
Save the girl — she turns out to be White Crow. She thanks you and gives you a letter, though she doesn’t explain its purpose yet. There’s nothing else to do in the cave, so head back out.
Part 3 — Side Quests Along the Way
These quests appear on your way to the next main objective. You can also meet the blacksmith nearby.
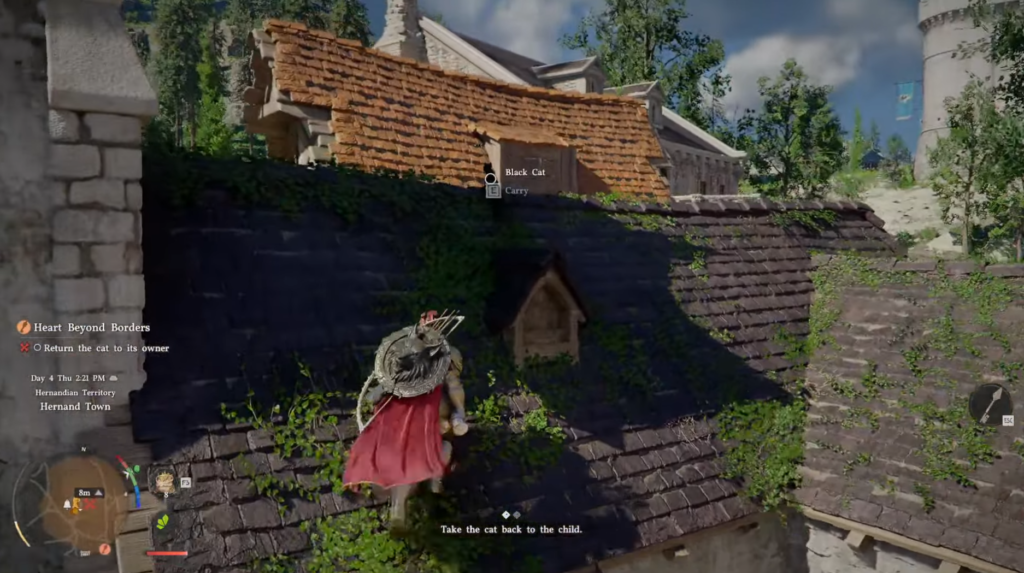
The cat on the roof
A girl’s cat is stuck on a roof. Climb up and use a little agility to retrieve it. She thanks you and invites you to visit her village.
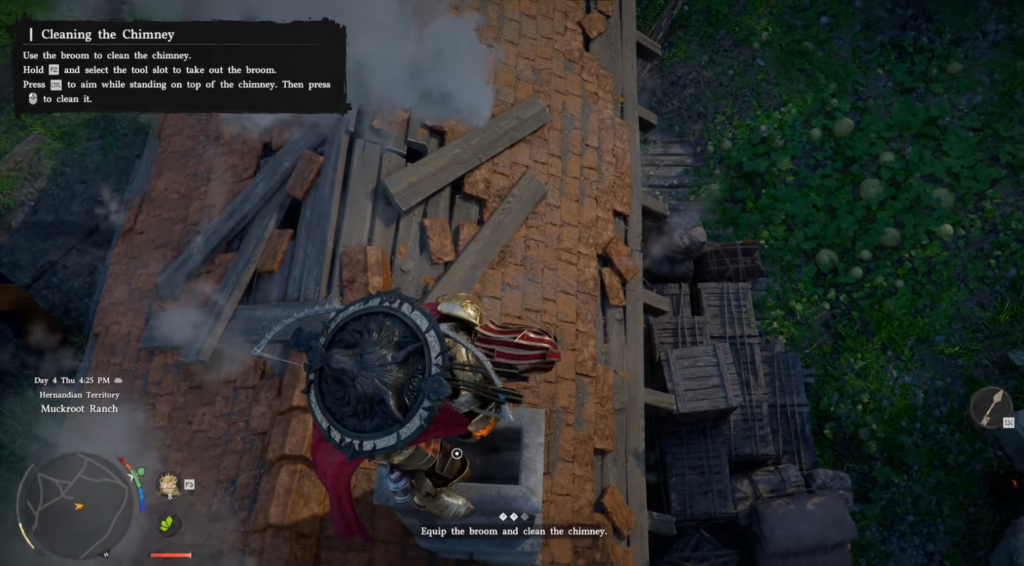
The chimney
Find a villager couple — the husband is idle, the wife is arguing. Take the broom from your inventory, climb onto the roof, and clean the chimney. You’ll receive some loot as a reward.
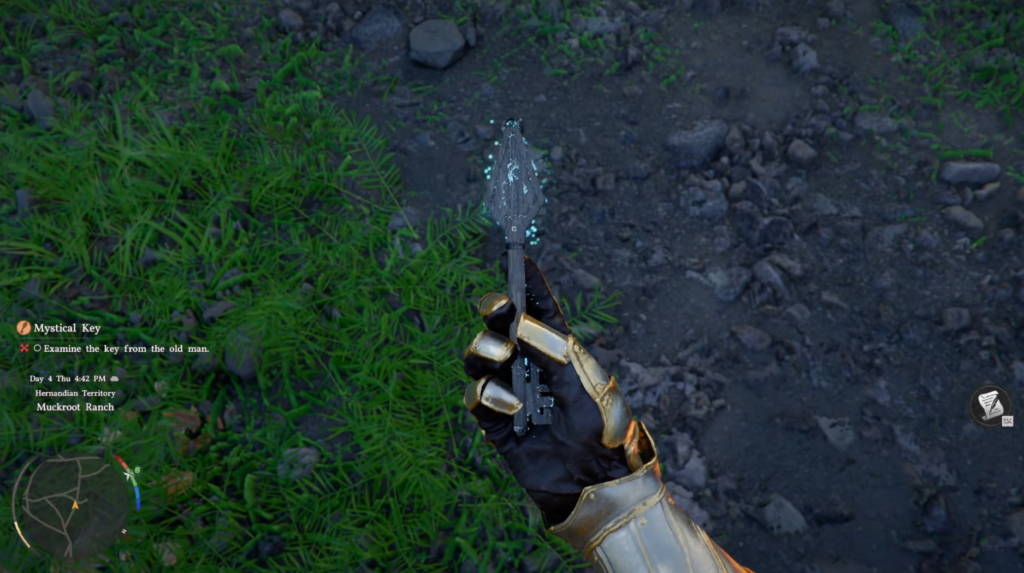
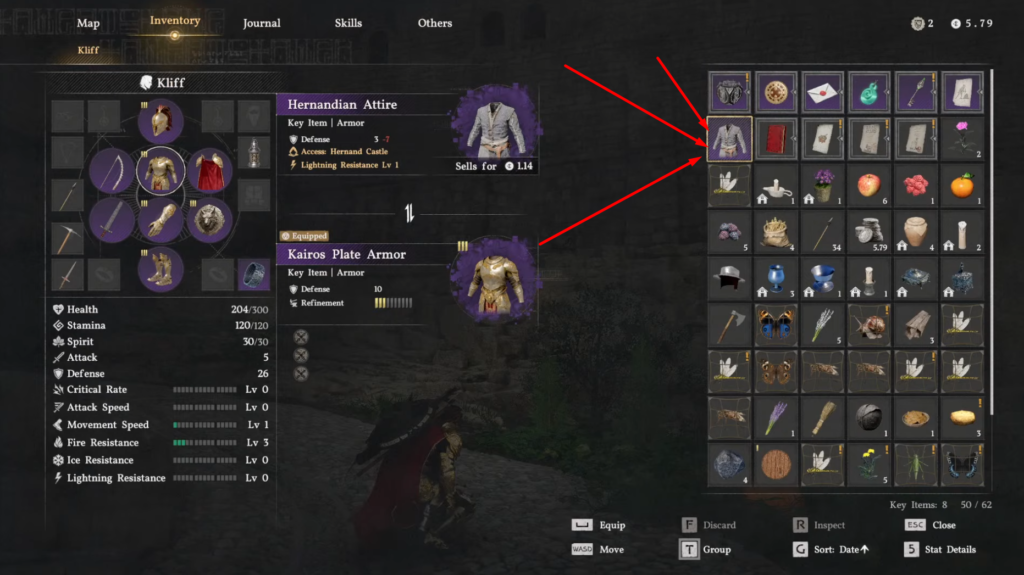
Inspecting the key
The villagers then ask to look at the key. Open your inventory and pull out the key the beggar gave you. In return, they give you a special outfit — hold onto it, you’ll need it for the next step.
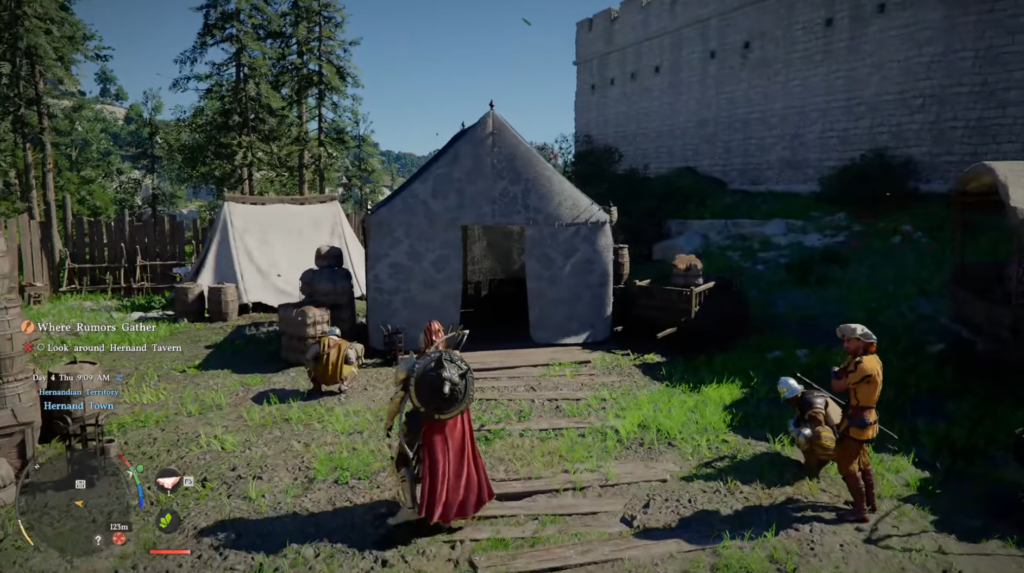
Part 4 — Entering the Fortress
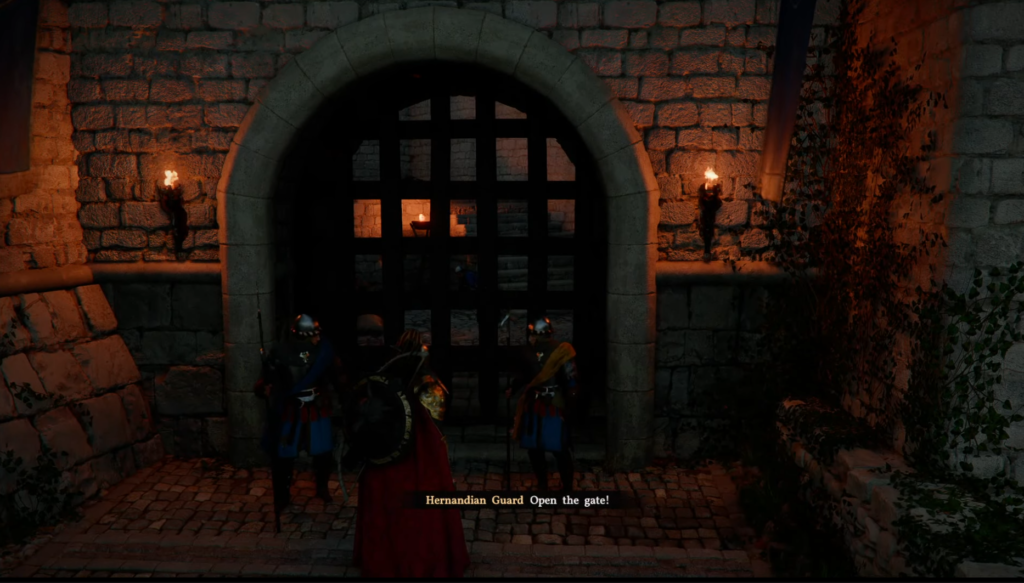
Put on the special outfit given by the villagers. Without it, the fortress guards will attack and kill you on sight.
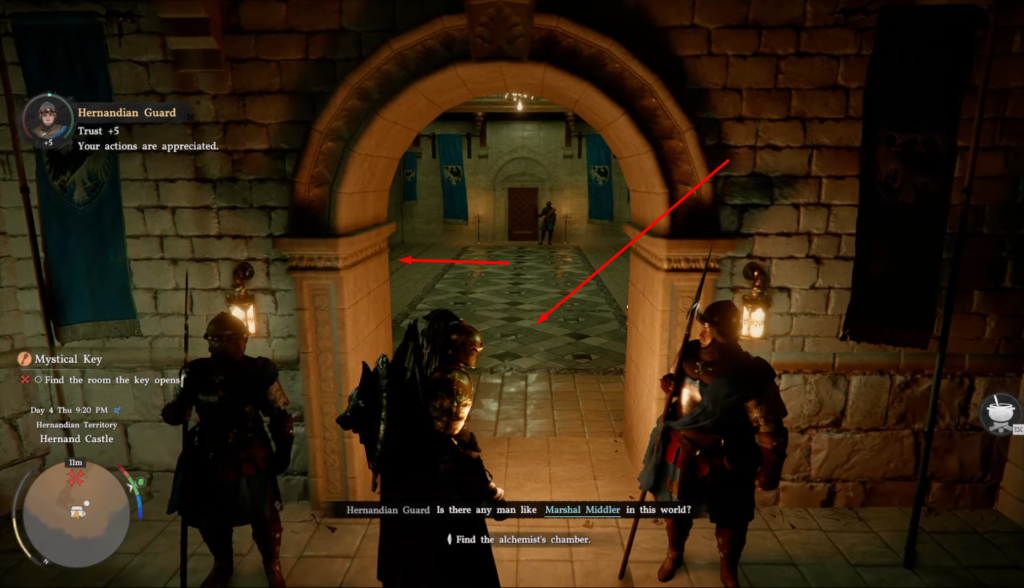
Once dressed, the guards let you pass. Enter the fortress and follow the minimap deeper inside. Go to the second floor and enter the hall guarded by two guards. Inside the hall there are doors on both sides.
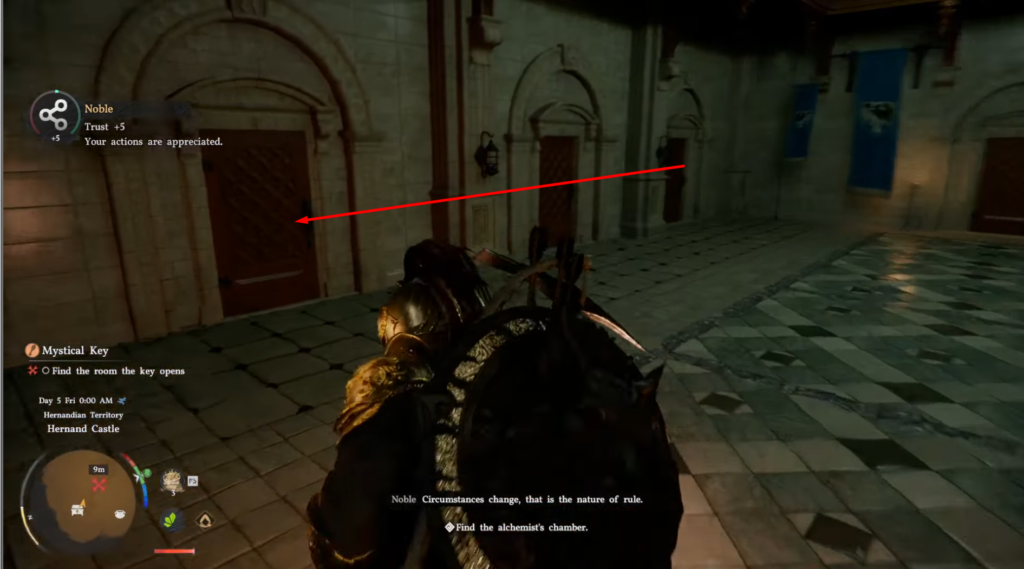
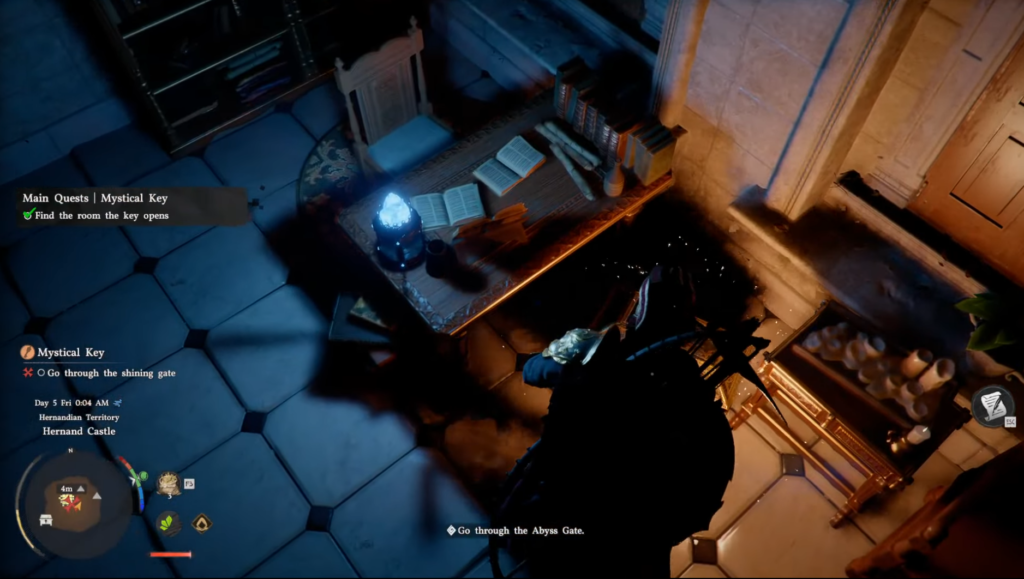
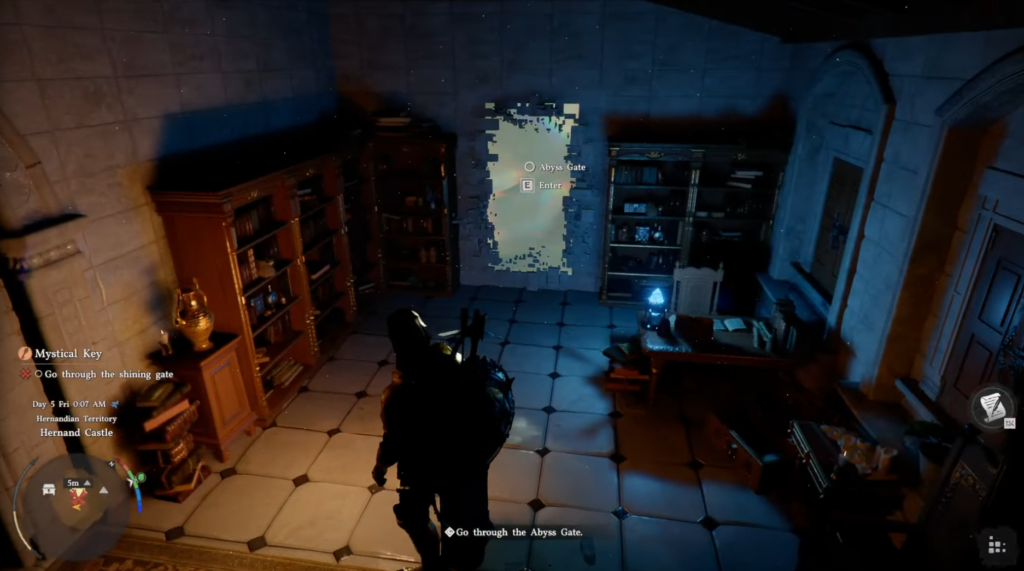
Enter the first door on the left. Inside, a special chest sits on the floor and a portal appears. Step through the portal — you’ll leave Hernand and arrive in the Abyss.
Part 5 — The Abyss
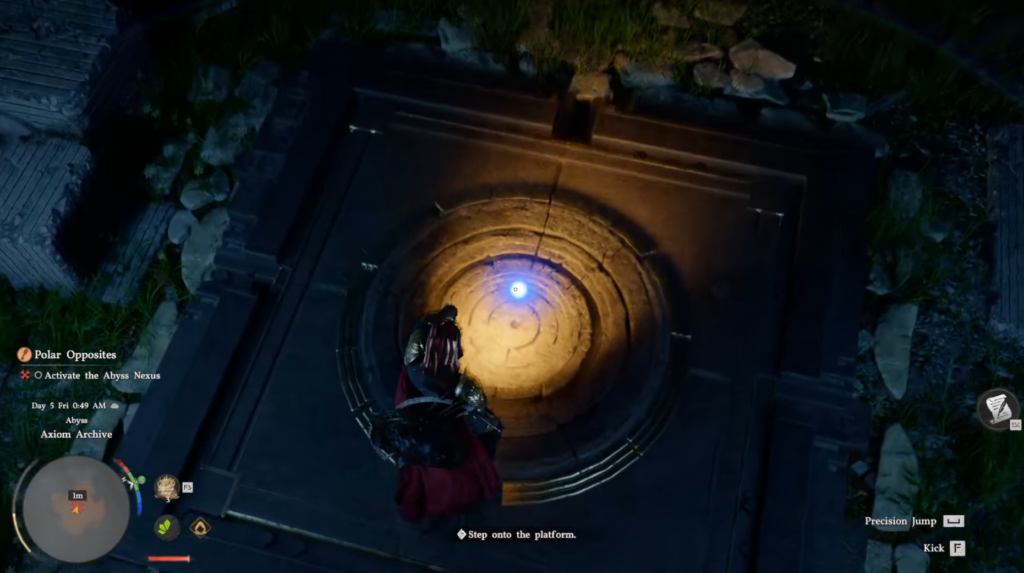
Activating the Nexus
Stand on the Nexus and press Ctrl to activate it. This unlocks fast travel for the area — very useful.
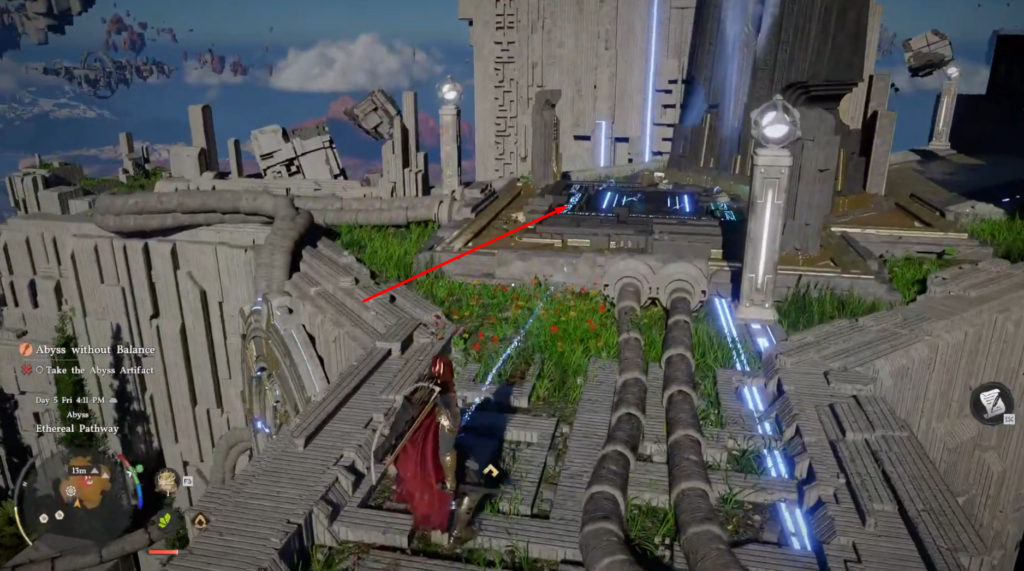
Abyss Artifact
There is a tower to the left of the Nexus. Approach it to receive the Abyss Artifact.
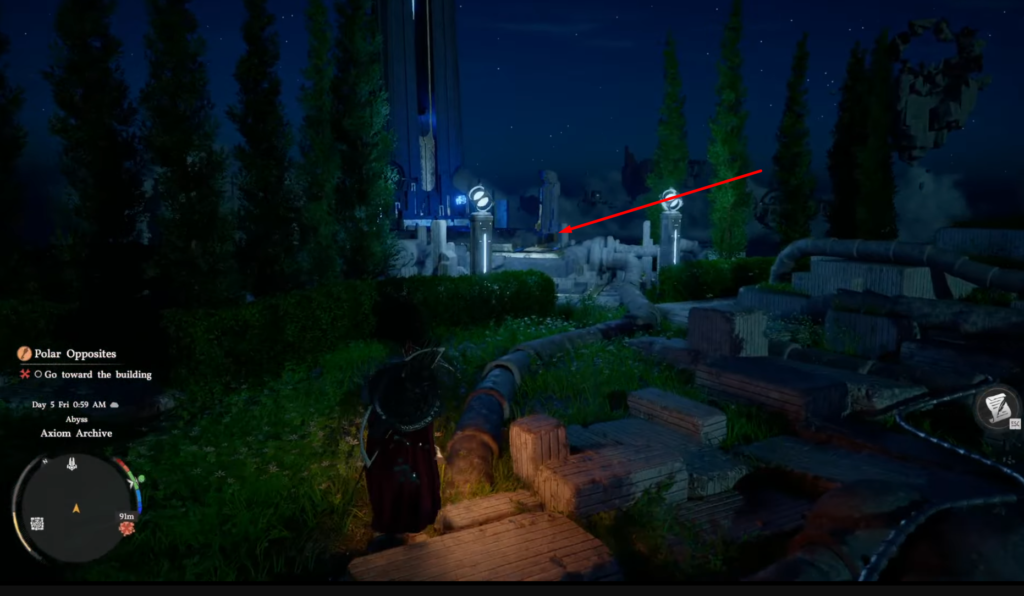
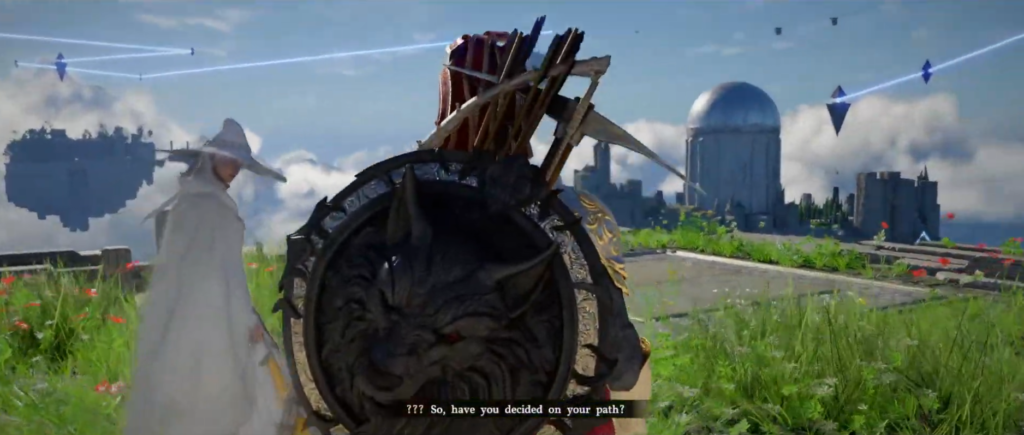
Meeting Alustine
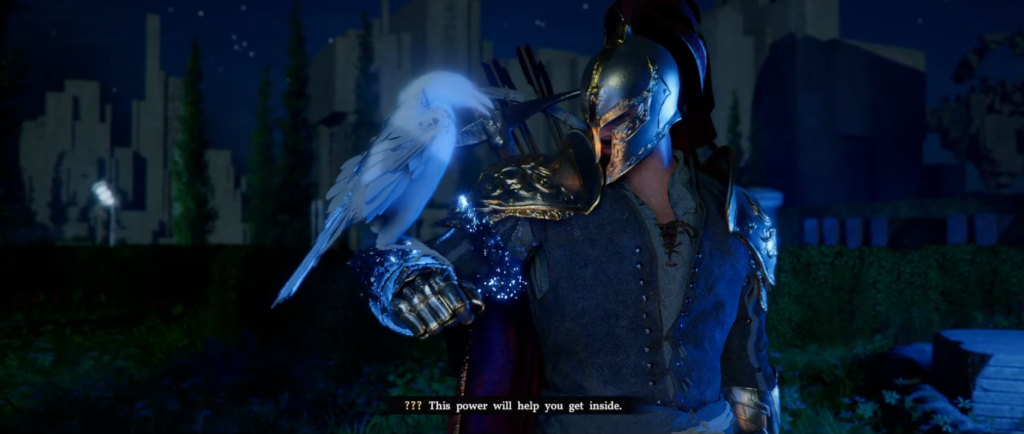
Follow the minimap to the building. A cutscene plays: a bird appears and grants you a new skill — Axiom Force (press Tab to use it).
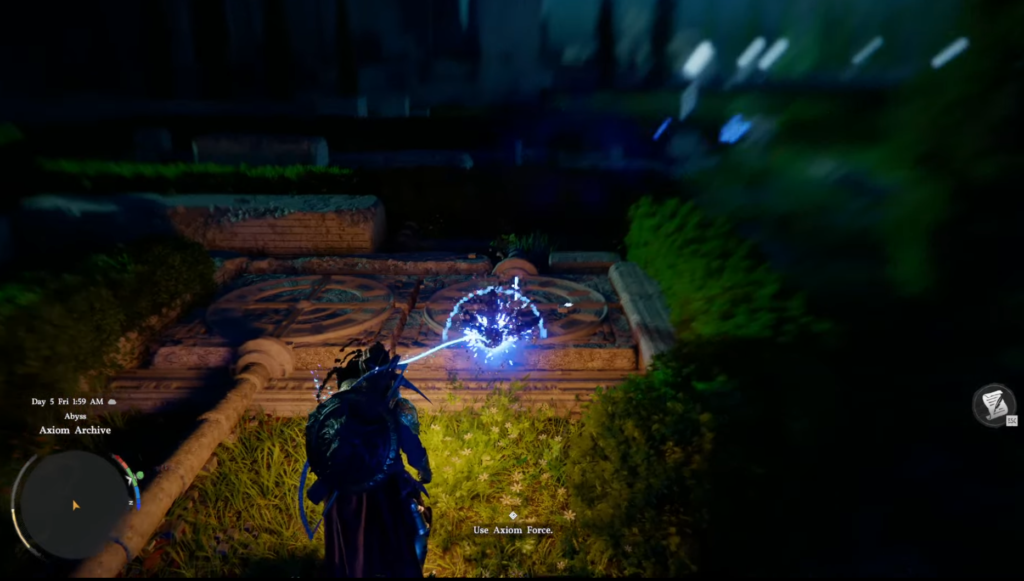
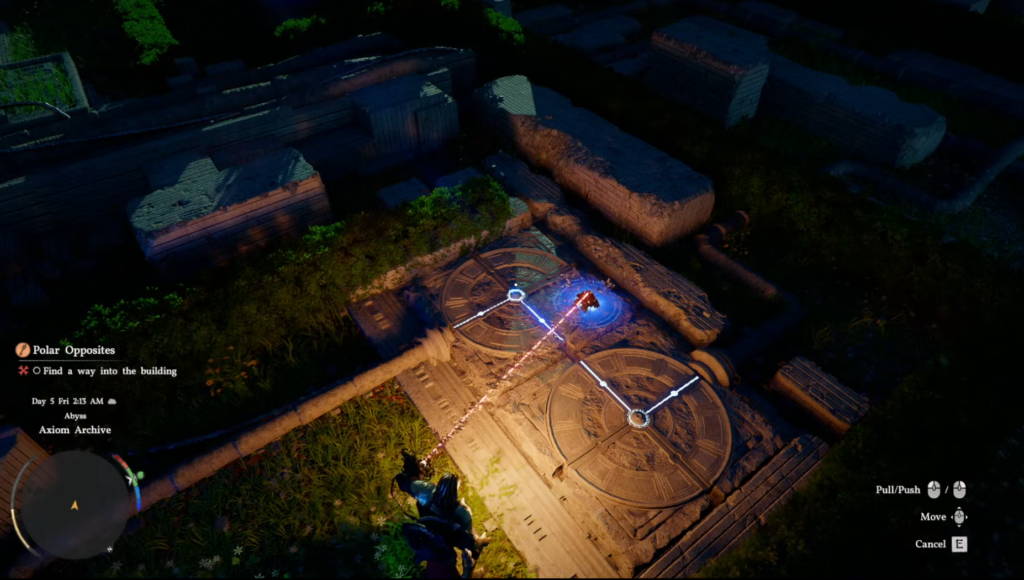
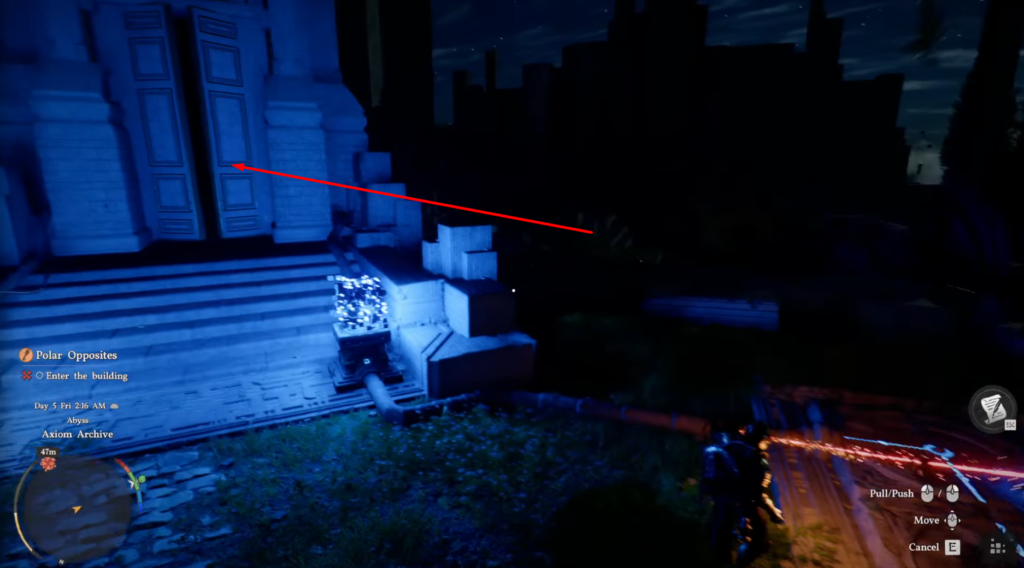
Use Axiom Force to rotate the special hatches and connect the electrical lines, which opens the building entrance. Go inside and meet Alustine — he’s the one who summoned Cliff (your main character). He explains your mission: restore the balance between worlds, starting with the Skybridge Gate.
Part 6 — Restoring the Abyss
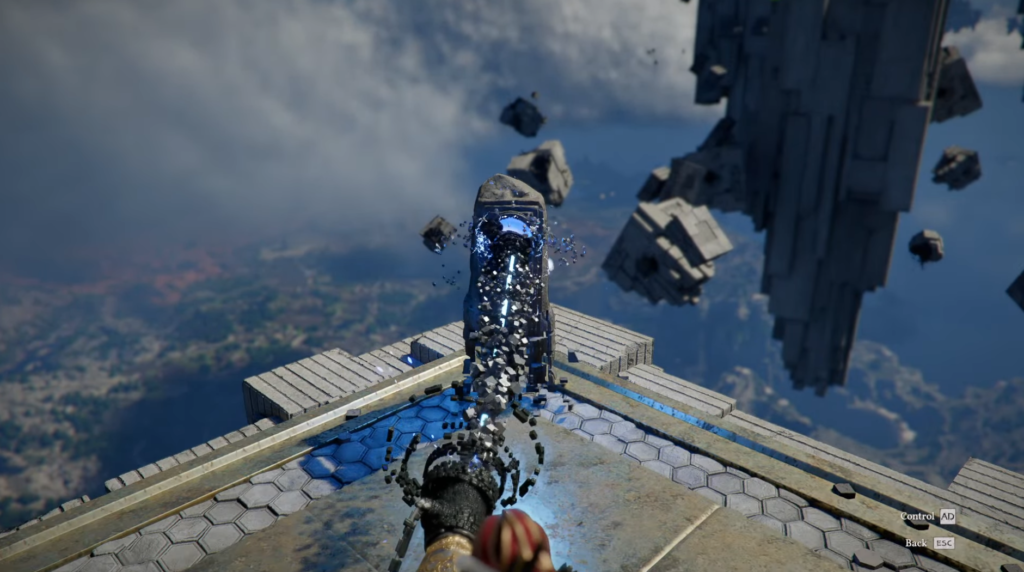
The stone with a sphere
Approach the stone with a sphere inside. Press Tab to activate Axiom Force and rotate it to the left until you hear a distinct sound. When you hear the sound and see effects appear — stop.
Important: Wait about 5 seconds after stopping for the next script to trigger. A stone sky bridge will appear automatically — don’t rush.
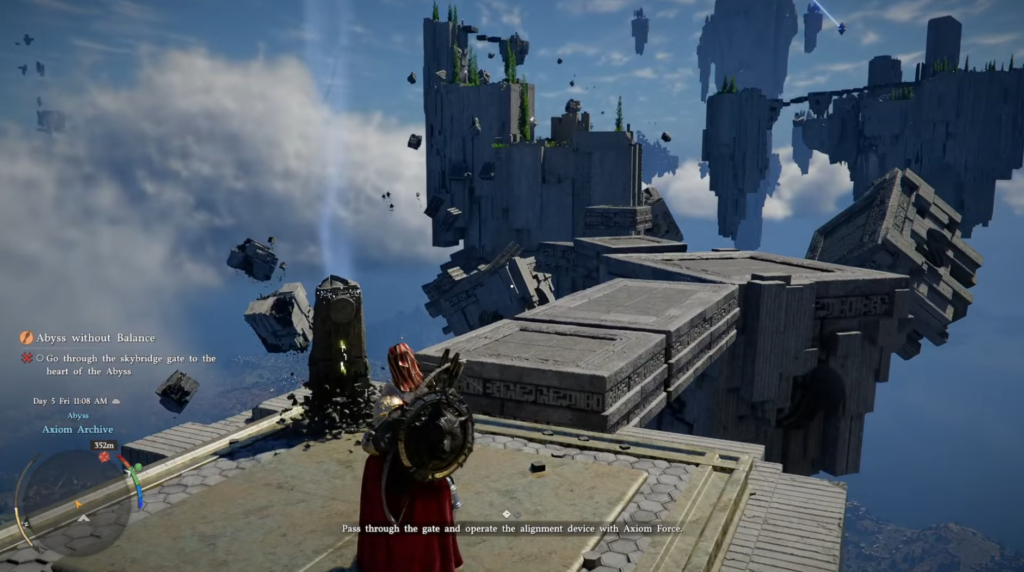
Crossing the sky bridge
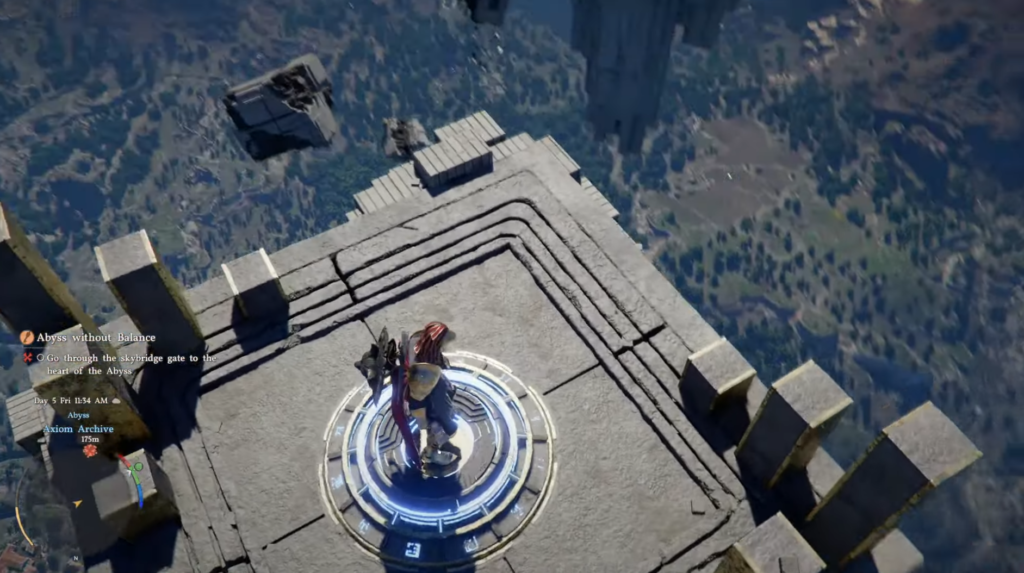
Cross the stone sky bridge carefully, jumping over obstacles and air platforms. Don’t fall. When you reach the next platform, stand in the center and press Ctrl to be teleported forward.
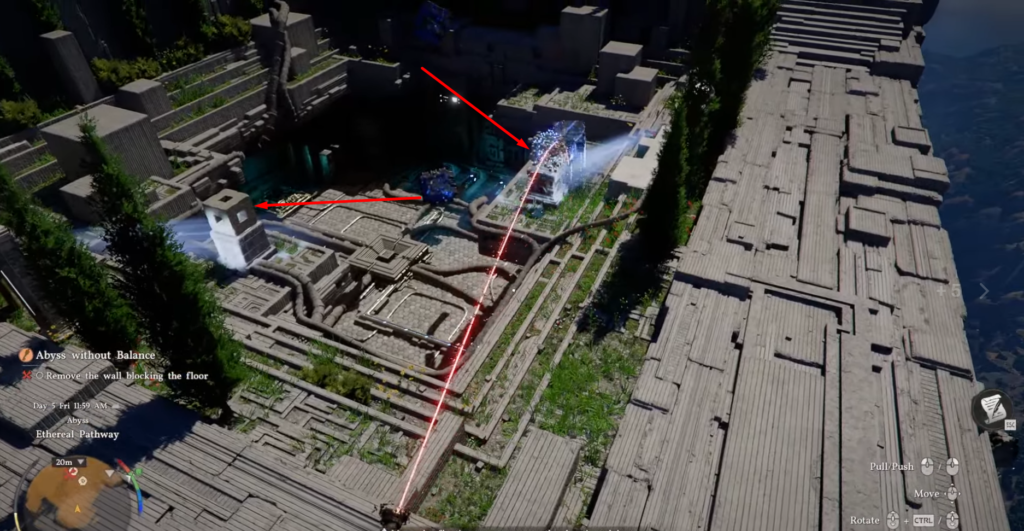
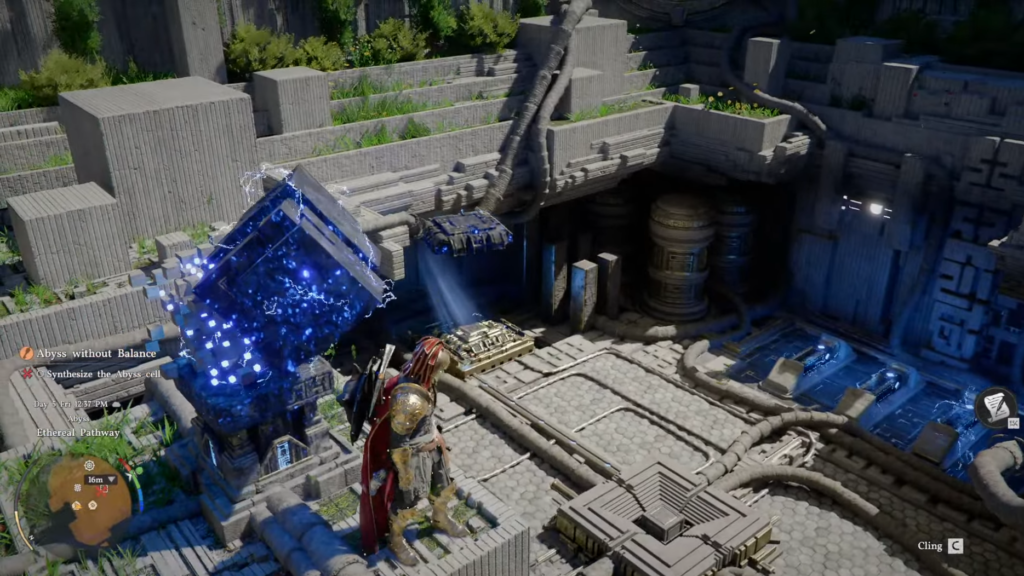
The cube puzzle
Follow the minimap to the puzzle area and activate the Abyss Nexus. The objective is to remove the wall blocking the floor — floating cubes are blocking a hole below.
Move the two cubes onto the special platforms nearby. Once both are placed correctly, the entrance to the pit opens.
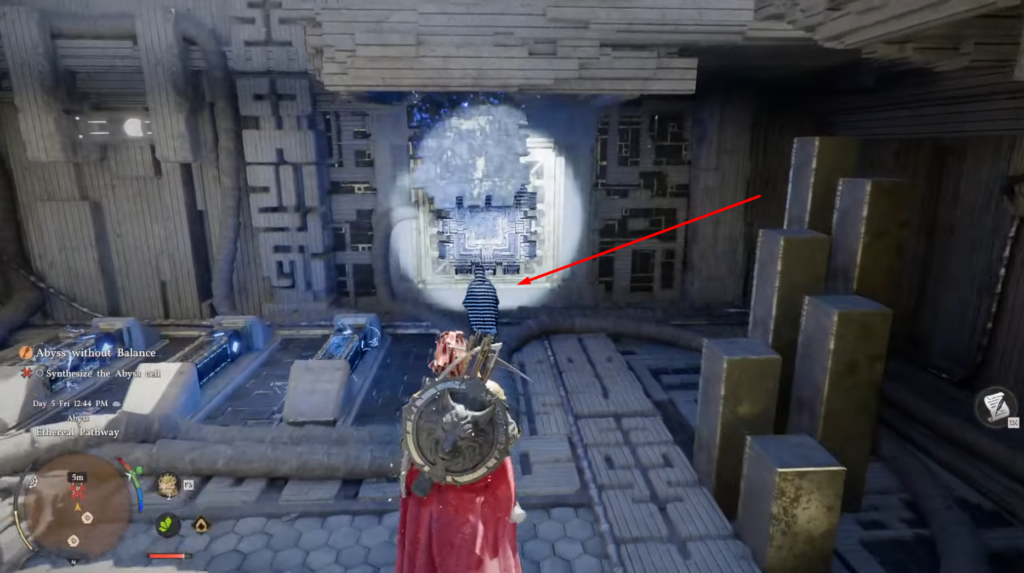
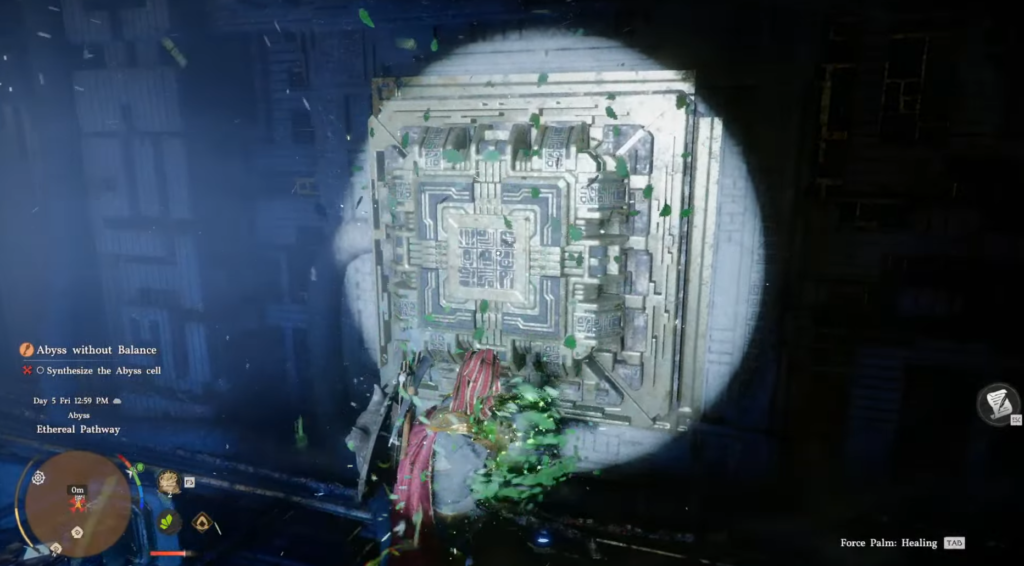
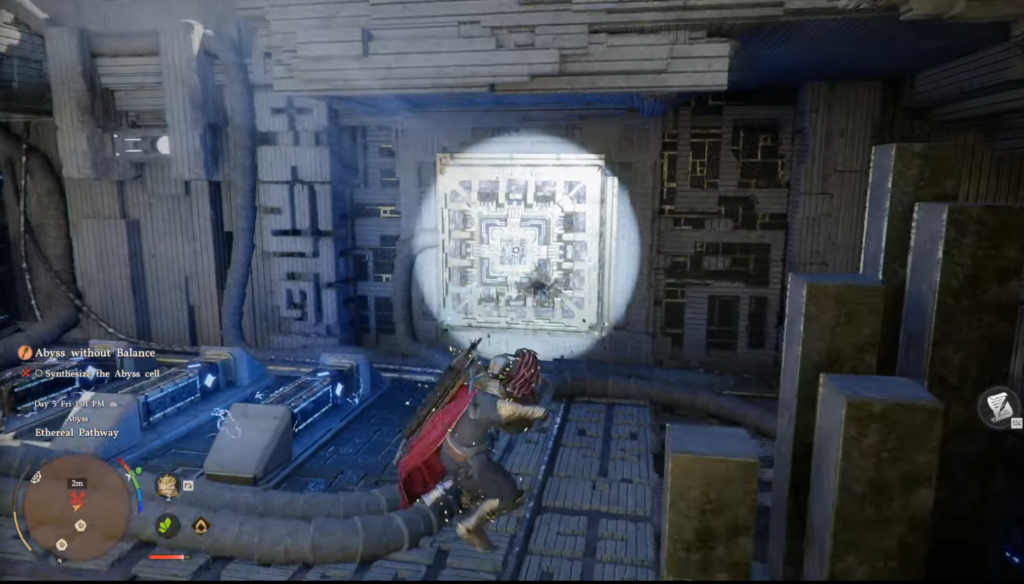
The Abyss Cell
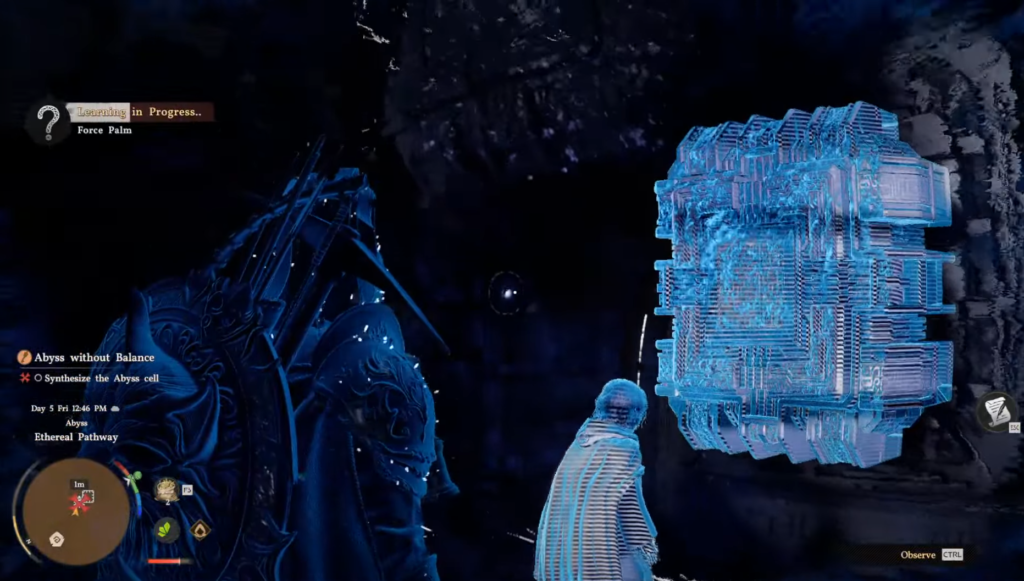
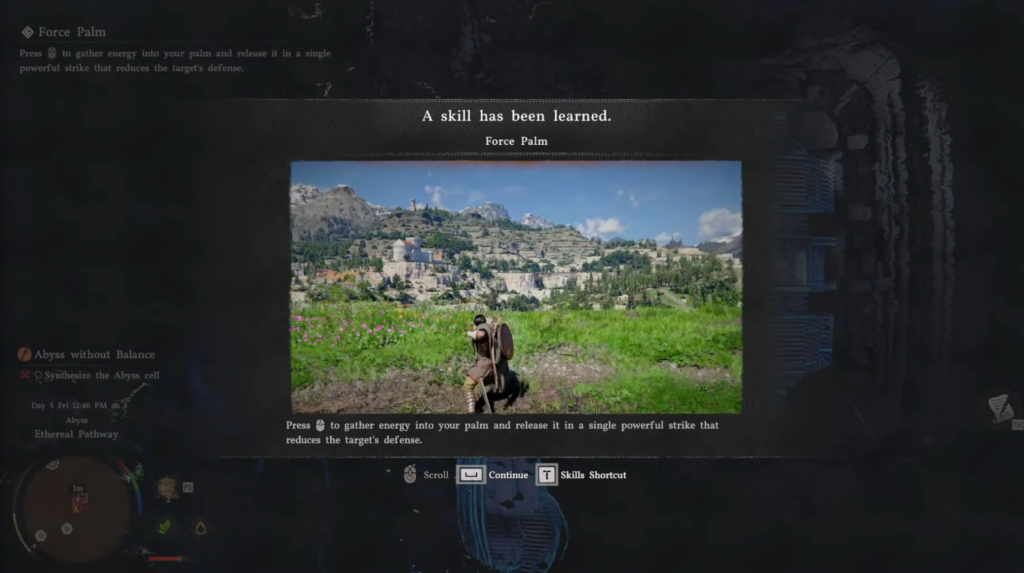
Pick up the special plate and move it into the Abyss Cell. A person inside the pit will give you a new skill — Force Palm (activated with the mouse wheel).
Use Force Palm to press the metal plate into the Abyss Cell slot. It will connect successfully.
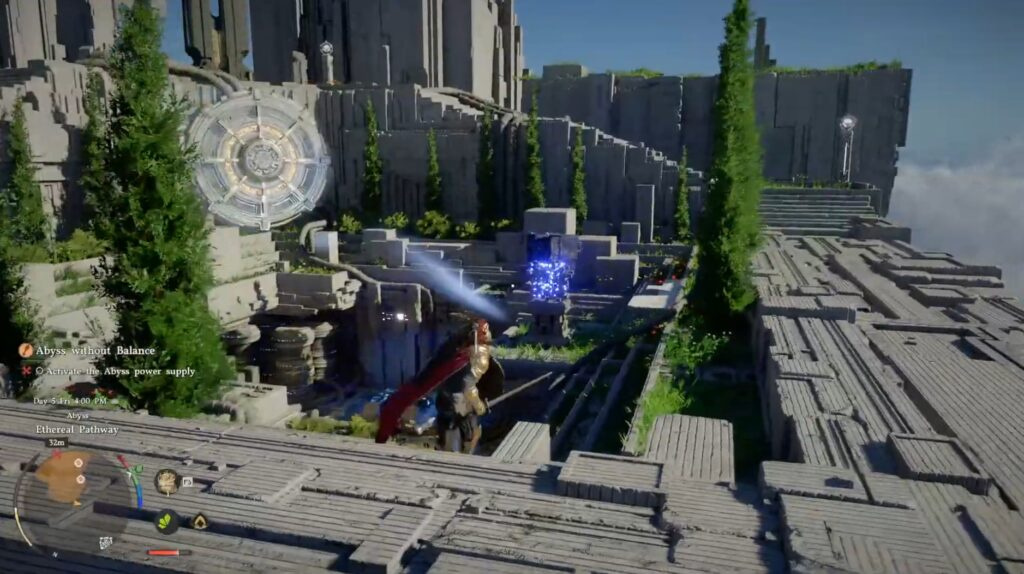
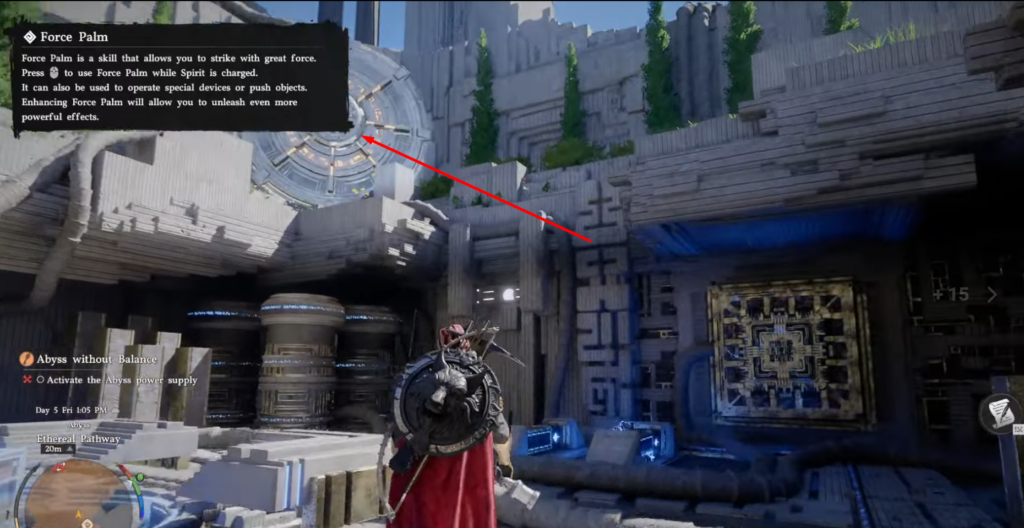
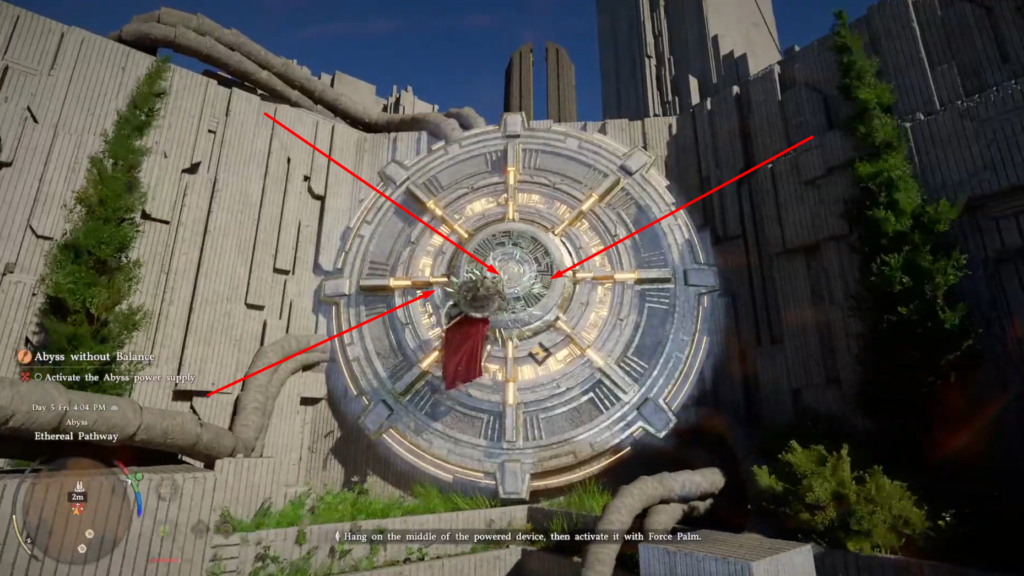
Activating the power supply
Climb to the center of the round gate and use Force Palm again to activate the Abyss Power Supply. This completes the Restore the Abyss objective.
Collecting the artifact
Grab the Abyss Artifact from the top of the nearby tower.
Part 7 — Return to Hernand
A new character appears — White Crow, the girl you saved in the basement. As thanks, she gives you special black wings that let you jump and glide.
Jump using the wings, enjoy the view of the game world, and land safely. Follow the path back to Hernand Fortress to begin the next chapter: Golden Grid.
Published
Modified
ZEPHICK
Rimus Mirotvoretz
Game Guides Author
An old-school gamer who started playing at around age three, when the keyboard was almost bigger than he was. Long before gaming became mainstream, he was already exploring virtual worlds, breaking game mechanics, and searching for the fastest ways to beat levels.


Comments (0)
Sign In / Sign Up
Sign in to leave a comment.
No comments yet
Be the first one to share your thoughts!