
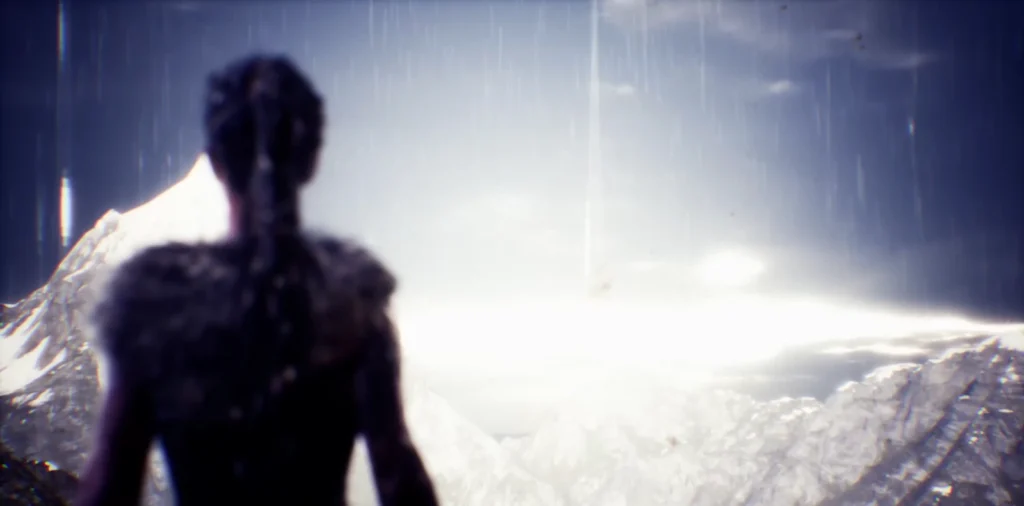
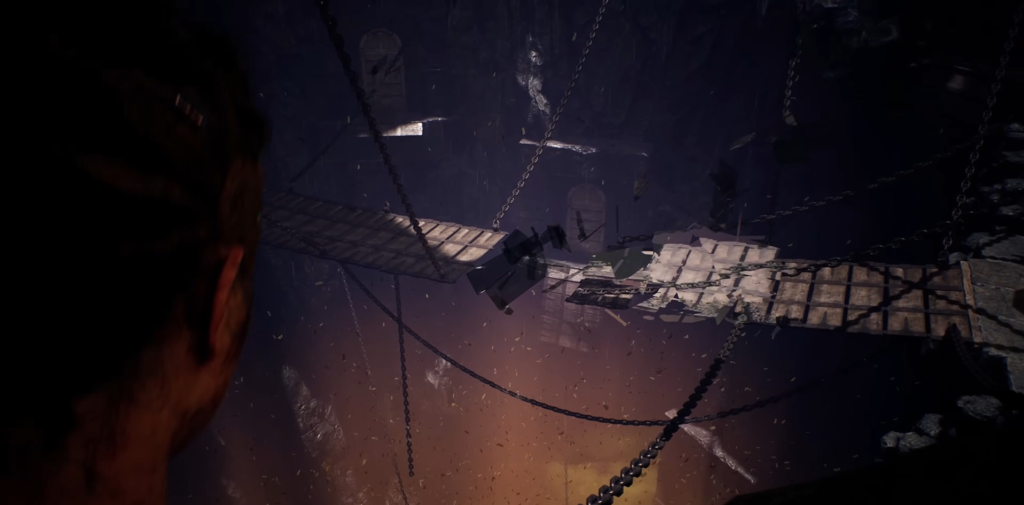
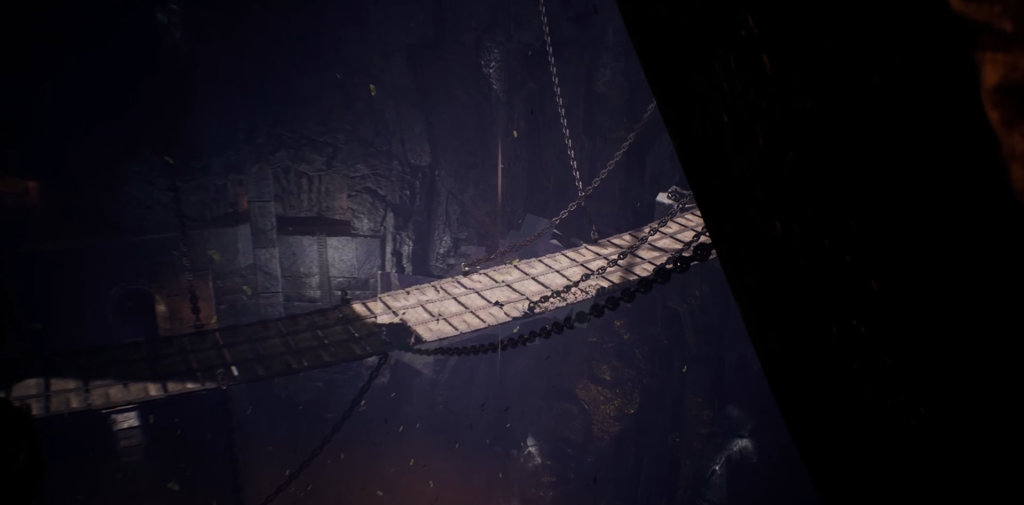
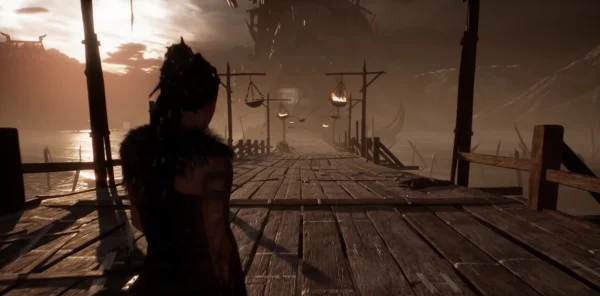
Senua has overcome her fear of the darkness and is ready to climb up to the ruined bridge to reach the Shrine of Hela. Ahead lies a vast pit, above which tower the Gates of Hela. Your goal is to reach them and repair the bridge.
The Path to the Gates of Hela
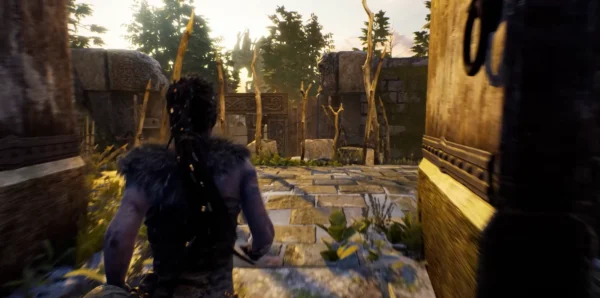
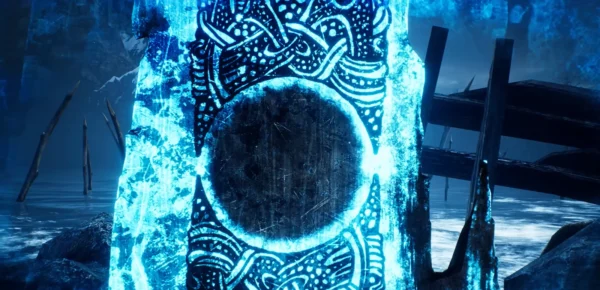
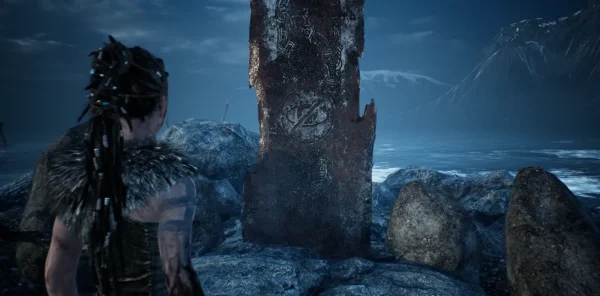
Climb the stairs on the left and follow the path upward. At the fork, turn right—the stone of knowledge awaits you at the bottom of the staircase.
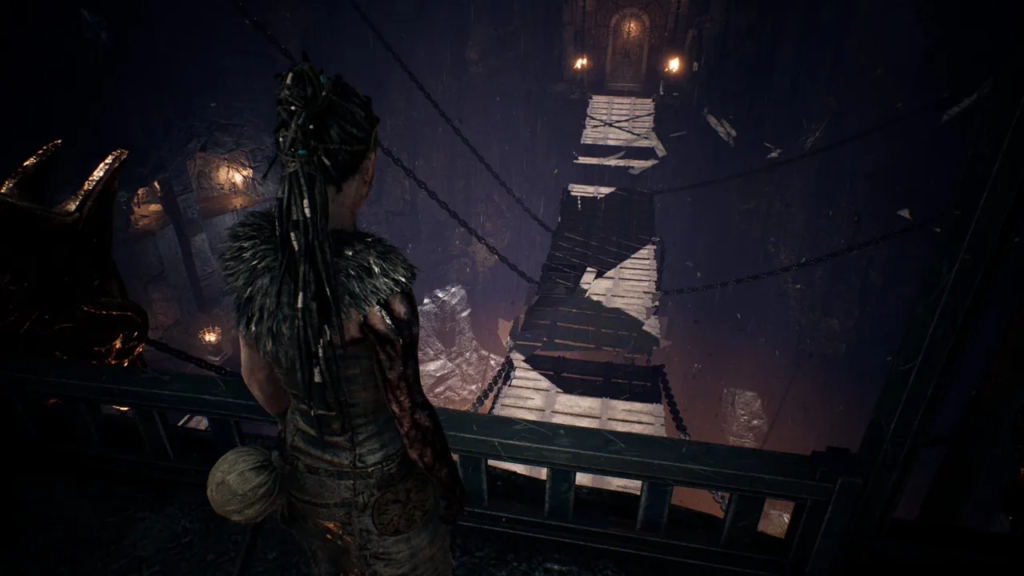
The stairs will lead you to the upper floor with a balcony. Inspect the destroyed bridge from this point to restore its first section.
On the way back, prepare for an ambush: up to four enemies, including a nimble berserker, will appear in the confined space. Activate Concentration at the first opportunity—it will even the odds in the limited space.
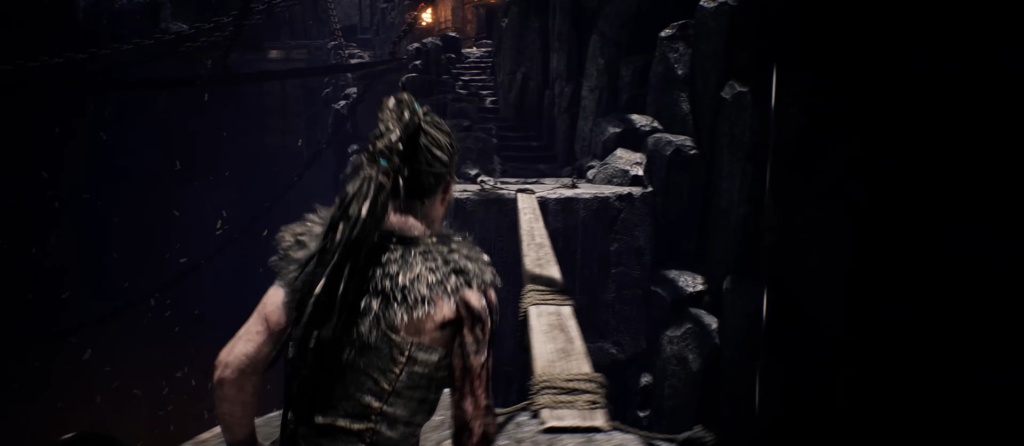
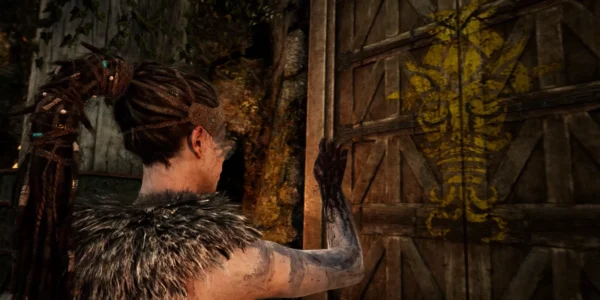
Go back down and move in the opposite direction. Cross the beam over the pit to the ruined bridge. Behind it, you will find a locked door — the bridge to Hel is not yet accessible. To the right of it is another stone of knowledge.
Turn right at the bridge and climb the steps. The left passage is blocked, but the right one leads to a vantage point from which you can restore the next section of the bridge. However, this is not enough.
Prison block
Go down to the partially assembled bridge and look to the right—the blocked area hides an illusion. Focus on the fragments to dispel it.
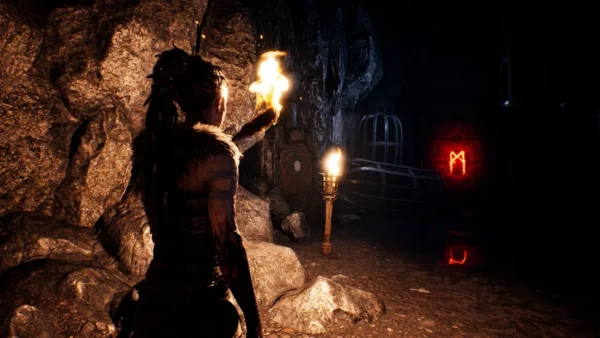
Go back up the stairs and go through the passageway that has opened up into the prison area. On the right side of the cell is the stone of knowledge. On the left is a locked door, but there is a small hole next to it.
It will lead you to the stairwell. Be sure to remove the bolt from the door before climbing. Don’t stop on the second floor — continue climbing to the very top, where the last stone of knowledge is hidden.
When you return to the second floor, be prepared for battle: first, a warrior with a two-handed axe will appear, then a second one will join him. Use your concentration to slow down time and strike accurately. After defeating them, go out onto the balcony and assemble the bridge completely by combining the scattered fragments.
Crossing the bridge
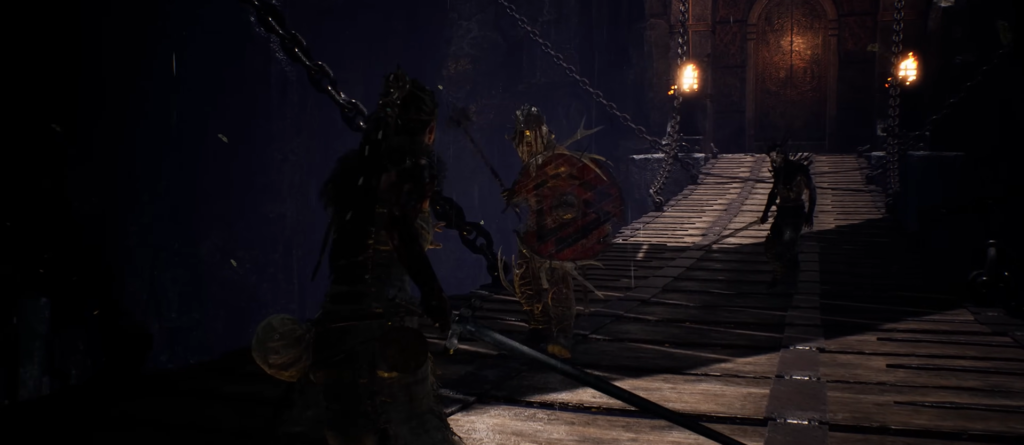
When you try to cross the restored bridge, you will be attacked by the last wave of northerners. Fight carefully: try to knock enemies off the bridge when the opportunity arises. Opponents may hide in the shadows — concentration will help you spot them and quickly deal with groups. After victory, the path to the Gates of Hela is open.
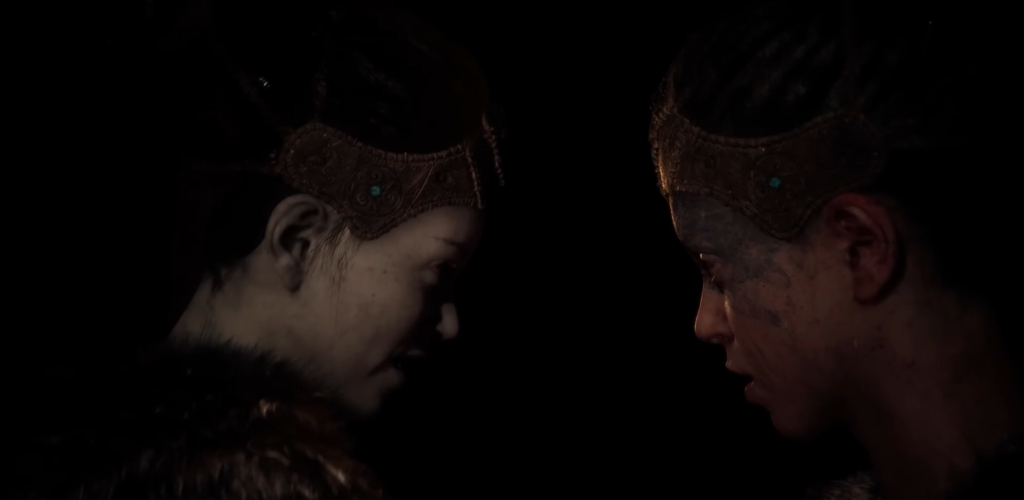
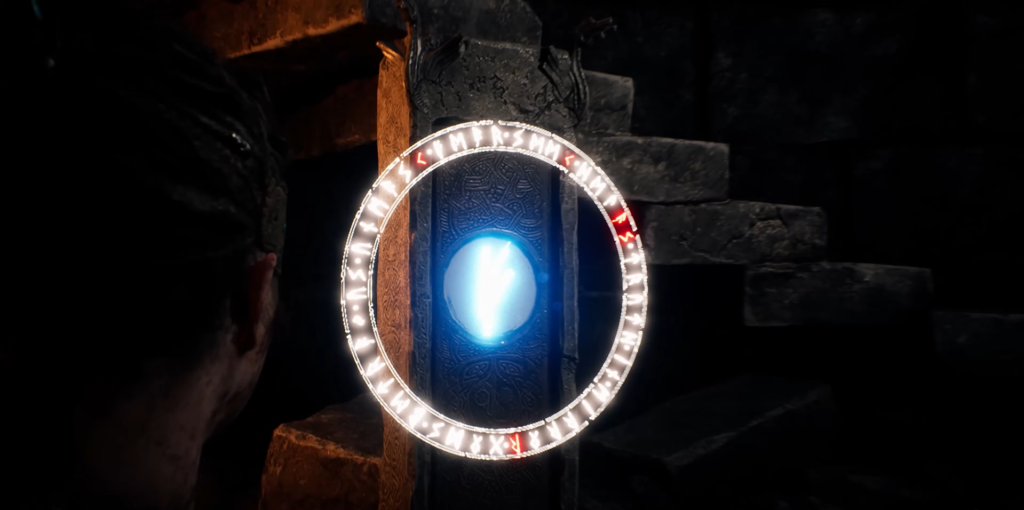
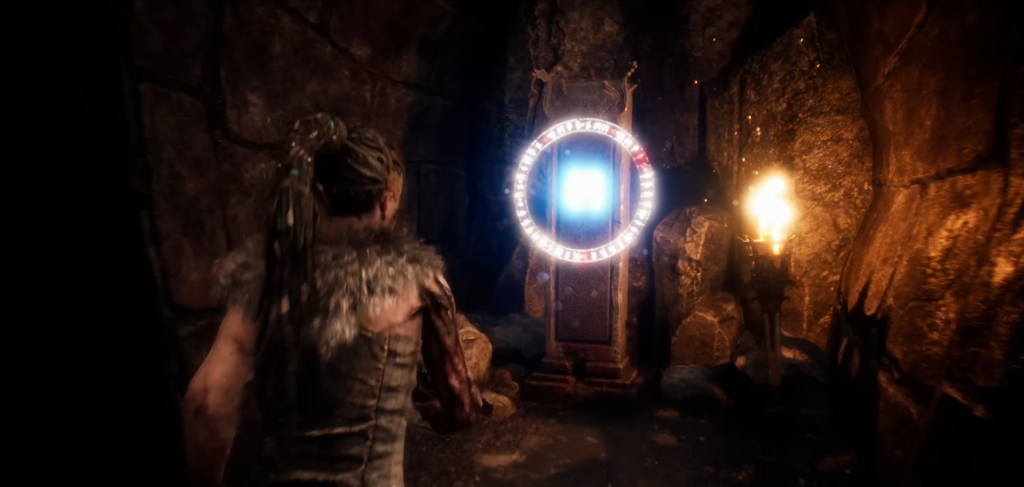
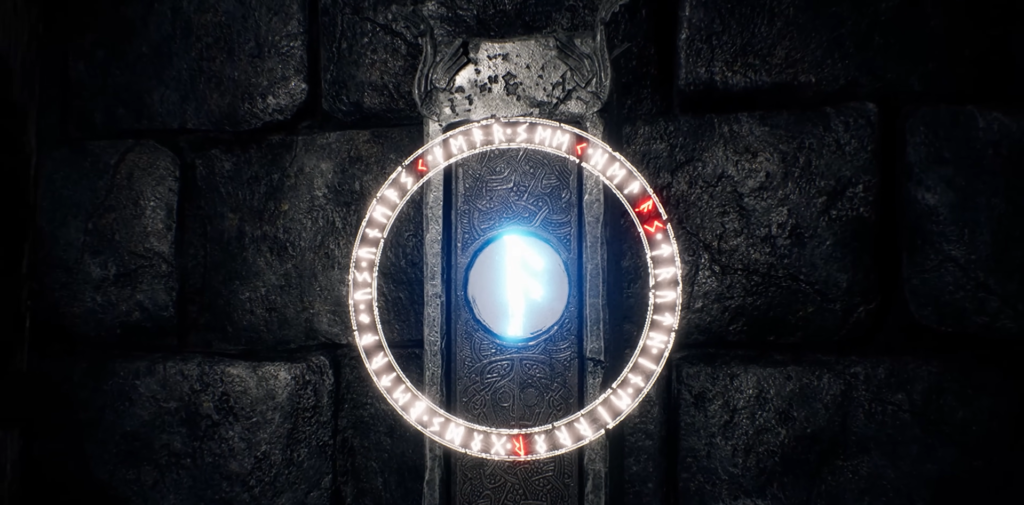
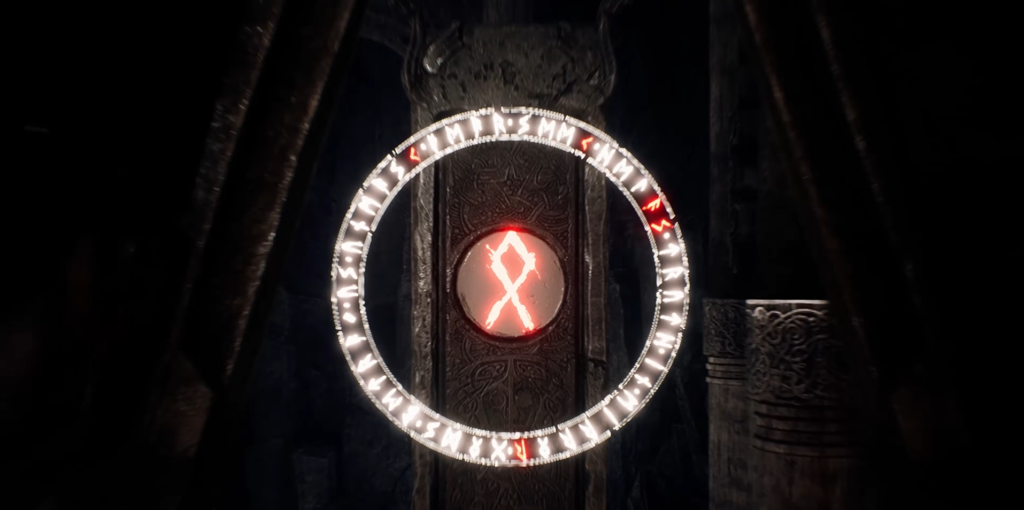
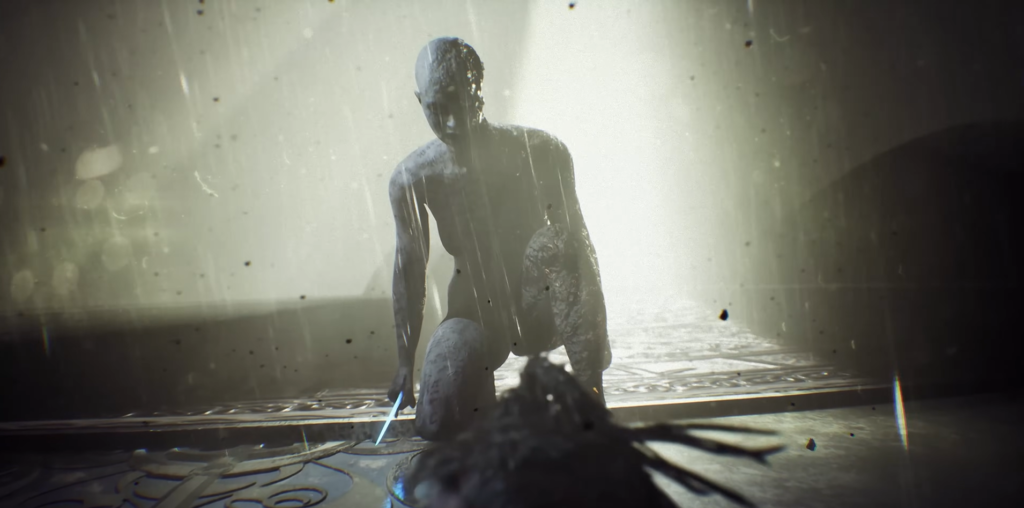
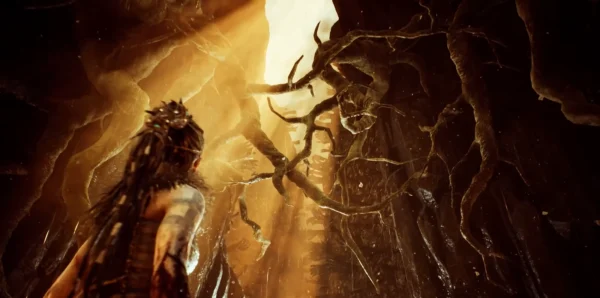
Behind the gates lies a long corridor with a portal at the end — this is the road to Hel. At the end of the corridor, the runic gates reveal a vision of Drut, after which the confrontation with Hel begins.

Battle with Hela
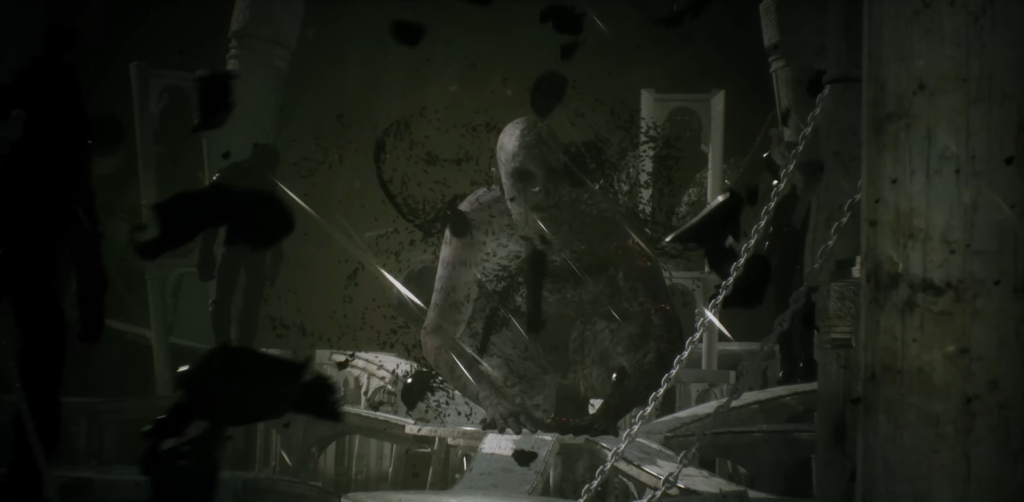
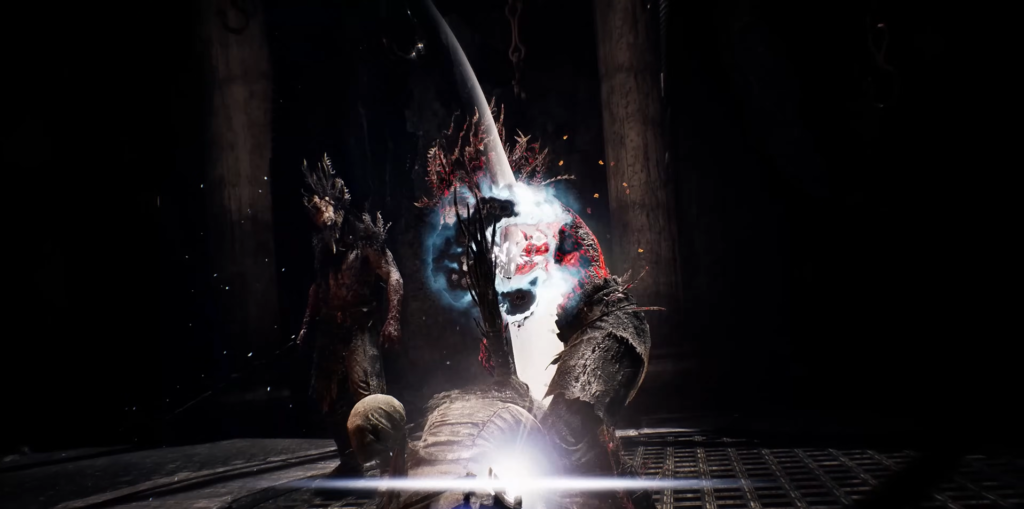
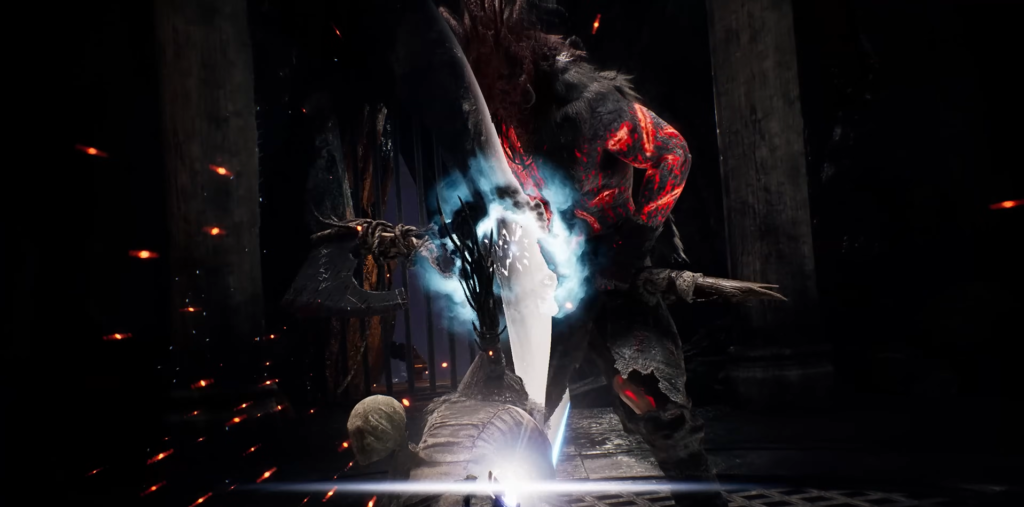
Fight your way through hordes of enemies to reach Hela. Bridges will explode and enemies will appear from everywhere. Odin’s sword in Senua’s hands burns with blue fire, granting her tremendous attack power and enhanced concentration. Slow down time and switch between targets. The only friendly voice in your head will warn you of attacks—dodge or parry according to its prompts.

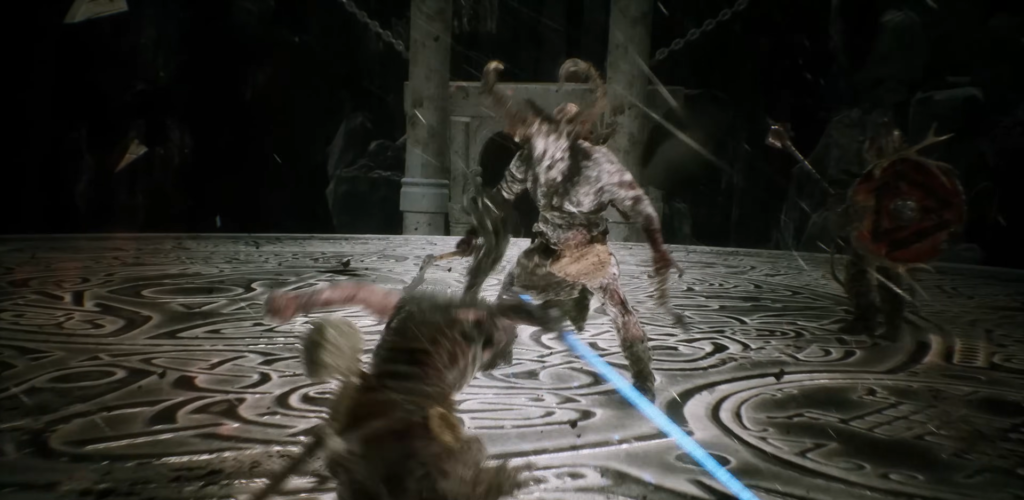
After the first wave, rush to the next platform, where the bridges will collapse again. Here you will encounter rotten versions of Surt, Valravn, and Fenrir. They appear and disappear randomly, sometimes replacing each other, sometimes attacking in threes. Remember the tactics of past battles: when to dodge, when to block. Use your strongest attacks and concentration until all three are gone.
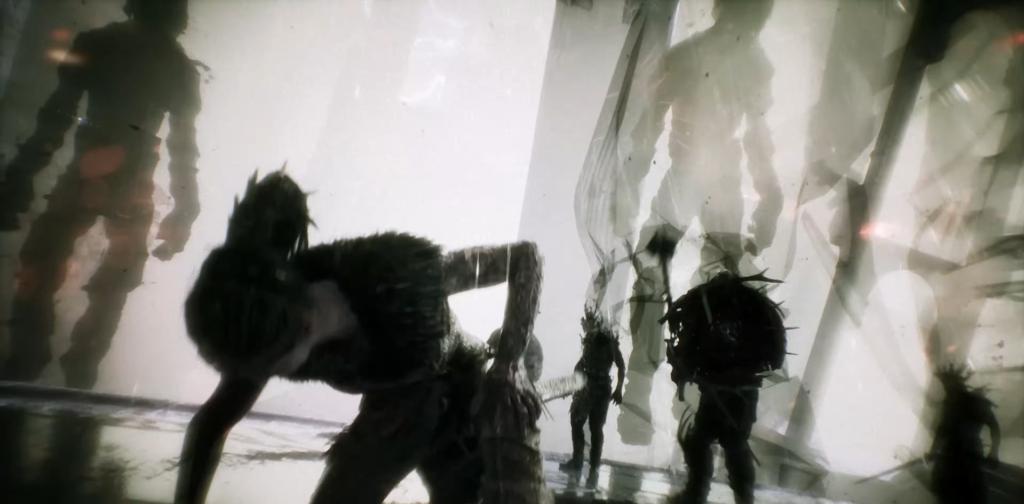
On the final platform, Hela will summon endless waves of enemies. No matter how much you fight, there is no end to them—new fighters replace those who have fallen. After numerous battles and falls, a voice will ask you to let go of everything and stop fighting. Only by stopping can you move forward.
Enjoy the finale of Hellblade: Senua’s Sacrifice.


Comments (0)
Sign In / Sign Up
Sign in to leave a comment.
No comments yet
Be the first one to share your thoughts!