
Start of test
The island and the burial mound
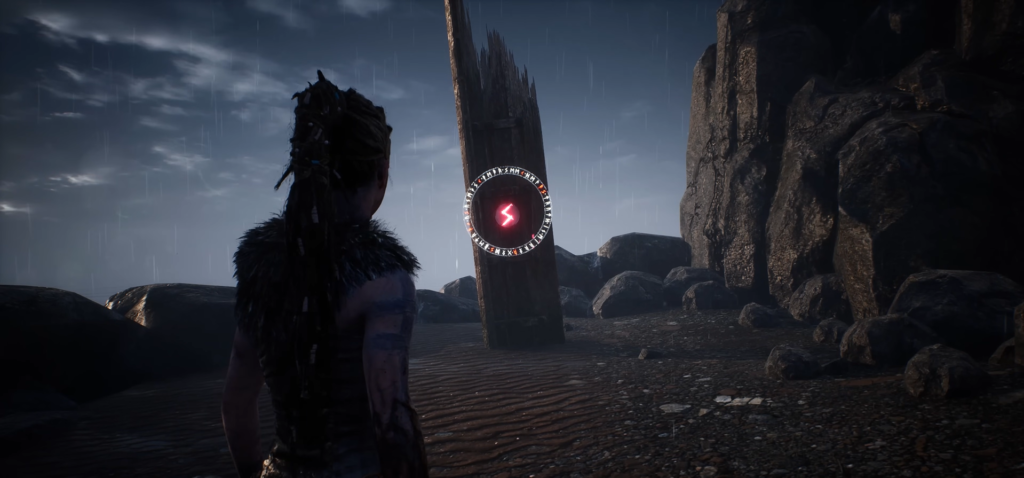
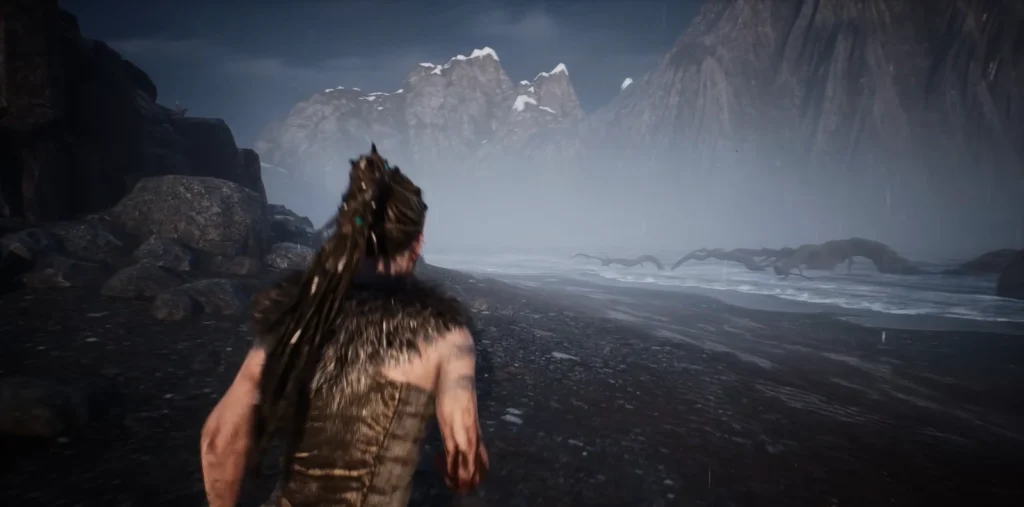
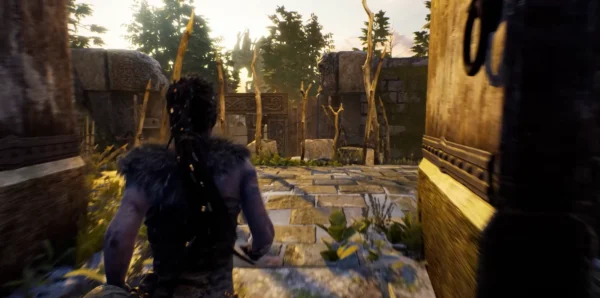
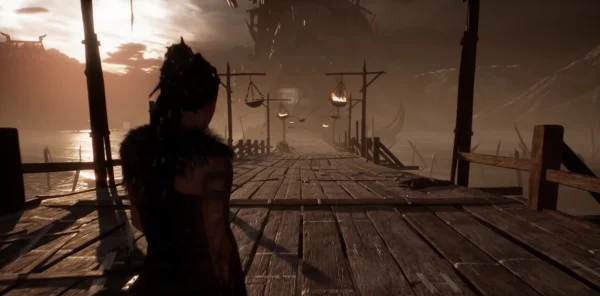
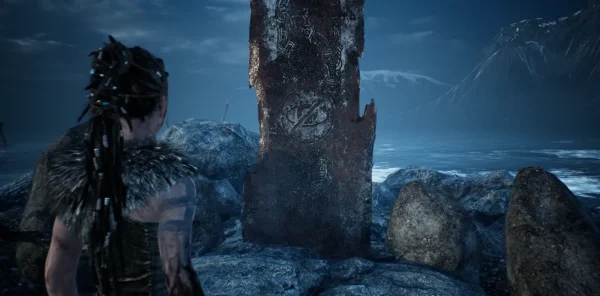
Senua finds herself on an island far from the tree—apparently, it is a burial mound. Red flags point the way to the right, but first explore the shore on the left: there you will find the Stone of Knowledge.
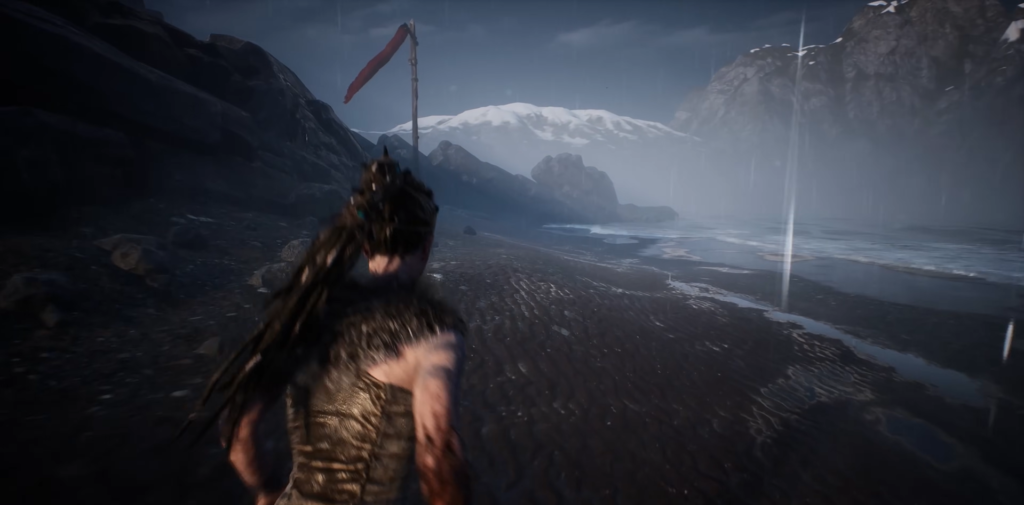
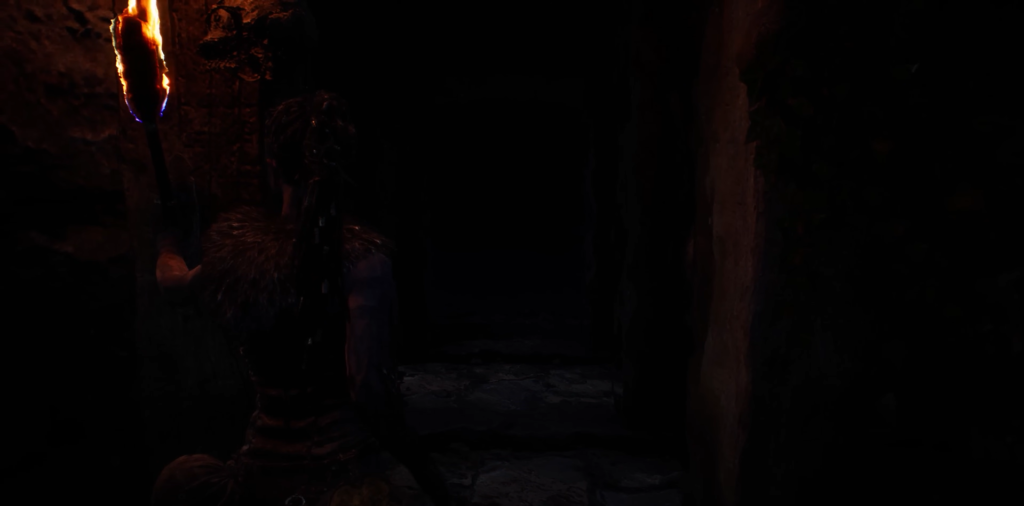
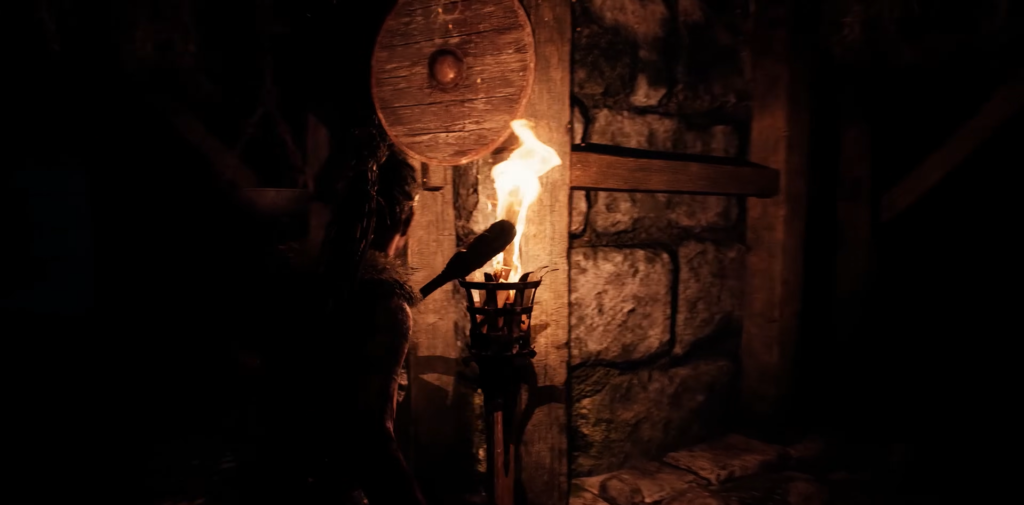
After that, follow the flags up the hill to the entrance of the burial mound. At the entrance, you will be greeted by a lone torch next to a dark, ominous passageway.
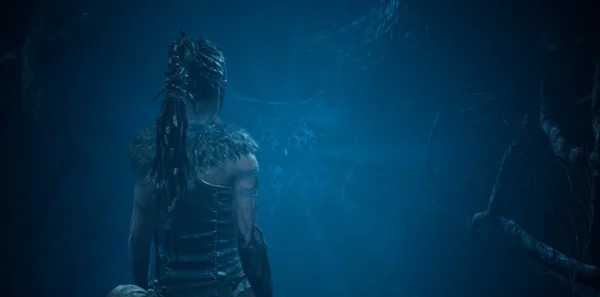
Navigating dark corridors
First forks
Upon entering the dark corridors, you will hear a roar, followed by someone’s voice. It sounds like Dillon’s voice, and it’s coming from the right, although there is also a path to the left.
| Action | Result |
|---|---|
| Go right | Follow the echo of Dillon’s voice |
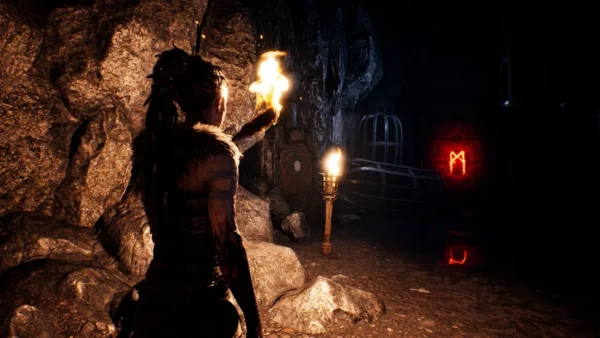
| Light the brazier in the next room | You will see a glowing figure in the far room (the path to it is blocked) |
| Go back and choose the left path | Light the brazier at the crossroads — it will mark where you have already been |
The voices are now muffled, but they point to the right again.
Exploring the Left Path
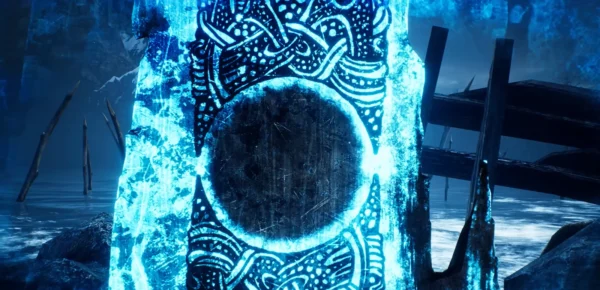
Before moving on, turn left. In this room, there is a beam of light on the right and a locked door with a Stone of Knowledge in front of it on the left. Examine it and return to the previous intersection.
Room with tree emblem
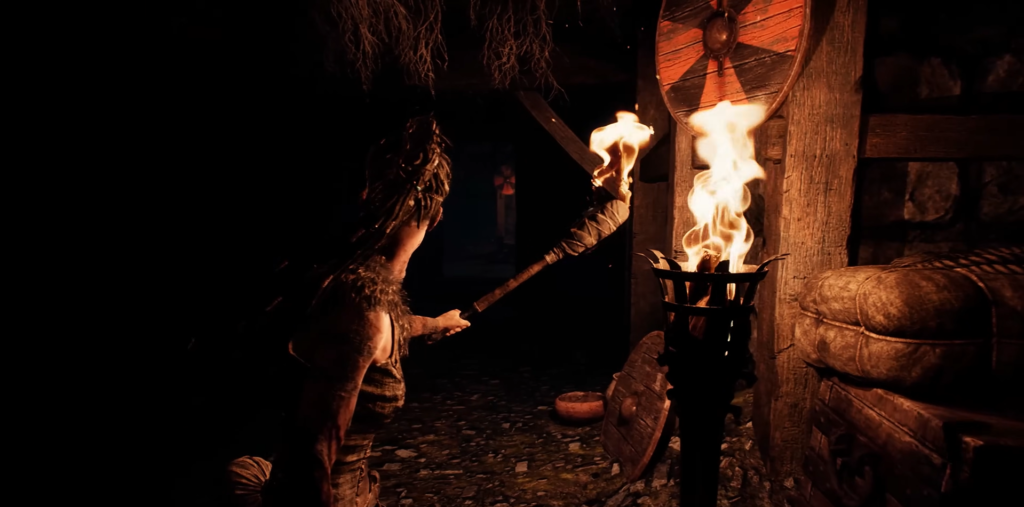
Now go to the right. Note: when you light the brazier here, another one lights up on the right—and that room looks identical to yours. With that in mind, turn left into the unlit room.
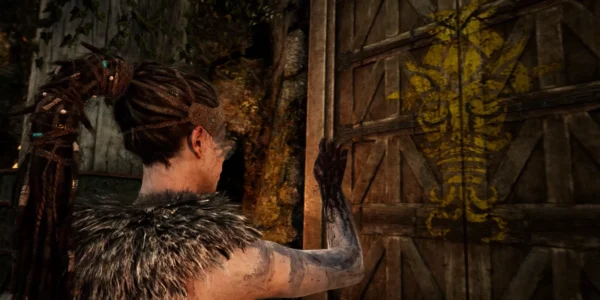
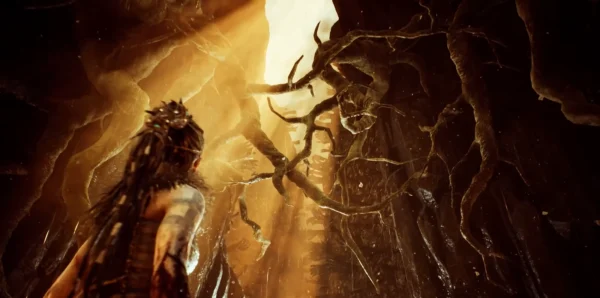
There is another Stone of Knowledge here — be sure to examine it. But most importantly, take a look at the tree emblem on the floor. The branches diverge from the trunk at specific points, as if pointing the way through the maze to the sword in the tree.
The Key to the Maze
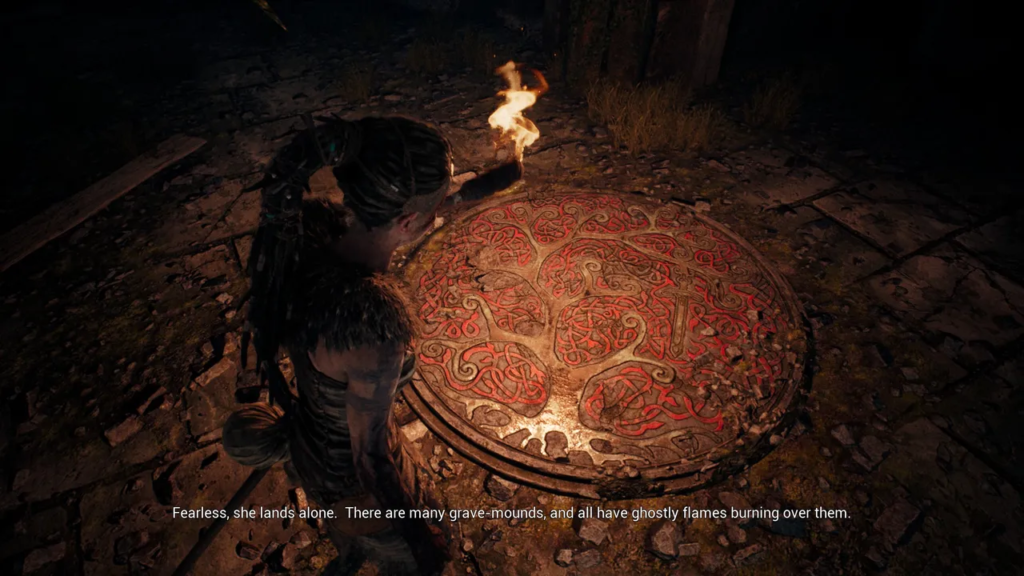
The emblem on the floor is the key to passing. The correct sequence of turns from the entrance:
Left → Right → Left → Right → Right → Right → Right
Important tips
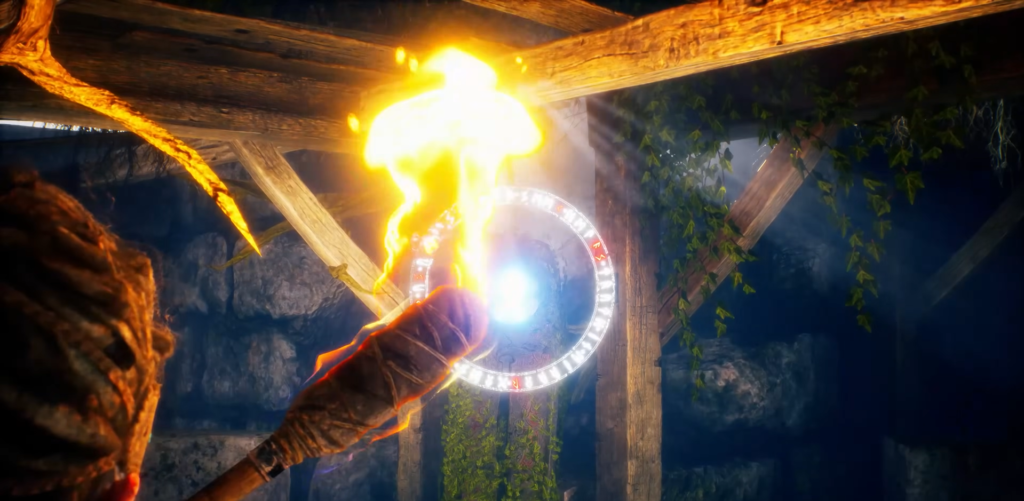
- Keep lighting the torches — they will help you find your way.
- Do not enter rooms that are already lit
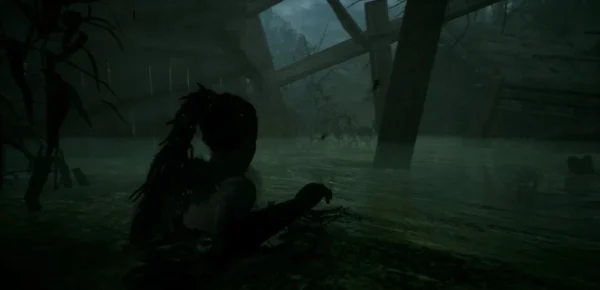
- The right path will lead to a room with a beam of light and a destroyed wall.
- The wrong path leads deeper and deeper, and Dillon’s voice becomes increasingly… strange. There you can also find another Stone of Knowledge
Final section
From the Stone of Knowledge deep in the labyrinth, the only room ahead is locked. How can you get inside? Return to the room with the destroyed wall and crawl under it.
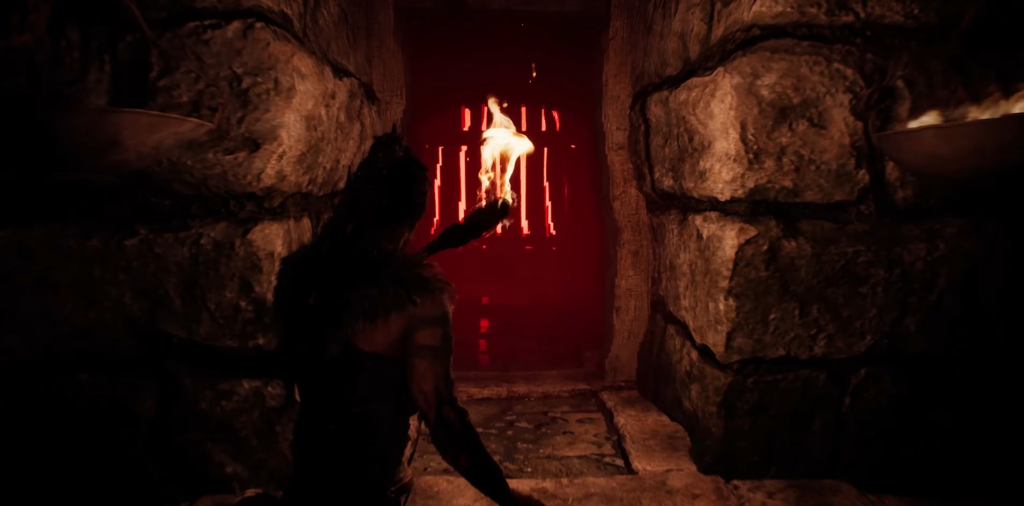
At the next intersection, the left path is already lit, so light the brazier in the current room and continue to the right. Ahead of you is a passageway with an eerie red glow.
Enter it, and the trial of the labyrinth will be complete.
All Stones of Knowledge in the Test
- On the shore to the left of the starting point on the island
- In front of the locked door in the left branch of the corridors
- In the room with the tree emblem on the floor
- Deep in the labyrinth (if you stray from the right path)


Comments (0)
Sign In / Sign Up
Sign in to leave a comment.
No comments yet
Be the first one to share your thoughts!