

The eighth part of the walkthrough is devoted to one of Odin’s four Trials — the Swamp Shard Trial.
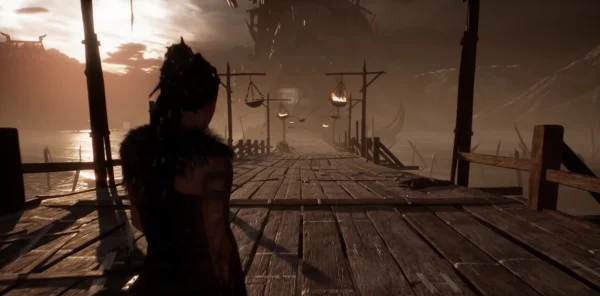
The Marshy Village
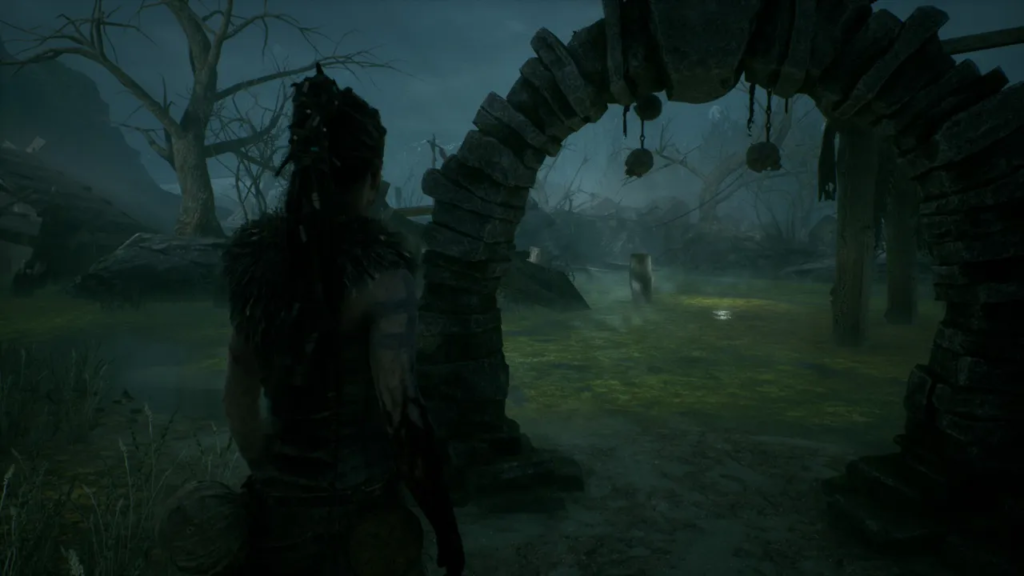
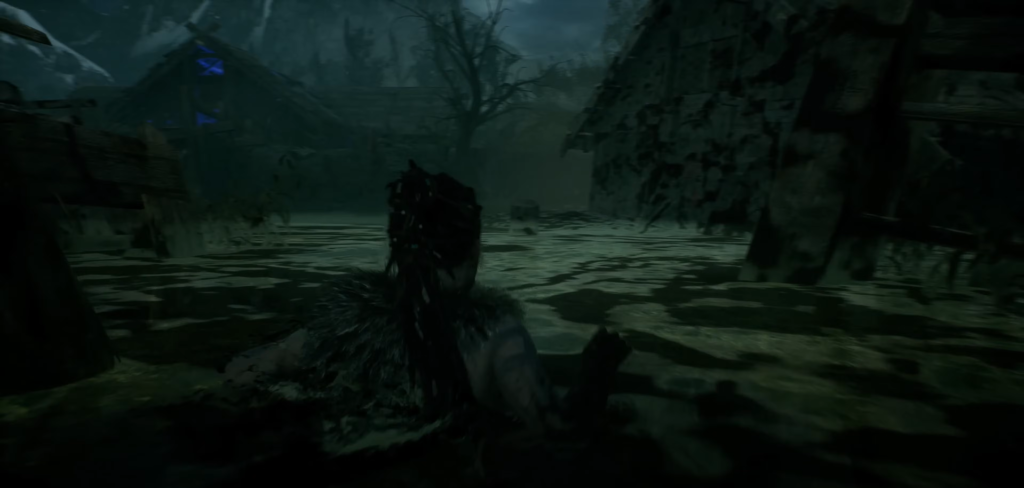
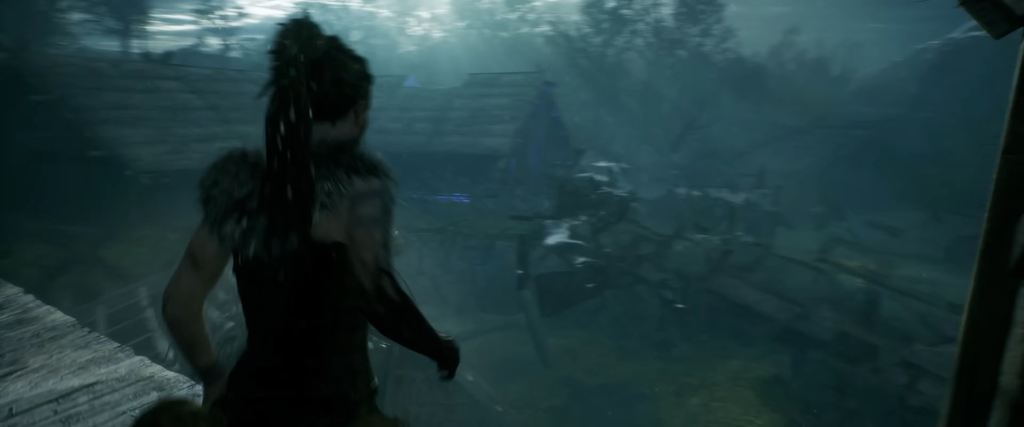
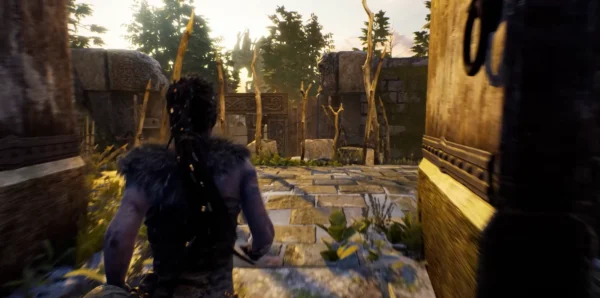
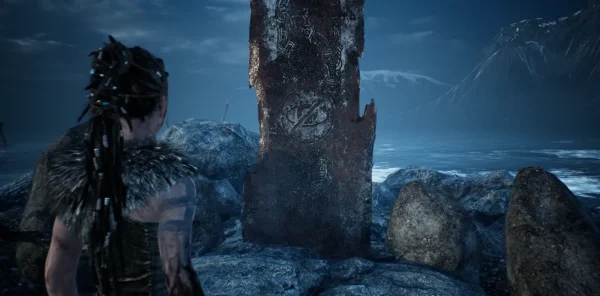
The teleportation point is located on a hill opposite the burial mound, high in the hills above the tree. An abandoned village will appear before you — pay attention to the house with the blue light.
Immerse yourself in the foul-smelling swamp and pass through the first house. Inside, you will find a stone arch resembling the gates of Valravn’s illusions. Look through the portal at the rubble: after passing through the arch, the path will be clear.
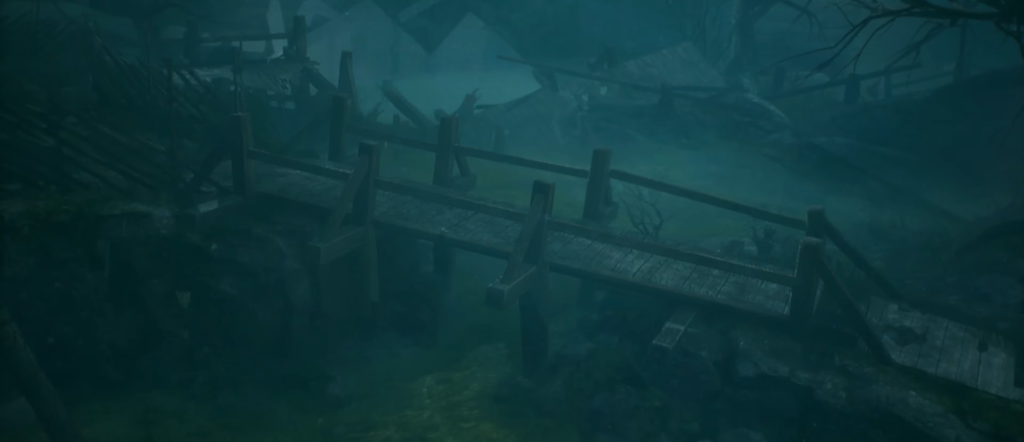
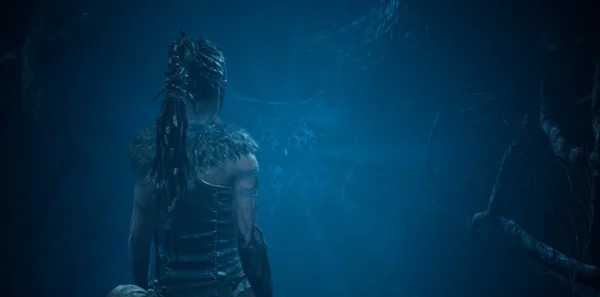
Bridge restoration
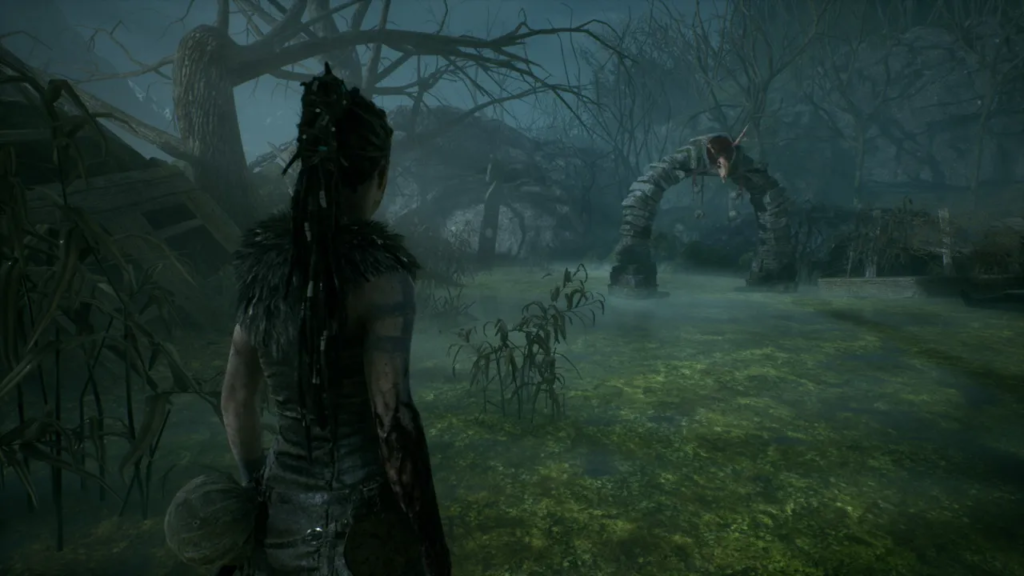
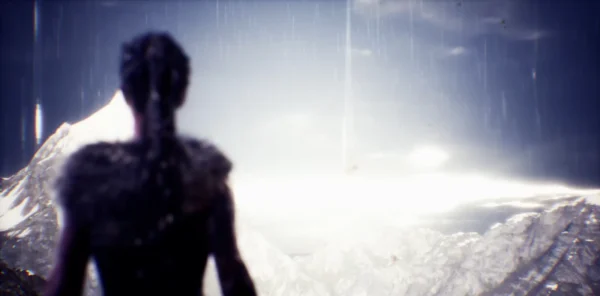
Ahead lies a destroyed bridge. The outlines of fragments are barely visible on it — exactly the same ones were found on the Bridge in Hel. The bridge will be restored if you look at it from the right angle.
Continue past the destroyed crossing to the next gate of illusions. Pass through it and the barricade will disappear. Behind it is another gate and the Stone of Knowledge.
Sequence of actions with gates
| Step | Action | Result |
|---|---|---|
| 1 | Pass through the gate | The doorway opens |
| 2 | Return to the previous gate | — |
| 3 | Pass through them again | The barricade closes, but the door remains open |
| 4 | Return | Access to the watchtower |
Climb up the tower and go out onto the bridge. From here, look at the destroyed bridge below—it will be restored.
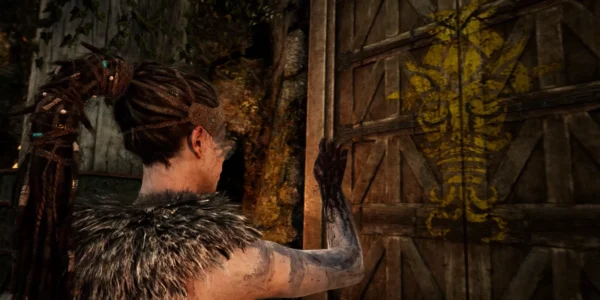
The big house and the runic door
Cross the restored bridge and enter the large house. Dillon’s figure has disappeared, but his voice calls you deeper inside.
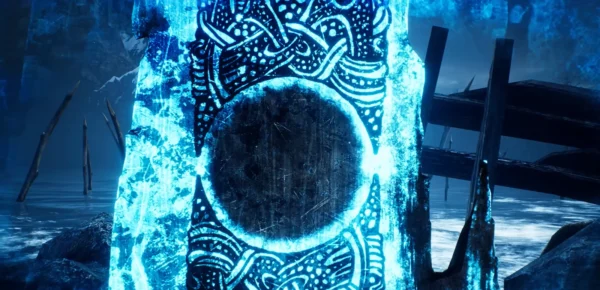
To the right of the main hall is the second Stone of Knowledge.
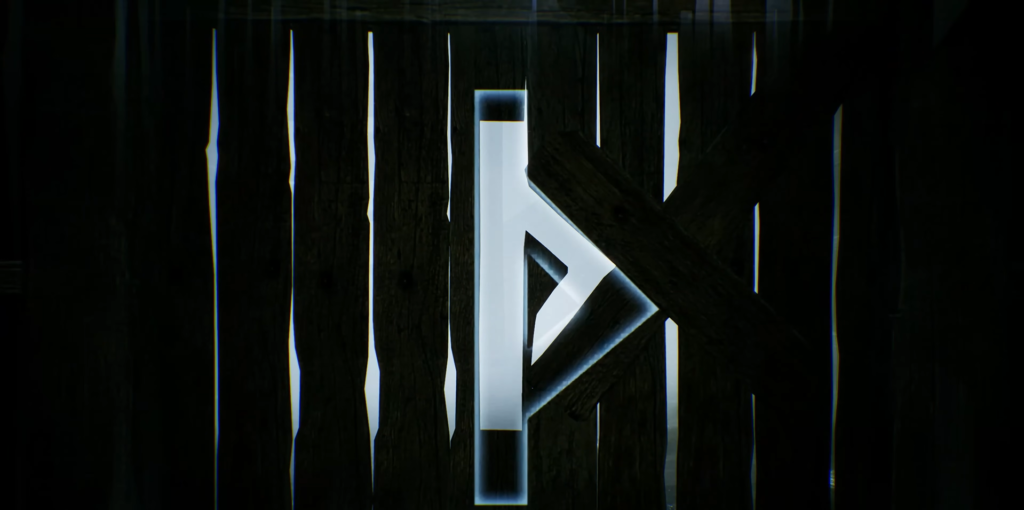
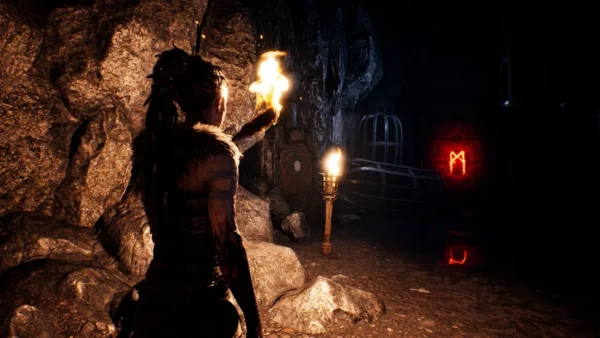
On the left is the Runic Door.
The Fiery Essence and the Search for Runes
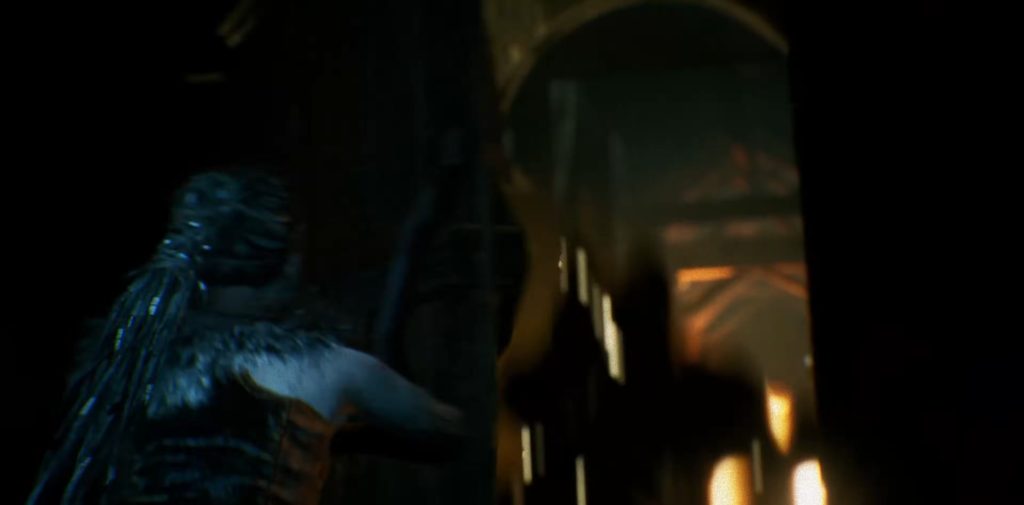
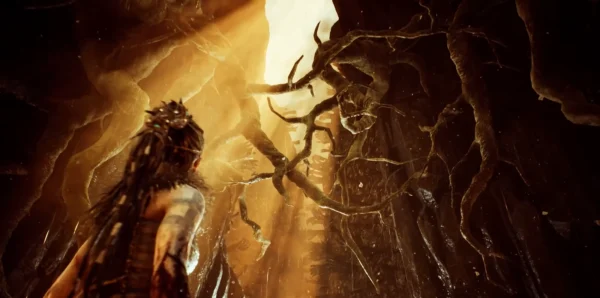
When you examine the Runic Door, you will be transported to a completely different house. Evil voices approach, and the light at the end of the corridor grows brighter.
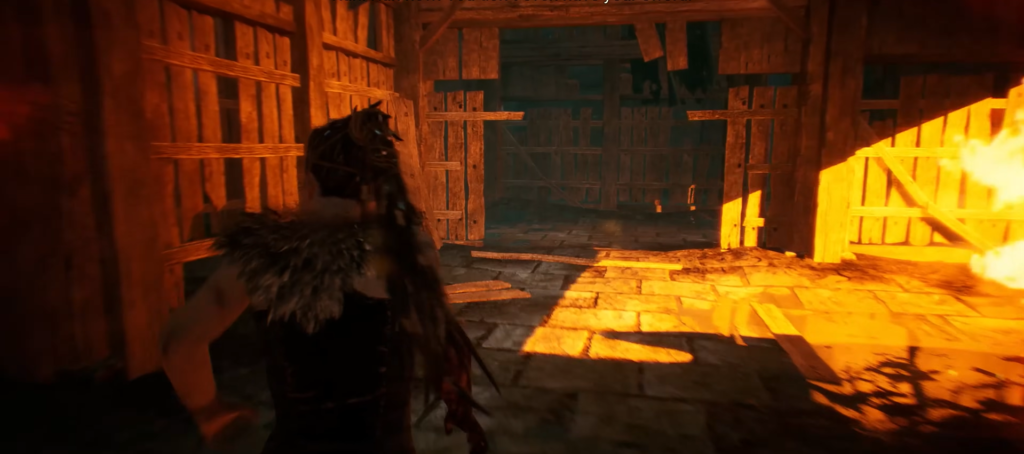
Warning: contact with the fiery entity means death. Run to the right immediately.
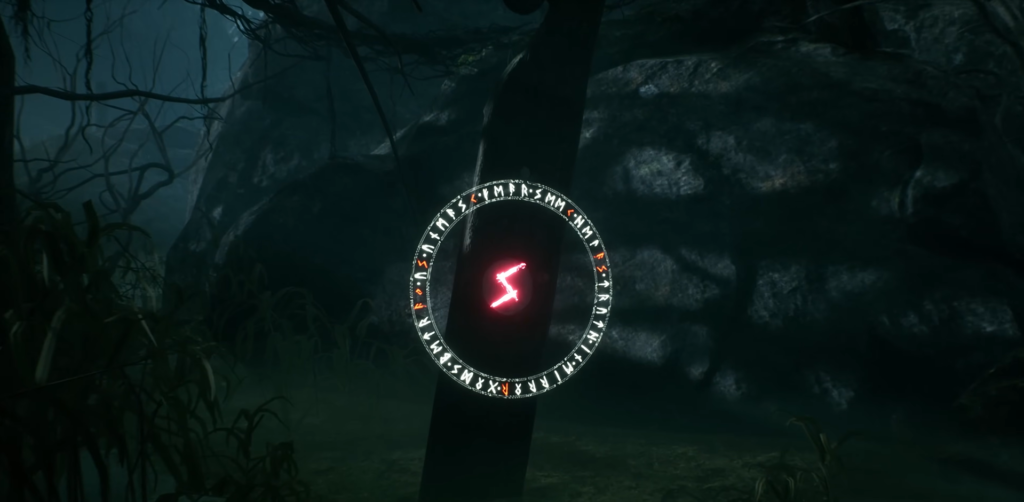
The arrangement of the three runes
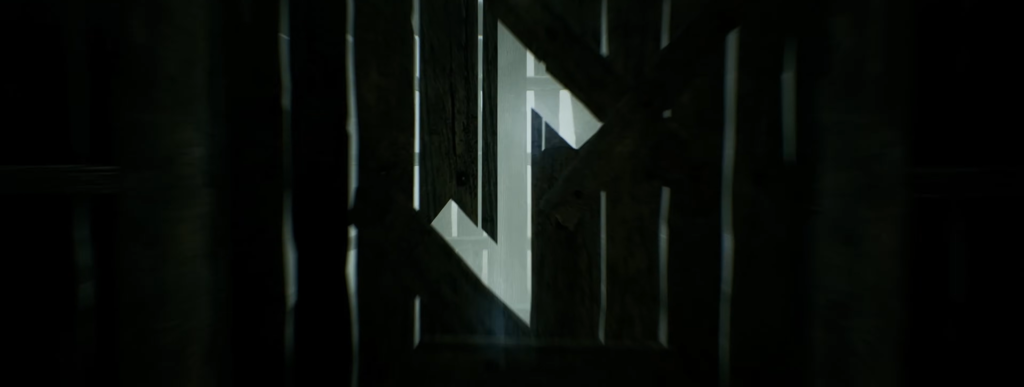
First rune (symbol “I”): At the first intersection, turn left and follow the light. The symbol is on the wall on the right.
Second rune (symbol “D”): stick to the right walls and look for passages you can slip through. In the far right corner, you can see the white figure of Dillon — next to it is the second rune.

Third rune (symbol “Y”): continue running straight ahead, keeping close to the right wall. Dillon’s silhouette will appear again ahead. Dive under the high wall — the last symbol is there.
Exit from the labyrinth
The door is on the left. If the entity blocks your path, retreat to the other side to confuse it in the maze. Find Dillion’s figure in front of the door and run quickly to the unlocked Runic Door. This will complete the trial.


Comments (0)
Sign In / Sign Up
Sign in to leave a comment.
No comments yet
Be the first one to share your thoughts!