
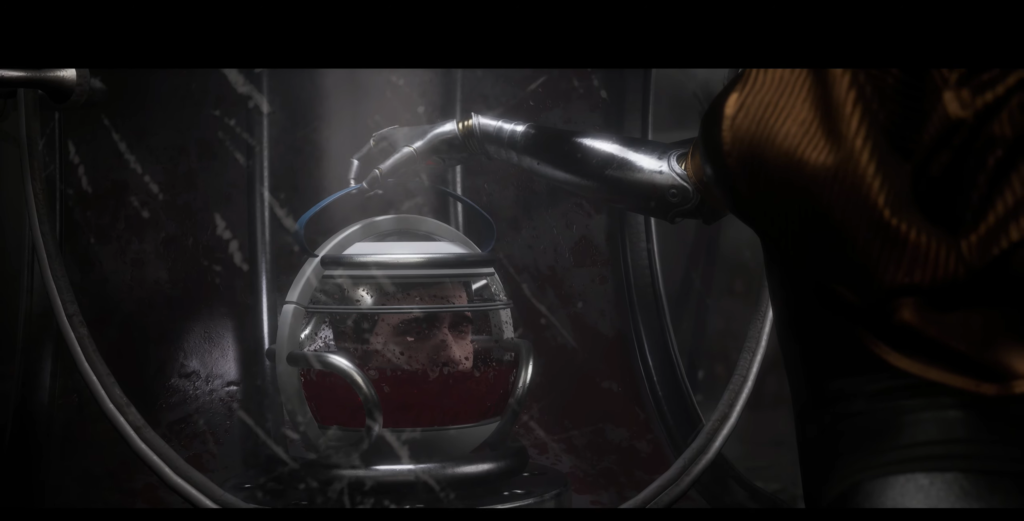
After defeating Natasha and escaping from the theater with Petrov’s head, a new chapter in P-3’s adventures begins. Ahead lie crossing the bridge, exploring the sanatorium, and descending into the sinister morgue. Below is a detailed guide for each stage.
Crossing the bridge to the Pavlov Complex
Before heading to the bridge, it’s a good idea to finish the Training Grounds—there are plenty of battles ahead, and some extra practice won’t hurt.

The bridge is located in the northeastern part of Site 3826. Once you find the point marked on the map, you’ll discover the start of the crossing and two vehicles to choose from. Get in either one and step on the gas—the bridge is swarming with both standard and large mutants, and two Ivy are waiting there.
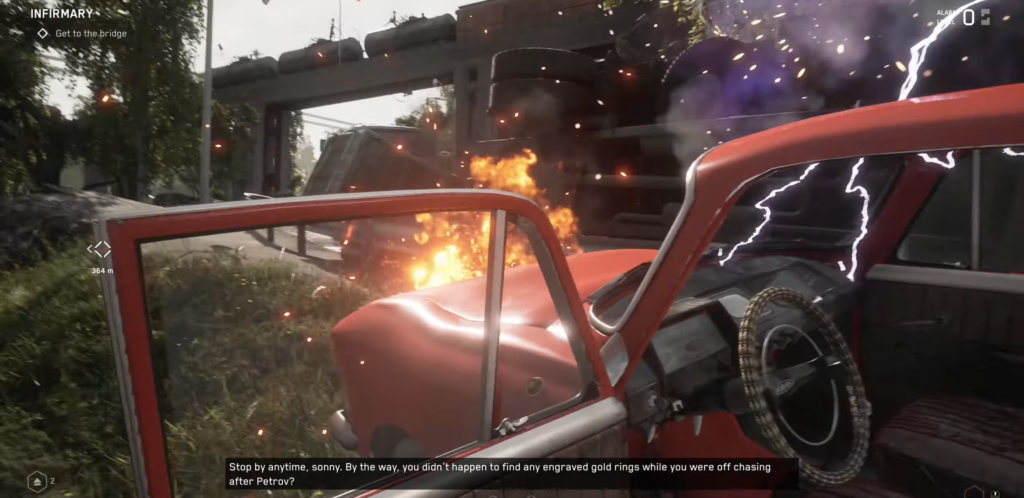
The main rule of the crossing: don’t waste time fighting. Use your car as a battering ram and race forward without looking back. Driving in the game feels like driving on ice, and cars explode at the slightest opportunity. If your car breaks down, run to the spare car parked in the middle of the bridge, or just sprint to the opposite bank.
Once you reach the other side, turn right—that’s where the save point is. Use it before moving on.
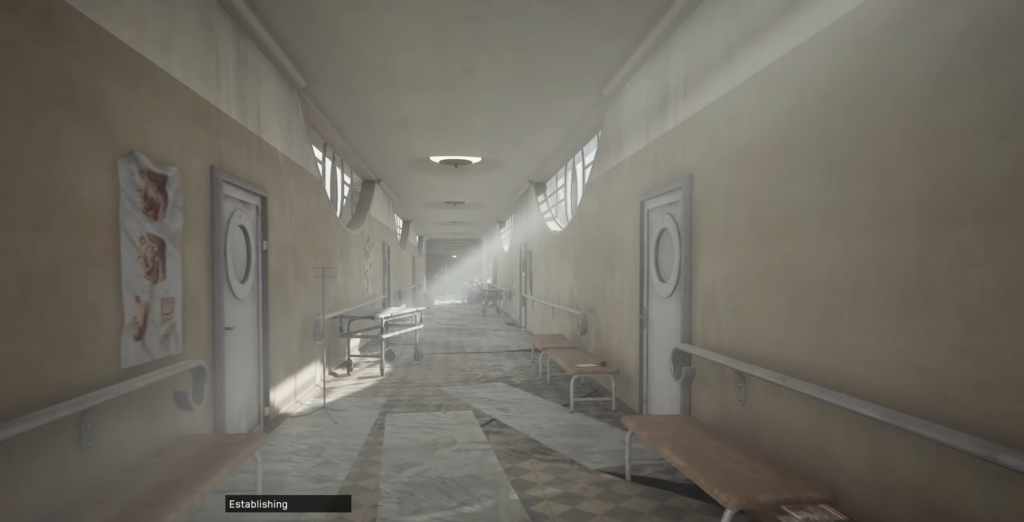
Clinic
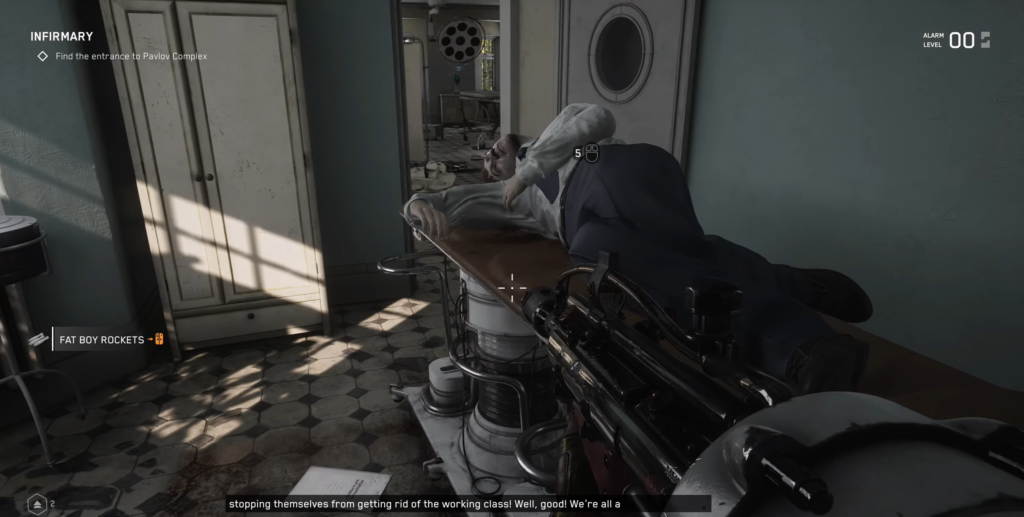
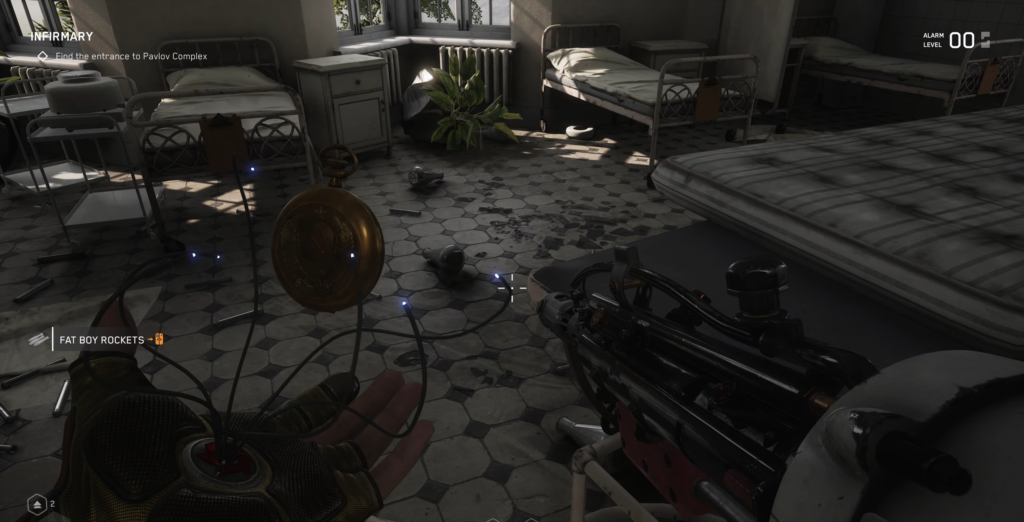
The next destination is the Infirmary, located south of the end of the bridge. Watch out for surveillance cameras as you approach. Once you enter through the double doors, search the room thoroughly: resources are scattered about, and you’ll find chatterboxes and bodies you can talk to. Make sure you don’t miss anything.
Once you’ve finished the inspection, head to the operating room at the back of the building. There you’ll find a staircase leading to the basement. Go down, find the elevator, press the call button, and ride down.
Entrance to the Pavlov Complex
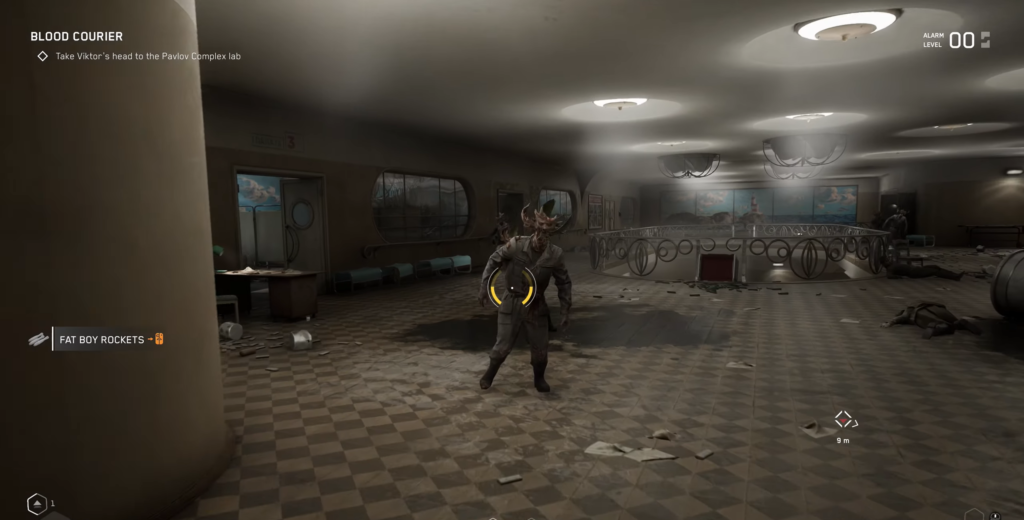
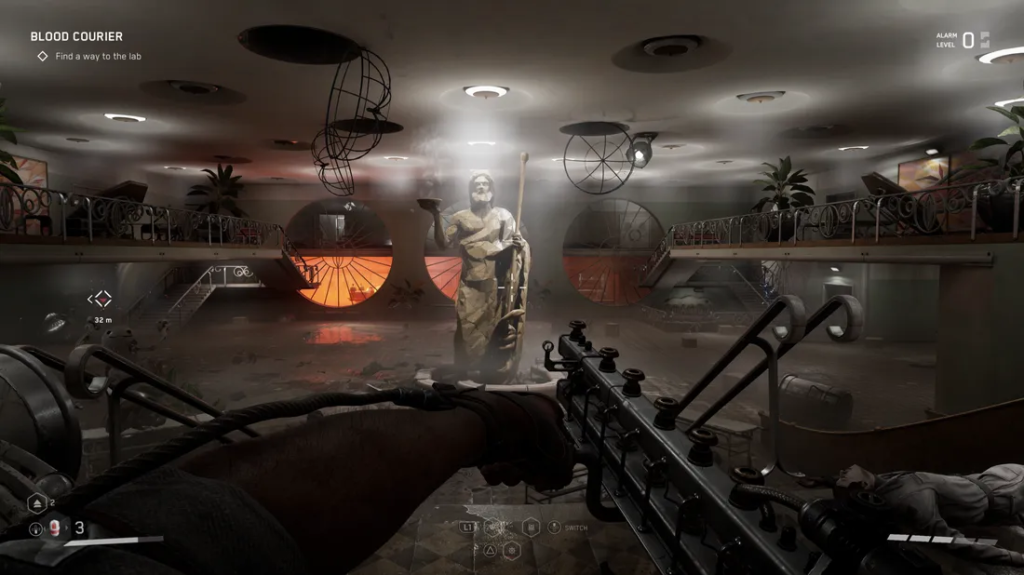
The elevator will take you to a spacious atrium—this is the Pavlov Complex. An entire army of mutants will be waiting to greet you.
The Atrium spans three floors, and the key to a quick clear is finding and eliminating the Mothers in every room. As long as they’re alive, the mutants will keep multiplying. Arm yourself with powerful melee weapons, keep your assault rifle at the ready, and methodically comb through the floors from top to bottom all the way down to the basement. Among the enemies, you’ll encounter large mutants, fire and poison variants, as well as a new type—the nurse mutant.
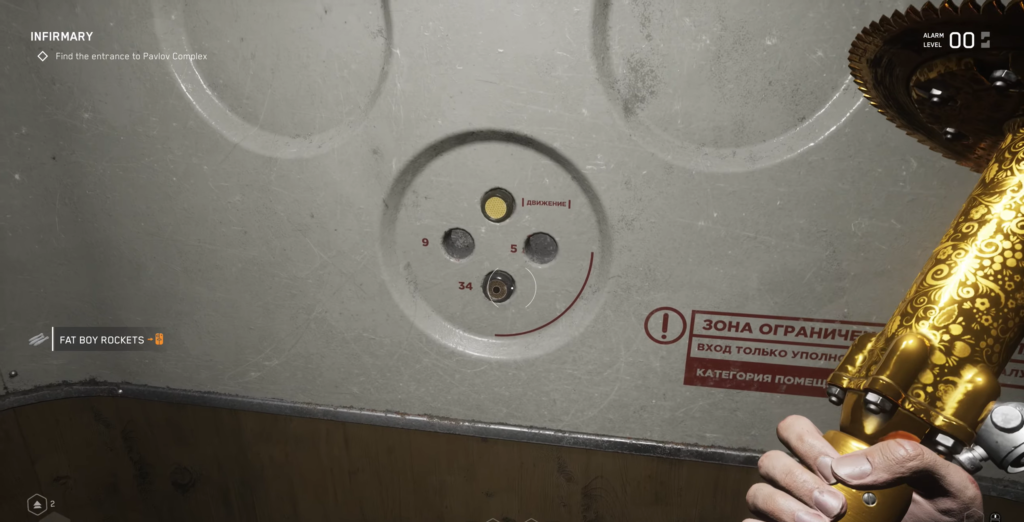
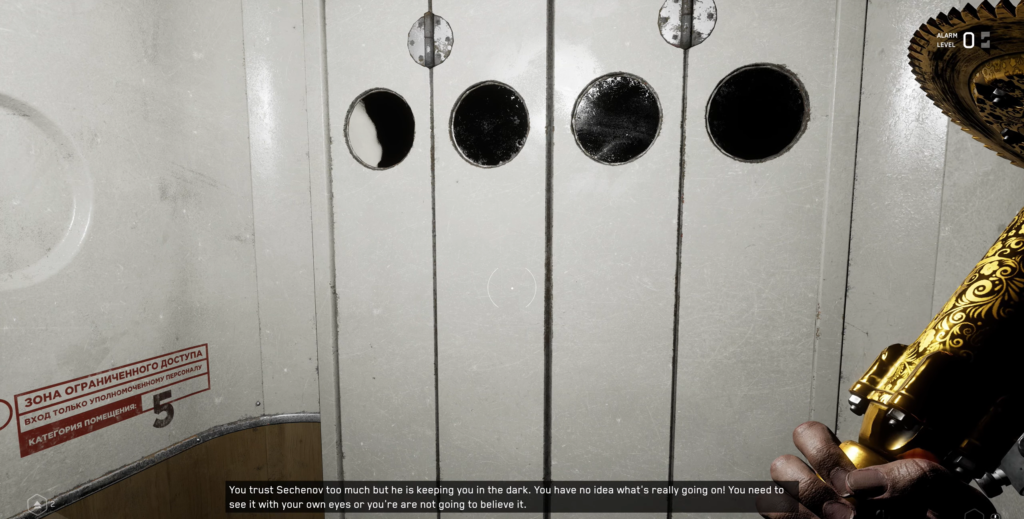
Door code at the Clinic
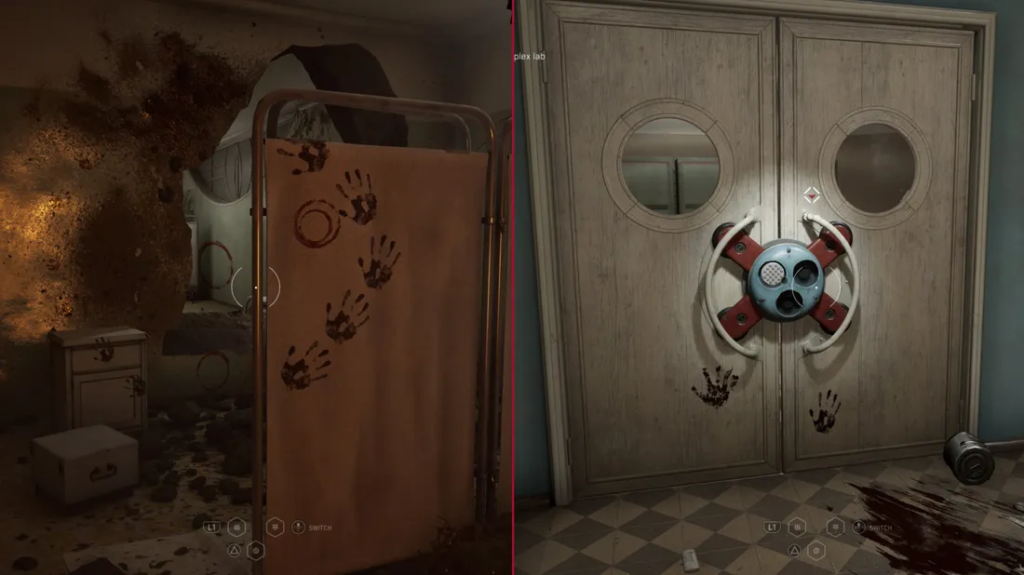
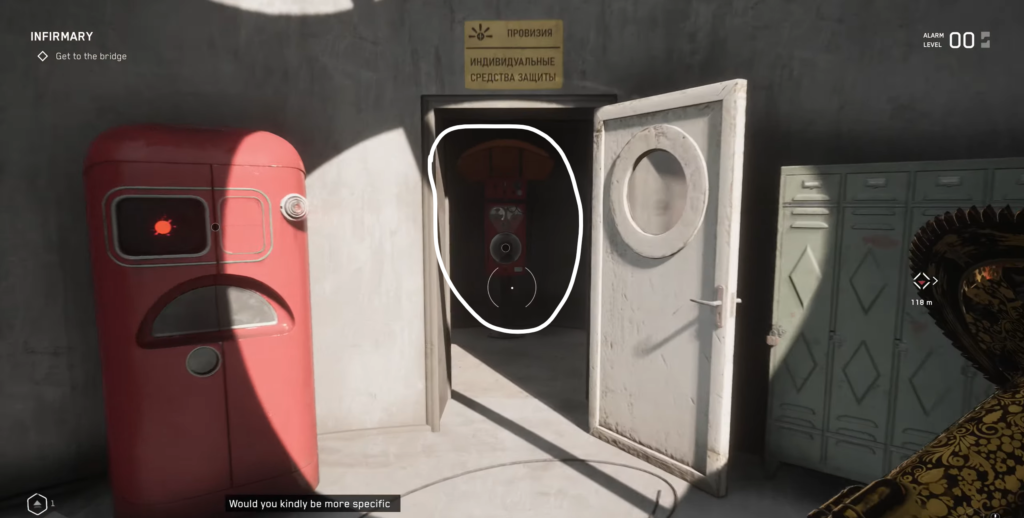
There is a locked door on the second floor of the atrium. A clue to the code is hidden in the basement: in one of the rooms, opposite the raging flames, there is a gap in the wall. Look behind the curtain nearby and angle the camera so you can see a circle of bloody handprints with several red circles in the center. These marked symbols are the combination for the lock.
Return to the locked door on the second floor and enter the code. Behind the door are chests containing loot. After looting the room, look for a lockable door at the far end of the second floor that leads to a new corridor.
Advancing deeper into the Complex
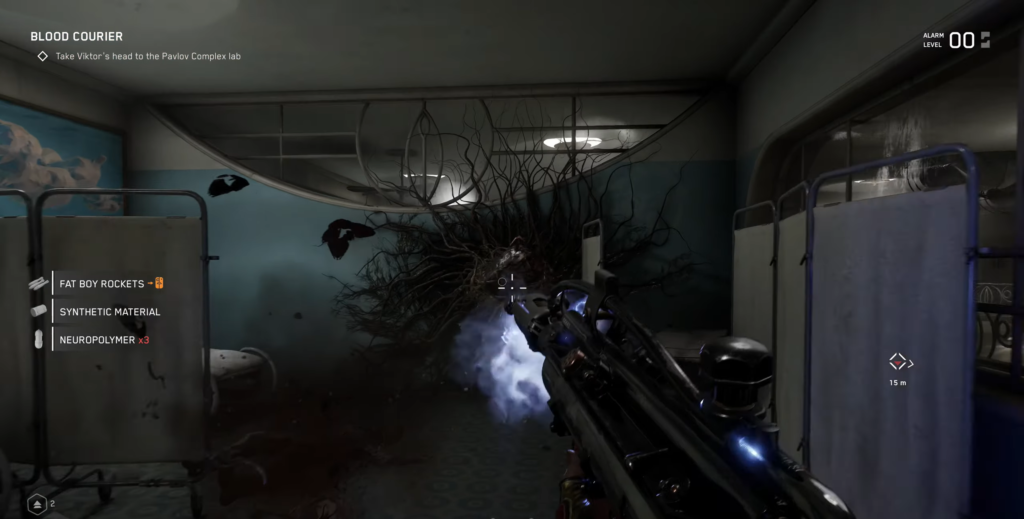
After breaking down the door, turn left. Take out the large mutant, go down the escalator, and clear the small hall of another group of mutants.
Next, go through the service door. You’ll come to a fork in the path: a staircase leading down and a passageway to a railing, beyond which you can see a room full of mutants. Ignore the staircase for now—jump over the railing and engage in combat.
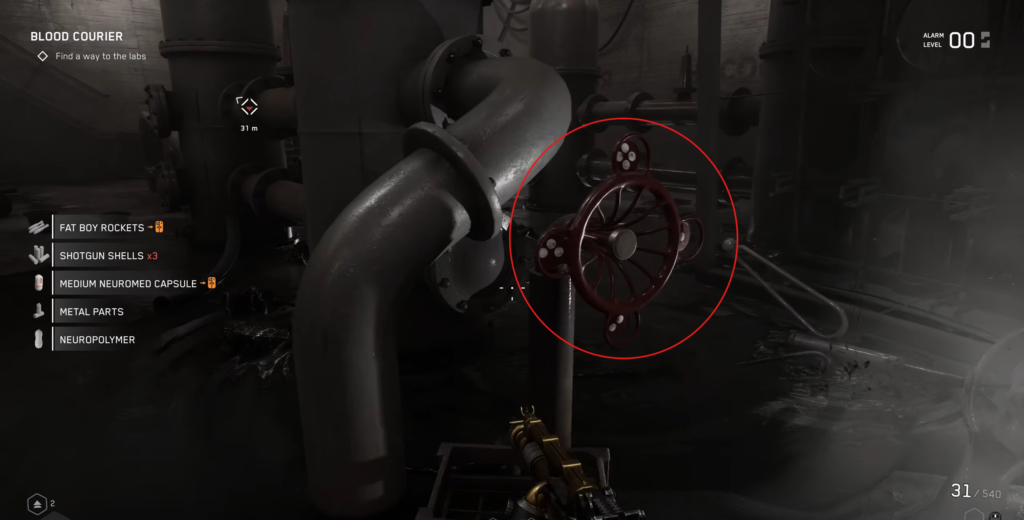
After clearing the area, find the red valve in the far left corner of the room and turn it. Now return to the staircase—it will be flooded. Dive down and swim up through the opening at the top to reach a new area with a locked door.
Pick the lock.
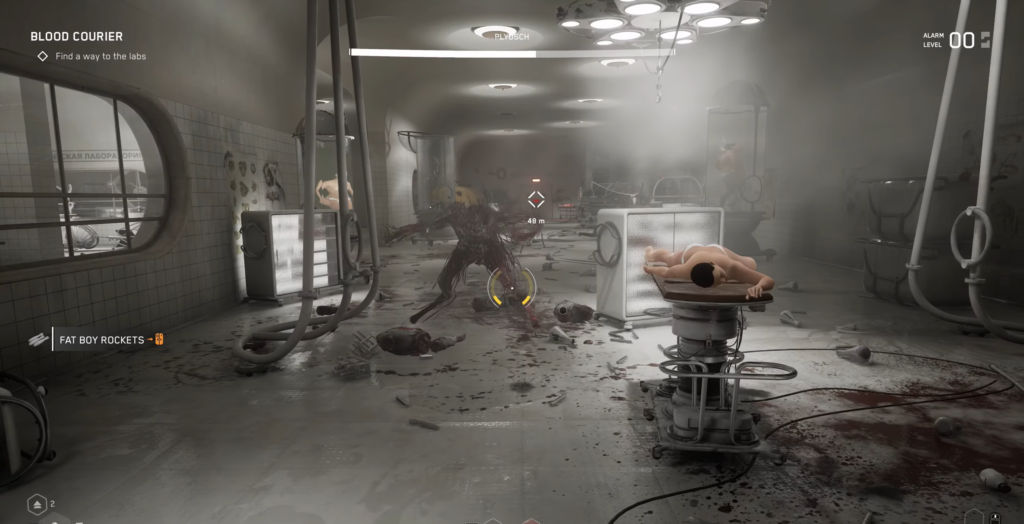
Behind the door is a large, sterile white laboratory. Once again, there are mutants, including Mothers—take them out first to shorten the fight. The goal in the lab is to find the key disc to proceed to the next area.
The key is hidden in the surgical compartment in the far left corner. Look for a row of green shelves—the key disc is on the one with blood dripping from it. Pick it up and open the door in the hallway to the right of where you found it.
You will find yourself in a small operating room. Take cover in the nearby safe room and take the elevator down.
Morning
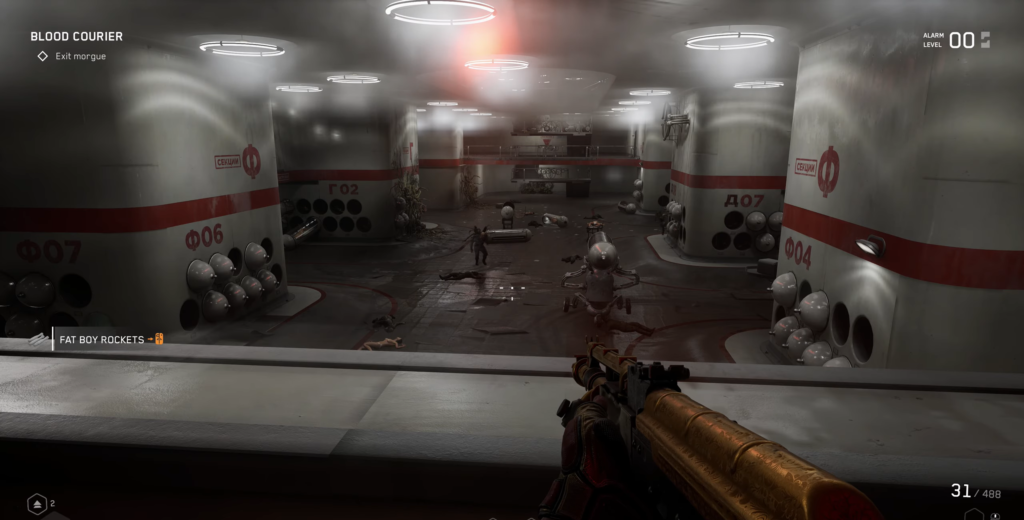
When you exit the elevator, you’ll find yourself in the Morgue. Turn left and go through the doorway into a spacious room filled with mutants. Jump down and start clearing the area—soon, a familiar enemy will appear in the center of the room.
Battle with Ivy: Round Three
Ivy returns for the third time. A word of warning: this section suffers from bugs—sometimes only the boss’s health bar appears, while the boss himself doesn’t show up. If you encounter this, restart the segment. However, you can continue without his attack if he never materializes.
The battle itself is no different from the previous two encounters, but it’s made more difficult by swarms of mutants and patrolling robots. The tactic remains the same: use heavy melee weapons (or the Fat Man, if you have it) and don’t be afraid to engage in close combat. Dodge grabs, evade attacks, and methodically chip away at their health. A detailed breakdown of the mechanics is available in a separate guide on Ivy from earlier chapters.
After defeating the boss, go to the other side of the room and climb the stairs to the safe room. Save your game, then go through the door opposite and head down the hallway to the right. You will find yourself on the second floor of the morgue. Eliminate the mutants, cross the room, and climb the stairs to the third floor.
Break down the door upstairs to leave the morgue. In the new hallway, turn right and find the safe room. Save your game, then look for the large door nearby.
Dining Hall and Distribution Center
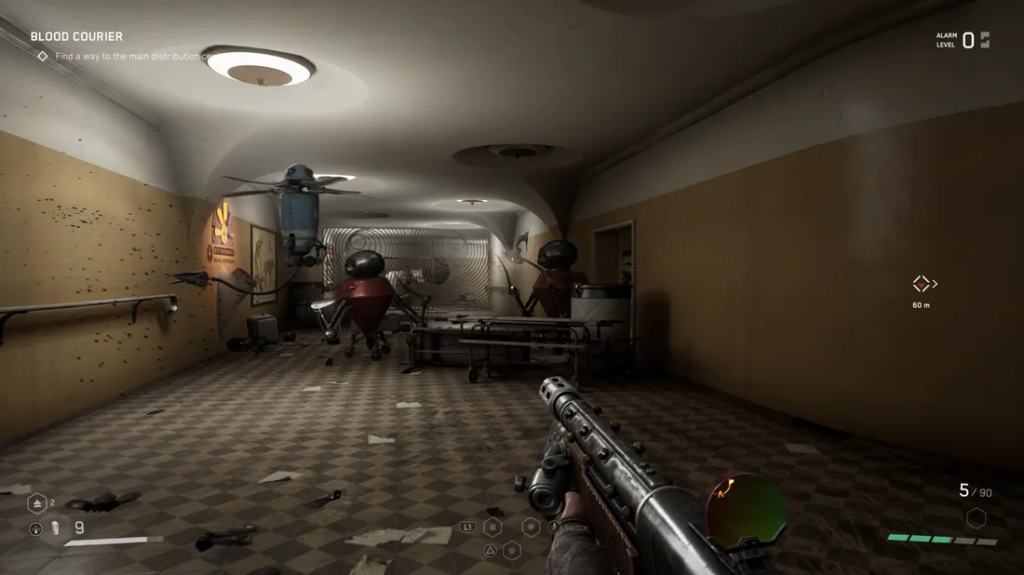
Behind the large door is a small dining hall. Here, you’ll have to fight Rotobots, turrets, and Bees. Once you’ve taken care of them, turn right, go through the dining hall, and break down the door on the opposite side.
You will arrive at the Distribution Center. Destroy the robots on the second floor and the missile-firing Owls attacking from above. Then make your way to the opposite side of the lobby, hack the sliding door, and proceed further.
The corridor will lead you to a large laboratory where polymer experiments are being conducted. Follow the path through the lab while listening to Charles explain the purpose of the experiments. A cutscene will play at the end.
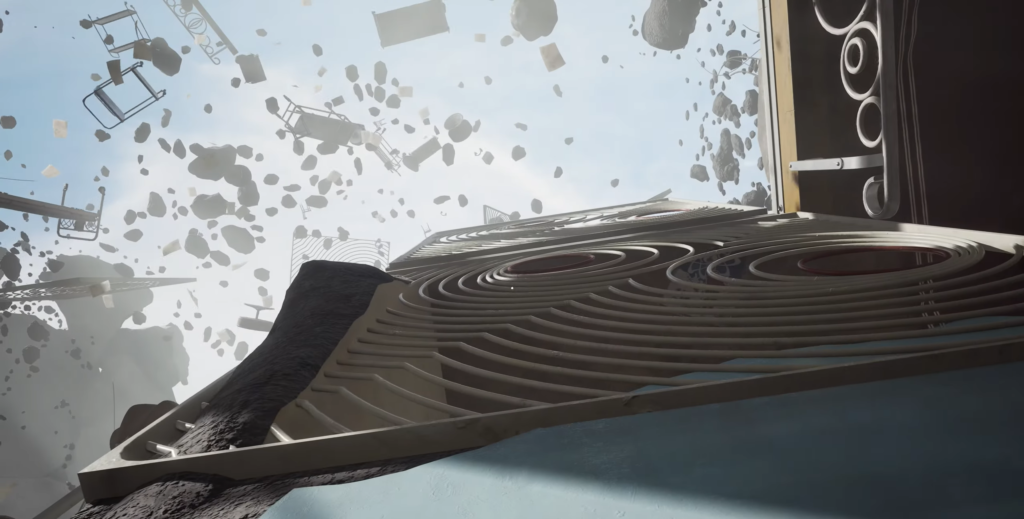
Return to Sleep
After the cutscene, P-3 finds himself back in the world of dreams, familiar from the VDNKh segment. This section is mostly linear—just keep moving forward and listen to the dialogue while exploring all the areas that open up.
If you get lost, look around 180 degrees: developers often use the technique of changing the environment behind the player, and that’s often where the path forward is hidden.
The only tricky part is the blue room with the platforming. Here’s what to do:
- Go around the side of the room and find the ledges on the wall.
- Climb up them, move to the left, and jump onto the hanging lamps across from you.
- From the hanging light fixture, jump onto the path on the right.
- Follow the path until you see a broken staircase leading upward.
- Jump from the staircase onto the floating table opposite, and from there to the third floor.
- Climb to the top—the dream will end.
End of Chapter
When you wake up, leave the room through the doors at the back and take the elevator. P-3 will ascend to the surface and receive a call from Dr. Filatova asking him to come to the lighthouse to finally get answers to all his questions. That is where the path leads in the game’s final chapter.


Comments (0)
Sign In / Sign Up
Sign in to leave a comment.
No comments yet
Be the first one to share your thoughts!