

The Vavilov Complex is the first full chapter of Atomic Heart, starting immediately after the prologue. Essentially, it’s an extended tutorial section where the player learns key mechanics: melee combat, scanning, hacking, telekinesis, and much more. P-3 must descend into an underground laboratory, find weapons, and discover that his mission is far more complicated than it seemed.
Awakening and the First Battle
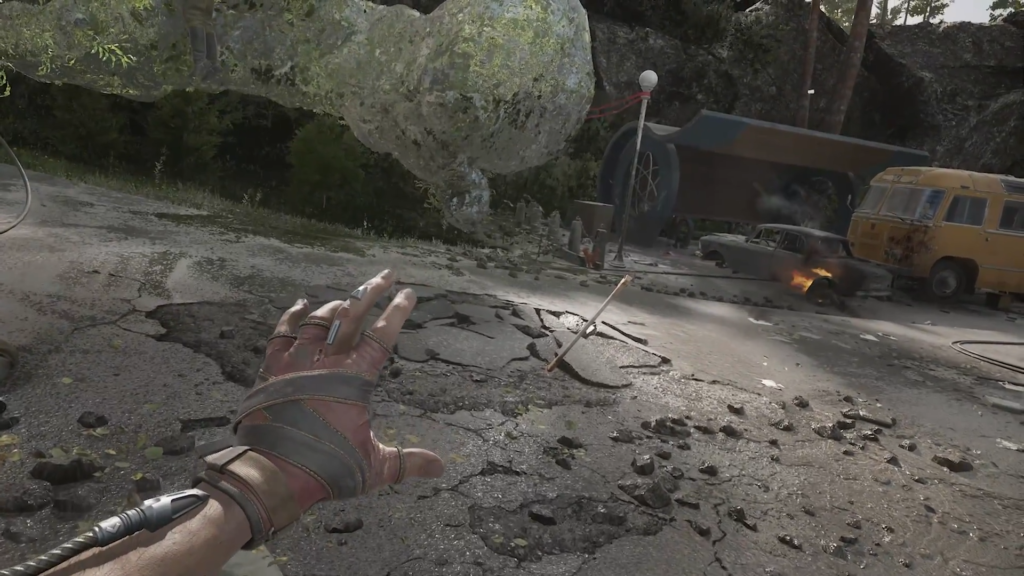
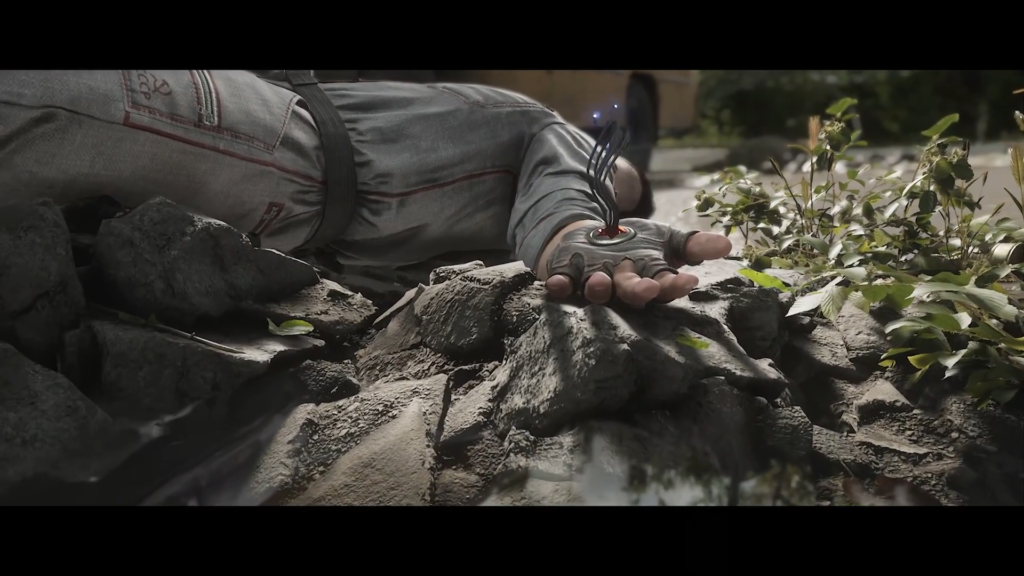
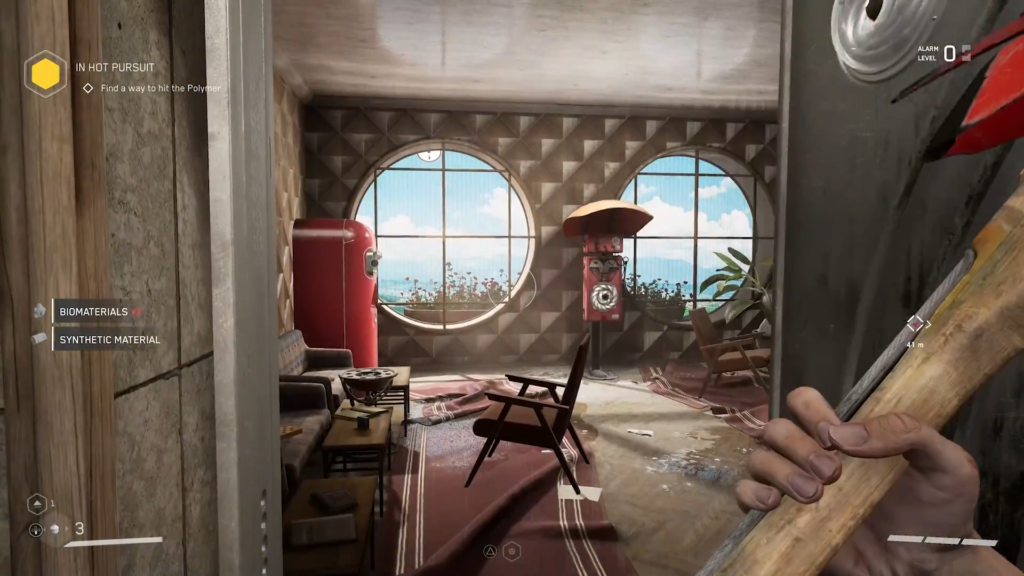
After the crash, P-3 will wake up on a broken road. During the opening scene, he’ll find a fire axe stuck in the ground—this is your first weapon. Move forward down the street.
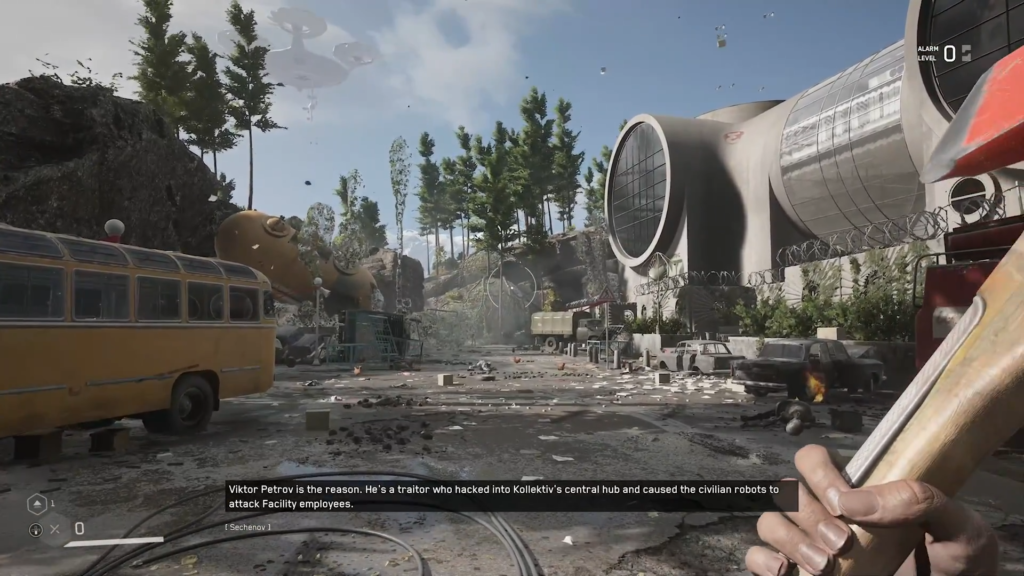
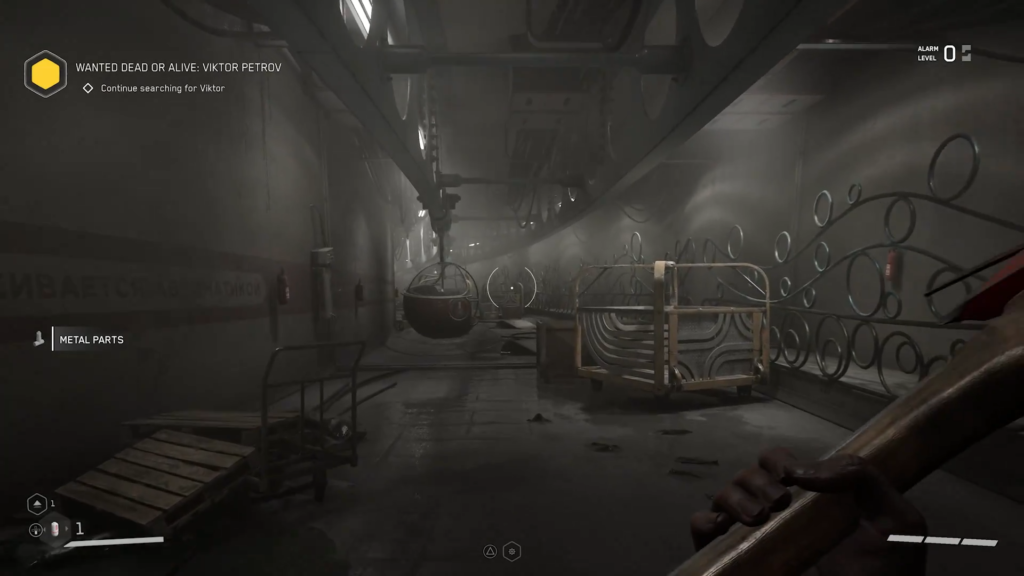
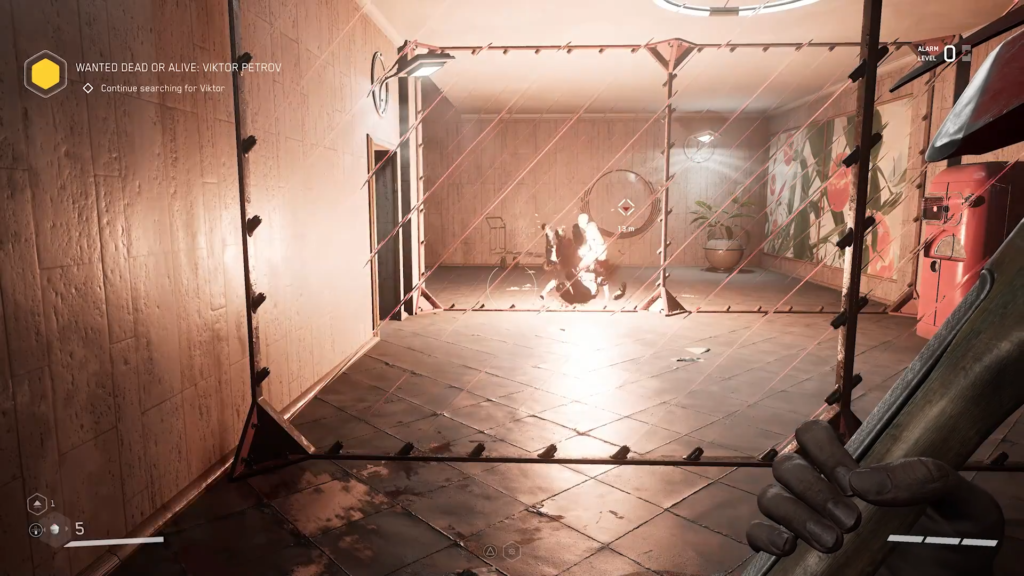
While you’re out walking, Sechenov will call and explain the situation: the robots at the complex have rebelled because of a scientist named Viktor Petrov who works at the facility. P-3’s mission is to find and destroy this scientist.
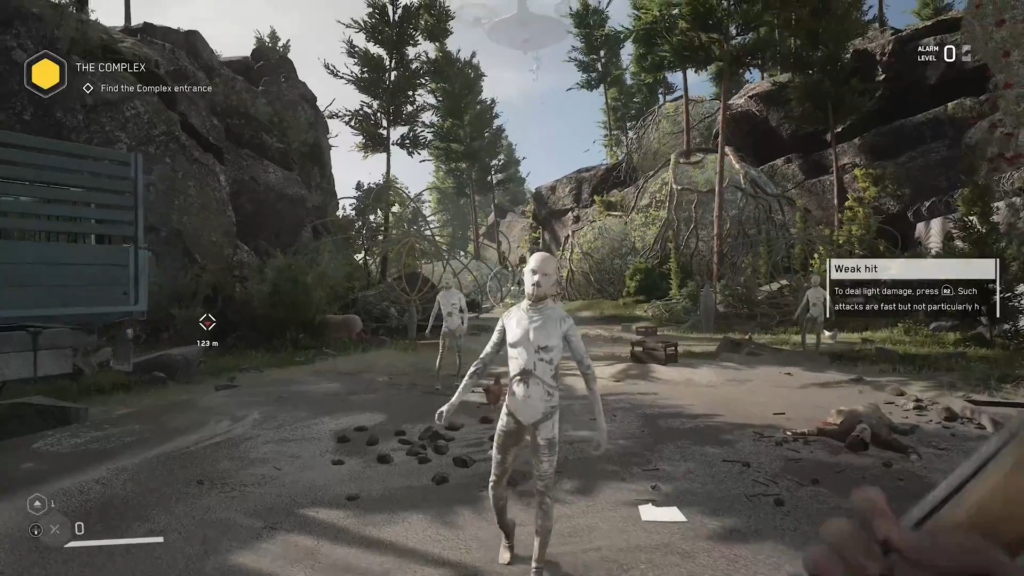
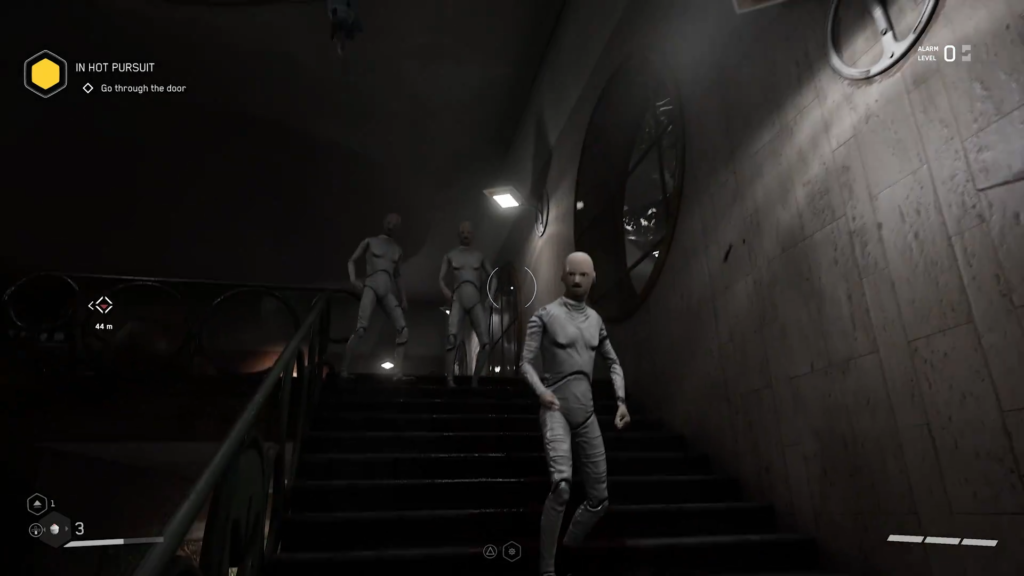
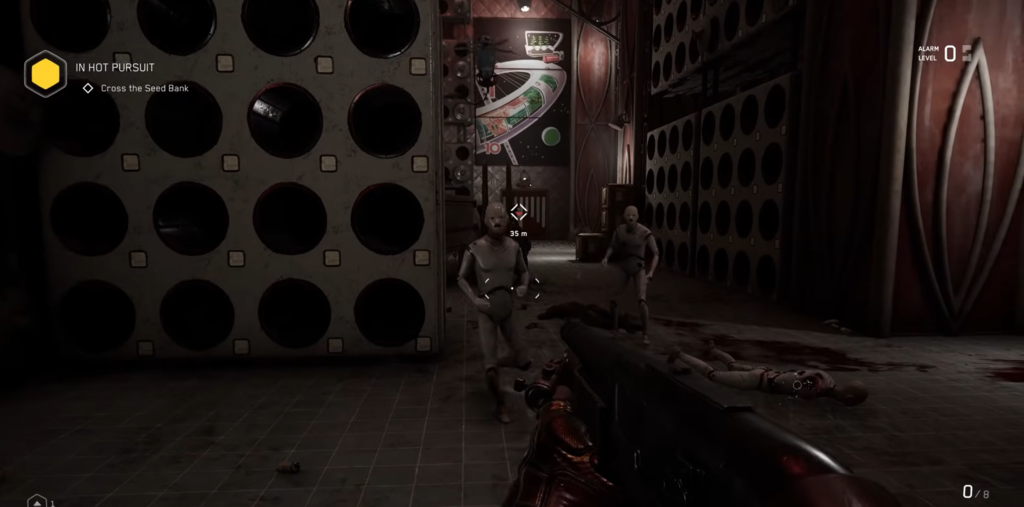
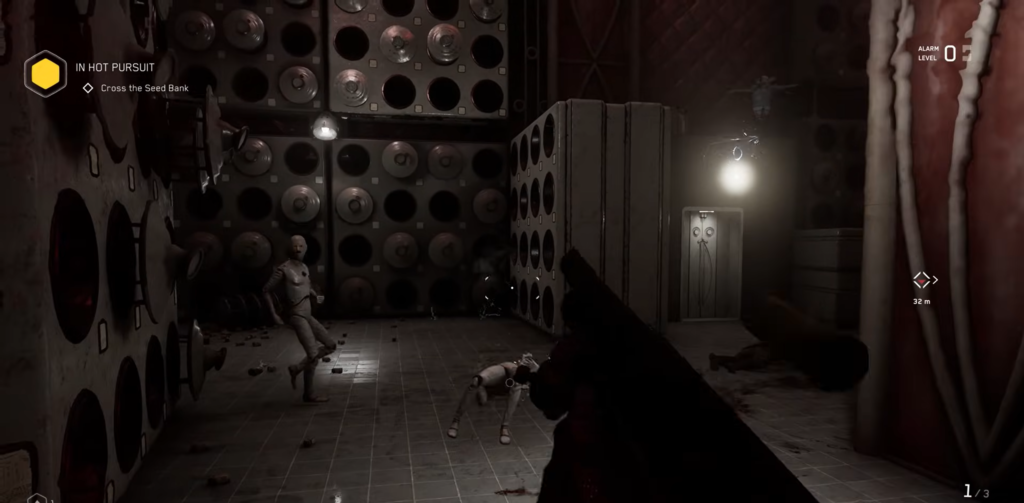
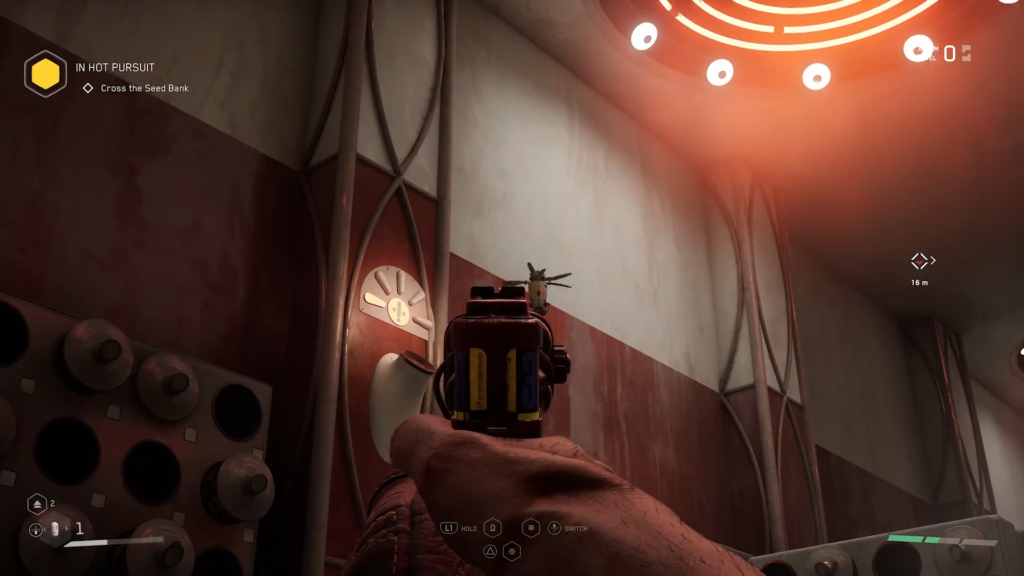
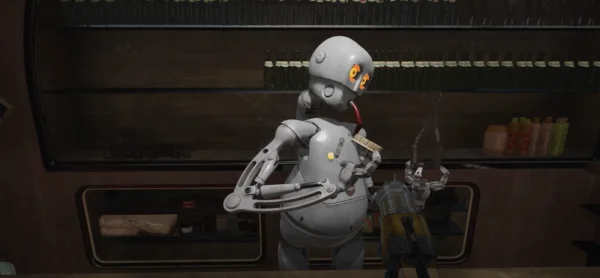
At the end of the street, three Lab-Tech robots are waiting for you. Before rushing into battle, scan them—aim your gaze using the scanner you received in the prologue. The scan will reveal that the enemies have no resistances, and their bodies contain metal parts and synthetic materials—useful for crafting.
The combat system at this stage is simple: R2 is a light attack (fast but weak), and L2 is a heavy attack (slow but powerful). Lab-Techs are slow and only attack at close range, so heavy attacks are particularly effective here.
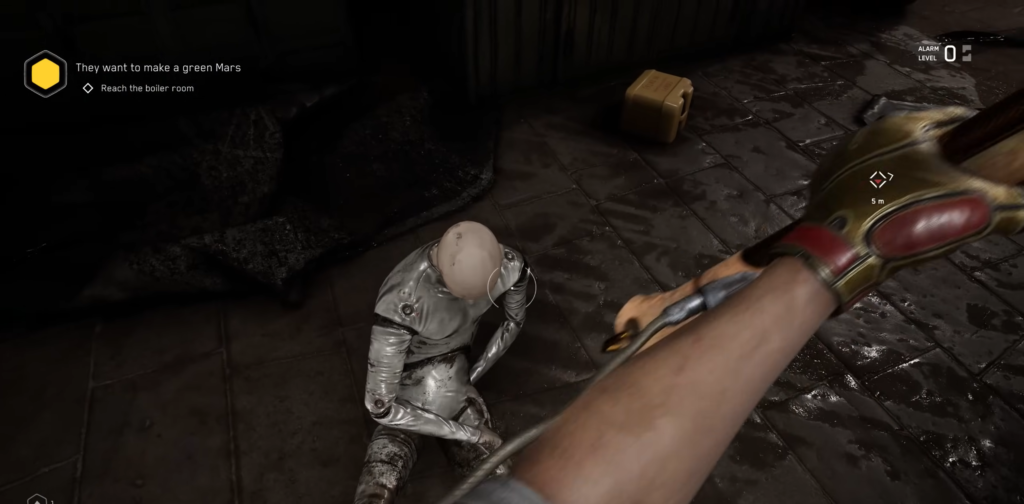
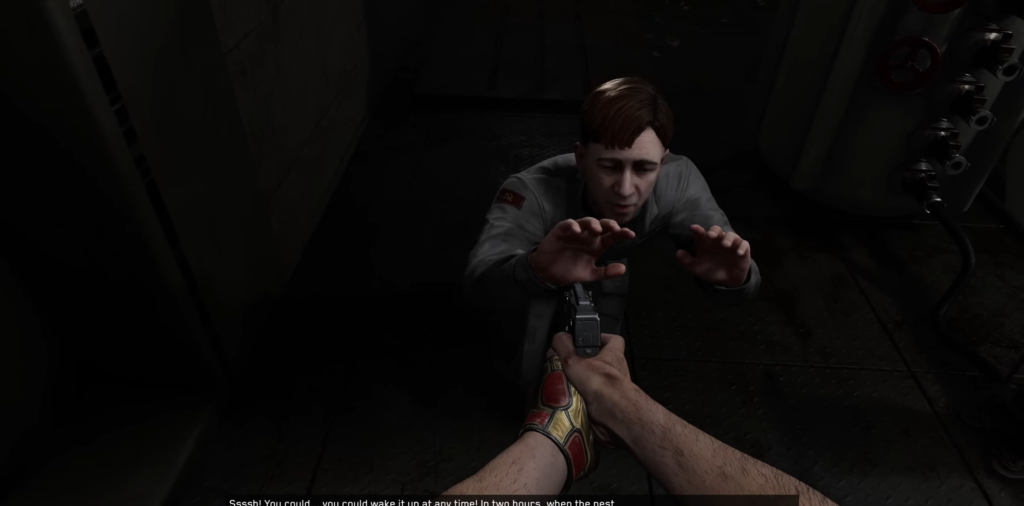
After taking out the trio, continue along the path. You’ll come to a pasture where Charles and P-3 are discussing Petrov. Soon, you’ll hear a robot’s voice calling for help—the sound is coming from a small outbuilding on the left. Approach it and interact with it to trigger a cutscene.


P-3, forgetting the danger, falls for the robot’s trick, which attempts to strangle him. He is saved by an elderly farmer with an impressive arsenal and a habit of swearing. After the scene, you’ll find yourself in an underground laboratory.
Dead or Alive: Viktor Petrov
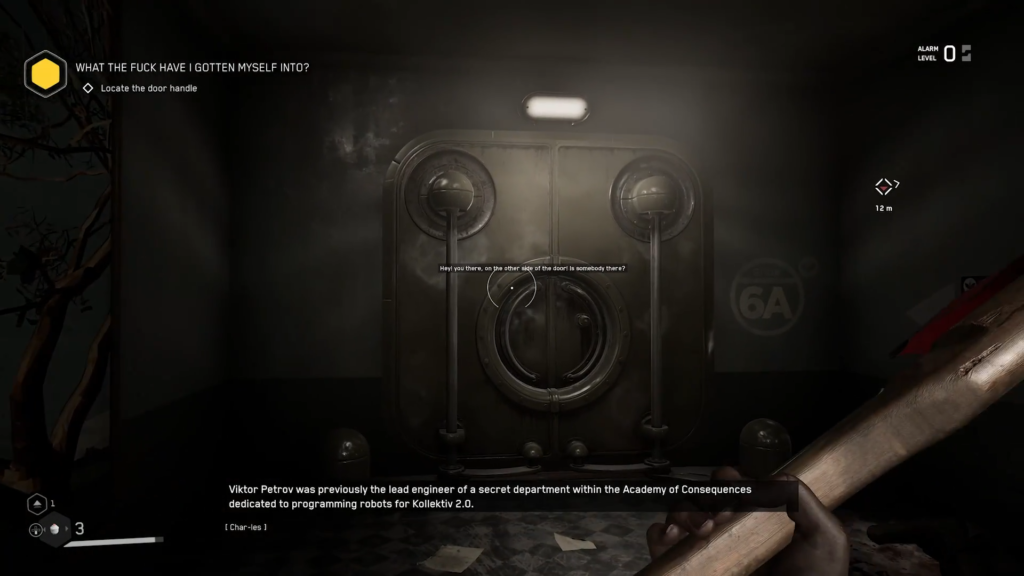
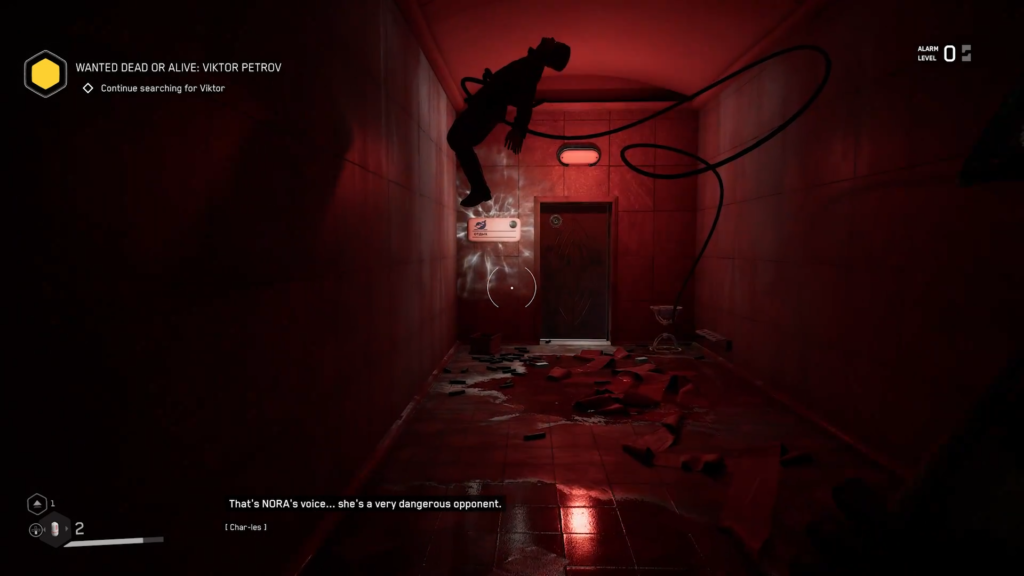
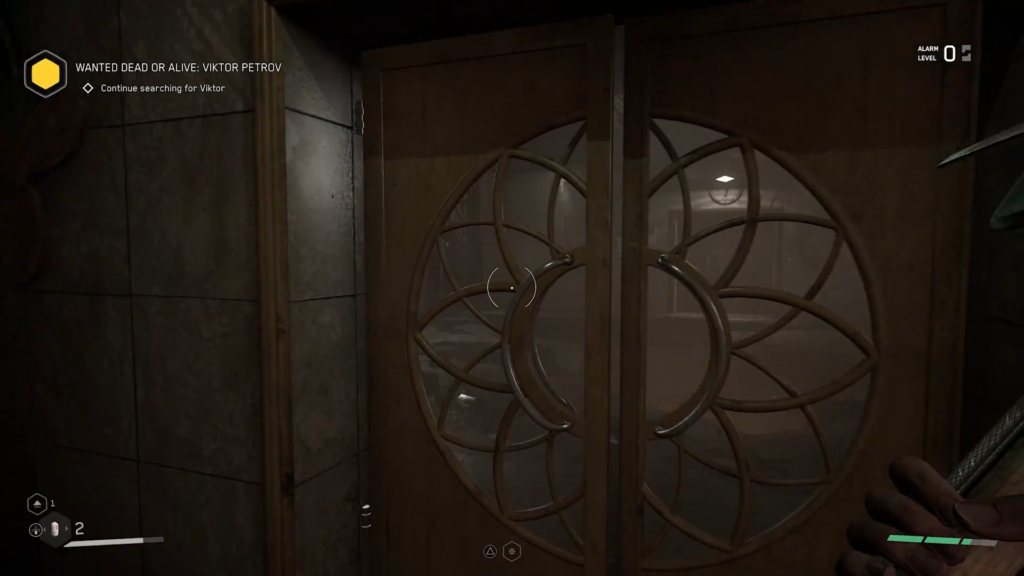
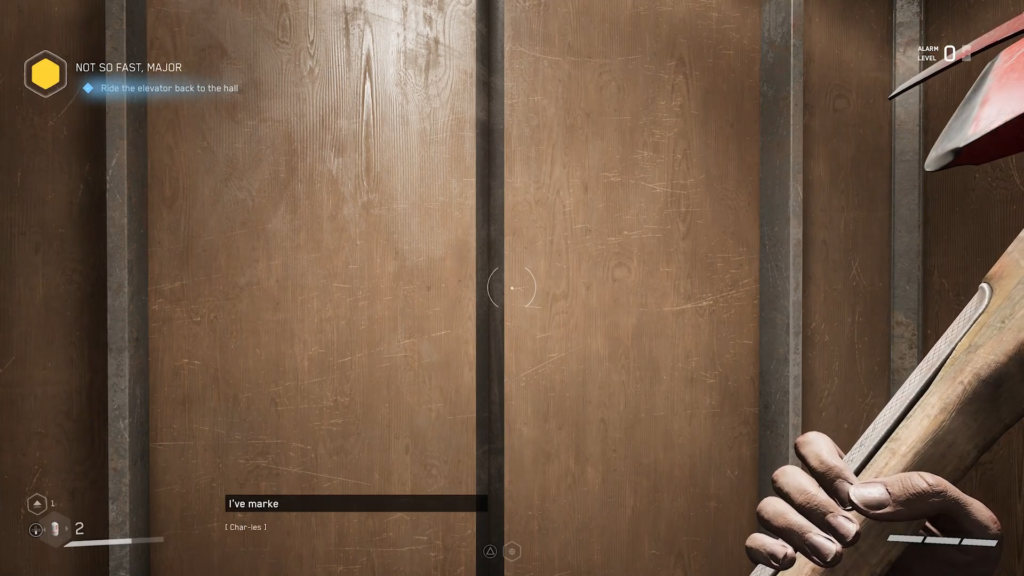
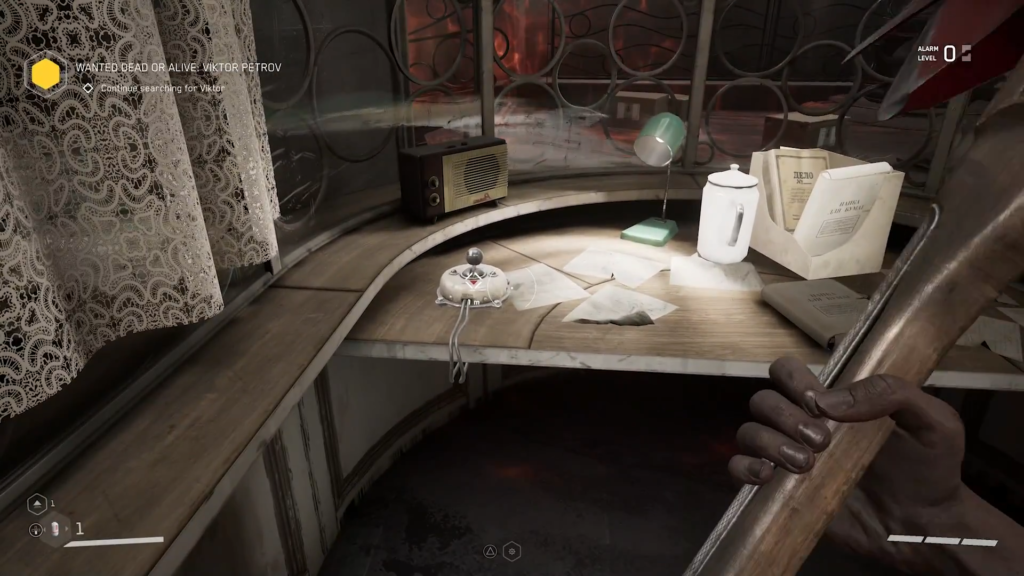
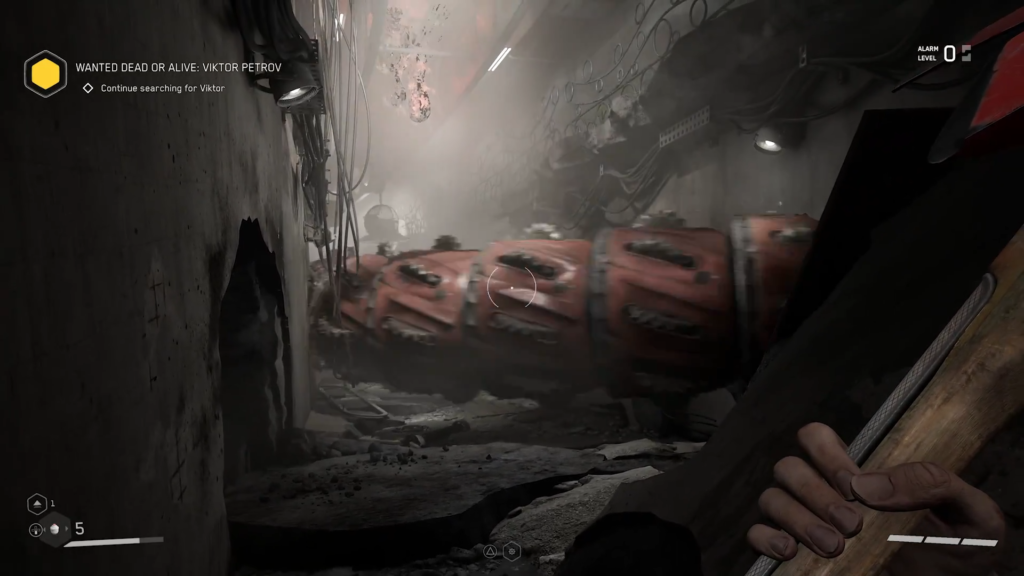
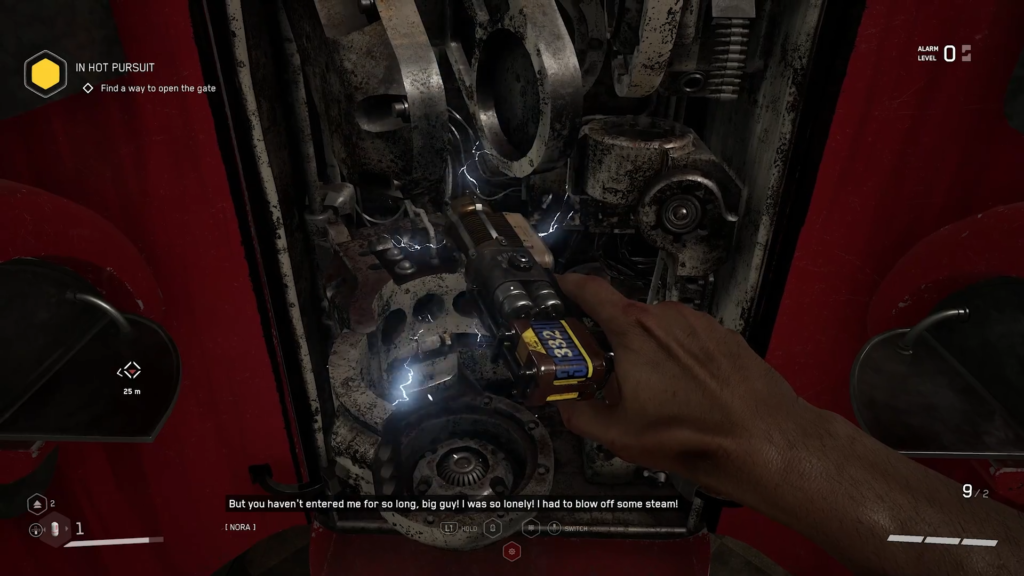
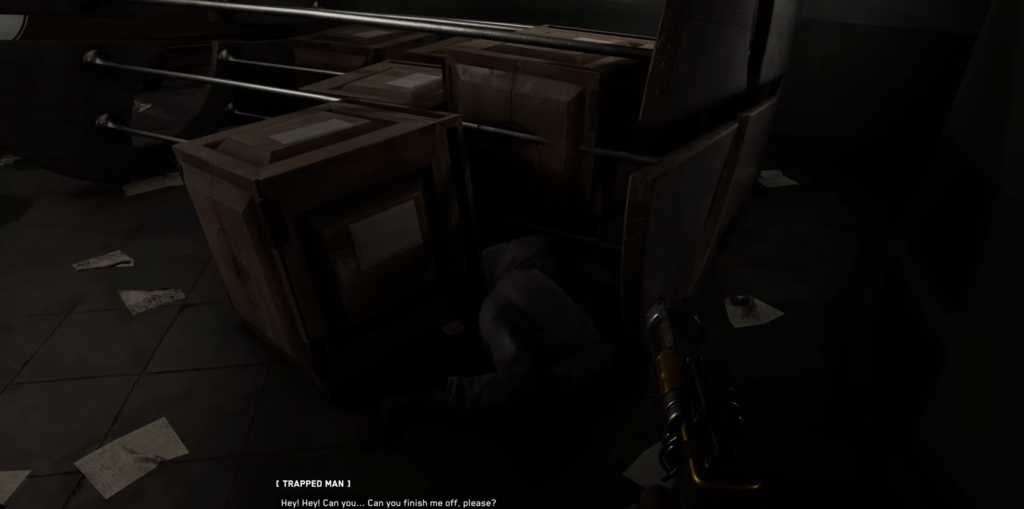
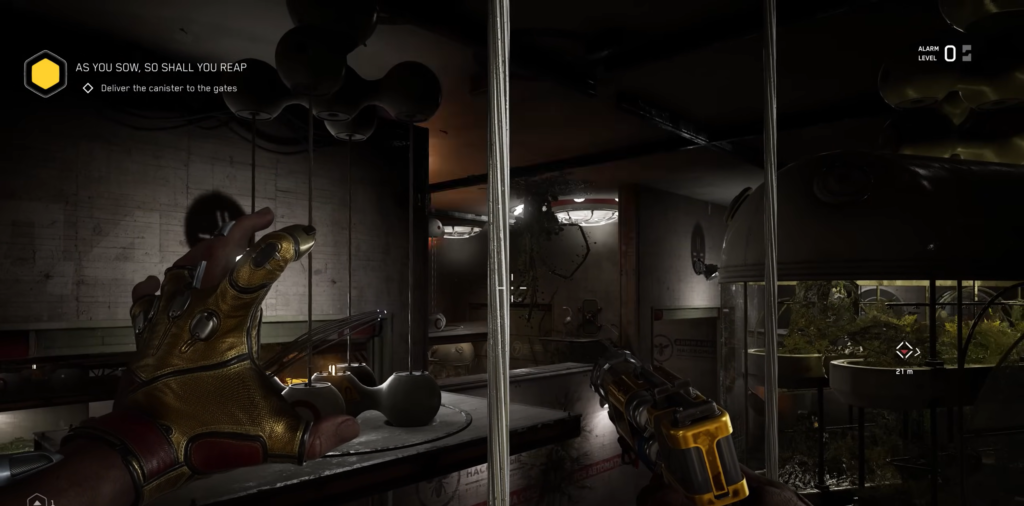
Get out of the elevator and enter the room. Charles will point to a massive steel door—it’s locked. To get past the barrier, find a broken wooden cabinet southeast of the door. It’s right under a hole in the ceiling. Climb up the cabinet and crawl through the opening.

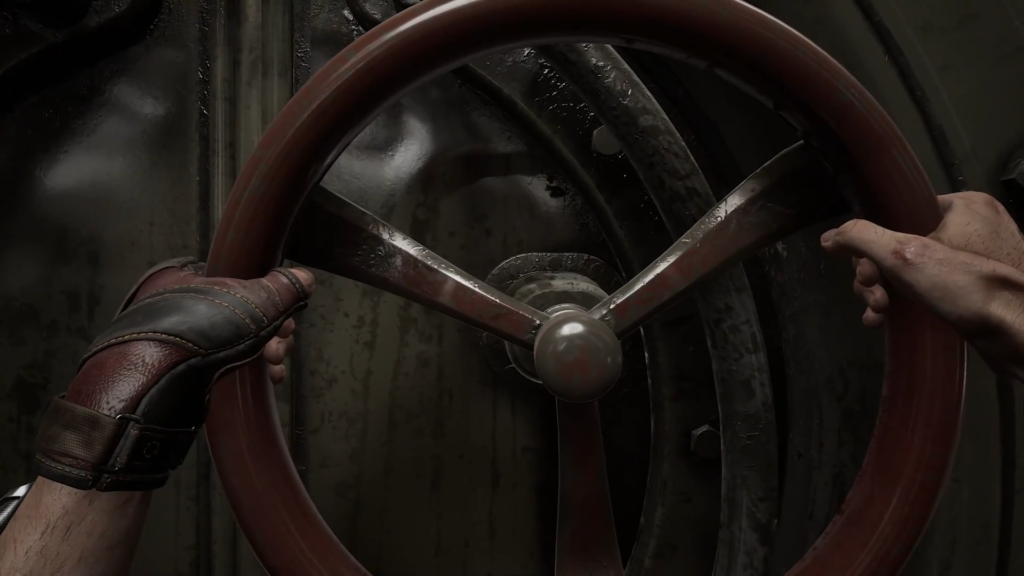
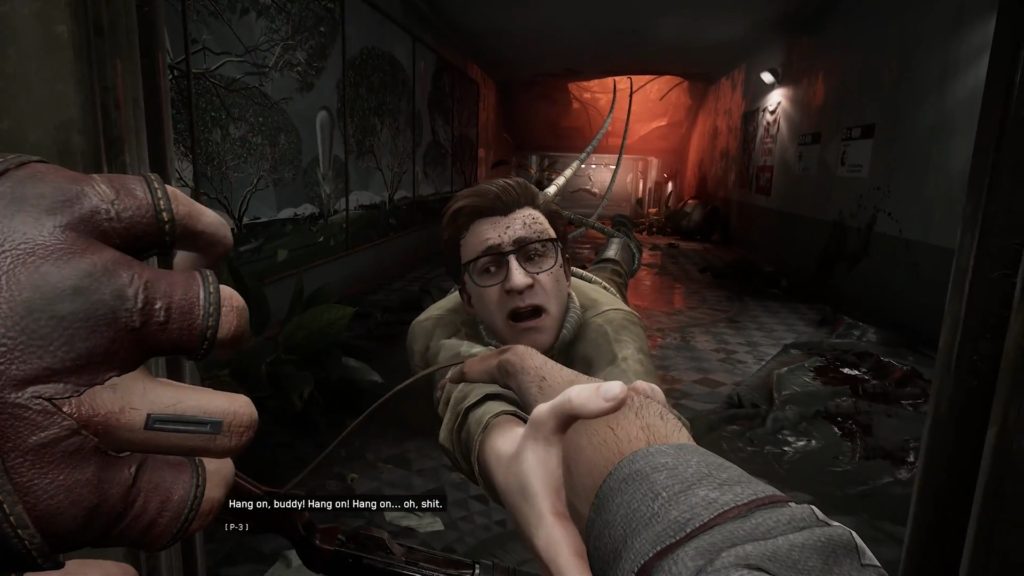
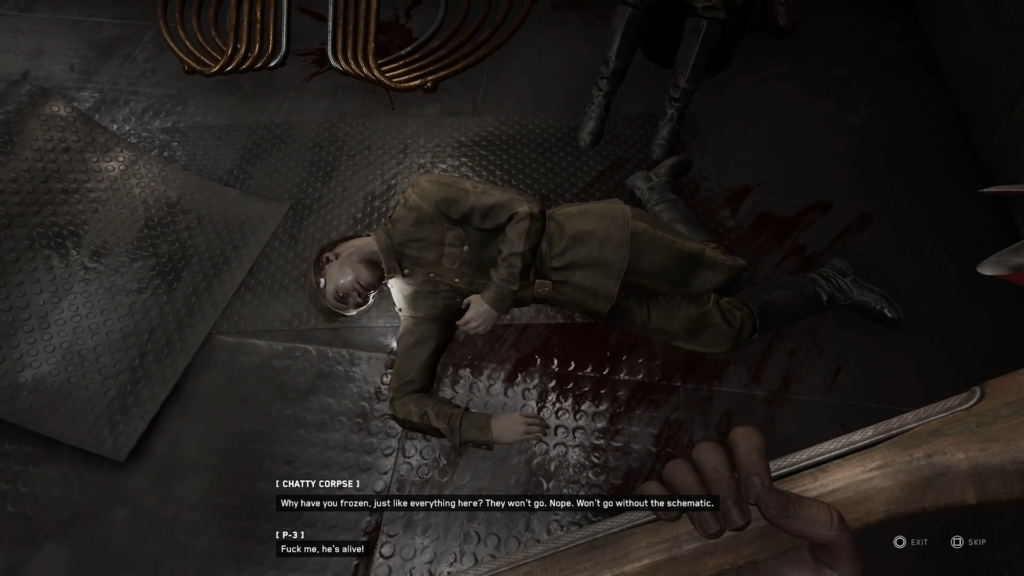
There is a network of tunnels upstairs. Follow them until you find a red valve on the floor next to a corpse (you can also pick up a chatterbox here). Take the valve, return to the door, and insert it. A scene will begin in which P-3 tries to help the terrified man, but he is dragged away by mechanical tentacles.
Safe Rooms and Evasion

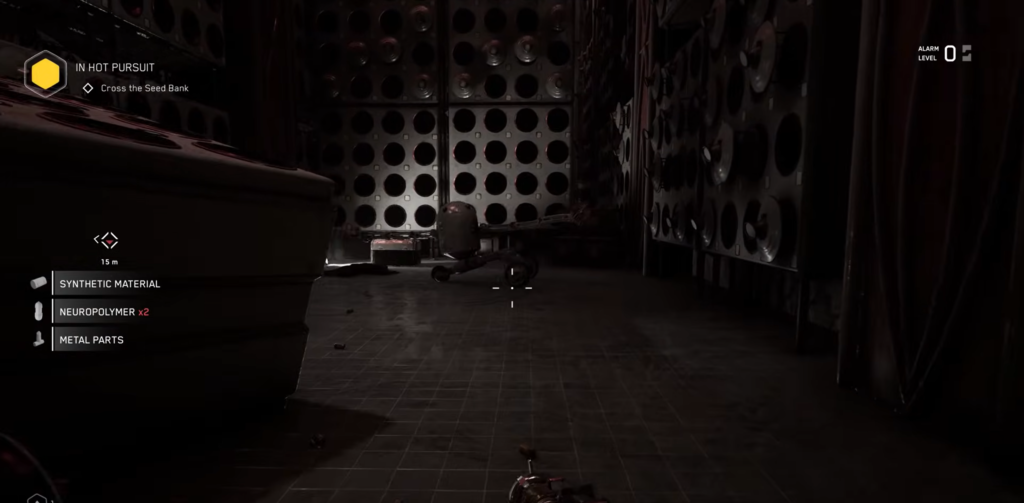
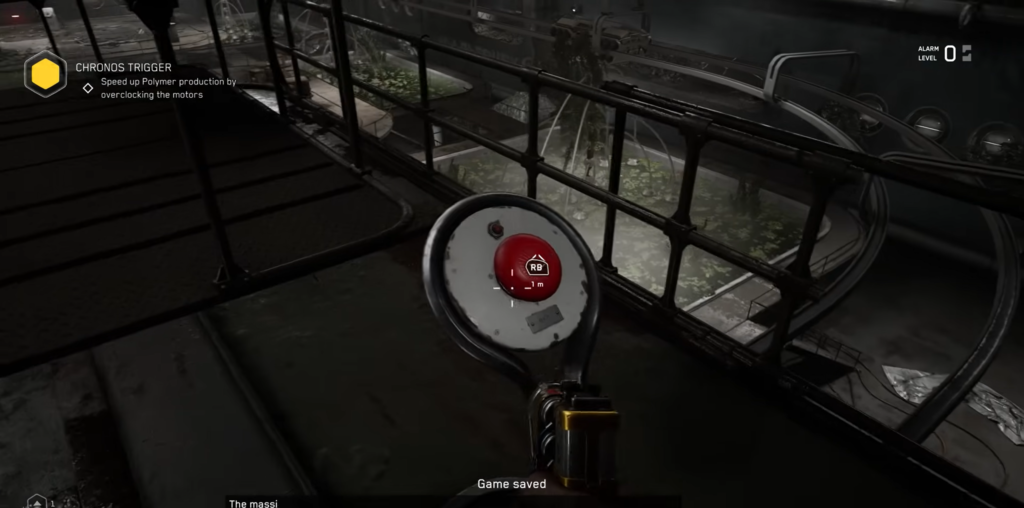
As you continue down the hallway, you’ll find your first safe zone to the right of the stairs. Here you’ll find a save station, valuable loot, and resource containers. Enemies can’t get in here—save your game and collect everything you find.
Continue on until the robot smashes the window on the left. The game will introduce you to powerful attacks (Power Surge). When an orange circle appears before an enemy strike, press CIRCLE / B to dodge. A successful dodge completely negates the damage and opens a window for a counterattack. Master this technique—it will come in handy throughout the game.
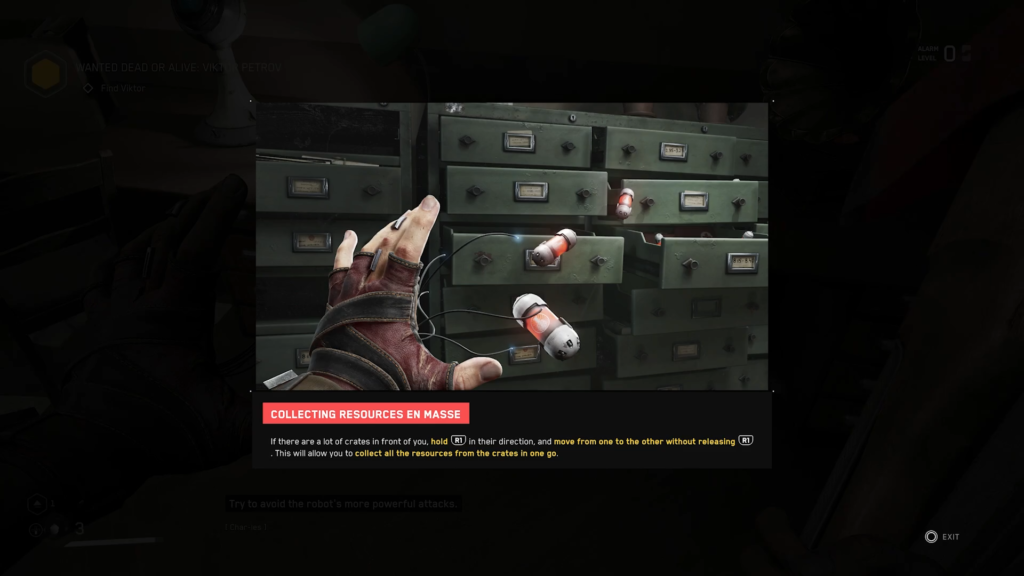
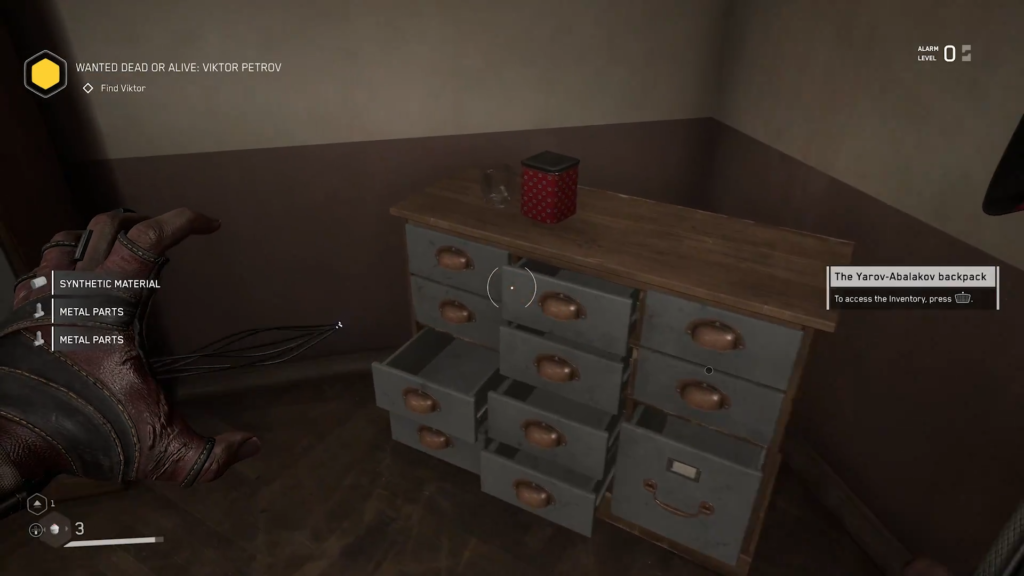
After taking care of the robot, search the office it came from. This is a good place to practice quickly collecting loot: hold R1 / RB and point the camera at the containers—Charles will instantly empty each one. Return to the hallway and continue on.
Discreet lock repairs and lock picking

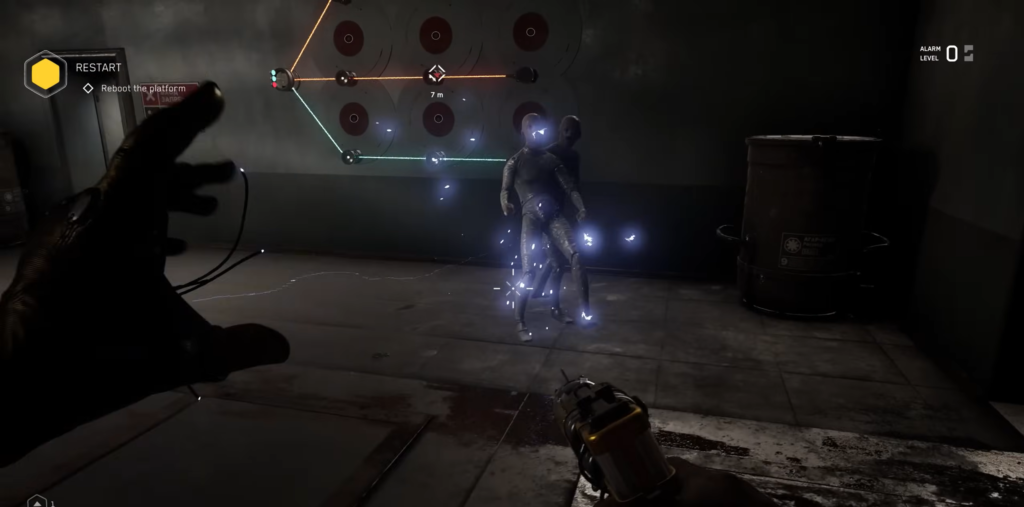
In the large hall with several aisles, head right first. Charles will suggest taking out the robot stealthily: crouch (press the right stick), sneak up from behind, and press R1 / RB. Quickly press CIRCLE / B so that Charles silently deactivates the machine.
Search this room and go into the office in the west corner—there you’ll find a terminal with additional information about the game world and a few more containers. Exit through the door to the left of the terminal.
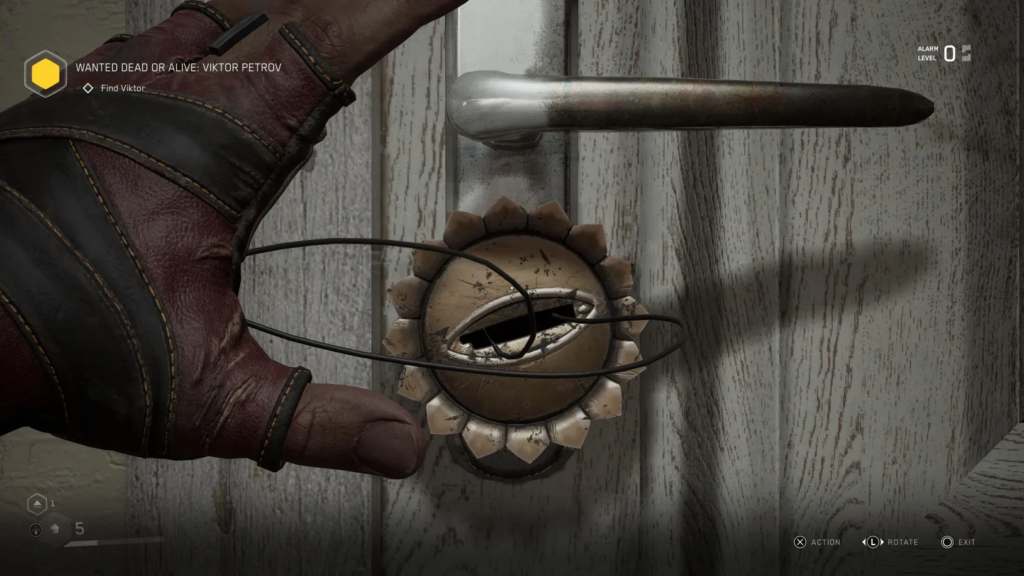
When you return to the central hall, look at the locked door on the right. Charles can pick the lock. The lockpicking mini-game is familiar from Skyrim and Fallout: move Charles’s “antennae” vertically with the left stick, then try turning the lock with the X / A button. Use trial and error to find the right angle.
Behind the door is another room with loot, and beyond that is a room with an ambush: a robot is hiding in the upper left corner. Be ready to dodge. After defeating the enemy, check the terminal and return to the main corridor.
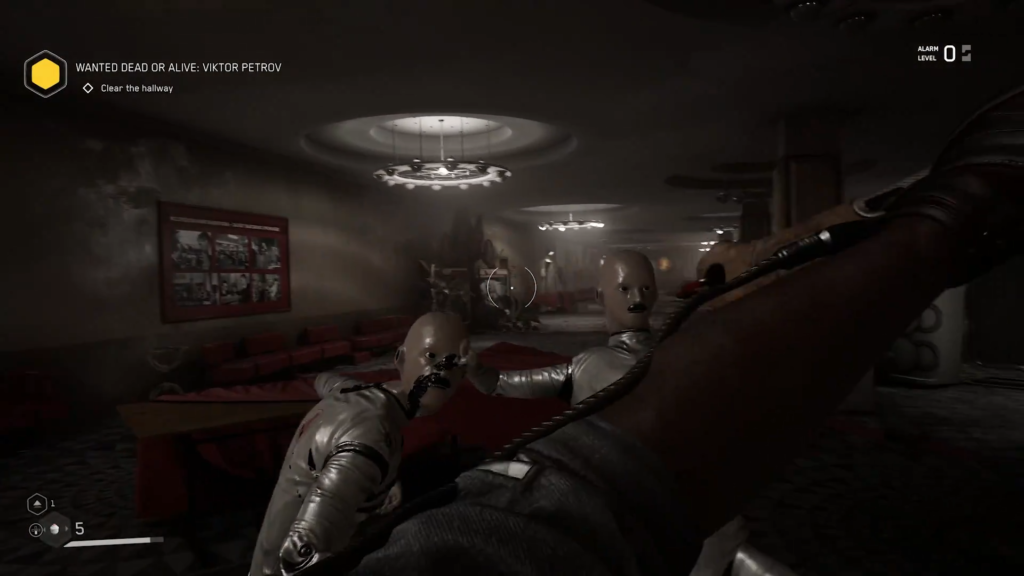
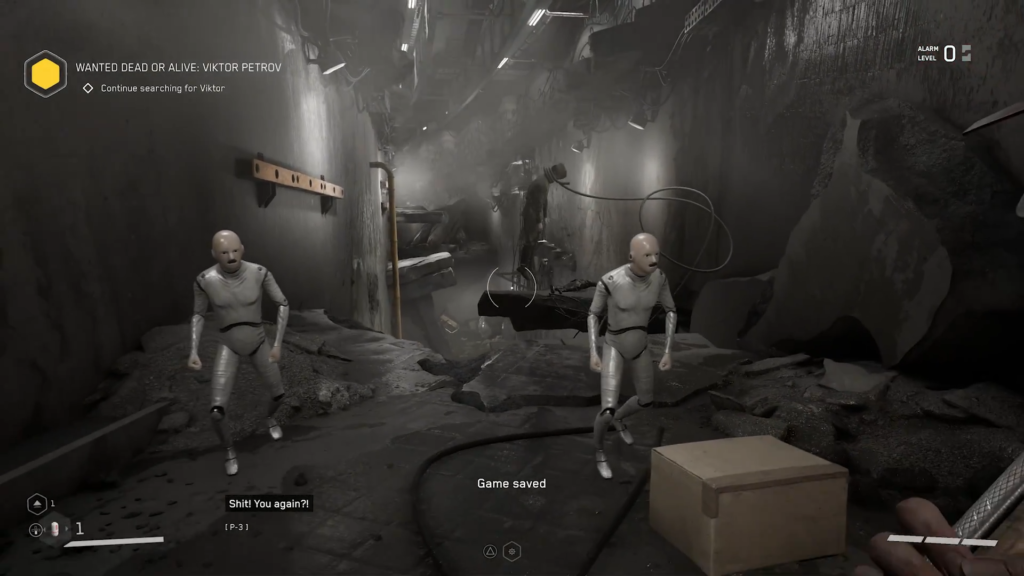
Next, the game will require you to clear the corridor of robots. Take care of both of them, then look inside the restroom on the left—another android will emerge from a stall. Destroy it and pick up the chatterbox from the last stall.

At the end of the journey, two cutscenes await you in a row: P-3 will meet its first human ally. But the encounter will be interrupted by a new type of Lab-Tech—a robot that shoots lasers from its face.
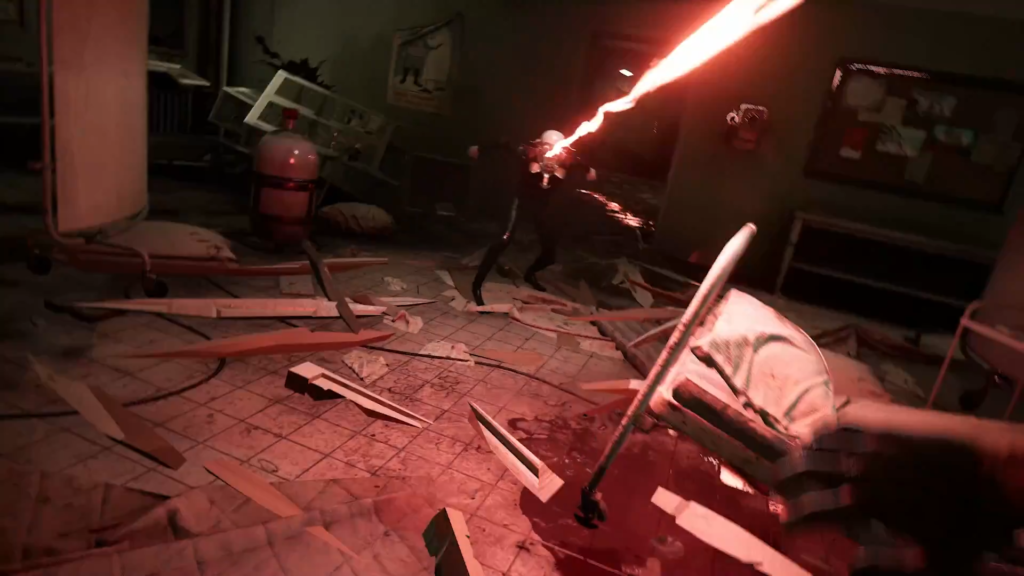
Boss: VOV-A6/CH Lab-Tech
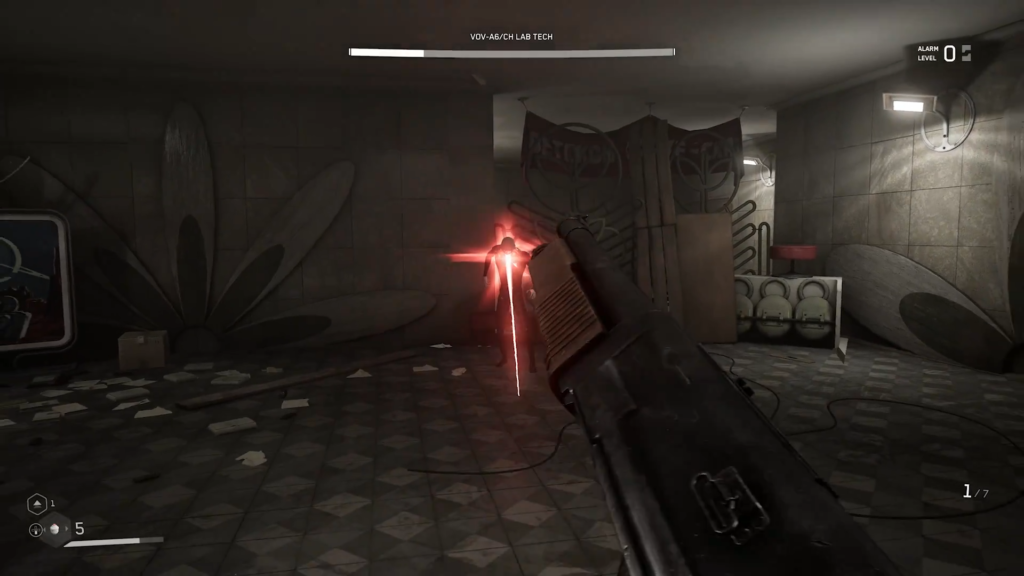
Android A6 will send Sergey into the battle arena. The combat mechanics are similar to those of regular androids: the enemy mainly attacks in close combat, periodically launching powerful attacks.
The key feature is the laser beam. As soon as the robot begins to open its faceplate, immediately dodge to the left or right. The beam strikes quickly, but the opening of the faceplate is a reliable indicator of an attack.
By now, you’ve probably found a shotgun among the loot. You can switch to it using the “left” button on the D-pad. The shotgun is great at deflecting the robot’s attacks and dealing serious damage. Save your ammo, but don’t be afraid to use it in tough situations.
After winning, collect loot from the body and nearby containers. At the back wall of the arena, there is a door with a large blue panel. This is a lock that can only be removed by picking the lock.
Hacking Mini-Game
When you enter the mini-game, you’ll see a circle with a timer in the center and several protruding reels. The goal is to clear all the reels before time runs out. Watch for the red light moving around the circle. When an empty indicator turns red, immediately press X / A—the reel will retract. However, pressing the same indicator again will extend the reel back out, so be careful.

After passing through the broken door, walk down the long corridor lined with bodies while a lullaby plays. At the end, interact with the crafting machine—a cutscene will play in which the machine attacks P-3. After that, you’ll gain access to weapon and ability upgrades. Complete the tutorial, save your game, and collect the loot.

Search for a disc key
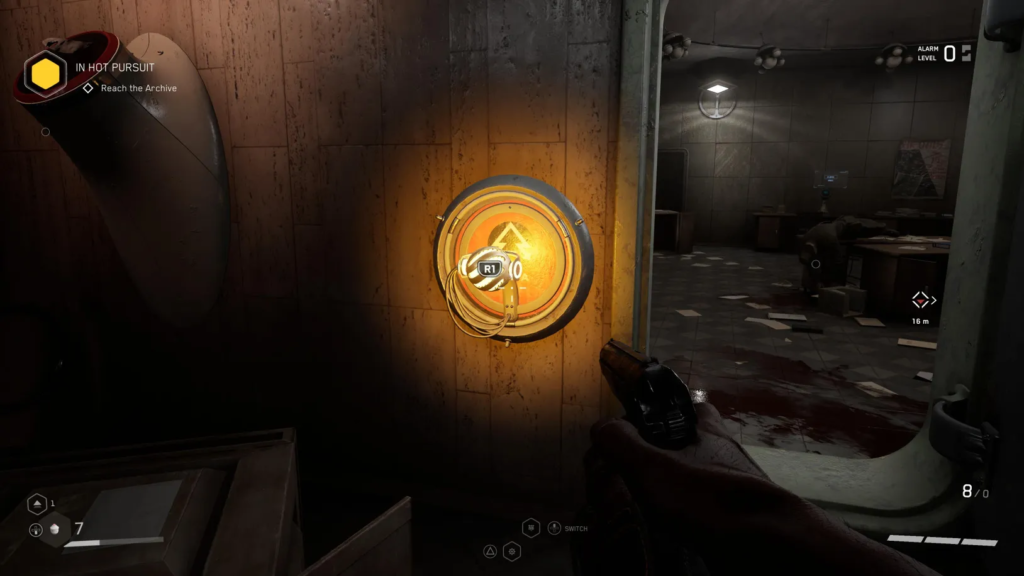
In the new hallway, there’s another chatterbox on a crate. Next, you’ll come to the stairwell where you previously encountered the giant drill. Charles will tell you that you need to reconfigure the elevator to get out. Trace the wires with the scanner to the door on the opposite side—it’s locked. You’ll need a key.
Go up to the next floor of the stairwell and enter the double doors. In the room behind the glass, you can see a patrolling android and a surveillance camera.
Security cameras
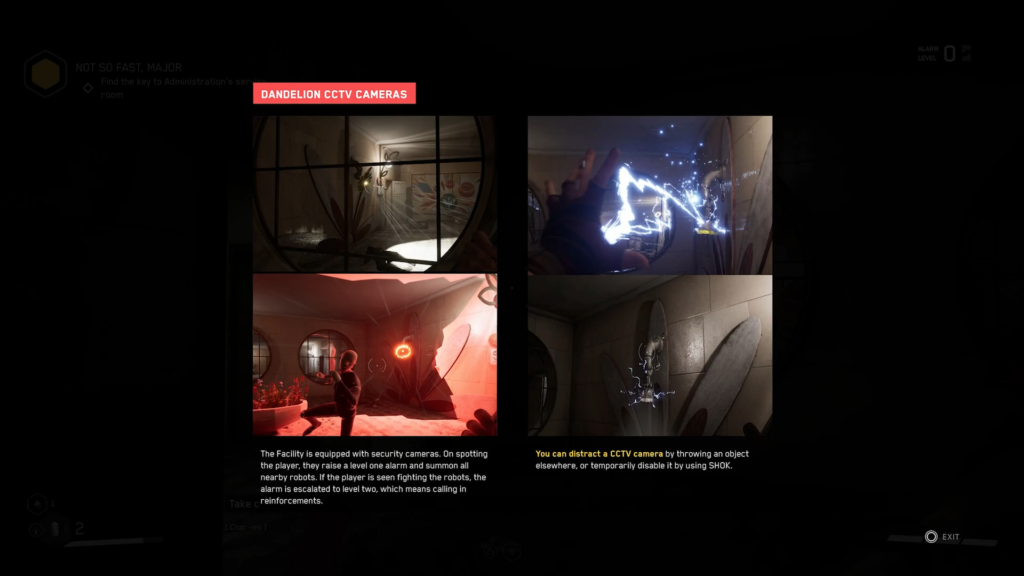
Cameras are a new gameplay element. Upon detecting a P-3, a camera raises the alert level by 1 and summons nearby robots. If you continue fighting within its field of view, you’ll receive an additional +1, which will bring in reinforcements. You can knock down a camera with a blow or distract it by throwing an object.
To bypass the camera in this room, go into the room on the left and climb through the hole in the wall into the bathroom. Find the ventilation shaft to the left of the doorway leading to the room with the camera. Open the shaft (R1 / RB) and climb inside. At the end of the shaft, you’ll find yourself behind the camera.
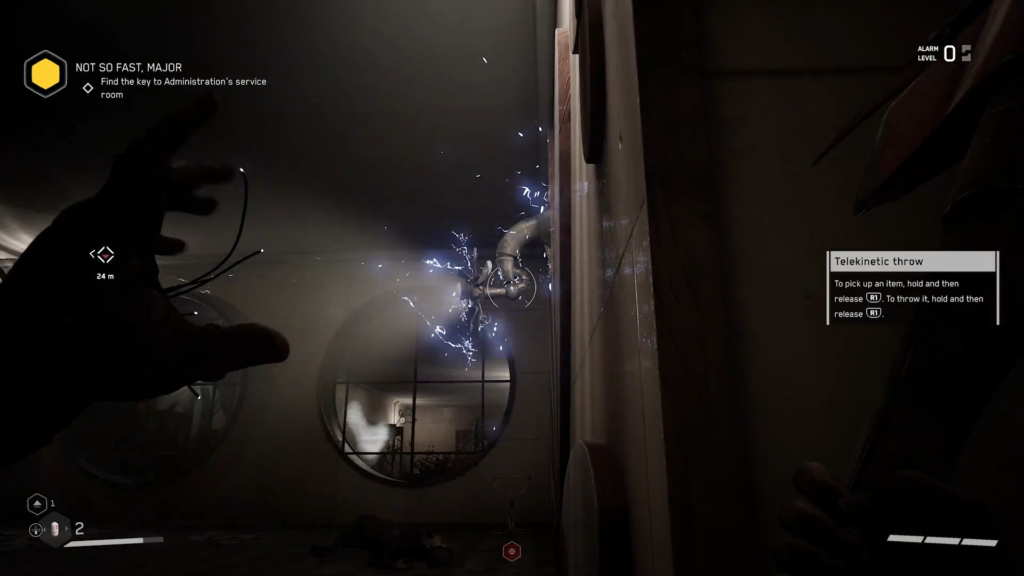
Jump down when the camera turns away, and use telekinesis (hover over the object and press R1) to toss the crate to the left of the camera. While it’s examining the object, run up and destroy it.
In the office further down the hallway, there’s a disk key on the table—that’s your target. Search the containers and grab the key. As you continue, peek into the area through the hole in the wall on the left—there’s another chatterbox on one of the tables. You can skip the area with the surveillance camera ahead: there’s little loot there, and the risk of triggering an alarm is high.
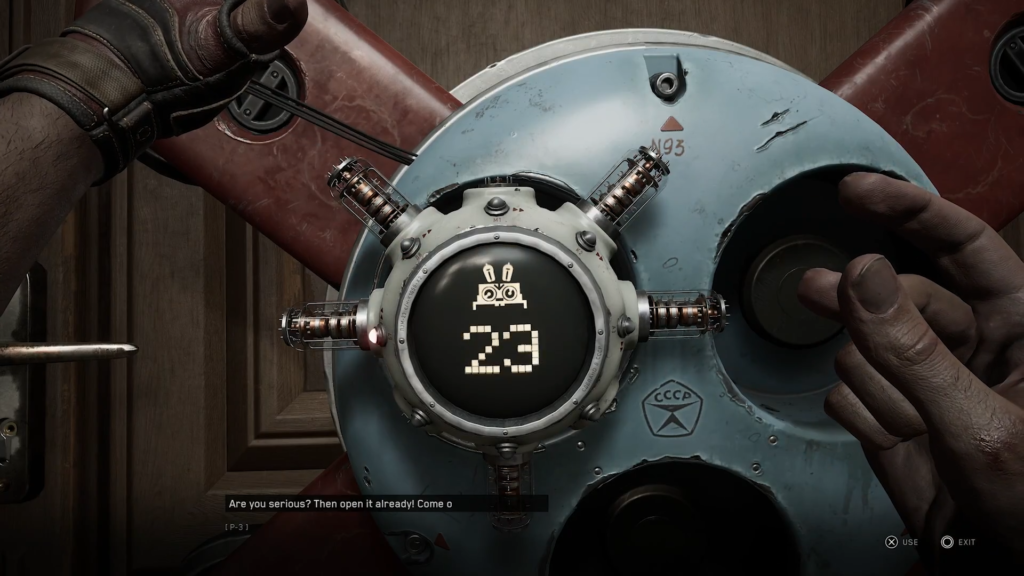
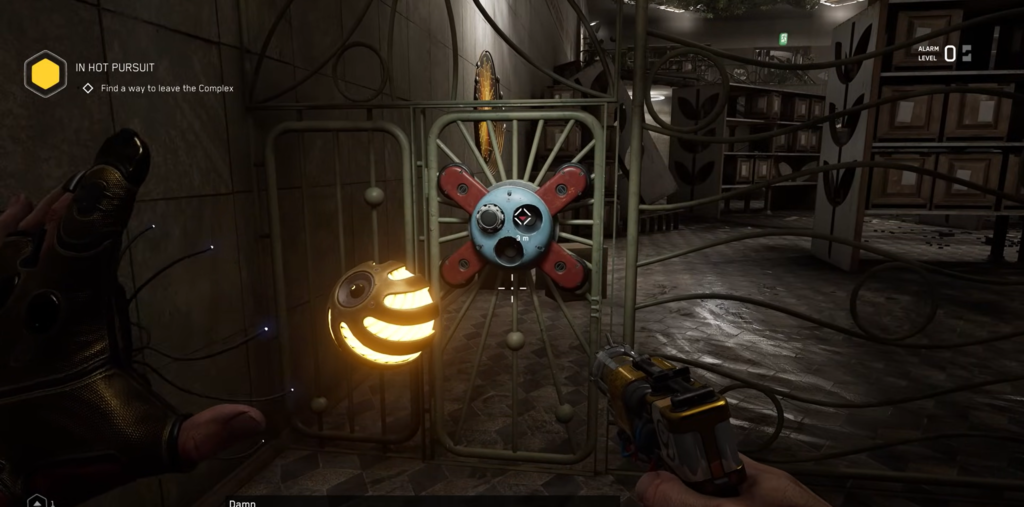
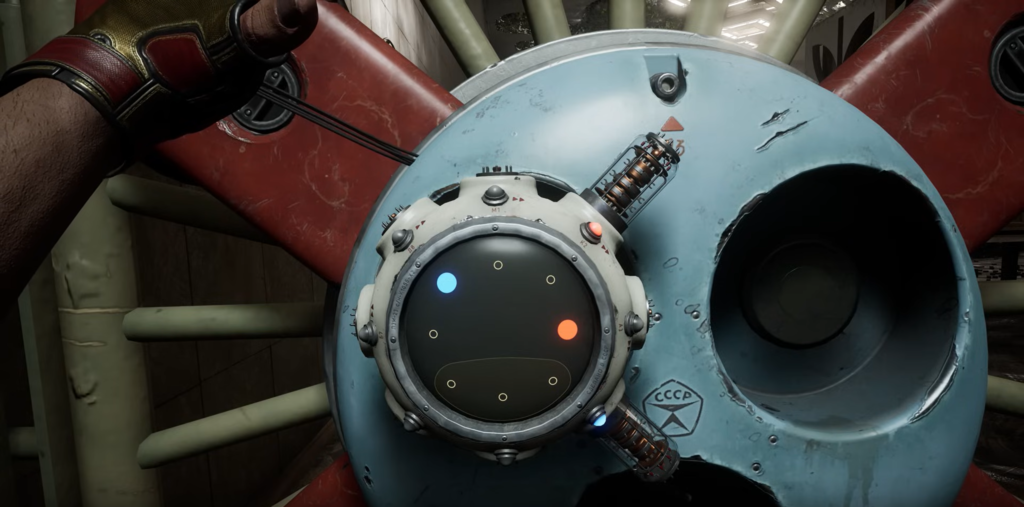
Jump into the hole in the floor and return to the locked door you found earlier. Insert the key—behind it is a room with the “Passive Safety Relay” puzzle.
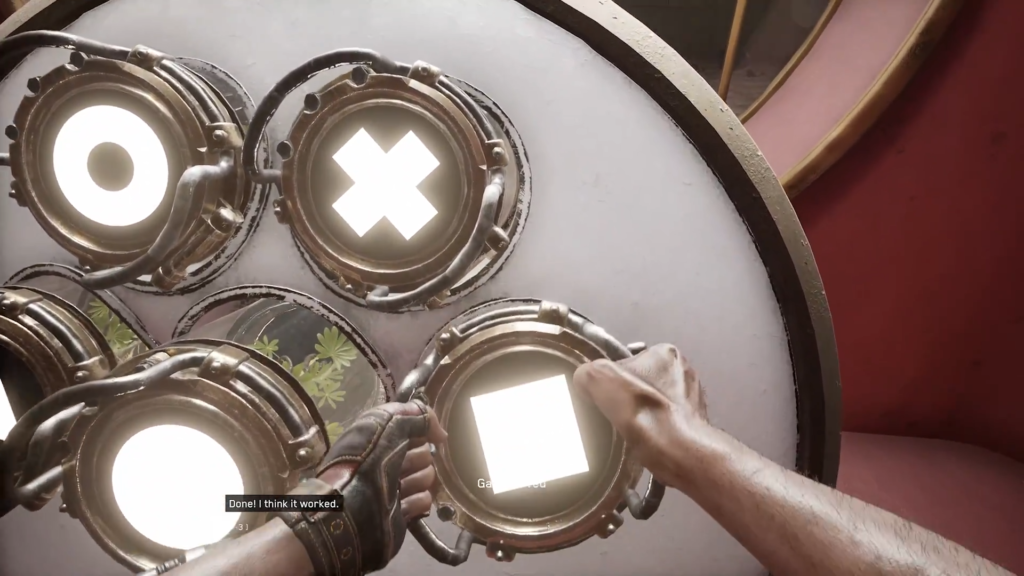
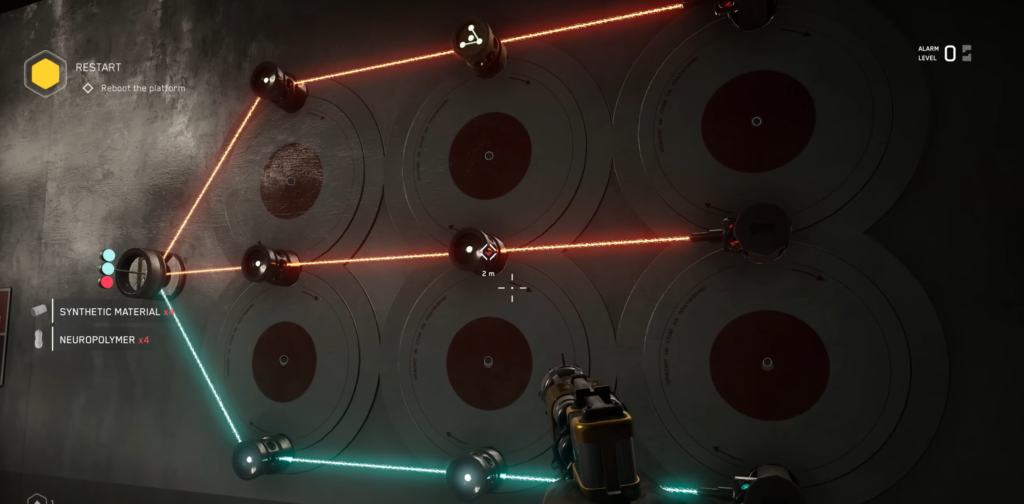
Puzzle: Passive Safety Relay

The task is to match the color of the three laser beams with the color of the three indicators on the left side of the panel: the red beam for the red light, the blue beam for the blue light.
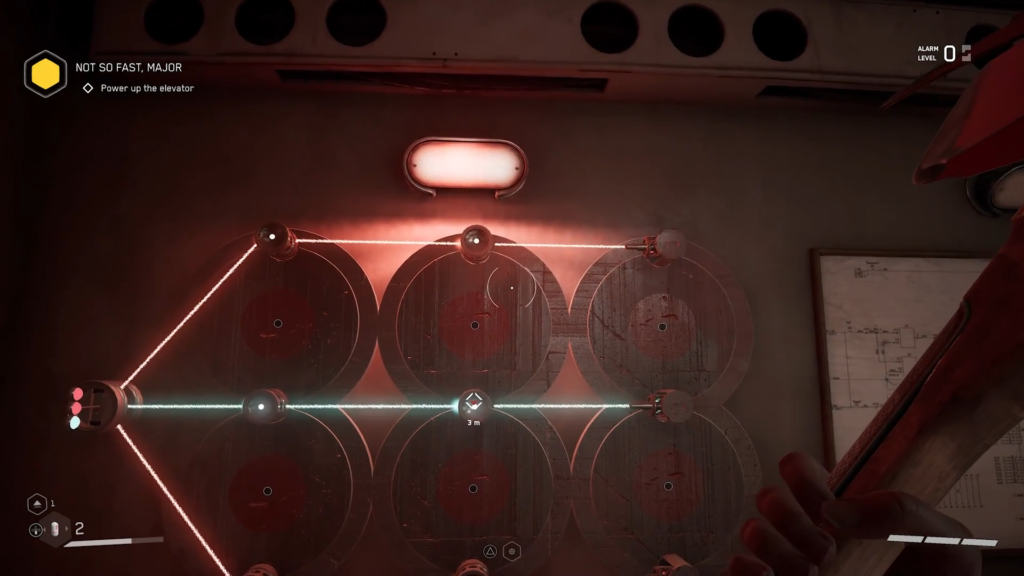
Color control is performed using the six red circles on the relay. The circles in the top row swap the mid and high components, while those in the bottom row swap the mid and low components.
Solution: First click the top right circle, then the bottom right one. The puzzle is solved.
Go back to the stairwell and use any of the elevators to go up to the 1st floor. Go through the double doors—you’ll find yourself in the hallway in front of where you first encountered the creature with the drill.
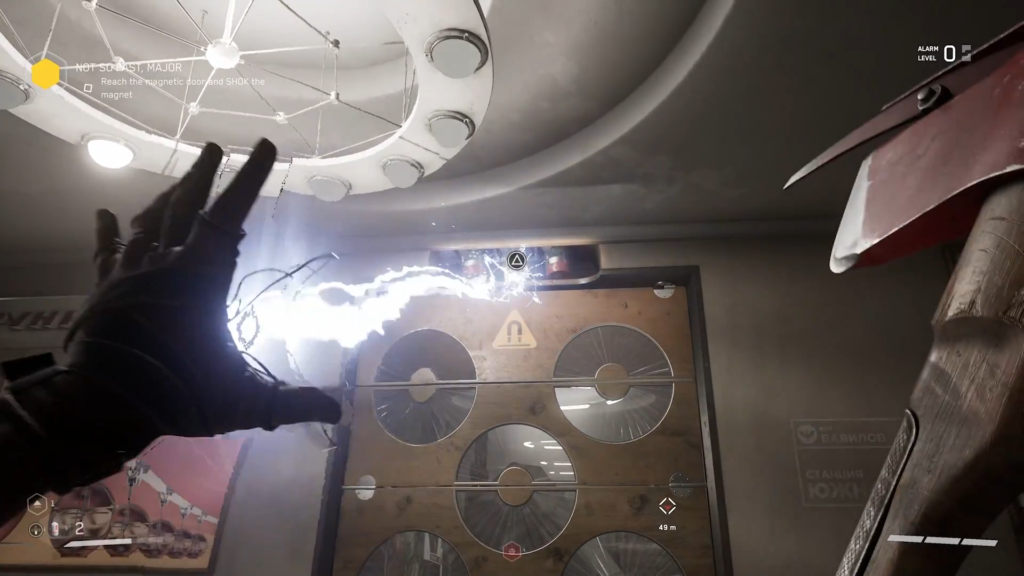
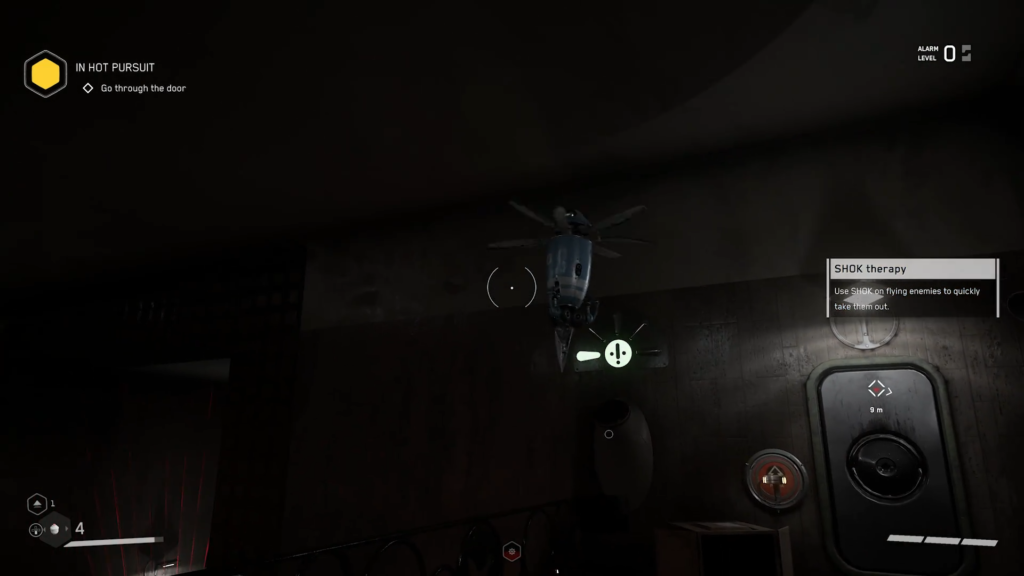
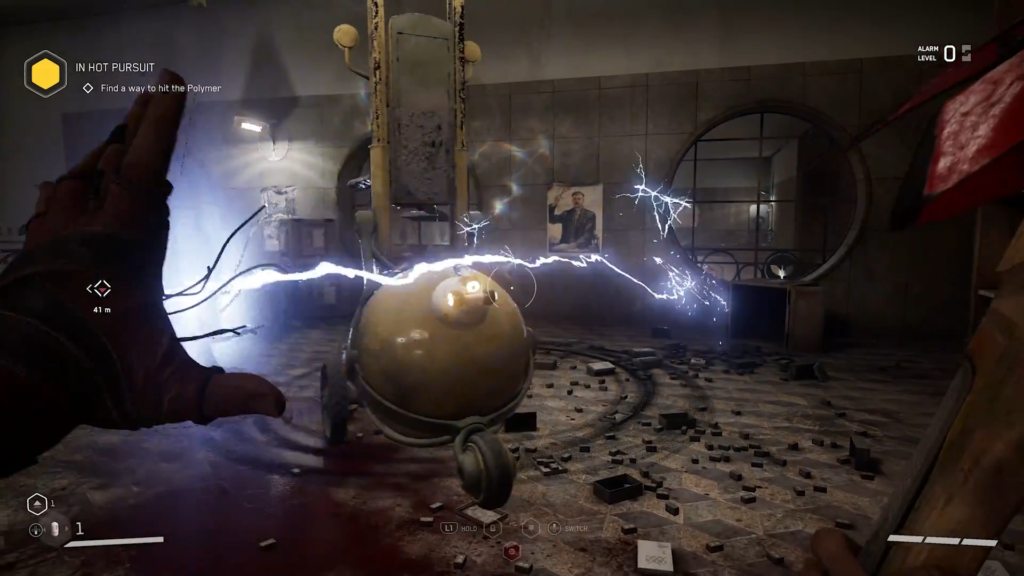
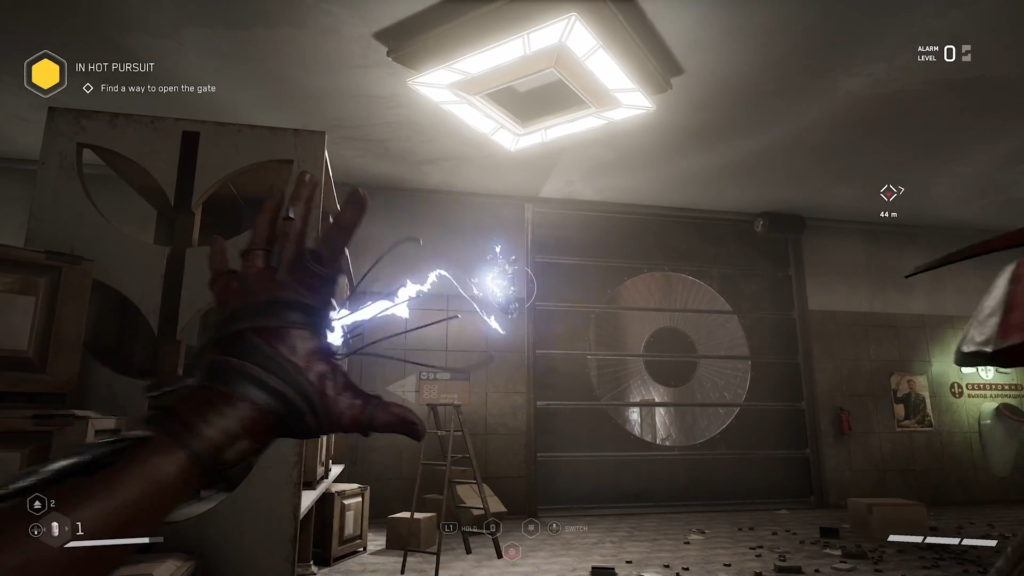
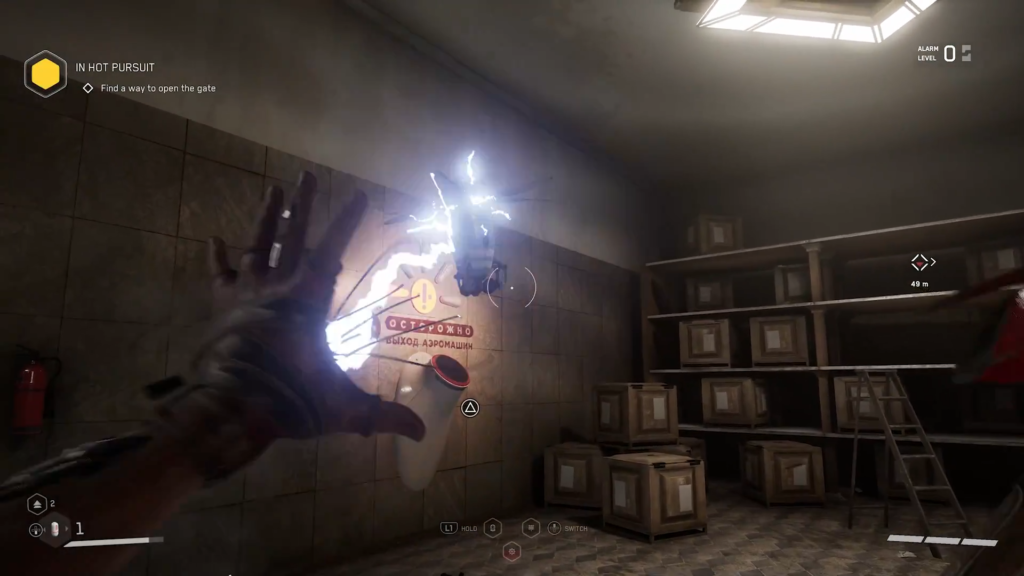
Look to your left for a large bronze door. Open it with the “Shock” ability (TRIANGLE / Y). Now you can use “Shock” on enemies to stun them.
Behind the door is a safe room (the second door on the left). Search the chest, upgrade your weapons, and level up your abilities. Three enemies await you in the hallway—eliminate them and move on.
A Ride on the Cable Car
At the end of the corridor is a tunnel for cable-driven carts, all of which are out of service. You’ll have to walk. Ahead, a cart is rocking back and forth—wait until it passes, then run to the cover on the right. When it passes by again, dash out and jump into the crack in the floor.
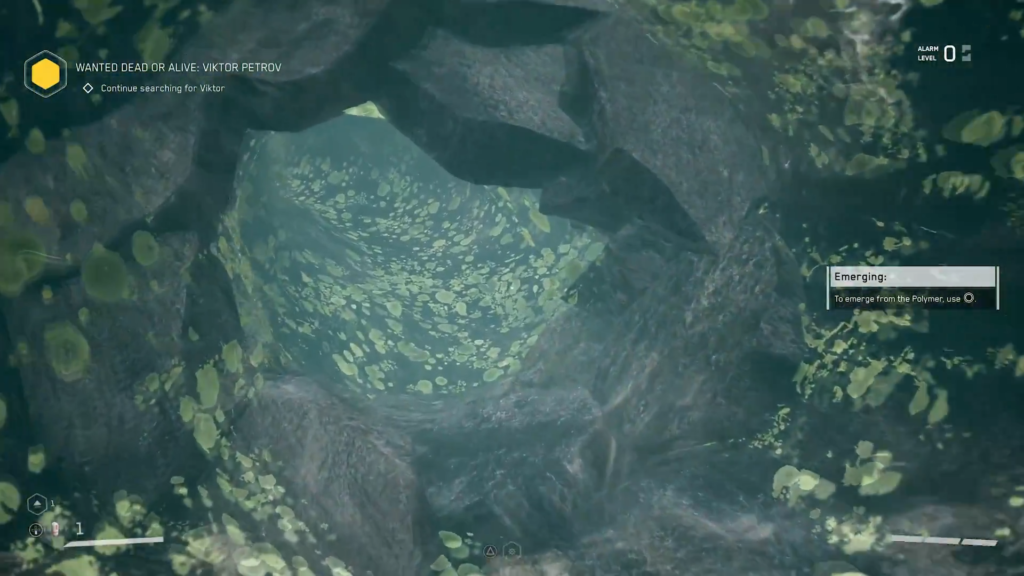
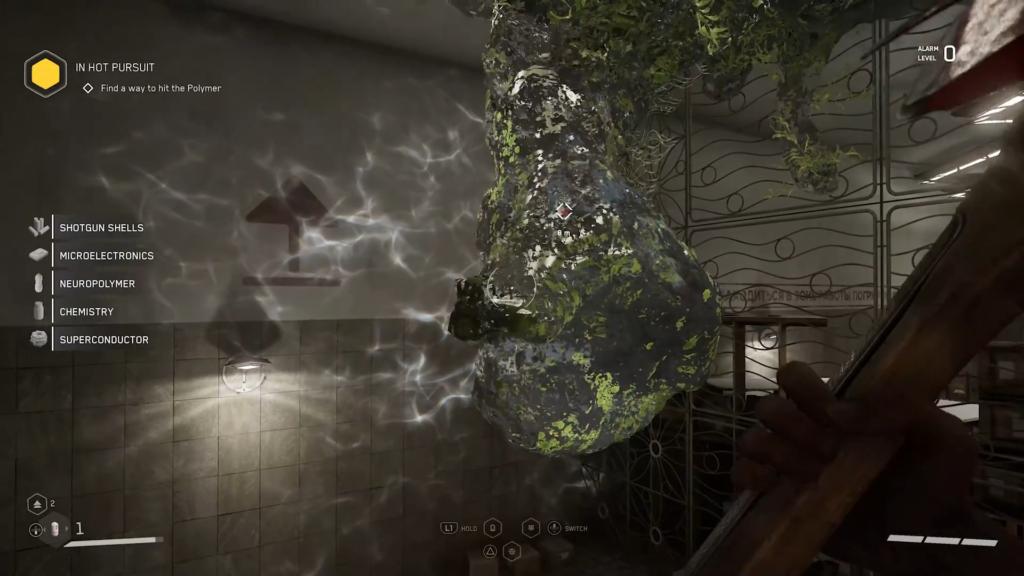
Further to the left is a large clump of polymer. In Atomic Heart, you can swim through the polymer: dive in and move through the tunnel. It will lead you to the end of the path. Opposite is another safe room.
Cabin combination lock
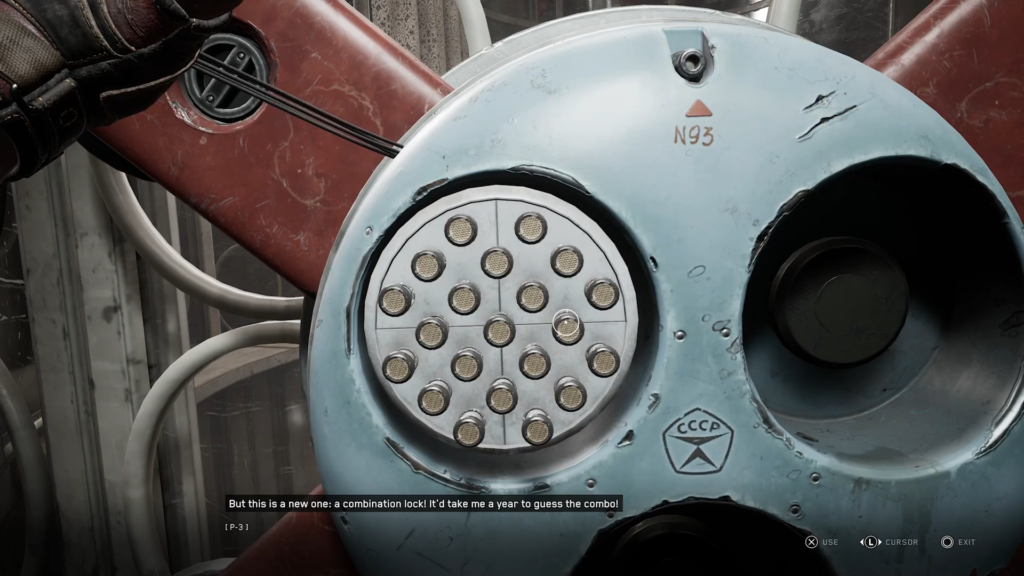
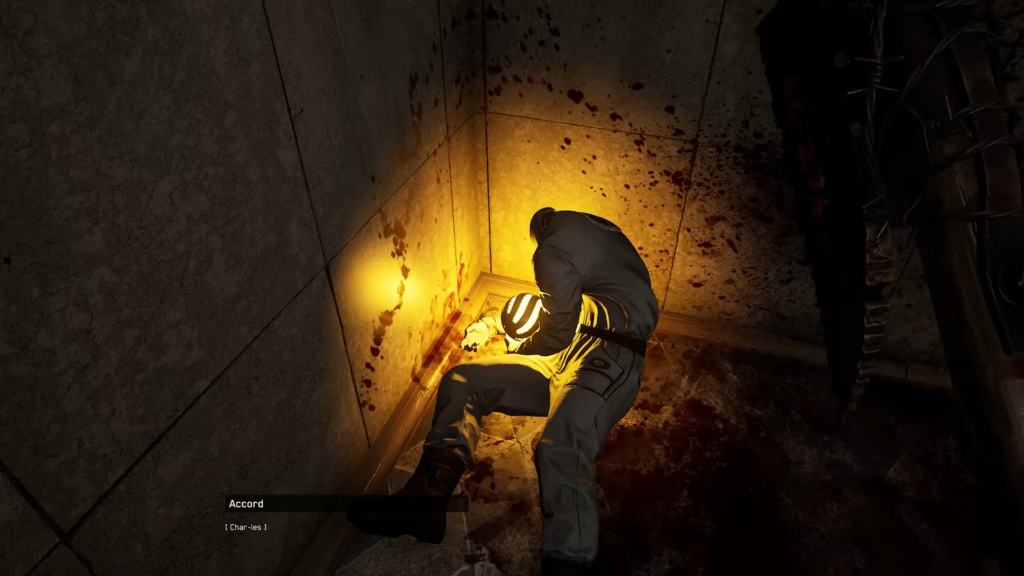
Interact with the locked door of the booth. It has a combination lock. A corpse behind you will speak—talk to it and find out that the station chief knows the code.
Use “Shock” to open the door behind the corpse and proceed forward, going around the debris on the left. At the end of the path, you’ll find a body with a piece of paper containing the code you need.
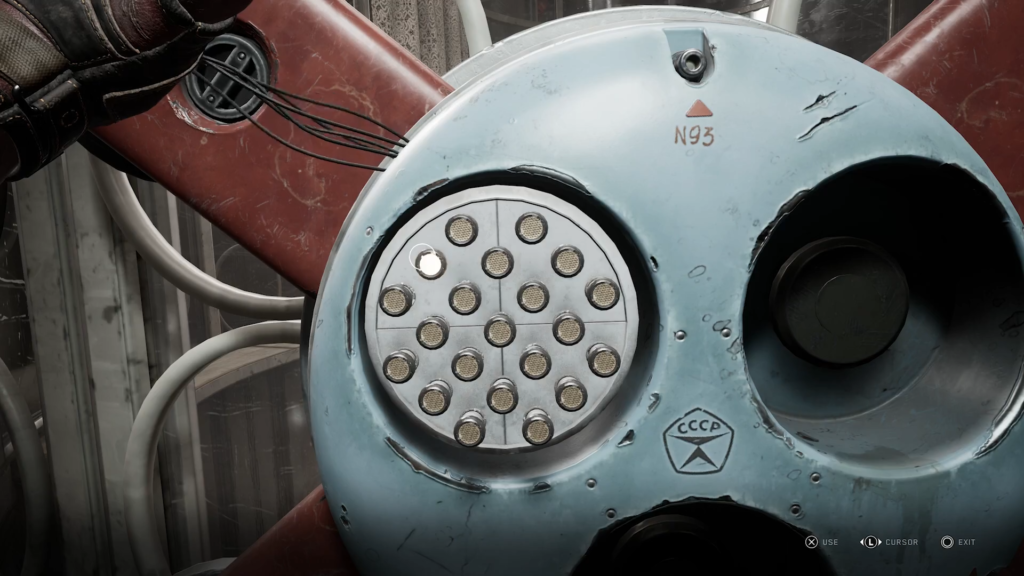
Return to the castle and enter the sequence of black dots: all the dots are located in the upper left corner of the puzzle, forming an upside-down letter “C.”
The booth will open—go inside, pull the lever, and start the cable car.
The Cable Car from Hell
Get into the cart—after the cutscene, P-3 will end up in a pit. Take out the two androids and jump onto the platform ahead.
Keep in mind that the parkour mechanics in the game can be unreliable at times: Sergey doesn’t always grab onto ledges, so make sure to jump facing the obstacle.
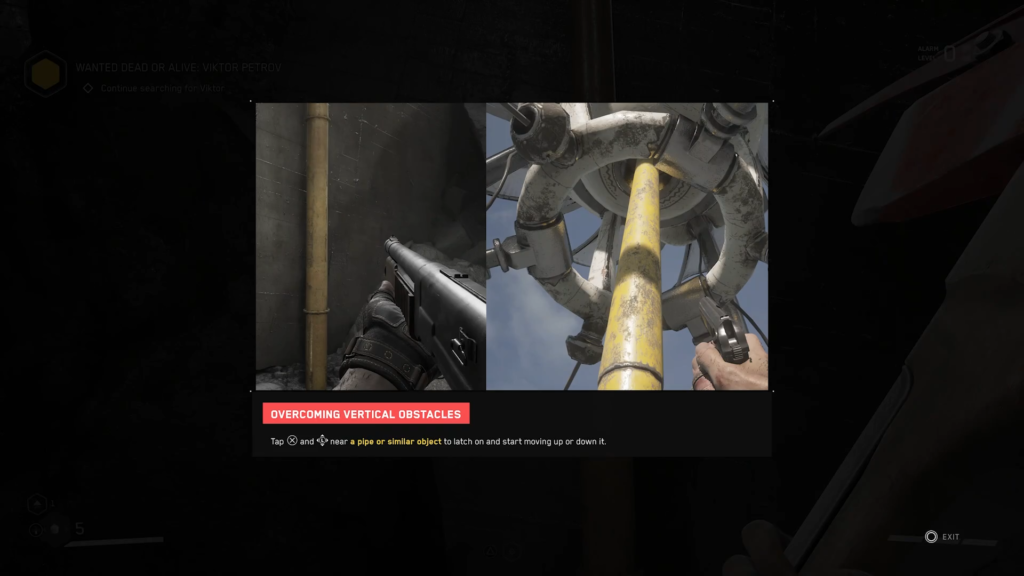
Climbing route: first ledge → yellow pipe on the left → debris to the left → platform above → jump to the opposite side of the pit.
That same drilling robot will appear on the other side again. Wait until it cuts through the path and moves away. Move forward until the ground shakes—then step back. The robot will race across the path and kill you if you get in its way. Once it’s gone, continue on.
A mine cart will crash through the wall, carrying another Lab-Tech with a laser. After defeating him, look for a crack in the floor just behind the spot where the drill went through the wall for the second time.
Crawl through—the tunnel leads to a small workshop.
Search the workshop, talk to the corpse on the floor, then climb into the ventilation shaft at the back of the room. The shaft will lead you back to the cable car tracks—here you’ll have to dodge the cable cars again, but this time without any cover.
Strategy: Wait in the mine until the mine cart passes by, then jump out and run toward the station on the right along the tracks. Stay on the left side—that way you’ll see the approaching mine carts. As they approach, switch to the right, then immediately back to the left. Keep switching sides until you reach the station.
Passing Through the Laser Gate
Rest and recover in the safe room on the right. Further down the hallway is an area with laser gates. You’ll see a robot pushing a person through the bars… it’s not a pleasant sight.
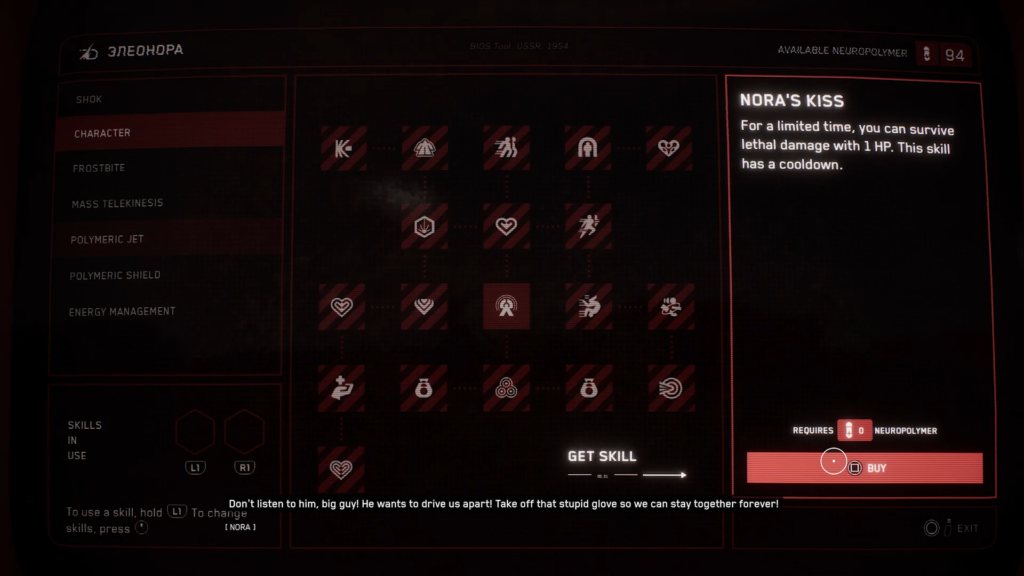
Move through the rooms and side rooms, following the route until you reach the crafting machine. Purchase the “Nora’s Kiss” upgrade. After that, walk through the laser—you’ll take damage, but you’ll survive. Heal yourself immediately.
Next up is a cutscene: P-3 meets Petrov, but he runs away, setting two flying Bees (vulnerable to electricity) and three androids on you. Destroy them all, then go up the stairs through the door opposite where you met Petrov.
Behind the door is a room with a ventilation shaft. On the other side is a large study. Here you will find:
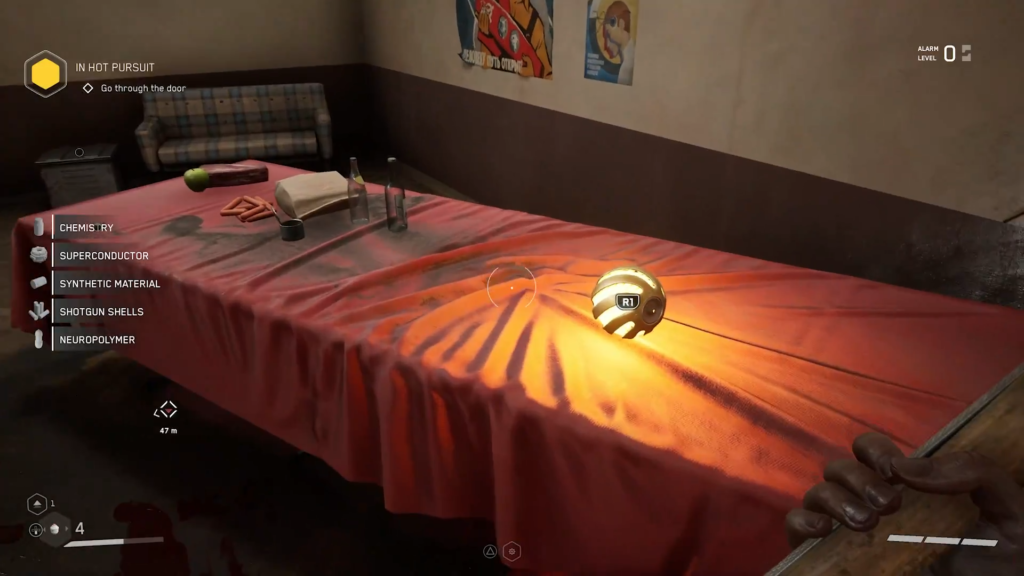
- A gun on a dead soldier in a chair
- A little chatterbox on a table with a red tablecloth
- A glowing sphere (candle) next to the chatterbox
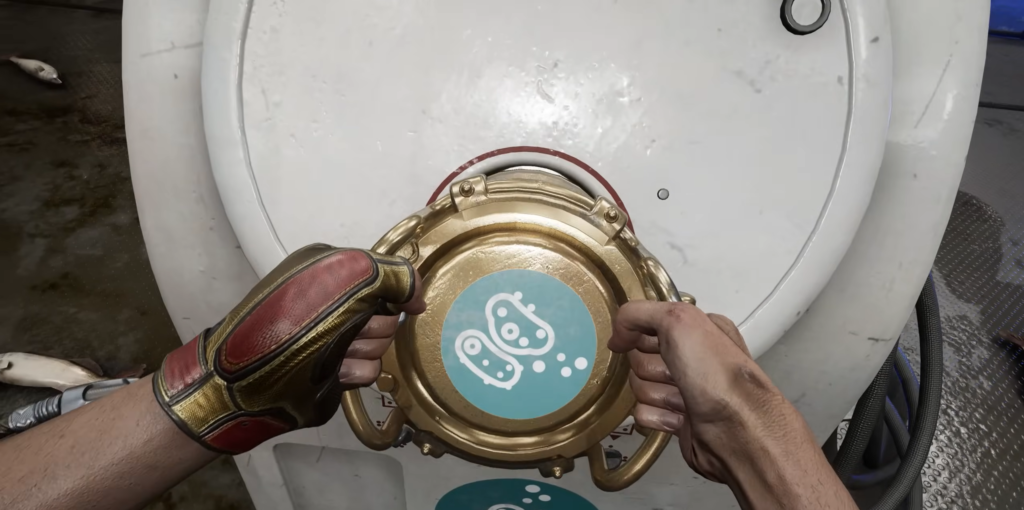
The candle is a key item: it unlocks doors and activates equipment, but it cannot be stored in your inventory. Move it using telekinesis.
Break open the metal panel on the door, grab the candle, and take it to the door through which Petrov escaped. Insert the candle into the orange device to the left of the entrance—the door will open.
Lunar Program
Behind the door is an area with unstable loaders. Search the rooms and make your way to the safe room on the left.
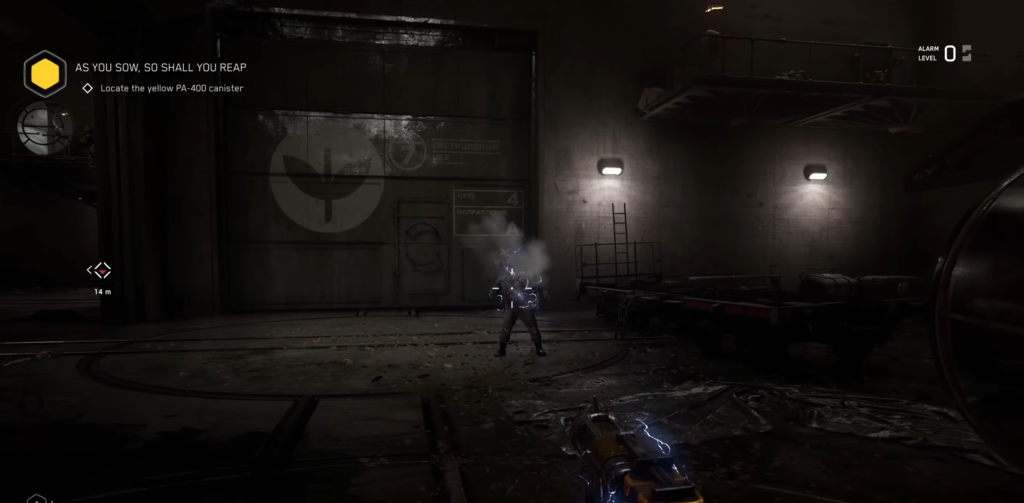
After saving, go downstairs. There are forklifts driving around the room—stop them with “Shock.”
Go to the northwest corner, where polymer is dripping from the ceiling. Climb onto the crates and dive in.
Once you’ve escaped from the polymer, get ready: two robots will attack immediately. On the left is a surveillance camera. Distract it with a crate, destroy it, and then deal with the Bees that will fly in to repair the camera (use “Shock”).
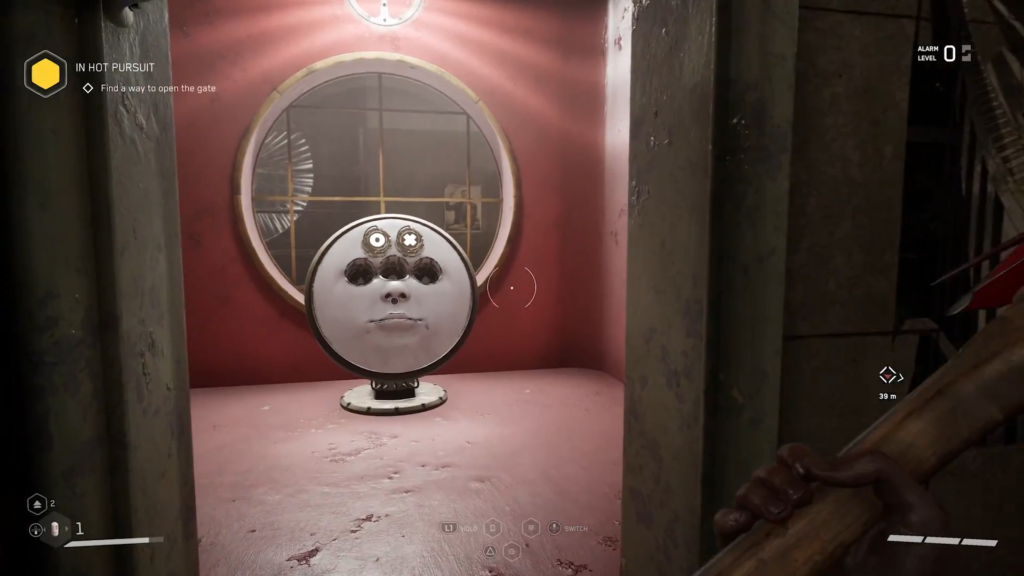
At the back of the area is a search room. Next is a booth with a white face and three holes in the center. This is a moon lock—it requires three keys.
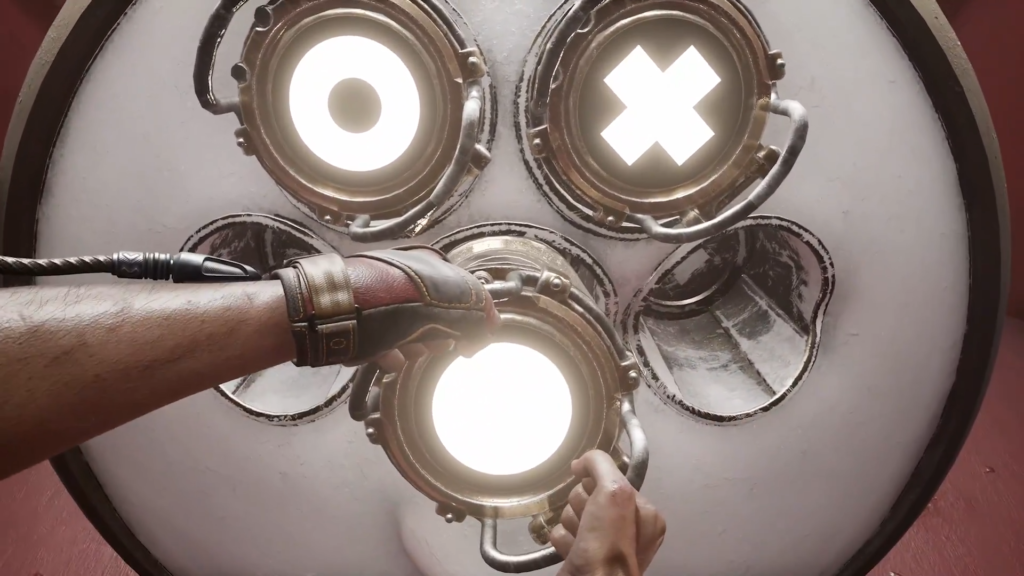
Search for Lunar Keys
| Key | Location |
|---|---|
| Lunar Triangle | Through the plastic hole in the east wall → swim through → press the button → in the room with the crafting machine |
| Lunar Square | Inside the ventilation shaft leading from the machine (to the left of it) |
| Lunar Circle | Behind the bookshelves to the right of the polymer entrance you used to enter this area |
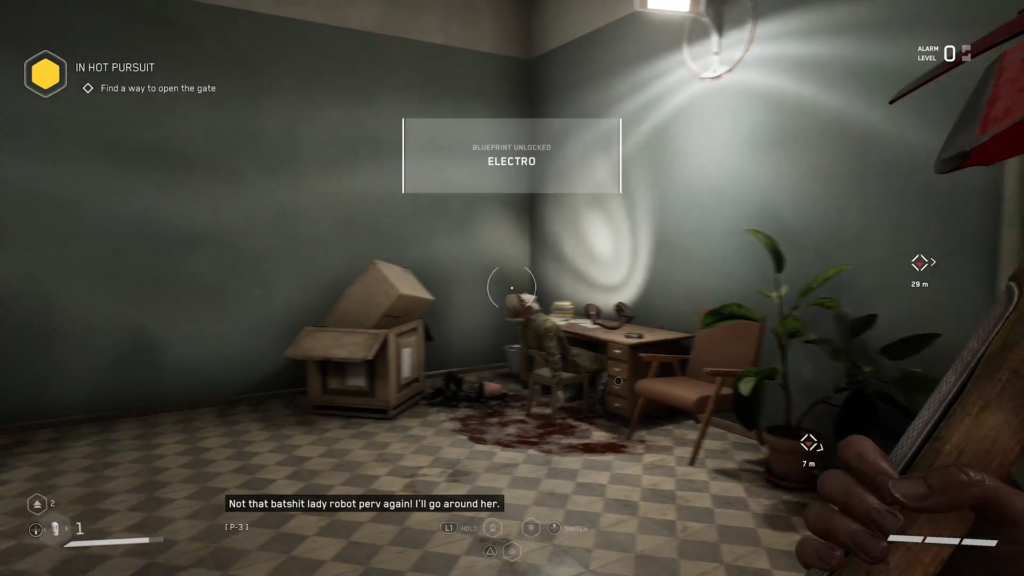
In the room with the crafting machine, you’ll also learn how to create the “Electro”—a pistol that uses Charles’s energy instead of regular bullets. Pick up the weapon from the vending machine.

Collect all three keys and insert them into the moon lock. The door next to the camera will open. Go inside and immediately turn into the safe room (the first door on the right).
Battle Against Five Robots
Next along the route: a spinning robot (with loot for the brave behind it), a red turret canister (stun it with “Shock” and finish it off from a distance), and a Bee.
At the end of the path—five robots at once. This is the largest group so far.
Tactics: Keep your distance, use the “Electro” for free shots, switching to a pistol or shotgun. Retreat, but don’t corner yourself—robots love to pin players against walls. Use “Shock” to stun them.
After winning, press the button to the left of the entrance to call the elevator and go up. Destroy the camera at the top and the Bees, then make your way to the safe room.
Next, exit through the door to the right of the vending machine, turn left, fight the robot, and climb up to its position. There’s a turret and a camera here—take out both. Hack the door across from you, stun the loader with “Shock,” climb onto the platform, and slide down the rope.
Go down the sloped platform. A massive robot is rushing around to the right—wait for the right moment and dive into the polymer in the center of the area.
Petrov’s Body and the New Mini-Game
You return to the room where you lost Petrov. On the opposite side, his decapitated body lies next to a candle. The scientist is dead; there are no more leads.
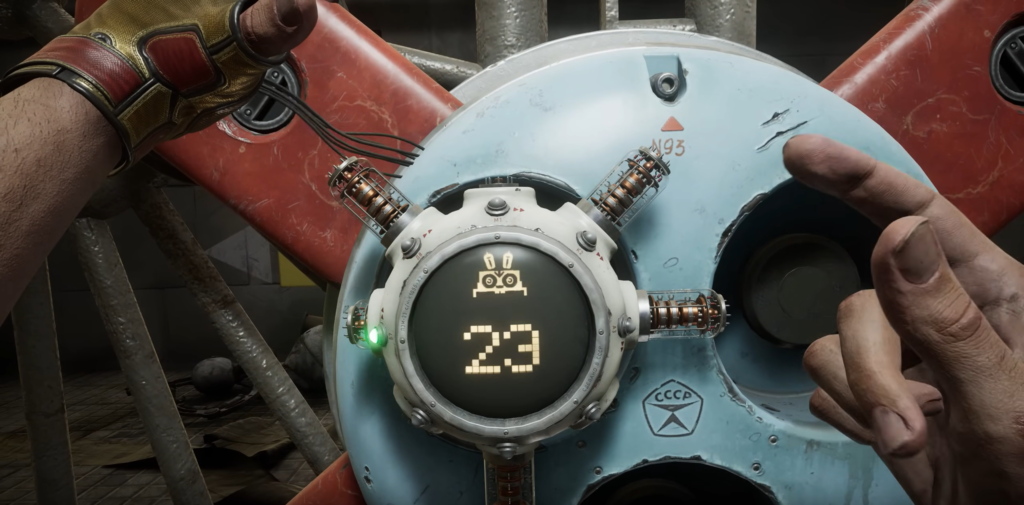
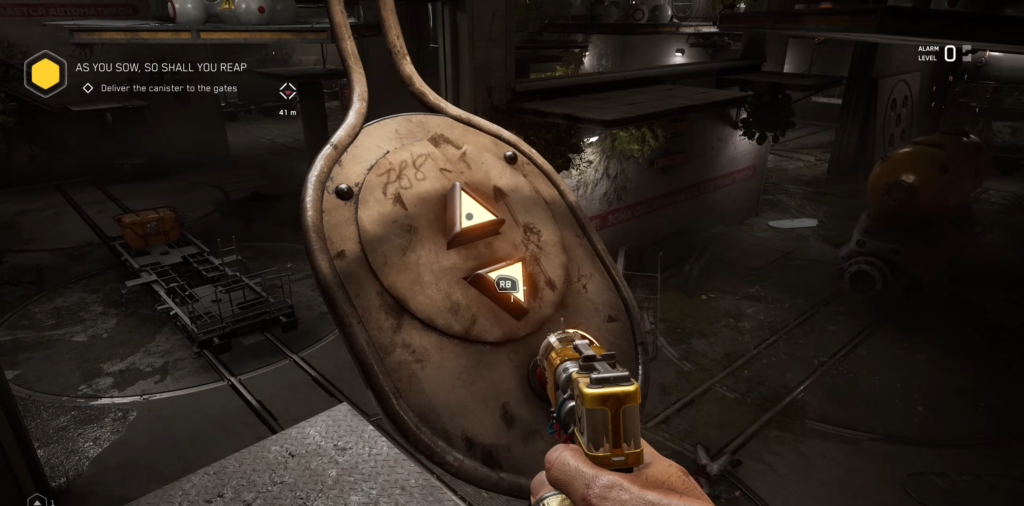
Pick up the candle and head to the locked gate to the southeast. Here is the second lock-picking mini-game. The principle is the same (remove the spools), but now you need to match the colored dots in the center of the circle with the colors of the lights on each spool. Move the dots using R2/L2 (RT/LT), and adjust their position on the scale using X/A in the bottom three notches.
Tip: Align the first point, measure the distance in notches to the second spool, and place the second point at the same distance from the first. When rotated, they will align.
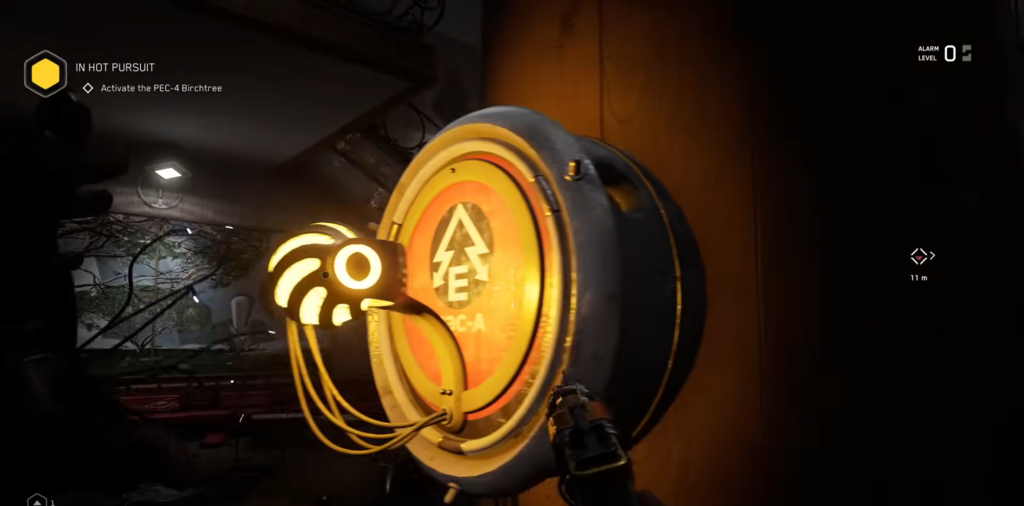
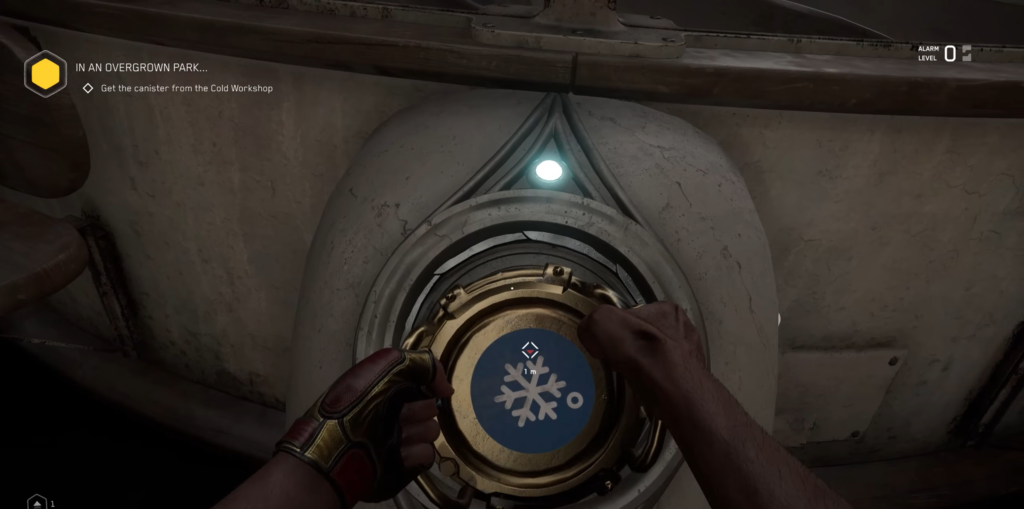
After passing through the gate, return the candle to the glass room with the tree in the center. Place it in one of the two pedestals. Then take the first candle (the one that opened the door to the loaders) and place it in the second pedestal.
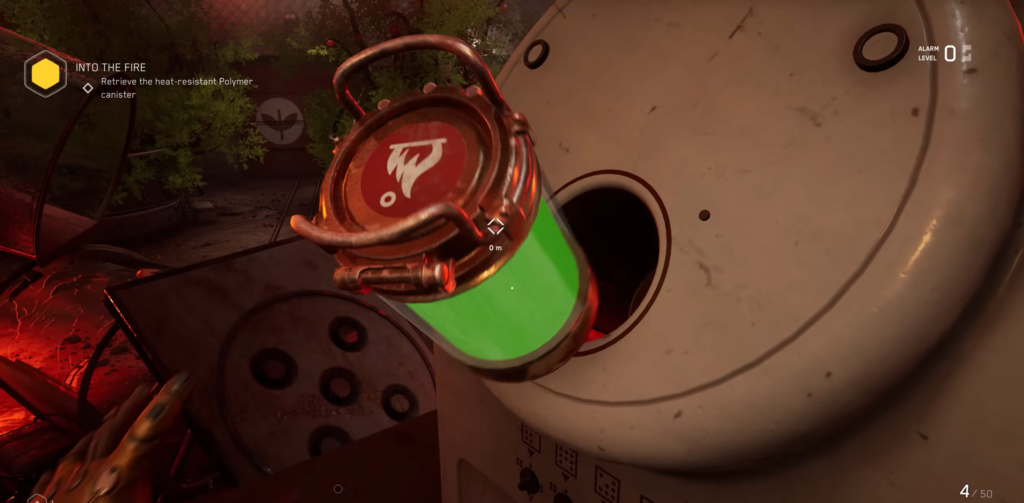
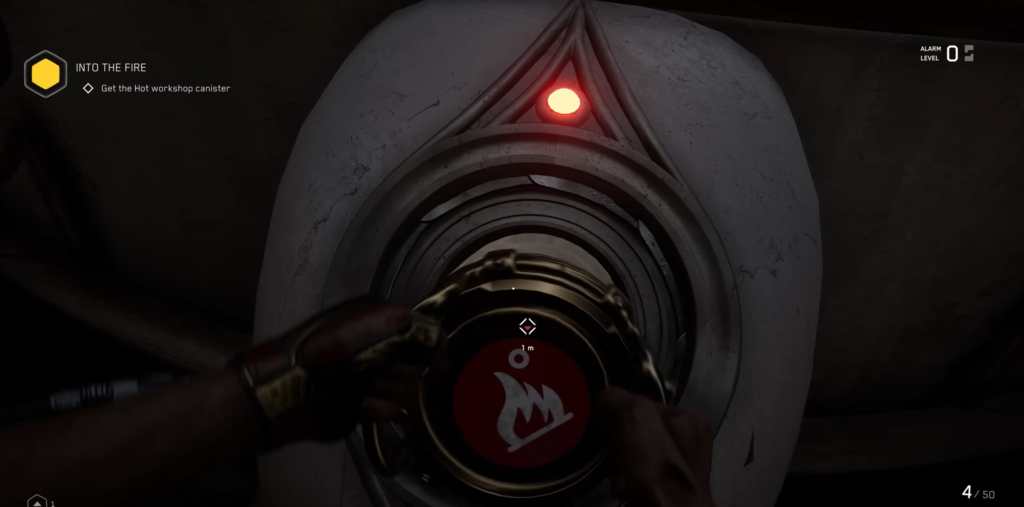
Four cans
The candles won’t open the door directly, but will trigger a sequence: now you need to insert four canisters into the four devices around the glass room. Turn right from there and enter the laboratories.
At the intersection, turn left twice—you’ll end up in a safe room. Once you’re ready, go out and press the button by the door across from you. In the lab on the left, there are organic mutants.
Getting to Know the Mutants

Mutants attack in close combat like robots, but are vulnerable to fire and firearms. However, they are resistant to electricity—”Shock” is largely ineffective against them.
Eliminate the mutants in the lab, pick up the shotgun from the table, and go through the door at the back. In the large hallway beyond it, the doors on the left and right are about to burst open, releasing a horde of mutants. Get your shotgun ready and retreat, shooting the enemies as you go—just like you did earlier with the group of robots.

At the end of the corridor is a group of mutants, including a flaming mutant (with fire on its head). It’s more aggressive than the others, shoots fire, and explodes when killed—keep your distance and shoot first.
Talk to the corpse on the floor (after the conversation, shoot him and talk to him again). Then break down the door next to the dead soldier.
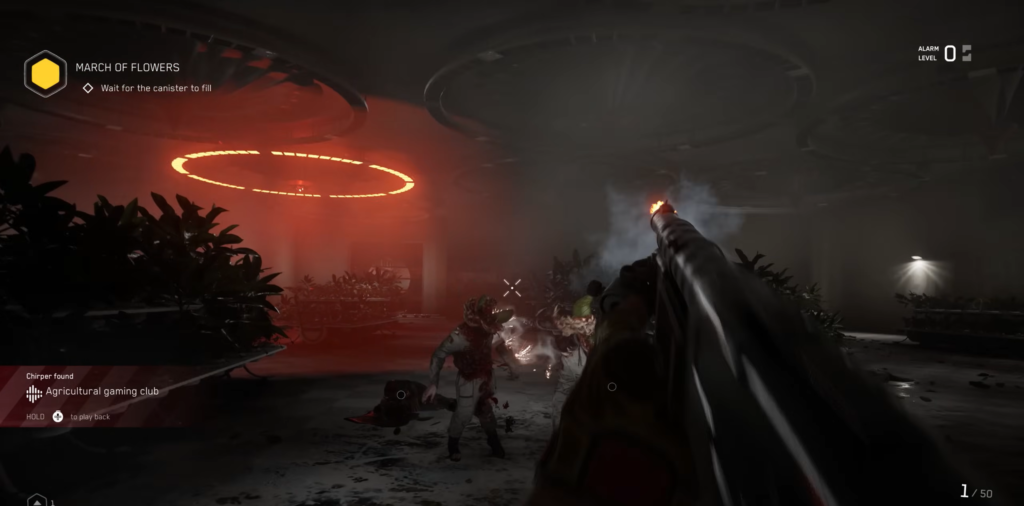
In the video, P-3 will encounter a new enemy—Hedgehog, who will break the glass in the algae lab.
Stay in the room on the left.
Algae Laboratory
Jump into the stream of polymer outside the window and make your way to the opposite platform.
Take out the robots and find the ladder to the platform above. Upstairs, there’s a crate with an empty capsule and a corpse you can talk to.
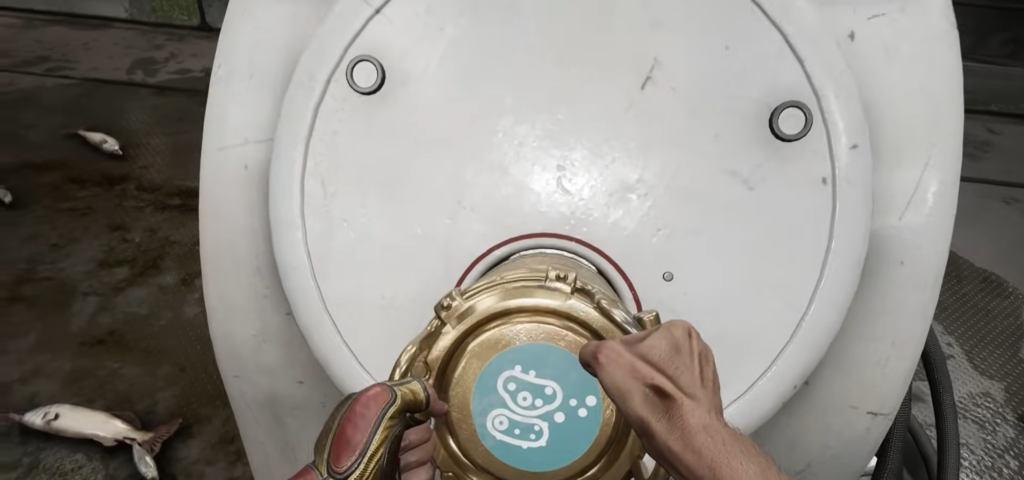
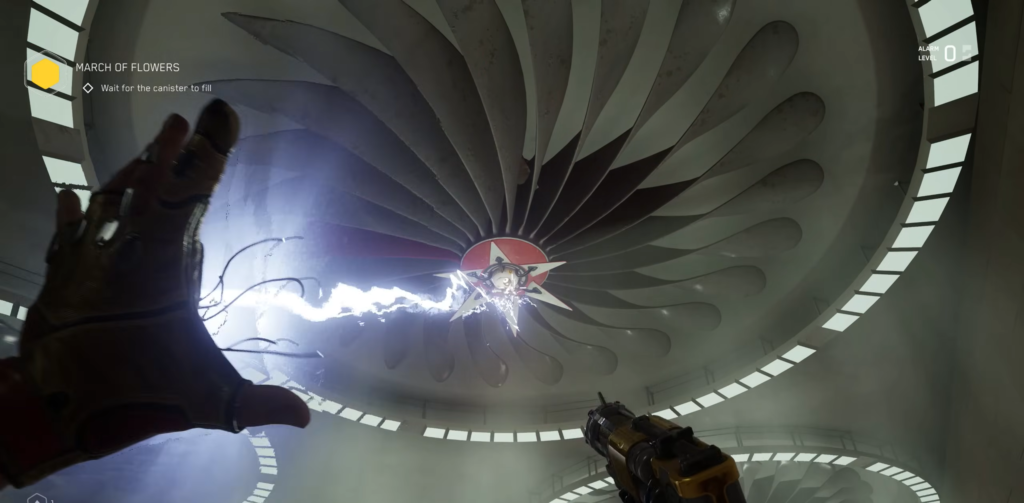
Go downstairs and head to the raised platform across from you. On the way, pick up the Chatterbox on the crate. Insert an empty capsule into the white machine—polymer production will begin. The machine will inform you that the process will take 36 days. You need to speed it up.
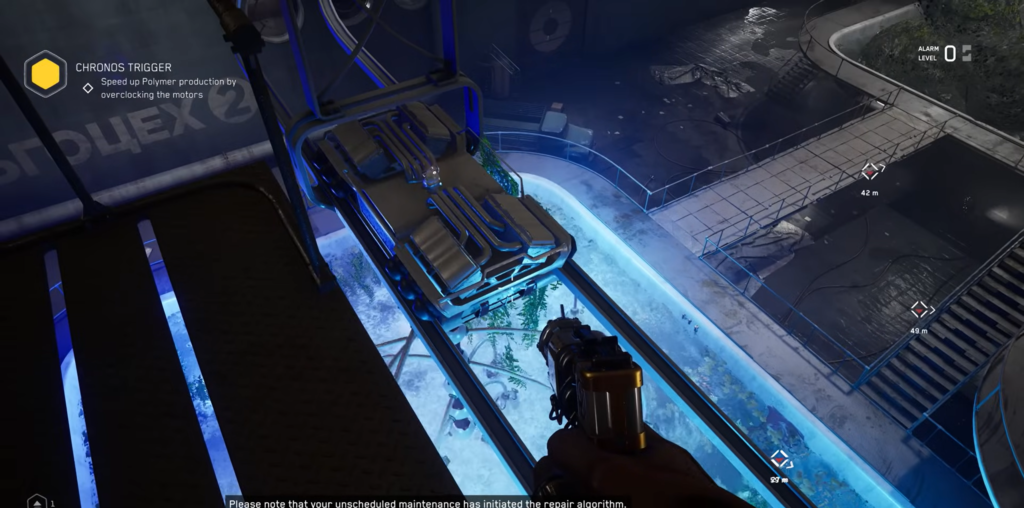
Engine Acceleration
The goal is to reach the beams at the top and overload the motors. Find the platform northeast of the capsule area—a long strip of polymer stretches upward to a small ledge at the top. Climb up and save your game.
Press the red button and jump onto the cable car. It moves slowly through the hall.
Above the pools of water, you will see rotating mechanisms—use “Shock” on each of them. The activated pools will glow neon blue.

After the first engine overload, the safety system activates—Bees will appear. Destroy them and keep hitting the engines.
Halfway through the ride, the cart will stop. Jump onto the wooden plank on the right and solve the relay puzzle on the wall. Two robots will appear—use the shotgun. Relay solution: press the bottom right circle, then the top middle one.
Return to the cart and activate the remaining motors. Save your progress at the first station, then go back down through the polymer, retrieve the capsule from the synthesizer, and exit the room through the door on the north side. The elevator on the right will take you back up.
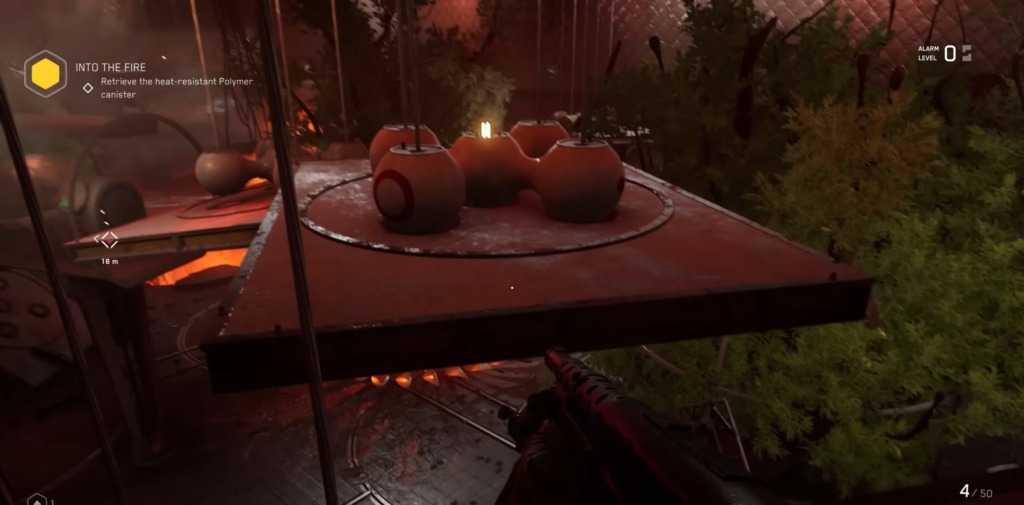
Hot Shop
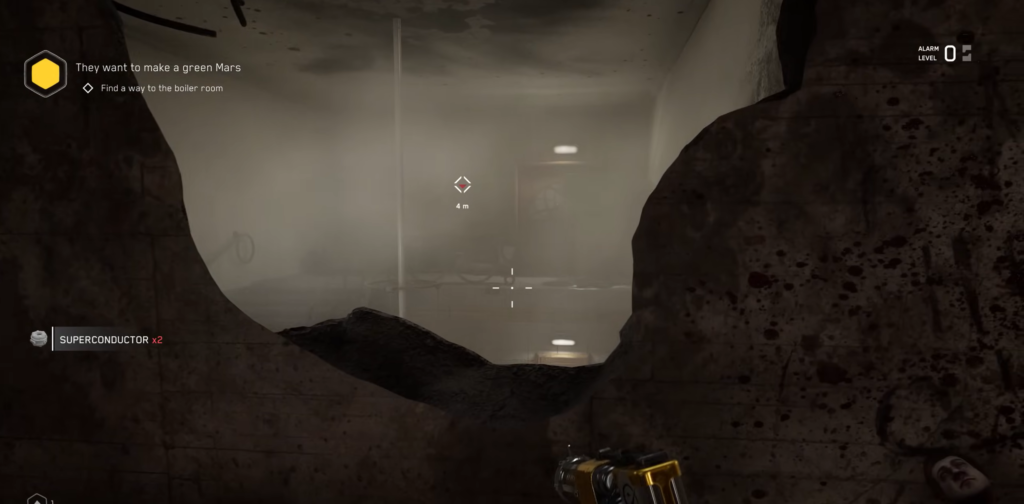
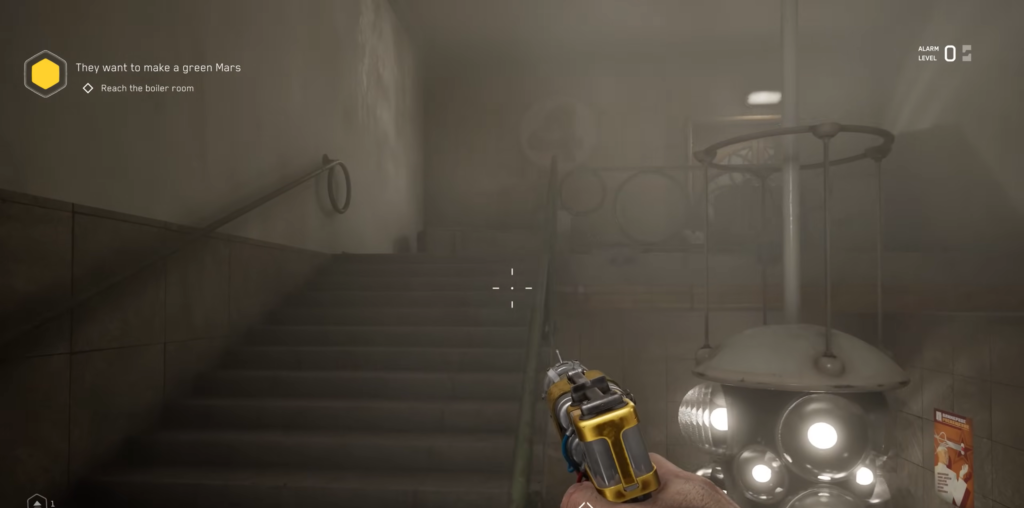
Stay in the room on the right. The hot shop is currently closed—the temperature is too high. Instead of going straight in, turn right, walk to the end of the corridor, and go through the double doors into an office with a hole in the wall. Through it is a large stairwell. Opposite the entrance is a lockable door; open it for quick access back to the main corridor.
Boiler Cooling
At the bottom of the stairwell is a boiler room filled with malfunctioning androids. They can’t run—save your ammo and strike them with heavy blows in close combat.
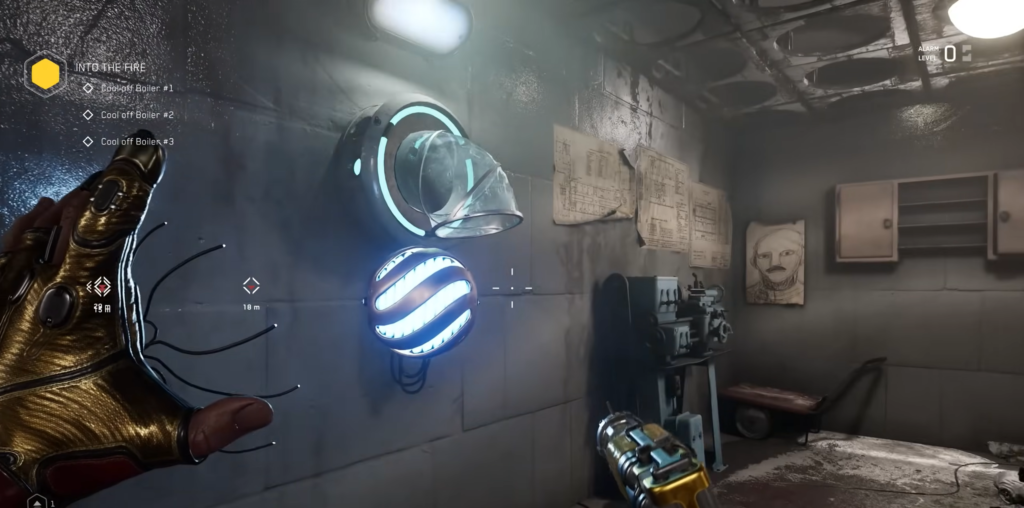
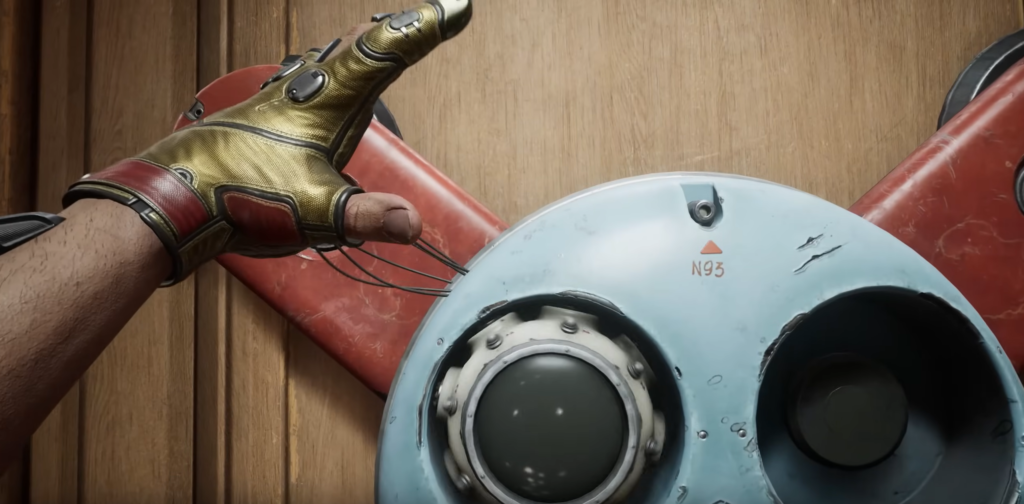
The objective is to cool down the three boilers. On the right, find the broken pipe with blue spheres containing water. Carry the spheres to the room opposite the boilers—there, a glowing chute will suck them in. The sphere will reappear in the pipe outside.
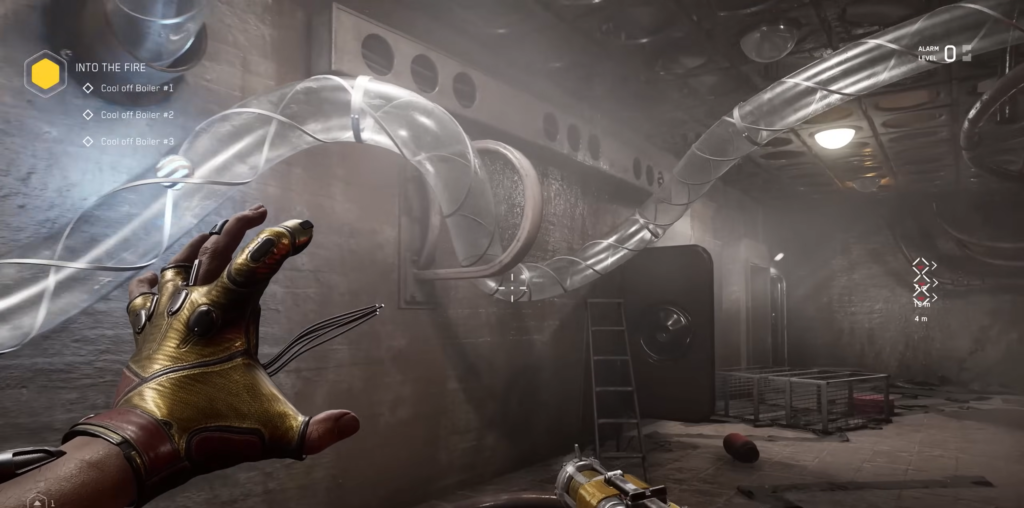
Use telekinesis to guide the spheres through the pipes to the boilers:
| Boiler | Pipe Route |
|---|---|
| First | Right path → left path at the fork |
| Second | Left path → left path at the fork |
| Third | Left path → lower path → right path |
After cooling down all the boilers, climb the stairs to the right of the room with the chute. At the top, there’s a chatterbox on the box to the left. Next is the safe room.
Platforming in the hot shop
In the atrium of the hot shop, go downstairs. In the center is a forklift lifting a pallet. Jump onto the pallet and make your way to the suspended platform.
Climb up the crates, jump to the next platform, and then to the one on the opposite side. Below is another platform with a polymer synthesizer. Grab the capsule and the chirping creature to the left of the synthesizer.
With the two polymers, return to the tree and insert both capsules. The second half of the laboratories will open.
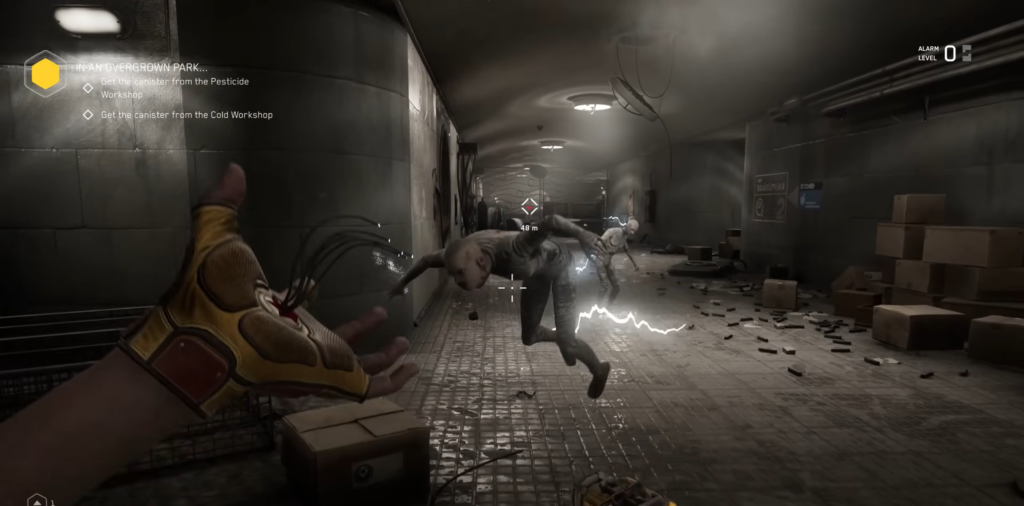
Pesticide and Cold Storage Facilities
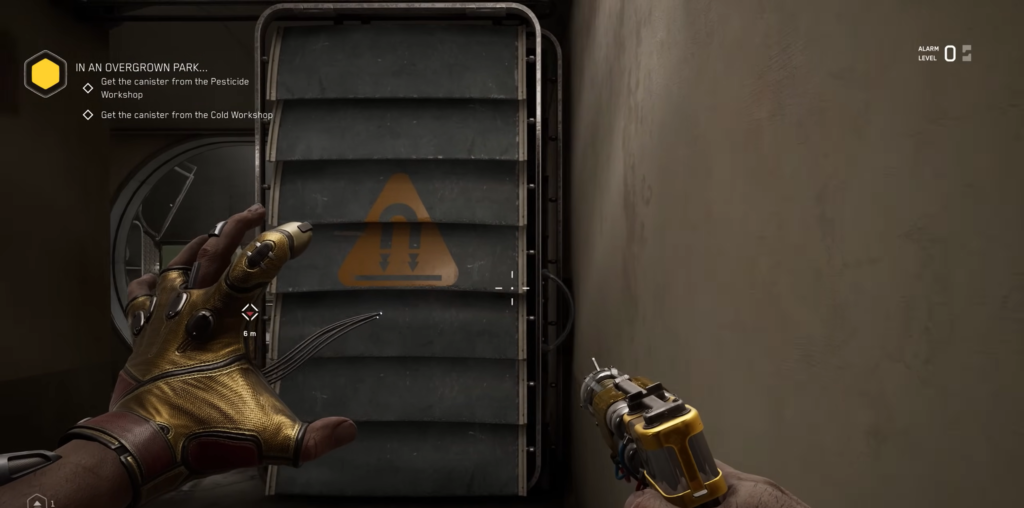
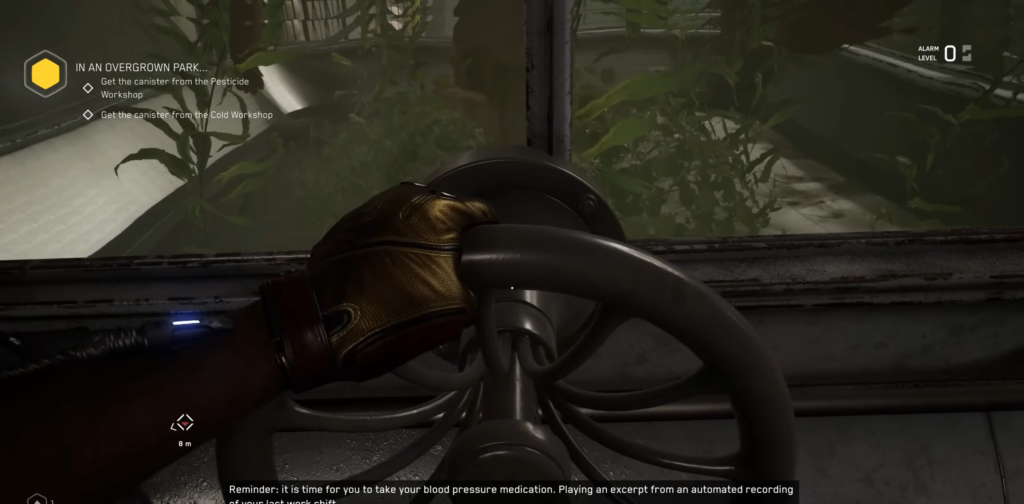
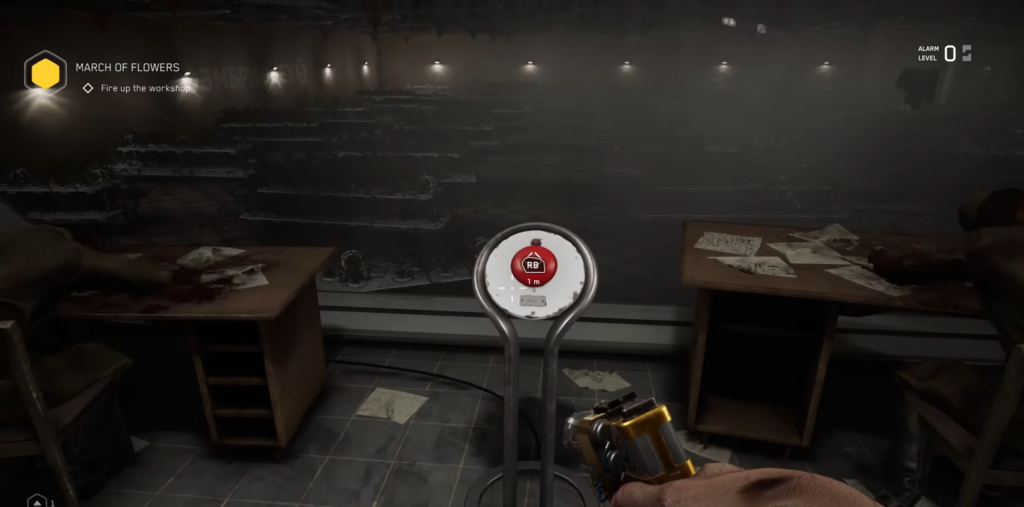
Go down the new corridor to the right. The safe room is on the right along the way. Next, open the shutters with telekinesis and enter the cold workshop.
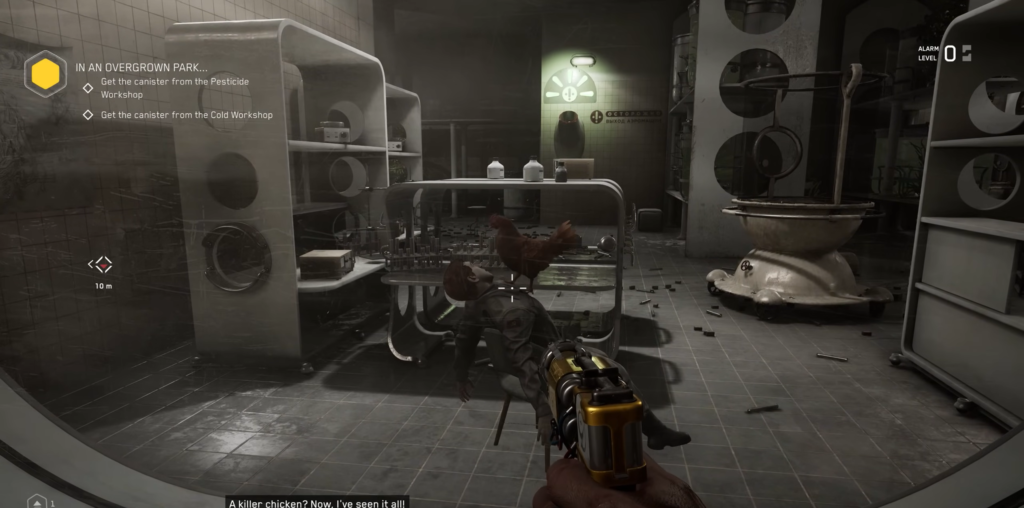
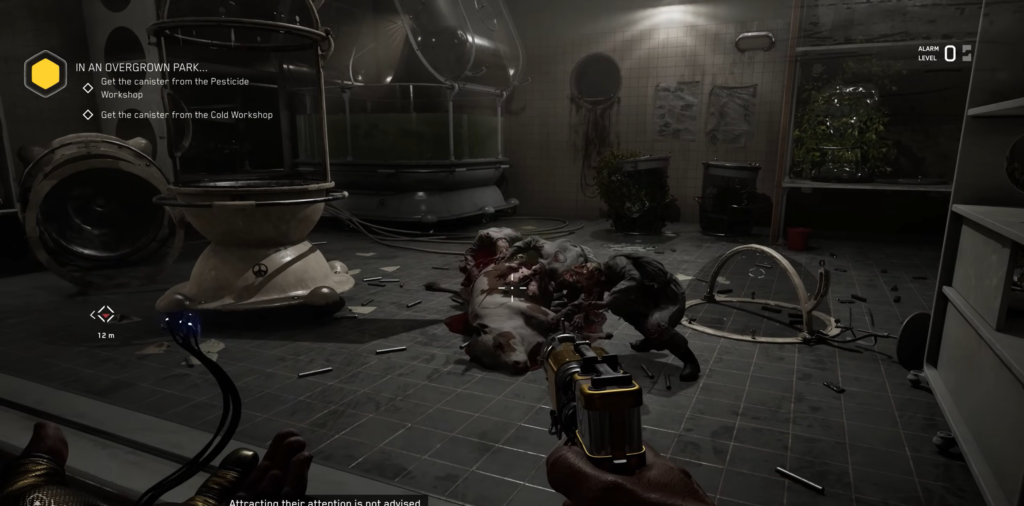
In the hallways, Charles will tell you about sprouts, mutants, and a very angry chicken. You’ll come across three mutants feeding behind a glass wall. Go down to the room on the left—there’s loot and a corpse to talk to.
Go through the ventilation shaft to the left of the corpse to reach that very laboratory.
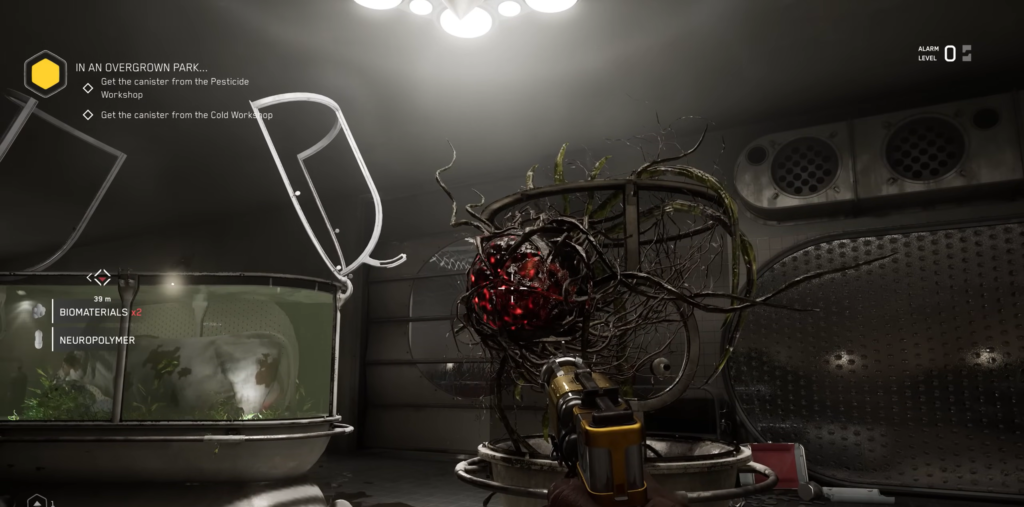
Destroy the sprout (be careful—it leaves acid on the floor when it dies), the mother attached to the tank, and the three mutants. Behind them is another ventilation shaft leading to a lab with animals in tanks.
Valve Puzzle
Turn each valve on the tanks. The monitor in the center of the room displays the status: a green icon means the valve is open, orange means it is closed. Once all the valves are turned, the animals will be… disposed of.

The door to the cold room is now open (northeast corner of the lab). Go inside and stay to the right. Take out the robot ahead and climb into the building above the lab. Search everything and approach the relay puzzle. Solution: bottom left circle, then top middle.
A Fight in the Cold Shop
Pressing the button in the control room activates the security section: you must protect the three fans in the workshop below while the polymer is being synthesized. Sprouts will fly into the fans and jam them, as well as infect the bodies around them, creating mutants.
If the fans jam, the synthesis will stop. You’ll have to shut them down with “Shock” and restart the process from the control room.
Strategy: Defeating the entire horde isn’t the goal. The main thing is to survive and keep the fans running. Shoot the sprouts with your pistol from a distance. When the mutants start appearing, keep moving in a circle so they can’t surround you. Use the shotgun for close-range emergencies.
When the fans jam (and they will), run around the edge of the map, stunning them with “Shock,” return to the office to restart them, and continue your defense.

Once the synthesis is complete, take the capsule and exit through the back door of the office, closing it behind you.
Pesticide Plant
Up the stairs on the right is a safe room. Rest up and restock your arsenal. Further down the hallway is an open shaft; slide down the pipe. Ahead is a room with androids. Destroy them.
Through the open passage on the right is an engineering room with a large group of androids. To conserve resources, find the small ventilation shaft entrance behind the stack of cardboard boxes to the right of the doorway. Crawl through the pipes and emerge on the other side.
Silently take out the robot in the room ahead and hack the panel on the door.
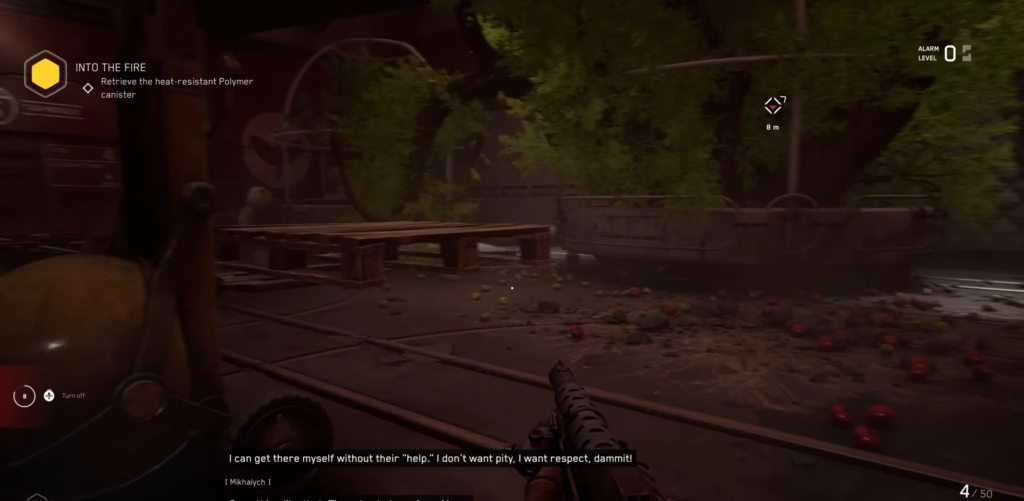
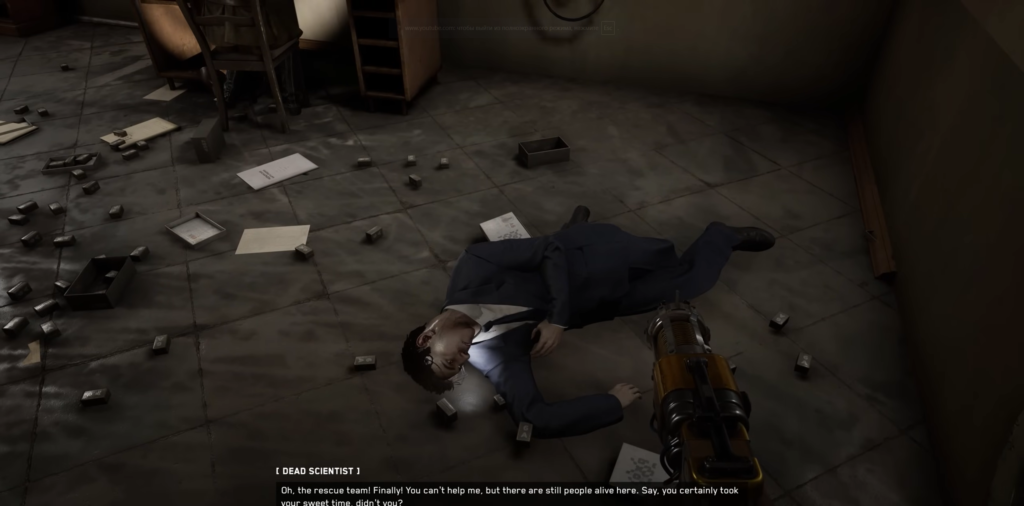
At the end of the hallway, behind an open door, is a scientist. He will tell you that a giant monster is sleeping below and that you need a pesticide polymer to destroy it.
Walk past the scientist, cut through the door on the left, and go down the stairs (the chatterbox is on the dead soldier near the chest in the stairwell).
In the atrium below are mutants, mothers, and sprouts. A gun will help you deal with them quickly.
The Silo Puzzle
You’ll come to a large yellow silo—that’s the polymer. Your task is to drag it back to the scientist using the control panels and telekinesis.
Sequence:
- Climb the stairs next to the silo. There is a yellow control panel on the platform. Press the up arrow.
- Use telekinesis to move the platform with the yellow mechanism above the silo to the northeast. Jump onto it.
- Make your way to the next panel to the southeast. Press the round button (clockwise), then the up arrow.
- Jump over to the small window ahead—there’s another panel there. Press the round button, then the up arrow.
- Move the telekinetic platform to the left to access the railing across from you. On the railing, there is a chest and a corpse to talk to.
- Walk along the railing to the open opening. Wait until the train below turns upside down, jump onto it, and from there—onto the platform by the wall on the left.
- Up → round button → up. The train will push the cart. Jump off, climb up the cart’s tank to the railing. On the panel—round button, then up.
- Move the telekinetic platform between yourself and the next panel. Round button → up.
- In the next room, use the overturned wagon next to the silo to climb up. Reach the panel (there’s a chatterbox nearby). Round button → up.
- Jump down and follow the silo into the last room. Take the stairs to the panel at the entrance. Round button → up.

After the cutscene, you’ll receive a pesticide polymer. Save your game and head back through the lab. The area is now swarming with mutants and sprouts—fight your way through with firearms, taking out the mothers on the walls.
Boss: Big Mutant
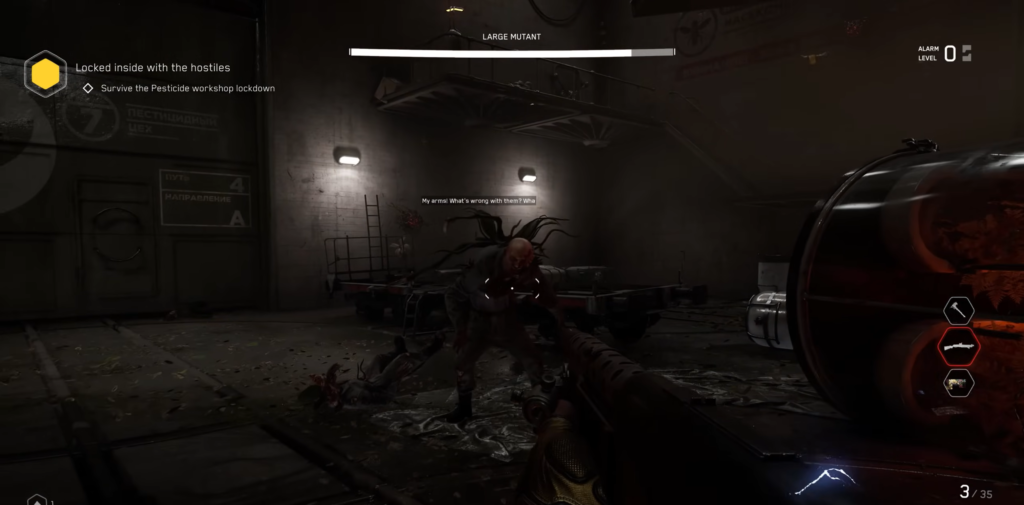
In the tunnel between the two main areas of the lab, you’ll encounter a Large Mutant—significantly tougher than the usual ones. It deals massive damage in close combat, spits acid, and spawns sprouts.
Its weak spot is the orange sack on its back. The mutant periodically drops to one knee, sprouting shoots—this is the best moment to attack. Hit it with a shotgun, pistol, or a powerful melee weapon.
The main danger is the confined arena. Don’t let yourself get cornered. Atomic Heart’s combat system is notorious for situations where enemies pin the player against walls with no way out. Keep moving constantly.
After defeating the boss, collect the loot and continue along the route through the pesticide lab. Go up to the corridor above where you found the silo, turn left, and hack the panel on the gate.

The corridor will lead you back to the birch tree. Insert the last two canisters. The doors opposite will open—the way to the exit is clear.
The Point of No Return
Go through the open doors and turn right toward the elevator. Press the button—Charles will warn you that this is the point of no return. If you want to finish anything at the Vavilov Complex, now is your last chance. There will be no going back.
Ready? Get in the elevator and press the button. The Vavilov Complex is behind you.


Comments (0)
Sign In / Sign Up
Sign in to leave a comment.
No comments yet
Be the first one to share your thoughts!