
After P-3 boards the train from the Forester’s Village and is intercepted by the Hedgehog, the VDNKh chapter begins. An open world, the pursuit of Stockhausen, dungeons with magnetic puzzles, two tough bosses, and assembling a robot piece by piece—more on all of this below.
In the run-up to the exhibition
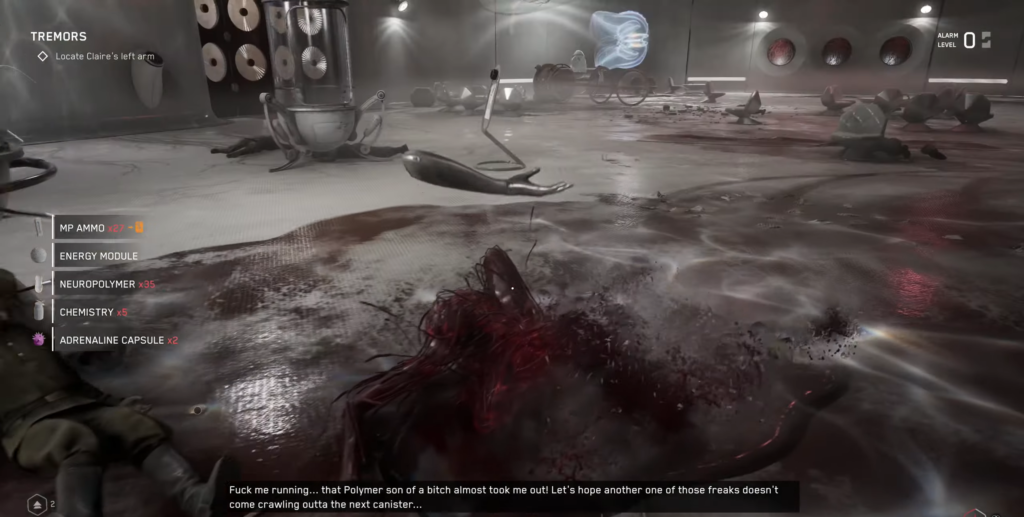
After completing the introductory cutscene, you’ll face an upgraded LABORATORY robot. It’s armed with an electric baton, deals more damage at close range, and has added a shockwave and a long-range attack to its repertoire. However, its attack patterns remain familiar at the start of the battle.
The situation changes when the android takes enough damage and activates its energy shield. Damage doesn’t penetrate the shield—the goal is to land as many hits as possible on it, break through its defenses, and finish it off during its window of vulnerability. Once you’ve dealt with the enemy, start chasing after Stockhausen.
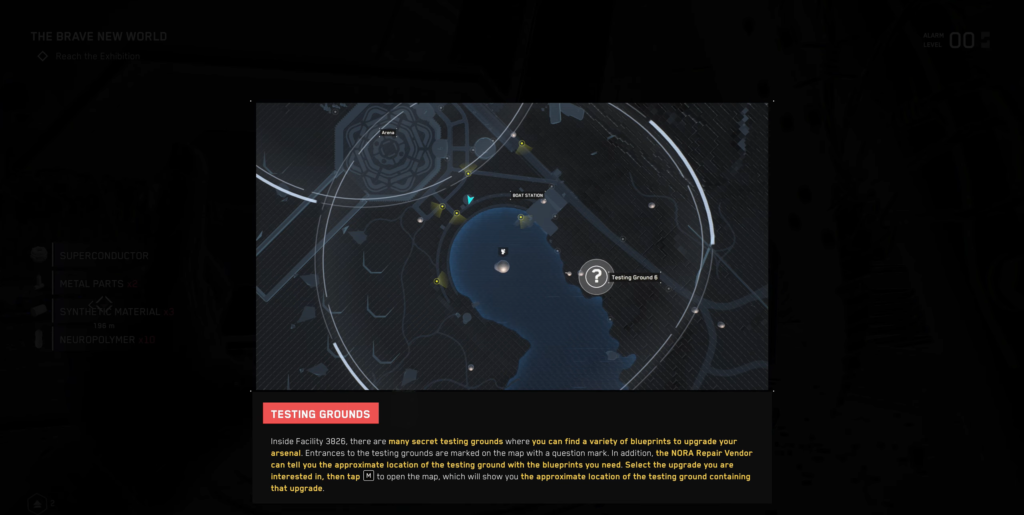
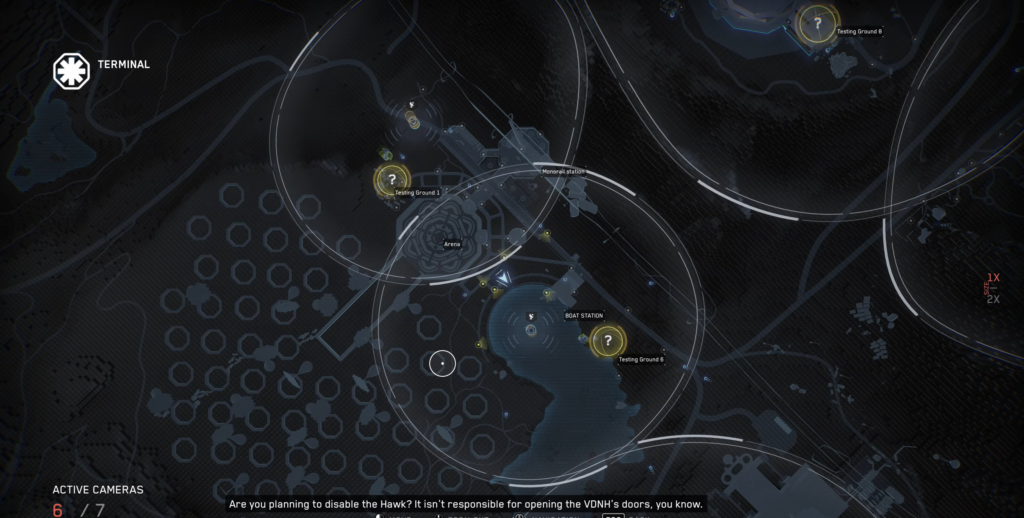
From this point on, Training Grounds—optional locations containing blueprints for powerful weapons—are available in the open world. They are not covered in this guide, but completing them is highly recommended.
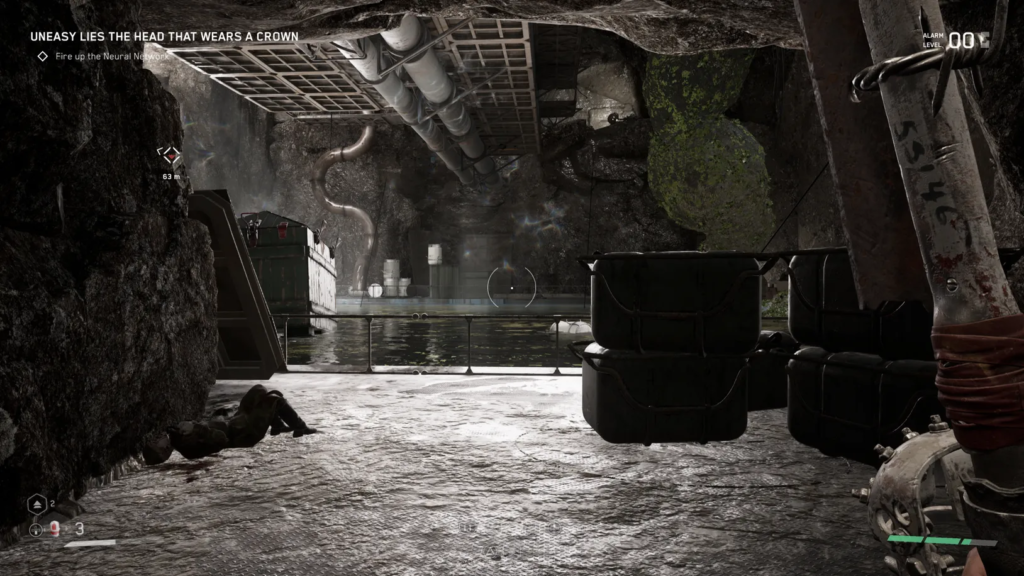
To continue the story, you need to get to the exhibition hall southwest of the monorail station. The doors will be locked—you’ll have to find an alternative route.
The Hawk’s Call
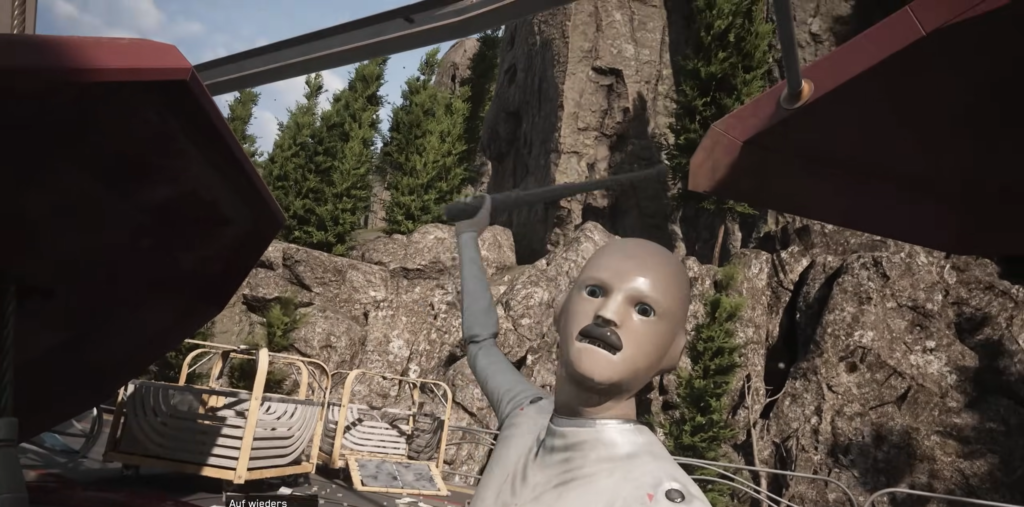
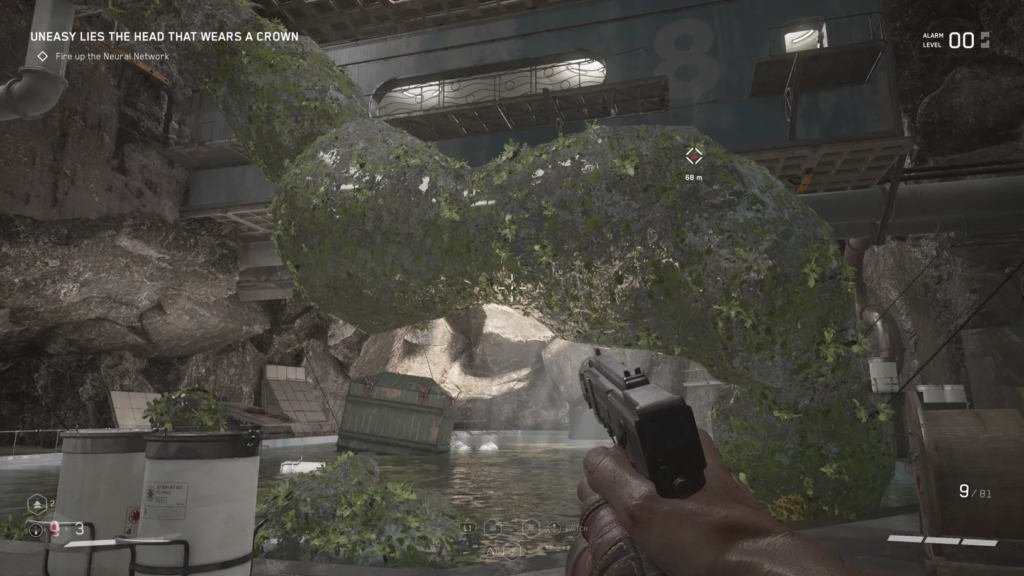
The solution isn’t obvious: you need to land the flying machine—the Hawk—and use it to reach the pavilion. Here’s what you’ll need to do.
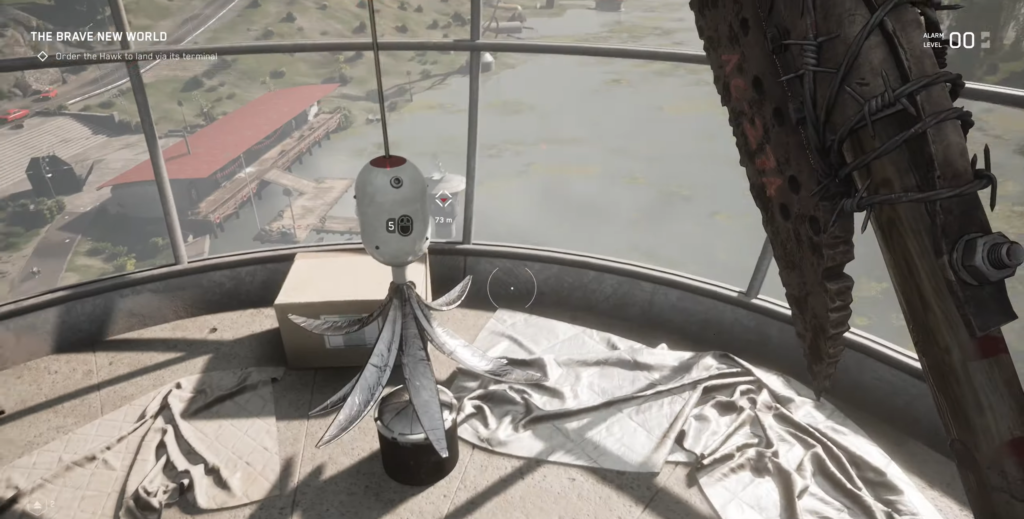
West of the pavilion, by the lake, stands a water tower. At its base is a metal circular lift. Use it to climb inside. Once upstairs, open the surveillance system and activate the yellow circle on the screen. The camera will switch to a view of the pier—pan it to the right and press R1 / RB, aiming at the small booth to unlock its door.
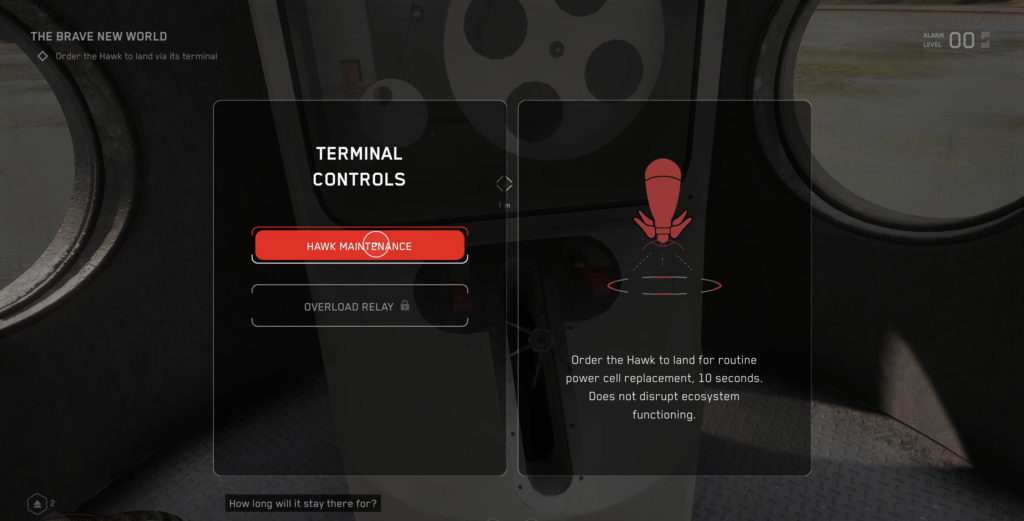
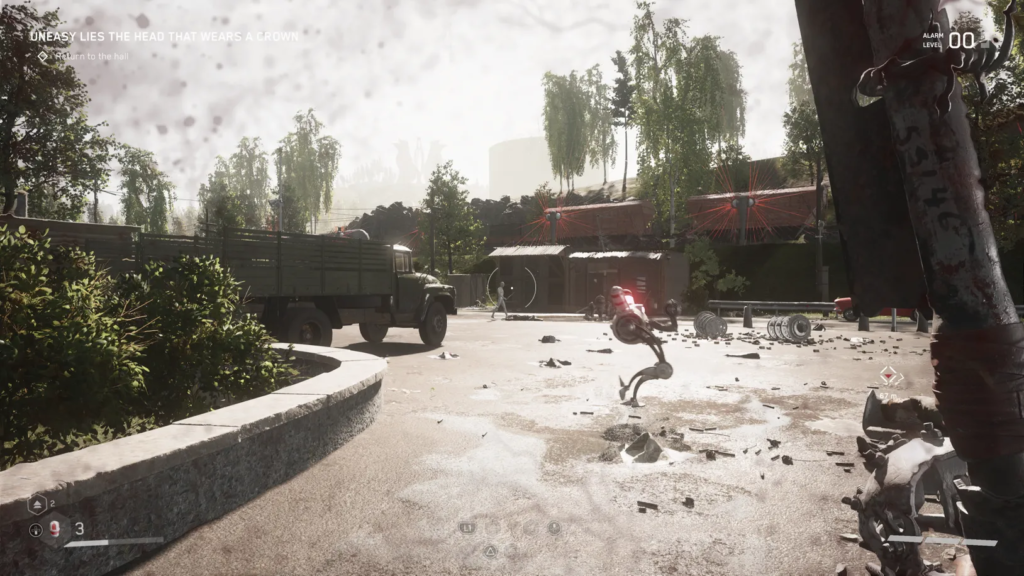
Head back down and make your way to the eastern end of the pier, where a booth has just opened. Inside, activate the terminal and select the command to land the Hawk. Charles will warn you that time is running out—the aircraft will take off again soon.
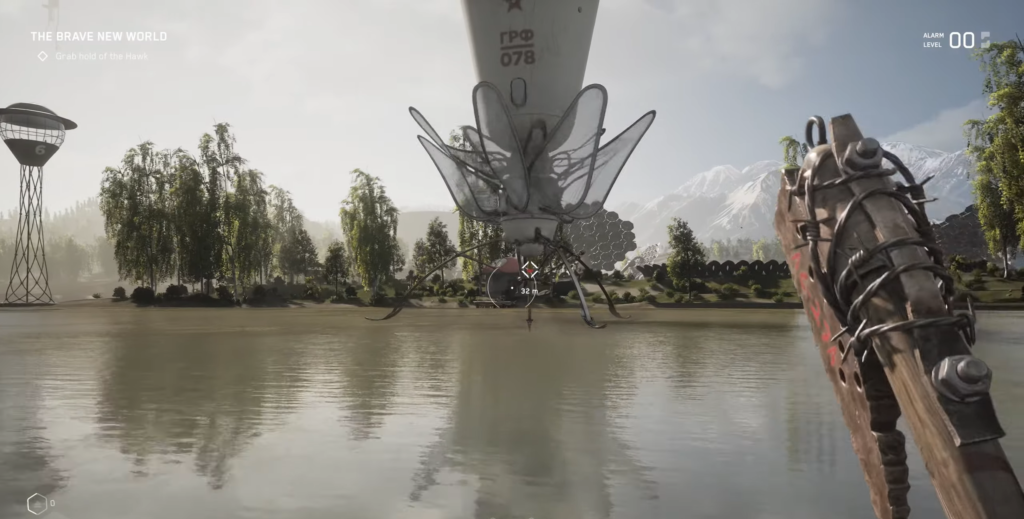
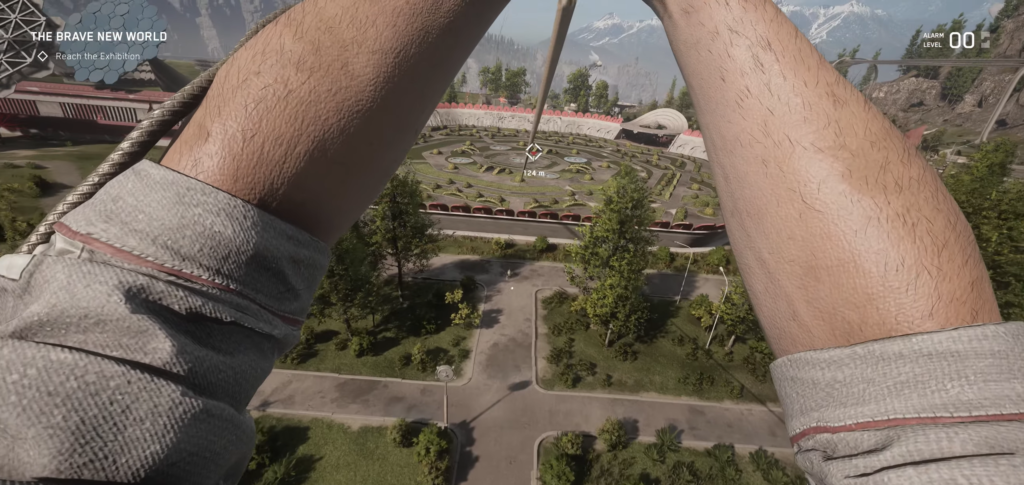
The hawk will land in the middle of the lake. Once you reach it, grab the central pole. The machine will soar upward, and after it stops, you’ll see a cable stretching toward the pavilion on the right. Press R1 / RB when prompted—and you’ll find yourself inside the exhibition grounds.
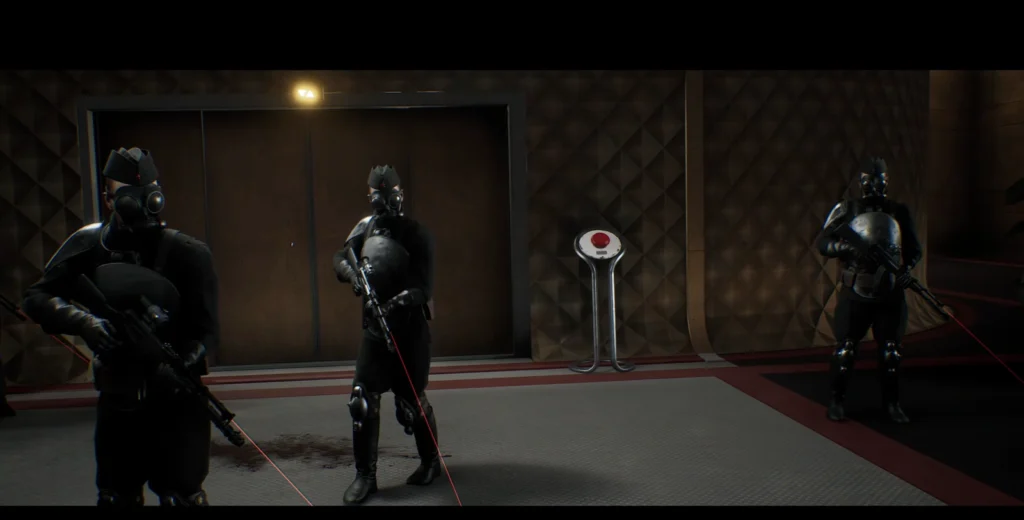
The Fight with the Hedgehog
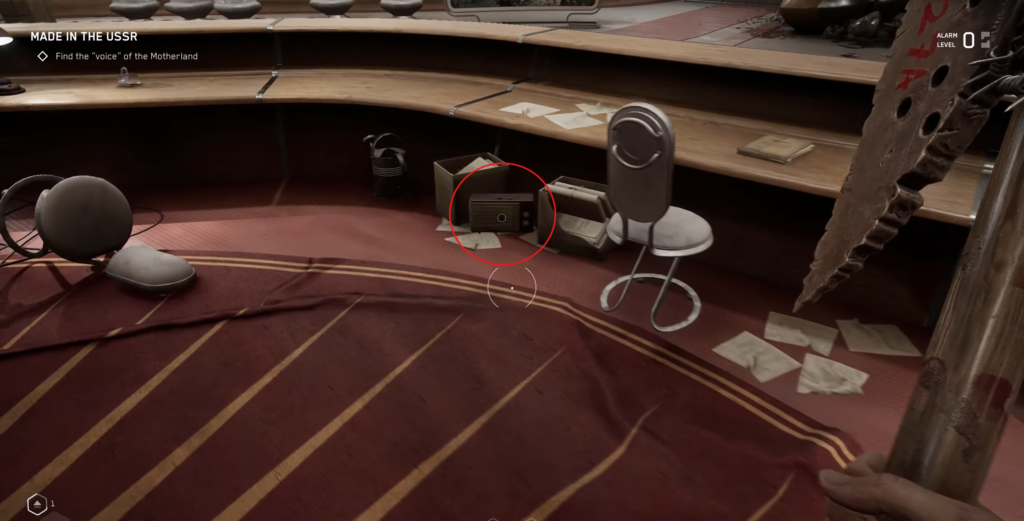
The game’s first major boss. Once you’re inside the pavilion, don’t rush to the center—first head to the main gate, where you’ll find a save point and a vending machine.
What You Need Before the Fight
| What to bring | Why |
|---|---|
| “Slippery Type” skill (Character menu) | Invincibility frames when dodging |
| “Second Wind” skill (Character menu) | Ability to dodge twice in a row |
| Dominator (if already equipped) | Automatic weapon with ammo regeneration |
Once you’re ready, approach the silver pedestal in the center of the arena and use Shock. The hedgehog will appear, dash around in a circle, and take up a fighting stance.
Key Tactics
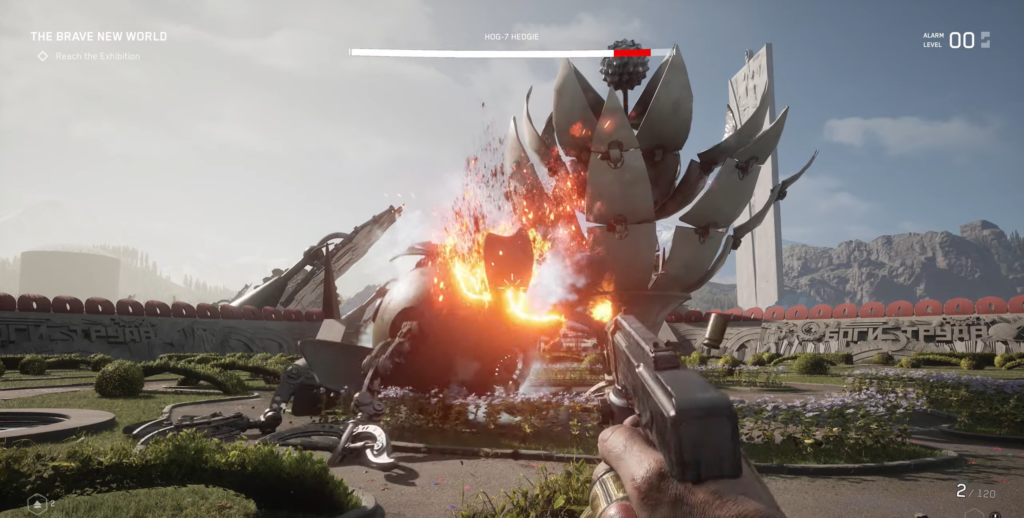
Shooting the Hedgehog when he is not in his vulnerable state is useless—the bullets do almost no damage, and you’ll just be wasting ammo. Your task is to wait for the moment when the boss rolls onto his back and the coils appear from his body.
The most reliable way to trigger this state is to use the sculptures. There are round holes on the arena floor; after a while, small green cylinders will pop out of them. Hit the cylinder with Shock—an art object will appear. Position yourself so that the Hedgehog is between you and the sculpture: he will crash into it and become vulnerable. At that moment, unload all your ammo into the coils. With enough damage, the coil will explode, dealing massive damage to the boss.
Arsenal Eja
Ground Strike — A giant laser ring spreads across the entire arena. Without the “Slippery” trait, you’ll have to jump over the laser; with the trait, a timely dodge is enough.
Laser projectiles—long-range shots that travel across the entire map. Dodge them by strafing or use invincibility frames.
A series of close-range strikes is a predictable combination. It’s enough to step back or dodge.
Gravity Well (Final Phase) — The Hedgehog rises and pulls P-3 toward him. Keep dodging backward continuously, but be prepared for alternating pulls and ground slams.
After the victory
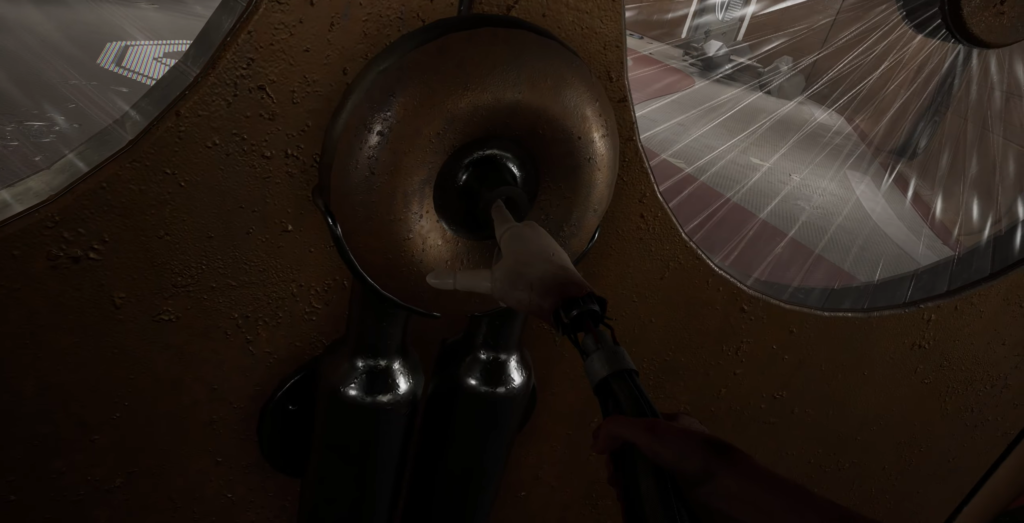
Save your game at the gate and proceed to the opposite side of the pavilion, then go down the stairs. Confetti will rain down from the cannons below, but the doors will be locked. To the left of the stairs is a large plutonium monument. Go behind it, hold R1 / RB to activate telekinesis, and pull it back. A hatch in the floor will open—jump down into the Magnetic Damping Zone.
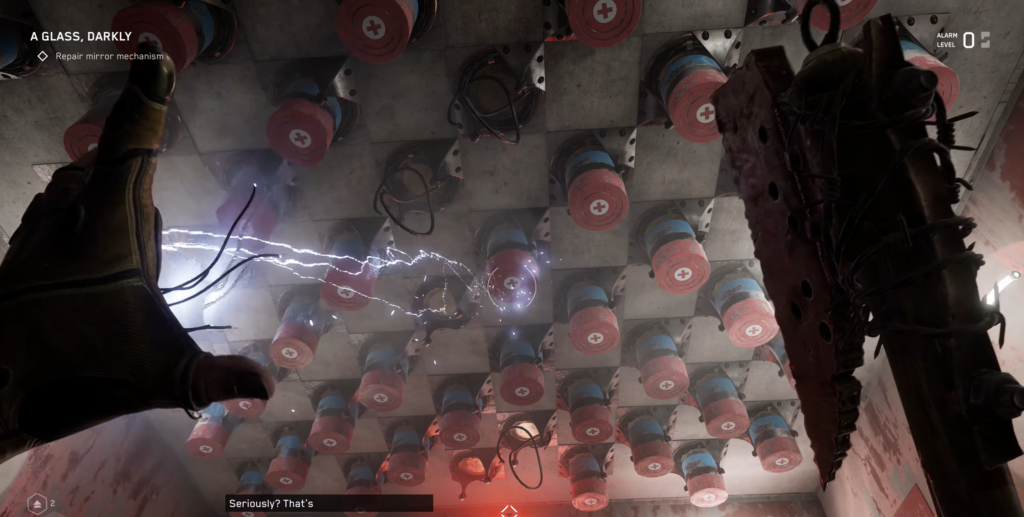
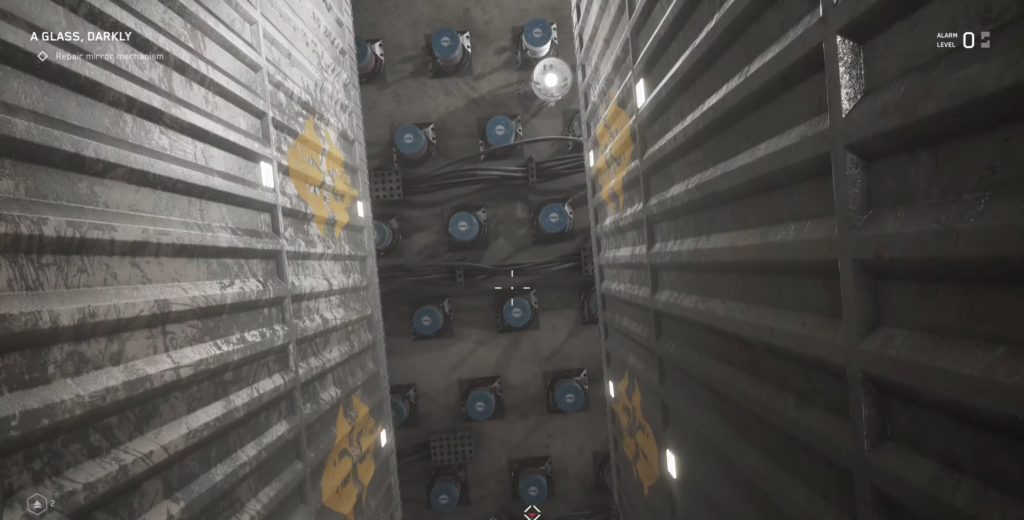
Magnetic damping zone
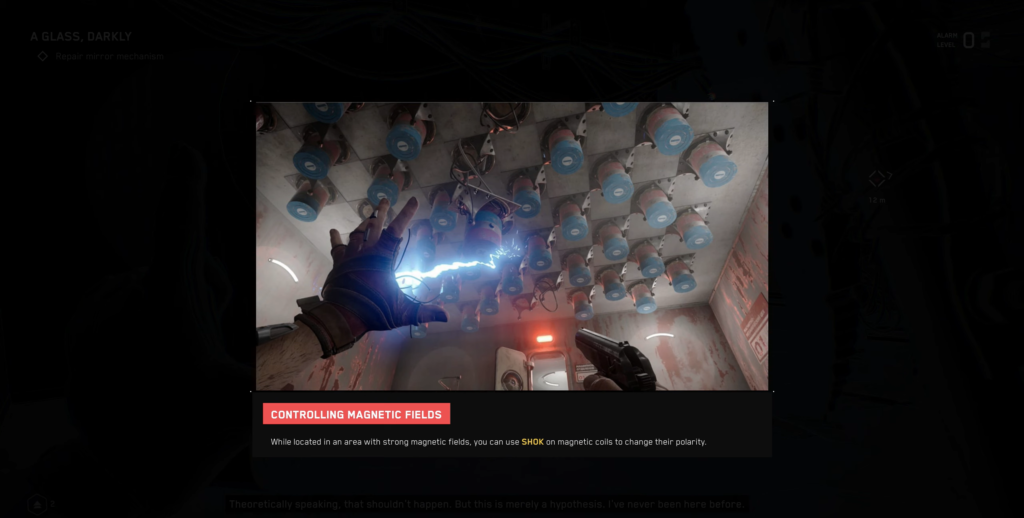
A series of rooms with magnetic coils on the ceiling. Striking the coils with a shock rearranges the room’s elements—platforms extend, flaps move, and new paths appear.
Room 1
The easiest one. Activate the ceiling with a Shock—a ladder of platforms will form on the right, leading to the upper exit. Climb up.
Room 2
The hall is large, but there’s nothing to be afraid of. The exit door is located on a raised platform opposite the entrance. Go down to the floor and find the row of red-spooled panels directly beneath this door. If the panels are arranged differently, strike the ceiling to rearrange the room. Then stand on the red panels and activate the ceiling again: they will lift you straight to the exit.
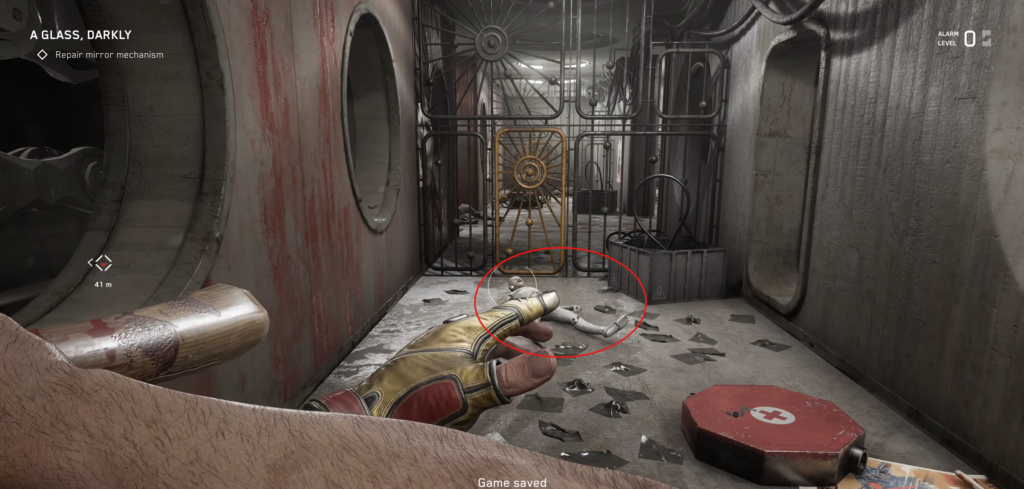
Behind the door is a golden grate and a “dead” android on the floor, which is actually alive. Destroy it. The door on the right leads to a second android; behind it, turn left and you’ll find a lockable door, and through the second door on the right is a chest.
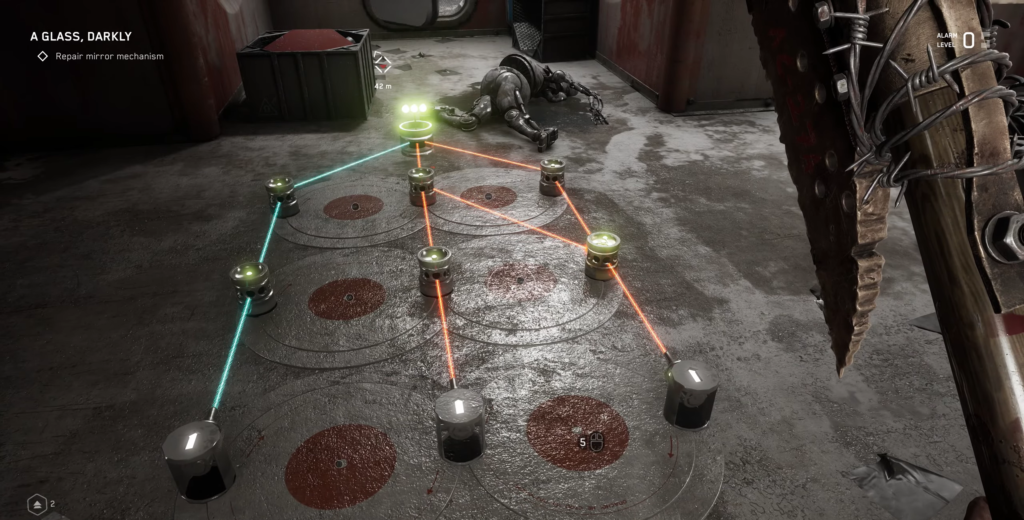
Return to the main hall, find the energy relay on the floor, and activate it. The order for switching the circles is: bottom center → bottom left → top left. The central door will open.
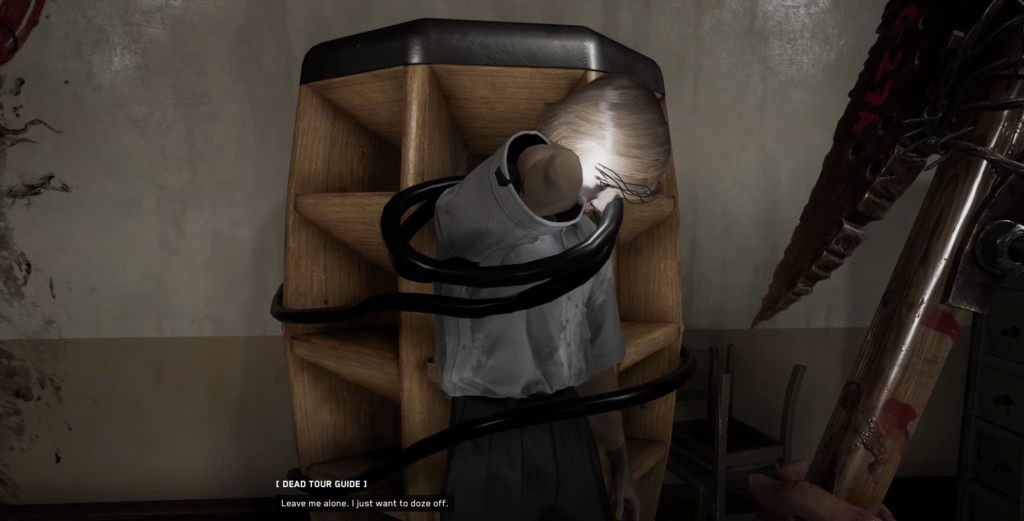
The talking corpse is to the right of the truck propping up the door in the far left corner of the hall.
Room 3
In the southwest corner, there is a flap with red coils. Stand on it, activate the ceiling—climb up to the platform with the locked door. Hitting the ceiling again will extend the platform to the blue valve. Next to it is a puzzle switch: flip the top right circle, then the bottom right. The exit is unlocked.
Next, jump onto the red platform on the right, activate the ceiling, and look to the northwest—between the two tall platforms hangs a platform with blue coils. Reach it, move forward, jump down to the red platform below, and jump over to the door. Behind it is a save point.
In the northwest corner of this room is another talking corpse (next to it is an android pretending to be dead).
Room 4
The ceiling is divided into two halves—the left and right coils. All instructions below are relative to the entrance.
- Activate the right coils → jump onto the red flap on the right
- Go down to the blue flap in front of you → right coils again → you will be lifted up
- Jump onto the long blue platform → from there to the central platform
- Right reels → platform on the right → platform by the wall → blue gate in the northeast corner
- Right reels → platform ahead → red gate nearby → red platform on the left → exit
Behind the door is a hallway with a locked door. The puzzle switch is on the right: lower inner left circle, upper inner right, upper outer right.
Room 5
Jump down and stand on the blue flap on the right. Hit the ceiling → platform on the left → hit again → platform on the right → railing ahead → platform to the left → hit the ceiling — the flap ahead rises. Jump onto the wall, hit the ceiling again, return to the lowered platform behind you, and reach the beam by the ladder. A final hit on the ceiling opens the way: blue flap → exit.
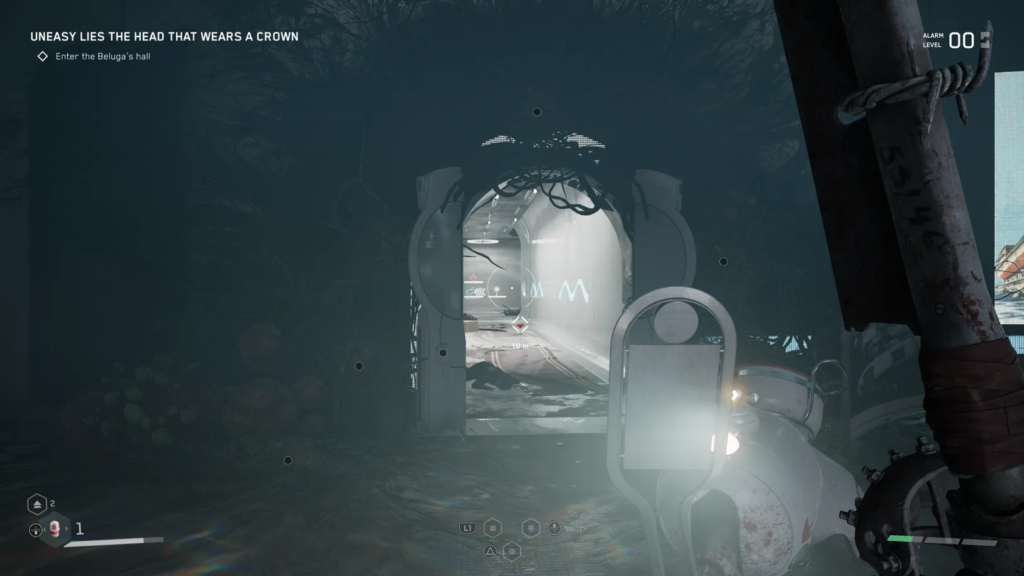
In the next corridor, you’ll find a save point, a chest, and a switch on the floor. Solution: flip the top inner left switch, and the door will open. Go through the silo, and you’ll find yourself at the entrance to the VDNKh building. Watch the light show and go inside.
Inside VDNKh
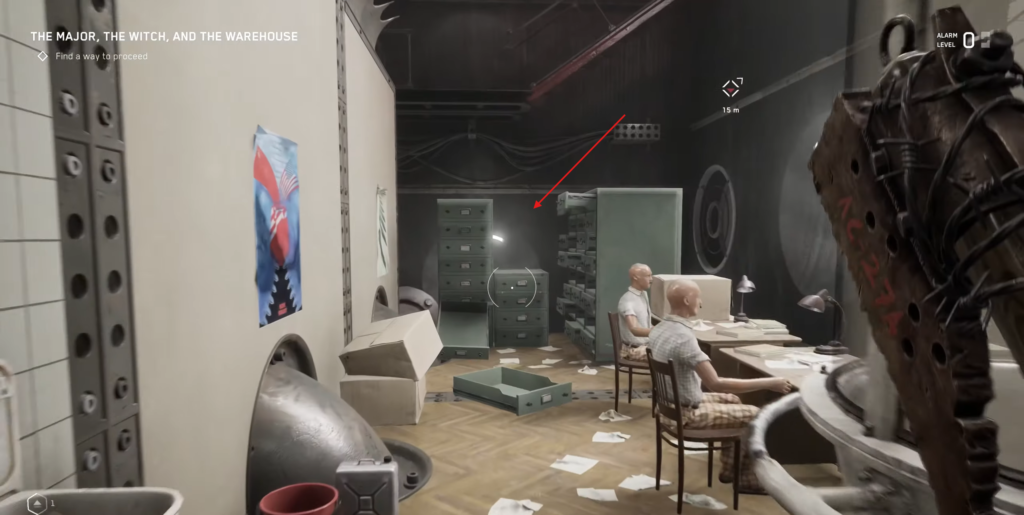
Turn left to pass the Tokamak Complex exhibit and enter a corridor lined with offices. In the first room on the left, you’ll find a talking corpse and an engineer robot.
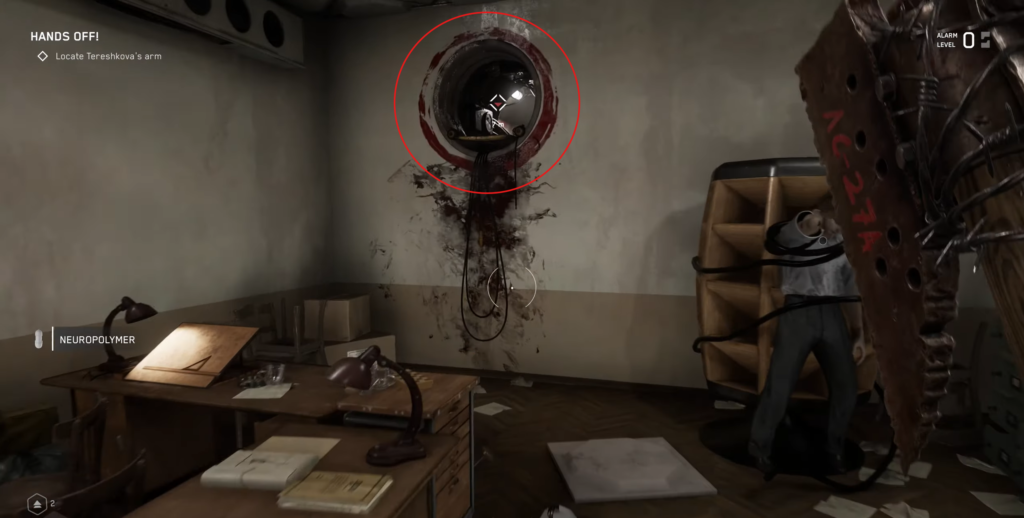
Look around the office, then crawl through the vent in the left wall.
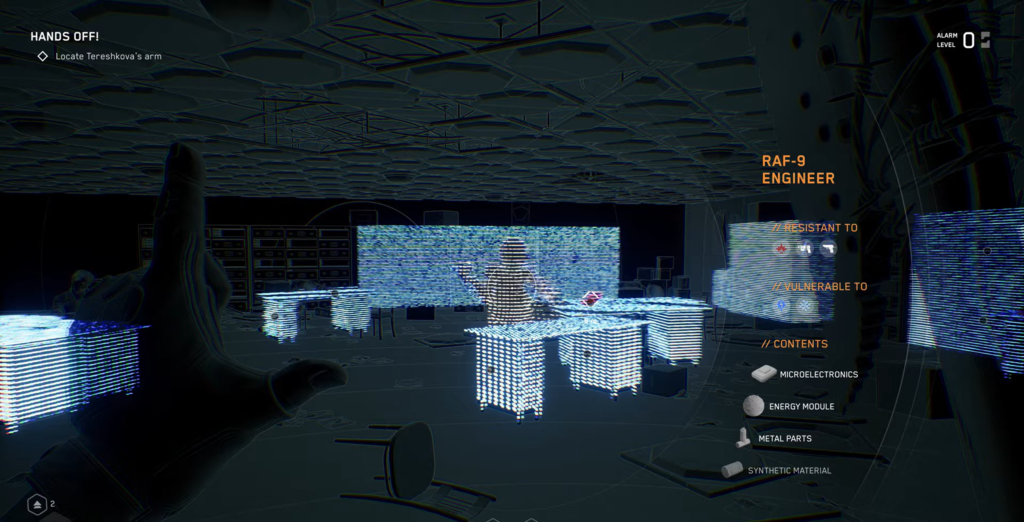
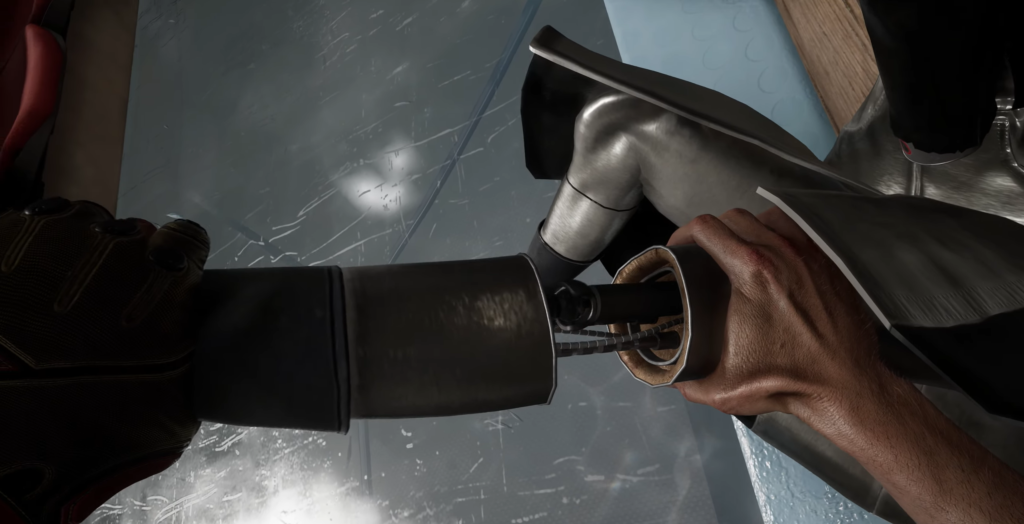
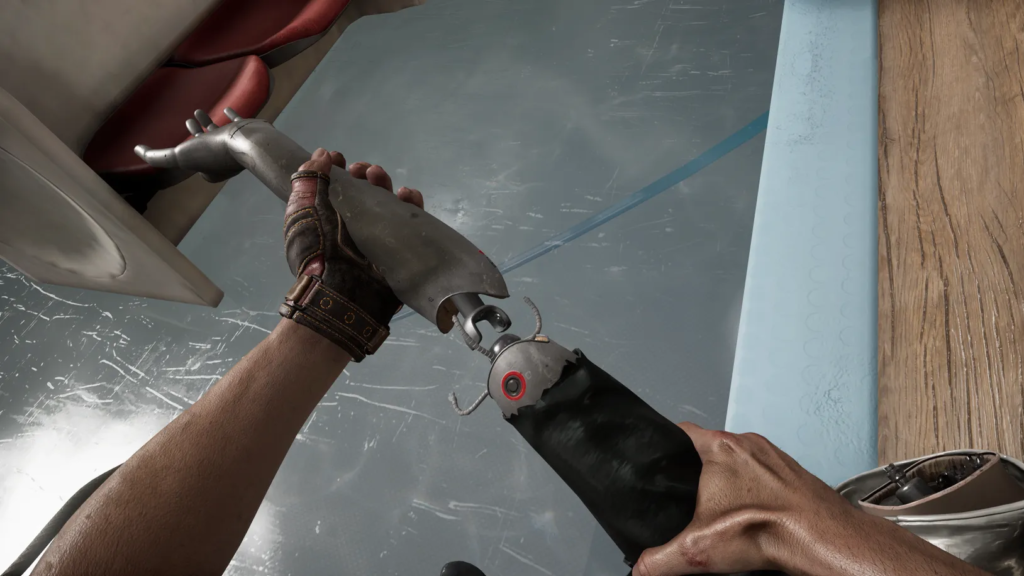
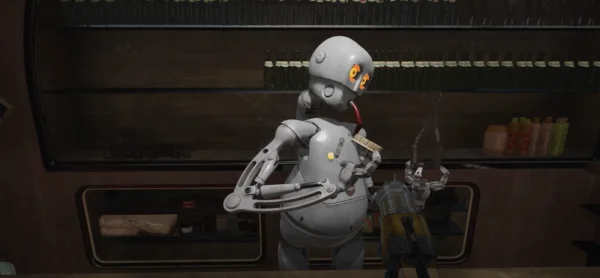
You’ll find yourself in a small office. Behind a wooden door at the back is another office where an engineer robot sits next to a robotic arm on the table. Charles advises you to act peacefully, but if you try to simply take the arm, the android will attack anyway—so strike first. Destroy it, take the arm, and return to the corridor after picking the lock.
Secret: Tokamak Exhibition
The code for the locked door to the exhibit is written on a board on the right side of the ventilation office. Enter it into the door lock. Inside, there is a golden chest on the left and a chirper on the table.
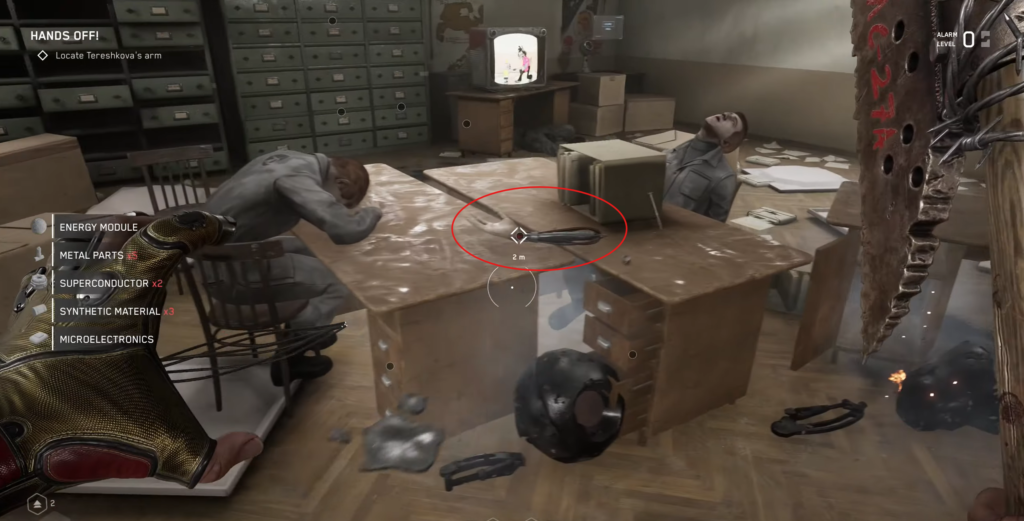
At the end of the hallway is a massive double door. Before you reach it, check the office on the right for loot. Then approach the door lock: P-3 will insert the robotic arm you found and open the passage.
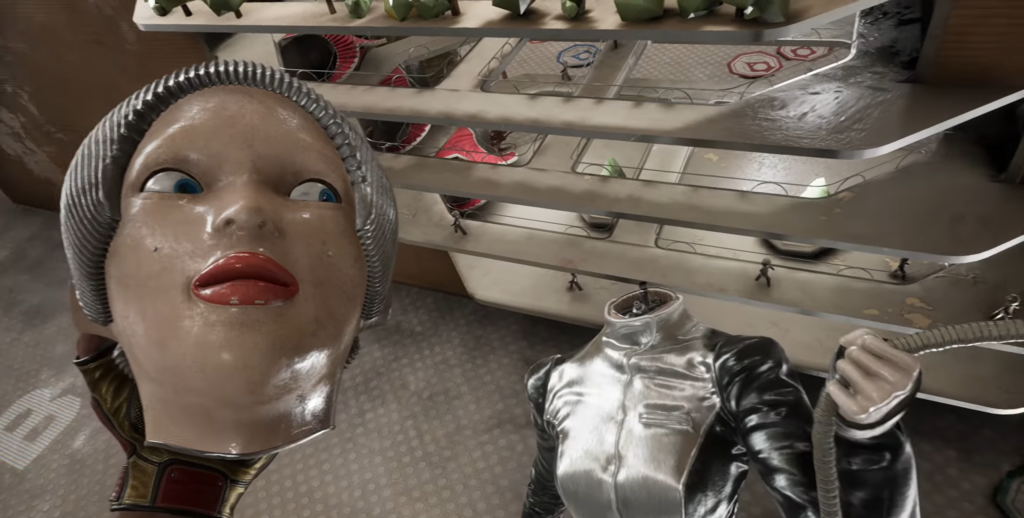
Darwin’s Test
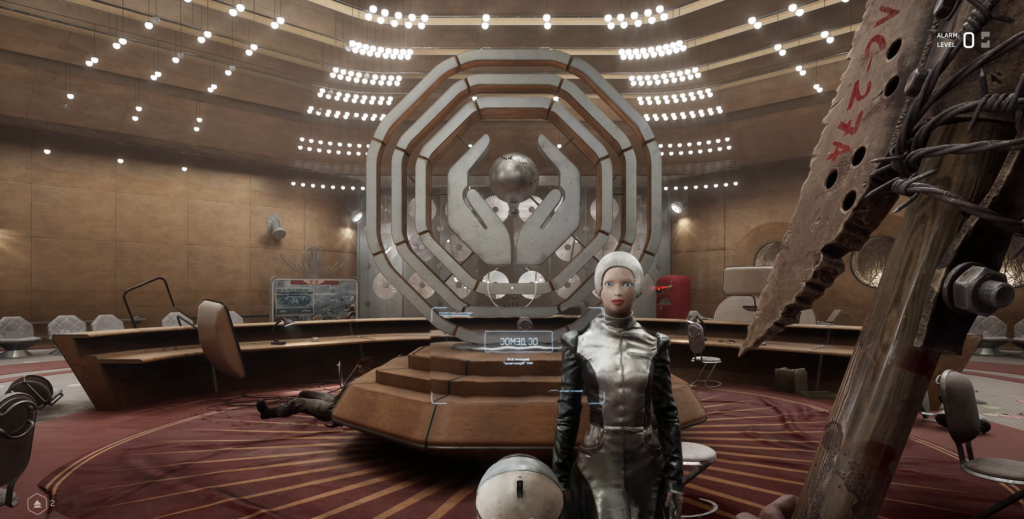
In the next room, Tereshkova the robot will introduce you to the All-Union Exhibition Center. When P-3 asks her to launch the VDNKh training mode, she will first require him to prove he is human by passing the Darwin Test.
Where to find the three items
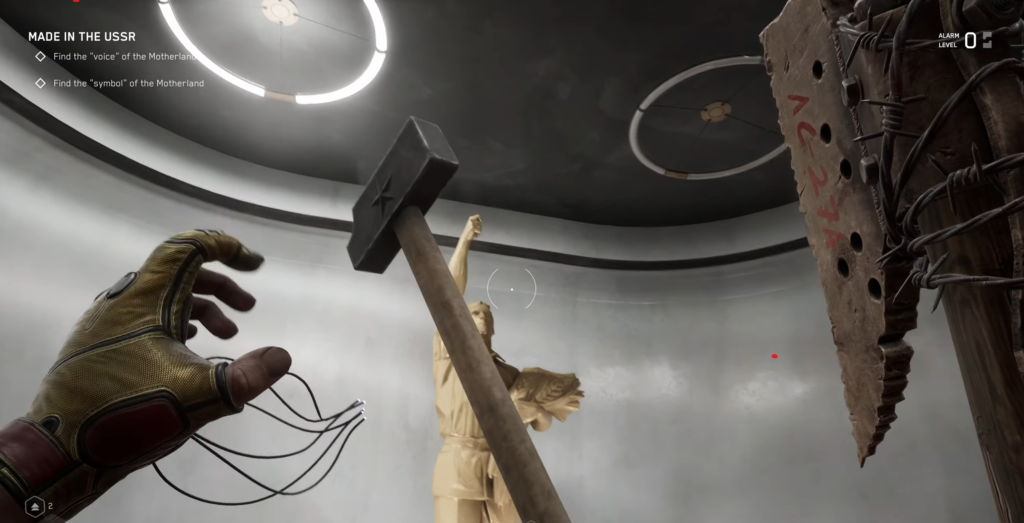
The hammer is behind the double doors to the right of Tereshkova’s desk. Look up at the statue and use telekinesis to pull the hammer out of its hand.
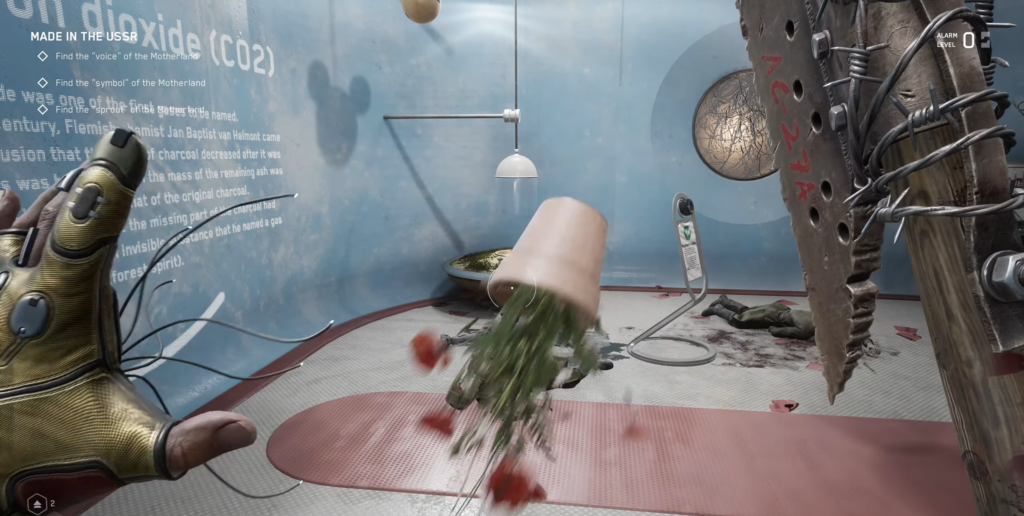
The plant is behind the double doors on the left, in the far right corner under a glass dome. To raise the glass, step on the scales in the far left corner, then use telekinesis to pick up the plant.
The radio is hidden under Tereshkova’s desk on the opposite side from the robot. It glows purple when scanned.
How to return items


The mechanics are counterintuitive. In the dialogue with Tereshkova, select the branch “So, about Darwin’s test…” and say the following three phrases in order: “watch your fingers,” “put on something good,” “it’s the liveliest thing here.” After that, the test is considered passed.
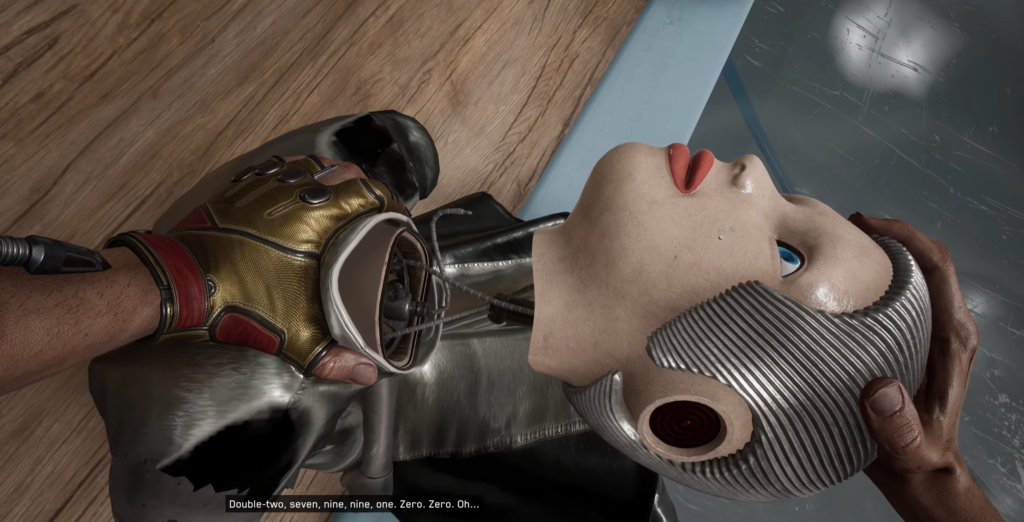
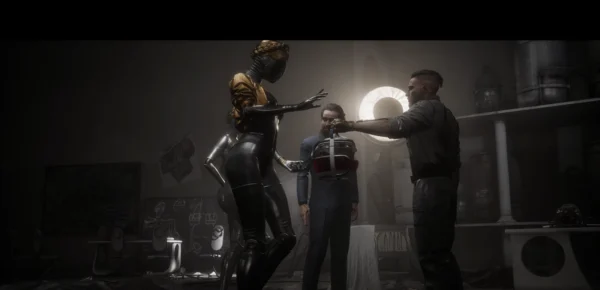
However, Tereshkova admits that she cannot perform the training procedure. Instead, she will instruct you to collect the parts of the robot Claire, which are scattered throughout the complex. Follow her down the corridor toward the center of VDNKh (she will stop at each exhibit to deliver a monologue). At the foot of the stairs, interact with Tereshkova—P-3 will remove her head, connect it to Charles, and upload the coordinates of all of Claire’s parts. The doors on the left will open. Save your game, upgrade your weapons, and move on.
Four-story hub: Claire’s build
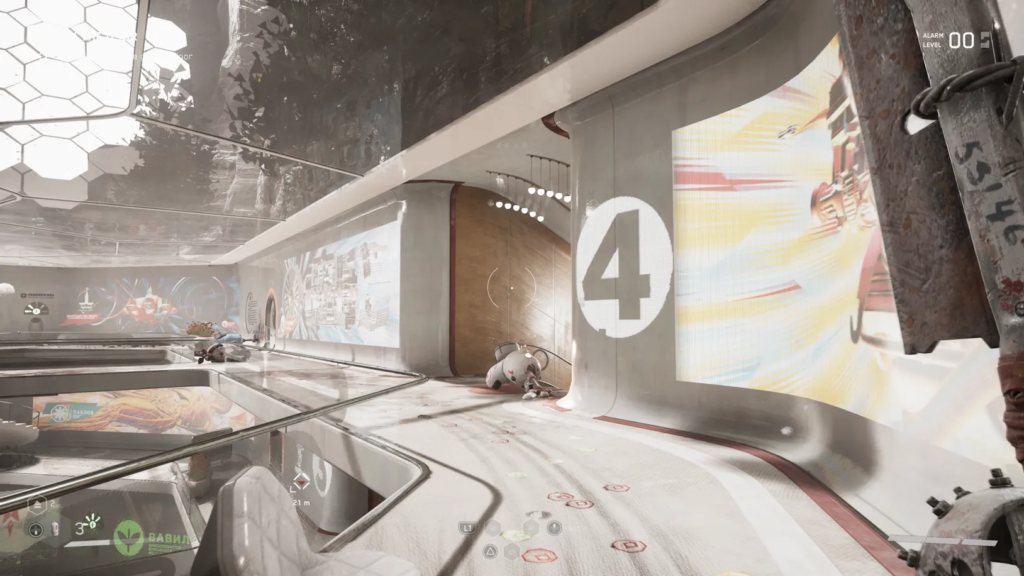
You will find yourself in a four-story central hall. Go down the stairs near the number “4” on the wall, destroying the LABORANT robots. On the second floor, talk to the corpse on the floor, then continue down to the first floor. Clear out the first floor—one LABORANT with a baton, several regular androids, and dangerous cleaning robots along the edges.
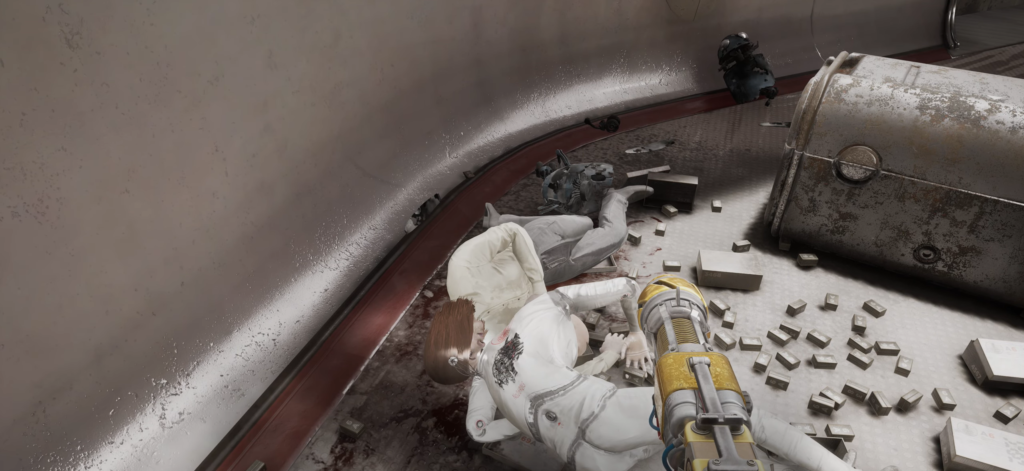
On the west side of the first floor, near the lounge area, lies a shaped body. Interact with it, and all of Claire’s body parts will appear on the map as markers.
Left leg
The nearest section is on the first floor. The black door opposite Claire’s body (with a purple cartoon beetle on the side) leads to the area you need. Go downstairs, search the lab on the right, save your game in the room on the left, and move down the hallway past the robot display cases to the hackable door on the right.
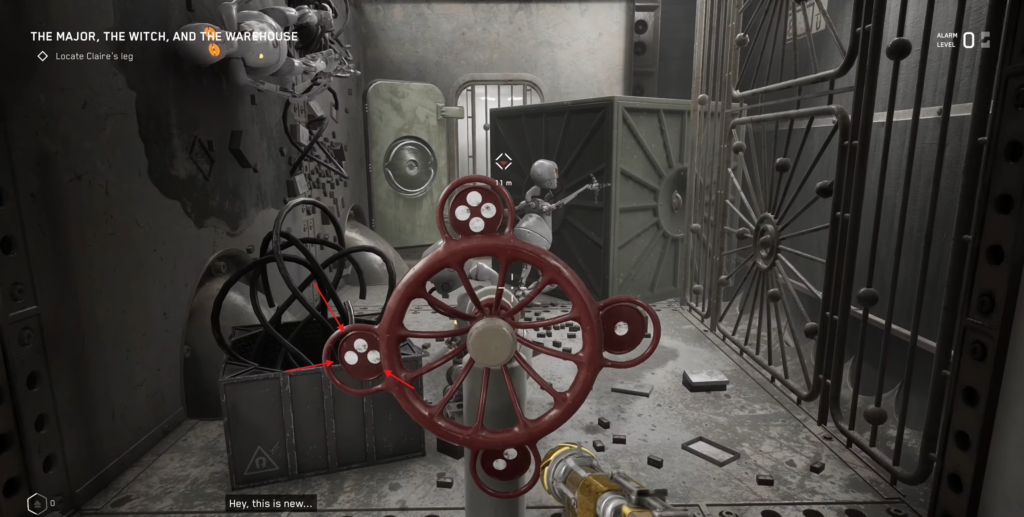
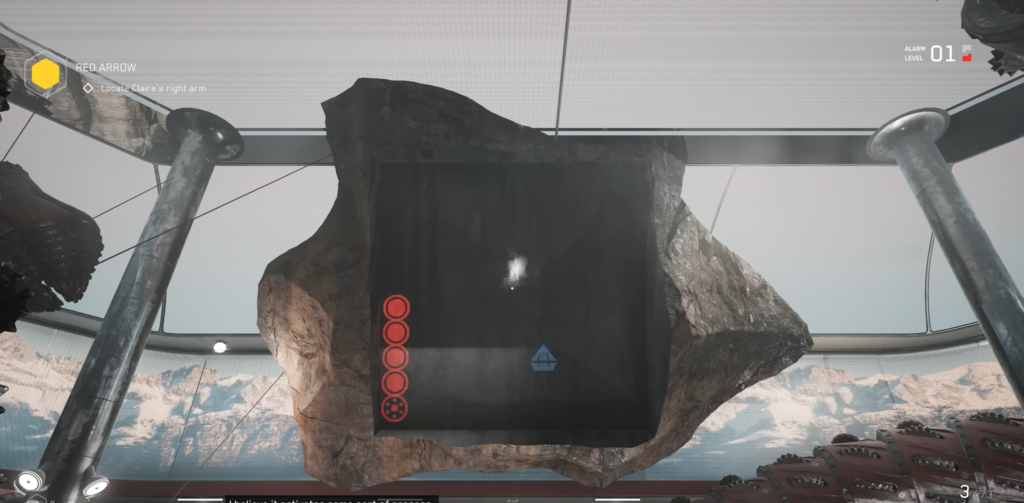
Gear Puzzle #1. The red valves rotate the gear; each of the four positions (notches) reveals a new face. The current notch is indicated by dots on the valve. Set the gear to notch 3 and proceed. At the bottom of the stairs, there’s an android ambush on the right; destroy it and go left.

Gear Puzzle #2. Three androids (one with a baton). After the battle:
- First valve → checkpoint 1 — a diorama of the office with another valve will appear
- Second valve → checkpoint 1
- Return to the first valve → checkpoint 2
Result: two dioramas—a person in a lab and a person in an office. Climb onto the filing cabinet in the right diorama and climb onto the railing. Go up the hallway.
Gear Puzzle #3. Defeat two androids with clubs and one laser android. Then:
- First valve → checkpoint 4 — go out onto the diorama, jump down into the opening on the left
- Lower valve → checkpoint 4 — a ladder made of platforms will appear; climb up
- Upper (third) valve → checkpoint 2 — you will be transported to the yellow pipe
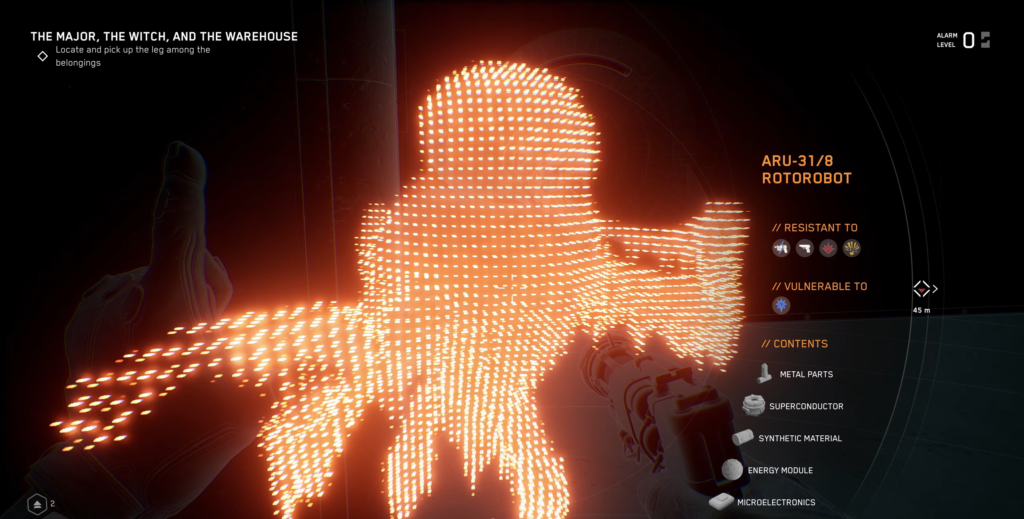
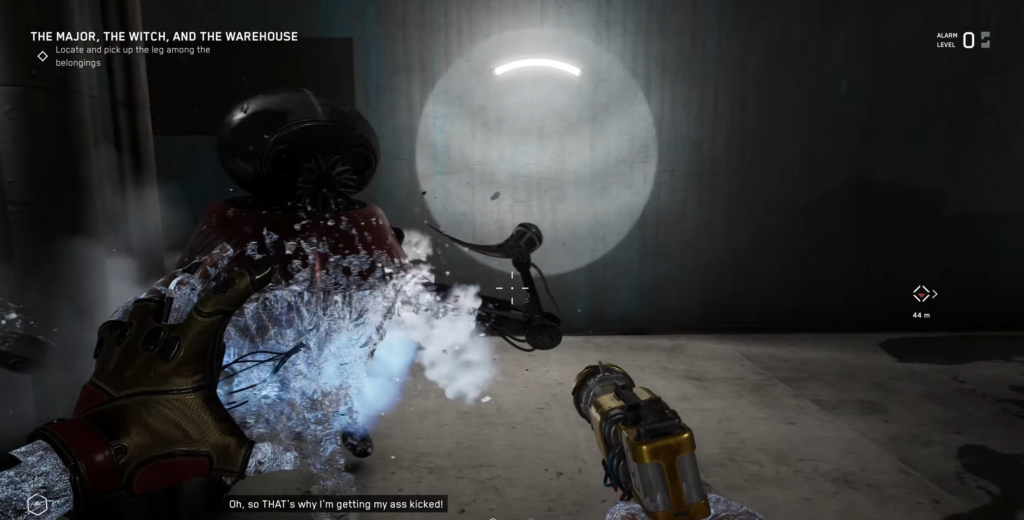
Climb up the pipe to the railing and go upstairs. In the large hall, you’ll face a new enemy: the Rotobot. It closes the distance in a flash and is devastating in close combat. Keep your distance, alternate between Shock and Freeze, and fire any available firearms, remembering to dodge.
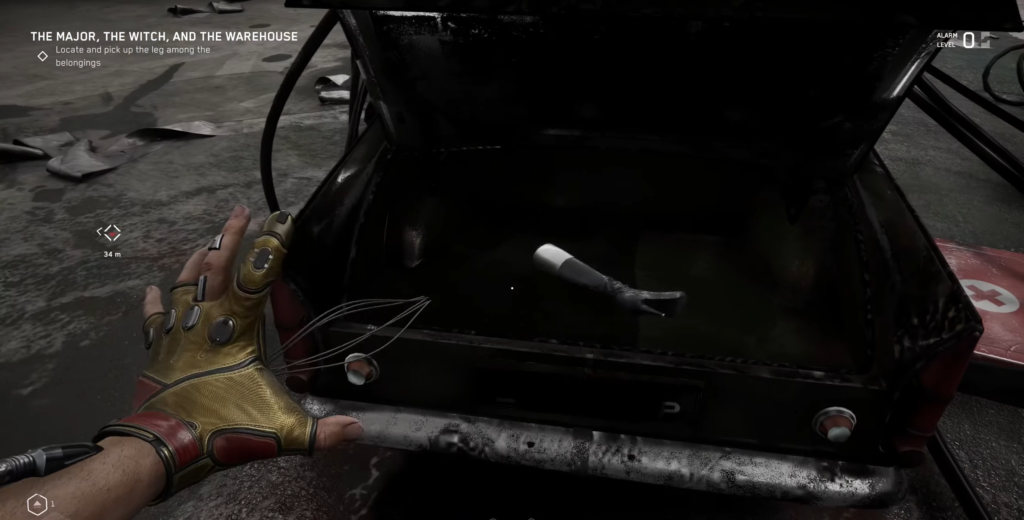
Claire’s left leg is in the trunk of the wrecked car at the back of the hall. Pick it up, go upstairs, break open the door, and return the leg to Claire’s body on the first floor.
Right hand
Second floor, west side—there is an open passageway next to the wall made of roots. Go down and remove the panel covering the entrance ahead.
The lab has been taken over by a giant drilling robot, familiar from the Vavilov complex. Destroy all the Workers and Bees, then activate the panel with the red button on the right side of the lab.
The “Snake” mini-game will start: control the orange snake with the cross-key, collecting blue diamonds. Touching the edges of the screen or your own tail means you lose. To win, you need to collect 10 diamonds. After that, the drilling robot will peacefully give his right hand to Claire.

Next, the room will be filled with Workers, Ducks, Bees, and Androids. Take them all out, return to the hub, deal with the three Androids, and install the arm.
On the second floor, there is a hidden door with a moon lock—behind it, you’ll find a chirper and additional loot.
Left hand
Third floor, south door. Watch out for cleaning robots along the way. In the hallway behind Mother’s door, Sprouts will spawn—destroy them and take cover in the safe room.
Next on the route: The Engineer, the chest, and the vending machine. Climb up and break open the locked door.
Required preparation
In the next room, there is a vending machine and a save point. Before the battle:
- Take as many first-aid kits as possible from the storage room
- Equip a fast melee weapon (recommended: Pâté, especially with the “Magnetic Field Generator” module for long-range attacks)
- Make sure the “Slippery Type” and “Second Wind” skills are active
- If there’s anything with fire damage—take it
The upcoming boss is completely immune to firearms.
Boss: Plush
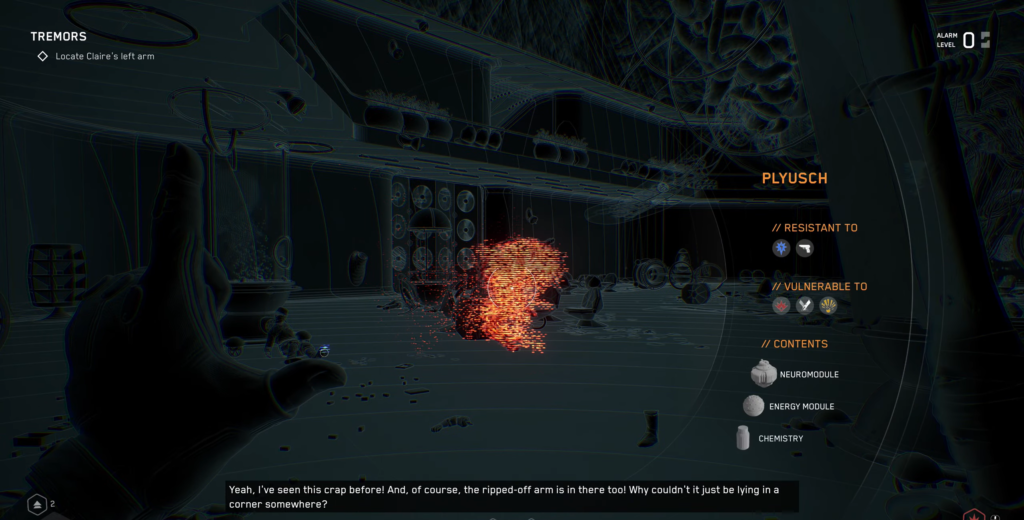
An extremely aggressive, fast, and deadly enemy. After jumping down to the lower level, you’ll see Plush burst out of the container. The only strategy is close combat, making maximum use of invincibility frames while dodging.
Plush attacks relentlessly. His primary moveset includes paw strikes, a slingshot dash across the entire arena (the orange circle signals an immediate side dodge), and a deadly grapple.
Two critical points:
- Dodge to the side, not backward—Plush covers a huge distance with his attacks.
- A grab means instant death if you don’t react. When Plush tosses you into the air, 3 random buttons appear on the screen, followed by a prompt to press them quickly. Hesitation is fatal.
When your health is critically low, sprint across the arena—you can use first-aid kits while running. The polymer shield also lets you heal a bit and catch your breath.
After the victory, take Claire’s left hand from Plush’s body. Through the lab adjacent to the boss arena, you can reach an area with valuable loot and a talking corpse (the battle will be tough). Return to Claire and equip the left hand.
Head
Top floor, west door. You’ll find yourself in a hall lit only by a huge aquarium. The ambush will begin: first, take out the Mothers around the aquarium, then the Sprouts and Mutants. Circle around the aquarium and use Shock on the cleaning robots to clear out the crowds.
The path ahead leads through a door overgrown with mutant vines. At the end of the corridor, there is a left turn, a door that can be broken down, two turrets inside, and a ventilation shaft in the floor.
Follow the ventilation shaft to reach a large atrium with two new enemies—the Docks. After defeating them, find the wooden door under the surveillance camera on the right side of the hall. Destroy the camera, pick the lock, search the rooms to the left and right, and call the elevator.
Upstairs is a polymer pool. Take out the two rocket owls on the left and swim through the polymer tunnel to the buildings above. On the rocky ledge, a series of jumps along the yellow ledges begins: up → right → turn around → move right → jump onto the railing. Climb up, jump across the gap, and enter the building. Clear out the androids, then exit through the archway on the opposite side. A satellite dish is visible above—that is your objective.
Use the stairs on the right to cross the gap over the yellow ledges and climb up the crates.
In the satellite room, activate the relays: bottom left circle → left circle of the second row → right circle of the third row. After activating the relays, open the door using the red button.
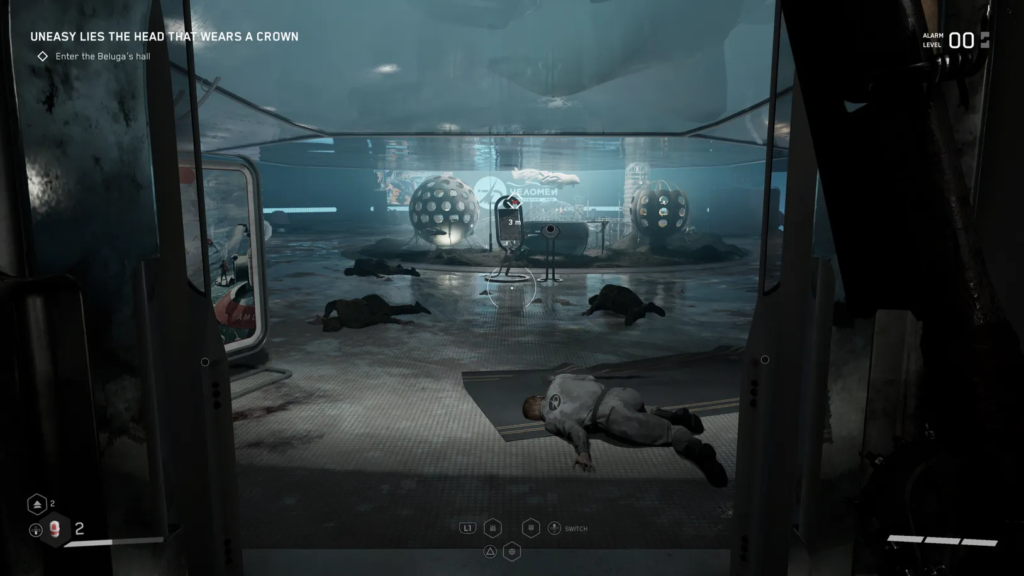
Outside, you’ll face a battle with robots, including an upgraded version of the rolling turret with rockets. After clearing the area, return the same way through the satellite room, the polymer pool, and the elevator to the room with the aquarium.
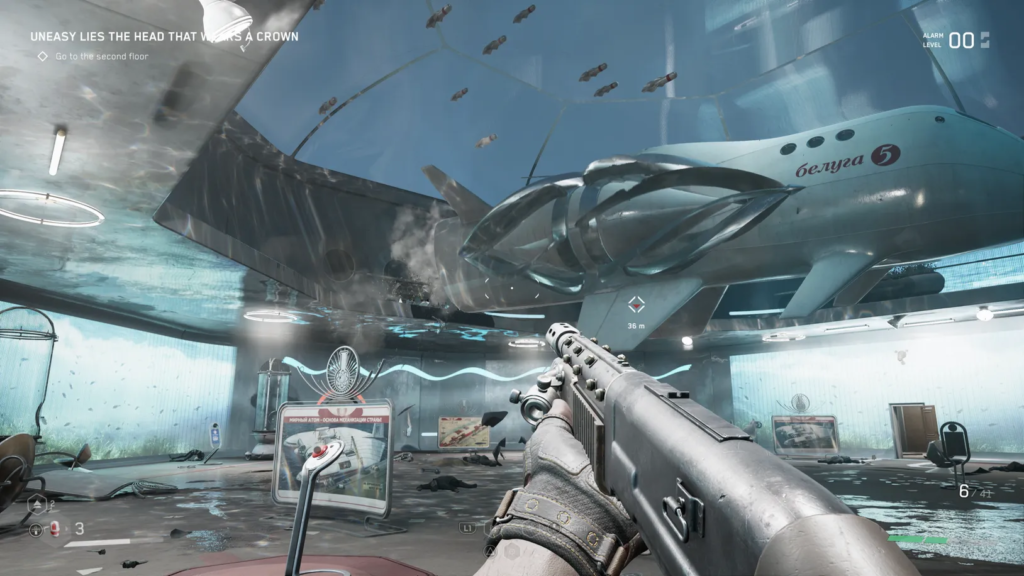
Below are two Docs and two androids. After the battle, press the red button on the left wall of the hall. Power will be restored, and the Beluga ship will crash into the wall, creating a passage to the upper level.
Go up, talk to the corpse on the left, and enter the opening on the right. In the center of the atrium is a diorama of the “Icarus” Flying Platform. Press the red button next to the diorama.
Maze with a ball
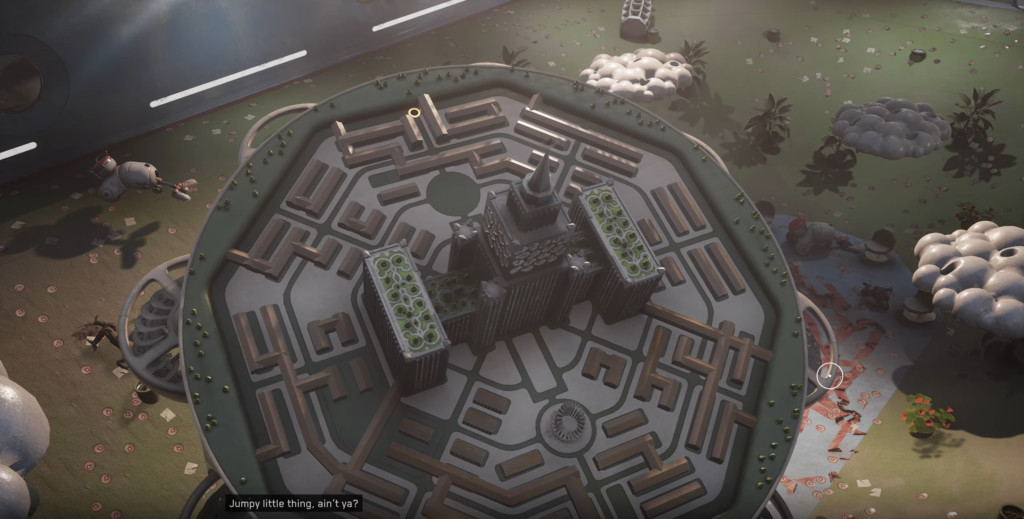
The diorama turns into a maze. Use the left stick to tilt the structure, moving the golden ball from the southern part to the northern part. The best route is to first tilt the ball toward the western wall, then guide it around the perimeter to the northern side until it reaches the target hole.
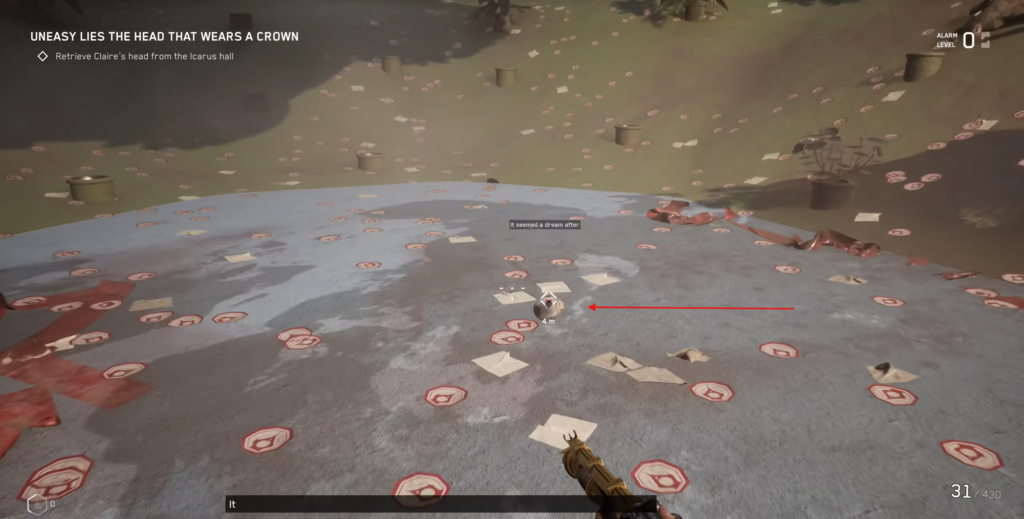
After successfully completing the challenge, the diorama will rise, revealing Claire’s head. Jump down, grab it, and return to Claire’s body on the first floor.
Attach the head—the robot is assembled.

Tereshkova will appear and, together with Claire, will start the training procedure. Next comes a lengthy cutscene.
Dream
P-3 loses consciousness and wakes up in a strange world—a neon world frozen in time. Your guide is a chain of apples to collect. Follow them through the park, across the sea, over the roof of a huge submarine, across flying mushrooms, and finally, enter a large pipe.
The dream ends, and the final series of cutscenes begins. Afterward, P-3 will receive a new mission: to find Petrov, who is presumed to have been resurrected.


Comments (0)
Sign In / Sign Up
Sign in to leave a comment.
No comments yet
Be the first one to share your thoughts!