
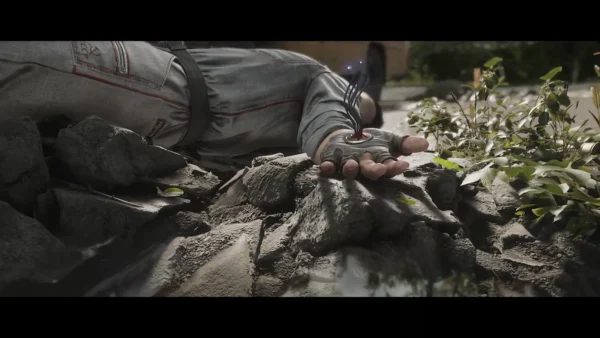
After escaping from the VDNH building and a frantic series of dreams, R-3 heads for the Sechenov Research Center—according to available information, that is where Petrov is hiding. Below is a detailed step-by-step guide to the entire chapter: from infiltrating the building to the final escape from the Theater.
Directions to the Sechenov Research Center
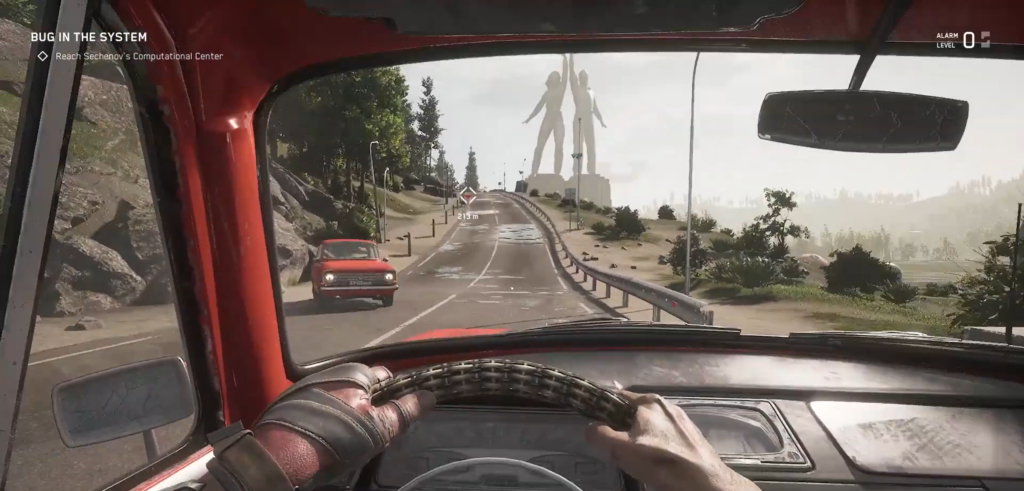
The center is located northeast of VDNKh—take public transportation and head to the location marked on the map. You’ll encounter heavy security on the approach: workers, androids, UTENKs, rocket-propelled SOVs, and surveillance cameras. Don’t rush inside through the main entrance.
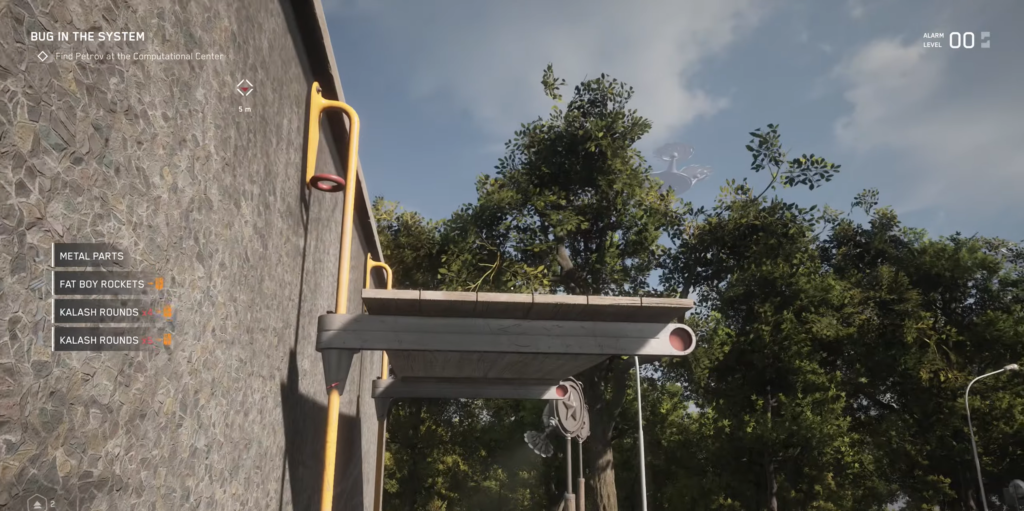
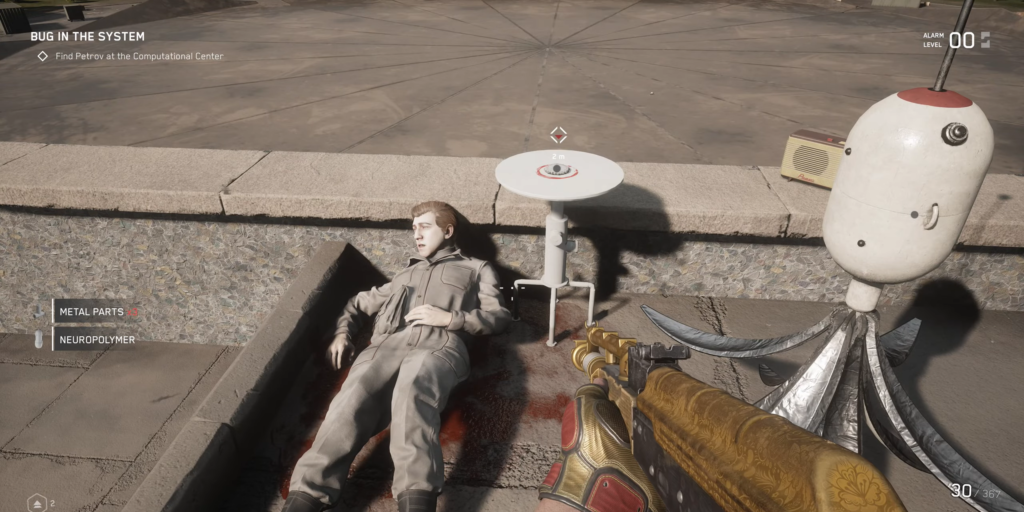
First, climb up to the roof. There is scaffolding to the right of the entrance—use it to climb up. Once you’re on the first roof, climb over to the second, higher roof using the same method. Here you’ll find a surveillance hub and a corpse by the table. There’s a key on the table—be sure to pick it up.
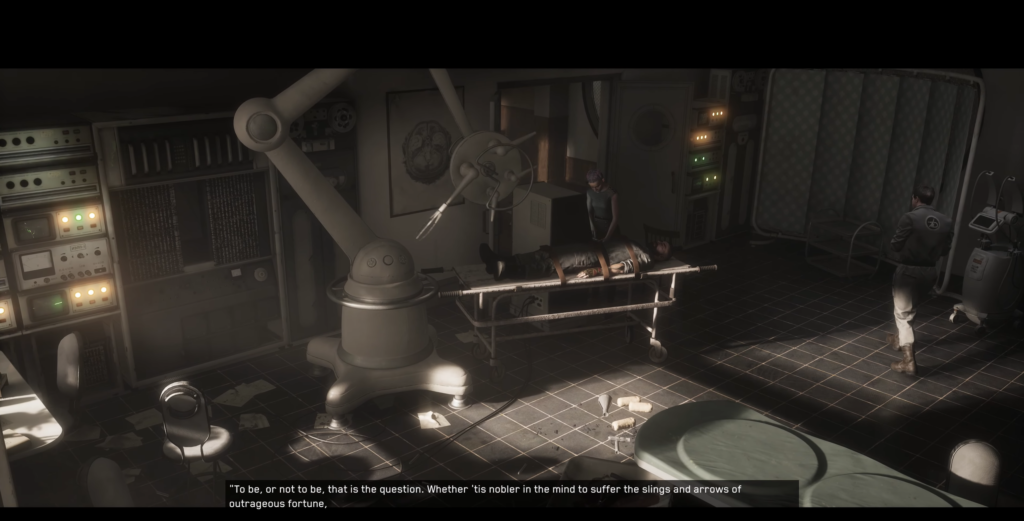
Now go inside and search the rooms. On the north side of the building, you’ll find a locked door that requires the key from the roof. Insert it and complete the lockpicking mini-game. Behind the door, a cutscene awaits featuring Petrov and the doctor you met at the Vavilov Complex.
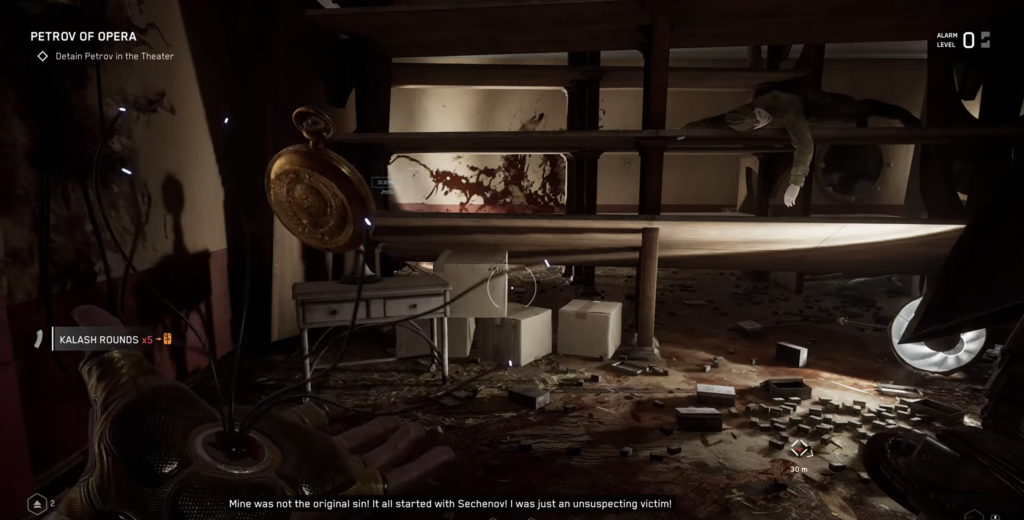
The Persecution of Petrov
When the cutscene ends, Petrov will run away again. Leave the building—in a conversation with Charles, you’ll learn that the scientist has moved to a theater located deeper within the complex.
Head southeast on the map. The road will lead you to a long wooden walkway leading to something resembling an island. At the end of the walkway is a vending machine—use it before the battle:
- Level up the “Frostbite” ability if possible.
- Acquire the “Slippery” and “Second Wind” skills in the Character tree—they are critical for dodging.
- Equip a fast melee weapon (such as “Pâté” or similar), as well as something with explosive damage if available.
- Transfer first aid kits and ammunition from your storage—you’ll need them very soon.
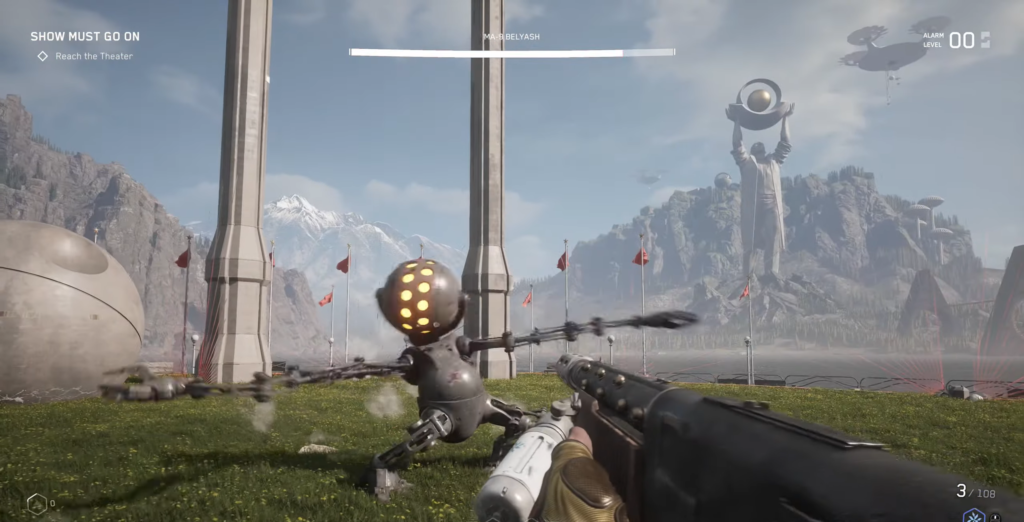
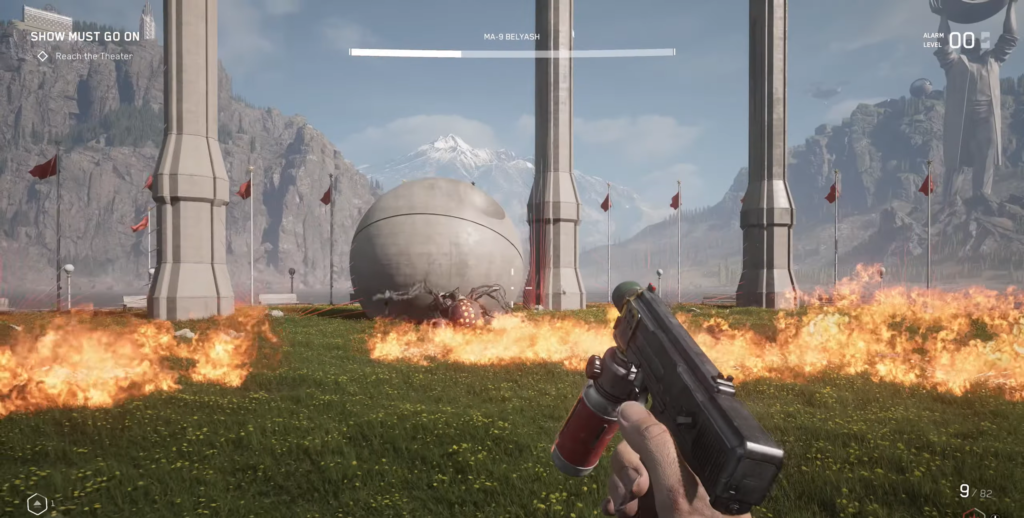
Boss: Belyash
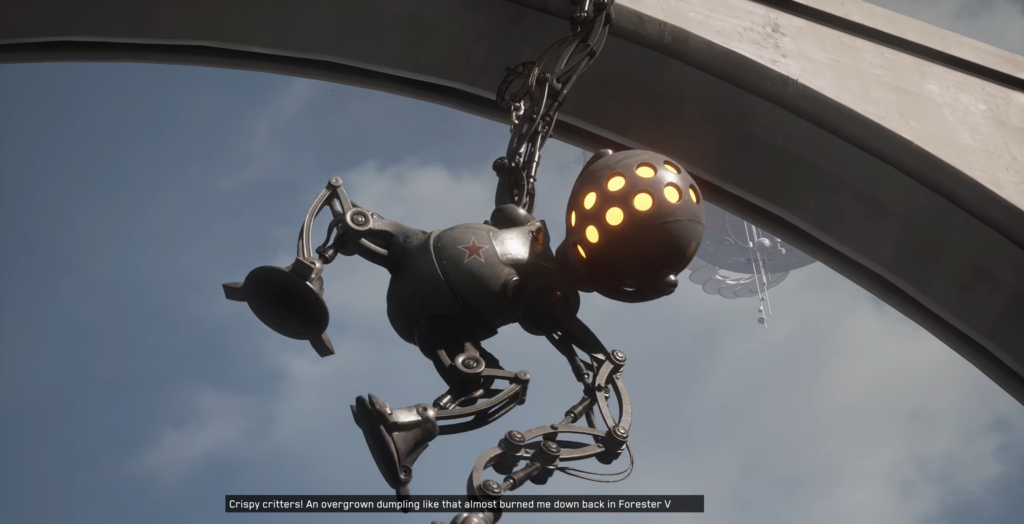
On the grassy arena in front of the theater, a massive robot with a huge head—Belyash—will leap down from the monument. It is a construction android, incredibly fast and capable of lifting the heaviest objects.
Key Features of the Battle
| Resilience | Vulnerability |
|---|---|
| Electricity, firearms, fire | Melee, frostbite (when combined with polymer spray) |
Belyash moves with lightning speed: he leaps enormous distances, unleashes a series of “Energy Leap” attacks, and rips chunks of earth from the ground, hurling them across the arena. Despite his intimidating appearance, the tactic is simple—get up close, strike, and dodge as he swings. The “Slippery Type” skill completely negates damage during the dodge animation, making the fight predictable. Use “Polymer Shield” to restore health at critical moments. To significantly slow Belyash down, first douse him with polymer using “Polymer Jet,” then apply “Freeze.”
Phase Two
When Belyash’s health drops to about half, he will begin to spin his head, enhancing all attacks with fire. The jump attack now creates a fire zone upon landing, and the robot fires fire projectiles at both long and short ranges. The tactics remain the same, but remember: during a jump attack, you need to dodge both the strike and the fire wave.
After your victory, search the remains and climb the stairs north of the arena. The door at the bottom leads to the Theater—go inside, walk through the lounge, and take the elevator down.
Theater: First Steps
When you exit the elevator, turn left and check the save room on the right—save your progress. Then go down the stairs, turn right, and enter the door—a cutscene will begin. Immediately after it, you’ll have to fight a mutant.

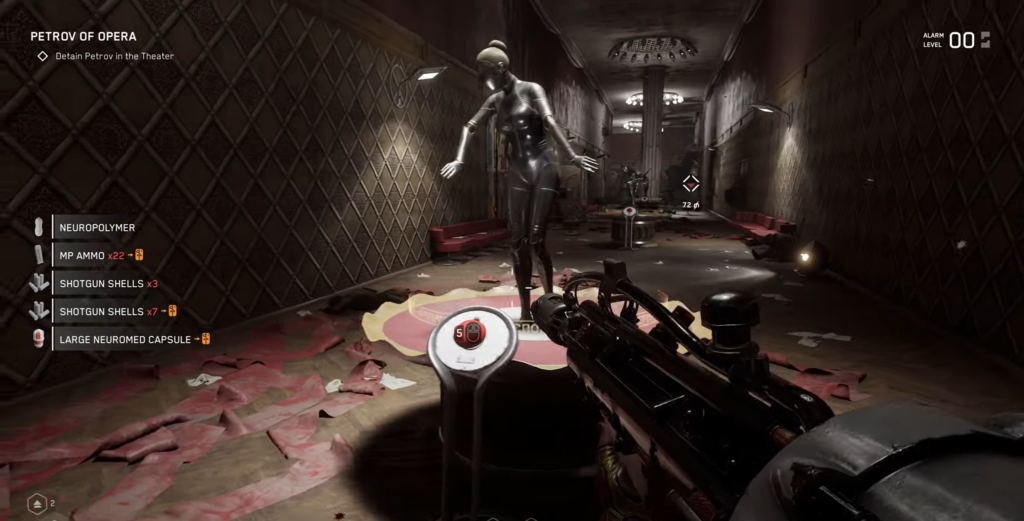
After defeating him, turn around: the door behind you is now open. Ahead lies a corridor with dancing ballerinas you can talk to. Continue down the corridor.
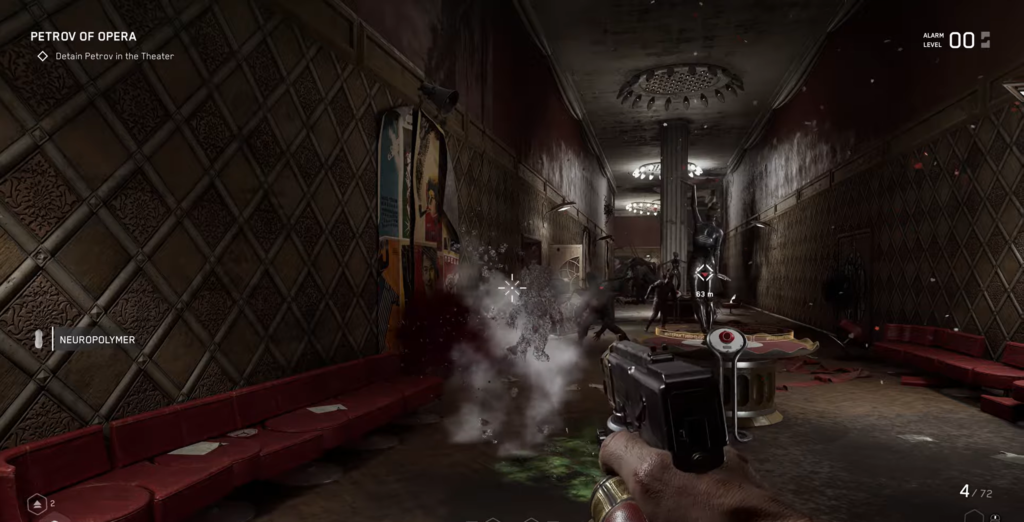
An ambush awaits you: a large mutant and several regular ones are attacking from a breach in the left wall. Destroy them along with the nearest Mamas, then go through the door on the right.
Behind her is a burning dressing room. Shoot Mommy, who is visible in the room above, and then break down the locked door to the left of the entrance.
LAB-TECH androids will appear in the new area. Take them out and save your progress in the nearest safe room. Before the next fight, visit the vending machine: you’ll need the same kit as for your first battle with Ivy in the VDNKh building—a fast melee weapon, first-aid kits, a “Polymer Shield,” and explosives. Once you’re ready, break down the door.
Boss: Ivy (Second Battle)
As soon as you enter, a familiar foe—Ivy—will jump down from the balcony.
Basic Tactics
The battle follows the same principle: close combat, dodging left or right during his attacks, and using the “Slippery Type” skill to completely absorb damage.
What’s New
This time, Ivy is aided by sprouts. They mostly attack you, but they can also work in your favor: if a fire sprout appears near the boss, strike it. The explosion will deal serious damage to Ivy.
Periodically, Ivy gets down on all fours and starts howling—this signals that it’s about to devour a sprout. At this moment, it’s completely defenseless, so run toward it and strike as many times as possible.
Important Reminders
- A grapple attack triggers a series of QTEs. Failing any of them results in instant death, regardless of your health level.
- Immunities — Ivy is immune to firearms and electricity. Shooting is useless.
- Healing — Activate “Polymer Shield” to safely use first aid kits.
After winning, finish off the remaining Mamas and Sprouts. Find the locked ventilation shaft under the stage, open it, and climb inside.
Theater Exploration: Elevators and Floors

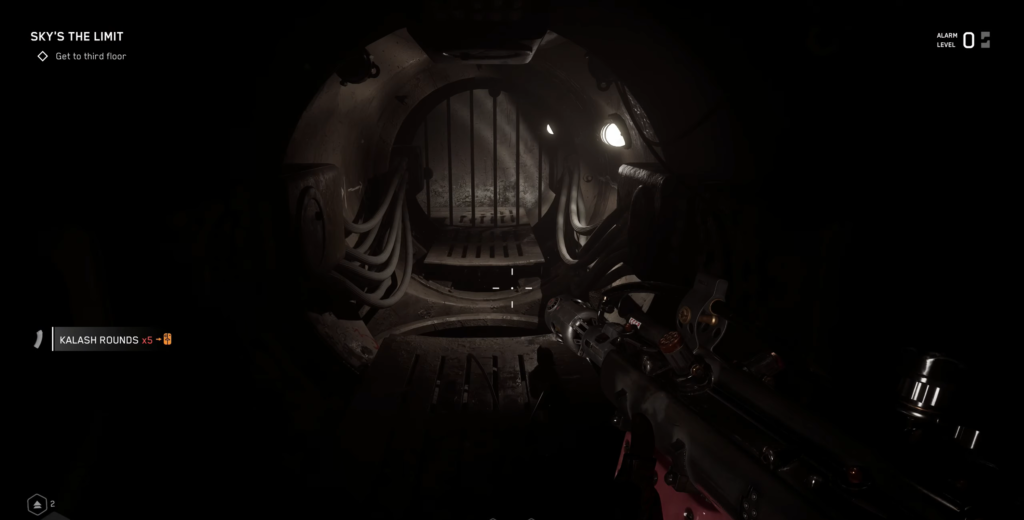
The ventilation shaft will lead you to the basement. Turn right, destroy the android, and make your way to the large room with the broken elevator and the relay puzzle. Activate it and solve the puzzle.
After solving the puzzle, an android will appear from the door—defeat it and use the elevator to the left of that door. Go up to the third floor, search the area, then return to the elevator and head to the fourth floor. Once you exit, turn right and save your game in the safe room.
Next, head left, climbing over the debris on the balcony to the other side of the east wing. Two LAB-TECH androids are on duty here—take them out and check the dressing room at the end of the corridor behind the chirping device.
Go back to the balcony and head down to the lobby. The room below is swarming with cameras and Bees. Try to take them out stealthily; if that fails, be prepared for a firefight with the LAB-Techs and Bees. No matter how the sweep goes, check out the bar through the door on the left.
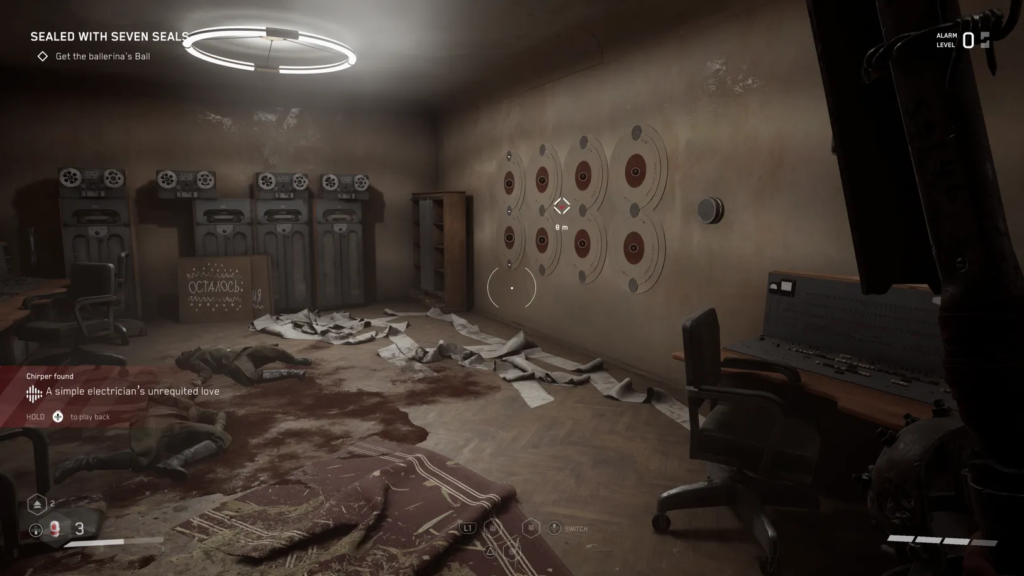
Electrician’s door code
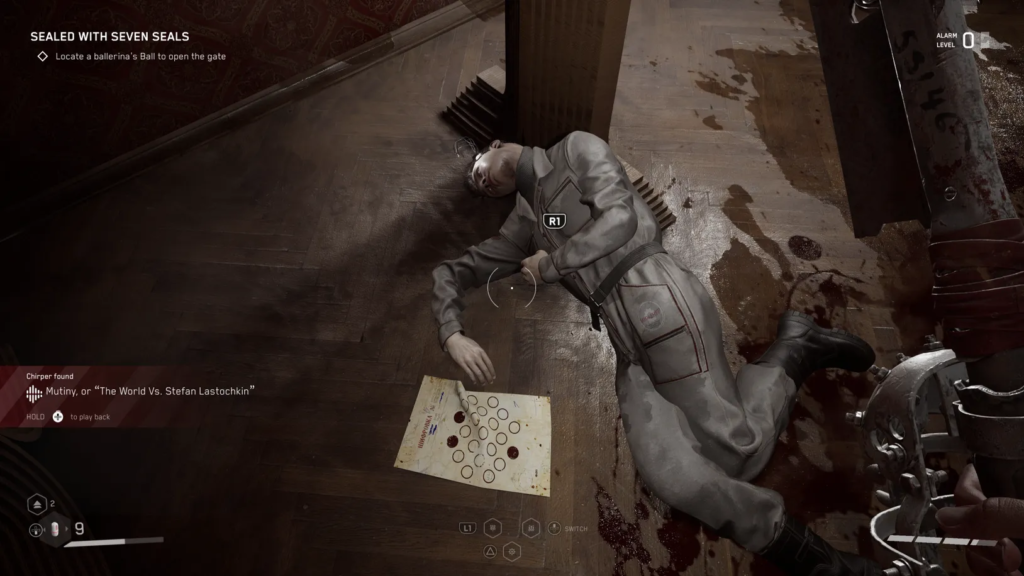
At the bar, pick up the chirping device on the counter and search the chest behind it. Break open the locked door nearby, walk down the hallway (be careful—Mommy attacks from the left), reach the chest at the end, and talk to the corpse lying next to it.
This is the electrician’s body, and it is crucial for moving forward. Next to it lies a piece of paper with a code—memorize it or take a picture of it; you’ll need it very soon.
Go back to the lobby and this time take the hallway on the right. Go down the short staircase, enter the safe room on the right, talk to Charles, and save your game.

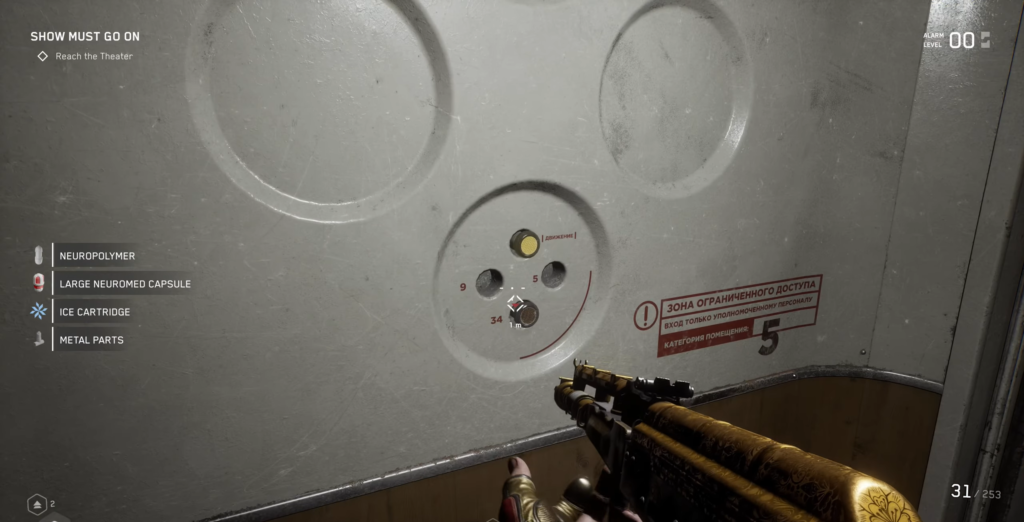
Continue down the hallway to a small cafeteria area. Eliminate the mutants in the center and search the counter. Go upstairs—there is a locked door with a combination lock. Enter the buttons highlighted on the puzzle, plus the circle marked with a marker. Entering these three will open the passage.
In the room behind the door, activate the relay puzzle. Switch the top outer left circle, the top inner left circle, and the bottom inner right circle—that’s the solution. One of the interactive terminals in the office will turn on.
Preparing for a large-scale battle
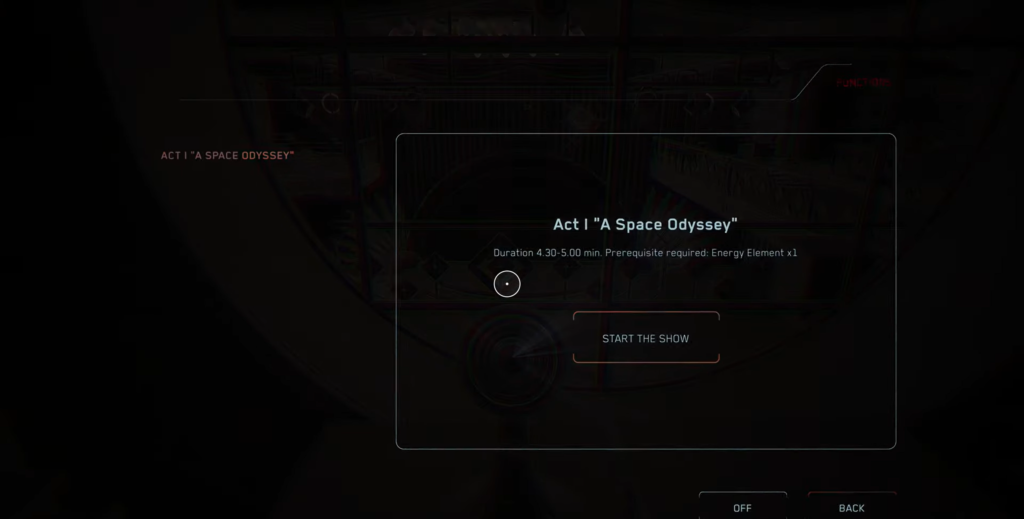
Before using the terminal, return to the safe room. Stock up on firearms, melee weapons, ammunition, first-aid kits, and anything else that might come in handy against organic enemies. Once you’re prepared and have saved your game, go to the terminal and select “Start the Show” — Act I: Space Odyssey.
Battle “Act I: Space Odyssey”
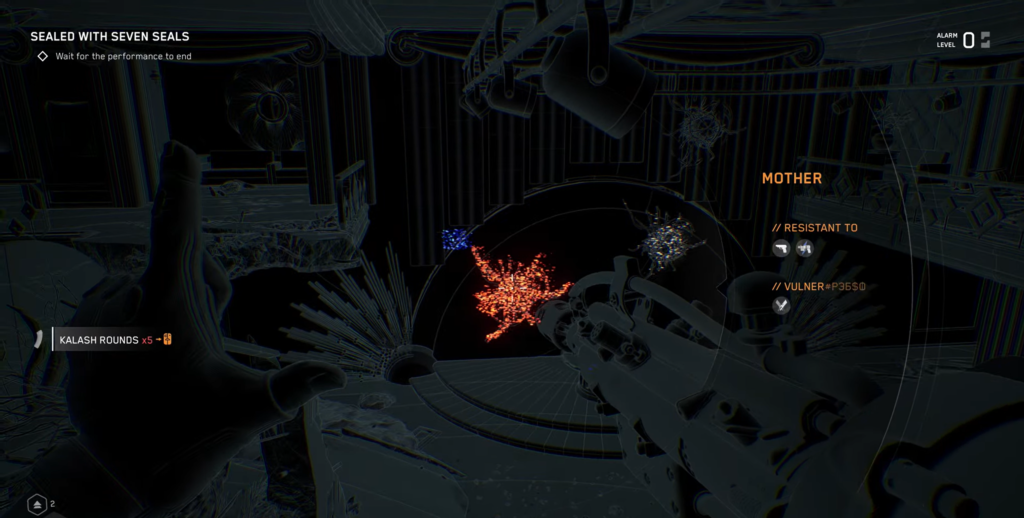
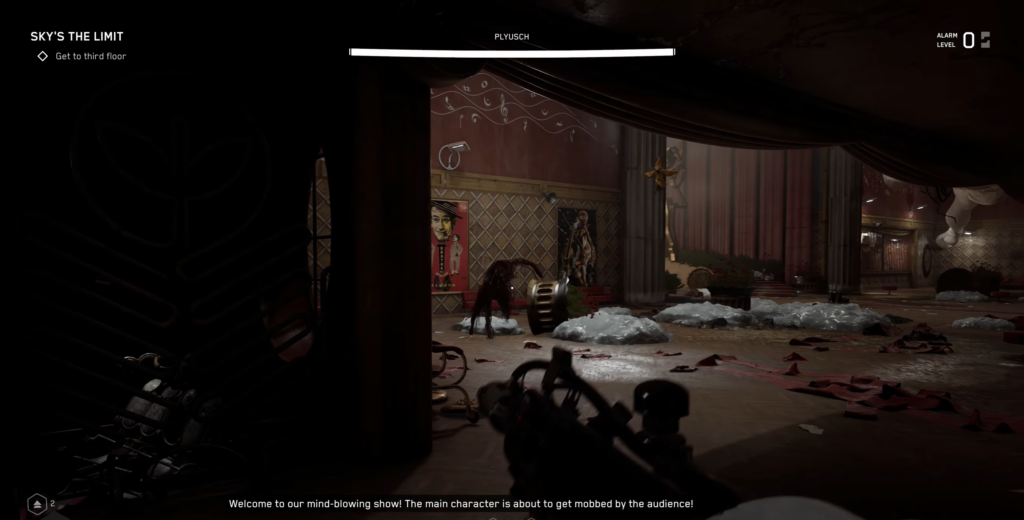
After the show starts, head to the buffet area. The stage below will flip over, revealing a ballerina and two Mommies. Destroy the Mommies and get ready: mutants will pour in from every entrance.
The wave will start small but quickly grow to unprecedented proportions—fiery, poisonous, and massive mutants will appear. Don’t hold back on your best ammunition.
Survival Tips
Weapons. The “Kalash” is the best choice thanks to its rate of fire and damage. Alternatives: shotgun, pistol, and “Fat Man.”
Fire mutants act like grenades. Shoot them near a crowd—the explosion will wipe out everyone nearby.
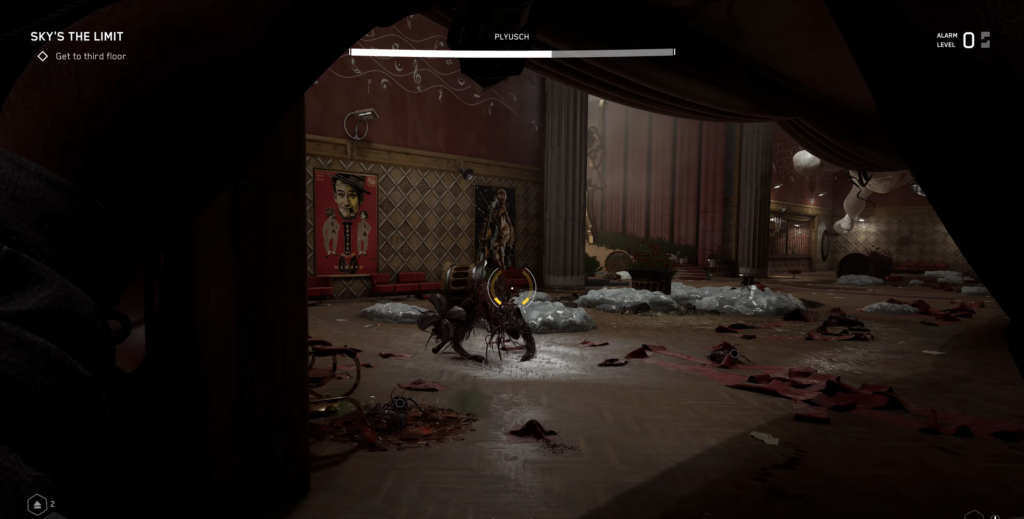
Large mutants are a priority target. They spawn sprouts and deal massive damage. Kill them as soon as they appear.
Collect loot as you go. Keep looting enemy corpses to replenish your supplies right in the heat of battle.
Don’t hug the walls—you risk getting trapped with no room to maneuver.
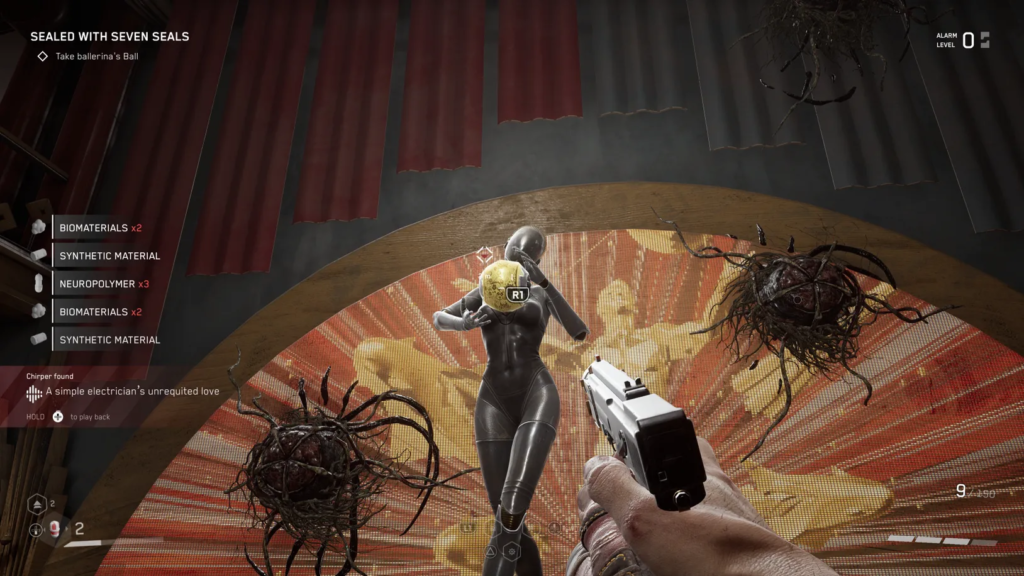
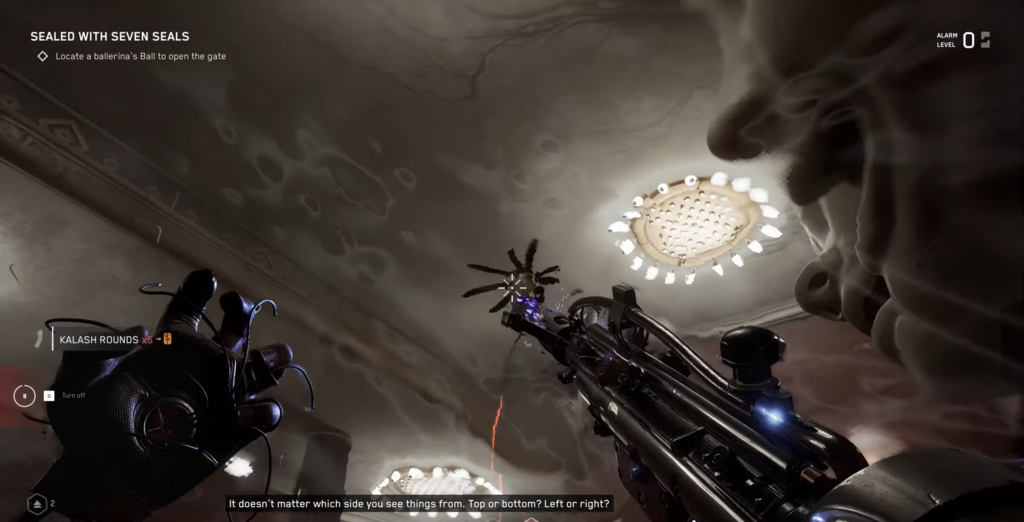
After the battle ends, approach the ballerina and take the Ballerina’s Orb from her hands. Return to the lobby through which you originally entered the buffet. There you will see a large golden panel with a spherical slot—insert the Ballerina’s Orb to open the doors.
The Mystery of the Ballerinas’ Shadows
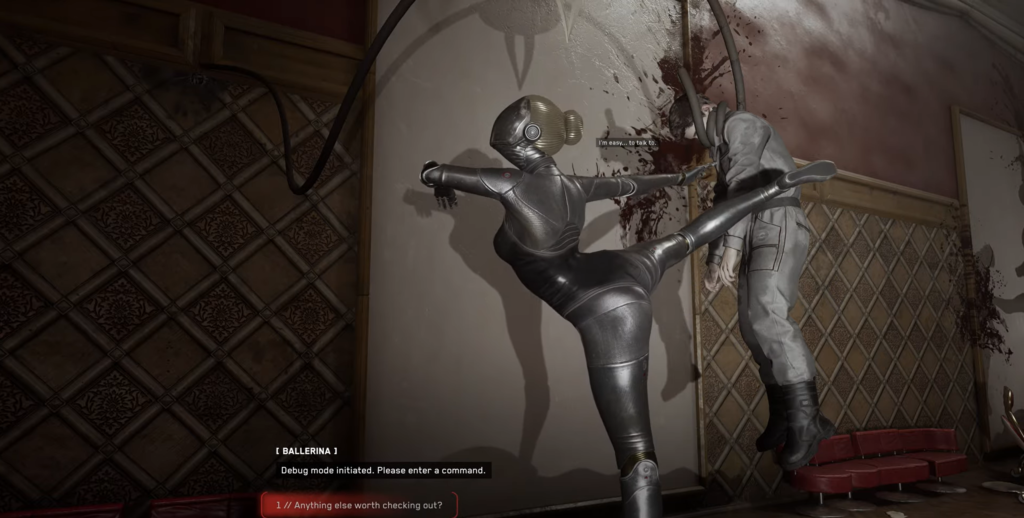
In the next corridor, Petrov will challenge you: you must arrange the ballerinas so that their shadows appear to pierce the floating figures nearby.
The ballerinas are numbered from the entrance (1) to the far end of the corridor (4). The correct position is confirmed by a distinctive beep.
| Ballerina | Team |
|---|---|
| 1 | “Croisé in fifth position, arms in third position” |
| 2 | “Relève in fifth position. Arms raised and relaxed in allongé” |
| 3 | “Attitude” |
| 4 | “À la seconde, arms free” |
Once all four Petrovs are in the correct positions, the doors will open. Proceed down the hallway, and don’t forget to stop by the safe room on the right to save your game. Stock up on as much ammo, medkits, and weapons as possible—the chapter’s final boss awaits.
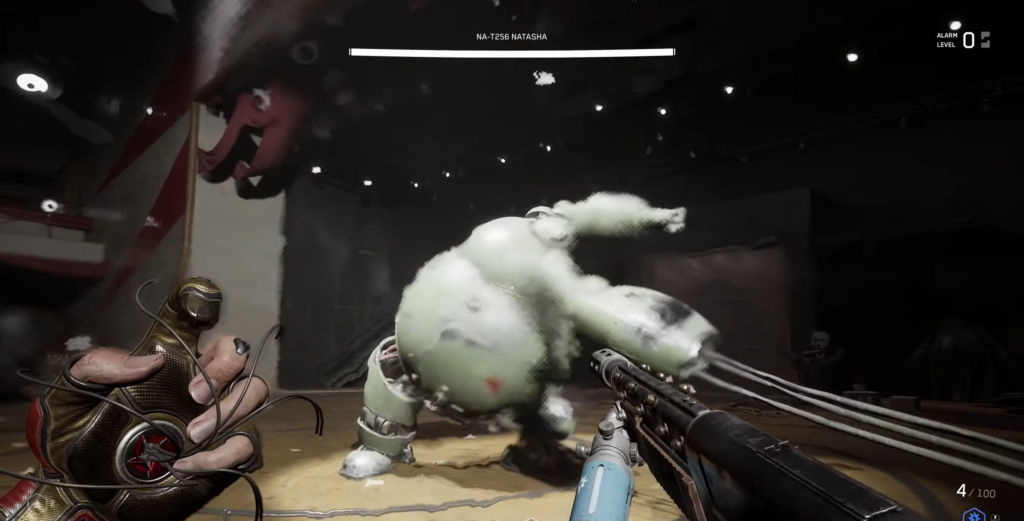
Boss: Natasha
There is one last vending machine in front of the door to the stage—use it to fully equip yourself.
| Resilience | Vulnerability |
|---|---|
| Firearms, Electricity | Blast damage |
The “Fat Man” is the perfect weapon for this fight. When fully upgraded, it can take down Natasha in literally a single magazine. If you don’t have it, use a high-damage melee weapon and a firearm with magazine clips. The “Slippery Guy” skill is still a must.
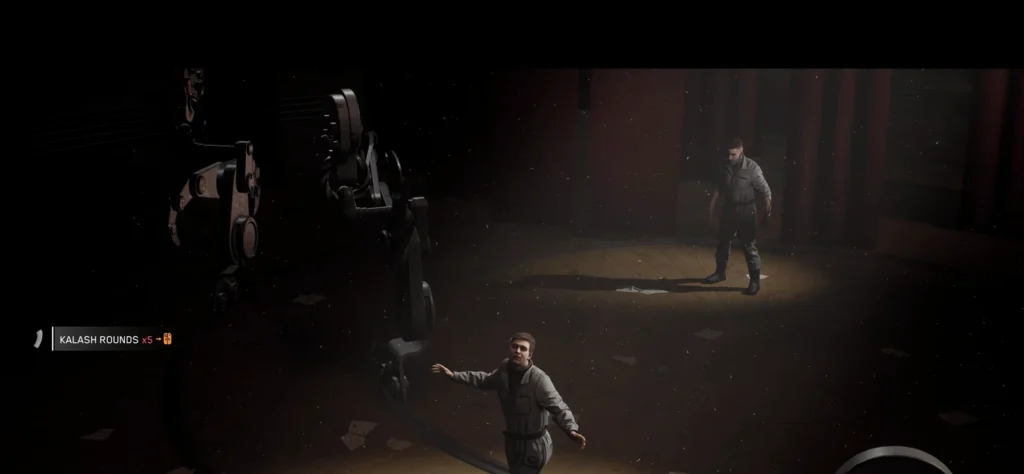
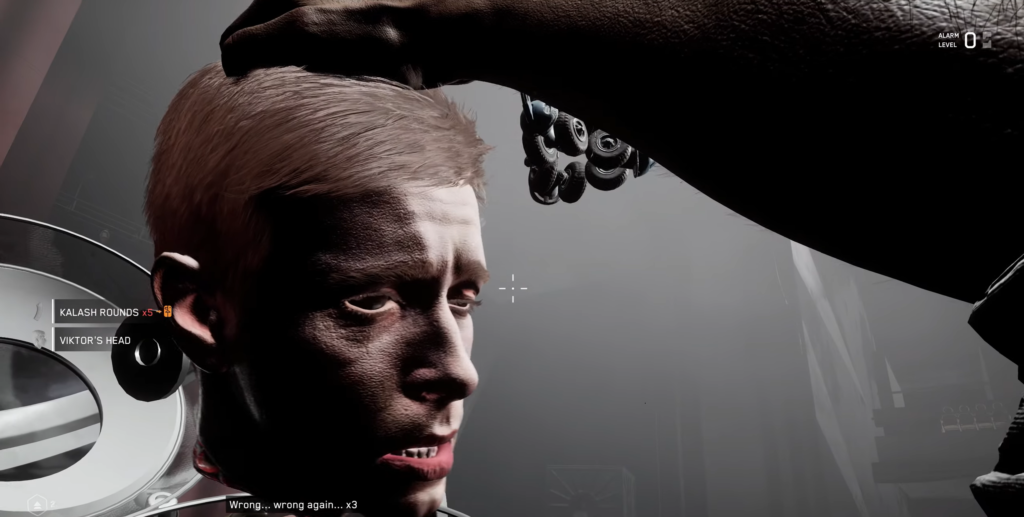
Enter the door to the right of the vending machine. A long cutscene will follow: Petrov and R-3 will finally speak, and the scientist will reveal details about the robotic revolution. At the end, Petrov will be beheaded. Pick up his head, then Pchela will bring a glass container—R-3 will automatically place the head inside it.
The theater will come alive again: Petrov’s last wish was to see the R-3 dance with the theater’s star—the giant combat robot Natasha.
Natasha’s Attacks and How to Counter Them
Unlike previous bosses, Natasha isn’t particularly fast. Her main attacks are:
Her whip strike is slow but powerful. After each strike, Natasha has a brief moment of stun—attack during these openings.
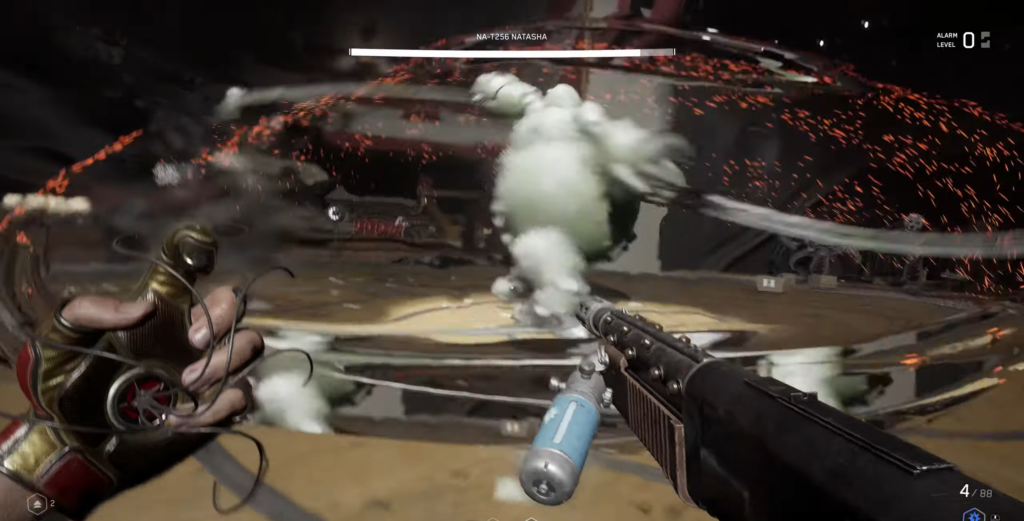
Missile barrage — a series of homing missiles fired upward. Keep dodging until the barrage stops completely.
The spin with whips is signaled in advance: the whips light up. After the spin ends, Natasha falls to the ground—the moment for maximum damage.
Mine Jump — Natasha takes off and scatters the pursuing mines. Shoot them immediately: they will continue to chase you even after the boss is defeated.
Keep attacking—and Natasha will collapse. After winning, use the debris blocking the stands on the right to climb up to the exit. Follow the path to the elevator, which will take you outside.
What’s next
The next destination is the Pavlov Complex. As Charles notes, now is a great time to complete all the unfinished Training Grounds—it will get much harder from here on out, and well-leveled weapons will be a necessity.


Comments (0)
Sign In / Sign Up
Sign in to leave a comment.
No comments yet
Be the first one to share your thoughts!