
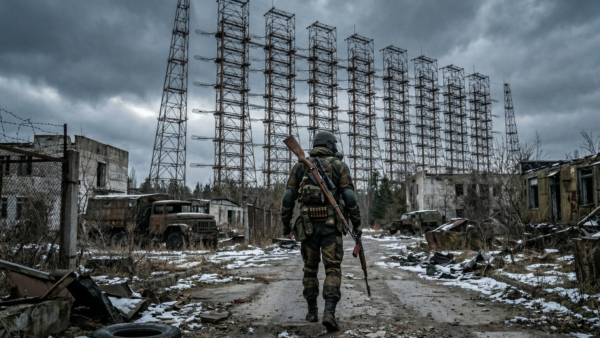
S.T.A.L.K.E.R. 2 is designed so that players survive by using whatever they can find. However, if you want to know in advance where the best gear is located so you can become incredibly powerful (overpowered) early on in the game, this guide is for you.
We’ll break down the ideal build that will let you breeze through the entire game: from choosing armor and artifacts to the best arsenal of weapons.
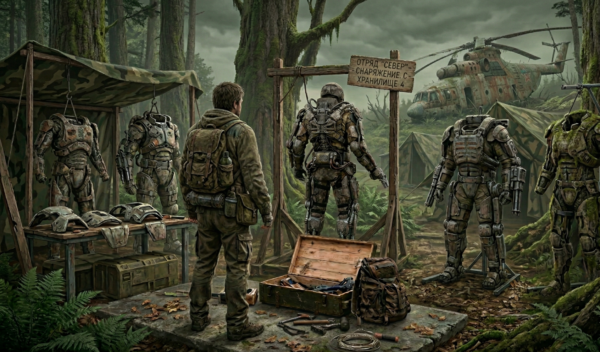
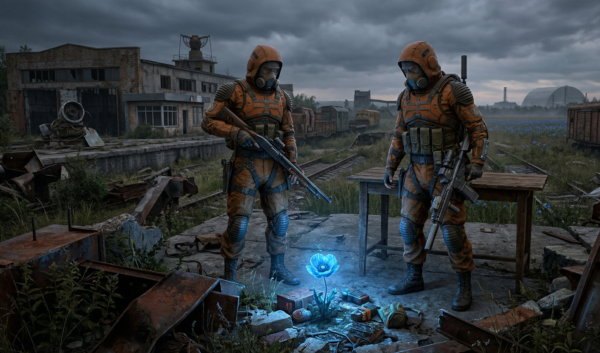
Stage 1: Best Armor — SEVA Suit
Technically, the best armor in the game is the Liberty exoskeleton, which you can find later in Pripyat. The Diamond exoskeleton provides slightly more physical protection, but this stat is easily compensated for with artifacts. The problem with exoskeletons is that you won’t be able to properly level them up or use sprint until certain later stages of the story.
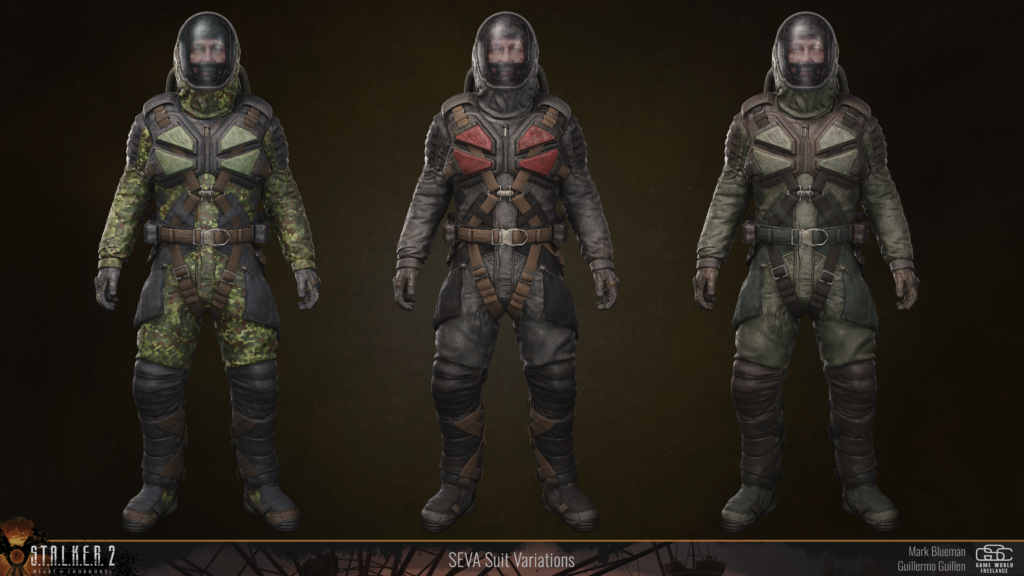
Therefore, the best armor for most of the game is the “SEVA” suit.
- Why SEVA? It’s the best non-exoskeleton armor. It has 5 artifact slots and supports dual lead containers, allowing you to carry radioactive artifacts without risk to your health. (The SSP-100i suit is currently bugged, so SEVA is the only reliable choice.)
- Where to find it: In the Yantar region. You can obtain it as soon as you leave the Lesser Zone for the first time.
- Upgrades: You can upgrade the suit at mechanics in Yantar or Pripyat. The most important upgrade is installing two lead containers and unlocking additional artifact slots.
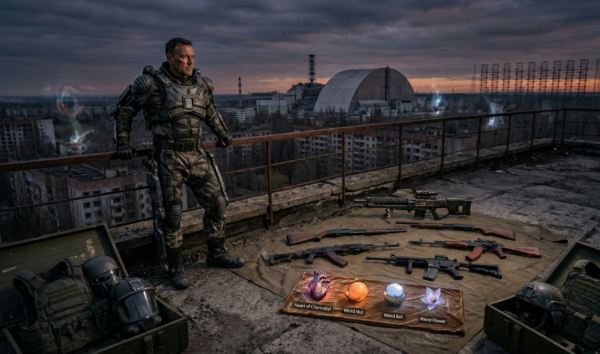
Stage 2: The 5 Best Artifacts in the Game
If you have 5 slots in your suit, you only need these five artifacts to become virtually invulnerable. Thanks to the protection provided by the “SEVA” suit, you don’t need artifacts to drain radiation.
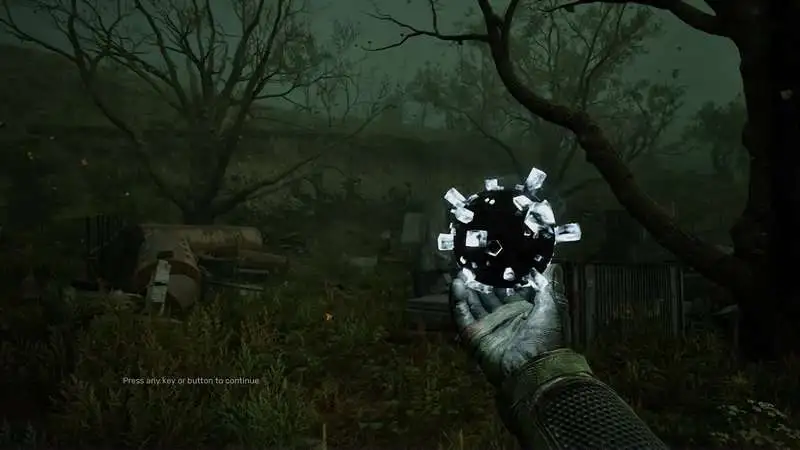
1. Thunderberry
- Effect: Provides maximum stamina (endless running without energy drinks), but emits high levels of radiation. Place it in a slot with a lead container (green glow in the slot).
- Where to find: Drops randomly in electrical anomalies (e.g., west of the Dump).
- How to get it quickly (Life Hack): The anomaly generates the artifact when you approach it within 150 meters. Save your game 150 meters away, then run into the anomaly. If the artifact isn’t the one you want, reload. On average, it takes about 30 minutes to get the right one.
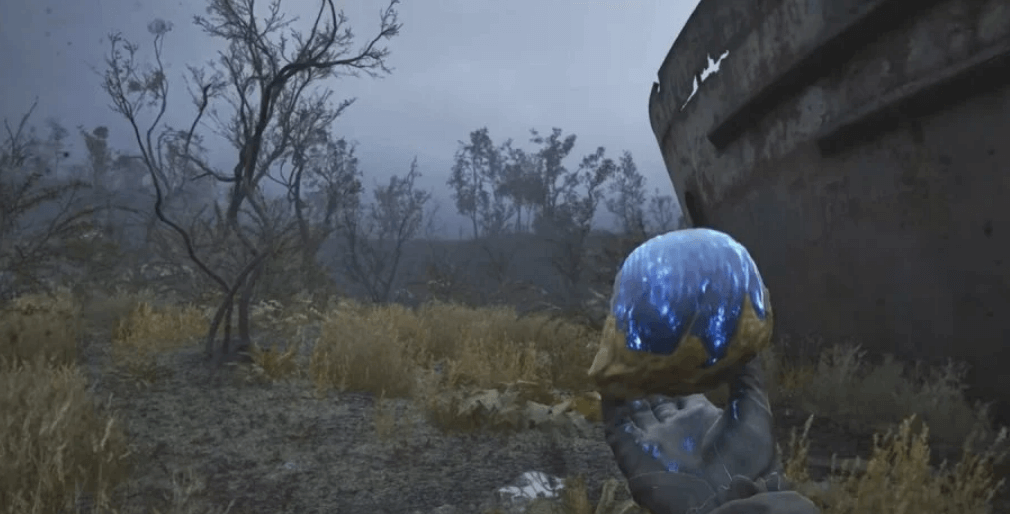
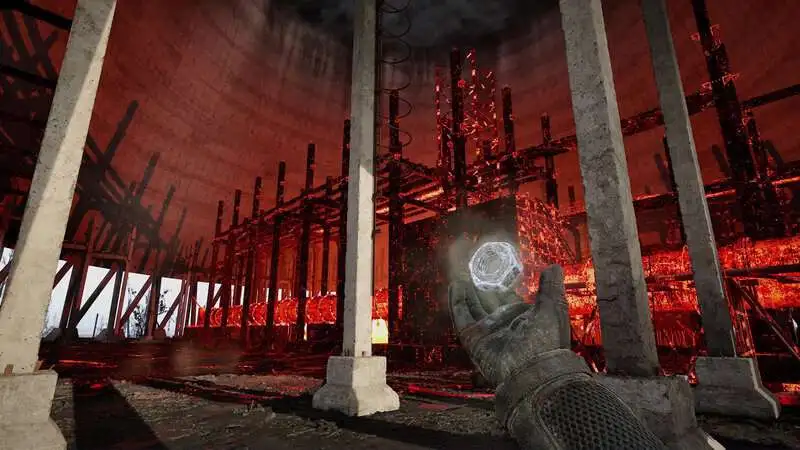
2. Compass
- Effect: Provides maximum protection against everything, but also emits maximum radiation (requires a second lead container).
- Where to find it: Gravitational anomalies (with vortices and bubbles). Note: In some versions of the game, its spawn is bugged, making it extremely difficult to find.
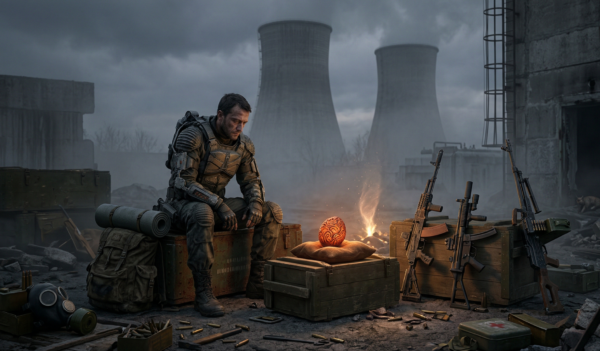
3. Weird Nut
- Effect: Automatically heals bleeding. This is an absolutely essential artifact—without it, you’ll be bleeding out constantly in the final missions.
- Where to find it: In the fire tornado at the Cooling Towers location.
4. Weird Ball
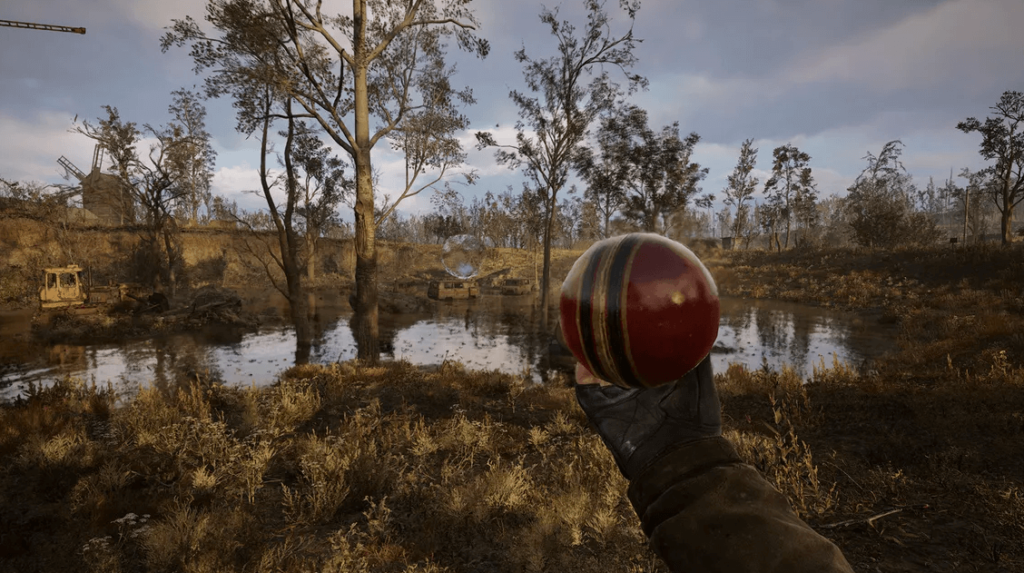
- Effect: Reduces damage taken from firearms, especially when you are standing still.
- Where to find it: In the “Bulba” anomaly in the Small Zone.
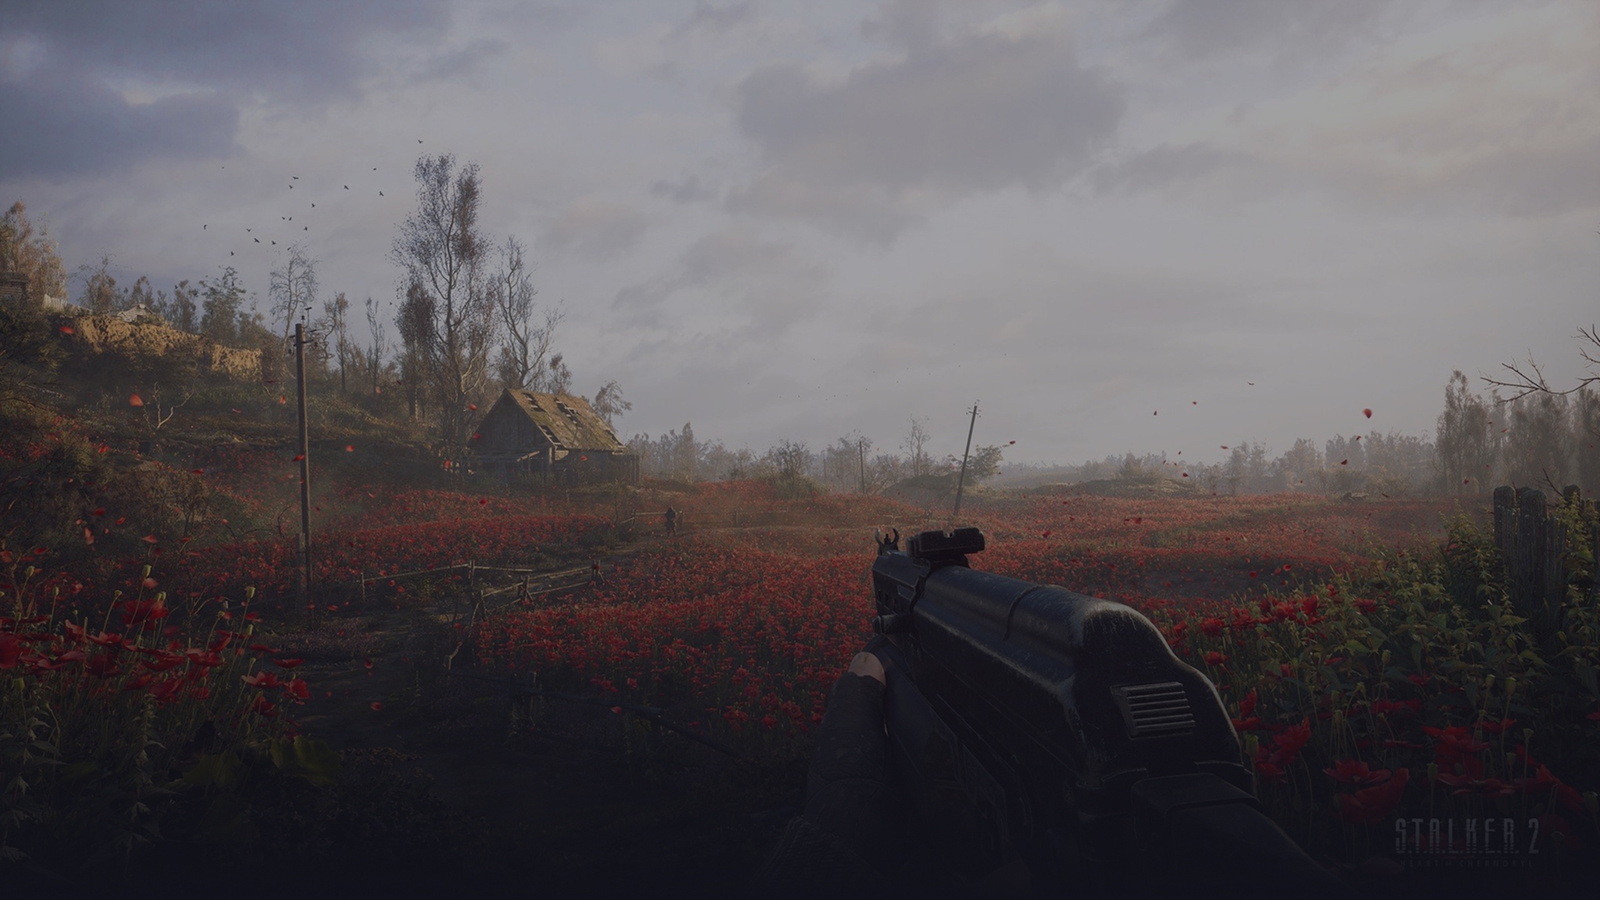
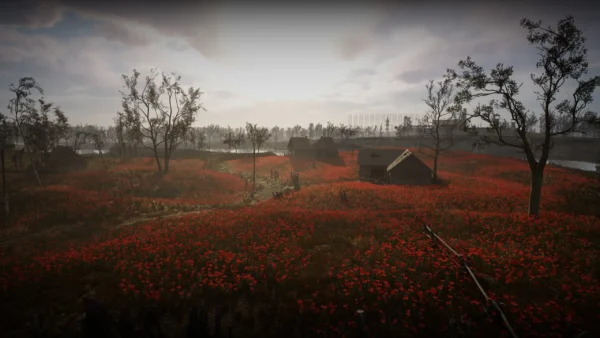
5. Weird Flower
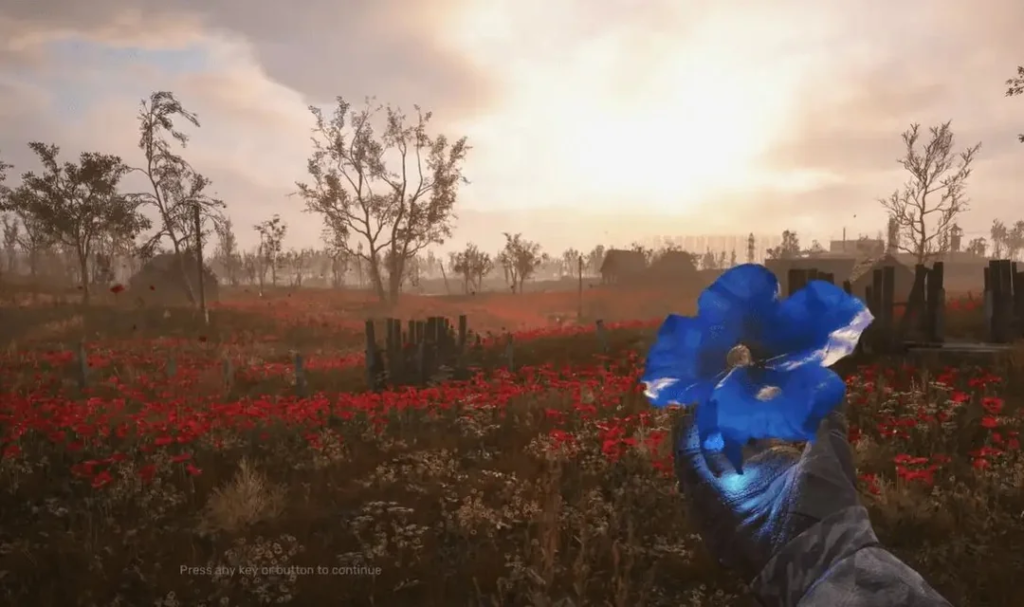
- Effect: Reduces detection range—enemies will spot and attack you from a much shorter distance.
- Where to find it: In the poppy fields in the Small Zone.
Step 3: Top-tier weapons for any situation
This armor and these artifacts are enough to get through the game with just a knife. But to annihilate everything in your path, assemble this arsenal:
1. Submachine gun: Bucket S2 SMG
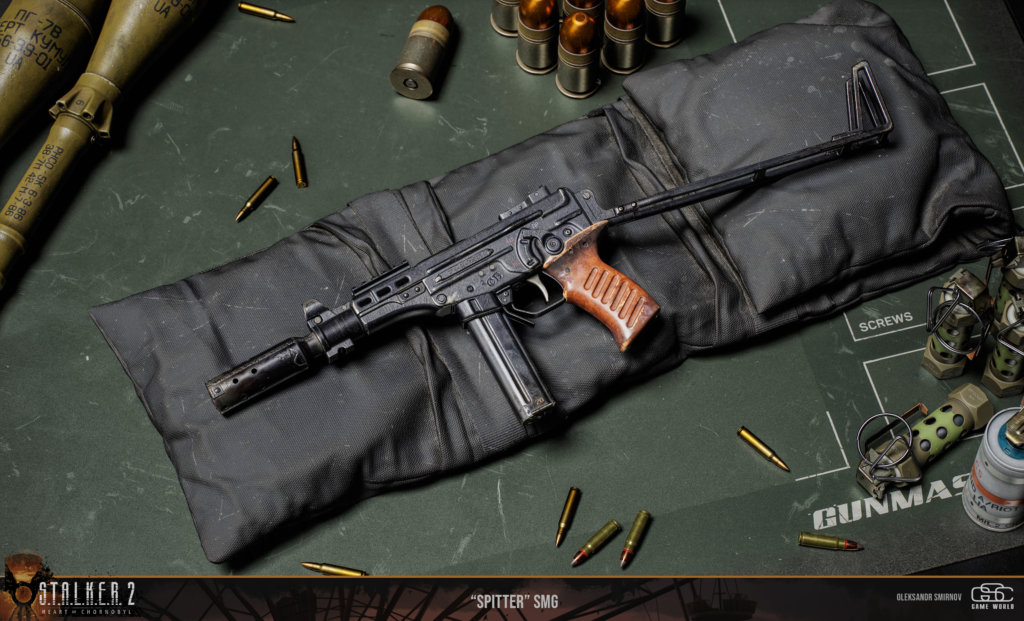
- Purpose: Close combat with people.
- Features: Be sure to install a silencer and an extended magazine. Fully upgrade it at the mechanic. This weapon easily takes down human enemies, especially in the late game (in Pripyat).
- Where to find it: You can find it almost immediately after reaching the Dump (Garbage).
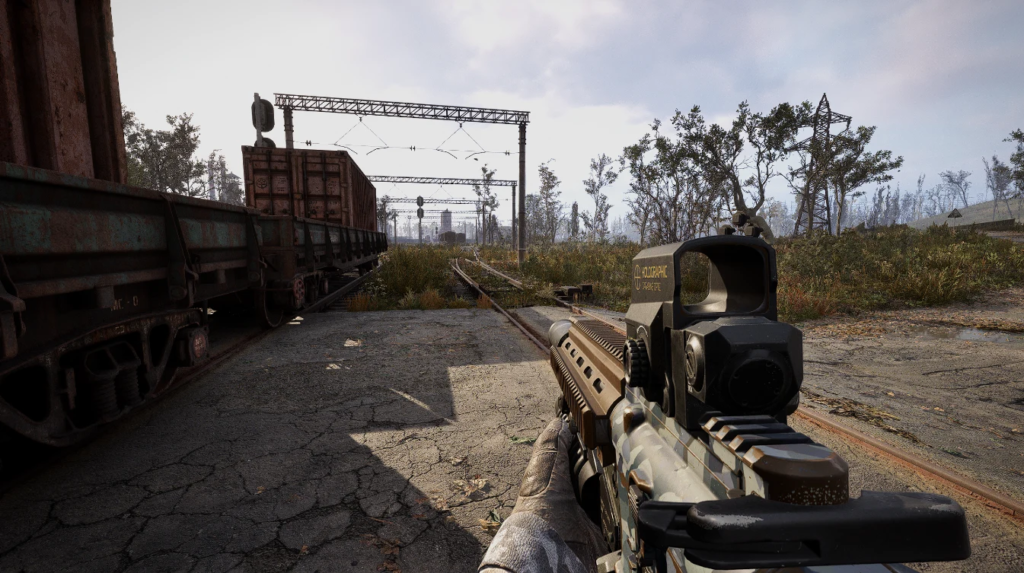
2. Assault rifle: Dnipro (Denit Pro)
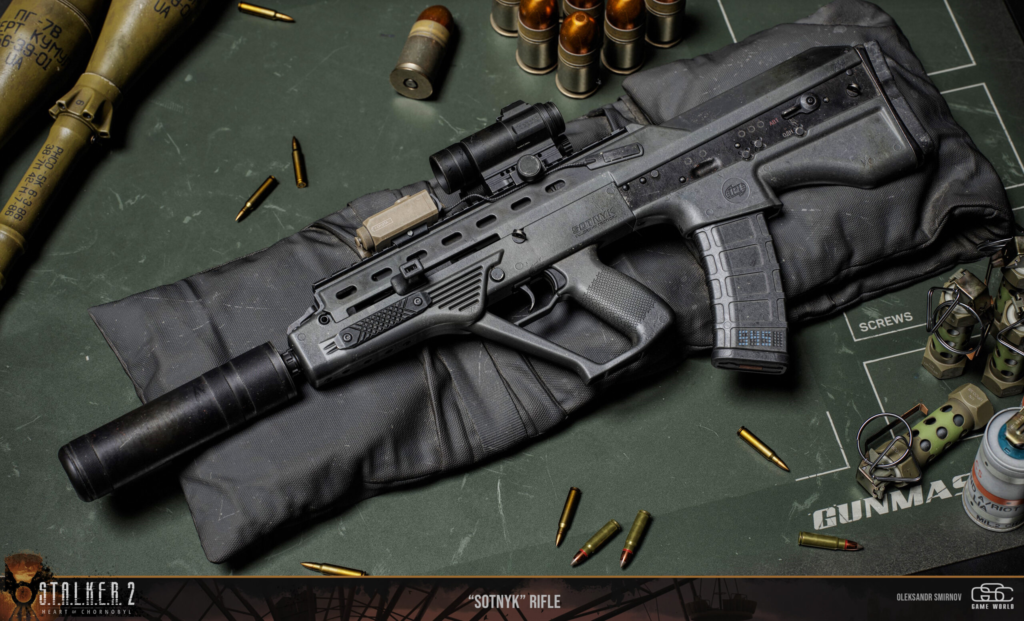
- Purpose: A versatile weapon, the best assault rifle in the game.
- Features: Massive damage against humans, mutants, and armored targets. Excellent long-range performance and incredibly accurate when firing from the hip. If you want to use just one weapon for the entire game—this is the one.
- Where to find it: At the very top of the Cooling Towers, in the upper part of the map.
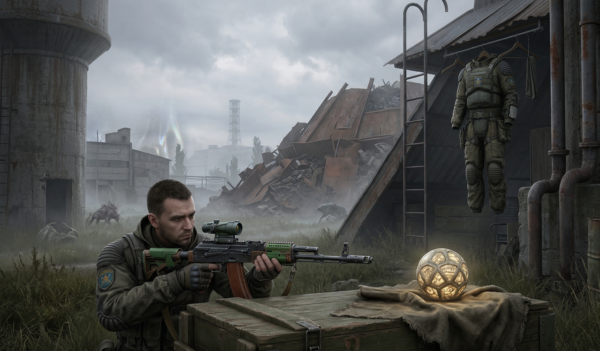
3. Sniper rifle: Mark 1 EMR
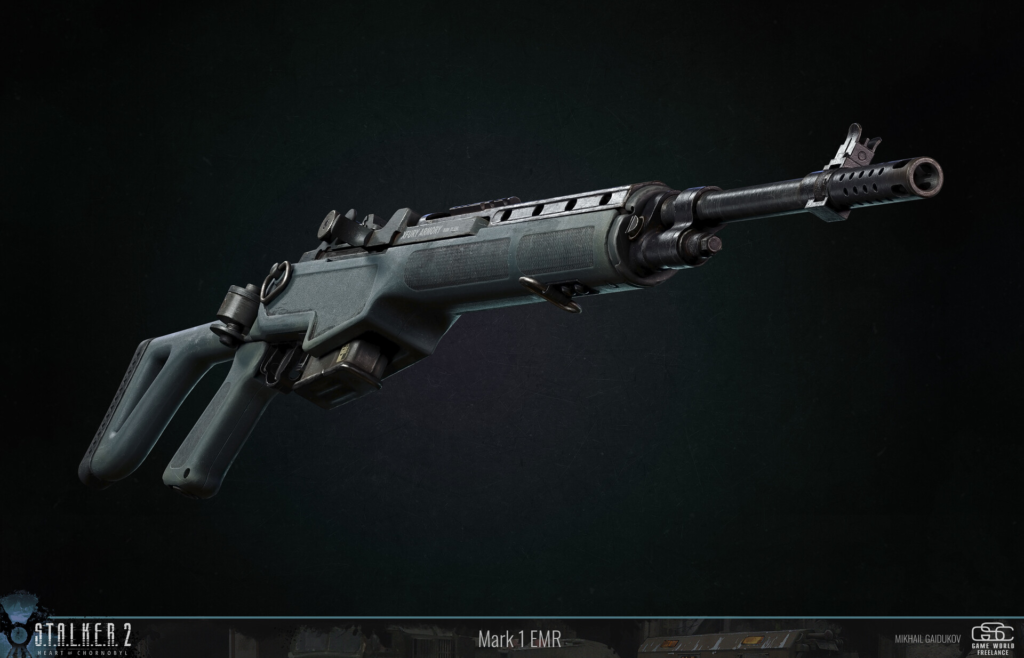
- For: Long distances.
- Where to find it (Early version): The version with a scope can be found fairly early on in the Military Barracks.
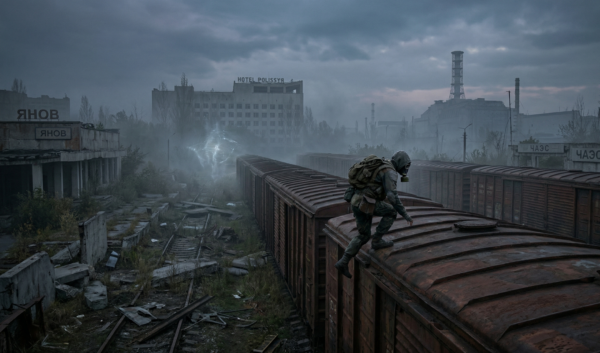
- Where to find it (Late version): If you’ve made it to Pripyat, jump over the trains and search the buildings behind the kindergarten—there you’ll find a version with a scope and a silencer.
4. Shotgun: PGA D12
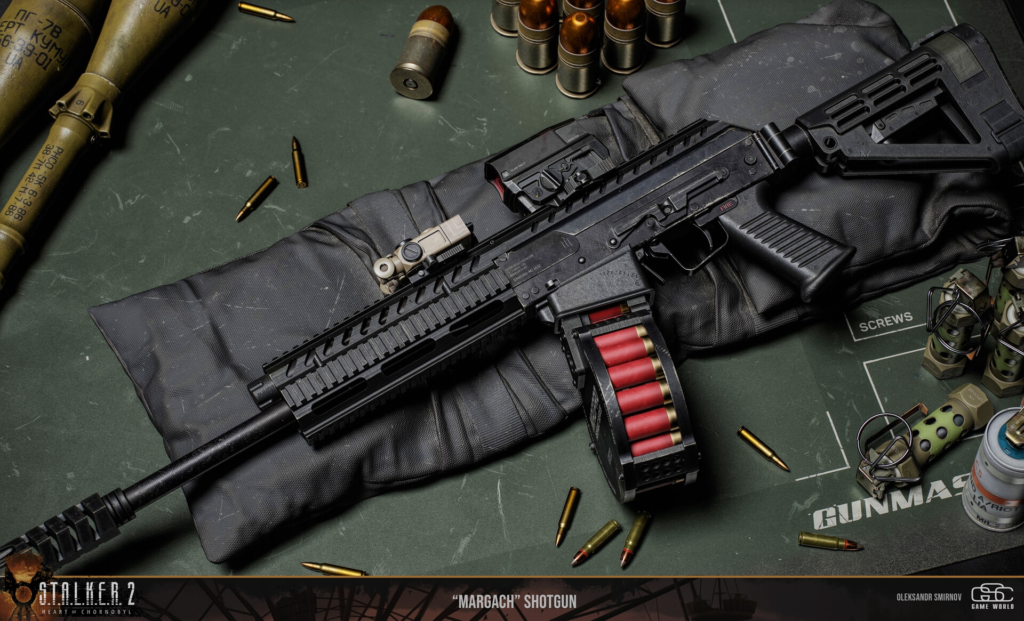
- Purpose: Close combat with mutants (bloodsuckers, burers).
- Features: Highest damage and penetration, incredibly high rate of fire, and the fastest reload time among all shotguns in the game. Shotguns use ammunition most efficiently. Note: Some blueprints for upgrading it may be unavailable due to bugs.
- Conclusion: This is the perfect secondary weapon that you should always have on hand.
With this build, you’ll be ready for any danger the Zone throws at you. The choice is yours—play hardcore in your starting jacket, or build this powerful setup and become a true legend.


Comments (0)
Sign In / Sign Up
Sign in to leave a comment.
No comments yet
Be the first one to share your thoughts!