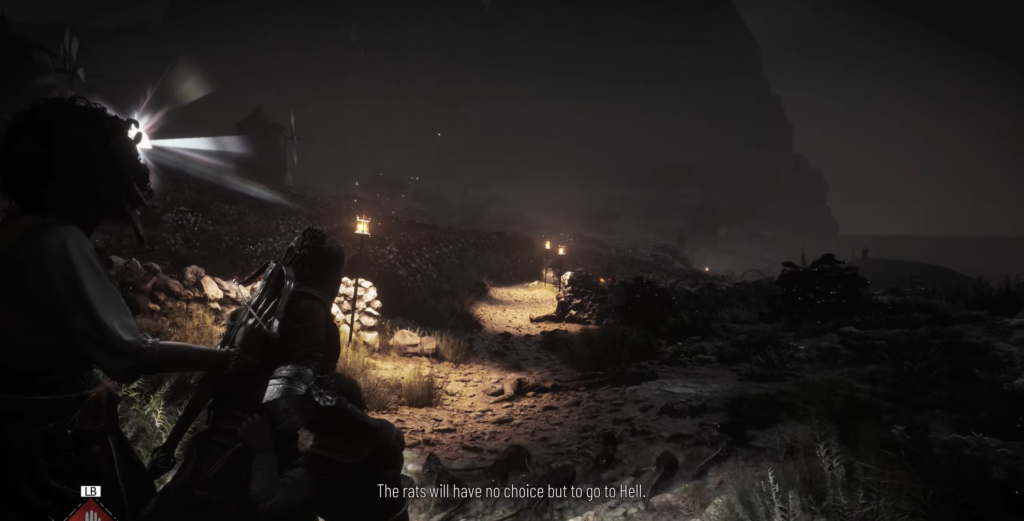
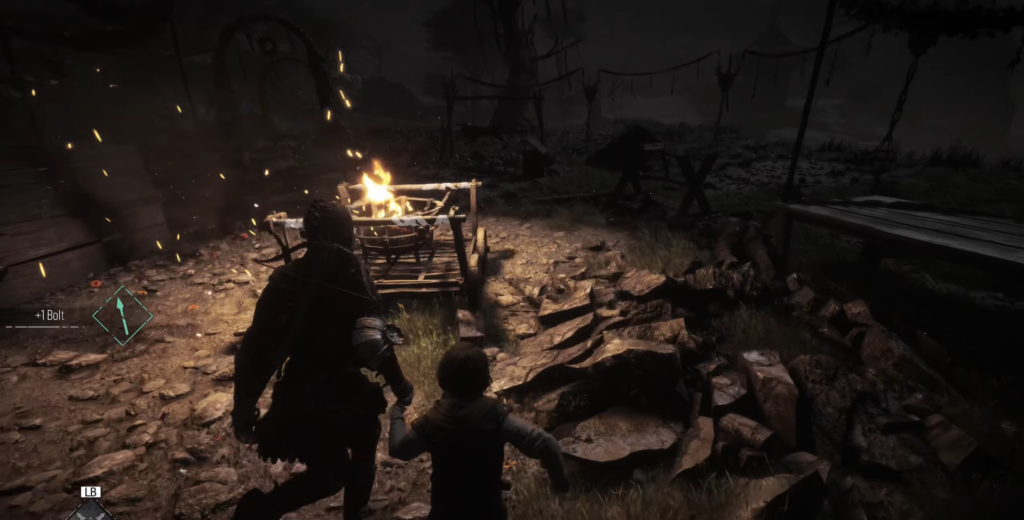
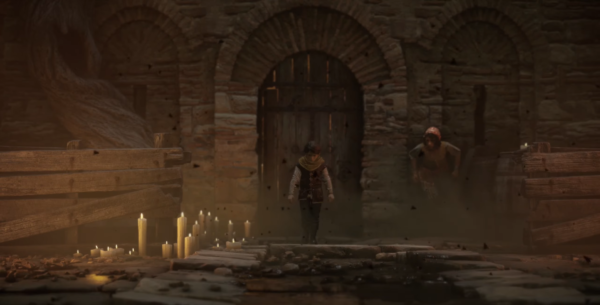
When you first take control, rat swarms block your path forward. Have Sophia redirect light beams from the mounted torches along the route. Use Ignifier bolts to ignite any extinguished light sources you encounter. Supply chests are positioned near several torches if your inventory needs replenishing.
Important tip: Some light redirections require you to bounce the beam off your current position’s torch, then rapidly switch targets as you approach the next one.
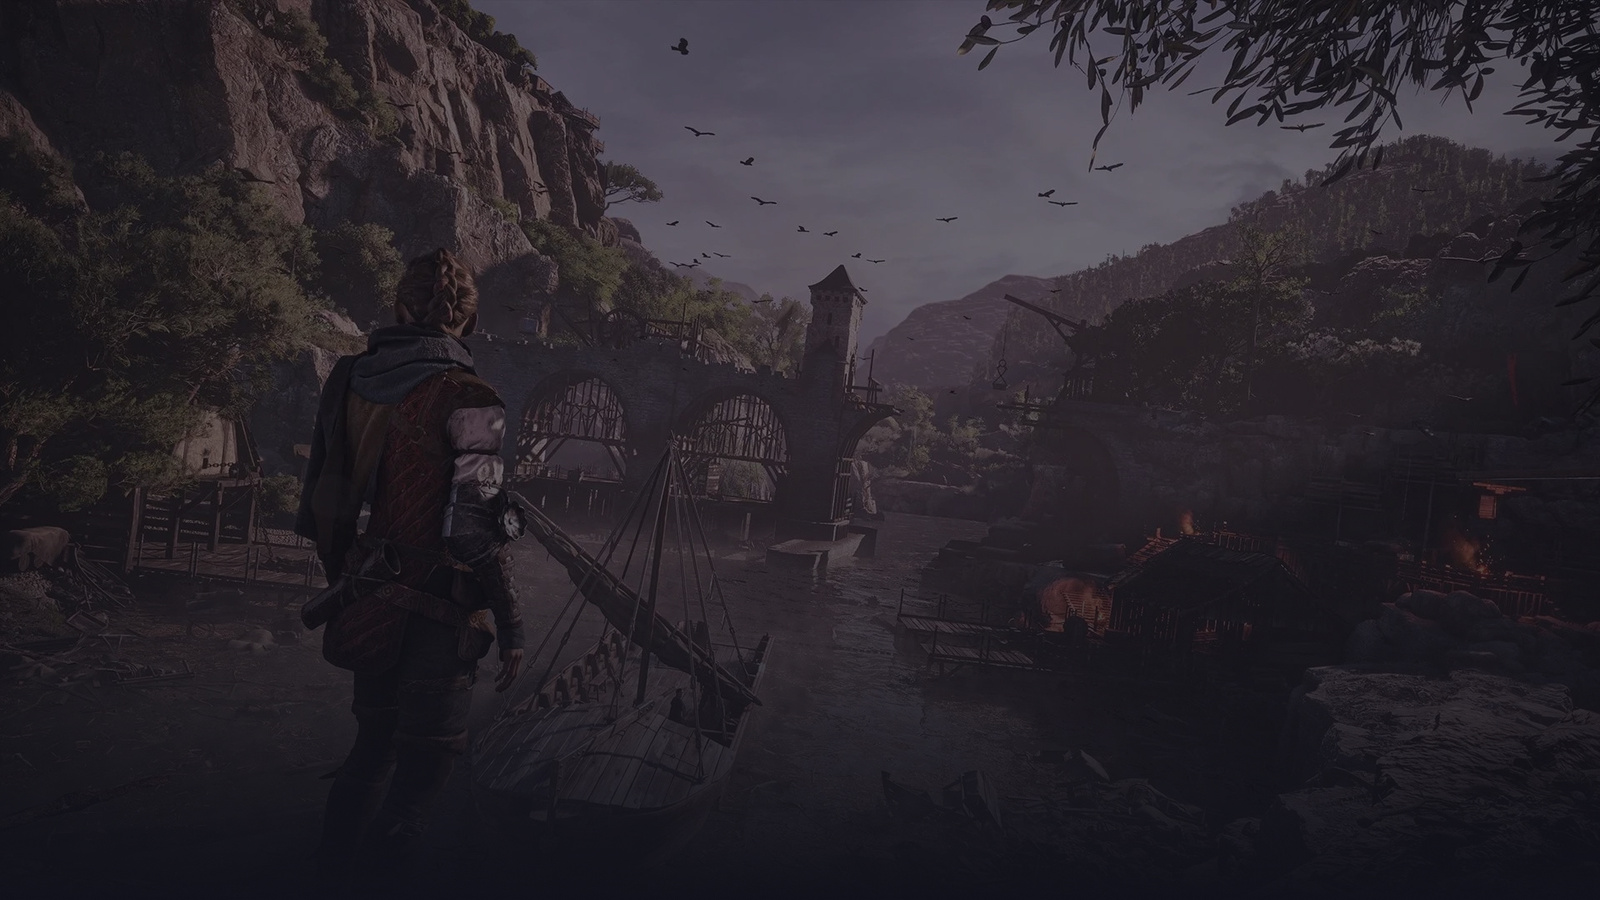
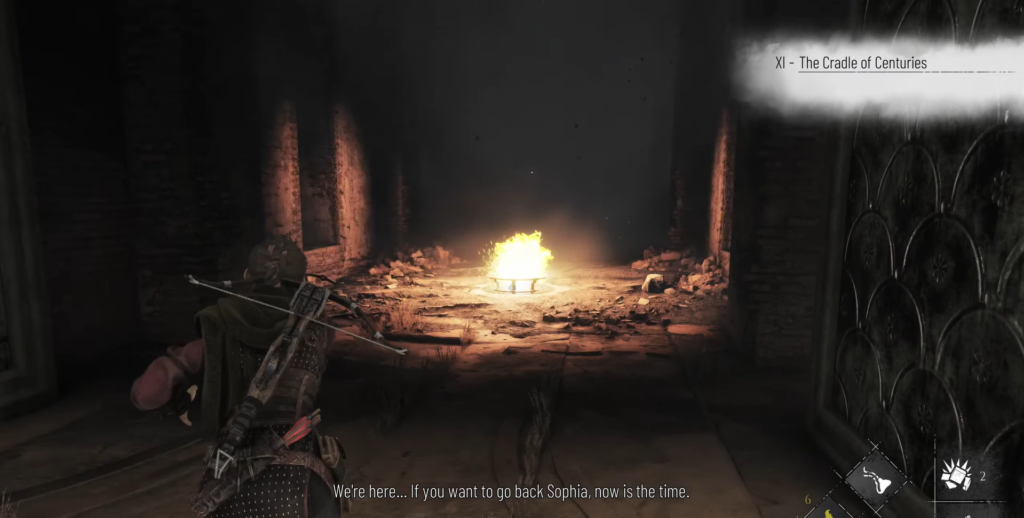
The Festival Barn Area
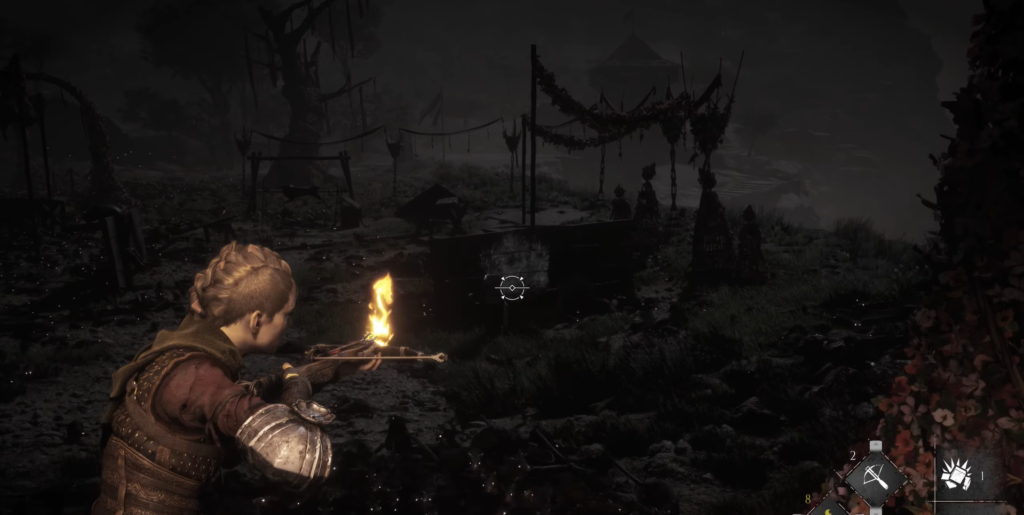
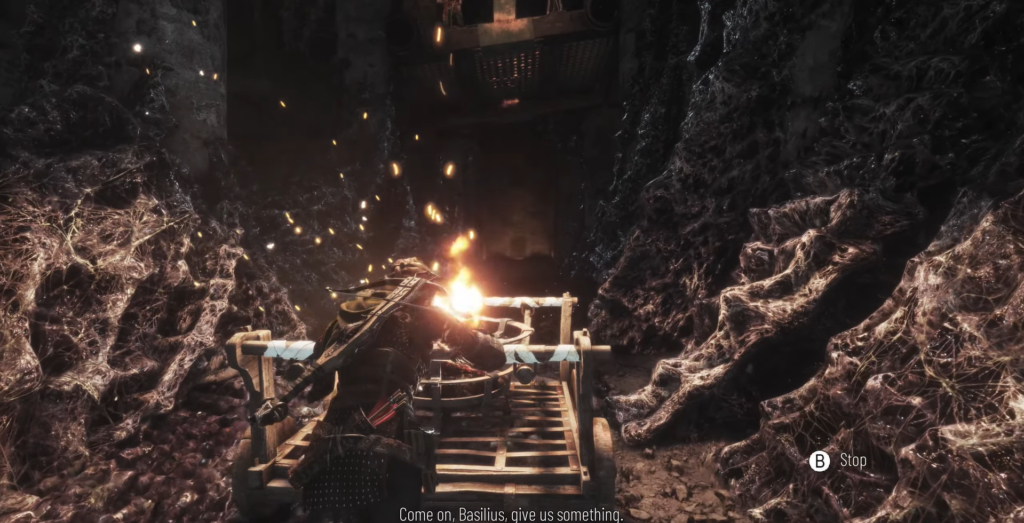
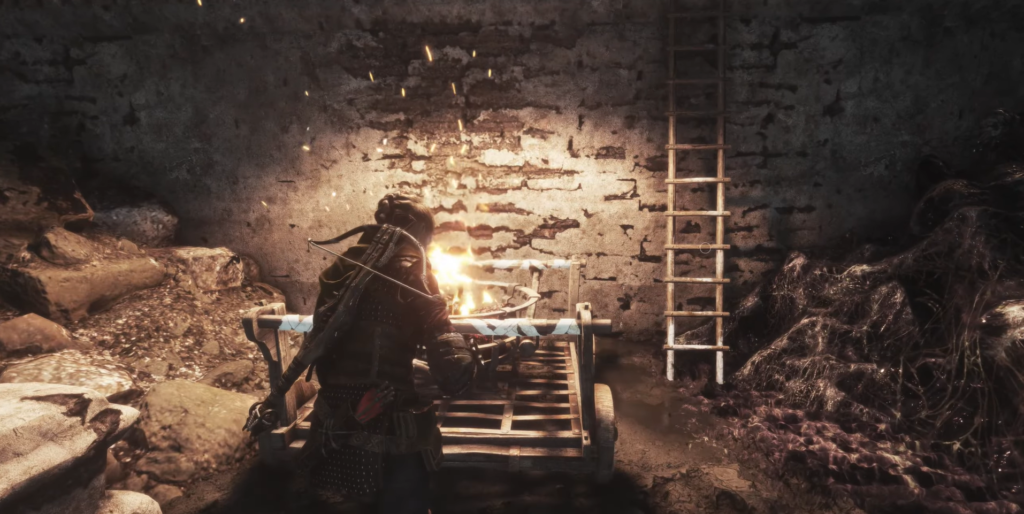
Upon arriving at the barn from the earlier festival scene, position yourself before the cart. Launch an Ignifier bolt toward the wooden plank in front of you.
Have Sophia refract the light beam off this target, then release the cart using the anchor mechanism. Trail behind the cart as it descends, then guide it upward along the upcoming path.
At the path’s terminus, fire an Ignifier at the hay pile on your left. Move quickly toward this light source to safely reach the next torch down the route.
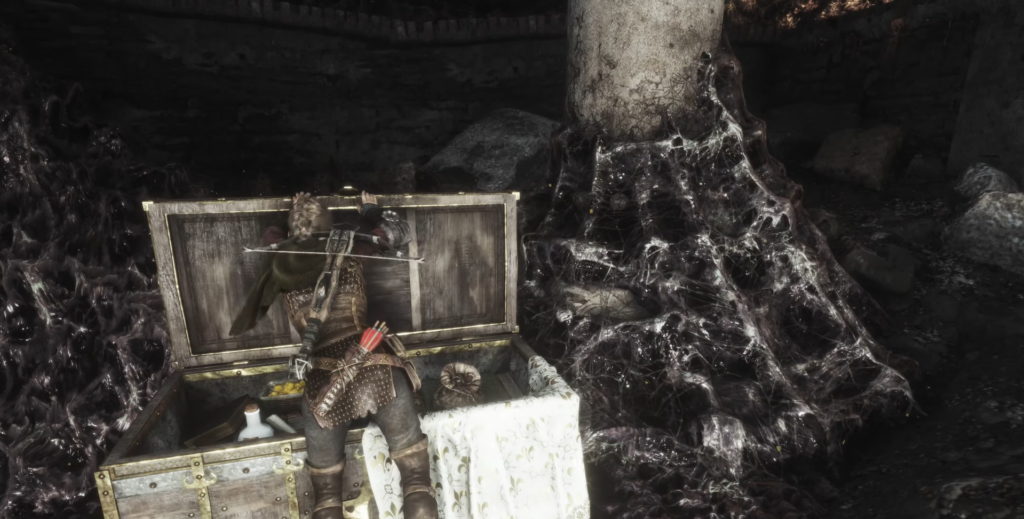
Open the chest here before igniting the following torch with another Ignifier. The path concludes with a climbing point on the right side.
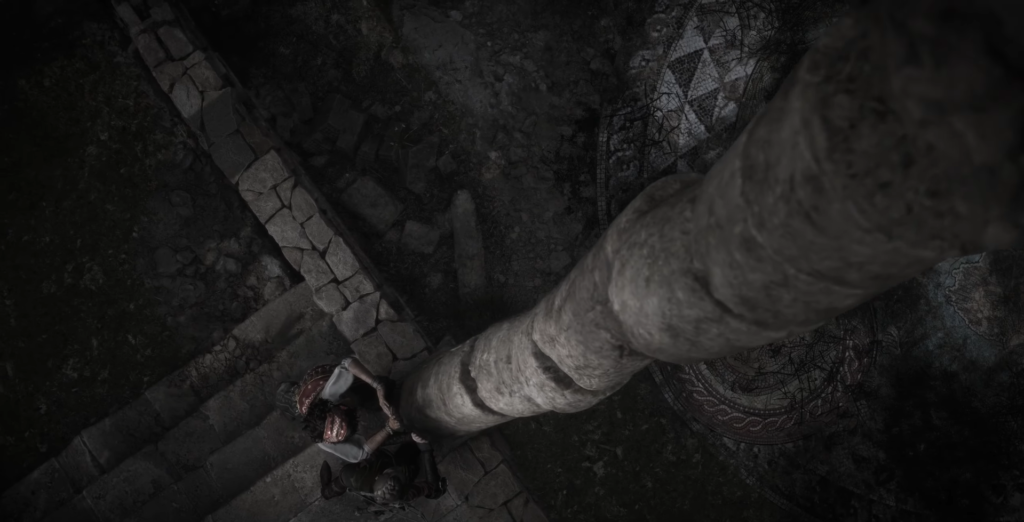
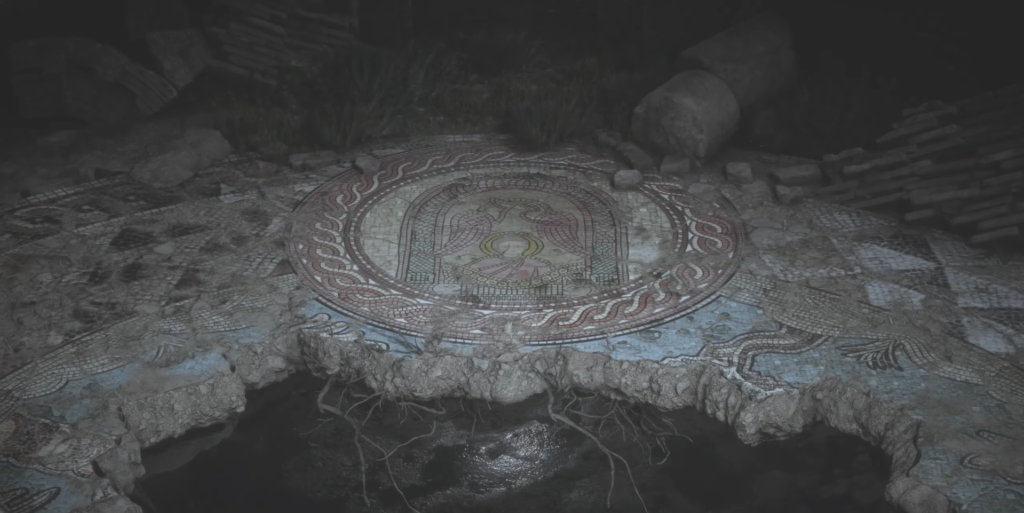
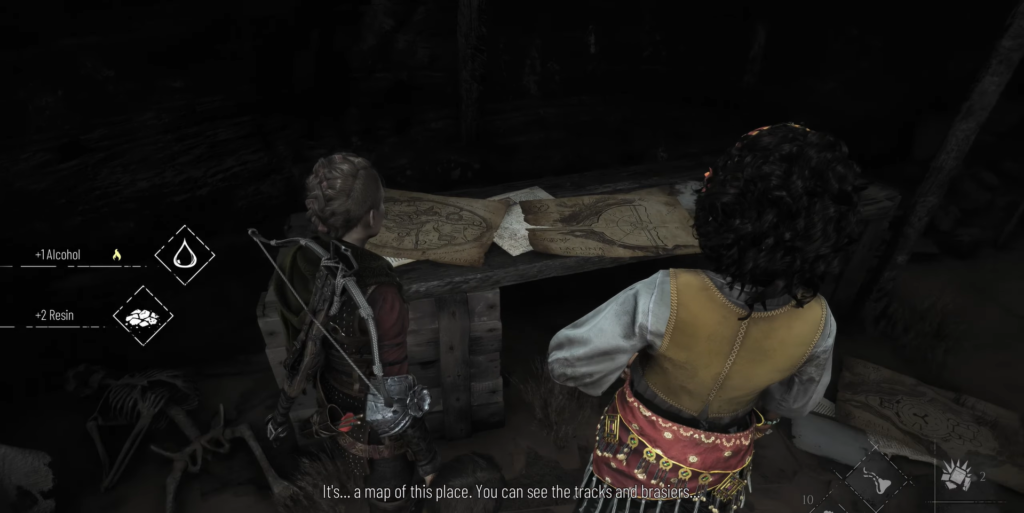
The Map Chamber Return
Back in the chamber featuring the floor map, take the elevated route on the left. Push the column structure over to expose an opening in the ground below.
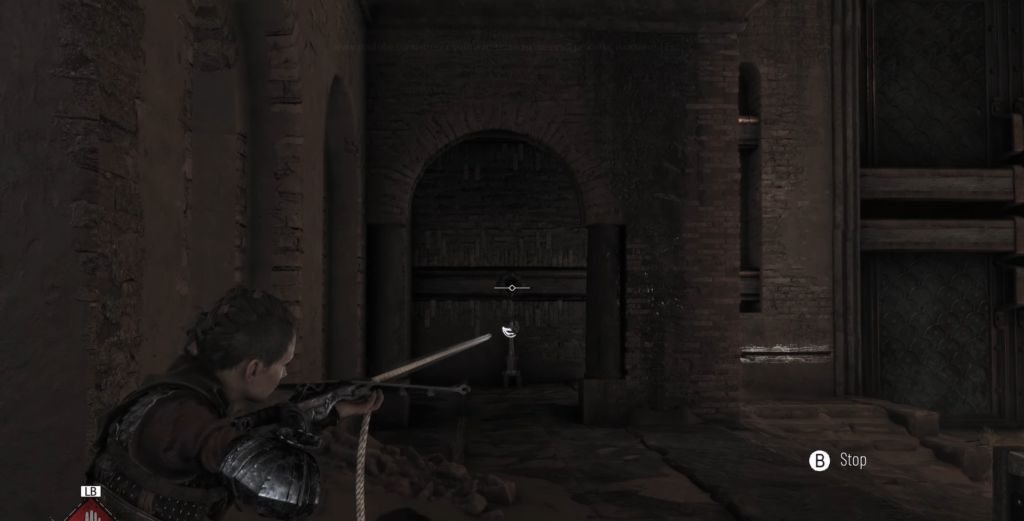
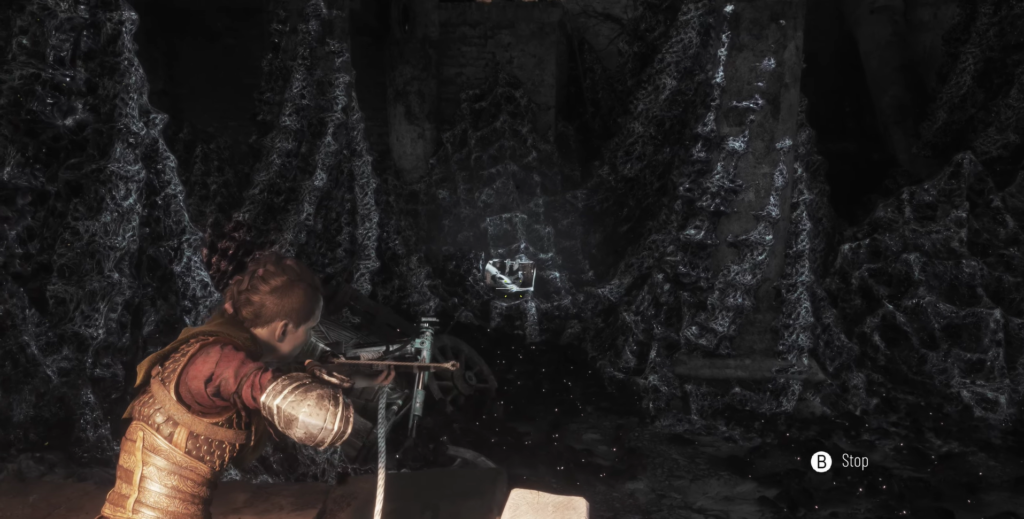
After falling through and regaining control, descend the stairs ahead. Use your Sling to launch an Ignifier toward the distant brazier.
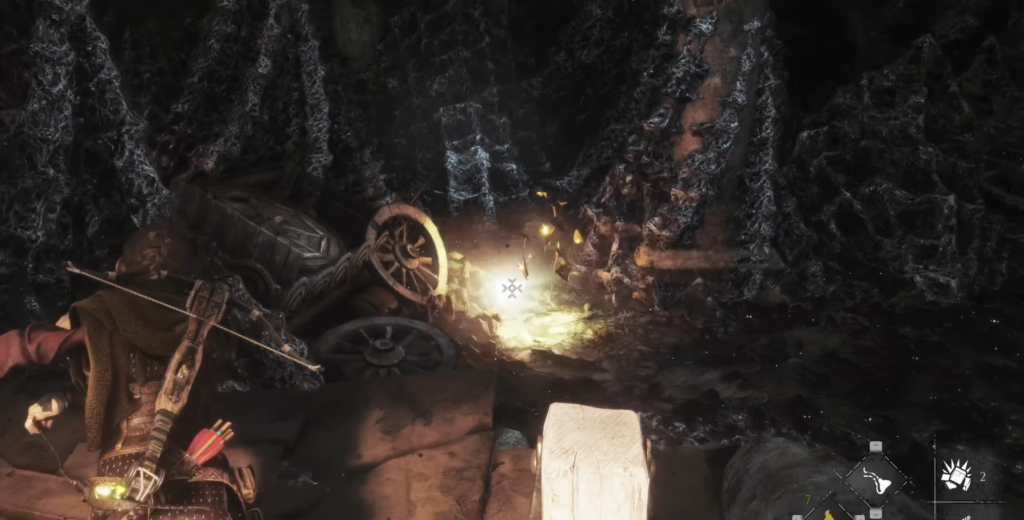
Immediately after exiting the tunnel, turn left into a shadowy corridor to discover a large chest containing a Tool, Pieces, and other materials.
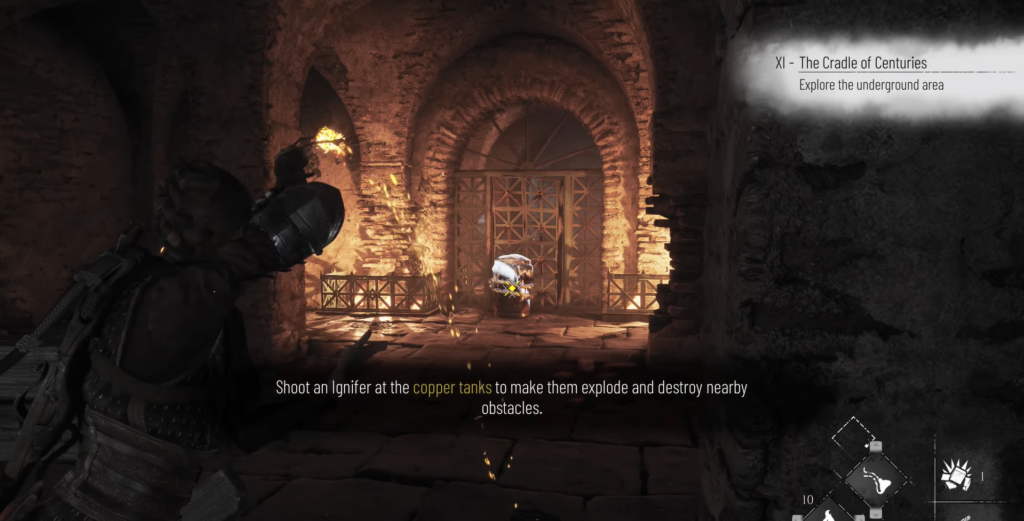
Progress through the illuminated chambers, past the destroyed door, then through the stone gap on the right at the slope’s base. In the next chamber, attempt opening the gate. Wait for Sophia to position the copper container before the gate, then destroy it with an Ignifier from your Sling.
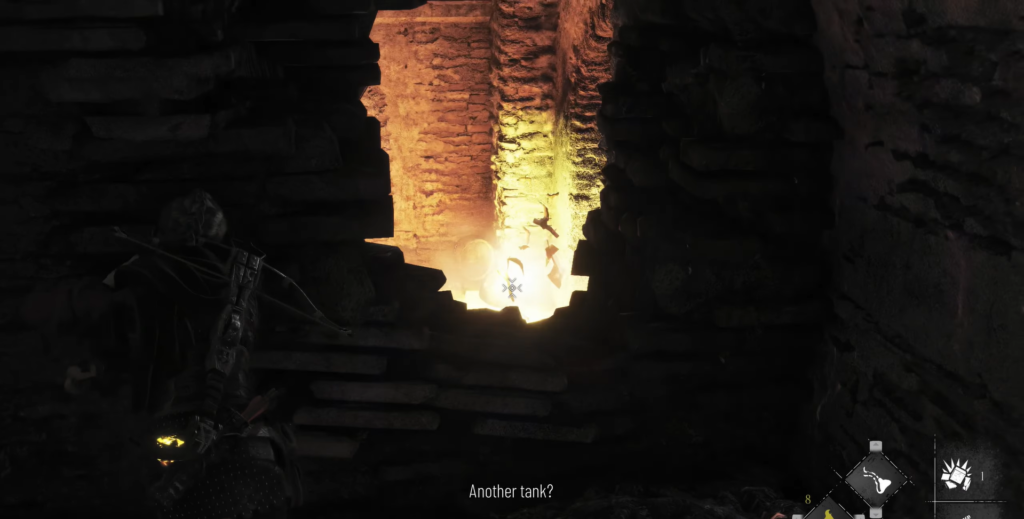
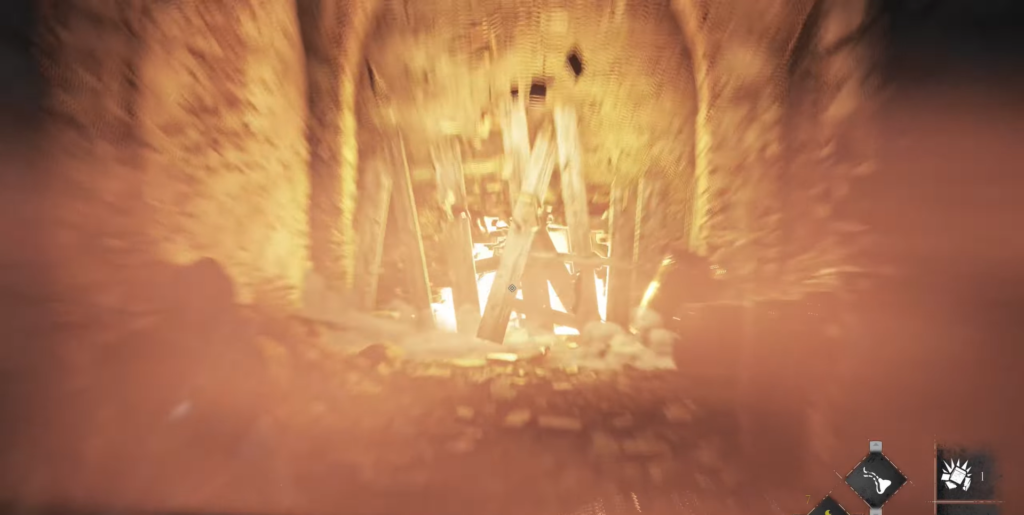
Beyond the now-accessible gate, you’ll find a chest on the right and a low gap on the left. Climb up and throw another Ignifier at the copper container visible through the wall opening.
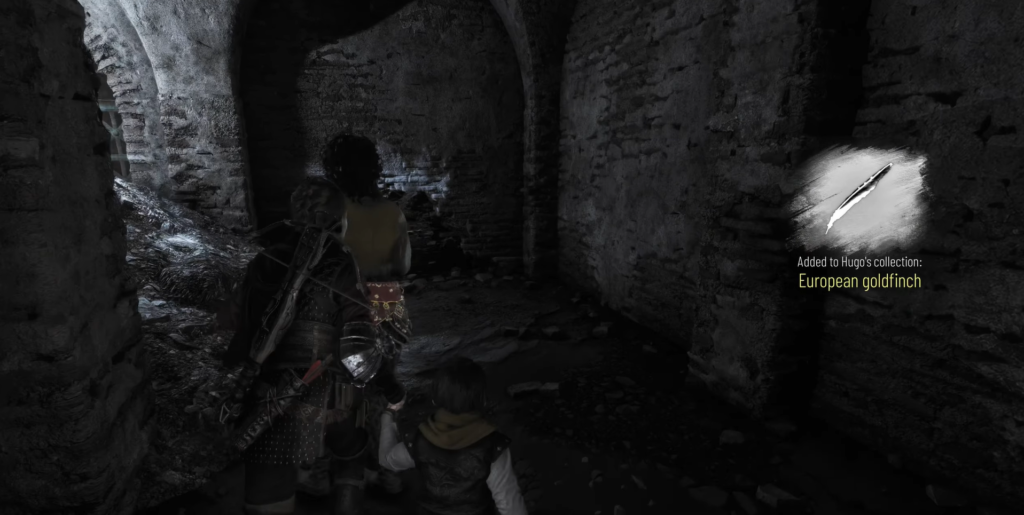
European Goldfinch Collectible
Before entering the doorway you just opened with the explosion, examine the wooden boards in the rear right corner. You can see another copper container through them.
Fire an Ignifier at this container, then crouch through the gap to collect the European Goldfinch for Hugo’s Collection.
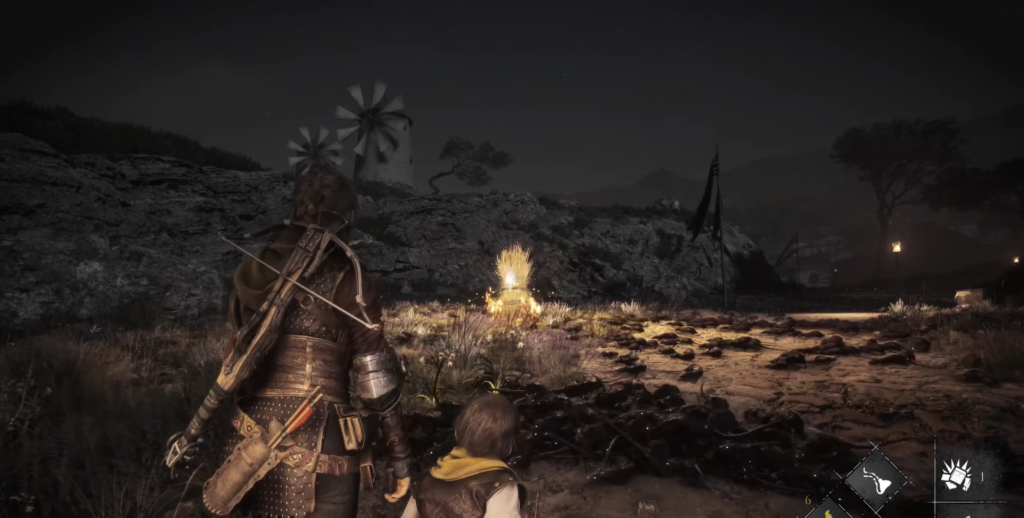
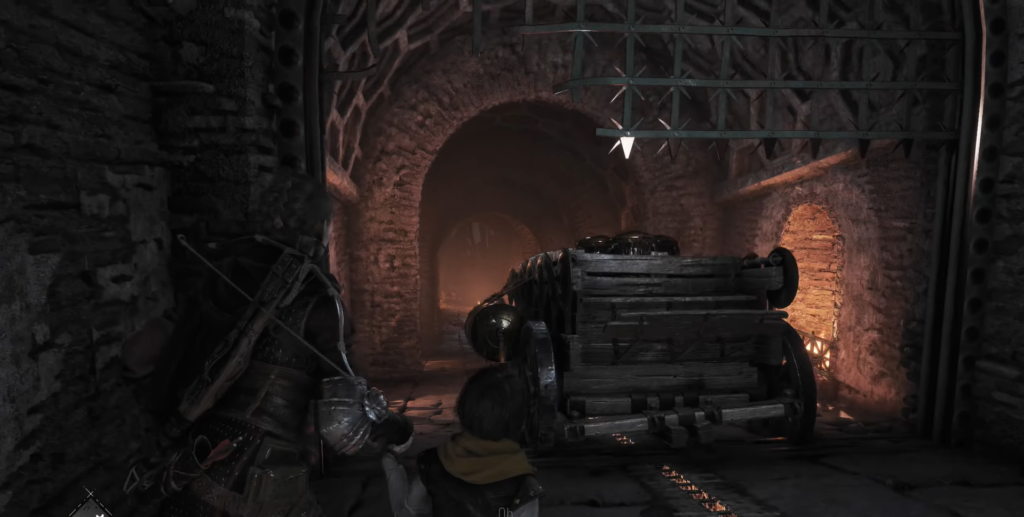
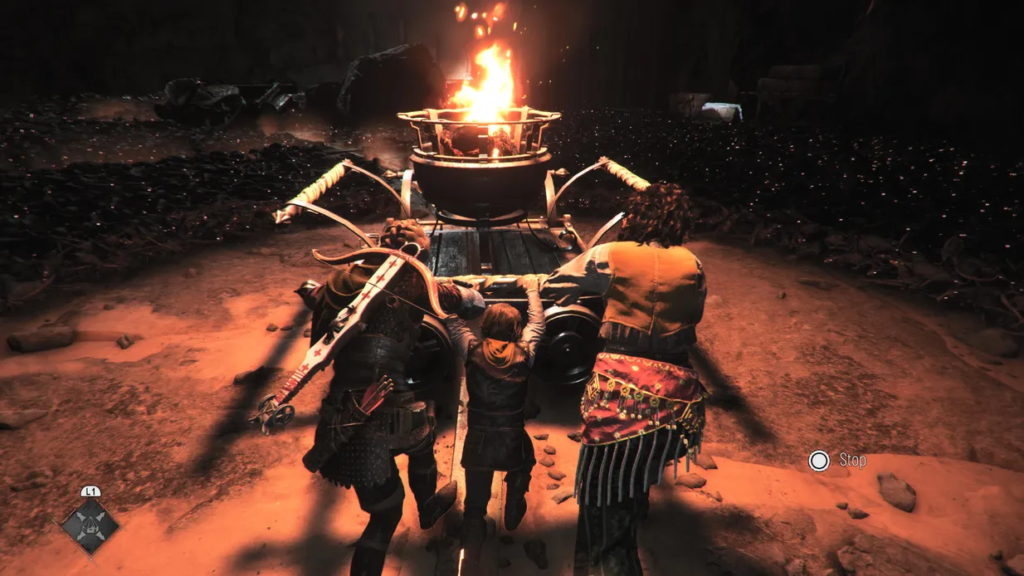
Cart and Brazier Puzzle Section
Continue through the opened doorway and head left up the incline. Crouch beneath the gate gap to the cart’s right. Direct Sophia to operate the wall-mounted crank on the left and observe as the cart rolls down to blast open the distant doorway.
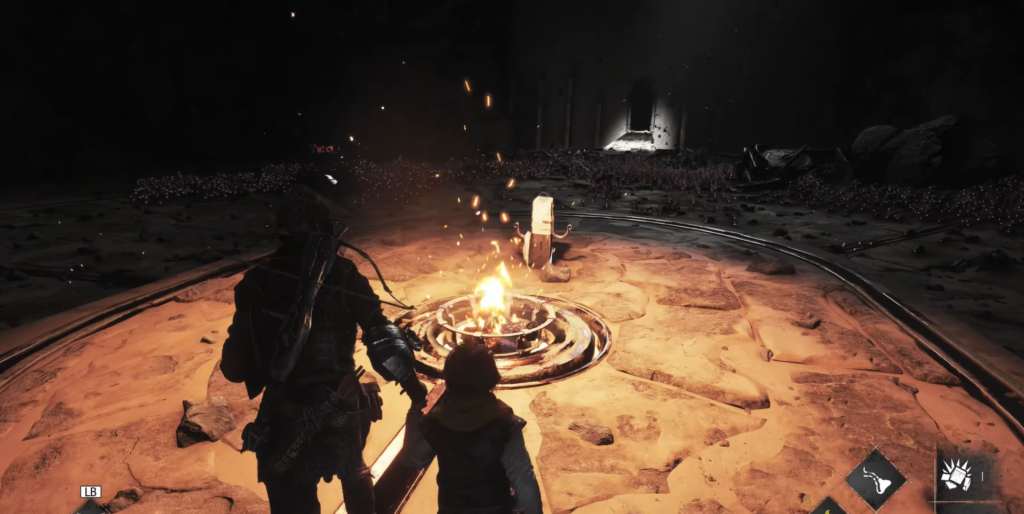
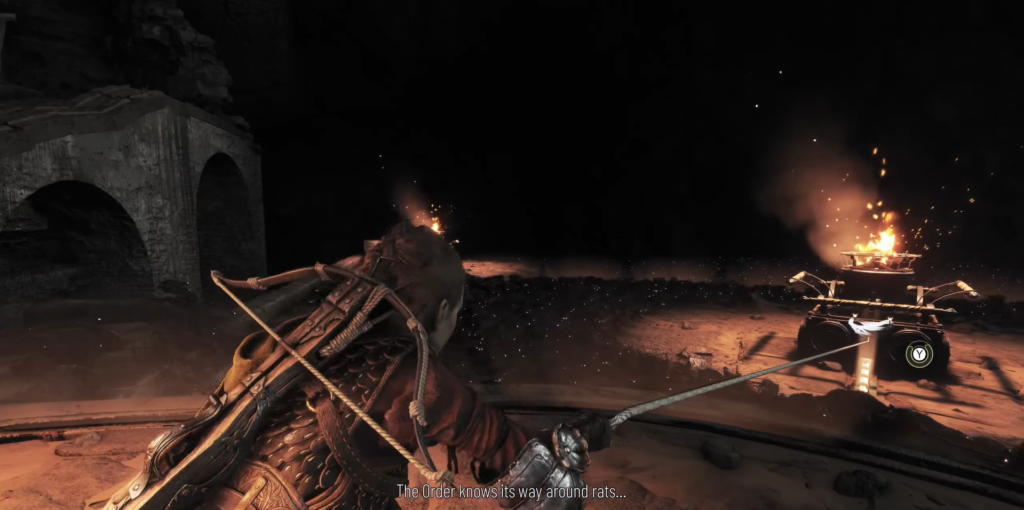
Enter through this opening and approach the central brazier. Rats will suddenly emerge, so ignite the brazier immediately. Use anchor points to draw the brazier carts throughout the room closer.
Puzzle solution sequence:
Pull the far-right cart completely toward you, then push it all the way back
Switch to the crate’s right-side handle to move it in a new direction
Locate the chest on the area’s right side
Push the crate maximally in that direction, then apply tar to the brazier for chest access and to drop off the left ledge
“The Chateau d’Ombrage” Souvenir
Below the ledge, you’ll discover another chest and a table holding the “The Chateau d’Ombrage” Souvenir.
Apply tar to the cart’s brazier you used to descend here, climb back up, and push it toward the central brazier as far as possible. Return to the center and pull the remaining two carts as close as they’ll come. Use the middle cart to access the leftmost cart, push it back, and use tar to reach the nearby chest.
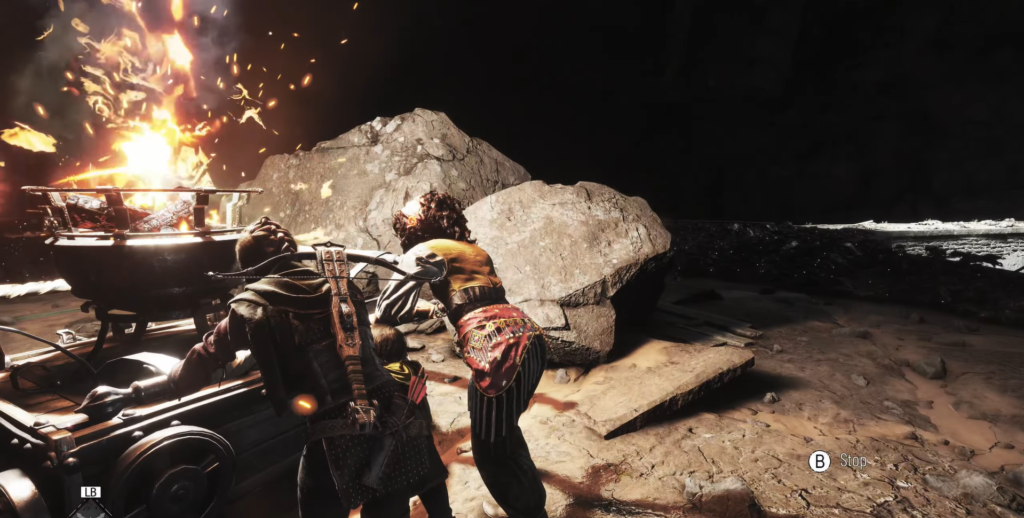
Push the leftmost cart around toward the bridge as far as possible. From there, look across at the rubble and fire an Ignifier at the concealed copper container.
Navigate back to the rightmost cart and push it along the rails until you reach the bridge.
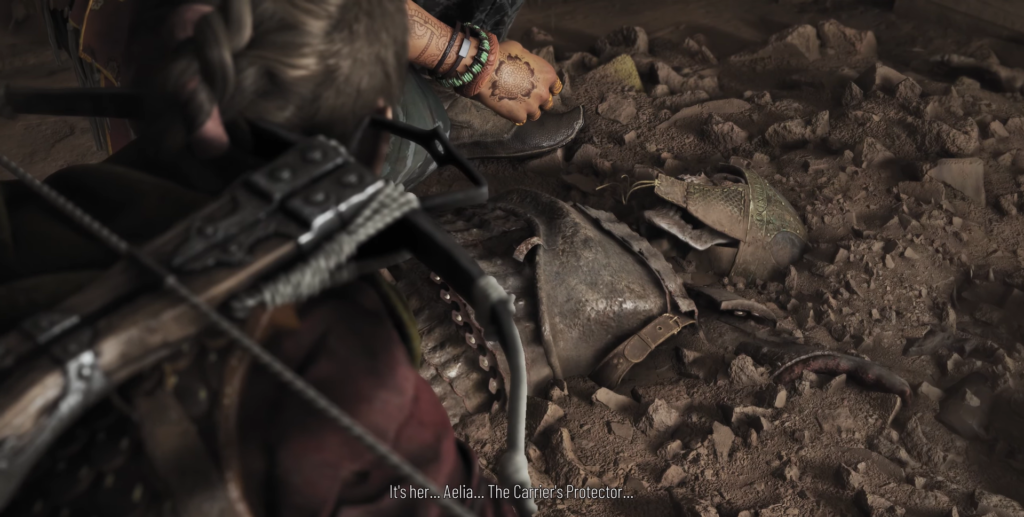
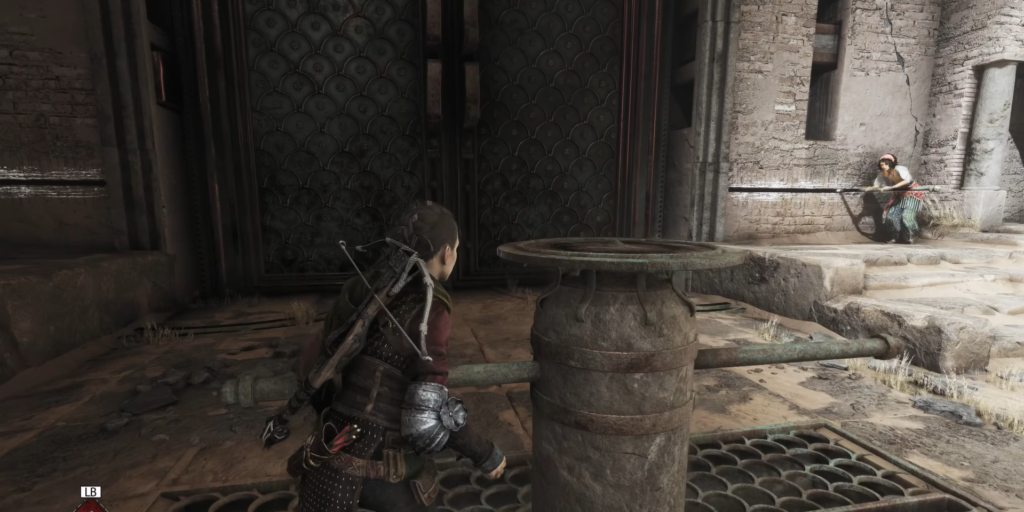
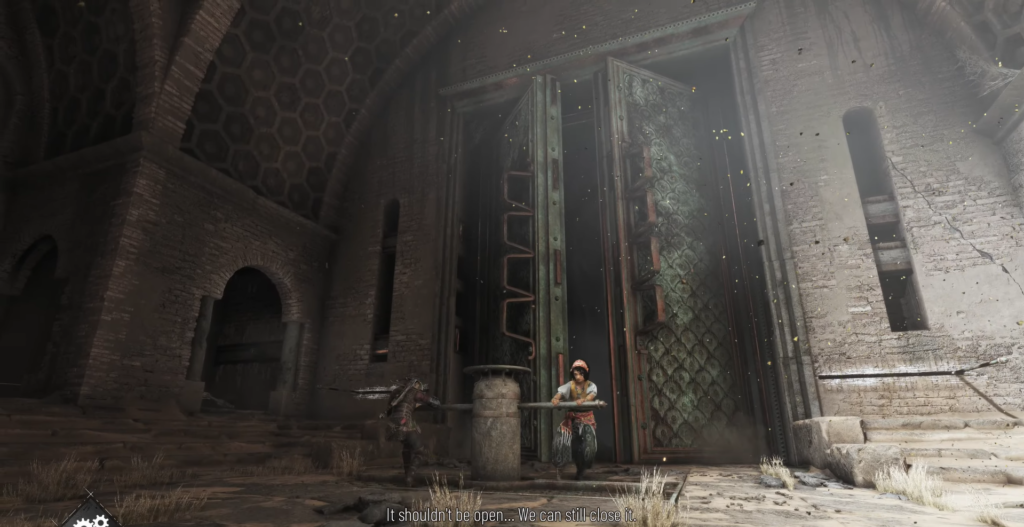
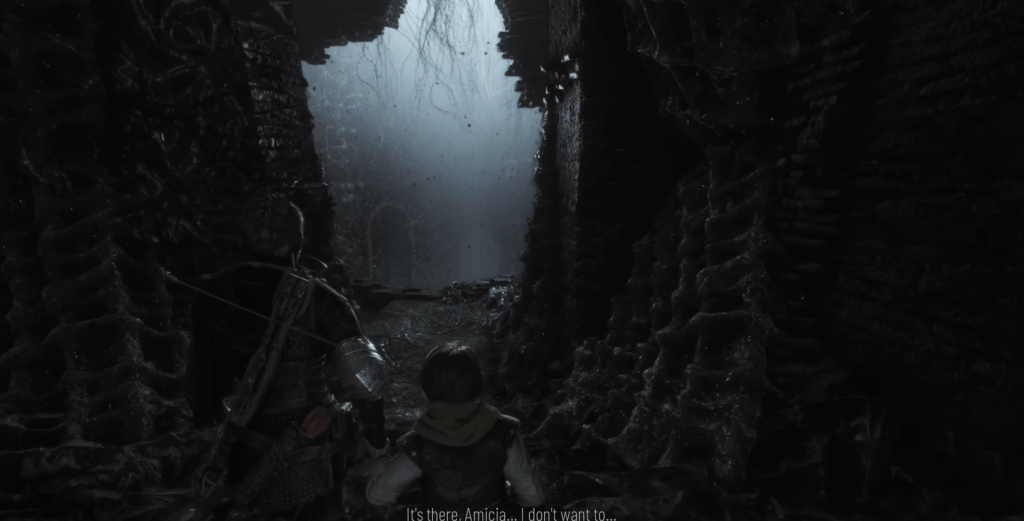
Cross the entire bridge length and open the door at the end to witness a cutscene revealing Aelia’s remains.
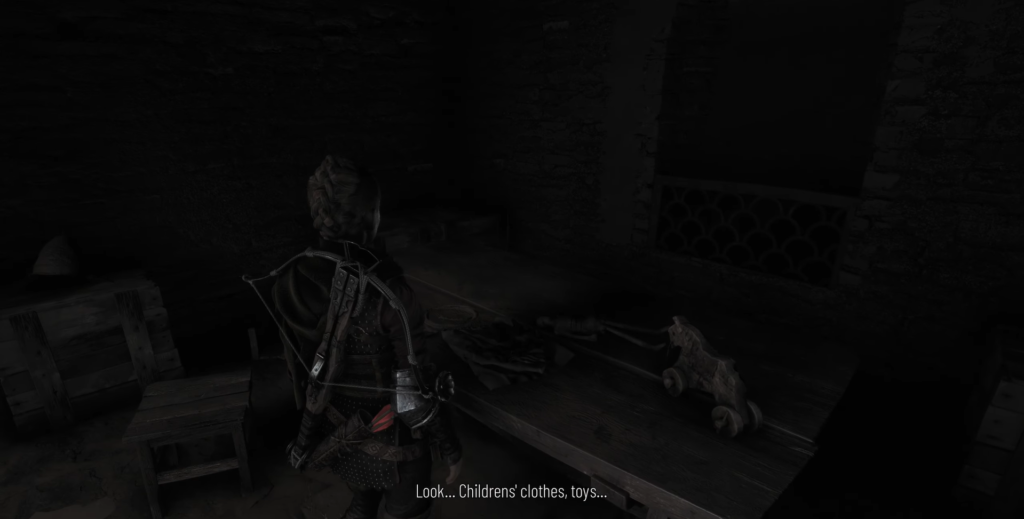
“His toys…” Souvenir
When control returns, move to the right alcove and command Hugo to crawl under the gap left of the door.
Once he opens it, inspect the items on the table to obtain the “His toys…” Souvenir.
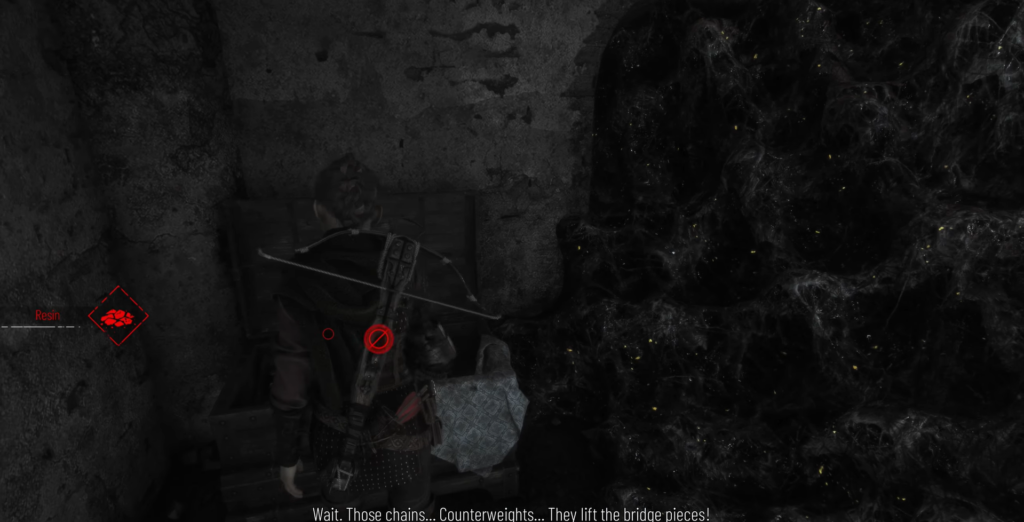
Gate Mechanism Puzzle
Direct Sophia to turn the crank in the left alcove, raising that gate and allowing you to extract the cart with the attached anchor point.
Pull it completely out, then have Sophia pull the bar on the large door’s left side. Attach the anchor point cart to the left lever, keeping it permanently engaged.
Next, have Sophia pull the bar on the door’s right side, then direct Hugo to pull the lever behind Sophia to fully unlock the door. Keep Hugo on the lever while instructing Sophia to release and assist you in turning the crank directly before the door.
After completing this, enter and light the brazier inside.
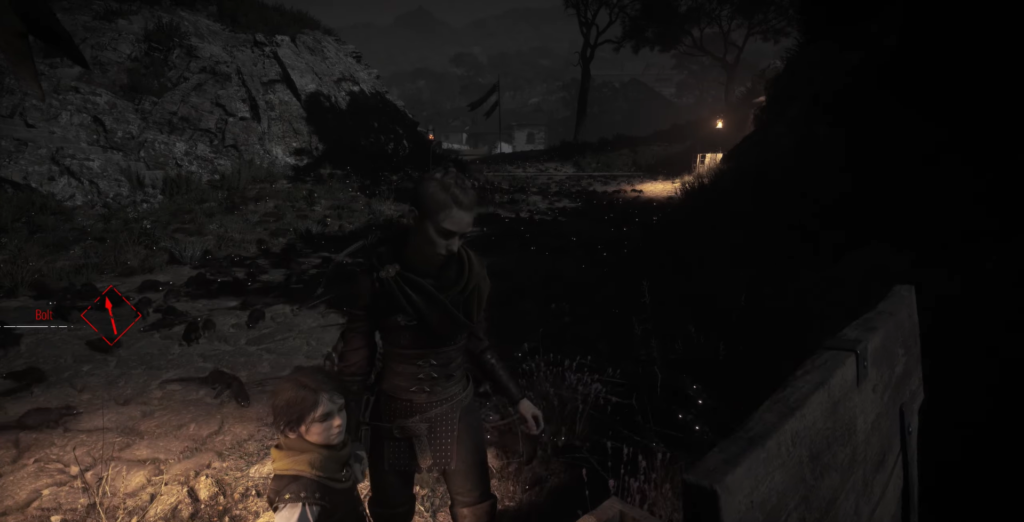
Bridge Section and Descent
Proceed down the entire corridor and use your Sling to break the chain securing the rod on the left side.
This raises most of the bridge structure. Cross as far as possible, then drop off the left side to trigger a cutscene where Amicia falls as rats appear.
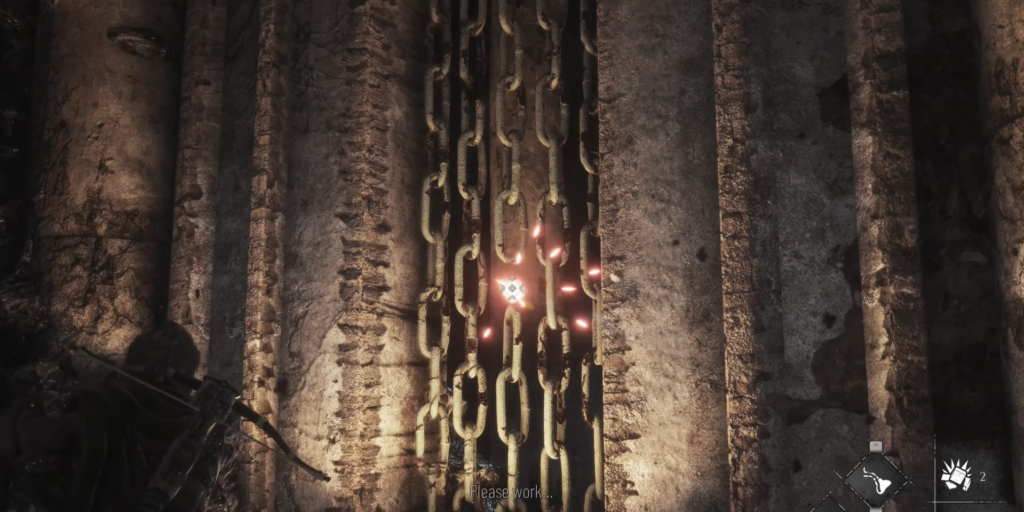
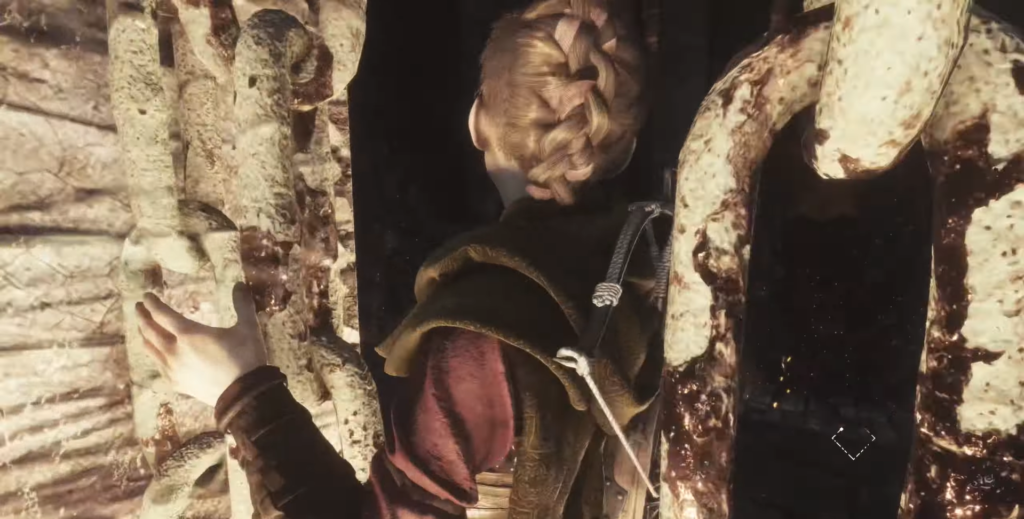
When you regain control, run forward and ascend the ladder. Slip through the chains to find a chest in the back left corner, then squeeze back through the furthest chains after breaking the link with your Sling.
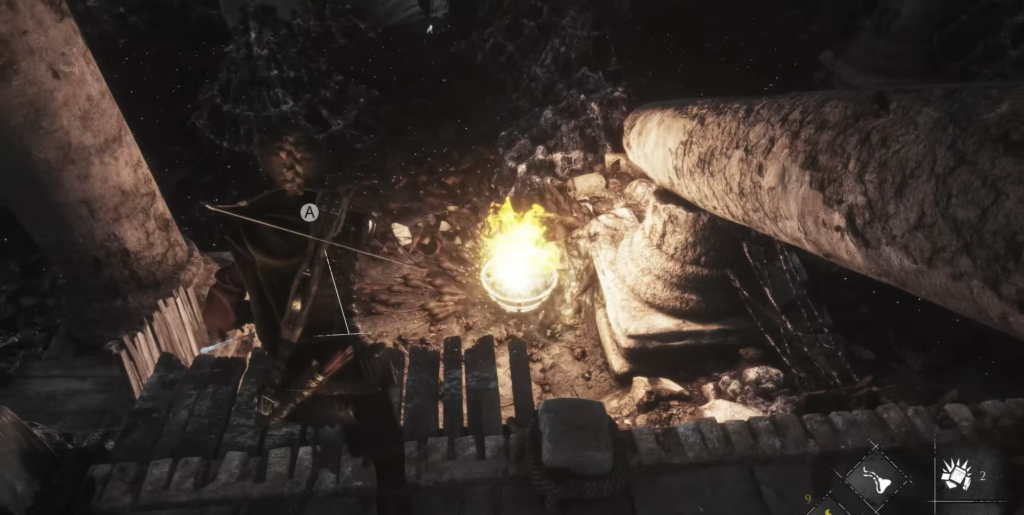
Throw an Ignifier on the brazier below, drop down, and fire an Ignifier bolt onto the wooden plank ahead (near the stick bundle).
Apply tar to that fire for safe crossing, grab a stick from the bundle, ignite it, and quickly move left to light the pedestal brazier and loot the right-side chest.
Climb up twice, loot the chest, and turn left to squeeze through chains where you’ll find an Episanguis deposit, Pyrite, and Pieces. On the opposite side, destroy the chain link with your Sling, squeeze through, turn left, and slip through another chain set to find a locked Workbench containing a Tool, Pieces, and a Pot.
Final Cart Sequence
When prepared, throw an Ignifier onto the cart’s brazier below you, drop down, and start pushing. As the path ends, climb up to your right, then throw an Ignifier on the brazier ahead, followed by tar.
Cross to it where Sophia and Hugo will push down a copper container with greek fire for your use. Use the nearby anchor point to pull the container down, then throw an Ignifier to explode the obstruction.
Use more tar to return to the cart and continue pushing. Approaching the end, you’ll spot a large chest to the left. Stop the cart just before the final large pillar on the left, apply tar to the fire to reach the chest and collect the Tool, Pieces, and additional materials inside.
Return to the cart, push it against the wall, then ascend the ladder to rejoin your companions. Follow the route up the ladder, through the right doorway, and down the corridor. Upon reaching the large circular chamber, descend all the stairs and vault at the end, shortly after beginning to carry Hugo.
Chapter Conclusion
The cutscene reveals Basilius chained and deceased, this location as the Justinian Plague’s origin point, and an enormous rat swarm about to emerge.
An extended running sequence begins. Follow the path, vaulting and squeezing through gaps as prompted. Nearing the outside, the perspective shifts to running toward the camera. Vault up at the bridge’s end, and shortly after, a cutscene begins, concluding the chapter.
Published
Modified
nikreg1607
Nik Reg
Game Guide Author & Barista
Barista by day and a gamer by night. While mastering the art of brewing the perfect espresso, he also spends his time exploring virtual worlds, testing strategies, and figuring out the most efficient ways to overcome tough moments in games. He enjoys breaking down game mechanics, discovering hidden tricks, and sharing helpful tips with other players.


Comments (0)
Sign In / Sign Up
Sign in to leave a comment.
No comments yet
Be the first one to share your thoughts!