
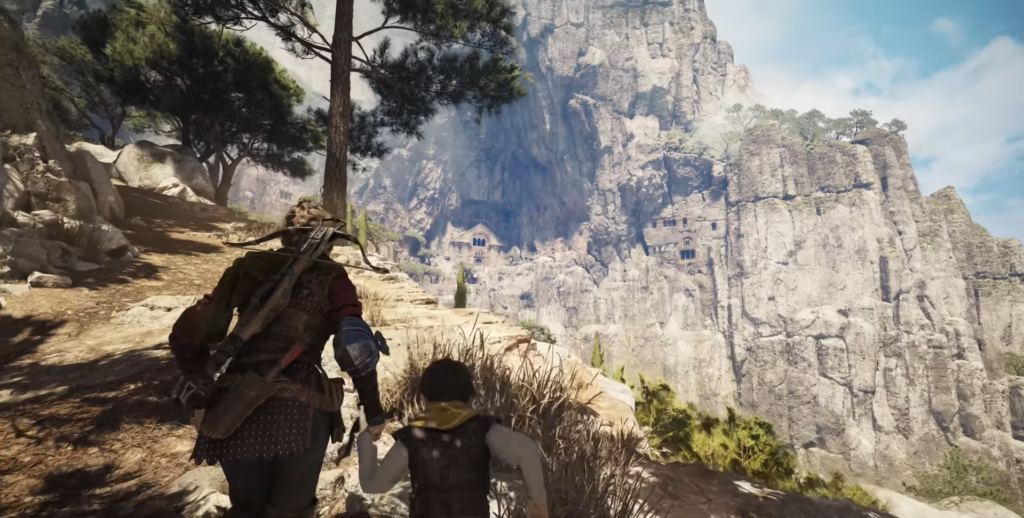
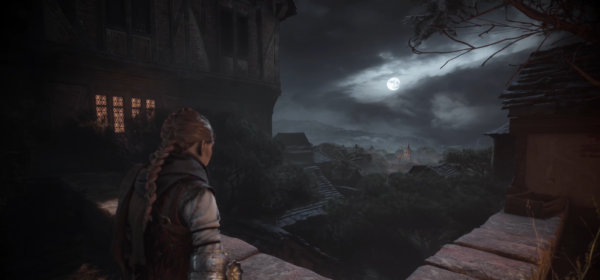
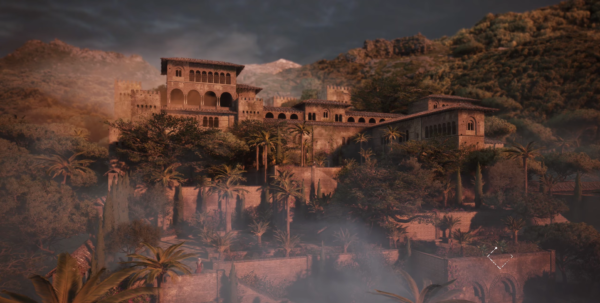
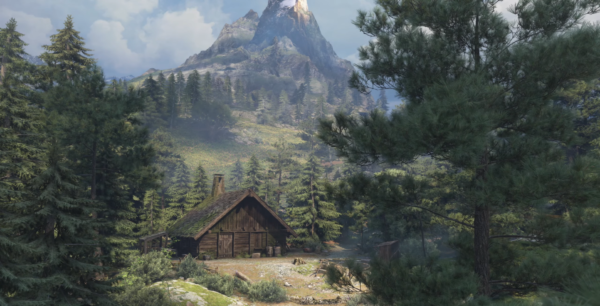
After resting, Amicia and Hugo gain full freedom to explore the palace grounds and surrounding areas. This expansive location ranks as the largest in the game, so we’ll prioritize collectibles before advancing the main storyline.
Getting Started in the Valley
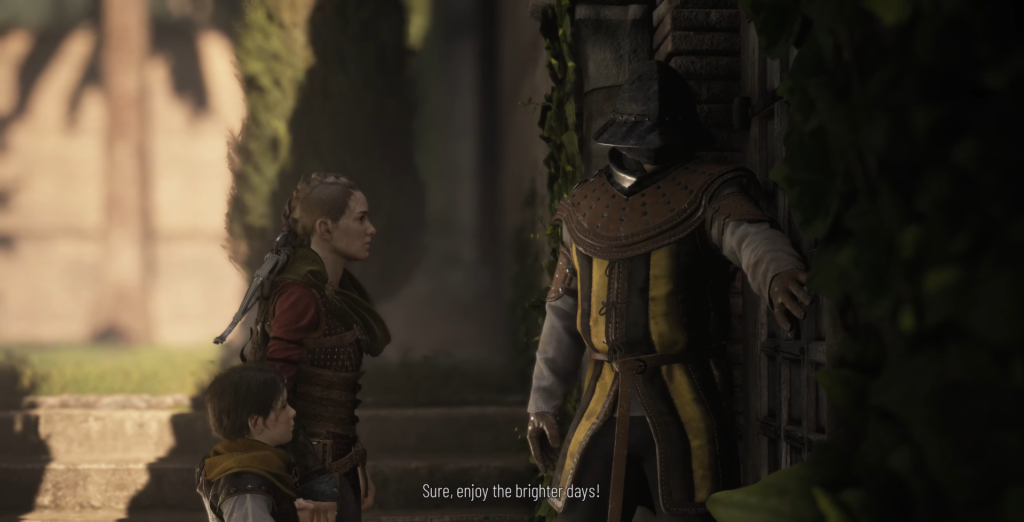
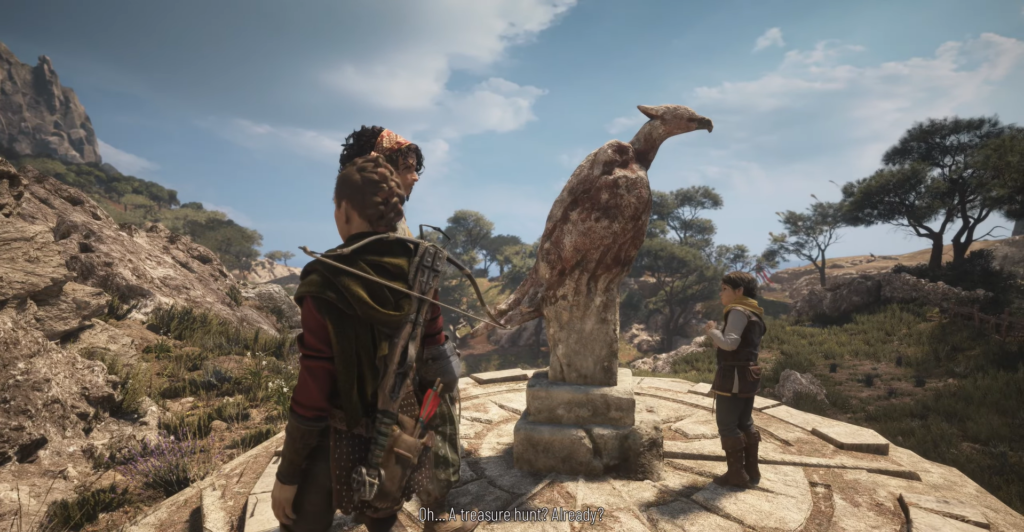
Exit the palace and follow the garden pathways until you reach a guard at the door. Speak with him to access the valley. Following the cutscene with Sophia, descend the staircase. Hugo will run toward a bird statue ahead, marking your primary objective. However, let’s secure a secret chest and memory first.
First Secret Chest and Memory
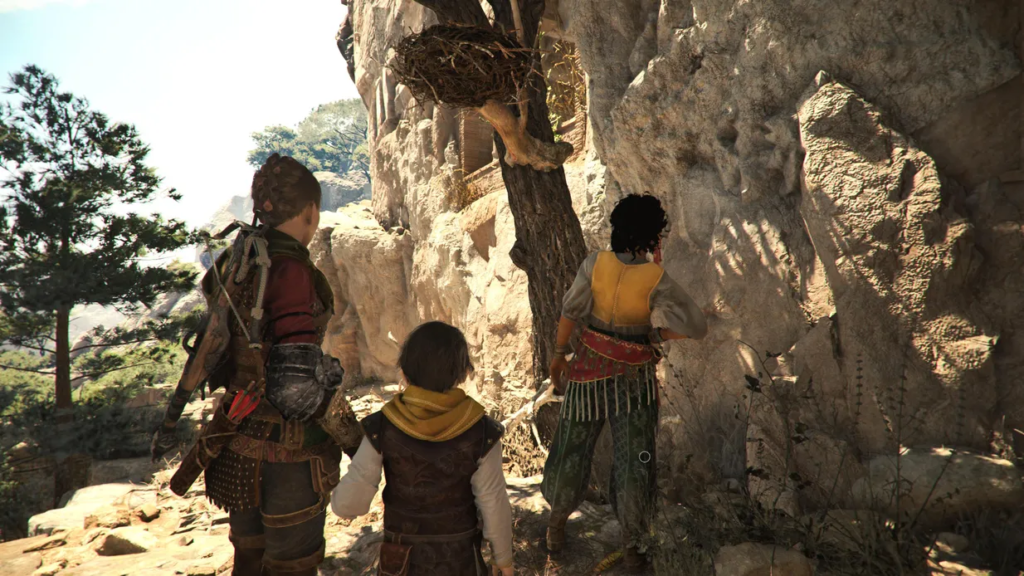
Once you’re with Sophia, you’ll receive instructions to follow the bird statues. At the first statue, look down and to the left to spot the expansive valley below. Follow the river downstream until you discover a tower.
To enter, shoot the latch through the window to unlock the door. Climb to the top floor to claim the secret chest. One level higher, you can observe the valley to gain a clue about the memory interaction.
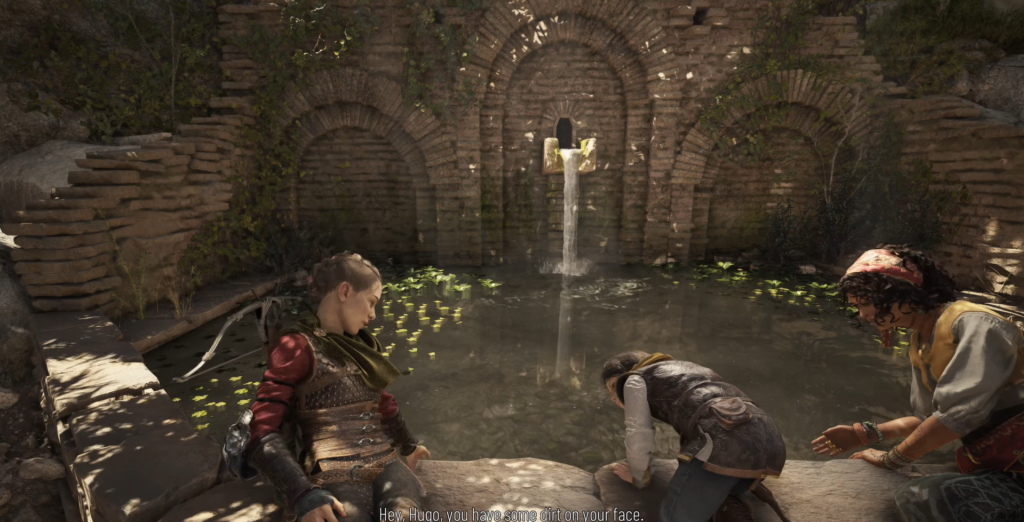
Return to the initial bird statue and turn right this time, passing by a house. As you approach the next house where a man works on the roof, a woman will call out announcing dinner is ready. To the right, a path leads to an ancient tree you can interact with to unlock the memory.
Bug Warning: Hugo may stop midway and interrupt the conversation. If this occurs, close and fully restart the game.
Navigating to the Theater
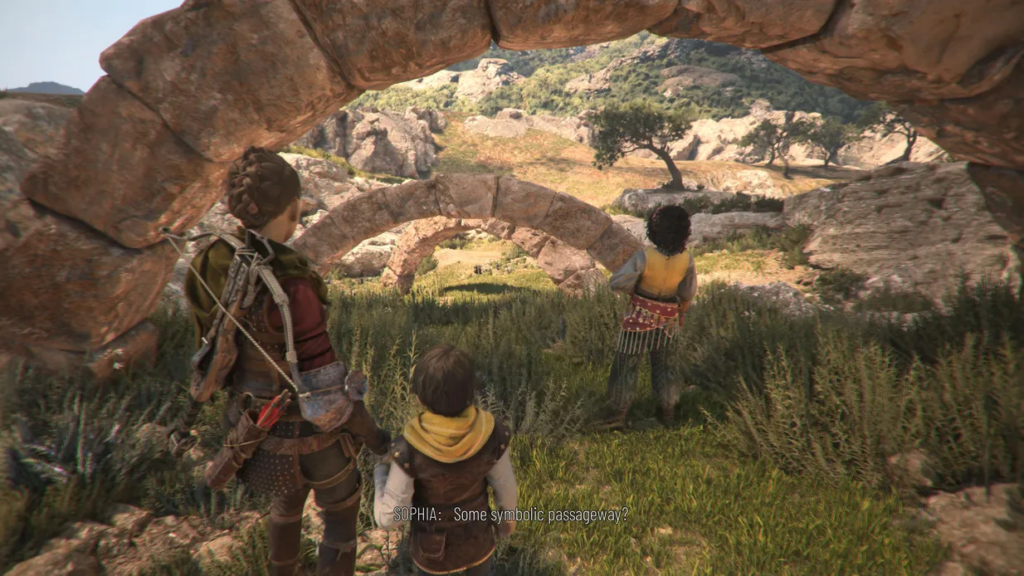
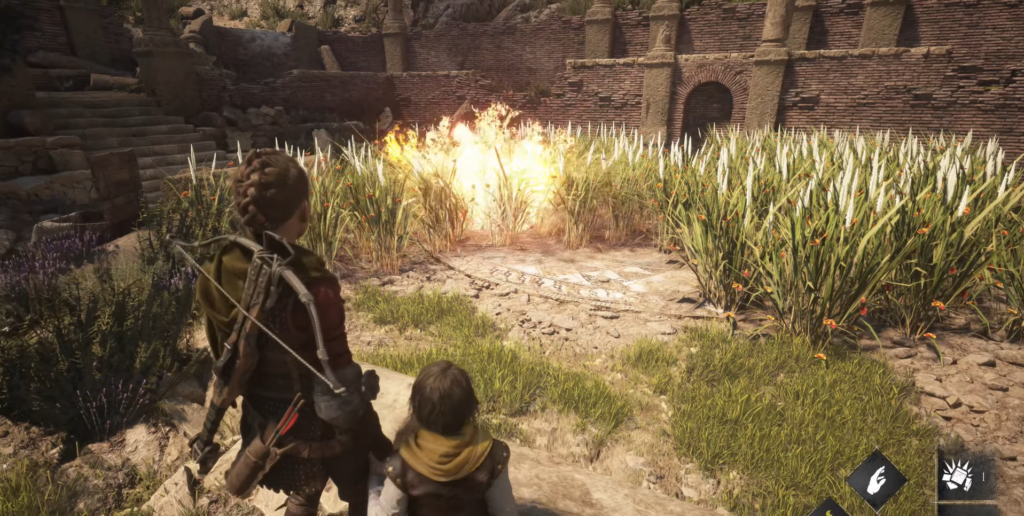
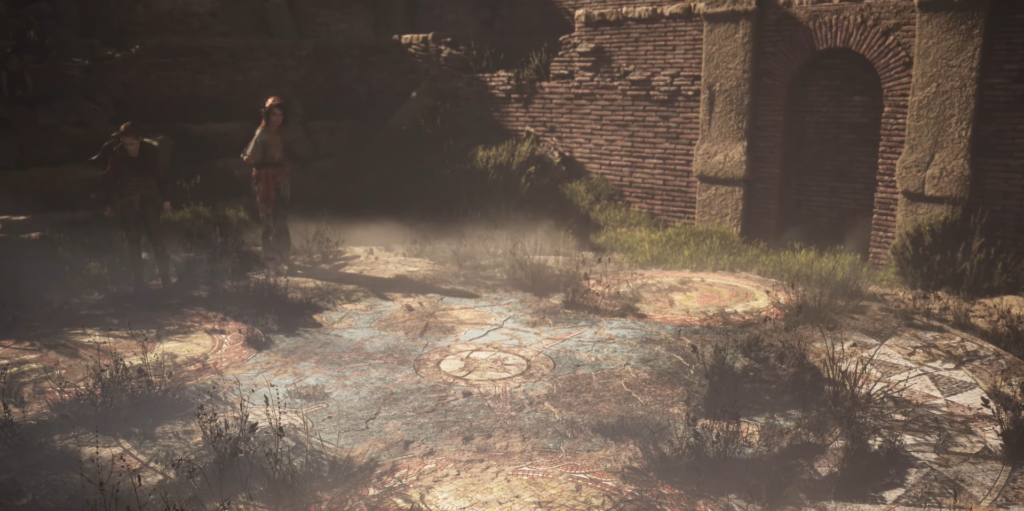
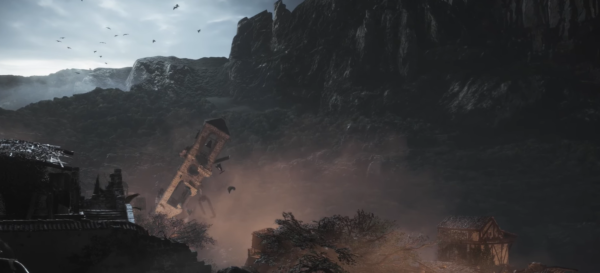
Continue along the path, cross the bridge, and keep following the bird statues. Eventually, stone arches will tower above the location. Reach them by moving a wooden beam that blocks a gap in the wall. Drop into the theater and ignite the tall grass to reveal a map on the ground.
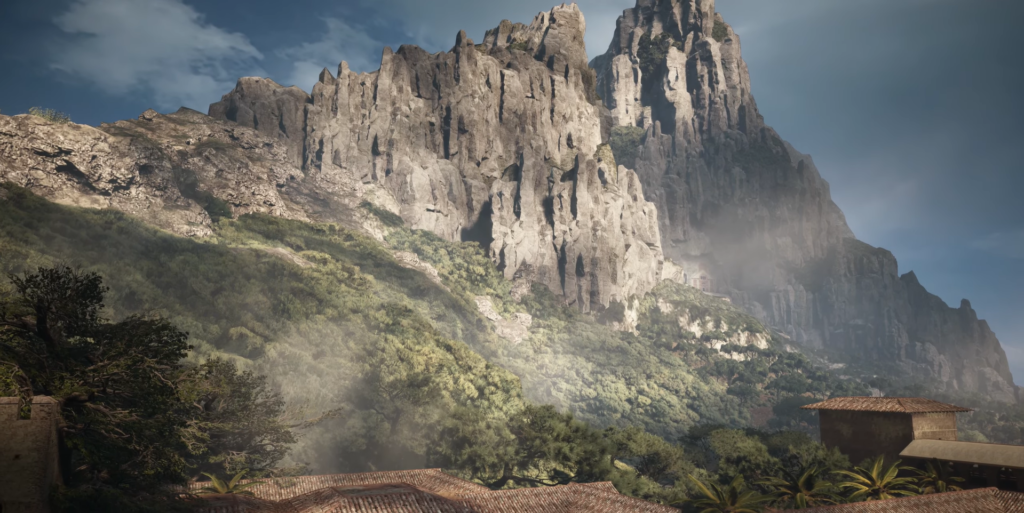
Journey to the Mountain Sanctuary
Your destination is the structure built into the mountains. Leave the theater and cross the bridge on the right side to reach the valley’s opposite end. Follow the sandy paths upward. Once you pass through locked gates, the large valley will be behind you as you take a direct route to the sanctuary.
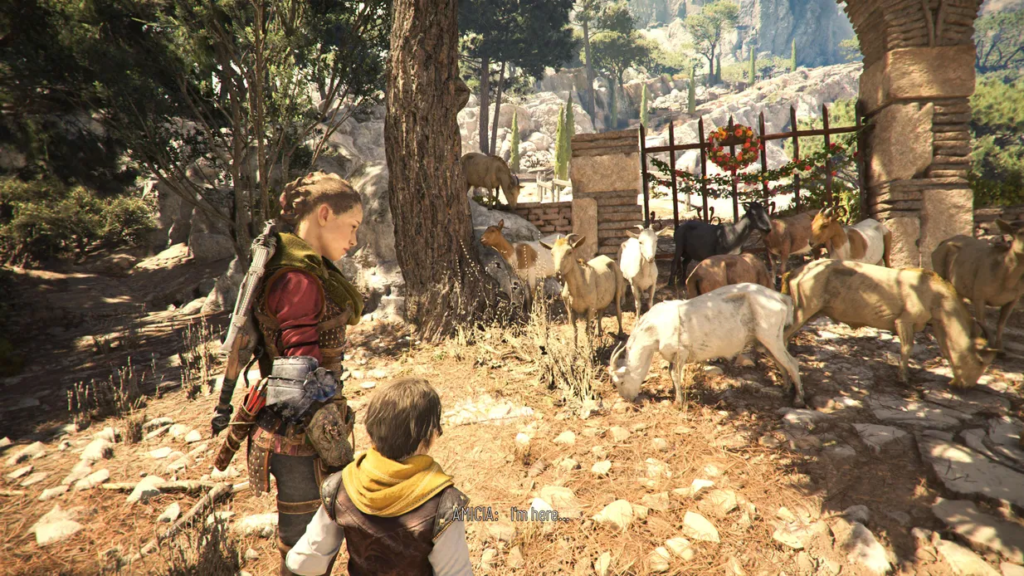
Continue ascending until you reach a spring. Drink from it, then encounter a goat herd blocking the road—this presents another memory opportunity.
The Missing Goat Memory

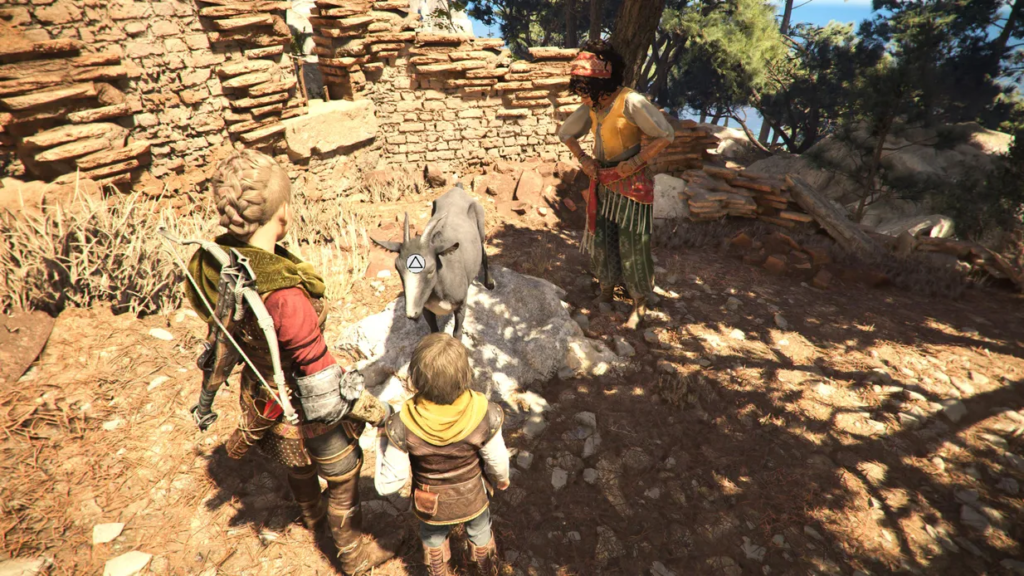
The shepherd requests help finding his missing goat before you can proceed. Head up the trail to find a small ruined fort on the left, where you’ll hear the goat bleating. To the right of the locked door, burn the hay to reveal an opening for Hugo. Have him crawl through to unlock the door from inside. Interact with the goat to obtain the memory.
Second Secret Chest

After obtaining the memory, head toward the sanctuary. Immediately after climbing the ledge past the previous memory, you’ll see the sanctuary again and hear a soldier’s voice. Stop and turn around to spot another ledge you can climb. Scale it to open another chest.
Stealth Section
Return to the main trail where several guards patrol ahead. As island guests, you cannot kill them and must avoid detection—discovery results in instant failure. Stealth becomes crucial here, though Sophia’s new prism ability helps considerably. She can direct sunlight onto tall grass to ignite it, creating temporary distractions.
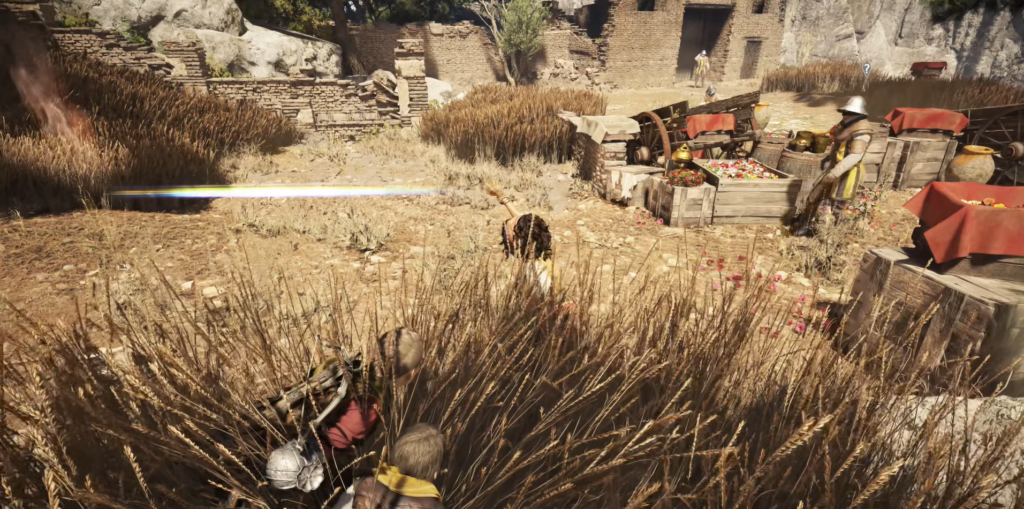
Use the prism strategically to reach the building ahead. If you have resources, interact with the workbench, then proceed along the wall. Climb the steps into the ruins where more guards appear. Continue hiding in tall grass and using Sophia’s prism when necessary.
Keep ascending the hill while exploring the ruined tower. At its summit, you’ll find a barn owl feather.
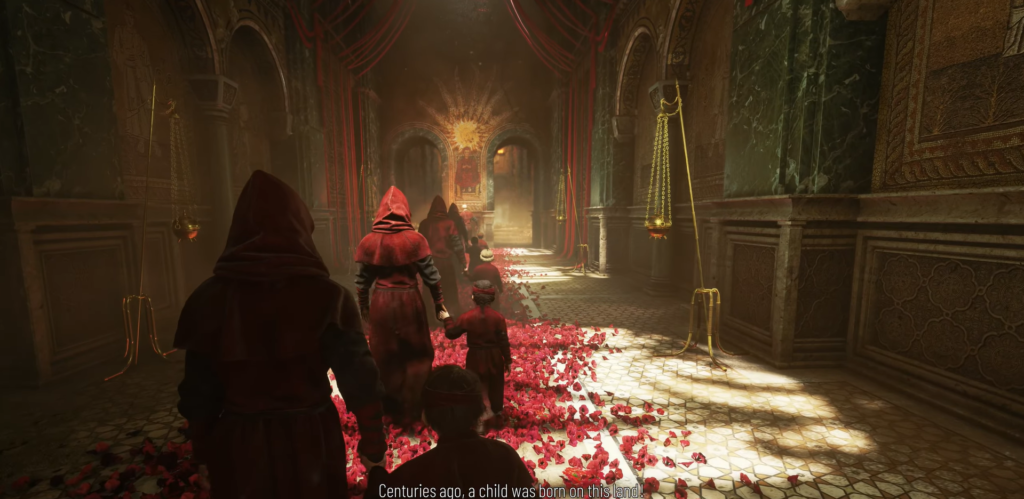
The Sanctuary Ritual

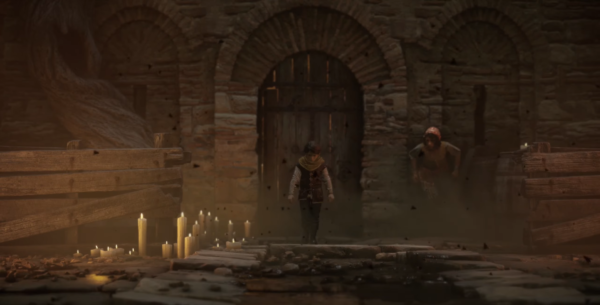
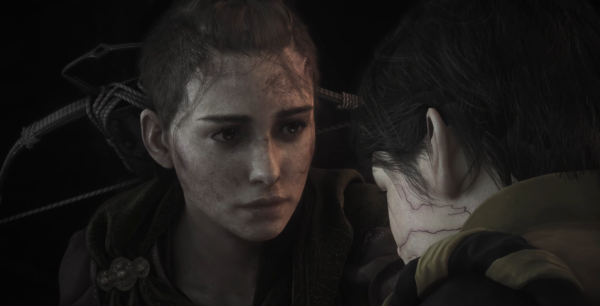
Drop down and pass through the tall grass to trigger a cutscene. Once dressed like the others, follow the count and countess into the sanctuary. You have no agency here, so follow everyone’s lead until you receive a torch.
Wade through the water ahead and pass through the waterfall. On the opposite side, a large bonfire awaits. Sophia will rescue you and suggest taking an alternate corridor.
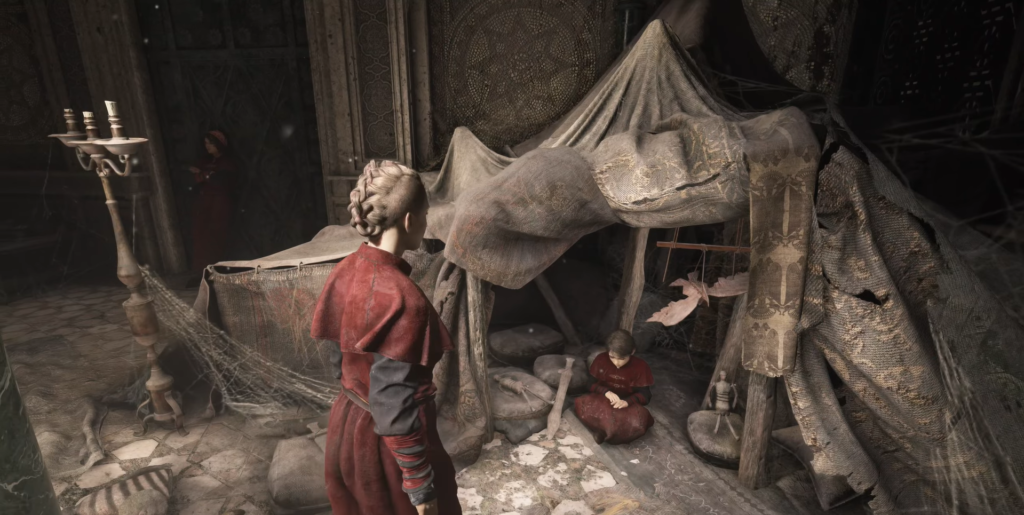
The Sacred Rooms Achievement
Pass through the door at the hall’s end and enter the garden for another cutscene. Opening the door grants access to the sacred rooms. Interact with every object here to unlock an achievement.
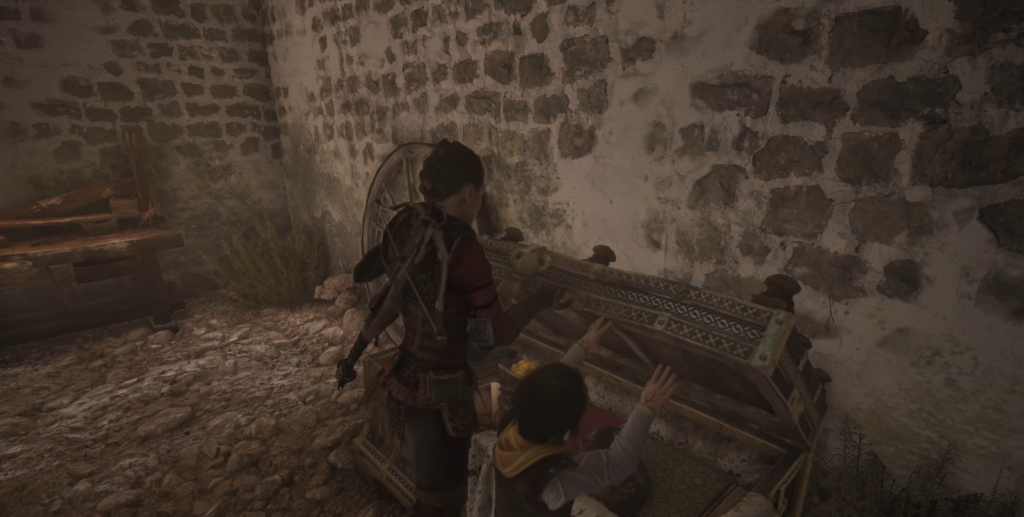
First room: Wooden house, bed, and dolls
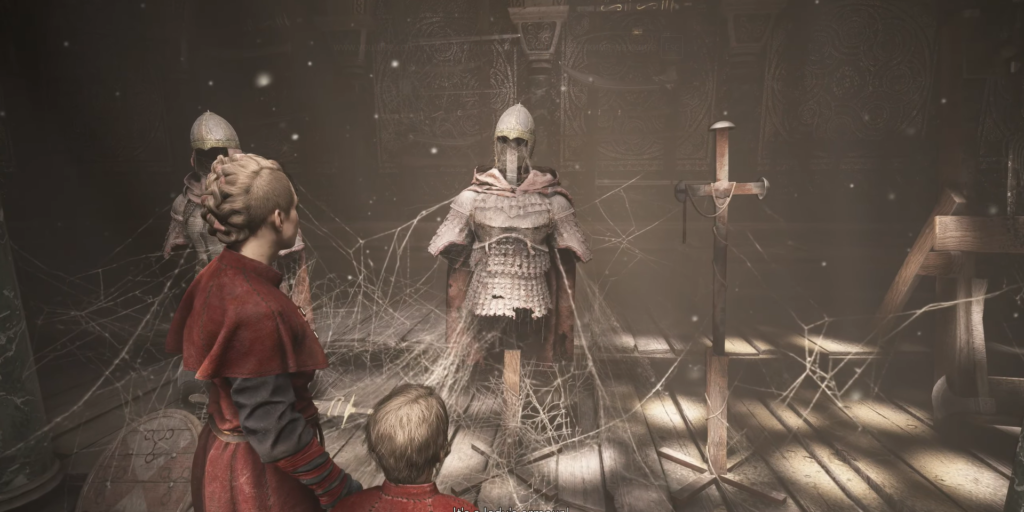
Second room: Armor, toy box, weapon rack, and drawings on a chest
Laboratory: Athanor, two potions, tools, and kitchen equipment
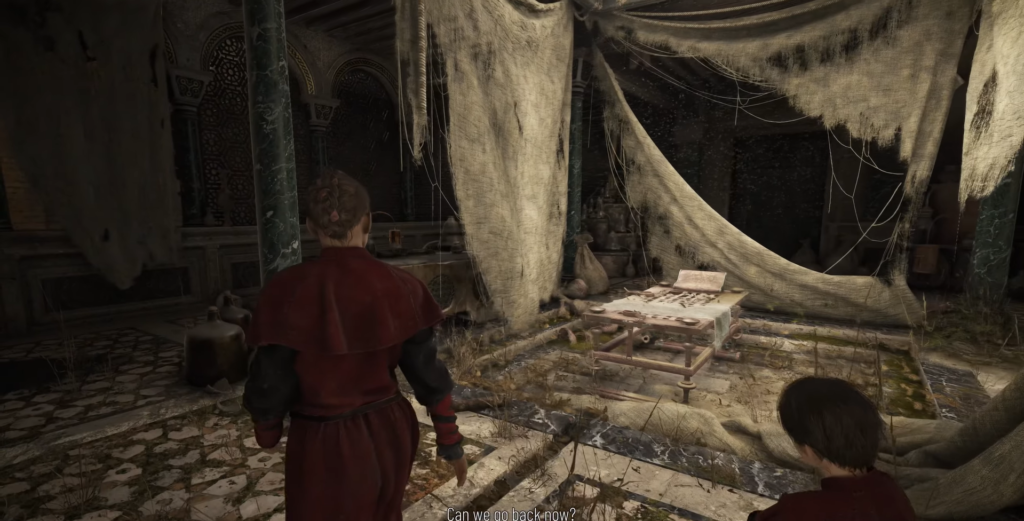
Upper room: Scrolls in the far left corner
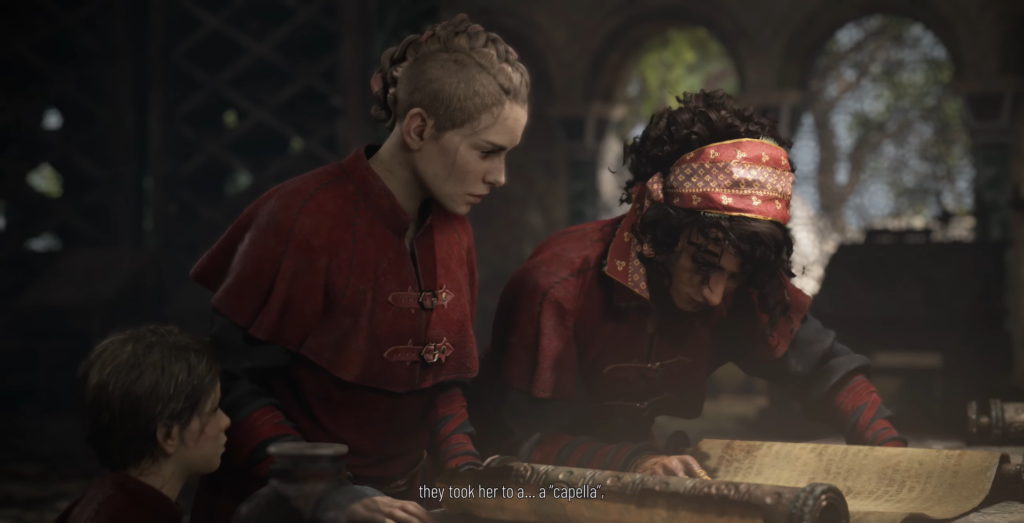
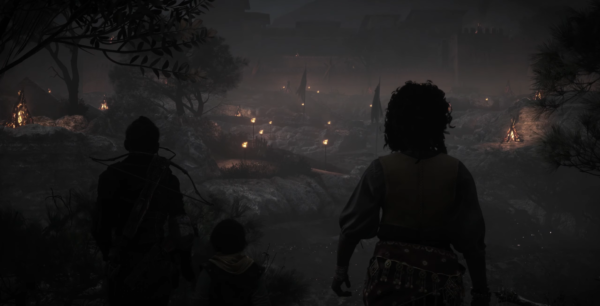
Following the cutscene revealing more about the previous Macula carrier, you agree to leave as the count and countess enter the room. Move stealthily through the chamber by maintaining a straight path, vaulting over obstacles, sliding under barriers, and crouching when needed. Continue descending until you reach and enter the sewer tunnel.
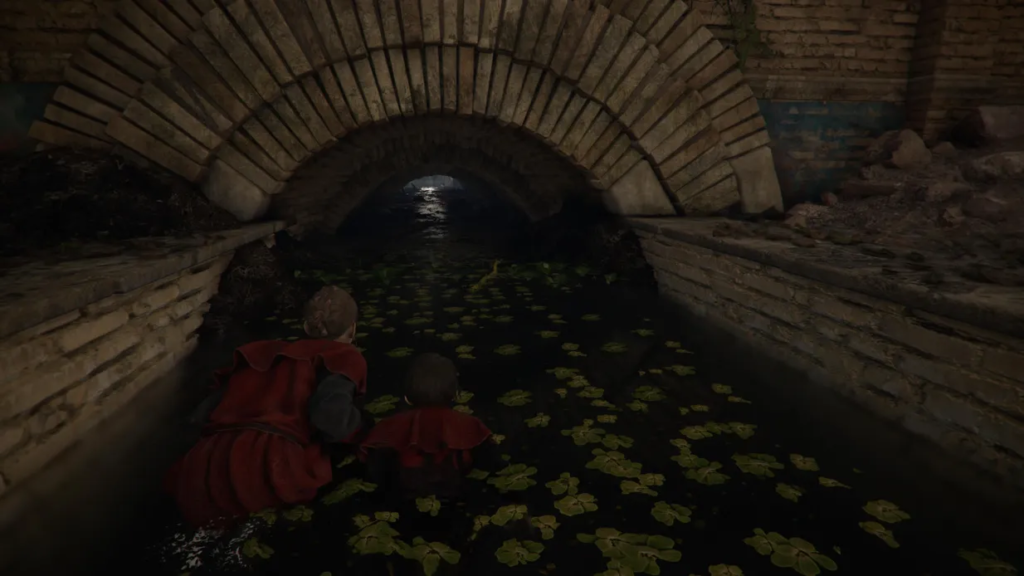
As you navigate through the sewers and emerge outside, a brief cutscene plays, concluding the chapter.


Comments (0)
Sign In / Sign Up
Sign in to leave a comment.
No comments yet
Be the first one to share your thoughts!