
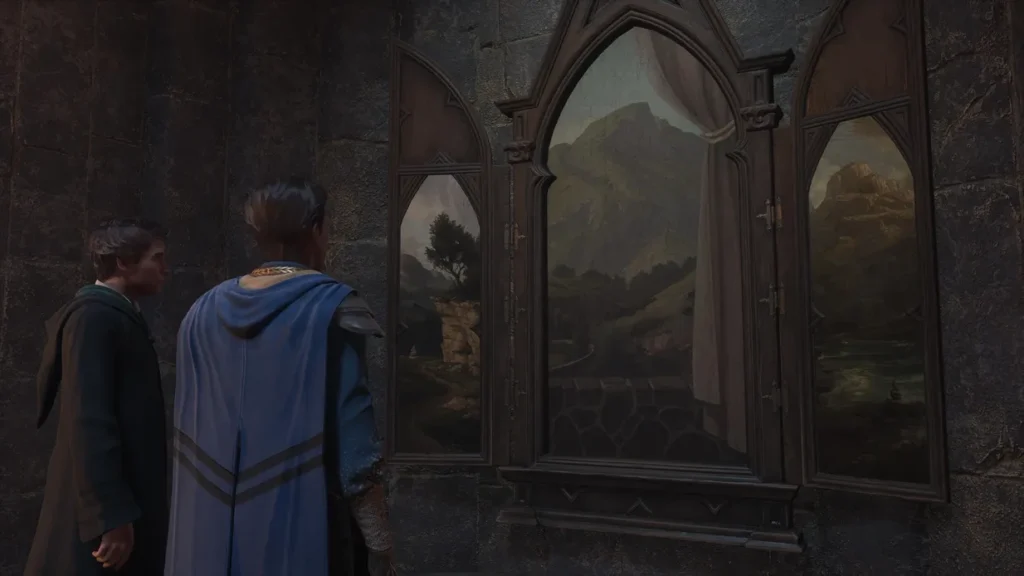
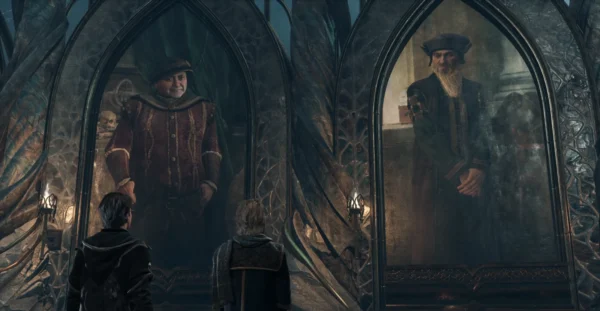
This quest will send you and Sebastian on a search for the last fragment of the triptych from the Secret Room. The goal is to learn more about Isidora’s magical abilities.
Meeting with Sebastian

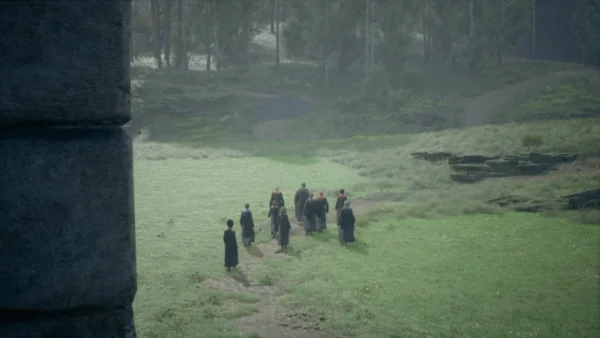
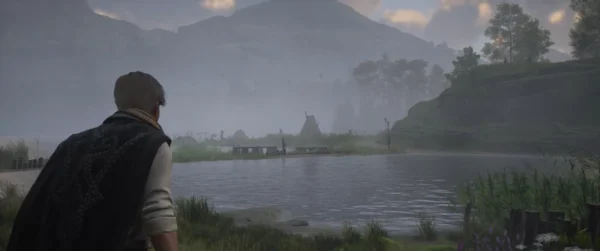
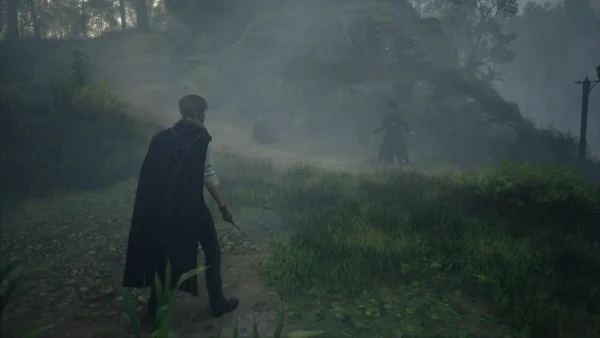
Head to the northwest coast of Lake Marunwim, where Sebastian is waiting for you. He will tell you that Ranrock’s loyalists have discovered another cave nearby, and you will both conclude that the last fragment of the triptych must be there.


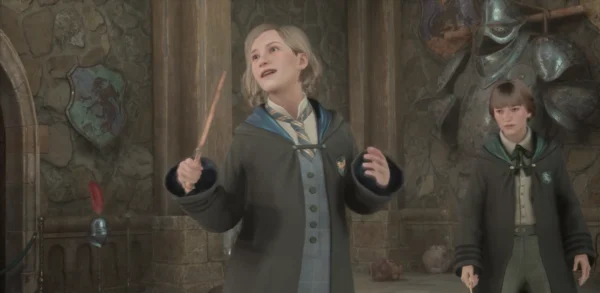
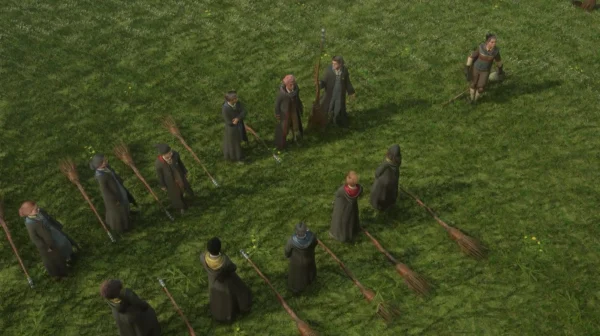
Climb the winding roads up the hillside. At the entrance to the goblin camp, Sebastian will rush into battle without hesitation. Deal with your enemies in any way you see fit. After the battle, there will be a short dialogue—you will reproach your companion for his recklessness, but he will ignore your comments.

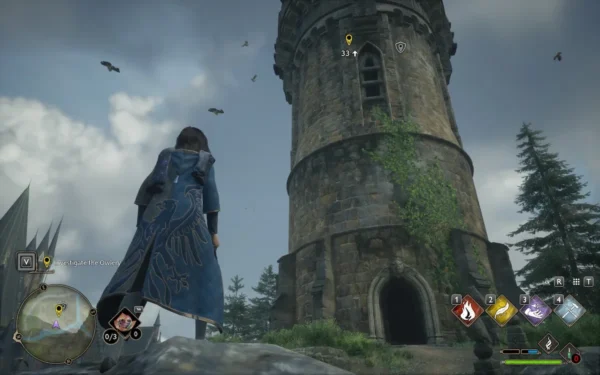
The path to the top
Continue climbing, scrambling where necessary. You will encounter several goblins along the way — eliminate them. Soon you will reach another small camp. This time, you can proceed stealthily. After eliminating all enemies, listen to Sebastian — this time you will be able to convince him to calm down and act more sensibly. Then climb the steps and enter the Tower Tunnel.
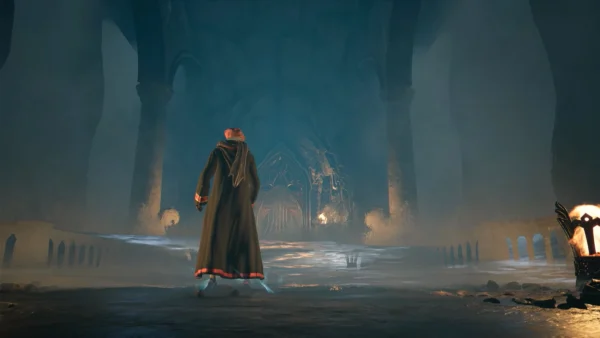
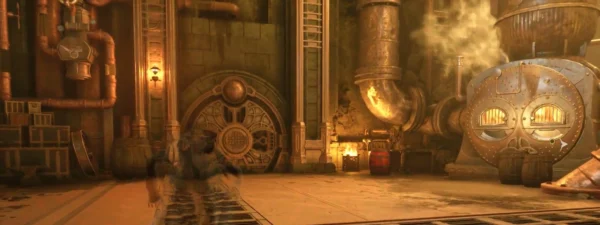
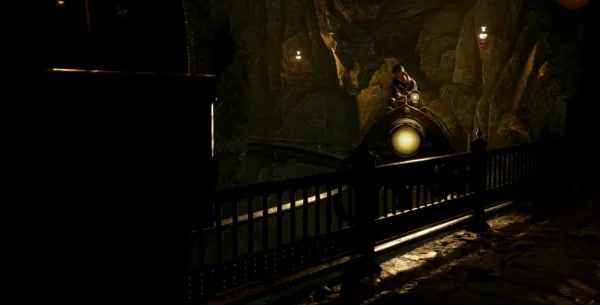
Tower tunnel
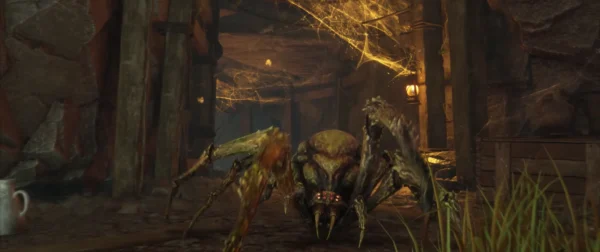
First zone: spider ambush

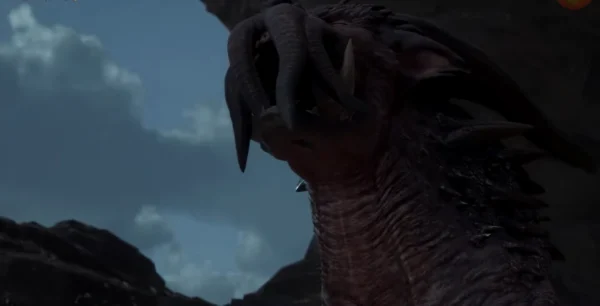
Inside the tunnel, follow the path. You will be attacked by spiny spiders, including the Matriarch. Defeat them all to clear the area.
Collectible Chest No. 1
| Step | Action |
|---|---|
| 1 | After defeating the spiders, head west through the opening. |
| 2 | Turn southwest and climb the path |
| 3 | In the northwest, two webs block the path — burn them with the Incendio or Confringo spell |
| 4 | Take the contents of the chest |
At the fork ahead (stone debris on the left), take the right path. After encountering a few more spiders, you will reach the stairs.
A spacious hall with spiders

Climb the steps, burning the cobwebs along the way. Use the Depulse spell to clear the debris. In the large room, dozens of spiders and two Matriarchs will descend from the ceiling — prepare for a serious battle.
Collectible Chest No. 2
After winning, check out the north part of the hall—you’ll see a passage covered in cobwebs. Burn them and grab the second collectible chest at the back of the room.
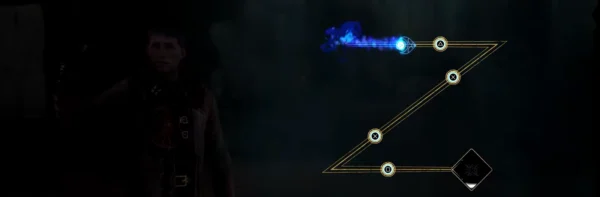
Rune Door No. 1

Climb the steps to the door with the runes. The three symbols are arranged as follows:
- To the left of the door
- To the right of the door (hidden by cobwebs — burn them first)
- Behind you, in the wall
Quickly hit all three symbols with a basic attack to open the passage. In the corridor behind the door, find a box by the wall — inside is another entry from Isadora’s diary. At the end of the corridor, there is a gaping hole — slide down into it.
Battle with a Mountain Troll

Below, you will encounter a mountain troll and several spiders. After defeating them, use Reparo on the pile of rubble on the right to restore the destroyed passage.
Puzzle with a box
In the next room, near the broken staircase, use Accio or Wingardium Leviosa to pull up the box. Place it near the staircase, cast Leviosa, and jump up.
Continue climbing, go around the room with armor on the right, and climb the small steps to enter the sunlit hall. On the right, clear the path down the slope of debris with the Depulse spell and jump over the gap.
Rune Door No. 2
Around the corner to the left is another rune door. The symbols are arranged as follows:
| Symbol | Location |
|---|---|
| First | To the left of the door behind the debris — first use Depulse |
| Second and third | Behind you, above the cliff |
Activate all three with a basic attack in quick succession.
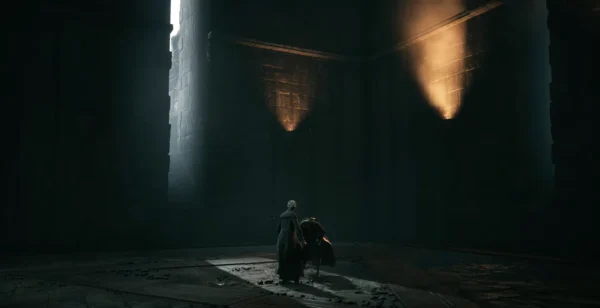
Isidora’s database
Behind the door is a shelter that Isidora has set up for herself. There are ledges on the right—go up to the second floor and take the last fragment of the triptych from the table.
Use the enchanted stone wall nearby to instantly teleport to the Secret Room.
Completion of the quest
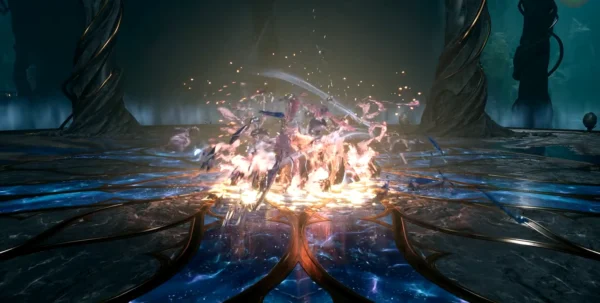
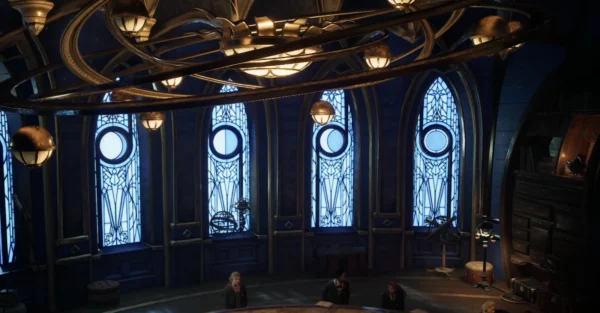
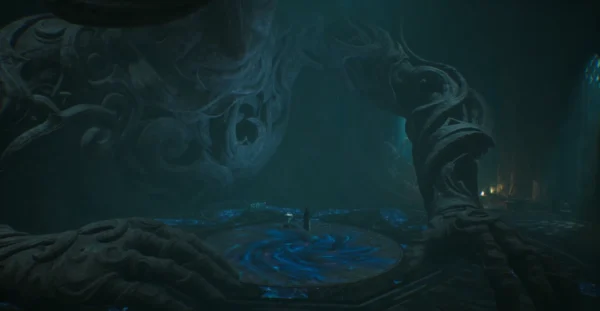
Return to the Secret Room and place the last piece of the triptych on the wall. Isidora’s secret Memory Pool will open.
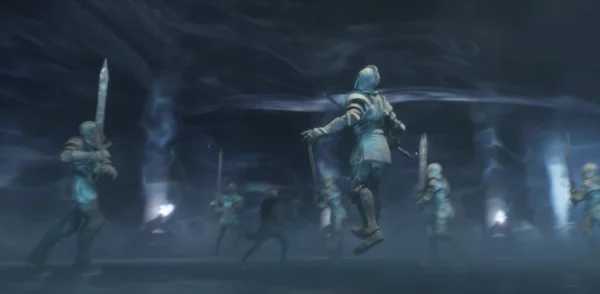
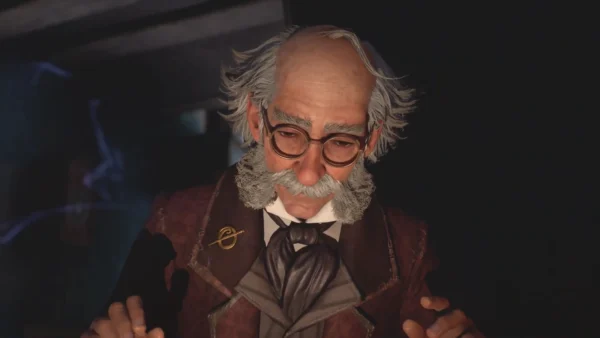
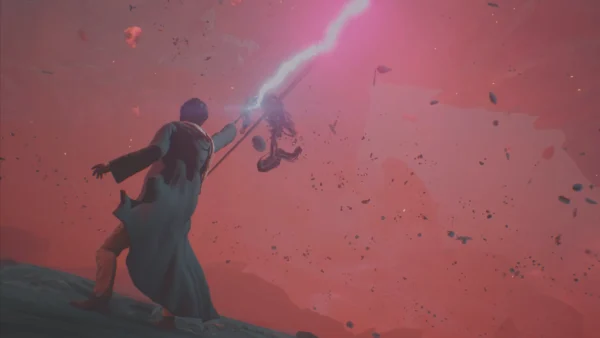
You will see the familiar memory of her extracting pain from her father. However, now there is a new detail: after the others leave, the goblin Bragbor arrives. He helps Isidora safely store the extracted pain and magic until they are needed.
Coming out of his recollection, Sebastian is convinced that this is how you can save his sister Ann. Despite doubts about your own abilities and the Guardians’ willingness to teach you these methods, you agree to keep an open mind and consider the idea.


Comments (0)
Sign In / Sign Up
Sign in to leave a comment.
No comments yet
Be the first one to share your thoughts!