
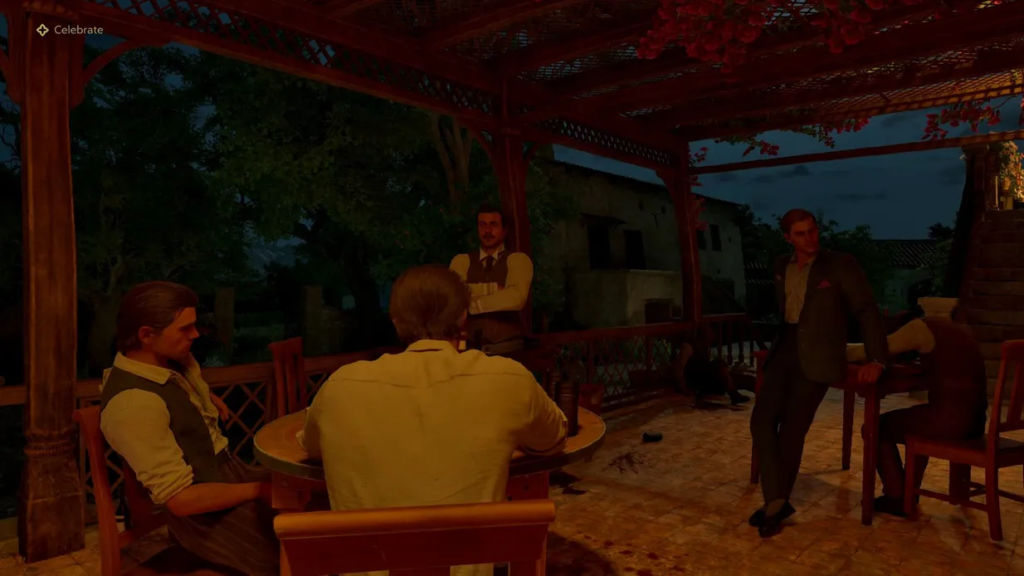
Starting the Mission
Enter the house and head to the room on your right to locate the “Police Operation” newspaper collectible. Make your way to the second floor where you’ll find the “Wave of Anarchy” newspaper on a nightstand near the open balcony.
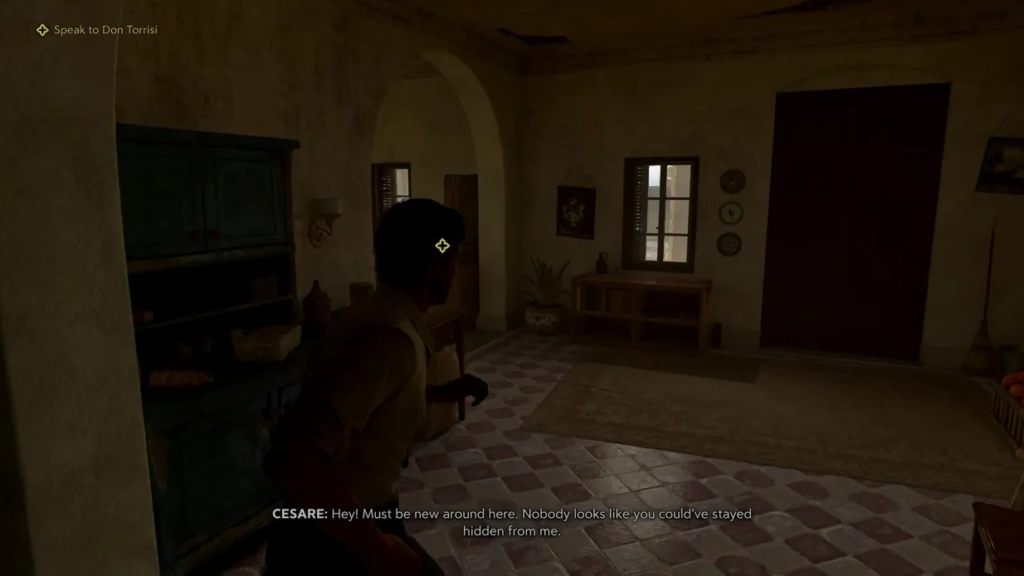
Meeting the Don and Visiting Valerio’s Workshop
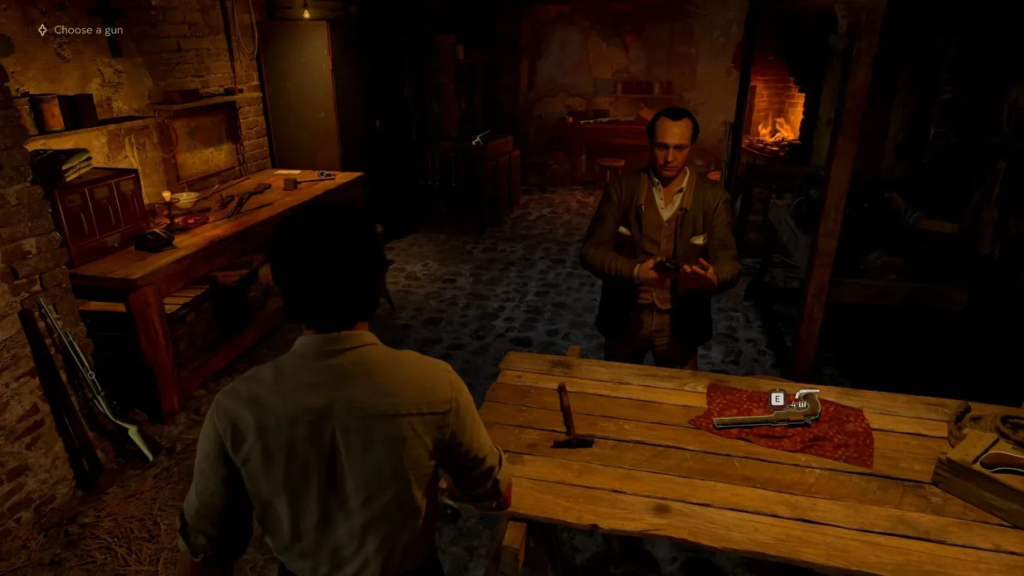
Follow the mission objectives to visit the don, then accompany Luca to Valerio’s workshop. Examine all available weapons displayed in the workshop, then select any two firearms of your choice and speak with Valerio. This interaction unlocks the weapon locker where you can purchase new knives and firearms throughout your playthrough.
Preparing for the Villa Infiltration
When you exit the workshop, Isabella will greet you outside. Accept her request to help carry a crate—completing this optional interaction is recommended. Next, visit the garage and choose from the available vehicles, or purchase a new one if you prefer.

The Journey to Ludovisi’s Villa
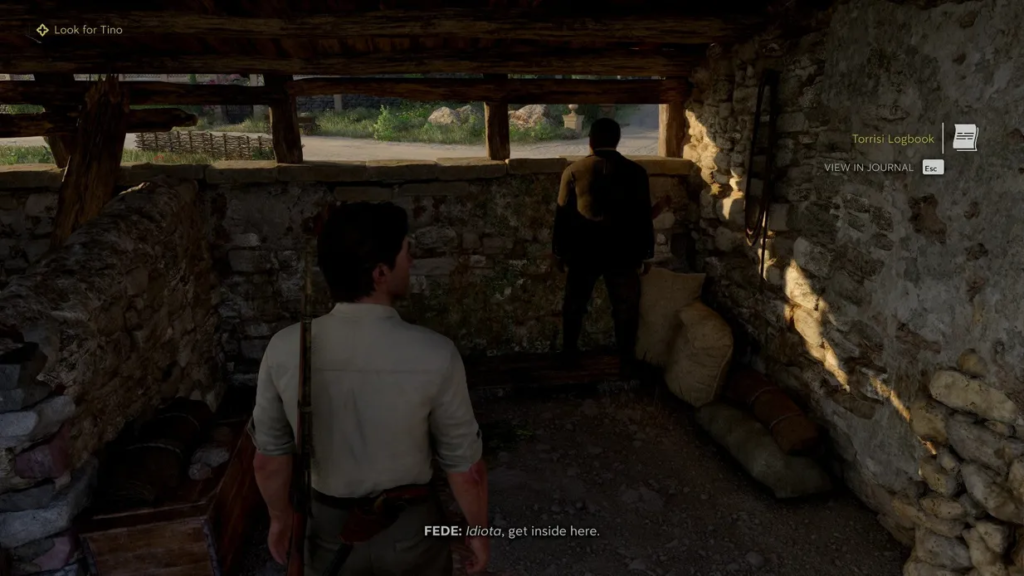
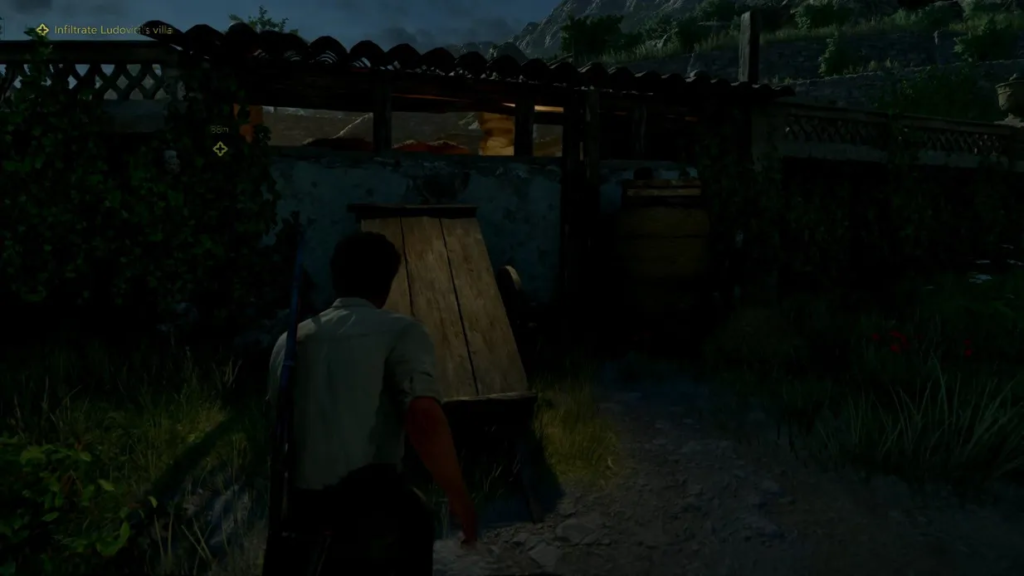
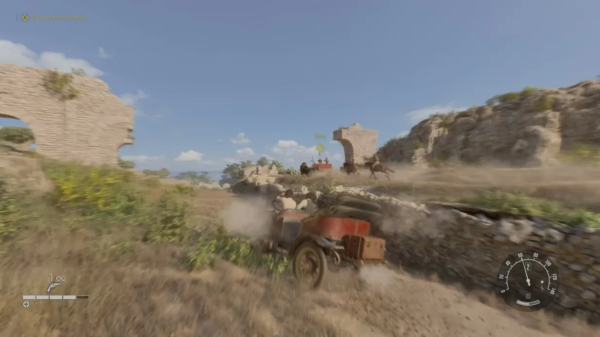
Leave the estate grounds and drive toward the mission marker. You have the option to skip the driving sequence if desired. Upon arrival, Tony’s men will meet you at the location. Pick up the “Torrisi Surveillance Journal” note lying nearby, then examine the villa using the designated interaction point.
Infiltrating the Villa
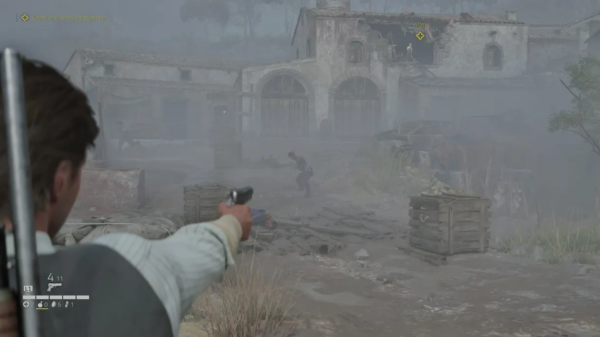
After the cutscene concludes, you must penetrate the grounds of Ludovisi’s villa. Three entry routes are available:
- The central gate
- A locked side gate on the left
- A pathway leading up on the right side
First Courtyard Area
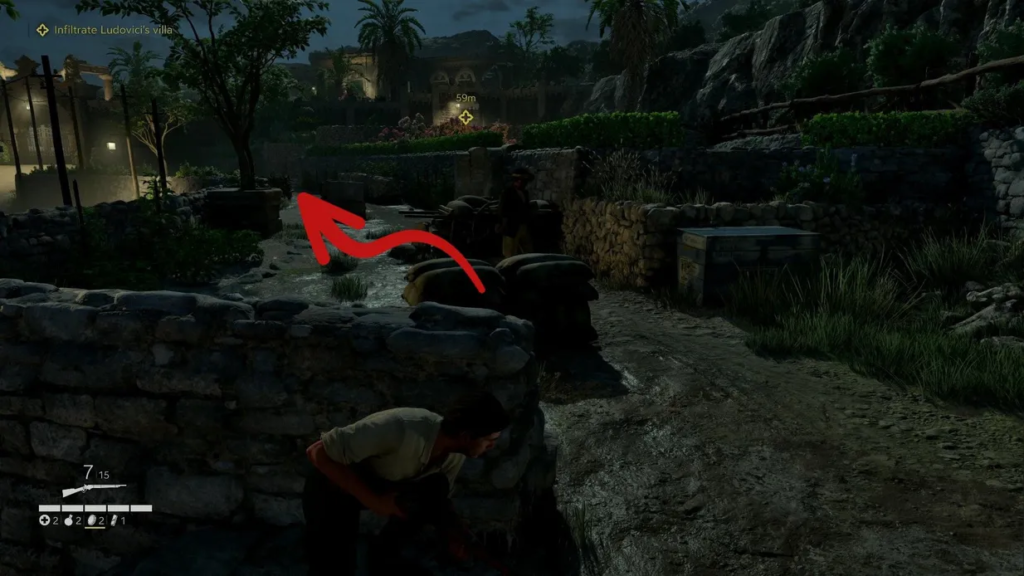
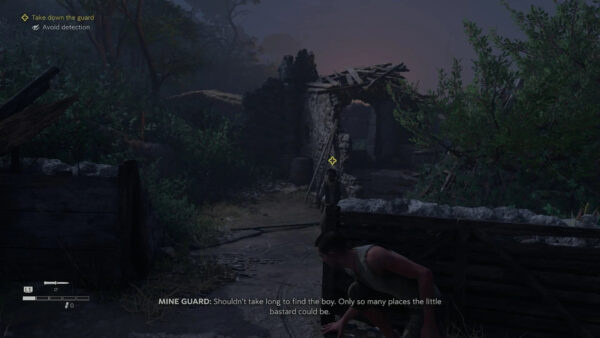
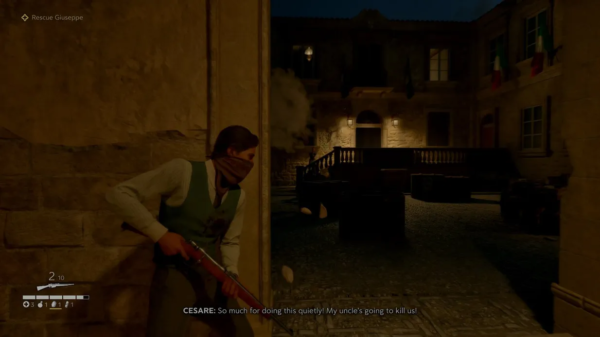
Choose any route to enter. Once past the initial fence, search the left and right sides of the first courtyard to discover two caskets containing dinari. Use stealth to neutralize enemies silently as you progress. Continue through the passage in either the far right or far left corner. A staircase in the far left corner provides access to the marked door.
Inside the Villa Grounds
The Garage
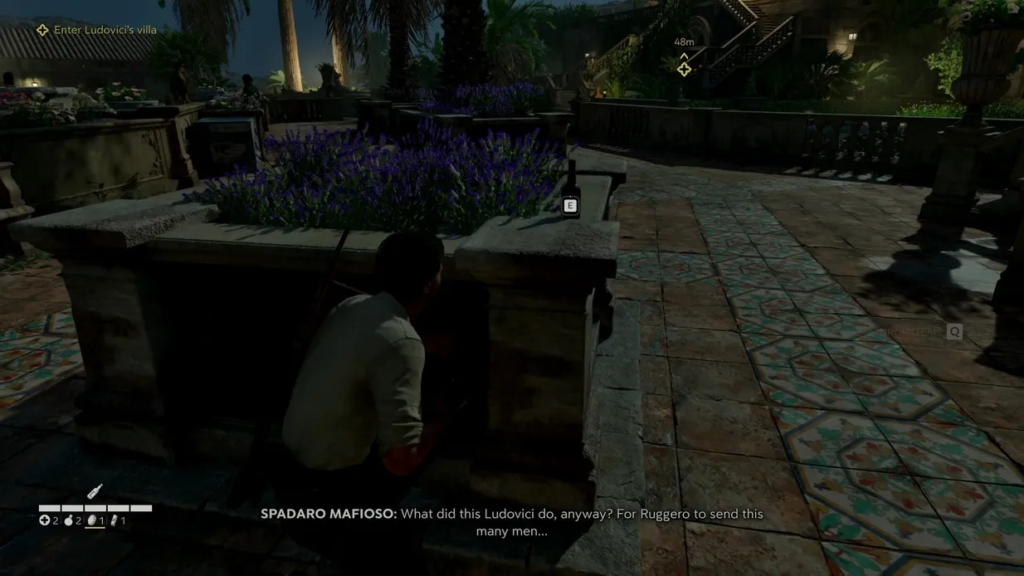
You’ll enter a garage containing a dinari casket and a trinacria collectible on the table. Navigate through the courtyard using any method you prefer—coins and bottles can distract guards effectively. Eliminate the enemy near the entrance and proceed inside the main building.
Ground Floor Collectibles
Look for these items on the ground floor:
- Dinari casket on the small table to your right
- “Opera Announcement” note on the table near the front door
- “Ludovisi Collection” note in the nearby corridor
- Trinacria collectible in the same corridor
- Caricato charm bead statuette (increases rifle ammunition capacity)
- “Protection Agreement” note in the room before the marked door
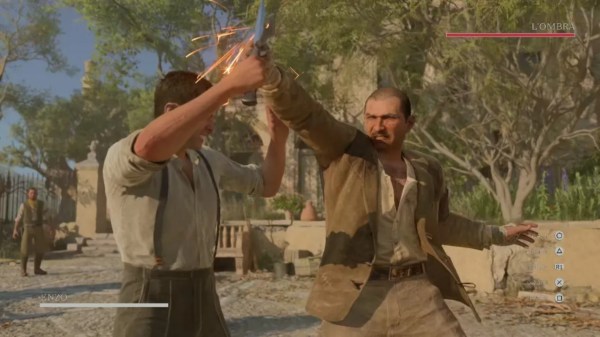
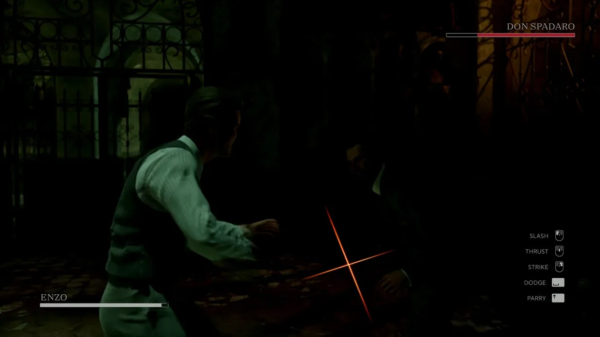
The Confrontation
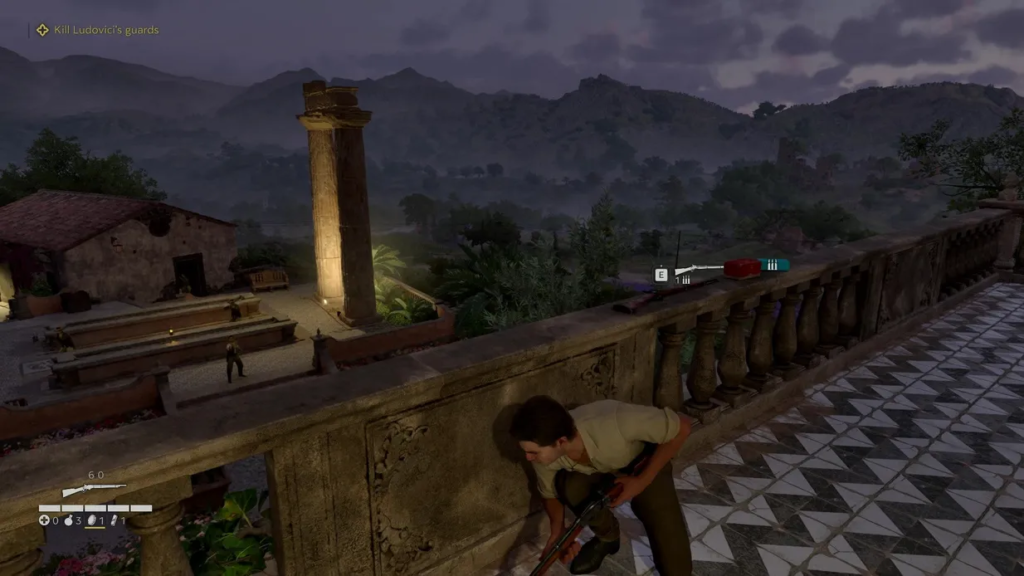
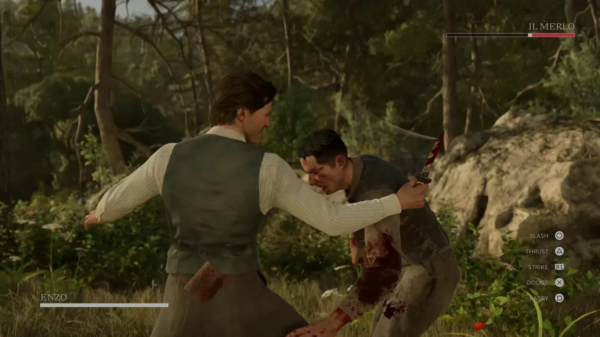
When ready, interact with the marked door to trigger the encounter. Eliminate the initial enemies in the courtyard, then return to confront Ludovisi. He will attempt to escape after defeating the knife-wielding opponent.
Important: Before pursuing Ludovisi, enter his office to collect the Mysterious Fox figurine (3/50).
Fight your way back through the villa courtyard, subdue Ludovisi, and place him in the vehicle. Take your position in the passenger seat.
The Choice: Ludovisi’s Fate
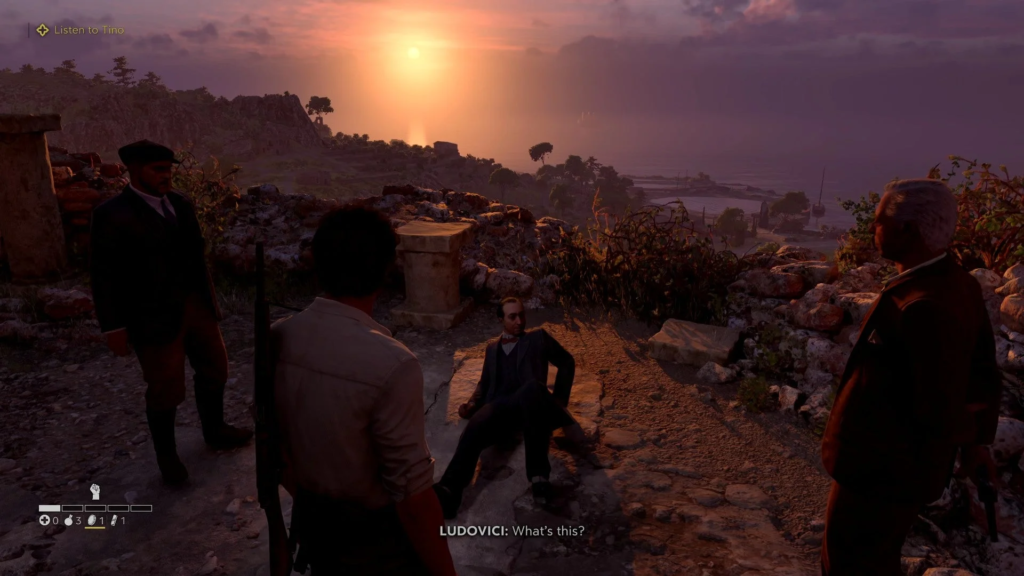
Carry Ludovisi upstairs where Tony orders his execution. Refusing Tony’s command results in Enzo being shot, forcing you to kill Ludovisi regardless.
Achievement Opportunity
To unlock the “Man of Honor” achievement, aim your weapon at Ludovisi, then lower it without firing. Tino will shoot you, but you’ll respawn and can complete the execution on your second attempt.
Proceeding to San Celeste
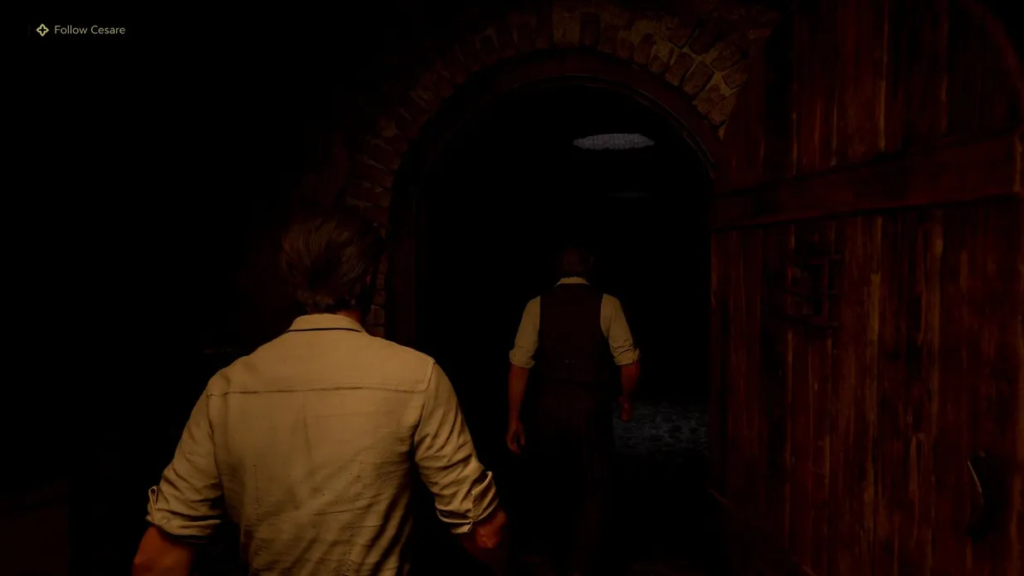
Follow Cesare and enter through the door to Luca’s right. Accompany Cesare to the vehicle, start the engine, and drive to the San Celeste brothel as marked. After the journey, exit the vehicle and enter the building. A trinacria collectible can be found in the kitchen.
Examine all highlighted locations, including the “Threat Letter” note. When Cesare departs, interact with the nightstand to continue.


Comments (0)
Sign In / Sign Up
Sign in to leave a comment.
No comments yet
Be the first one to share your thoughts!