
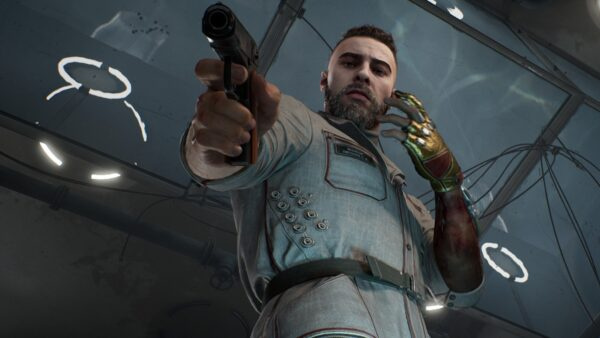
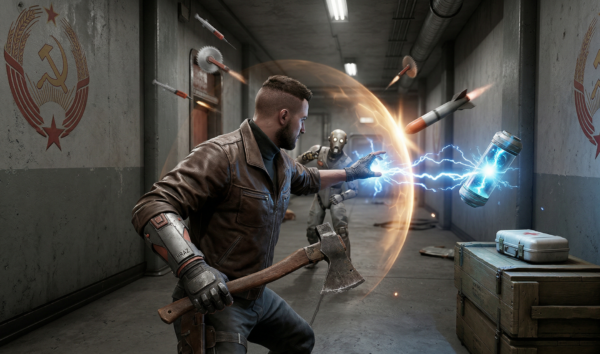
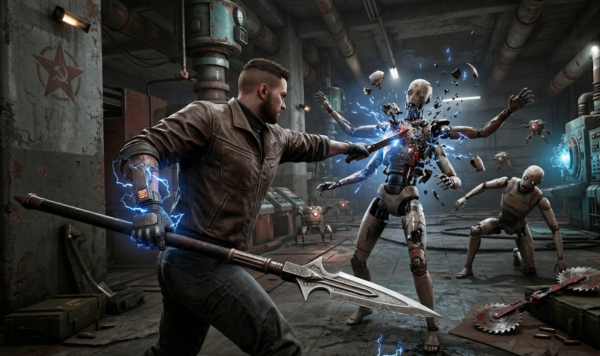
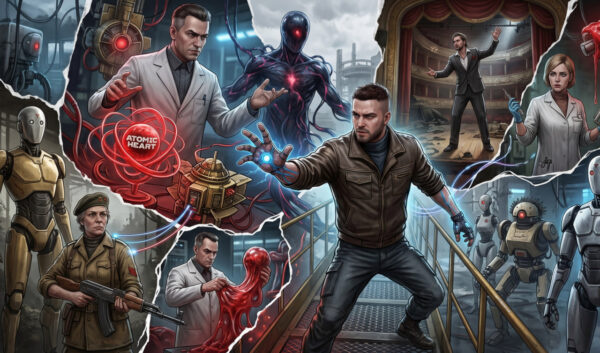
The “Annihilation Instinct” expansion for Atomic Heart is incredibly dynamic: hordes of new enemies and nonstop action will keep you on your toes. However, between battles, the game throws in spatial puzzles and revamped castles that can really trip you up.
In this guide, we’ll walk you through the solutions to all the puzzles in the first DLC without giving away any plot spoilers.
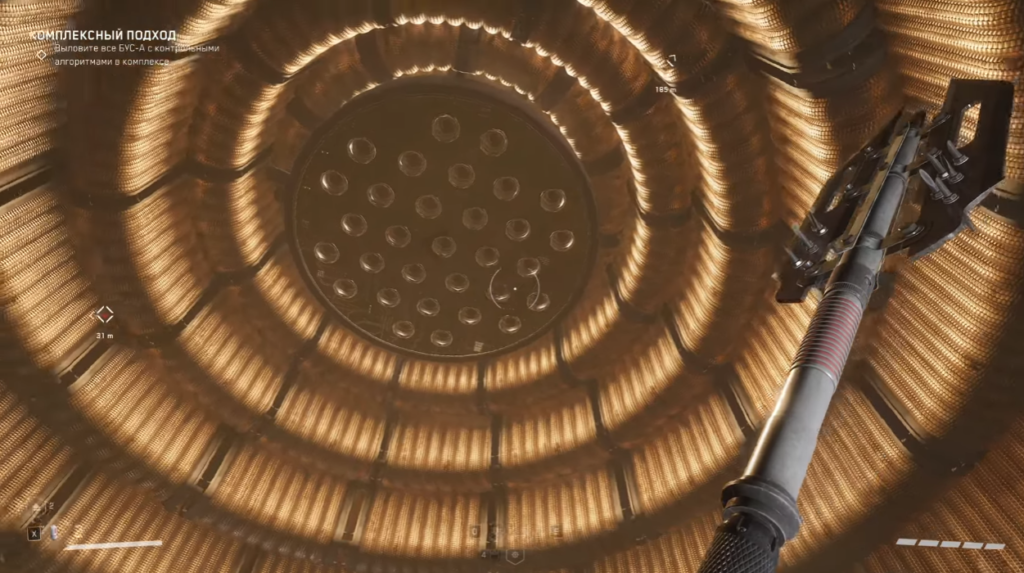
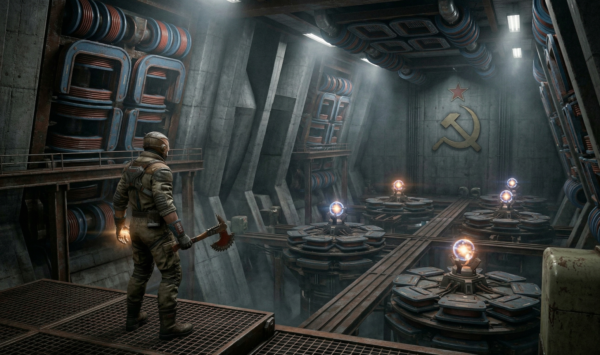
1. Exit from the Mendeleev Complex (Legkaya Hotel)
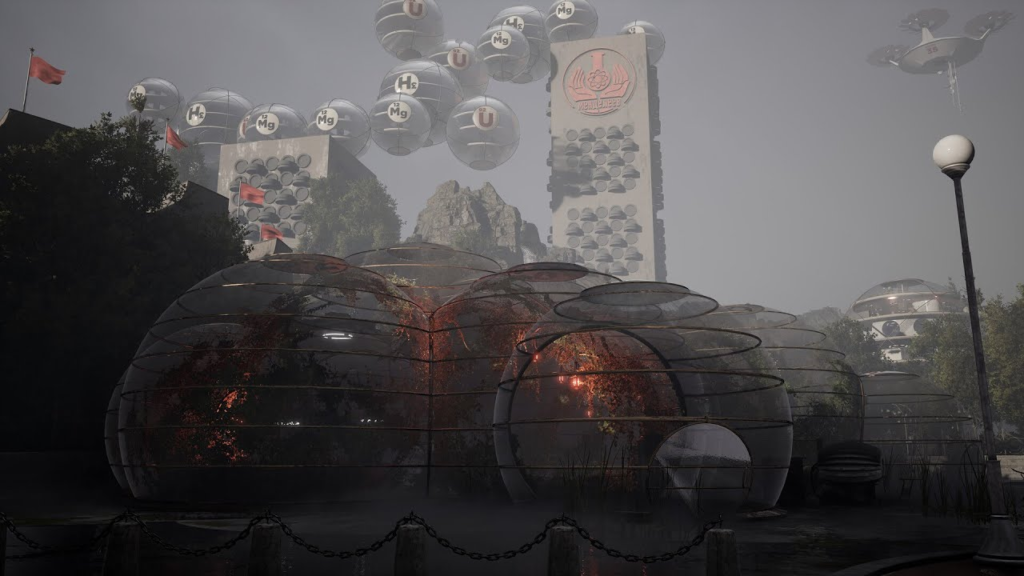
At the very beginning of the game, Major Nechaev must escape from the “Legkaya” hotel, located beneath a geodesic dome. The location consists of a system of circular walkways and private rooms.
Directions:
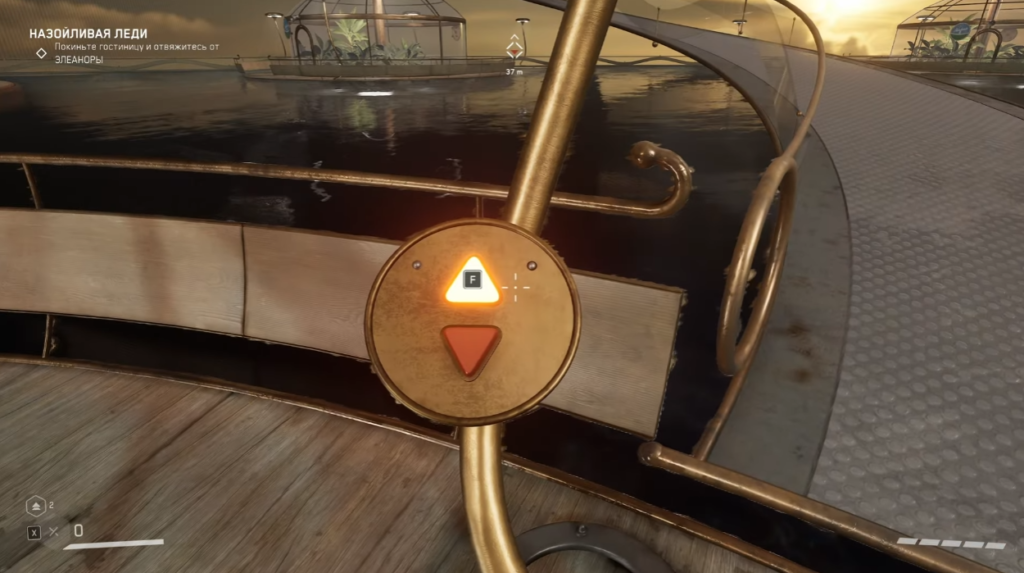
- Move in circles, following the task marker closely.
- Control the platforms: press the buttons to raise or lower the tracks, directing them in the right direction. The key is not to block your own path for further progress.
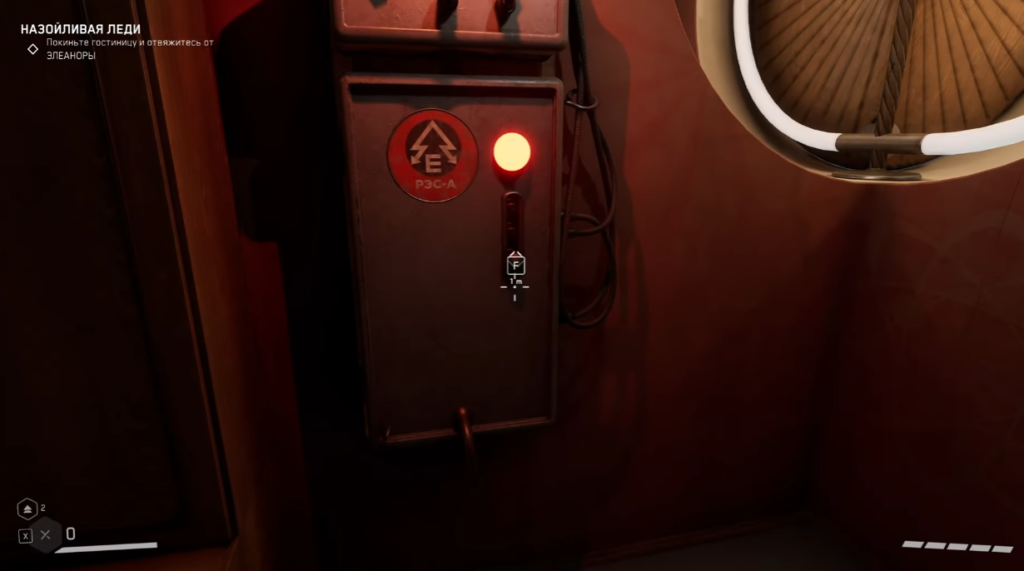
- If the button doesn’t work: You need to go down into the nearest private elevator shaft and find the circuit breaker there. Turning on the circuit breaker will supply power to the control panel for the elevator shaft above.
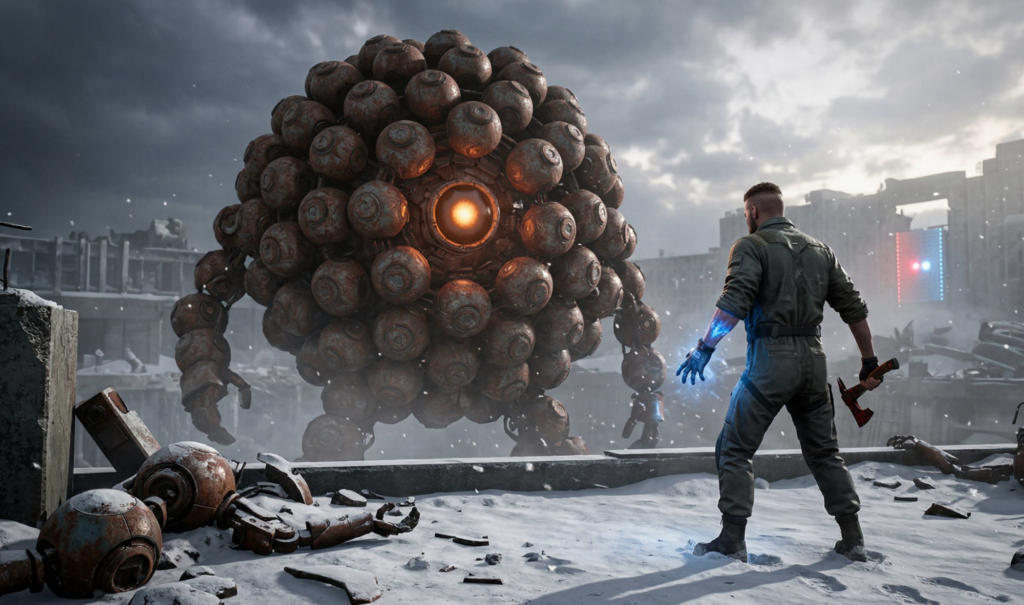
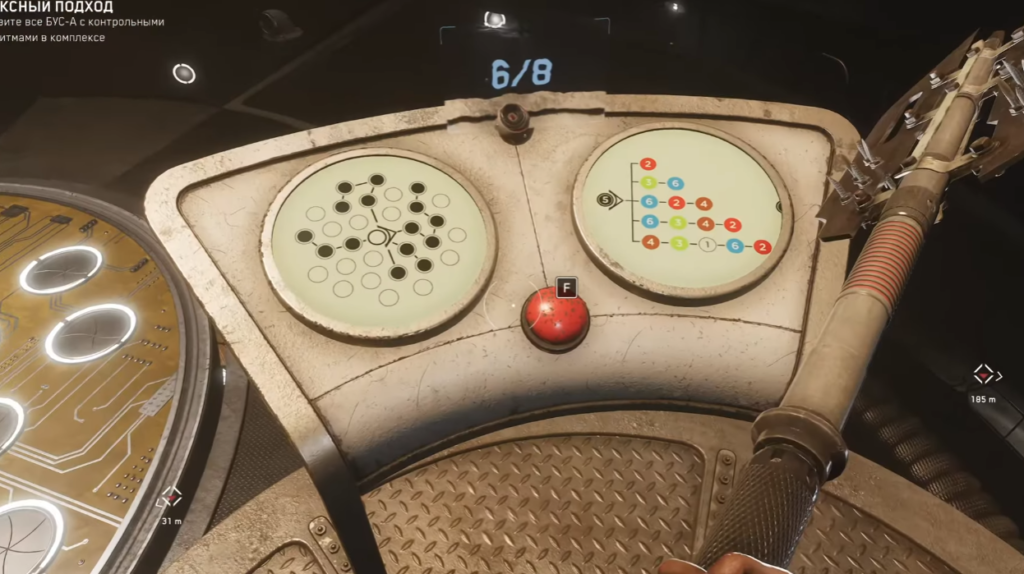
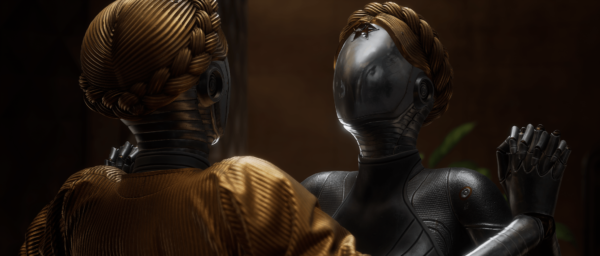
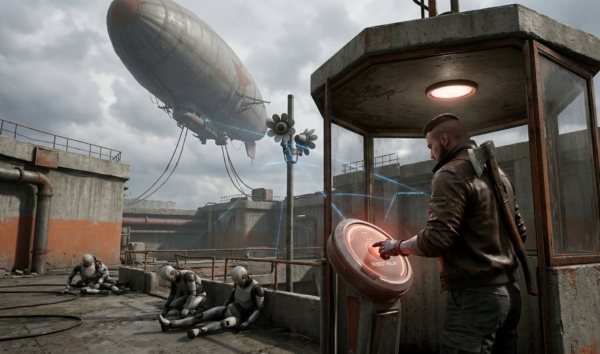
2. Collecting BUOs for Eleonora
Once you reach the surface, you’ll be tasked with collecting spherical robots—BUSs. In most cases, you just need to follow the marker, but there are two important details:
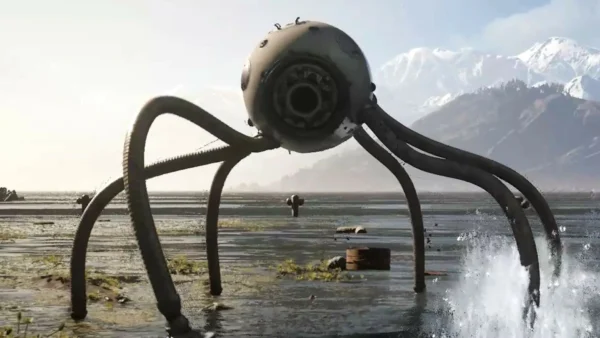
- Black Bead: To obtain a unique black ball, you’ll have to survive a battle against the boss—a massive “Turbo Ball” (megazord) composed of many small BUBeads.
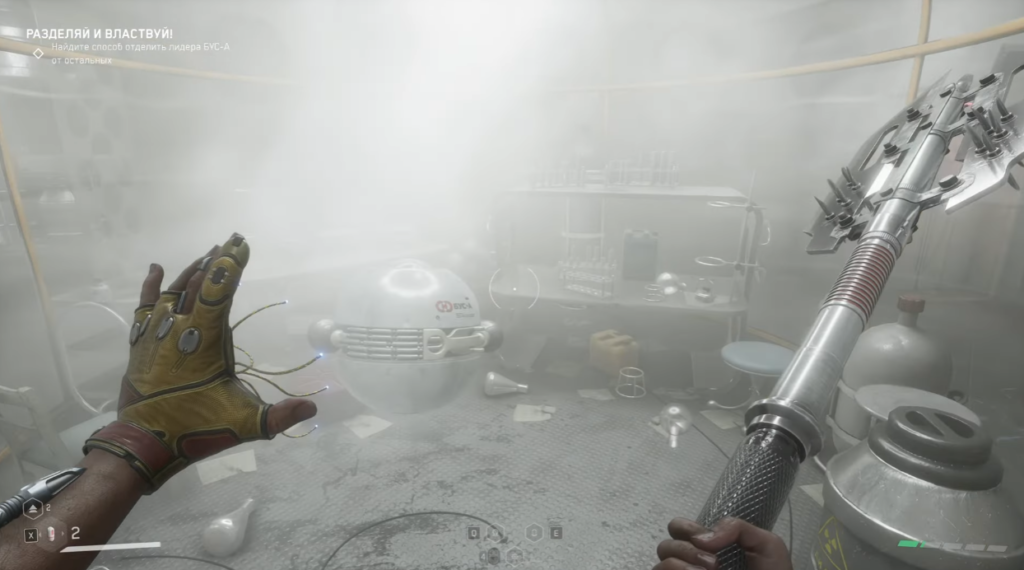
- The puzzle with the crowd of gray BUAs: At one point, you’ll find yourself facing dozens of identical gray spheres. Shooting at them or trying to guess the right one is useless. Solution: You need to systematically herd these spheres behind the airlock doors, sealing them in there batch by batch. Continue this process of weeding them out until only two balls remain in the arena. After that, they will stop, and the P-3 will automatically retrieve the story-related BU.
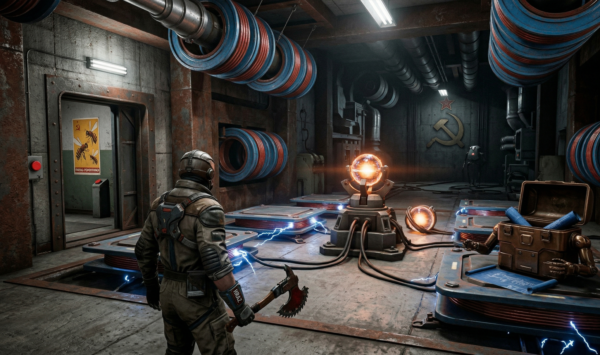
3. “Passive Safety Relay” Laser Lock
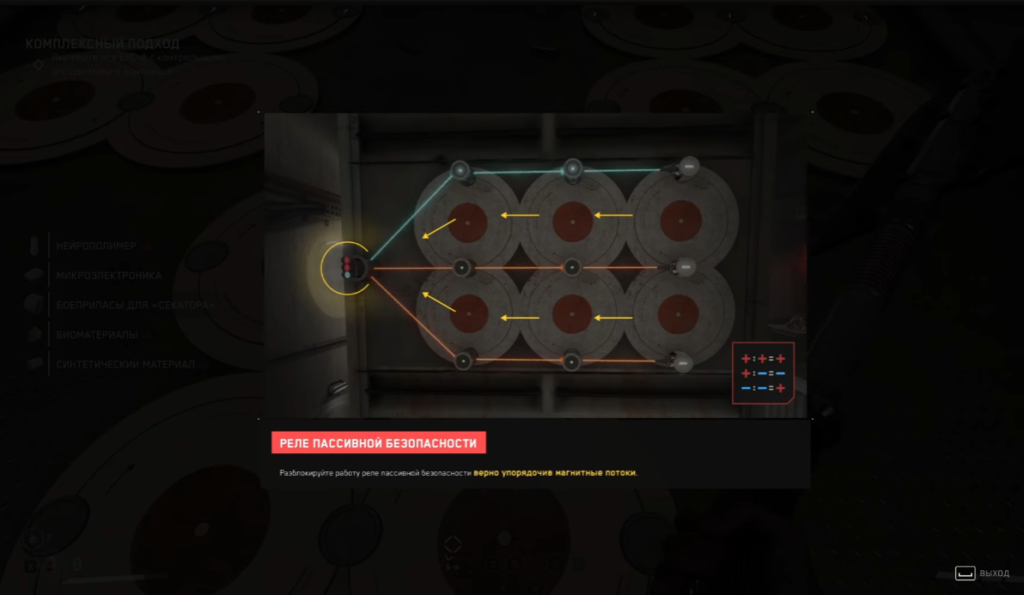
The developers have complicated the familiar mechanics of the laser puzzles. In the DLC, you’ll encounter a clunky version of the panel where the hint image from the original game no longer works. Your goal is to light up the blue lights, even though almost all the starting lasers are red.
Step-by-step walkthrough: You need to find the splitter blocks to direct the single blue beam in multiple directions at once.
- Look at the lower right corner and move the blue laser there upward. This will light up the first blue light.
- Look at the lower left corner. Find the beam splitter there and turn it. There will now be two lights.
- Nearby, in the same lower-left corner, turn another splitter.
- Now the blue laser beam splits and hits all the lights on the left side of the panel. The lock is open, the ladder is lowered!
(The DLC also features the classic piston locks from the original game—the mechanics remain the same: just tap your fingers in time when the moving light is under the right piston.)
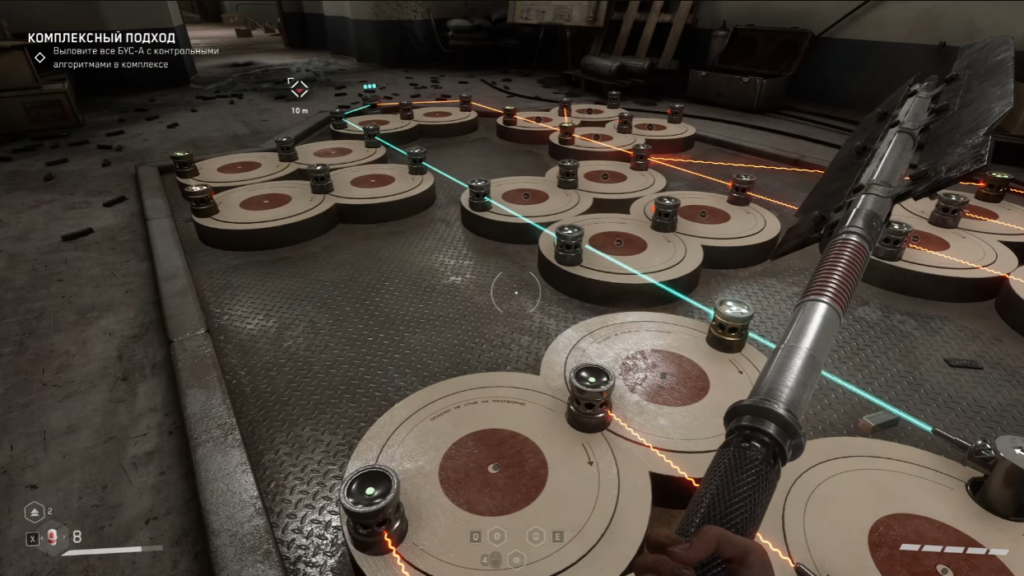
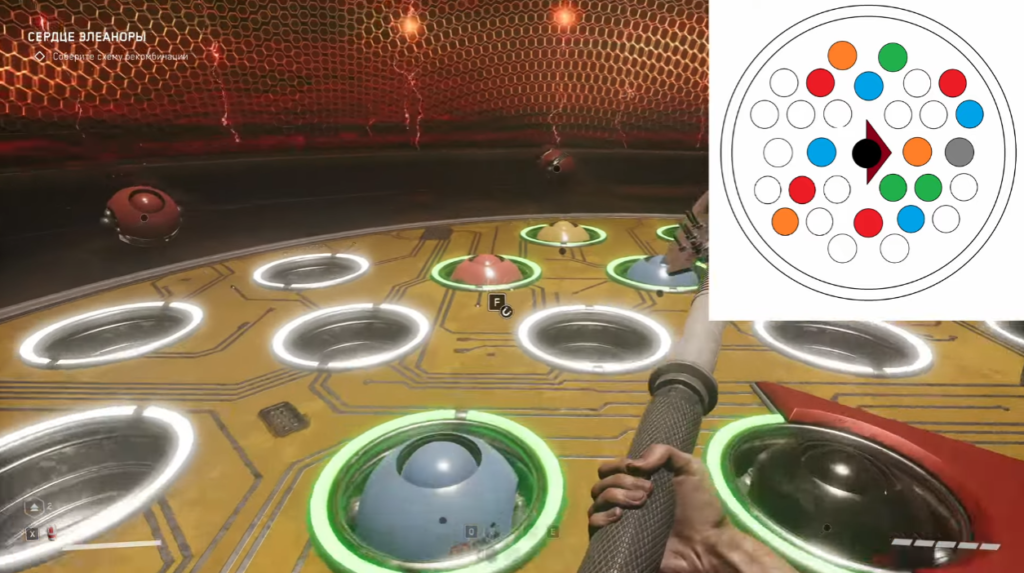
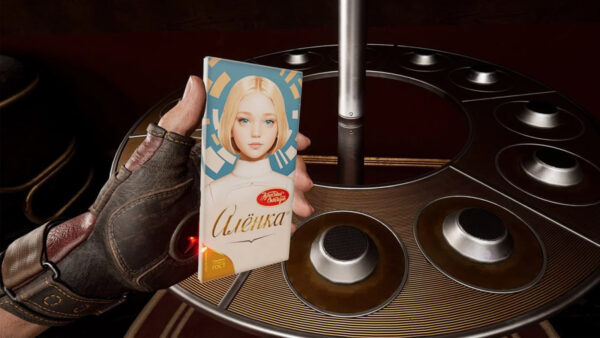
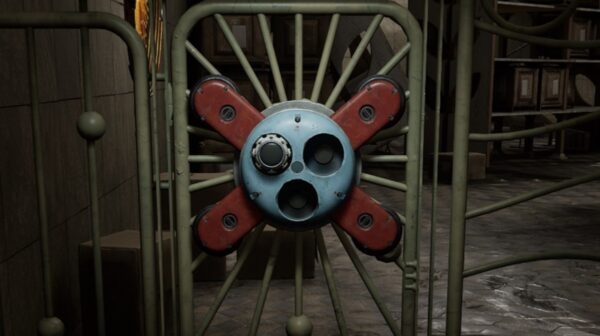
4. The Final Puzzle: The Recombination Scheme
The most complex puzzle awaits you in the finale. You can only begin assembling the Recombination Diagram after you have found all the BUBs.
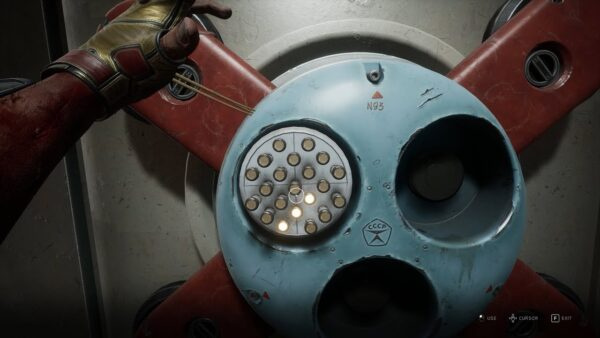
Here is the control panel: on the left is a black-and-white diagram of the combination (showing the shape of the chain), and on the right is the composition of your balls by color and quantity. The task is to match the length of the chain in the diagram with the number of available balls of a single color.
Phase 1: Initial Assembly
Start from the central black orb (obtained from the boss):
- From right to left (the longest chain of 5 balls): Orange -> Green -> Gray -> Blue -> Red.
- Top (4 balls): Fill in according to the colors in the key.
- Left (3 balls): Fill in by color.
- Down and diagonally to the right (2 balls): Green -> Blue.
- Straight down (1 ball): Red.
Tip: There is no penalty for incorrect placement in the game. If the hole accepts the ball and glows in its color, you’re doing everything right.

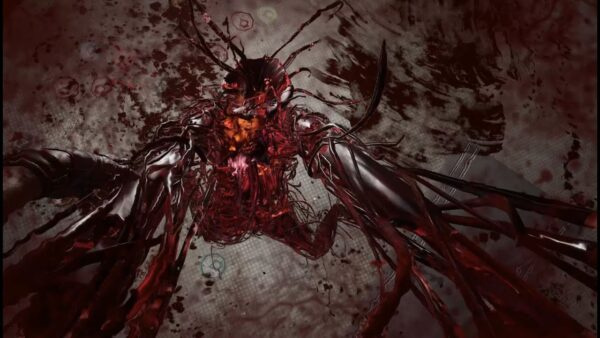
Phase 2: Rebuilding After the Boss
After completing the first phase and defeating the next boss, you’ll need to rebuild the circuit. The old configuration will partially fall apart, and you’ll need to add just 3 balls—without any visual cues on the screen.
How to assemble the final configuration:
- Remove the extra red balls from the arena (take them out of the grid).
- Insert the following into the left chain (where there are 3 slots) in order: Blue -> Red -> Orange.
- Place one Blue ball in the upper right corner.
Use the highlighted holes as a guide. Once the correct colors are in place, the puzzle will be solved, and the expansion’s story will reach its climax.


Comments (0)
Sign In / Sign Up
Sign in to leave a comment.
No comments yet
Be the first one to share your thoughts!