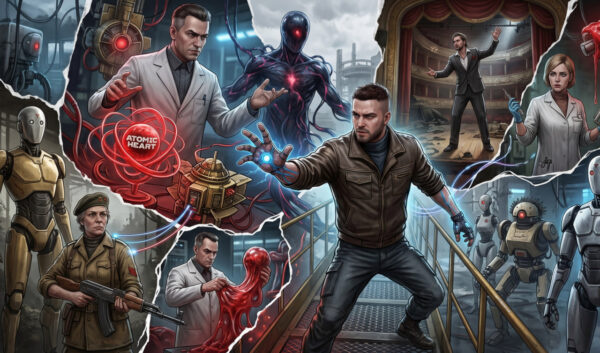
The further Major Nechaev advances through the story, the more deadly the machines of Enterprise 3826 stand in his way. In the second part of our guide, we’ll break down the toughest and most dangerous bosses from the original game’s finale, as well as a unique boss from the “Instinct of Extermination” expansion.
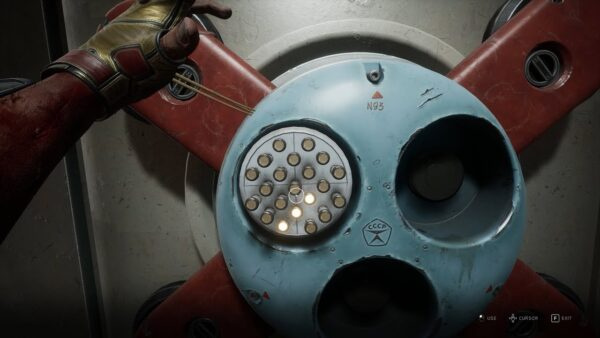
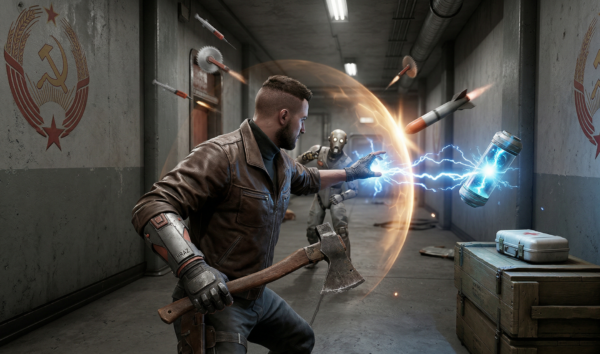
1. NA-T256 “Natasha” Robot (Easiest Boss)

Found in the theater. In peacetime, it’s a porter; in combat mode, it’s a multiple-launch rocket system loaded with mines and a rocket pack.
- Features: Extremely resistant to firearms, energy weapons, and cold weapons.
- Weaknesses: Explosives.
- Tactics: This is the slowest, and therefore the easiest, boss in the game. Natasha moves reluctantly, catching every projectile flying at her with her face. Just grab the “Strongman” rocket launcher or use the “Star” with the saws upgraded. In the second phase, she’ll start flying on her jetpack and dropping mines—you can shoot them down in mid-air or block them with the Polymer Shield.
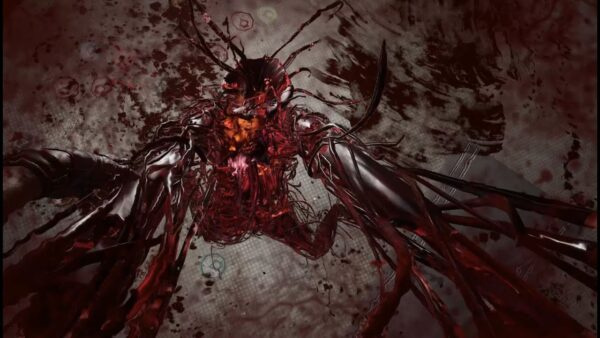
2. The Creature “Rosa” (The Most Difficult Boss)
A biorobot hiding in the carcass of a dead whale near the Pavlov complex. Ivy-based biopolymer muscle mass encased in synthetic armor.
- Features: This is the most difficult boss in the game. It moves as fast as Yezhikha and deals massive damage. Rosa is completely immune to all elemental damage, including explosions. There are no obvious weaknesses.
- Tactics: * Phase 1: Keep your distance. Attack with the “Star” or shoot with the “Kalash,” dodging her quick jumps and laser beams in time (the laser has no cooldown!). Use the Polymer Shield constantly.
- Phase 2: Long-range polymer tentacle attacks and a one-hit-kill roll are added. If Rosa hits you while rolling, it’s instant death. Stock up on condensed milk, medkits, and patience.
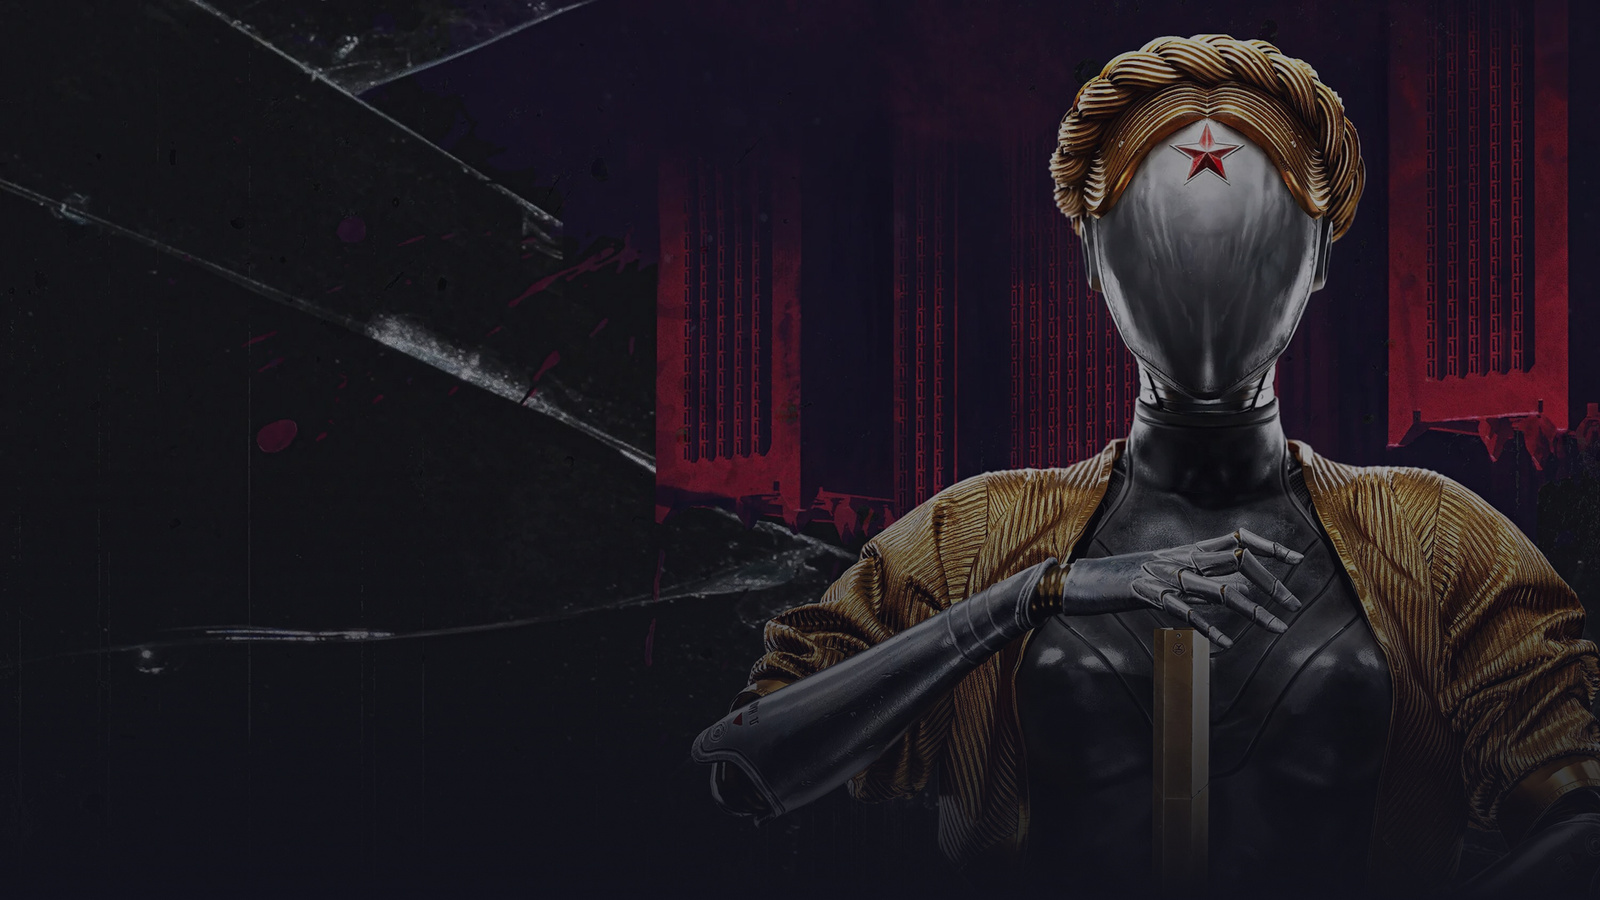
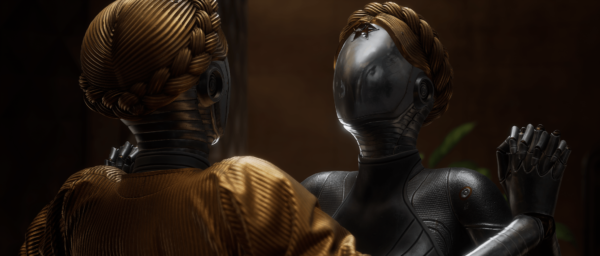
3. The Twins (Bad Ending)
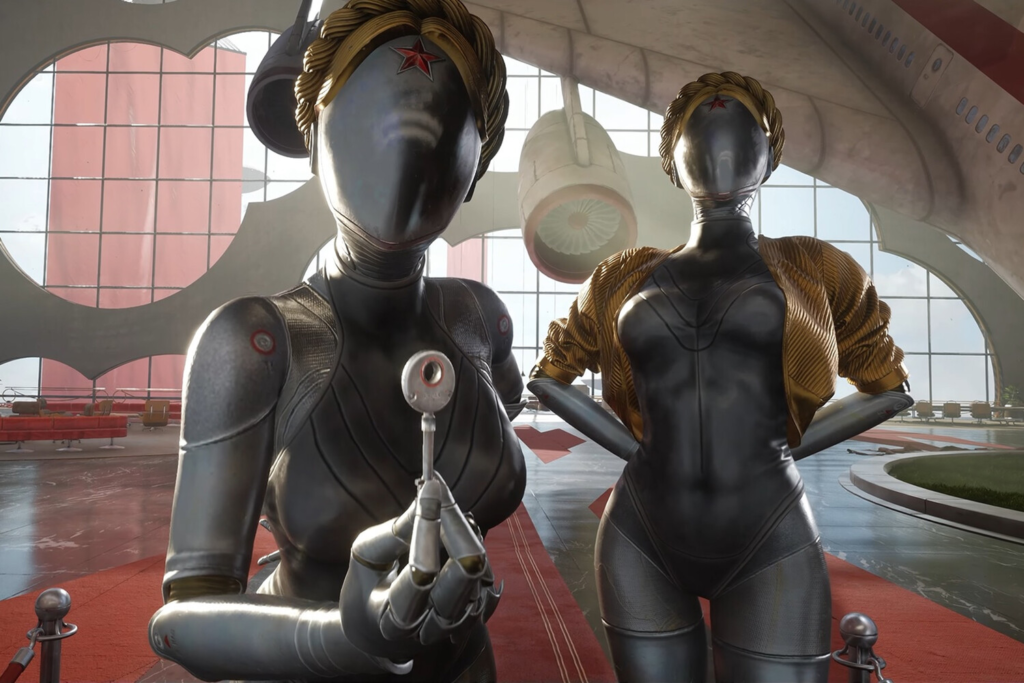
Sechenov’s personal bodyguards—ballerinas created using the brain hemispheres of Nechayev’s deceased wife. The fight consists of two stages if you decide to go up against Sechenov.
- Features: The twin on the left attacks with claws in close combat and is resistant to firearms. The twin on the right flies, uses energy attacks (polymer and laser), and is resistant to energy weapons.
- Tactics (Final): In the final stage on the roof of the skyscraper, you fight both of them at the same time. The main secret: they share a single health bar. There’s no point in trying to hit both of them. Focus all your damage solely on the left twin, as she runs on the ground and is easier to hit.
- Best build: “Heavy” (literally pins the ballerina to the ground, preventing her from standing up) + “Star” + Polymer Shield + Telekinesis.
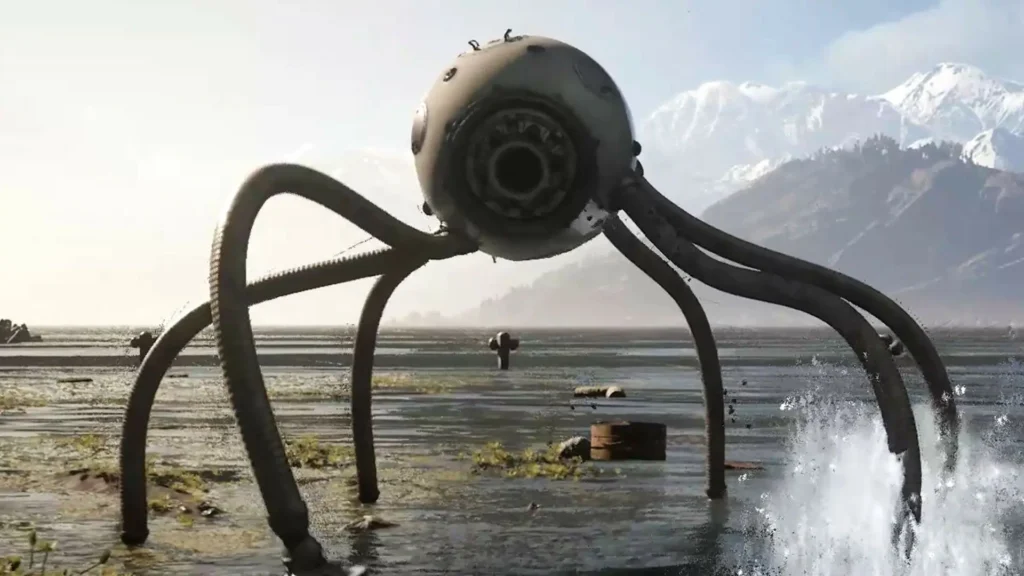
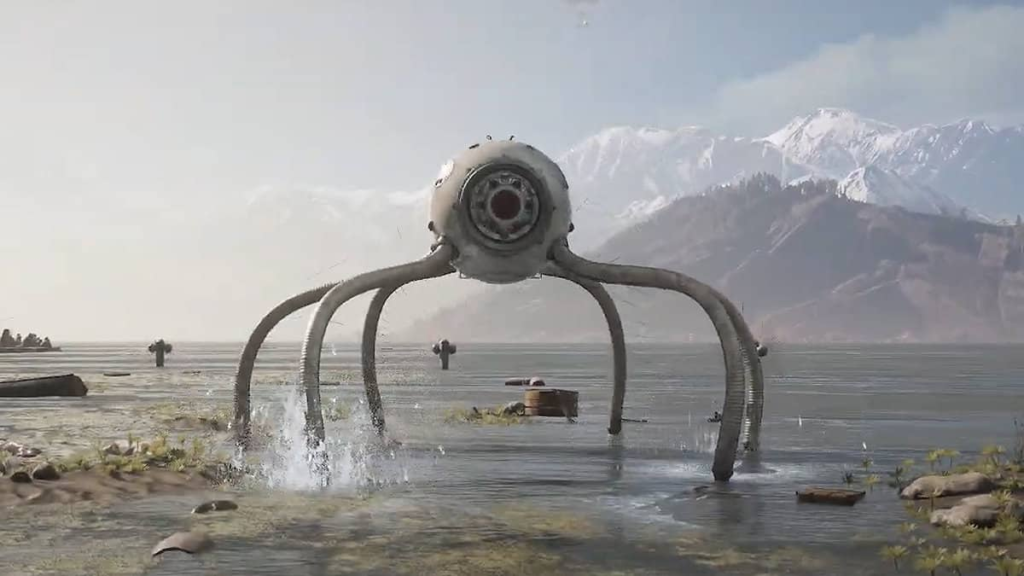
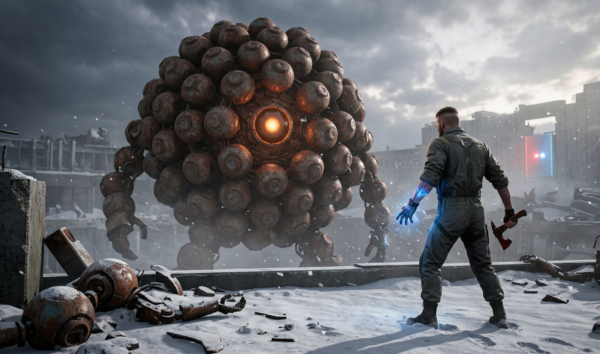
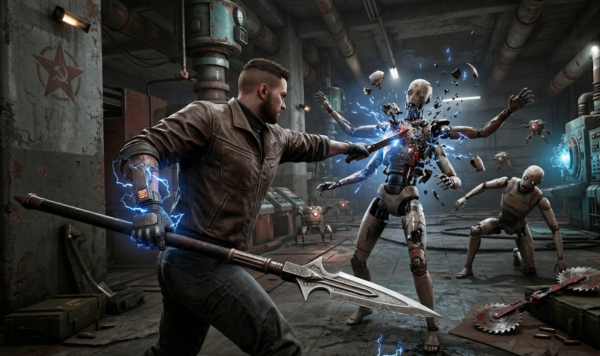
4. Boss: Colossus / Megazord (Boss from the “Instinct of Destruction” DLC)
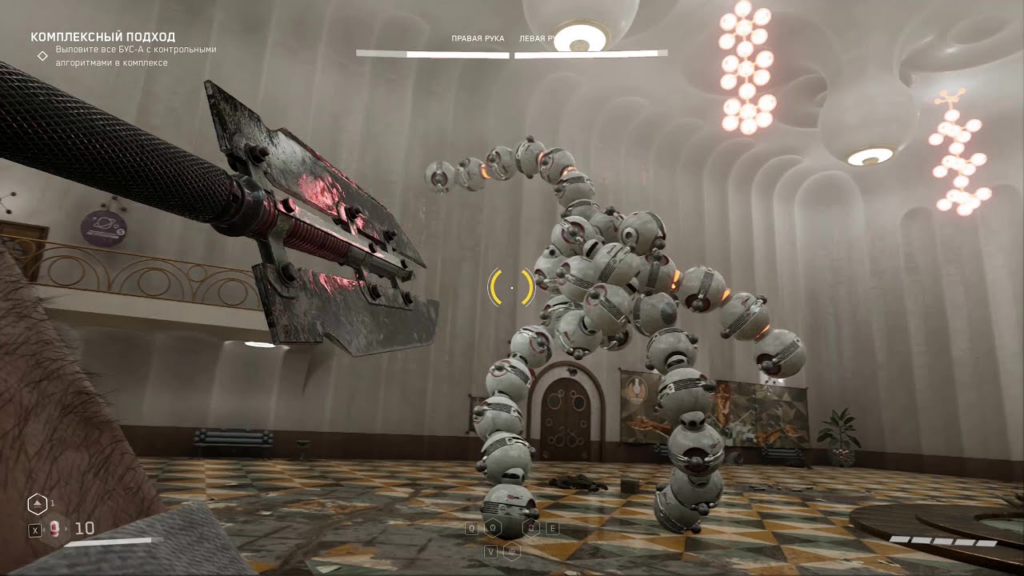
The only boss in the first expansion. It consists of many small spheres (BUOs) that merge into a giant golem. It appears twice: a white one in Mendeleev’s Hall and a red one in the final battle.
- Features: The colossus has three combat phases, between which it breaks apart into separate spheres.
- Weaknesses: There are no distinct elemental weaknesses, but you must attack only the boss’s active arm (left, right, or middle—they are highlighted).
- Tactics:
- Under no circumstances should you use the new “Klusha” spear—you’ll simply be trampled in close combat.
- In the first battle (White Colossus), use the chandeliers on the ceiling: drop them on the boss to stun him, and deal massive damage to his weak points.
- Main combo: Polymer Shield + “Star” Saw Spin. The shield blocks his powerful melee attacks and replenishes your energy, which you immediately spend on the homing saws.
- If the shield is on cooldown, use the new “Techno-Stasis” ability to buy a couple of seconds for healing or dodging. The final Red Colossus deals massive damage (especially on Armageddon difficulty), so the Shield is essential.


Comments (0)
Sign In / Sign Up
Sign in to leave a comment.
No comments yet
Be the first one to share your thoughts!