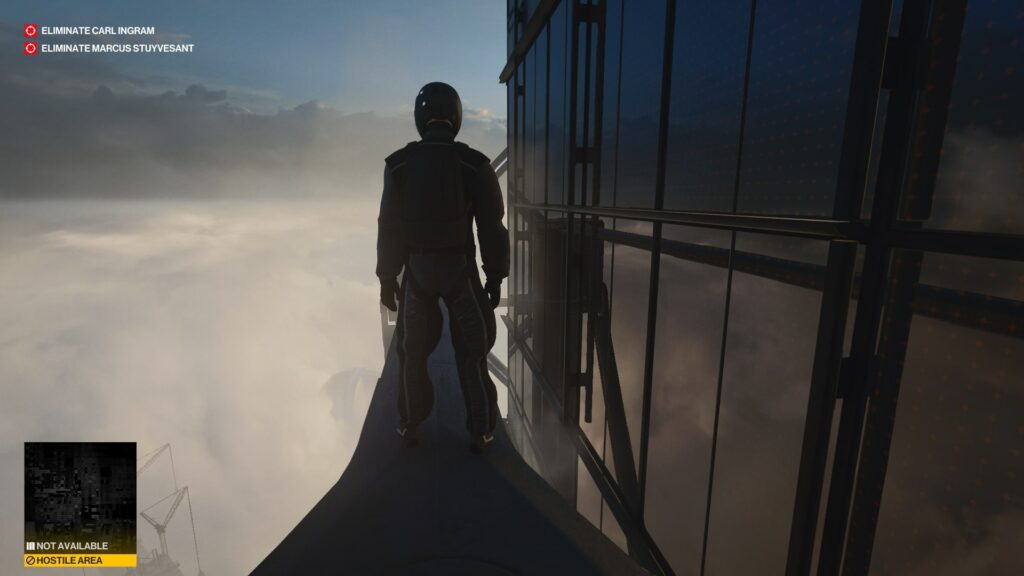
This mission presents three distinct story pathways that enable you to eliminate both targets. Following the opening cinematic, complete the tutorial sequence where you’ll use your specialized camera to unlock a window and gain entry to the building.
Pro tip: When you discover a new story mission, press F1 to begin tracking its objectives.
Story Path 1: How The Mighty Fall
Initial Entry and Building Infiltration
After watching the introductory cutscene, move forward along the metal walkway and drop down to the right. Descend to the awning below and press X to climb the pipe. Once you reach the lift platform, open your inventory with I, select the camera using your mouse wheel, and confirm with Enter. Hold the right mouse button and scan the lock showing red indicators—your handler will remotely breach it.
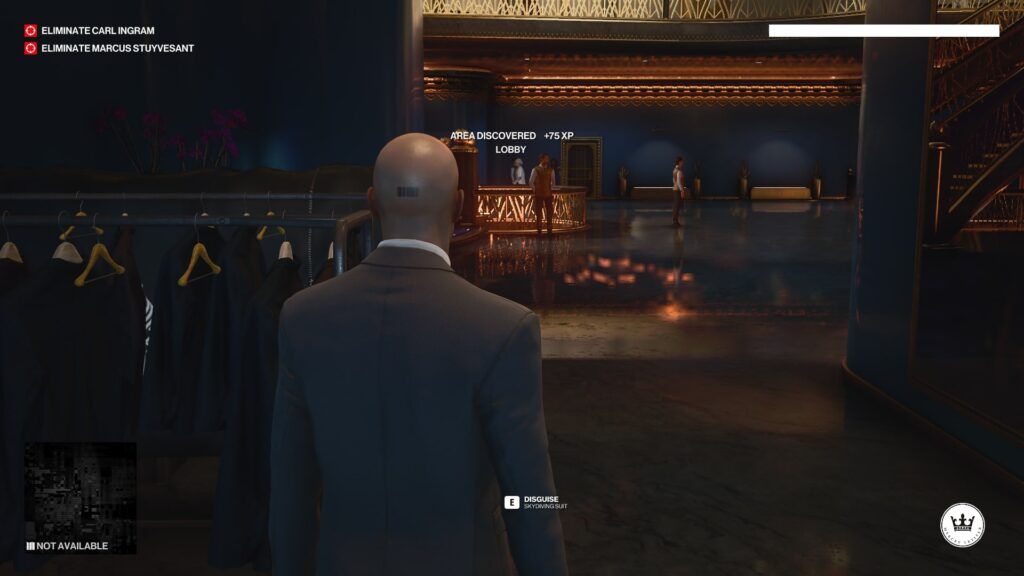
Enter through the maintenance tunnel. You’ll find a coin on the floor to your right that serves as a useful distraction tool. Ascend the fire escape on your left and pass through the curtain—Agent 47 will automatically don a tuxedo.
Location Reconnaissance
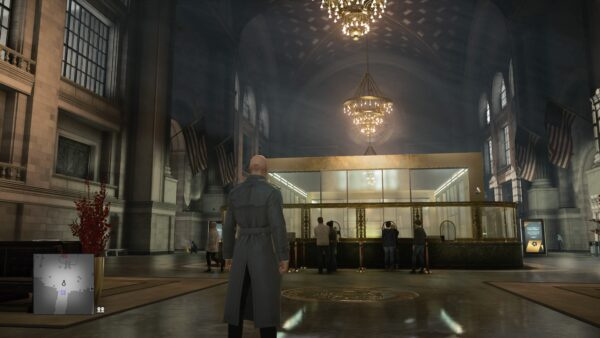
In the foyer, locate the “Welcome to Sceptre” brochure on the table to your right near the bottles. Examine it by pressing F1. Proceed up the stairs into the atrium where you’ll observe guests and a sheikh delivering a speech.
Accessing the Staff Area
Information terminals are positioned on both sides of the crowd. Interact with any terminal, press S to select FLOOR PLAN, then E to view the layout. Listen to your handler’s briefing.
Turn around and return to the staircase. Find the door with a terminal on its left side. Interact with the terminal—your handler will access the surveillance system to locate a code board. Enter the combination 4706 to access the staff zone.
Staff Zone Operations
In the corridor, activate the vacuum cleaner and step back. When a janitor approaches to investigate, subdue him and conceal his body in the closet on your right. Repeat this process with the waiter around the corner. Don the waiter’s uniform for disguise purposes. Remember that certain guards may still become suspicious regardless of your outfit.
Follow the waypoint marker to the designated room, passing two guards along the way. At the corridor’s end, enter the room on your right. You’ll find two locked windows here. Use your camera to scan the terminals that control the windows. Wait for the woman and military personnel to leave, approach the left window, and press X to exit outside. Traverse the awning to the right, then climb the pipe to reach the upper floor. Use the same camera technique to open the next window.
Server Room Operations
On the second floor corridor, proceed carefully while avoiding the overhead surveillance camera. A single guard patrols the corridor’s end. Open the second door on your left (storage room), subdue the technician, and hide his body in the closet. You may take his outfit for additional cover.
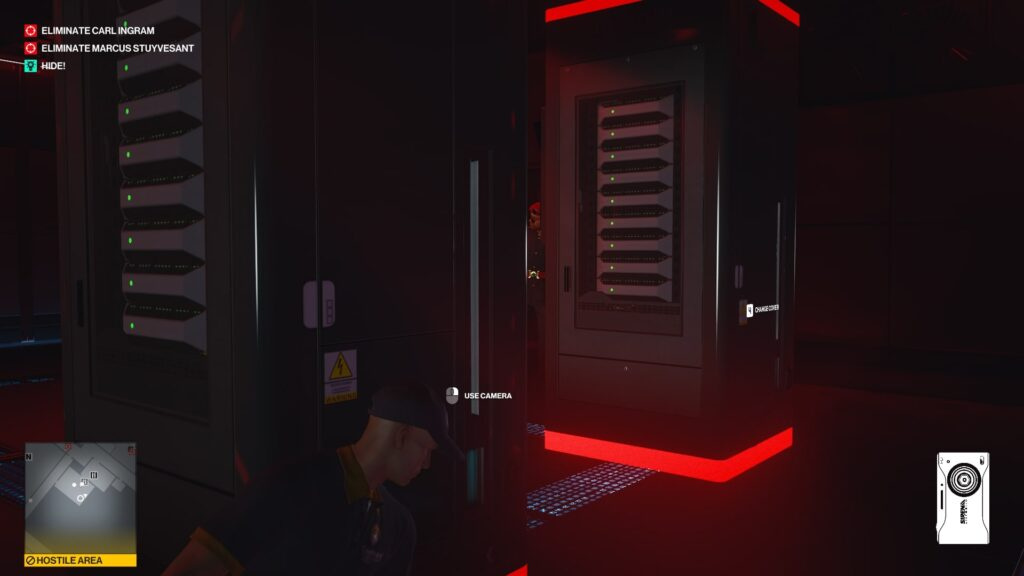
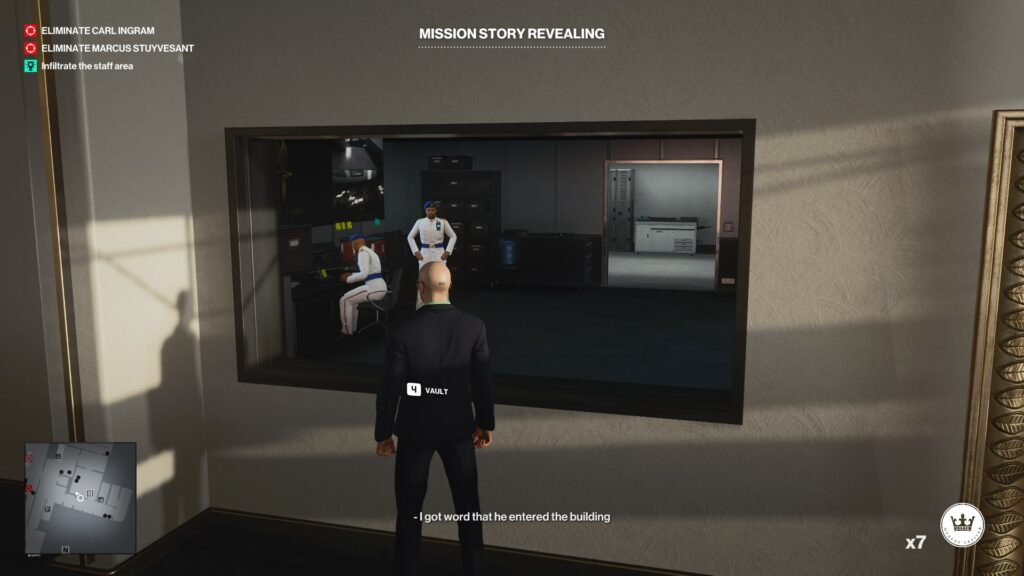
Enter the server room and examine the terminal—it’s locked. Your handler will request that you locate an access card. Pull out any server rack to trigger the alarm. Hide behind a rack on either side and wait for the two responding guards to depart.
Exit through the single door and follow the waypoint to the corridor’s end where a marked technician is located. Subdue him and immediately conceal his body in the closet. Retrieve the dropped keycard.
Return to the server room and apply the keycard to the panel beside the main unit. After obtaining administrator privileges, your handler will ask you to inspect the room. Examine all four racks and observe: one of the four monitors displays yellow text (the others show green). Below this screen is a server component. Remove it—this won’t trigger the alarm, and the terminal will become accessible. Interact with the terminal and select the first option to disable all available functions and arrange a meeting between Marcus and Carl.
Target Elimination
Leave the room and find the nearest guard wearing a black uniform to change your disguise. The waypoint will indicate the closest military personnel, though you can choose any (one sleeps in the guard room).
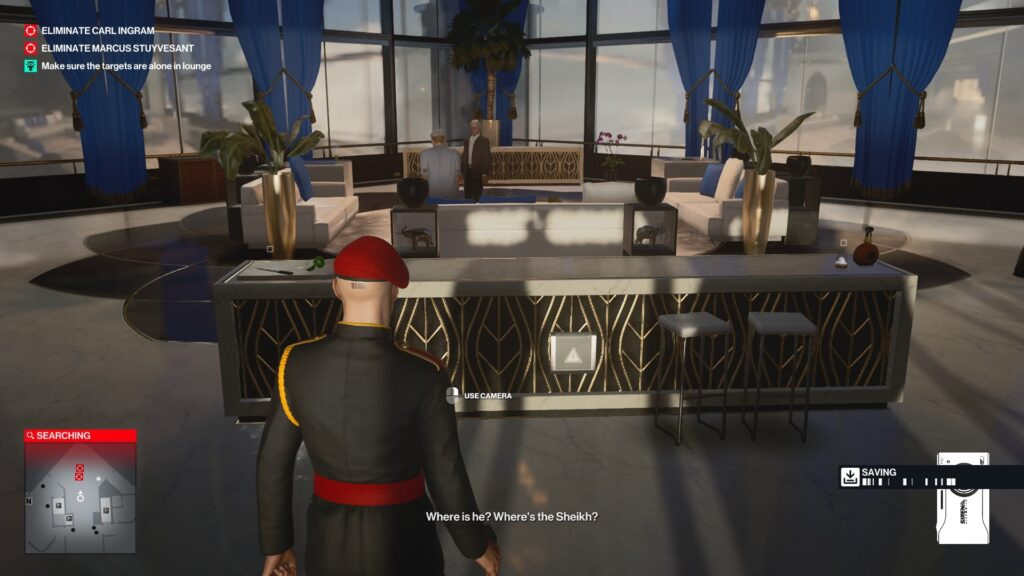
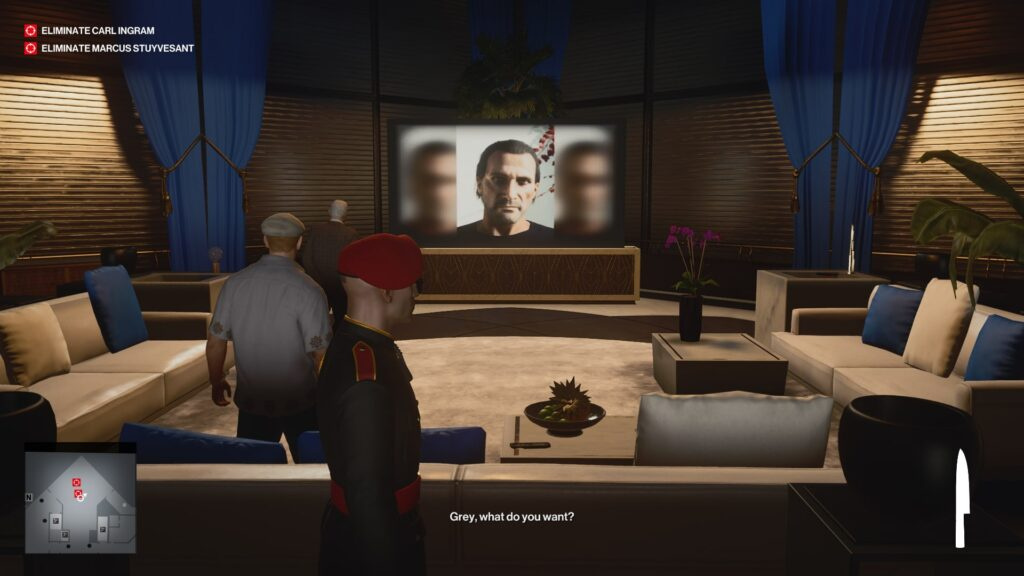
Follow the marker to the designated penthouse on the floor above. You may witness Marcus heading to meet Carl along the way. Once both are in the office opposite the main entrance and the guard has left, use the highlighted terminal (electrical box in the bar counter) to lock down the room. This temporarily seals all doors.
Wait for your client to finish conversing with the targets. While they talk, you can pick up a knife from the counter near the terminal. Approach Carl and Marcus standing by the monitor. After your client gives the order, eliminate both targets. Start with Carl—otherwise, he’ll run to the terminal to lift the lockdown. After elimination, conceal the bodies, deactivate the lockdown, and head to the balcony exit with the parachute.
Story Path 2: In Security
Note: This story mission focuses on eliminating Marcus Stuyvesant.
Mission Initiation
From the foyer, proceed left into the Black Gold Bar. To the left of the private balcony entrance (slightly beyond the passage), climb the steps to the security office on the second floor. Stand by the glass and eavesdrop on two guards discussing a missing recruit. Confirm to begin this storyline.
Access and Disguise Acquisition
Descend to the bar and move behind the counter when the woman is distracted and the man has left. Through the door, you’ll find a storage room with a waiter. Subdue him, change into his uniform, and hide his body in the closet.
Pass through the door with the code panel (entering the code isn’t required, but for reference: 4706). Descend to where two military personnel are conversing. After they separate, subdue the first and hide him in the container behind the door on your left (the woman and soldier in the far section won’t notice). Pick up his weapon to avoid drawing attention from the other guard. Use the mouse wheel to stow active items.
Obtaining Recruit Documents
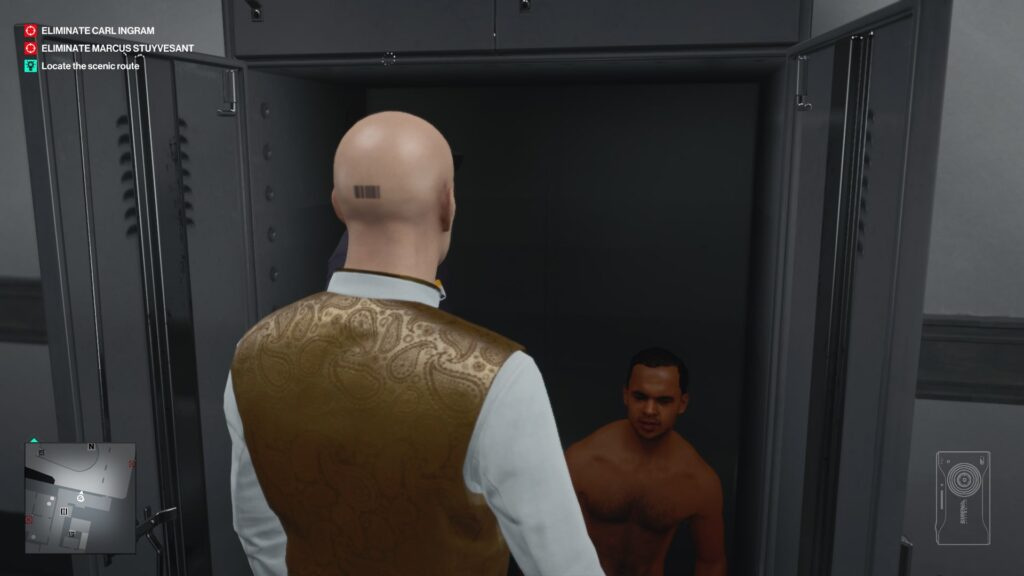
Follow the marker to the kitchen and enter the locker room. Position yourself near the undressed recruit and wait. First, he’ll finish talking with Agent 47, then sit down to continue his conversation with a woman, and finally stand up and turn away. At this moment, discreetly take the documents from the bench.
Meeting Marcus
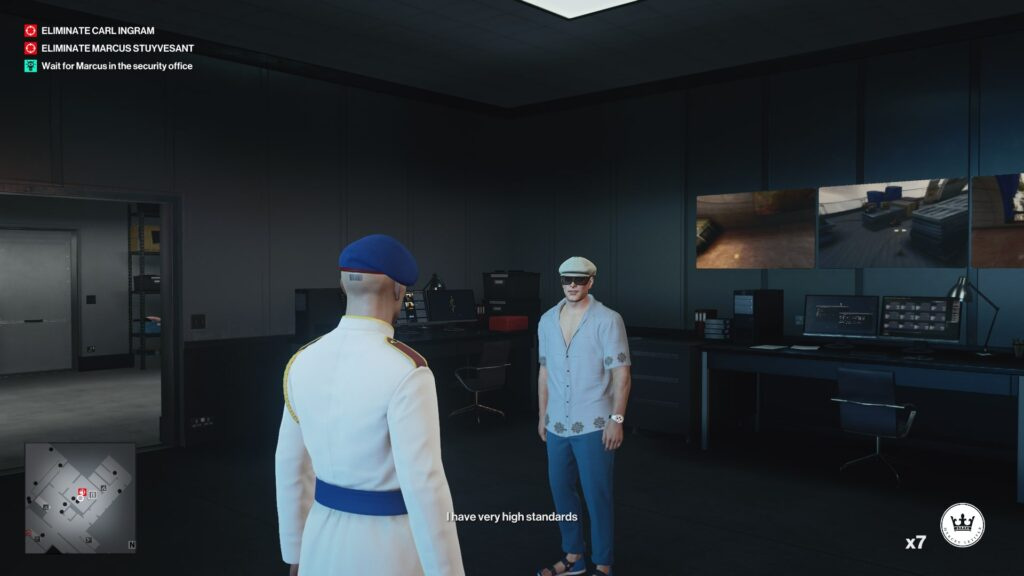
Return to the guard room, enter, and present the documents. Wait for your new “superior”—Marcus Stuyvesant—to arrive. Speak with him, show the documents, and follow him to the designated location: the balcony.
Knife Trial and Target Elimination
When Marcus’s guard arranges knives on the table, take each one and throw it at the swinging targets. You must hit 4 targets with six knives. Aim slightly higher for distant targets. Throw with the left mouse button only when the targeting circle appears on the target (and the white curved trajectory line disappears).
After successfully completing the trial, Marcus will dismiss his former bodyguard. You’ll be alone on the balcony with no witnesses. Wait briefly, then push Marcus off the roof. Your first target is eliminated.
Alternative Exit
After eliminating the target, you can pick up the helicopter key near the metal staircase. Ascend the stairs and leave the building via helicopter.
Story Path 3: Bird of Prey
Note: This story mission allows you to eliminate only Marcus Stuyvesant (when used independently) or gain access to Carl Ingram.
Activating the Storyline
From the foyer, move right past the map terminals. Continue forward and turn right toward the staircase guarded by soldiers. Approach the security checkpoint on the first floor in the right section of the location. A man and woman are standing nearby. Eavesdrop on their conversation—you’ll learn that Mr. Qasim is a contract killer with a scheduled meeting with Marcus. Security won’t let him through, so he decides to wait in the nearby garden.
Identity Substitution
Follow Qasim. Observe as he walks to a bench behind a small barrier. There’s a corner nearby with a panel for creating distractions. Use it and subdue Qasim. Change into his clothes. You’ll also find lethal poison in his pockets that can be utilized during this story path. Ensure you have no weapons in your inventory.
Approach the soldiers at the staircase and allow them to search Agent 47. Pass the security checkpoint, ascend to the second floor, and speak with Carl Ingram’s assistant.
Meeting Marcus (Option 1)
Follow the assistant—she’ll escort you to the meeting room. Enter and wait for Marcus to arrive. Take a seat and listen to the assignment—eliminate a reporter. Take the photograph.
Eliminating the Reporter
Descend to the foyer with the main guests and locate the man in a red jacket (or purple suit with a ponytail). Speak with him so he’ll follow you.
There’s a restroom nearby. Lead the reporter there, enter a stall, and subdue him. Photograph his body. Killing him isn’t necessary.
Accessing Marcus
Return to the assistant and show the photograph. Accompany her to the third floor, which was previously inaccessible. In the apartments, hand the photographs to Marcus and wait. Only three people will remain in the room: you, Marcus, and his bodyguard.
Two glasses sit on the bar counter in the living area. Poison the whiskey glass with the toxin you found on Qasim and pick up the wine glass. When Marcus begins conversing with you, he’ll drink the poisoned mixture and die.
Accessing Carl Ingram (Option 2)
Alternatively, after completing the reporter assignment and meeting Marcus, you can follow the assistant to the penthouse for a meeting with Carl Ingram. Note that he’ll be accompanied by bodyguards, making covert elimination difficult.
For eliminating Carl, it’s recommended to execute the actions from the first story path (How The Mighty Fall). However, if Marcus has already been eliminated, Carl will be alone in the office.
Completion Recommendations
All three story missions can be combined for optimal results
Carefully monitor guards and surveillance cameras
Use disguises appropriate to your current zone
Conceal bodies of subdued enemies to prevent alerts
Remember the access code 4706—it unlocks multiple doors throughout the location
Use your inventory camera to scan terminals and open windows
The mouse wheel allows you to stow active items in your hands
Published
Modified
ZEPHICK
Rimus Mirotvoretz
Game Guides Author
An old-school gamer who started playing at around age three, when the keyboard was almost bigger than he was. Long before gaming became mainstream, he was already exploring virtual worlds, breaking game mechanics, and searching for the fastest ways to beat levels.


Comments (0)
Sign In / Sign Up
Sign in to leave a comment.
No comments yet
Be the first one to share your thoughts!