

Planning your approach to this Argentine vineyard mission requires understanding multiple storylines that can eliminate your targets. This guide walks you through proven methods to take down Don Archibald Yates and Tamara Vidal while keeping Diana Burnwood safe.
Mission Overview
Your assignment involves three critical objectives: eliminate Don Archibald Yates, eliminate Tamara Vidal, and protect Diana Burnwood from harm.
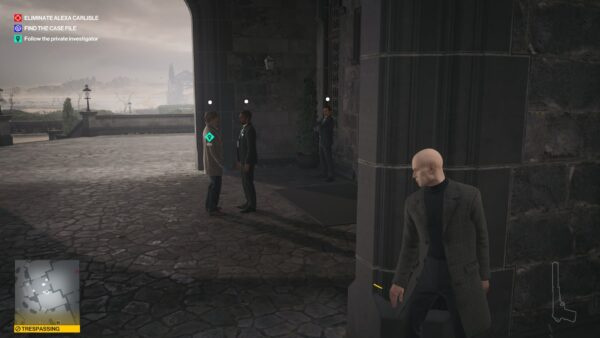
Start by heading to the observation deck where Diana Burnwood awaits. She’ll provide an invitation and point out both targets. If you miss grabbing the invitation initially, you’ll find it on a flowerbed near the trailer, beside a smoking gentleman.
This location offers four distinct storylines to accomplish your mission goals.
Map Overview
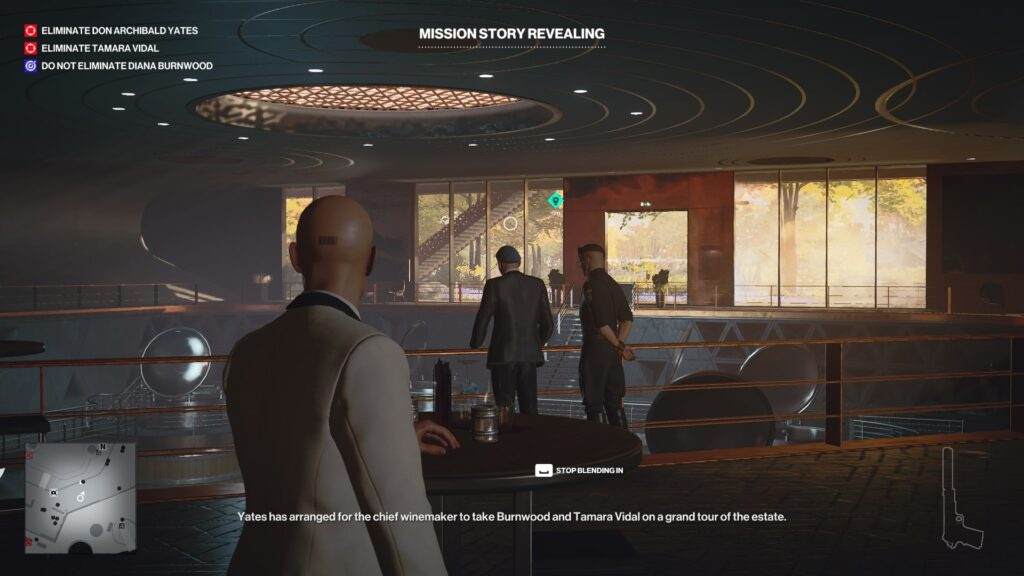
The Tour Storyline
Getting Started
Make your way to the winery building. Enter through the left entrance and eavesdrop on Corvo’s conversation with a military officer. This activates the storyline. Follow Corvo until he steps outside for a smoke break near the vineyard edges. Subdue him, take his outfit, and conceal his body in the nearby flowerbed.

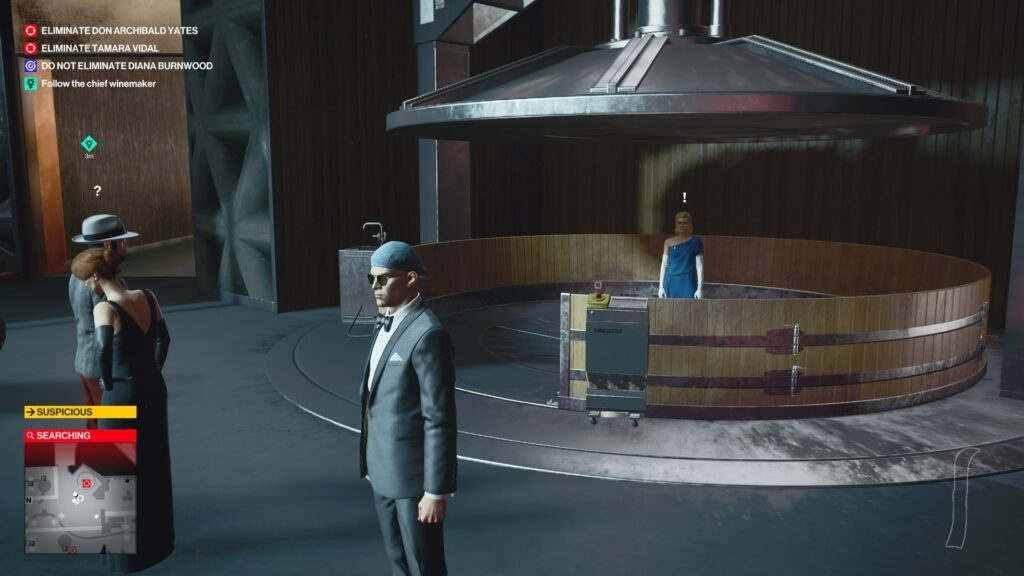
Becoming the Chief Winemaker
Wearing Corvo’s disguise, speak with the receptionist about the tour. Proceed through the right door down to the vineyard fields where Diana and Tamara are waiting.
Vault over the fence discreetly and navigate between the vine rows toward the chief winemaker. Pursue the worker, knock him unconscious, and acquire his clothing. He’ll drop a worker’s key. Stash his body in the roadside crate.
Important Note: Individuals with white dots above their heads can see through the worker disguise.
Harvesting Grapes
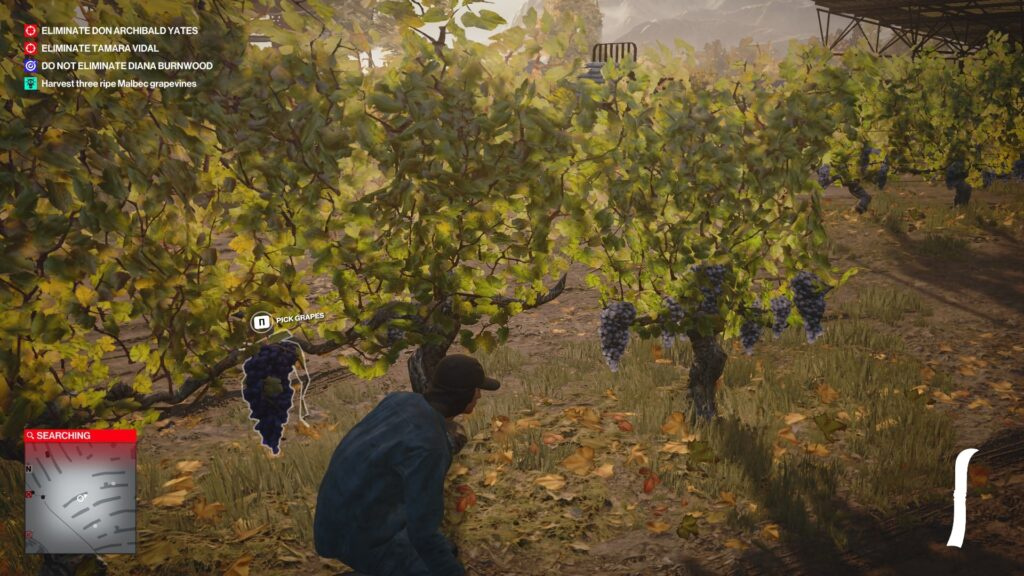
Pick up the pruning knife from the table under the shed roof. You need to find three large clusters of dark grapes with round berries—they’ll be highlighted for interaction. Walk along the dark grape rows (on the side opposite the chief winemaker). Not every row contains the required clusters.
After cutting the grapes, deliver them to the chief winemaker. Then change back into Corvo’s outfit and exit the fields to meet Tamara and Diana for the tour.
Elimination Methods for Tamara Vidal
Once the tour begins, the winemaker demonstrates various equipment. When he asks for questions, four markers appear showing elimination options:
Method 1: The Wine Press
Ask about the press, and the winemaker will suggest a group photo. Position yourself near Tamara and Diana. Diana will distract the winemaker while Tamara remains under the press. Interact with the control panel twice (the winemaker might walk away after the first activation).
Method 2: Giant Wine Barrel (Recommended)
Climb up to the barrel and ask the winemaker about it. When he and Diana leave, Tamara will linger behind. Subdue her and dump her body into the barrel.
Method 3: Grape Crusher (Recommended)
Ask about the crusher. When Diana turns on the radio and distracts the winemaker, push Tamara into the crusher.
Method 4: The Freezer
Grab the screwdriver from the wooden barrel on your way to the freezer. When the winemaker and Tamara enter, use the screwdriver on the left panel to lock the door. You can also wait for the winemaker to exit and trap only Tamara inside.
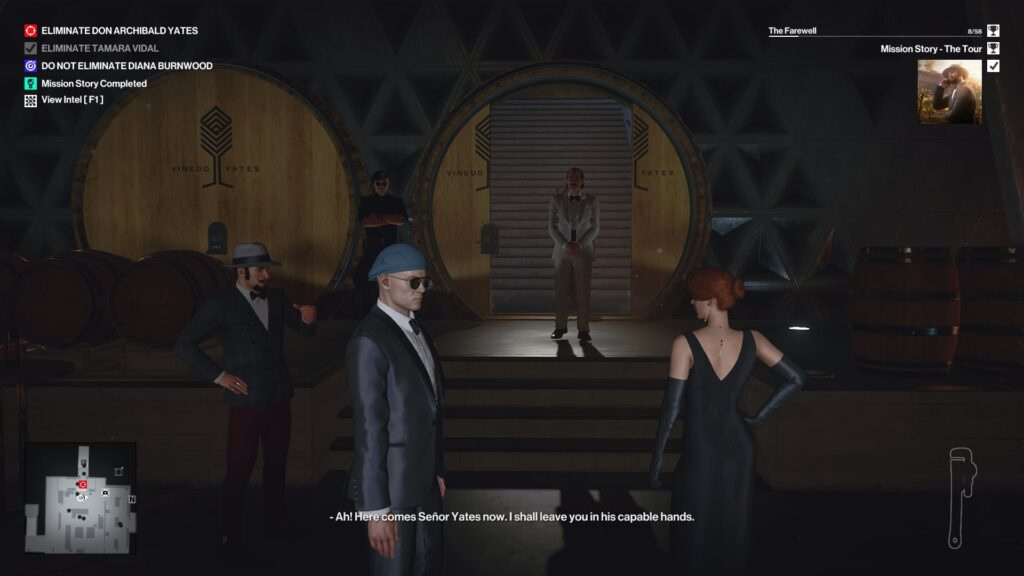
Wrapping Up
After eliminating Tamara, the winemaker escorts you to the wine barrel room where Don Archibald appears. This initiates the next storyline.
Closing Statement Storyline
Activation Requirements
This storyline only becomes available after completing “The Tour.” Once everyone leaves the barrel room, wait for a guard to approach the glass and speak with the sommelier. Mr. Yates will request a 1945 vintage wine.
Accessing the Sommelier Area
A hole exists near the locked door—drop down through it. Below, locate the ventilation shaft and open it with a screwdriver (found in the barrel right of the winery entrance). Climb up to the room with two sommeliers.
Alternative entry method: Grab the level 1 access key from the worker’s workshop table. Use your camera to unlock the secured hatch in the ventilation shaft. A button in the security room opens access for 60 seconds (requires agent or military disguise).
Securing the Wine
Wait for the right moment and eliminate both sommeliers. If guards are outside, close the windows using the wall panel. Change into the sommelier outfit and hide the bodies downstairs.
Open the vault by entering code 1945 (the vintage year). Take the bottle and meet the guard. Drop any illegal items (marked with red labels in inventory).
Critical Detail: You cannot smuggle weapons into the mansion as a sommelier due to security screening.
Solution: Infiltrate the mansion as a military officer and leave weapons inside. Then change back to sommelier for screening.
To obtain military clothing, open the barrel-disguised door, climb the stairs to the guarded corridor on the right, and neutralize the stationed soldier.
Wine Presentation and Finale
Follow the head of security and allow the search. Stand at the table’s edge and present the wine. Diana will be restrained and taken to Archibald’s house. A timer appears on screen—Diana dies when it expires.
Follow the marker to the distant door and carefully exit outside. A guard stands at the staircase top looking downward—perform a melee attack (Q key) and hide his body on the balcony. Subdue guards on both balconies.
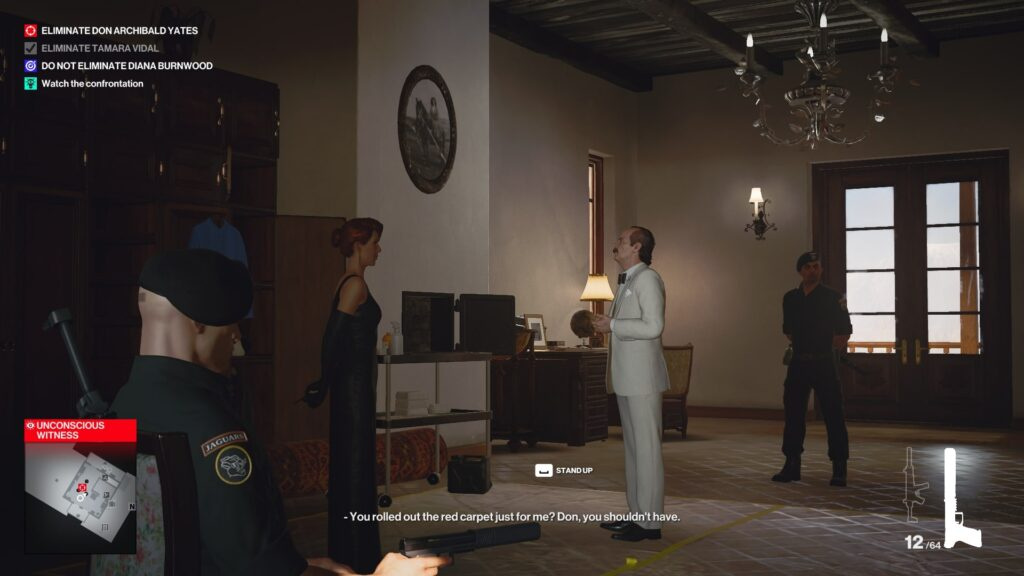
Change into guard uniform (if you haven’t already) and speak with Diana. Sit in the chair and wait for Archibald. When Diana plunges the knife into his ribs, eliminate both guards and finish Archibald as Diana requests.
Hide Don’s body, change into Agent 47’s suit, and head outside. An exclusive exit opens—the dance floor. Dance with Diana at the designated spot.
Eyes on Target Storyline
Reaching the Secured Zone
From the event entrance, look left to spot the guarded dam area with metal barrels in the upper left map section. Sneak along the left side, avoiding enemies.
Quick approach: Pass through the parking lot into the guard building. Disable the fuse box on the left wall to lure a soldier. Neutralize him, take the military uniform, and hide his body in the closet. This disguise is essential for the mission.
Calibrating the Sniper System
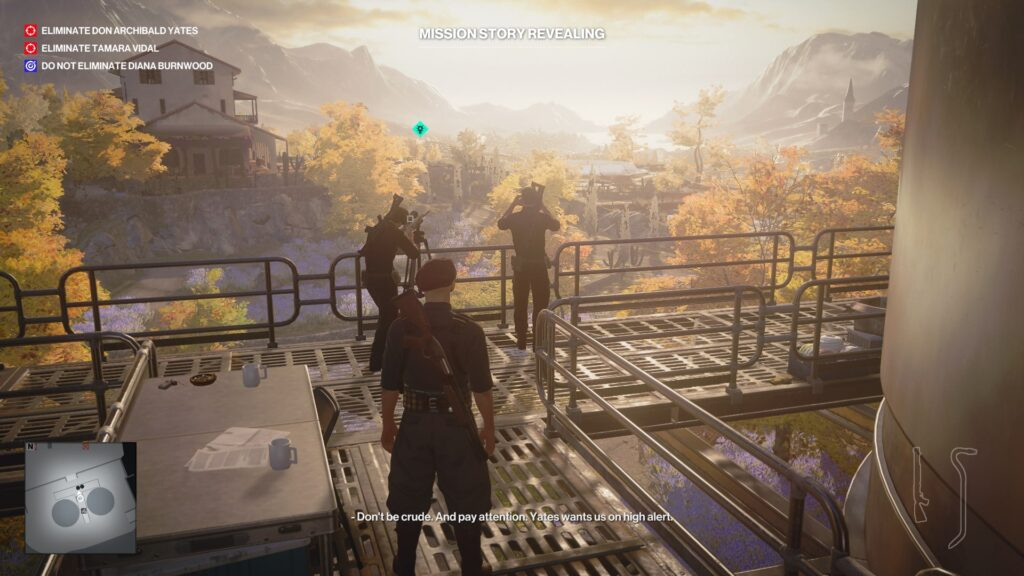
Ascend to the snipers (avoid people with white dots overhead). Eavesdrop on the snipers to activate the storyline.
A van stands in the central location. Behind it, communication equipment sits in a crate. Wait for guards to leave and grab the device. Be cautious—two nearby guards can expose you.
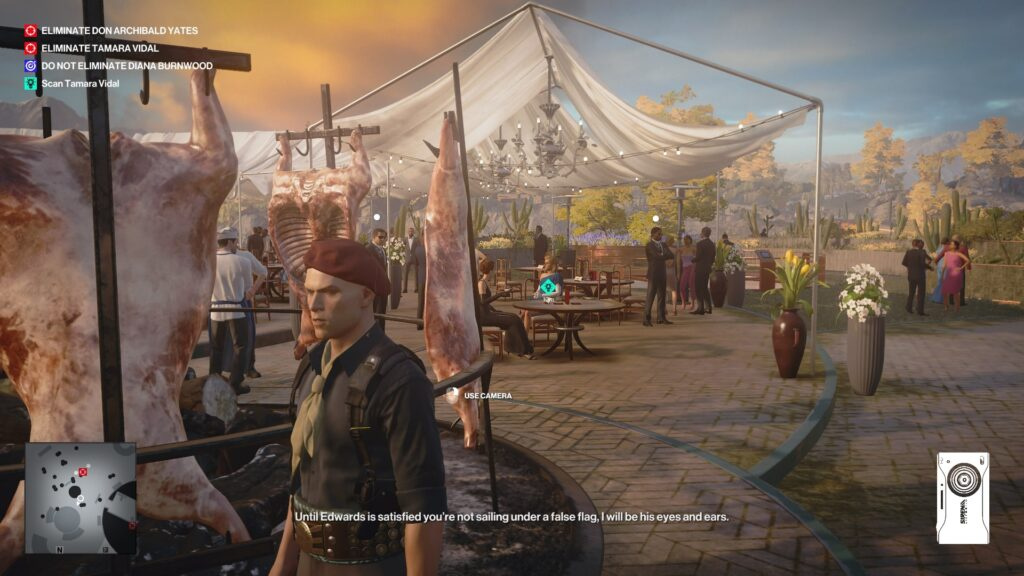
Hold your camera and scan any test object on the table (bottle or watermelon). Issue the firing command to calibrate the system.
Eliminating Tamara
Enter the banquet in military uniform (mandatory requirement). Find Tamara Vidal, scan her with your camera, and leave the zone. Issue the shooting command. The sniper neutralizes the target, completing the storyline.
Over the Top Storyline
Gathering Required Items
This storyline lures the sommelier from the room and can transition into “Closing Statement,” enabling Archibald’s elimination.
Enter the factory building. Pick up the fuse from the work desk left of the entrance. On the room’s opposite side, grab the wrench (also found bottom right of the crusher on the mobile toolbox).
The screwdriver is located on the second floor in the workers’ utility room (also available in the barrel right of the vineyard field exit).
For worker clothing: In the left hall with the crusher and freezer, a door behind the right tables leads to a locker room with a worker uniform bag.
Eavesdropping on Workers
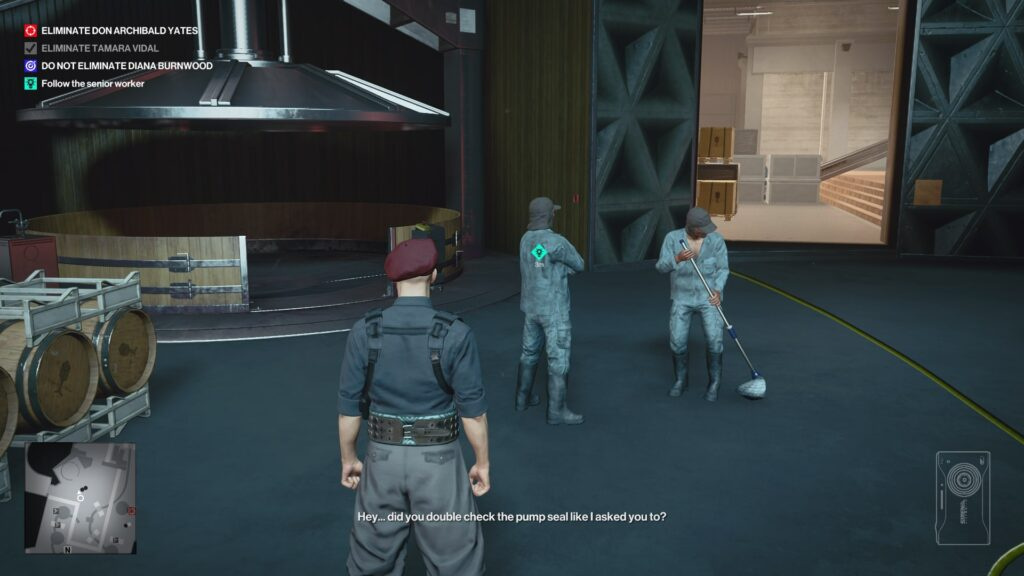
Two workers stand on the staircase leading to the winery. Eavesdrop on their conversation to activate the story. Follow the senior worker until he communicates with his subordinate.
Sabotaging Equipment
Insert the fuse into the electrical panel between the winery and preparation facility.
In the barrel room, distract the sweeping worker (use a coin) and interact with the electrical cable on the floor.
Using the wrench, disable the central pump. Be careful—four people might observe you. Use coins for distraction.
Eliminating Don Archibald
Return to the electrical panel and await Don Archibald’s arrival. When he descends from the metal bridge into the kill zone, interact with the switch.
Note: This counts as an accidental death. Workers and guards may die alongside the target.
A sommelier will rush from the barrel room—you can subdue him for use in the “Closing Statement” storyline.
Strategy Recommendations
The optimal combination involves “The Tour” for Tamara and “Closing Statement” for Archibald and protecting Diana.
Always carry a screwdriver and coins for distractions. Pay attention to individuals with white dots. Plan routes ahead, considering disguise changes. Save your game before starting each storyline.


Comments (0)
Sign In / Sign Up
Sign in to leave a comment.
No comments yet
Be the first one to share your thoughts!