
New York: Golden Handshake Map Overview
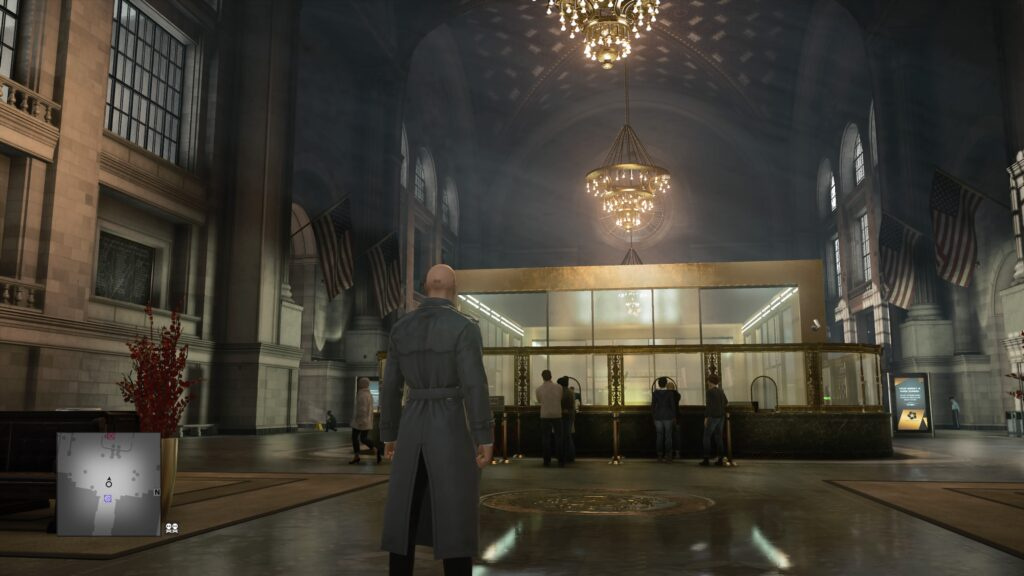
The Golden Handshake mission takes place in the Milton-Fitzpatrick bank in New York. Your objective is to eliminate bank director Athena Savalas and retrieve key data by either stealing the Data Core or collecting three backup Data Disks. This condensed indoor-only level features a Mastery Level cap of 15 and includes five Mission Stories.
Run 1: The Heist and On and Off Again Plus Secret Achievement
This approach covers two mission stories and unlocks a secret achievement. Bring a lockpick, coins, and a silenced pistol.
Starting The Heist Story
Begin by selecting The Heist from Mission Stories. Sprint into the Teller Hall along the right side, watching the glass area in the center. At the far end, you’ll spot a window with a Bank Teller inside. Request a private meeting to open an account.
Follow him into the glass room when he exits. He’ll activate the frosted glass for privacy—knock him unconscious as he does this, hide him in the wardrobe, and take his disguise along with the Janitor Key.
Watch for enforcers before leaving. Exit through the door, turn left through the large archway, pass the guard, and descend the stairs on the right. Go left through the gold door ahead. The vault entrance is immediately to your left, marked by the story waypoint.
Stand directly by the vault door until Diana comments “This is the vault.” After a pause, she should continue with “The vault looks even more fortified than we feared” and eventually mention the security hub. The story triggers once she finishes speaking. This sequence can be glitchy and may break if you activate another story first, which is why we’re prioritizing it.
Try moving in circles if Diana remains silent—this usually triggers the dialogue.
Obtaining the High Security Guard Disguise
Ignore Diana’s suggestion to visit the security hub upstairs. There’s a simpler method to acquire the High Security Guard disguise.
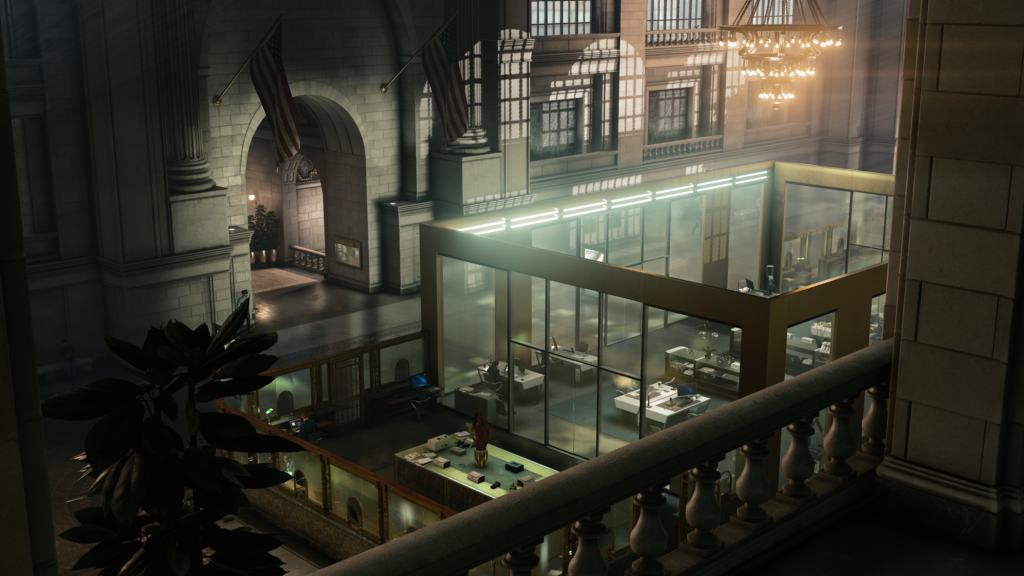
Return through the gold door, then enter the IT Room on the right. Both IT Workers should be seated on the couch with their backs toward you. Sneak across the room and unlock the Server Room door. Disable the Vault Security Lock on the right, then hide in the container.
A security guard patrolling the vault will investigate. Wait for the door to close, exit the container, and let him reactivate the lock before knocking him out. Take his disguise first, then grab the Security Keycard he drops to complete the next story step. Hide his body in the container. Both IT Workers are enforcers to this disguise, so watch for them before leaving.
Return to the vault entrance, use your keycard to open it, and walk forward to complete the story.
Accessing the Vault

Despite appearances, entering the vault itself is straightforward. Descend the steps, turn right past Vault Security, then right again when possible. Open the wall cabinet to retrieve the Chloroform Flask. Turn around and activate the Air Conditioner on the wall, then proceed through the doorway into the Loading Bay.
Locate the Ventilation System directly ahead and add the Chloroform—this knocks out all guards in Vault Security. Return to the Air Conditioner and deactivate it. Open the door and wait for the gas to disperse before entering to destroy the Camera Recorder on the table.
Enter the adjacent room, turn left, and pick the lock on the Deposit Box to obtain the Vault Keycard. Turn around and access the Vault Security System in the corner. Resist pressing the large red button momentarily—you need to retrieve an item first.
Exit through the glass door, turn right through the gold door, and run down the hallway past the guard and janitor. A Leather Briefcase sits on the shelf at the corridor’s end. Grab it and return to the vault.
Press the button to open the vault. Once inside, disable another Security System on your left to remove the lasers. Move forward and eject the Data Core. You cannot carry this visibly without attracting attention, so conceal it in your briefcase immediately.
Leave the vault through the glass door, turn right through the gold door, ascend the stairs, then turn left. In the main hall, turn left again and exit through the main entrance where you started (watch for the enforcer). Drop your briefcase by the doors—nobody will discover it here, and it’s perfectly positioned for your exit.
On and Off Again Story
Select On and Off Again from Mission Stories. Return down the stairs into the IT Room, avoiding the workers. Grab the IT Note immediately on your left to initiate the story, then enter the Server Room. Use the keyboard to disable the Local Network.
Watch with Instinct for the marked worker to sit at his desk near the door. Turn off the Fusebox and hide in the container. The marked technician will investigate—wait for the door to close, exit the container, and let him restore power before subduing him. Hide his body in the container and take his disguise.
This disguise grants nearly unrestricted access throughout the bank with minimal enforcers. Watch for the other IT Worker (one of only two enforcers for this outfit). Exit through the next door, turn right, climb the stairs, and enter the main hall.
Collecting Poison Items
Head to the back-left corner (southwest on the minimap) into the Lost and Found area with vending machines. Open the double doors and grab the Rat Poison from the cart on the right. Turn right and enter the small security room through the next door on the right to obtain the Vodka Bottle immediately left.
Exit and make an immediate U-turn right through the wooden door. Ascend the stairs on your left, turn right, then left up the small staircase. Pass through the open double doors ahead at the top, turn left, and traverse the Stock Market to reach the double doors at the end.
Turn right in the hallway and follow it to its conclusion. Enter the restroom through the double doors on your right, turn right again, and enter the left stall. Open the cabinet on your left to retrieve the Lethal Poison Pill Jar.
Accessing Athena’s Office
Exit the restroom, turn left, then right toward a glass door. When unobserved, use the card reader to access the stairs leading to Athena’s floor. The receptionist’s greeting completes the story. Enter the main office through the double doors and proceed left toward another door. Wait here.
Athena may shout at you if she’s present—ignore her as she’ll resume her patrol. If absent, wait for her to enter and exit into her Private Chambers (the door with a camera above it). You must clear this room of guards to safely eliminate her.
Save your game when she enters her Private Chambers. One remaining guard should position himself by a pillar closer to you. Crouch when he stops, ensuring he can’t see you, then throw a coin by the left door. When he investigates, knock him out, grab his weapon, and quickly drag him through the door into the side room. Hide him in the wardrobe.
Return and grab the Newspaper from the left table. Wait by the other guard for Athena to enter and exit to her Chambers again. When the doors close, quickly knock out this guard, take his weapon, and drag him to the container near the Chambers door. If you didn’t destroy the Camera Recorder earlier, hide him in the wardrobe in the side room instead, then wait for Athena to exit and re-enter her Chambers.
Sneak into the Chambers and hide in the container directly ahead. Wait for Athena to exit and walk toward her office, then emerge from the container. As Athena moves out of sight, throw the Newspaper at the remaining guard’s head and hide him in the container. Grab his dropped weapon before returning to her office.
Elimination Methods
With the guards neutralized, you can eliminate Athena using various methods. Create another save.
Mirror Shot: Enter the Conference Room through the door left of the main double doors. A large mirror hangs on the left wall. Wait until Athena enters her Chambers and sits behind this mirror. Draw your pistol and use Instinct to line up a headshot through the mirror (unlocks Straight Shot and Mirror, Mirror, On the Wall challenges). This requires a reload afterward.
Emetic Poison: Locate the drinks cart near the Private Chambers door. When Athena isn’t approaching, place the Vodka Bottle on it and add Emetic Rat Poison to the glass beside it. She’ll drink when she notices the bottle. Previous bugs preventing her from reaching the toilet have been patched—she should now consistently go to the restroom. Follow her down to the restroom visited earlier and drown her in the toilet stall. Reload afterward.
Lethal Poison: Repeat the Vodka Bottle setup, but add the Lethal Poison Pill Jar instead. Wait for her to consume the drink and die.
Award Kill (Secret Achievement): For the final elimination method, locate the Gramophone on the opposite side of her office from the Private Chambers doors. Activate it and wait for Athena to become distracted. After she deactivates it, she’ll stand before the award to its left. Position yourself behind her and press the interaction button to kill her with the award. Leave her body in place.
Exiting for the Achievement
The secret achievement requires exiting through the main entrance while visibly carrying the Data Core. Return through the main doors, descend the stairs, and pass through the glass door. Turn right down the hallway, left through the open doors across the Stock Market, then right through the next open doors at the far end and down the stairs.
Descend the next staircase and turn right toward the main entrance. Your briefcase should remain where you left it. Do NOT pick up the briefcase itself—extract the Data Core so you’re holding it in your hands, then exit the building.


Comments (0)
Sign In / Sign Up
Sign in to leave a comment.
No comments yet
Be the first one to share your thoughts!