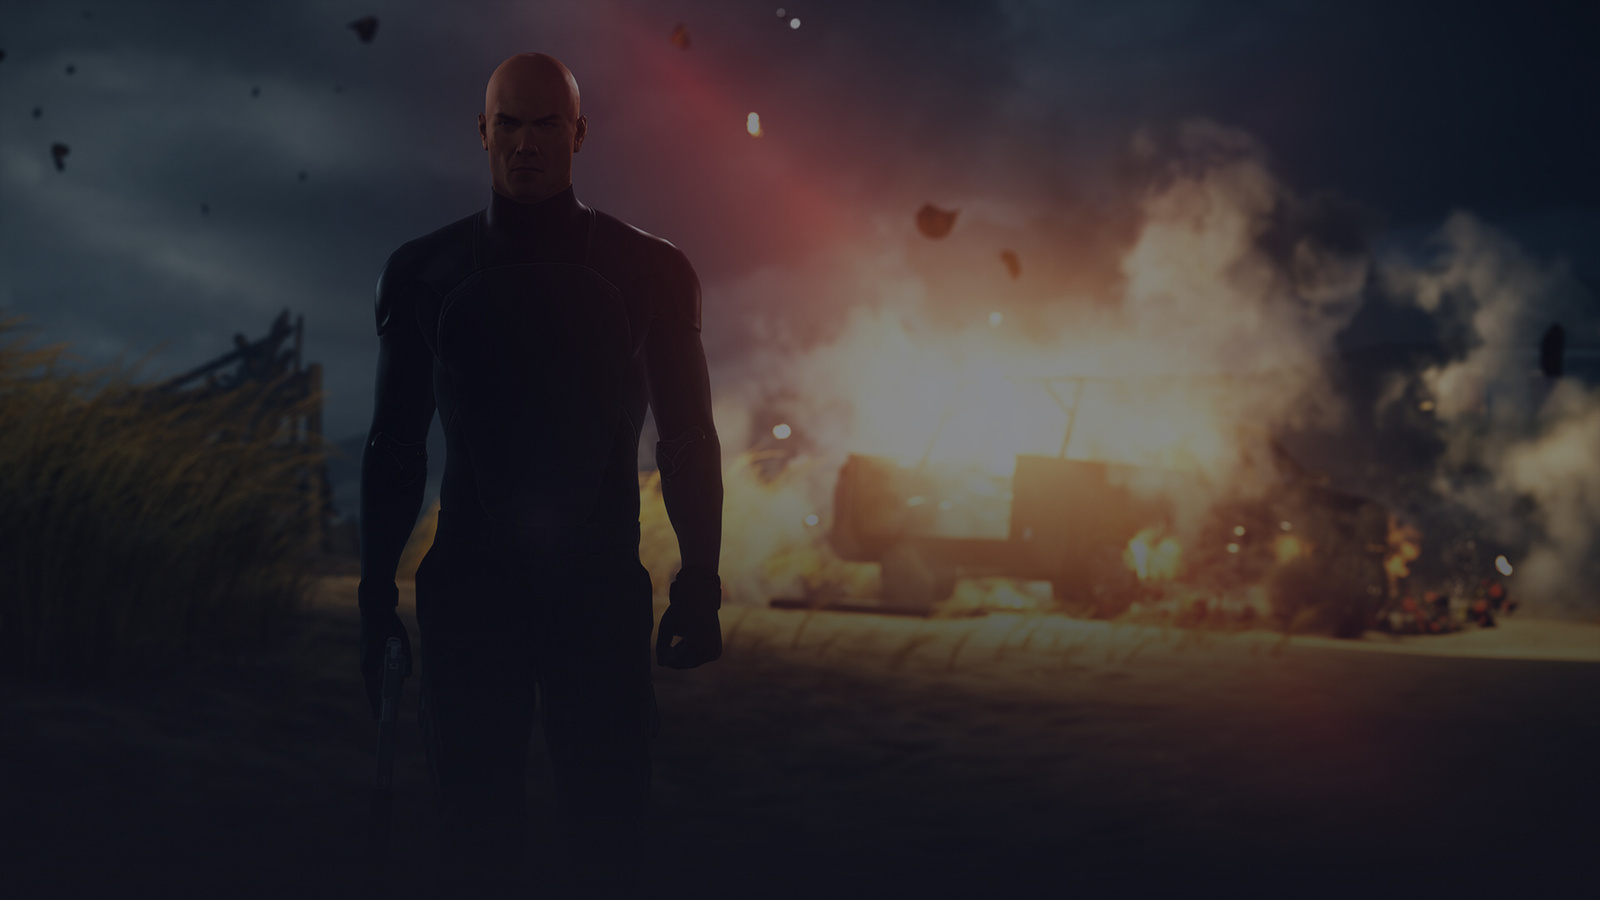

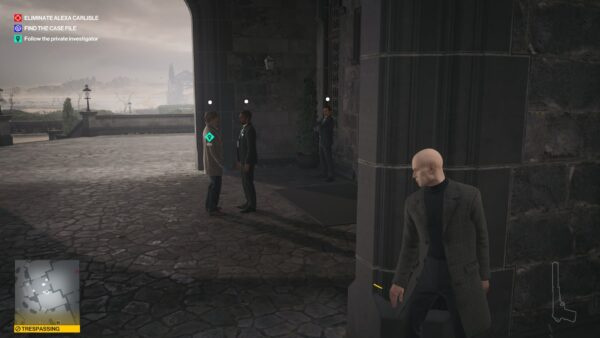
This mission takes place in Chongqing and requires you to eliminate two targets: Hush and Imogen Royce. The location offers multiple approaches, from elaborate story missions to creative improvisations that reward exploration and planning.
Mission Objectives
Your primary goals are straightforward but challenging to execute:
- Eliminate Hush
- Eliminate Imogen Royce
Three distinct story missions provide structured paths to your targets, though experienced players can craft their own strategies using the environment and available tools.
Map Overview
Story Mission One: Impulse Control
Getting Started
Begin at the main square and climb the steps on your left. Pass the mini karaoke spot and laundromat, then turn right. Look for a building marked with a blue sign reading “The Block.” Circle around to find a white van where homeless people gather near a fire hydrant. Eavesdrop on their conversation—one mentions getting approved for an experiment.
Acquiring the Homeless Disguise
Return to the square and descend toward your starting position. A homeless person sits on a bench to your left. Subdue him quietly, take his clothes, and hide the body in the nearest container. This disguise grants access to the experimental facility.
Weapon Preparation Strategy
Before entering the lab, consider stashing a silenced pistol inside the building. Climb the wooden scaffolding near where the homeless people were talking, enter through a second-floor window, drop your weapon in a secluded spot (hold it and press Z), then exit the same way. You’ll retrieve this later when unrestricted movement becomes necessary.
Laboratory Access
Wearing your homeless disguise, approach The Block’s main entrance. The guard will now let you pass. Submit to the search procedure, climb to the second floor, and wait your turn by sitting in the designated chair. When called, speak with the lab technician and listen to her instructions. Follow the guard out when dismissed.
Reaching the Upper Floors
Rather than following the guard completely, double back and climb the staircase near where you first overheard the homeless people. Enter through the window again. You’ll need a crowbar to progress—find it by heading toward the staircase with two guards, descending, passing through the courtyard with grating, and entering the door ahead.
If you want to unlock a shortcut for future playthroughs, use the crowbar on the balcony to open a permanently accessible ladder. Use the crowbar again on the second-floor grating, then climb higher using the construction scaffolding.
Code Access and Disguise Switch
The upper floor features two doors with keypad locks. Peek through a window to see the code written on a board: 2552. Enter through the left door and subdue both the doctor and guard inside. Hide both bodies thoroughly and equip either disguise—this step is crucial for blending in during subsequent stages.
Preparing the Experiment
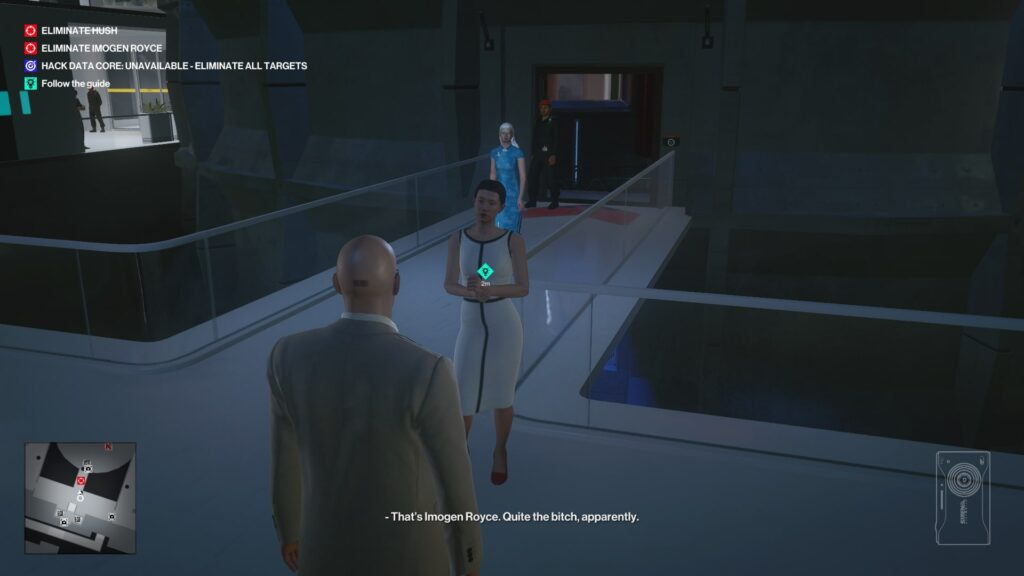
Climb to the fifth-floor restroom and locate the test subject. Take his disguise and conceal his body. Return to the main hall where Hush resides and inform the lab technician you’re ready for testing.
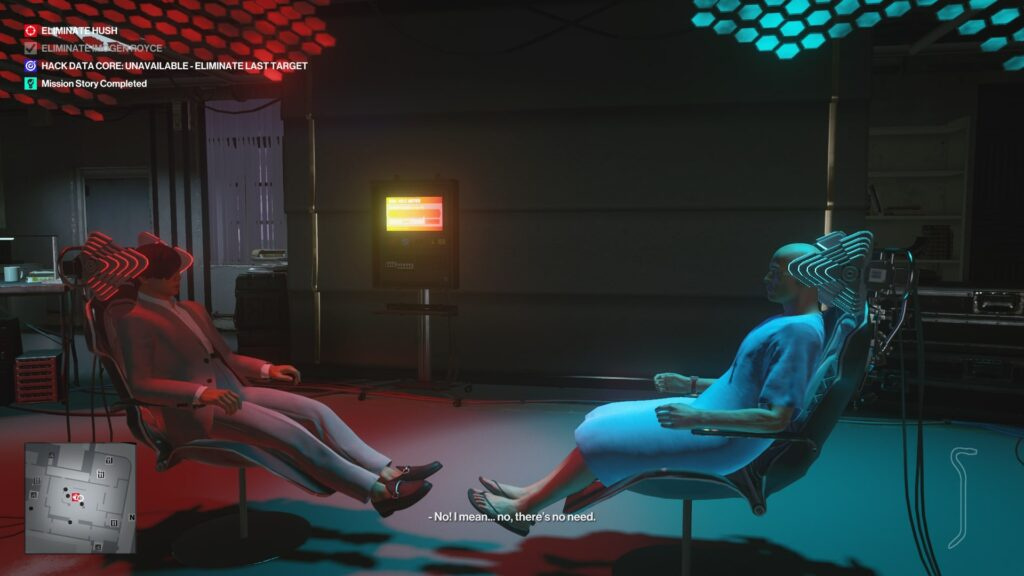
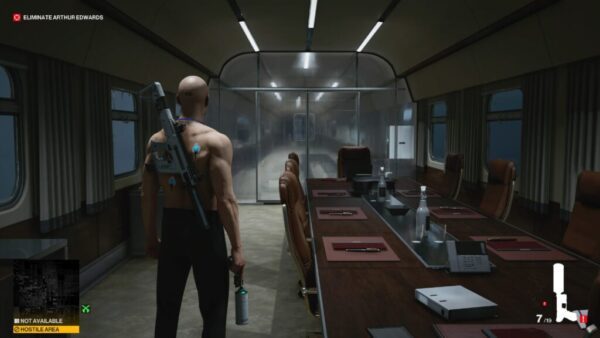
Eliminating Hush: The Critical Moment
This is the most important part of the mission strategy. Before sitting in the chair, you must eliminate the lab technician:
Approach Hush and confirm you’re ready for the experiment. Before Sister Lei arrives, distract the technician by tossing a coin behind the left screen. When she investigates, subdue her and hide the body as close to the wall behind the screen as possible.
Why this matters: If the technician runs the experiment, power stays at 50%—insufficient to eliminate your target. If Sister Lei conducts it, power reaches 100%, which is exactly what you need.
When strapped into the chair, do NOT select “resist” the first time. Doing so might cause Sister Lei to abort the experiment entirely. On the second prompt, Hush will increase power to 120% himself, resulting in his elimination.
Alternative Approach
If you didn’t eliminate the technician and press “resist” in the chair, Hush will retreat to a back room. Pick the lock on the side door, avoid the guard in the blue suit, then eliminate the guard, bodyguard, and Hush himself in sequence.
Story Mission Two: Certainty Principle
Mission Start
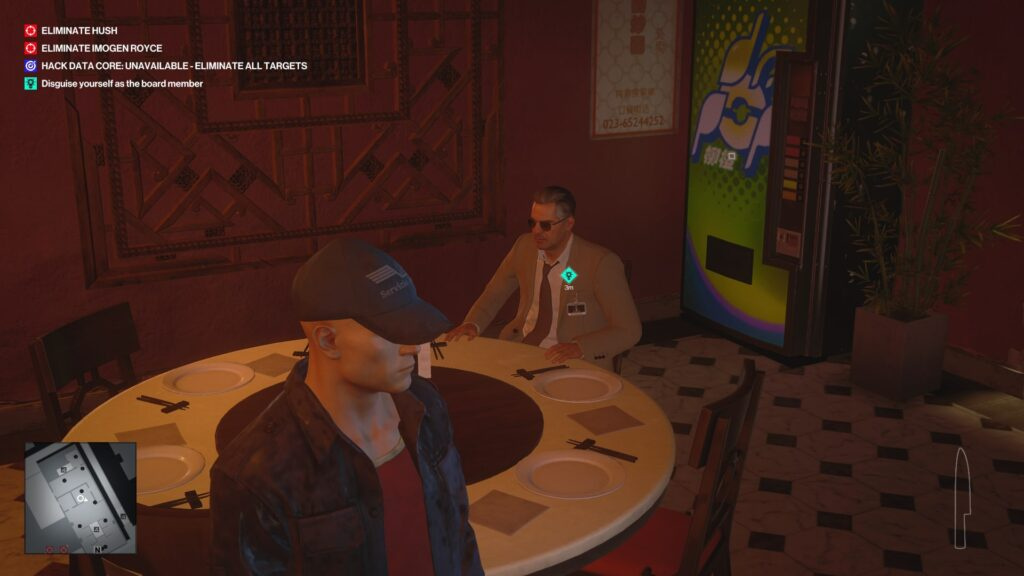
On the first square, enter the restaurant with red signage on your right. Listen to the conversation between a man and woman at one of the tables. Accept the prompt to begin this story mission.
Obtaining the Access Code
Exit the restaurant and look left around the corner. Climb the staircase and follow the walkway until you spot an interior courtyard below on your left. A female cook is struggling to remember a password. Eavesdrop until you hear the code: 0118.
Securing Form P41
Return to the square. Opposite the restaurant, find the entrance to a corner building with blue signage—it’s a motel. Climb to the top floor and enter code 0118 at the door terminal. Proceed to the back room (bedroom) and retrieve Form P41 from under the bed or couch.
Acquiring the Client Disguise
Poison Method:
Enter the restaurant and go through the right door to the kitchen. Crouch and sneak to the far cook, subdue him, and hide the body in a container. Locate rat poison in the restroom. Prepare the meal at the station, add poison, then ring the bell for the waiter to collect it.
Direct Method:
While the waiter is in the kitchen, return to the dining area. Subdue the seated male client, take his clothes, drag his body to the right restroom, and hide it in the container.
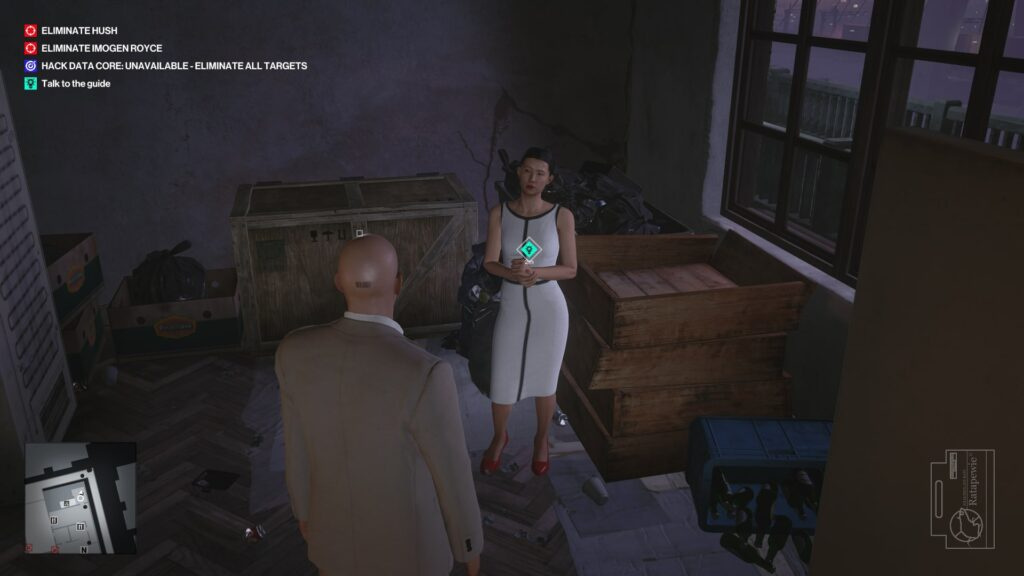
Infiltrating the ICA Facility
Wearing the client disguise, head to the marked location and speak with the female guide. Critical step: Drop all weapons before entering. Follow the guide into the laboratory. Downstairs, hand over Form P41, then approach the guards and allow them to frisk you.
Security System Hack
Follow the guide forward. When you reach the room where she gives you time to look around, backtrack slightly. Look right—a laptop sits on a shelf behind transparent glass where a woman works. Use your camera to scan the device on the wall right of the laptop, which closes the window. Wait until no one is watching, then hack the laptop. Use coins or other objects to distract employees if necessary.
Eliminating Imogen Royce
Continue the tour and meet with Royce. Follow her to her office and listen to her speech.
Office Method:
After Royce leaves, access the terminal. Fire her guard (optionally fire two additional employees as well). Exit and ask a guard to summon Royce. Return to the office and use the wall panel to close the window blinds. When Royce arrives, eliminate her and hide the body in the closet.
Story Mission Three: All-Seeing Eyes
Accessing the Laundromat Roof
Code Method:
Head to the square and climb the left staircase. Enter the laundromat, find the door with a keypad lock, and enter code 0118.
Balcony Method:
From the square, enter the building left of the laundromat stairs. Climb to the upper balcony, vault over the left railing, move along the balcony, then climb the pipe upward.
Crowbar Method:
On the right side before the laundromat, there’s a locked roof access. Use a crowbar for entry.
Establishing Sniper Position
Climb to the laundromat roof and pass through the second-floor guard post. Locate the patrol guard carrying a sniper rifle. Subdue him, take the rifle, then ascend to the highest rooftop. Find the broken drone and scan it with your camera.
Destroying the Drones
Position yourself beneath the billboard where extra ammunition is available. Begin shooting the drones flying ahead and to your right. Use time slowdown (Shift) and aim slightly ahead of their flight path. For distant drones, adjust your aim left or right along their trajectory. After clearing the right side, eliminate drones on the left. Two guards from below will investigate—hide until they leave.
Final Target Elimination
Return to the top position and destroy the two drones above Hush’s building. This action prompts Royce to call Hush for an outdoor meeting. You can now eliminate both targets simultaneously with the sniper rifle.
This method has a unique advantage: Olivia creates conflict between the targets, bringing them into the open together.
Server Access (Mission Finale)
After eliminating both targets, you need to reach the core server.
Obtaining Level 3 Access Key
If you used All-Seeing Eyes:
Descend to Royce’s body and collect the level 3 access key.
If you used other methods:
Chef Disguise Route: Change into a chef outfit, climb to one of the building rooftops (check your map), and access the key there.
Retracing Your Path: If you eliminated Hush first then Royce, simply return to the laboratory. If reversed, you’ll need to exit and re-enter.
Re-entering the Laboratory
Go back through the guided tour route. In the room where you hacked the laptop, find the storage closet on the left. Access it through ventilation from the adjacent changing room. Locate the level 1 access key inside. Use your camera to hack the door panel.
Command Center Access
Interior Courtyard Method:
Wearing a chef disguise, go through the café’s interior courtyard. Find the container with a locked door and enter code 0118 on the digital panel.
Direct Route:
Reach the ICA command center, descend and turn right. Use your camera to open the level 2 access door.
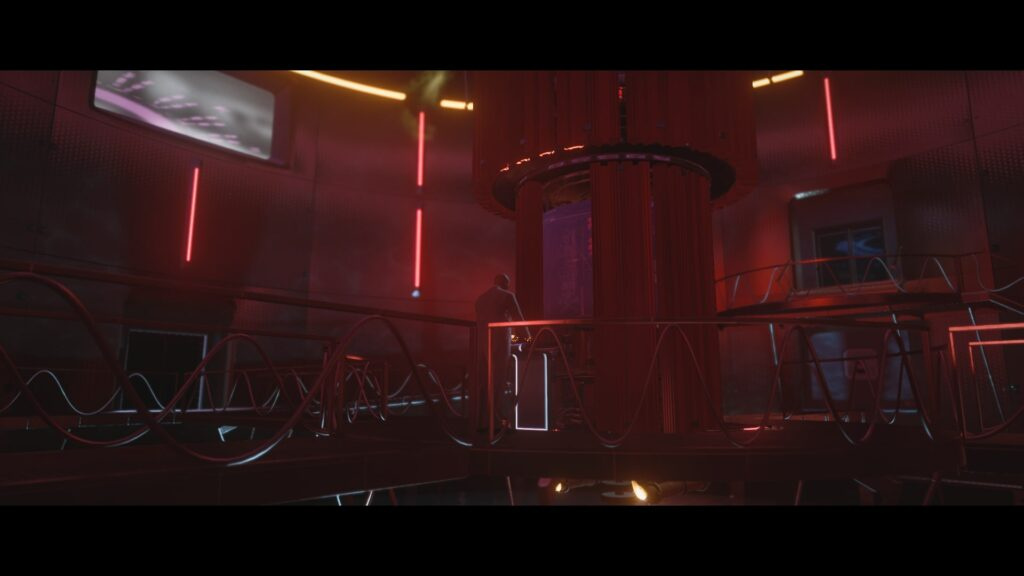
Server Hack and Escape
Proceed to the central server core and interact with the terminal repeatedly. An alarm will trigger. Behind the terminal is a ventilation shaft—crawl through the first one. Wait for a single guard to appear, then return to the core and eliminate him. Take his disguise and sprint out of the laboratory past other guards (they won’t identify you in time). Reach any exit point to complete the mission.
Note: After hacking the server, additional casualties don’t affect your mission rating.
Codes and Passwords Reference
- 0118 — Motel apartment door, laundromat door, café container
- 2552 — Underground laboratory fourth-floor door
Essential Tips
Use your camera for remote panel hacking and window control. The crowbar near the fire hydrant with homeless people unlocks additional passages. When shooting drones, hold your breath (Shift) for accuracy. Always hide bodies to avoid triggering alerts. Plan your route in advance—some elimination methods for one target simplify access to the other.


Comments (0)
Sign In / Sign Up
Sign in to leave a comment.
No comments yet
Be the first one to share your thoughts!