
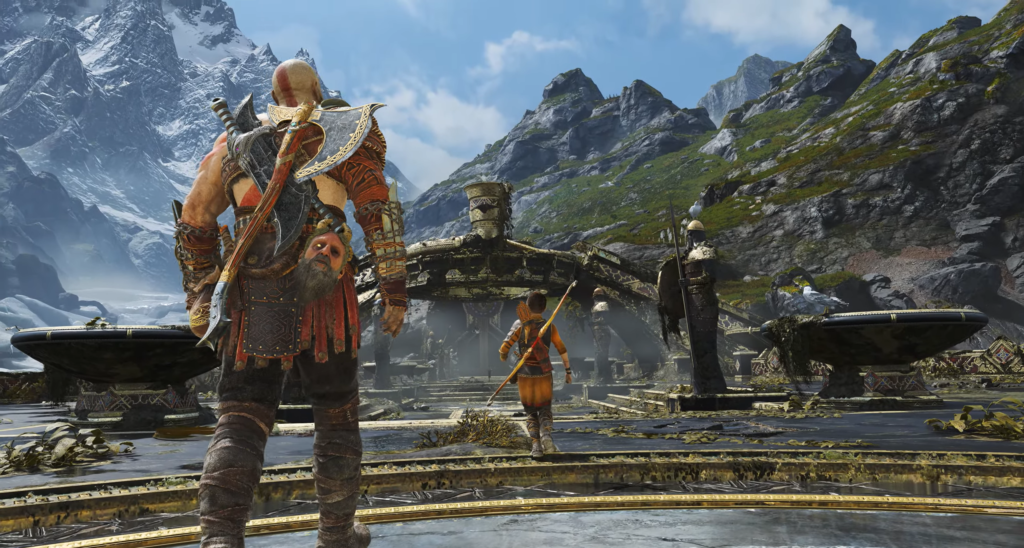
Return to the boat: secrets of the Witch’s Cave
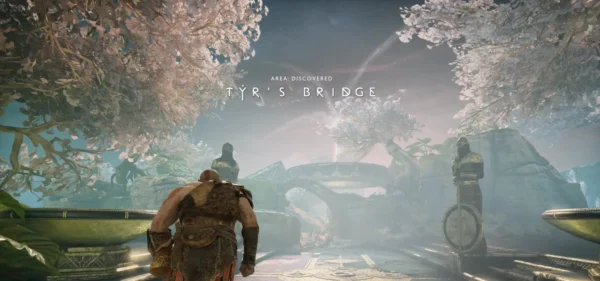
Atreus is back on his feet, which means it’s time to return to the goal beneath Tyr’s Temple. But there’s no need to rush: now that you know how to destroy Hel’s spikes and control Hel’s Winds, virtually all previously inaccessible areas are open to you. It’s time to explore the old locations.
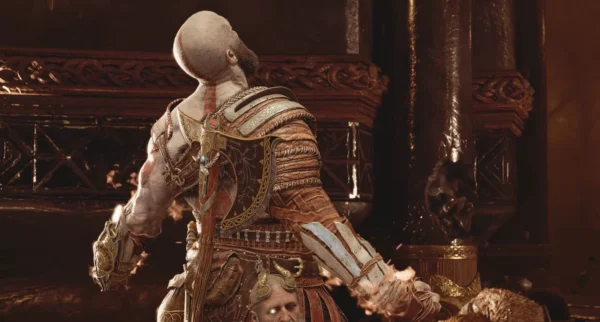
The legendary chest in the Witch’s Cave
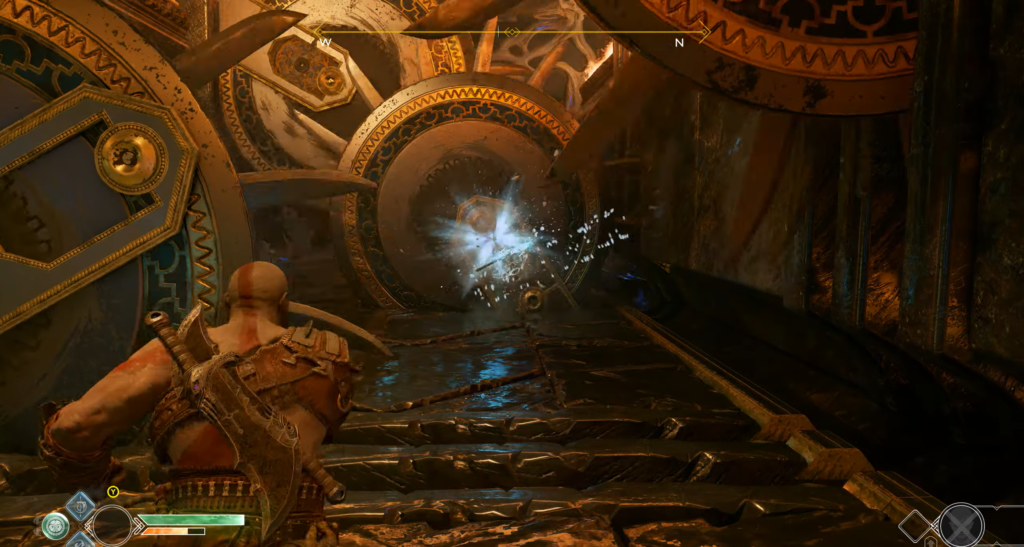
When descending into the Witch’s Cave, turn right from the well—where the chest with the code used to be. Here you will find the Winds of Hel. Pick them up and carry them to the receiver to the left of the bridge leading to the Witch’s house, then descend to the lone platform in the center of the lower tier of the cave.
Go to the opposite side and place the wind on the upper platform above Hel’s spikes. Destroy the spikes, move the stone pallet to the center — this will allow you to intercept Hel’s Winds, jump to the other side, and activate the stone vault. Inside the legendary chest is Fury’s Rage, a new light rune attack for Chaos Blades.
The Idunn Apple at the Witch’s House
Climb out of the cave through the well to the place where the turtle lives. Notice the giant arch created with the help of a bowl of sand: the Winds of Hel are attached to its right side. Move them to the left side of the arch.
Climb the chain to the high ridge (the same one from which you once examined the runes for the sand bowl), pick up the Winds, and run down the path. Along the way, place them briefly under the rune mechanism, then carry them to the receiver behind Norn’s chest.
Three “B” symbols will appear in different positions. Adjust the rotating mechanism as follows:
| Position | Desired symbol |
|---|---|
| Top of the mechanism above the receiver | Rune resembling “B” |
| Lower part of the same mechanism | Rune resembling “^^” |
| Final rune receiver | Wait until the symbol changes to a mirrored “B” |
Once the last symbol matches, take the Wind and open the chest to receive the Idunn apple.
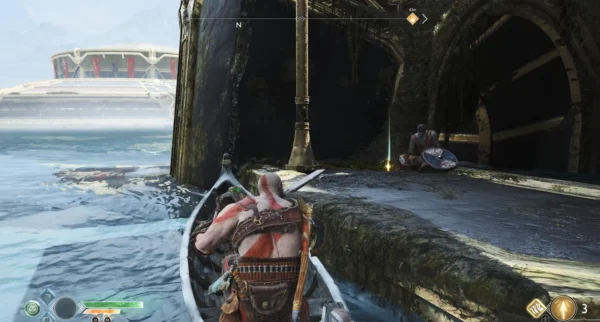
The Path to the Shore of Nine
After taking the elevator down to the water, you will find a boat tied to the shore behind the lift. After the cutscene, you will have free access to the Shore of Nine. Most of the mystical gates are already active, so you can fully explore all the areas you have visited before.
Tip: Helheim is also available for revisiting, but keep in mind that the enemies on the way to Hel have become significantly stronger. If you decide to go, here’s what awaits you: on the first high bridge, Atrey can break a shard crystal, opening access to one of Odin’s ravens, a chest with silver, and a coffin with charms. One floor below is a wall of red resin; blow it up to reach the legendary chest with the Talisman of Endless Storms (epic talisman). On the far bridge is another crystal, behind which lies Odin’s Secret Room with two Family Heirloom artifacts, two of Odin’s ravens, and an imprisoned Valkyrie.
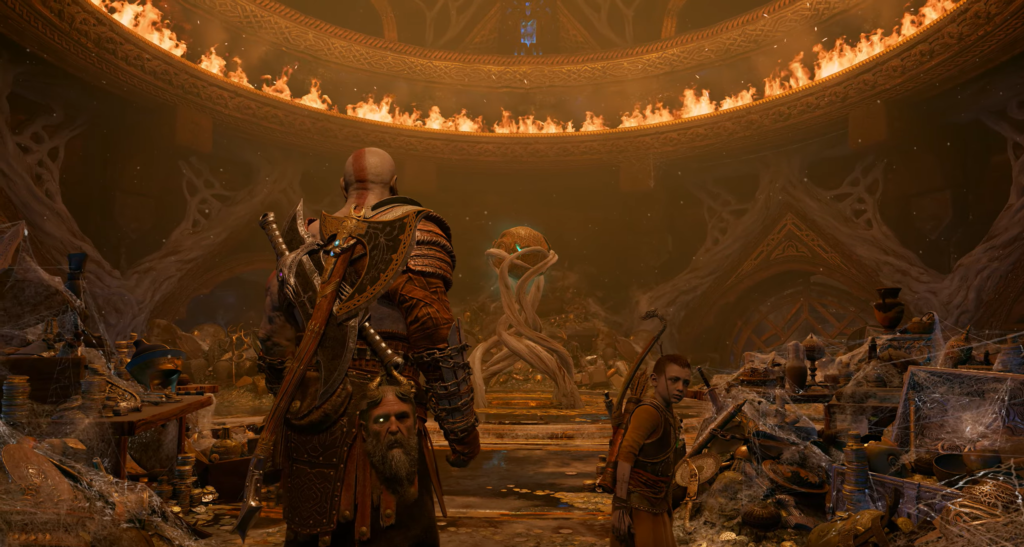
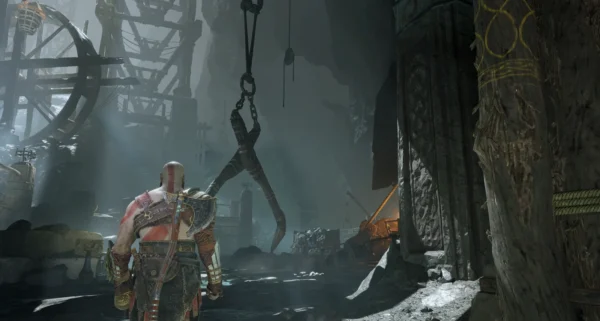
Tyra’s Vault: Deactivation of Protection
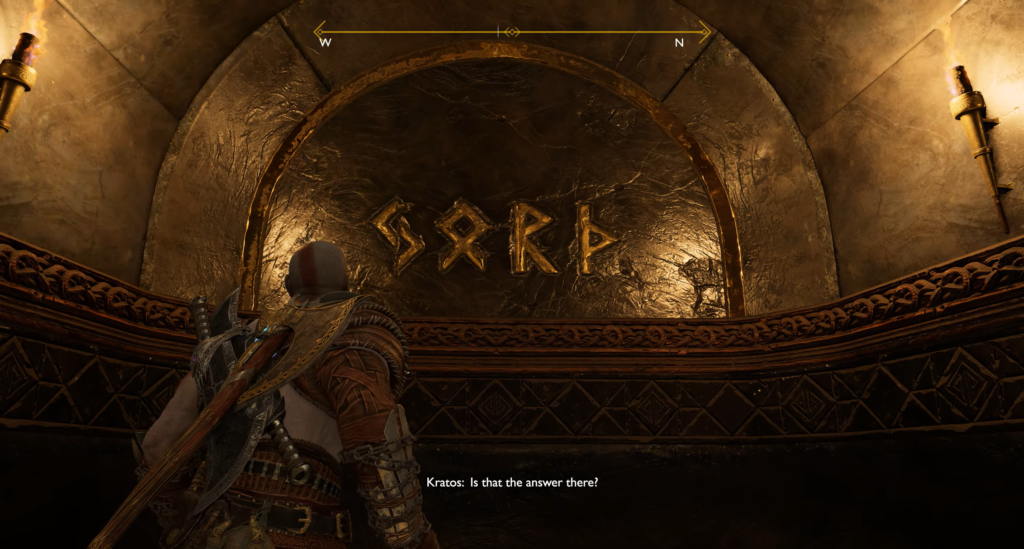
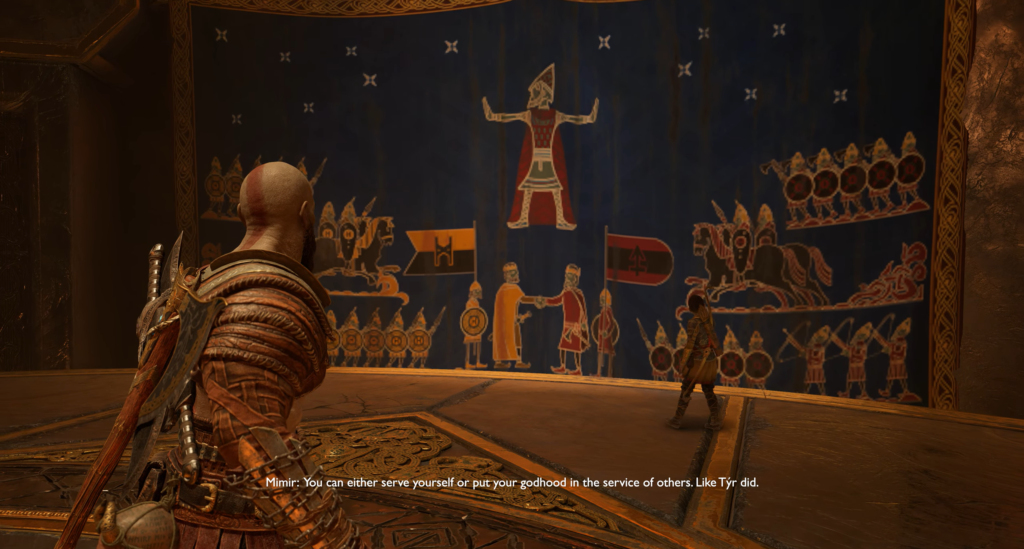
Return to the vault at the bottom of the temple. After Atreus reads the riddle, find the answer on the wall—the platform will begin to descend. While the elevator is going down, don’t miss the opportunity to examine the frescoes and inscriptions dedicated to Tyr and his travels to other civilizations.
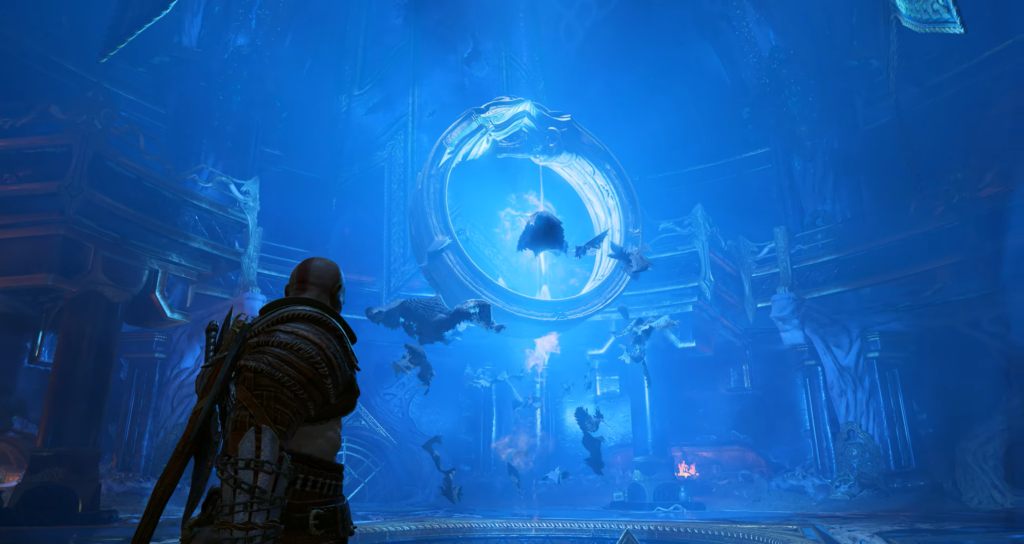
Below is a long corridor past the roots of the World Tree, leading to a huge hall. As you approach the Black Rune, giant rotating rings soar upward and envelop the rune in magical protection.
The First Ring
Ignore the treasures around you — focus on the task at hand. The rings of the protective barrier contain Wind Hel, and a receiver is needed to deactivate each ring.
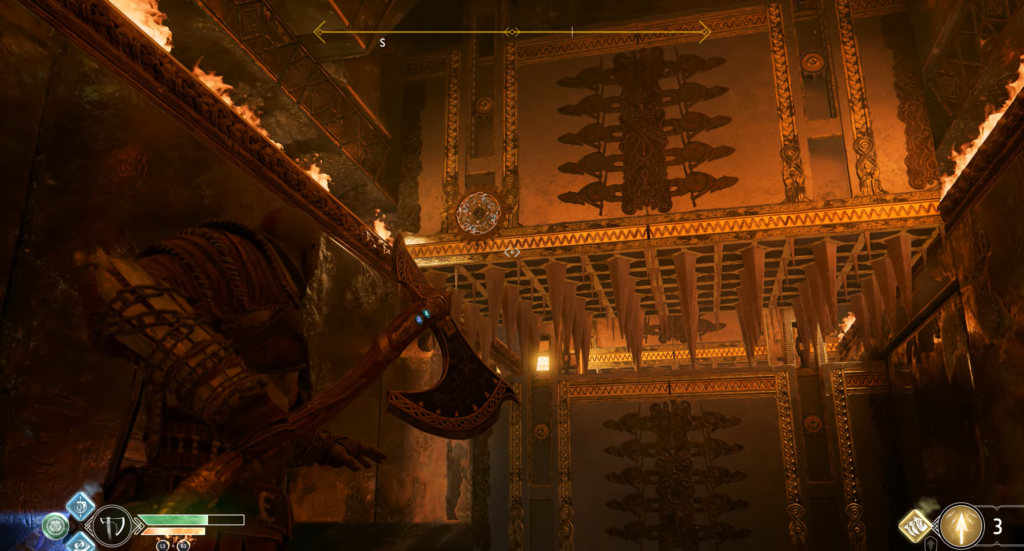
Remove the Wind from the first ring and go right, past the health/rage/experience stone, into a small chamber with a ring of fire at the top and a receiver in the center. Place the Wind — the receiver will sink into the floor, revealing a wheel mechanism. Turn the wheel: two passages with dangerous gears will open. There is a small knife on the table nearby — Atreus can take it.
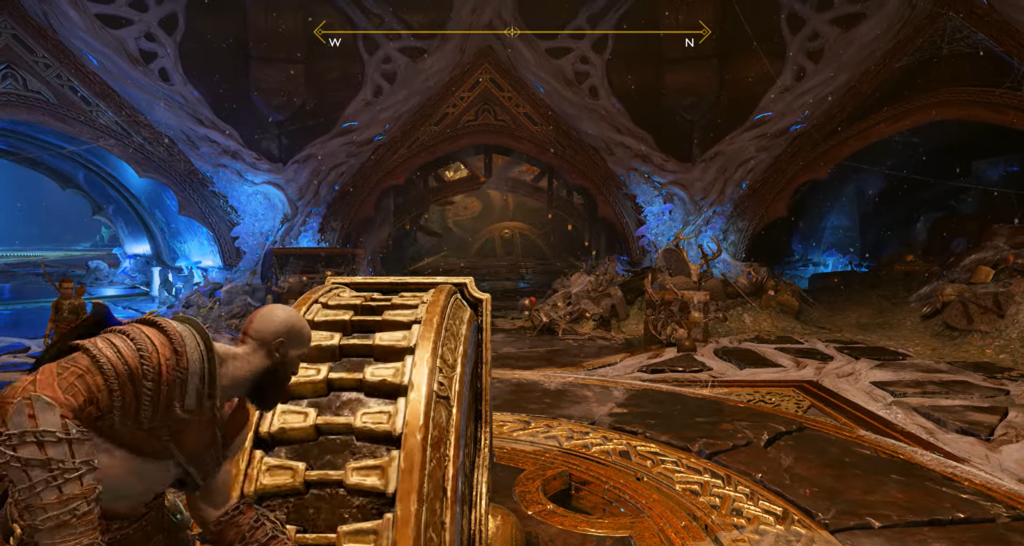
Rotary Saw Room
Behind the wheel mechanism is a corridor with a giant rotating blade spanning the entire width of the passage. Throw the axe at the attachment points above the saw to rotate the blades and slip through the side. Repeat the technique with the second blade and reach the coffin made of sturdy Svarthalheim steel.
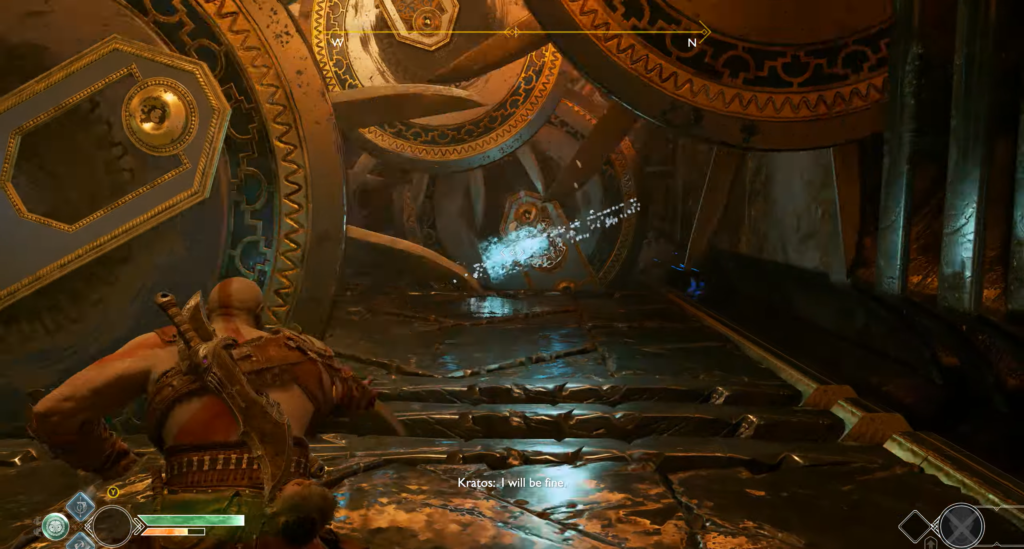
The left passage leads to a veritable corridor of death: two saws move back and forth, and on the right is a tunnel for Atreus. Slip past the first two saws when they part, then stop in front of the rotating blades ahead. Wait in the corner and run when the gap opens.
The last pair of saws cannot be removed, but their open gears are visible. Freeze one with an axe, wait until the second one aligns with the first, and pull back the axe — a passage to the chamber with the second Wind Hel receiver will appear.
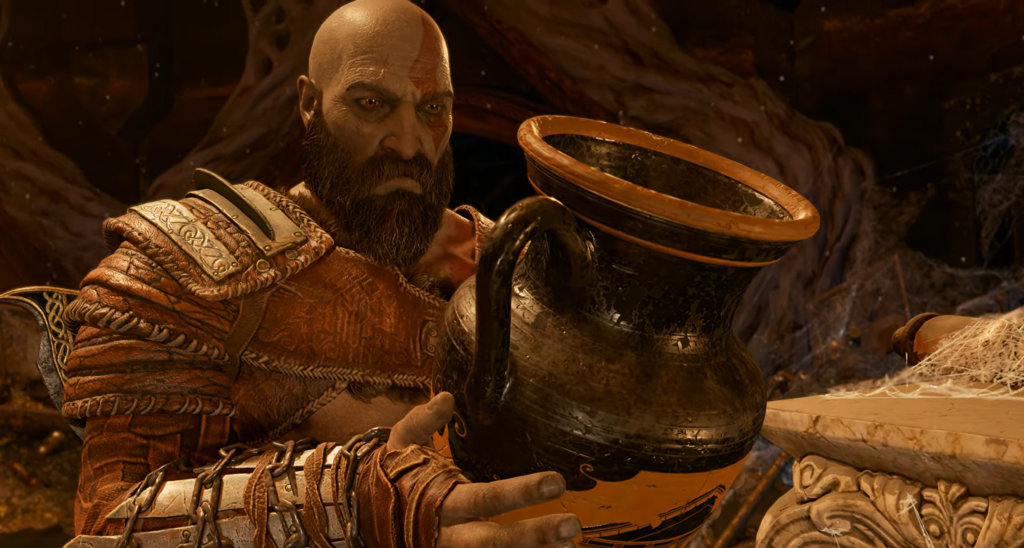
Kratos can admire the treasures, and nearby is a scarab artifact from Egypt. Find the door back to the central hall of the vault.
The battle with the draugr and the second ring
In the central hall, you will be greeted by a wave of draugr coming from all sides. Keep in mind: fire draugr are not very susceptible to Blades of Chaos, but they are vulnerable to axes and fists. Ice reapers, on the other hand, burn when struck by blades. Use this to your advantage.

After the battle, remove the Winds of Hel from the second ring and carry them to the room with the scarab. Nightmares will appear along the way — place the Winds in the receiver, then grab the nightmares and throw them away.
The Idunn apple in storage
In the corridor opposite the main hall, there are two spiked blocks that alternately extend from the walls. Freeze the second one and slip past the first one to the Norn chest at the end of the hall.
Where to find runes:
- Rune “C” — on the back of the active spike block (visible when it is extended).
- Rune “R” — on the shelves to the left of the room with rotating saws (previous room).
- Rune “N” — in the new corridor opposite the wheel mechanism, where the spiked blocks strike from above; the rune is on the right on the first block.
Break all three seals and take the apple of Idunn.
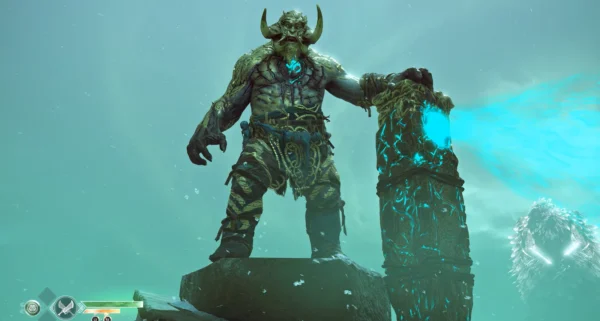
The Third Ring and the Mystery of Sköll and Hati
In the corridor opposite the wheel mechanism, there are three spiked blocks falling from above. While Atreus climbs into the tunnel, freeze the first block and watch the second and third alternate. The second falls before the third rises, so you cannot hide under it. Instead, find the passage on the left between the second and third blocks and wait there until it is safe to proceed.
In the next chamber is the third receiver for the Hel Winds and a fresco of the wolves Sköll and Hati chasing the sun and moon. The exit leads back to the storage room, but the last Hel’s Winds on the inner ring do not descend low enough. To the right of the exit is a crack in the wall: climb up to the balcony.
Reinforced draugrs with nightmares will appear on the balcony. First, destroy the nightmares (or grab them and throw them at enemies), then deal with the draugrs — you can simply knock them off the balcony.
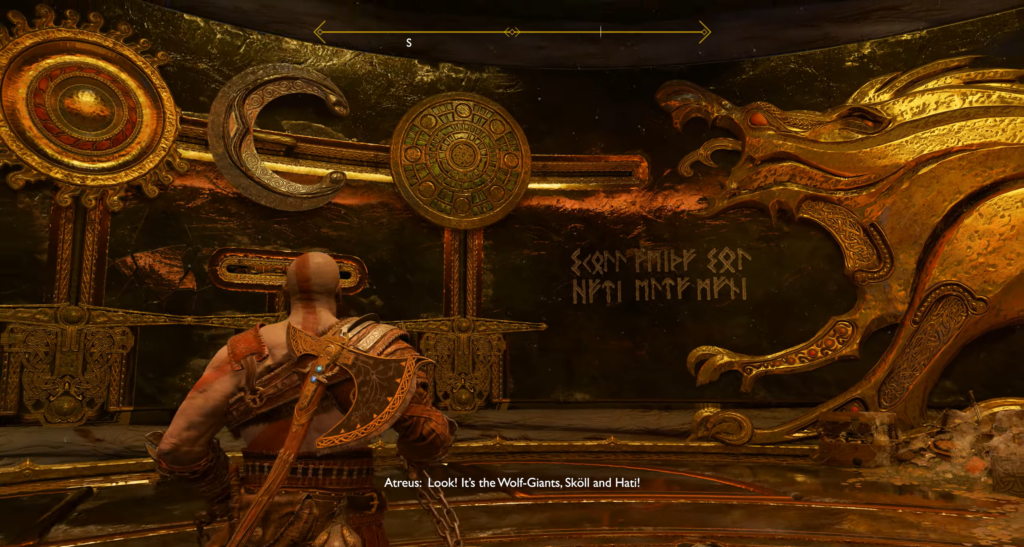
The runic inscription on the balcony, “Thoughts faster than the wind,” is a clue to the puzzle.
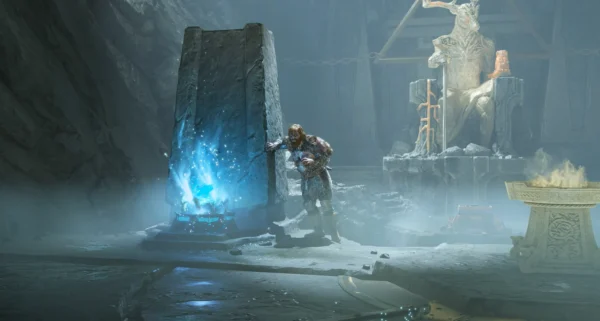
The point is that you won’t have time to transfer the Winds from the inner ring to the receiver below. Solution: transfer the Winds Hel from the inner ring to the inactive outer ring (it’s right below them).
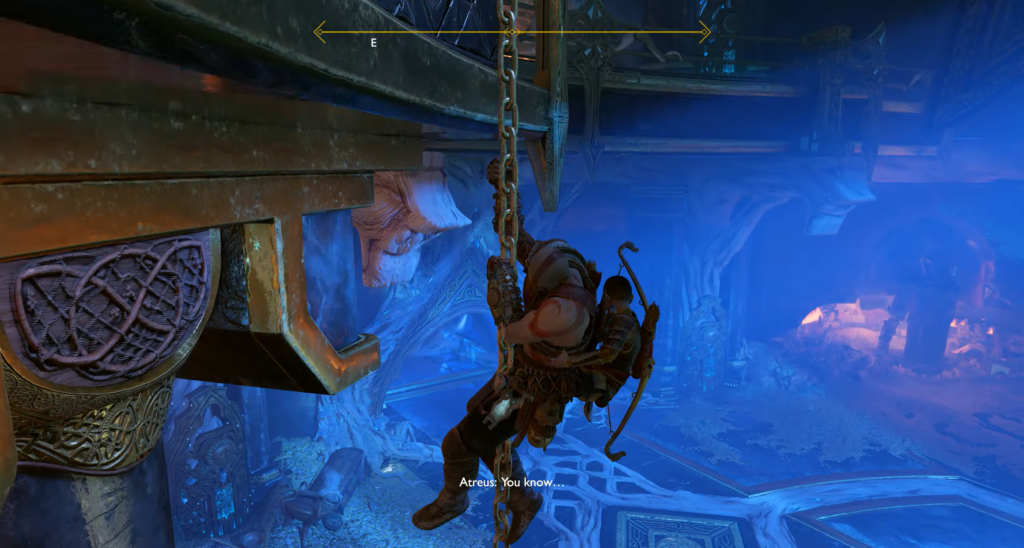
Then climb down the chain, grab the Wind from the outer ring, and quickly take it to the chamber with the receiver.
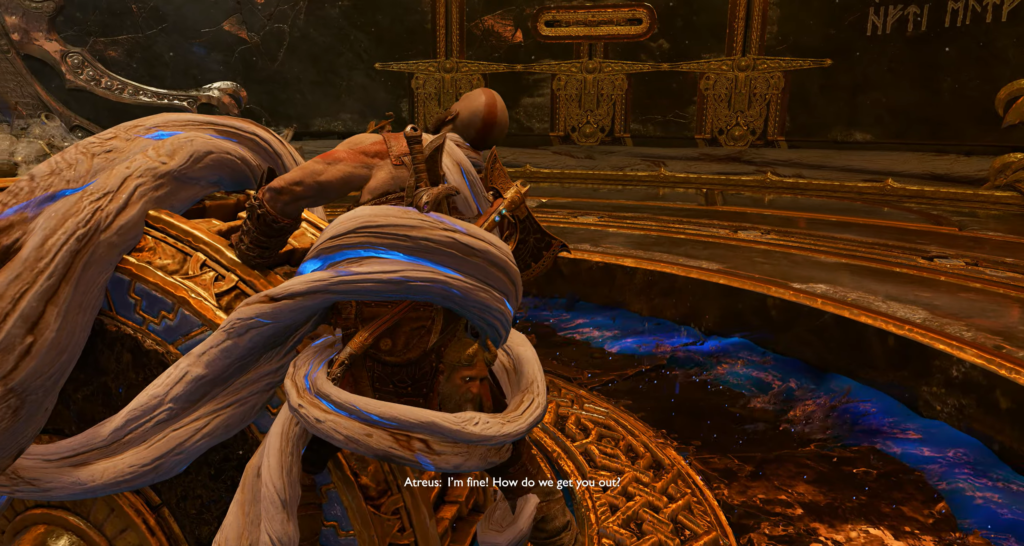
Turn the last wheel mechanism—the storage compartment will lower and the trap will activate.
The Trap: Atreus’s Puzzle
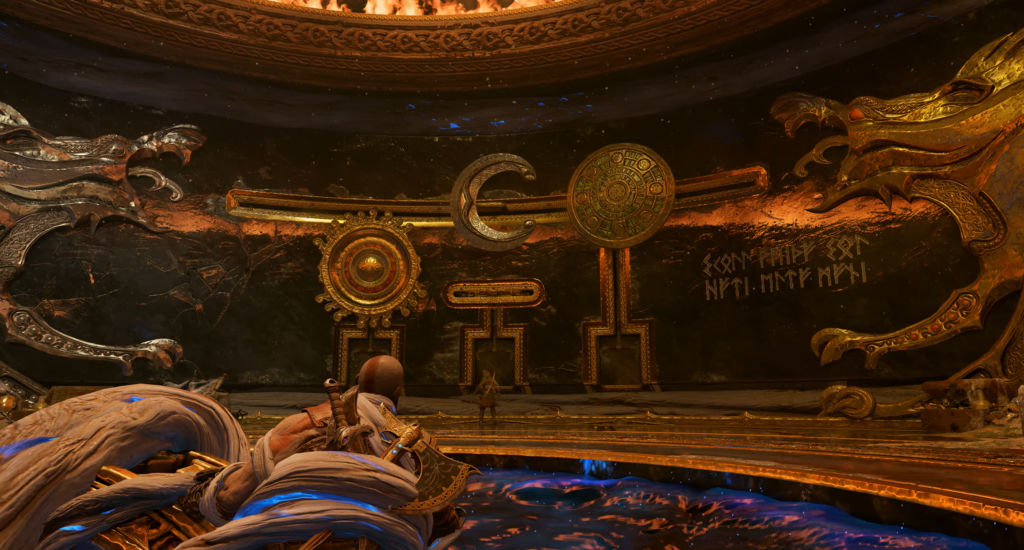
Kratos will be chained to the mechanism, and control will pass to Atreus. You need to arrange the symbols on the Skoll and Hati fresco correctly: the golden wolf eats the sun, the silver wolf eats the moon, and the green Midgard must be between them.
Procedure for operating the levers:
- Pull the right lever — the green symbol will drop.
- Pull the middle lever — the sun and moon will move to the left, and the sun will be above the left lever.
- Pull the left lever — the moon will be fixed in place.
- Pull the middle lever — the sun will move to the right.
- Pull the right and left levers — the moon will return to the left, and the green symbol will move to the center.
At the signal, Atreus must use the knife to stop the mechanism. The trap is destroyed, but there is a price to pay…
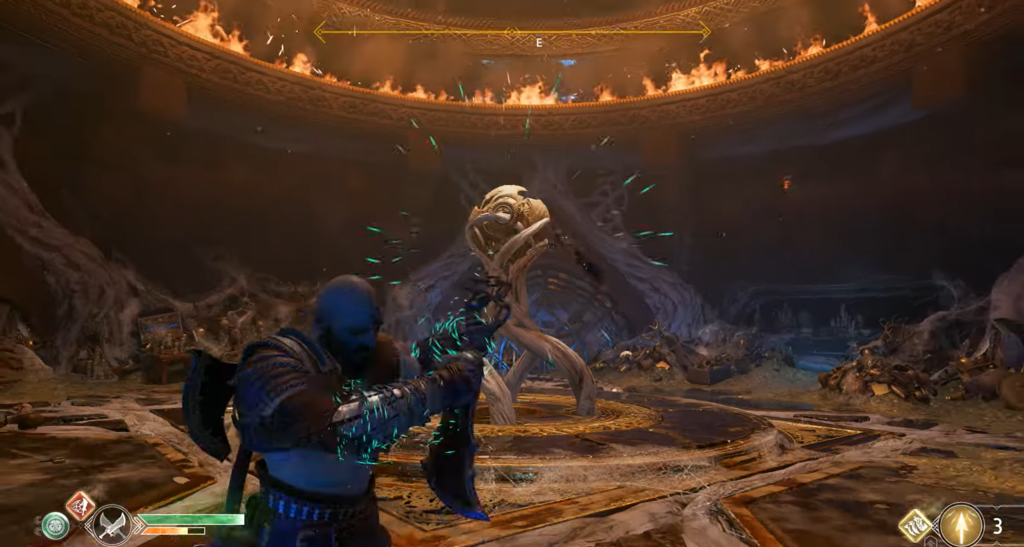
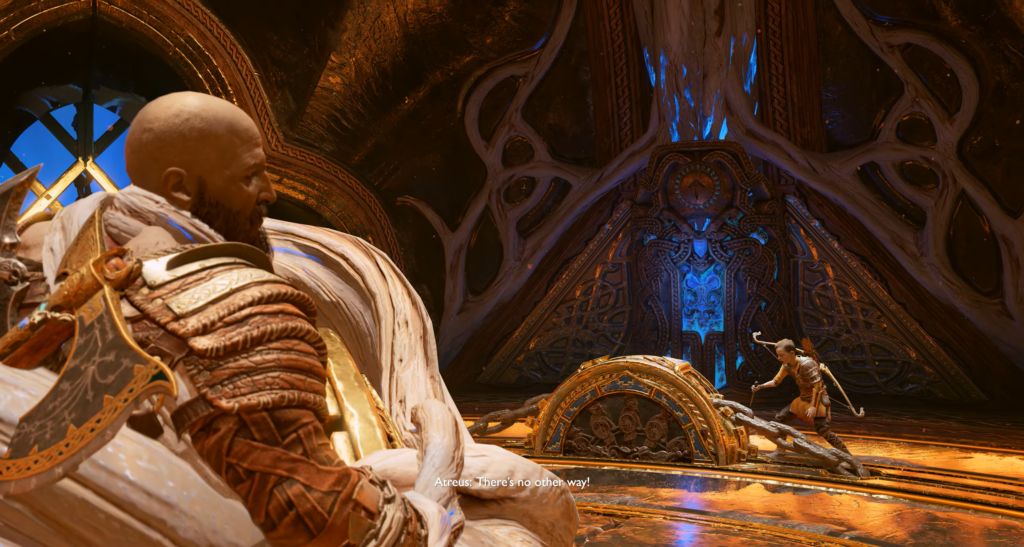
Boss Fight: Grendel of Ash and Grendel of Frost
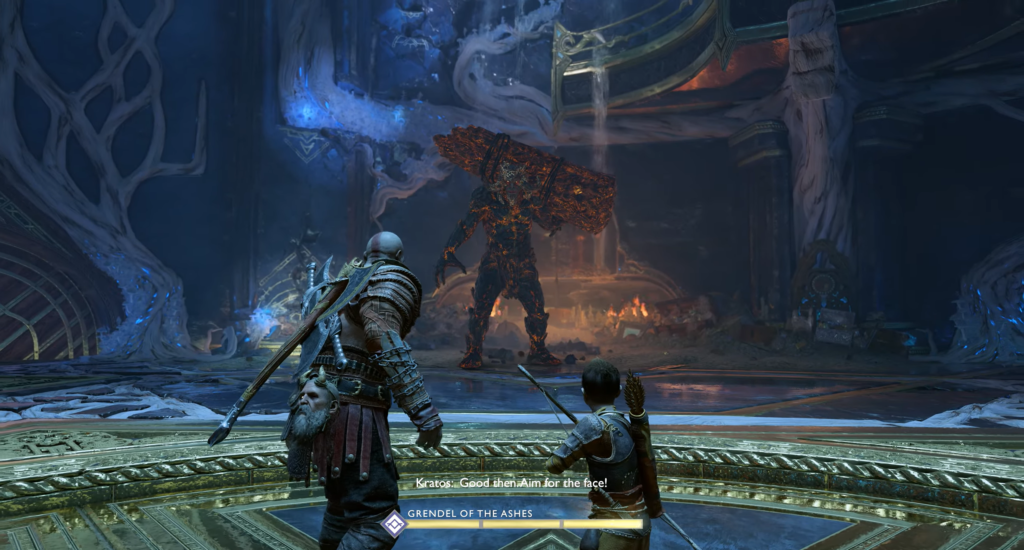
After obtaining the Black Rune, two guards awaken. They resemble trolls and fight with giant pillars, but they also counterattack in a similar manner: have Atreus aim at their faces, and you throw your axe to stun them, then attack at close range.
Key features of the battle:
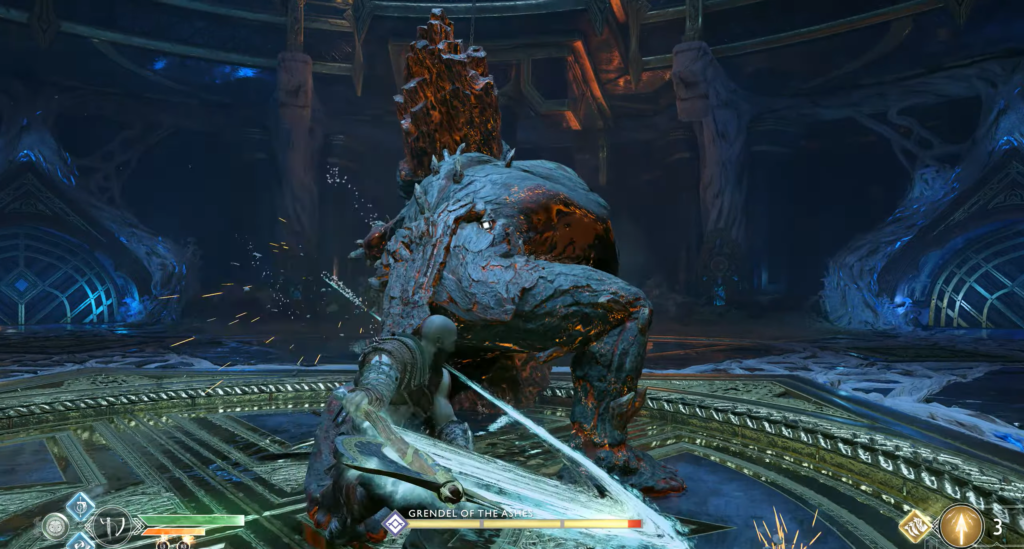
These enemies are much more agile than trolls—they perform rapid lunges with unblockable overhead strikes and a series of spinning attacks (dodge twice or block). They can also stab their weapons into the ground, creating stone pillars that blind and damage enemies.
Grendel Ash burns with fire, but is vulnerable to Leviathan. Grendel Frost is immune to axes, but takes damage from Chaos Blades. Both guards share health: when one loses health, the other replenishes it at his expense. Don’t be alarmed by the apparent lack of progress — continue to focus your attacks on one of them using the right weapon, and make sure that the other (who is immune to your current weapon) does not block your strikes. Atreus, with his rune summon and electric arrows with improved chain lightning, will help you damage both at the same time.
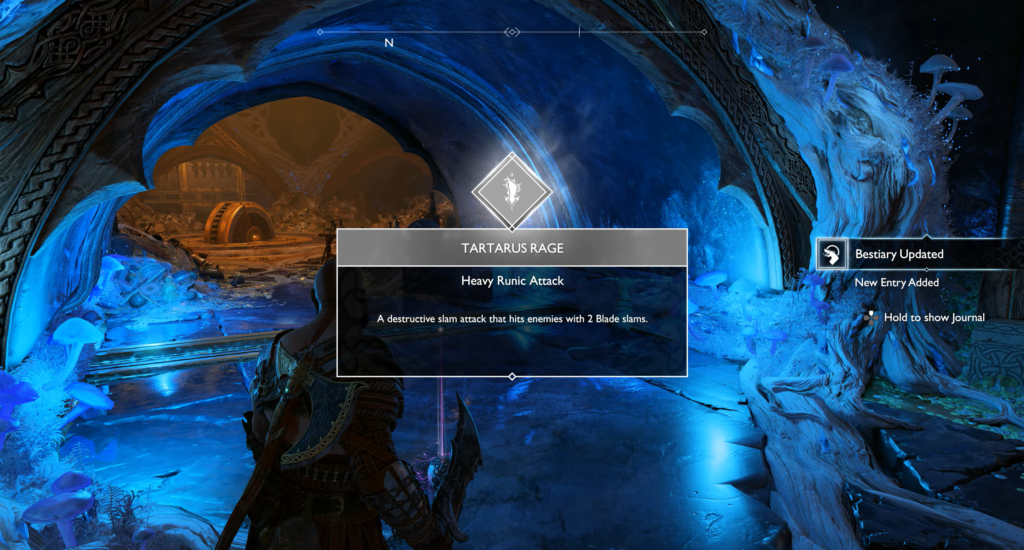
When the first Grendel falls, the second will be nearly dead due to health transfer. Switch weapons and finish him off. Collect the following from both: Chaos Flame, Tartarus Fury (heavy rune attack for Chaos Blades), and hardened Svartalfheim steel.
After the battle: the last chest and exit
Return to the trap chamber—the platform has risen, revealing a niche with a legendary chest. Inside is the Weightless Gauntlets of Protection.
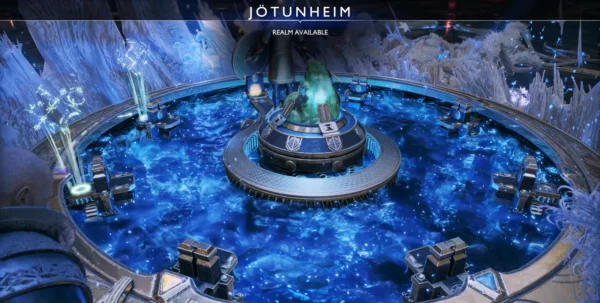
Leave the Temple of Tyr via the elevator (look for the doorway with the arrow sign), then have Atreus use the sand bowl to climb up and exit onto the bridge. Ahead lies the path to Jotunheim.


Comments (0)
Sign In / Sign Up
Sign in to leave a comment.
No comments yet
Be the first one to share your thoughts!