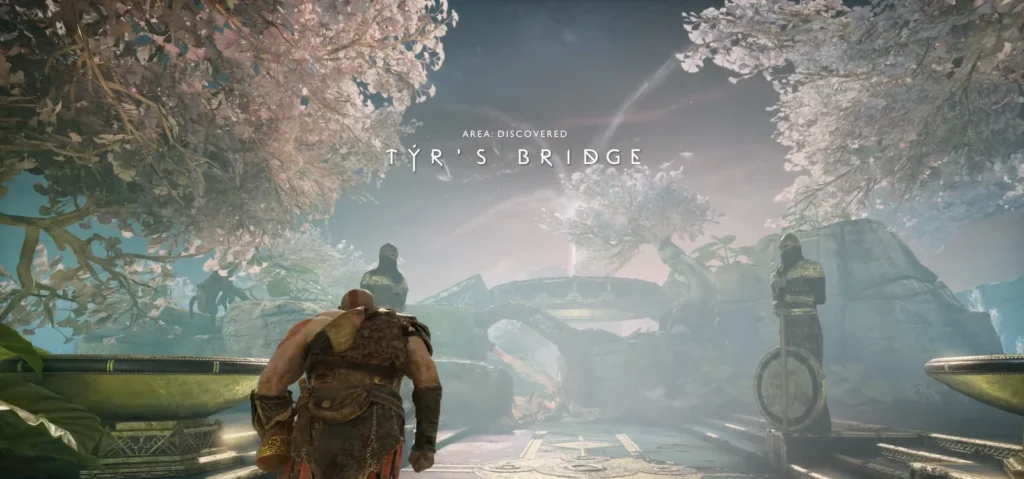
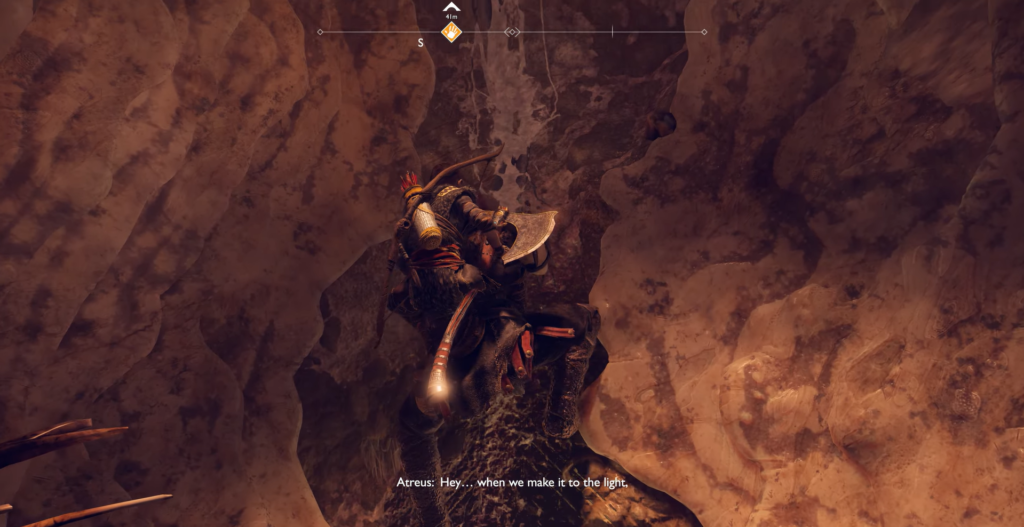
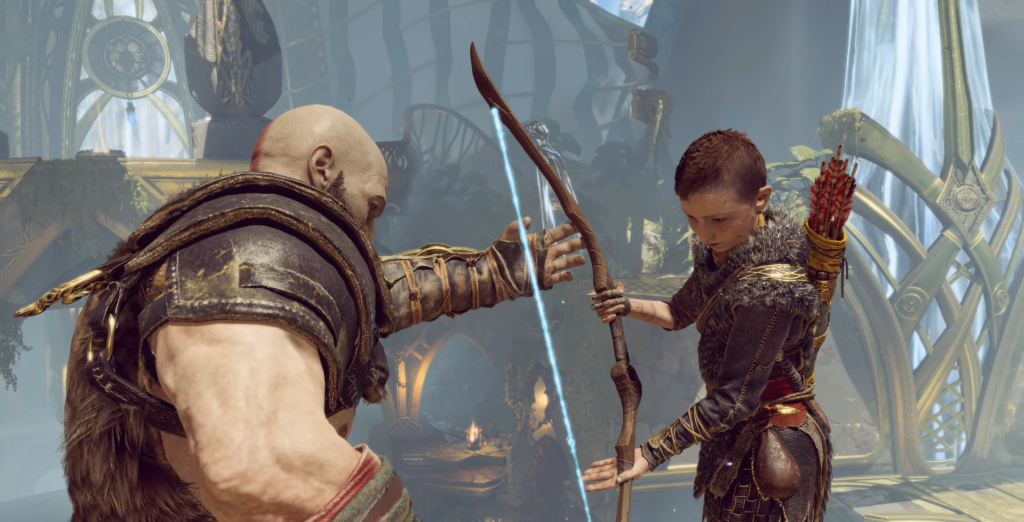
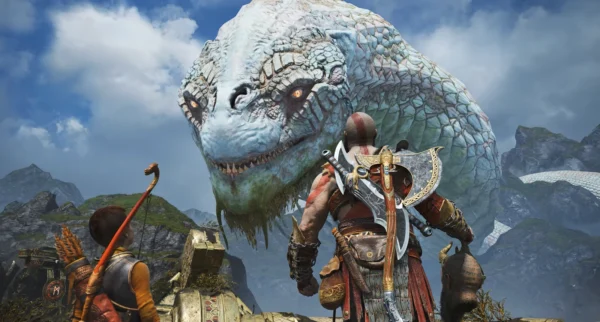
Reaching the Light
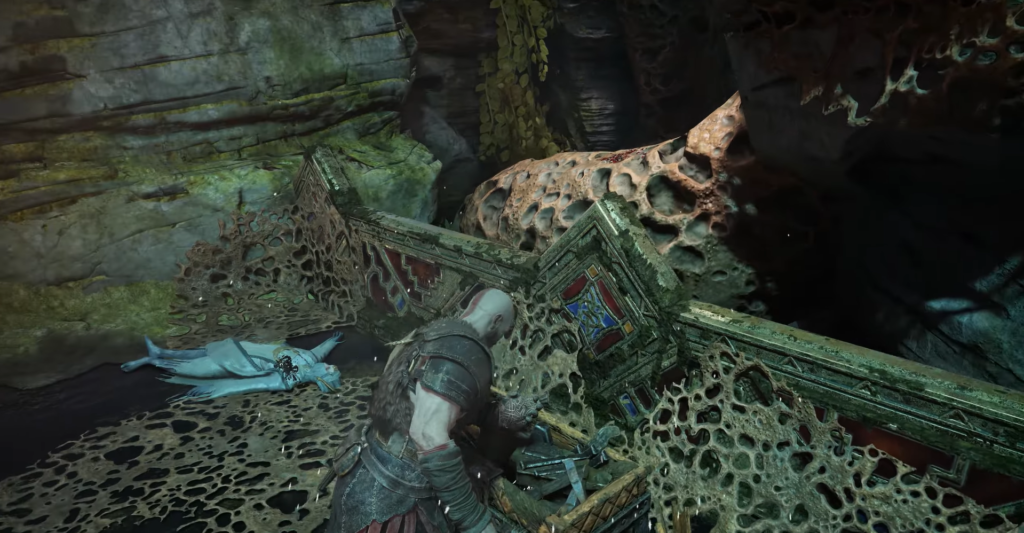
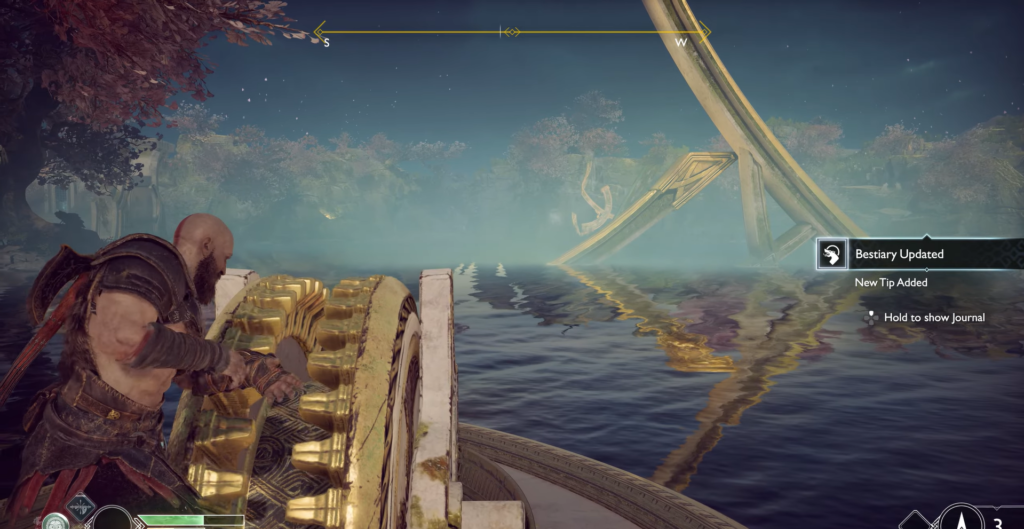
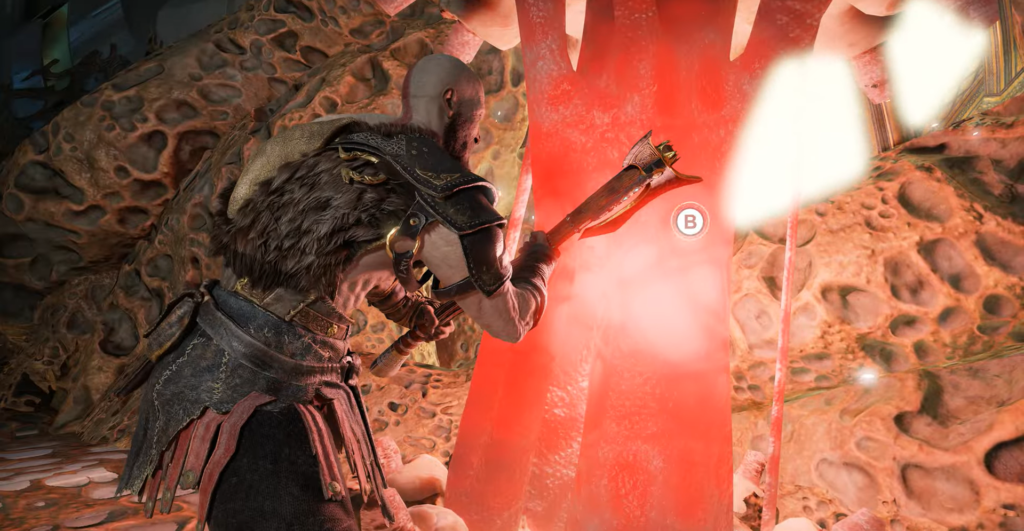
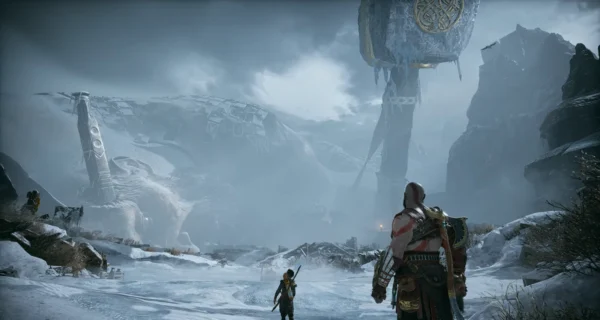
As soon as you step onto the bridge in Alfheim, you realize that everything that remains in Midgard cannot be found here. The world of the light elves greets you with groves of trees and pinkish roots blocking the way—but each barrier can be removed by throwing an axe into the pulsating mass at its center.
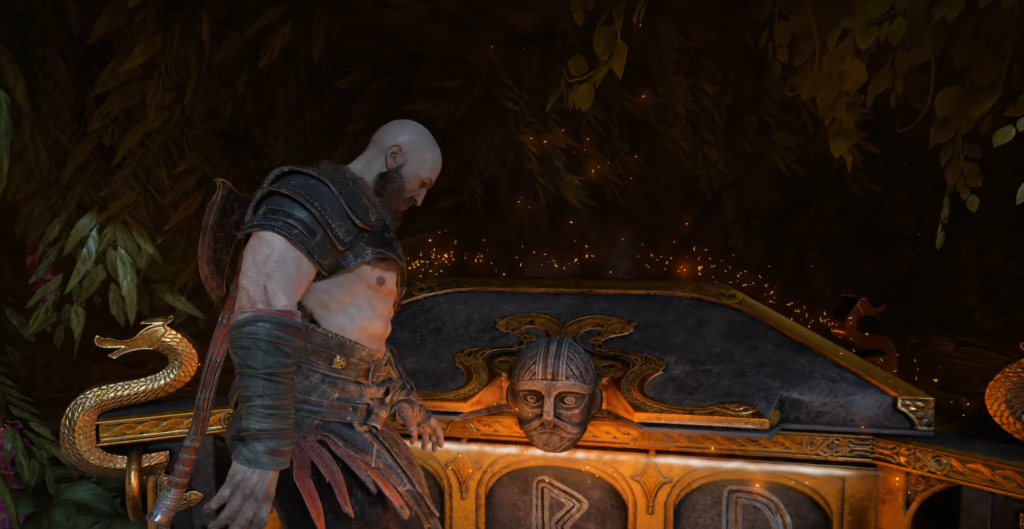
After a few steps, you will see a circle of runic inscriptions on your right — ask Atreus to read it. It is a message about the Eternal War between the elves. Immediately after the runes, destroy the pink roots: behind them is a chest with silver.
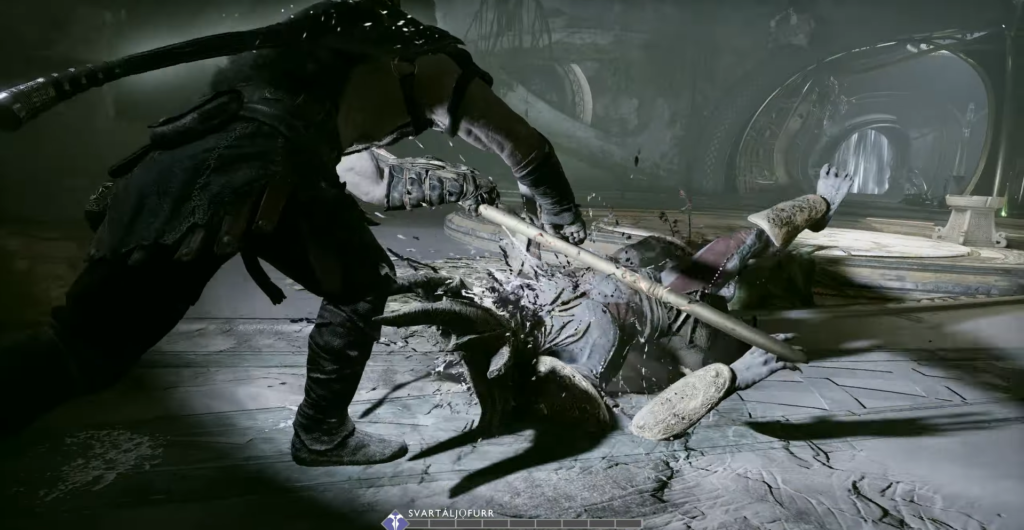
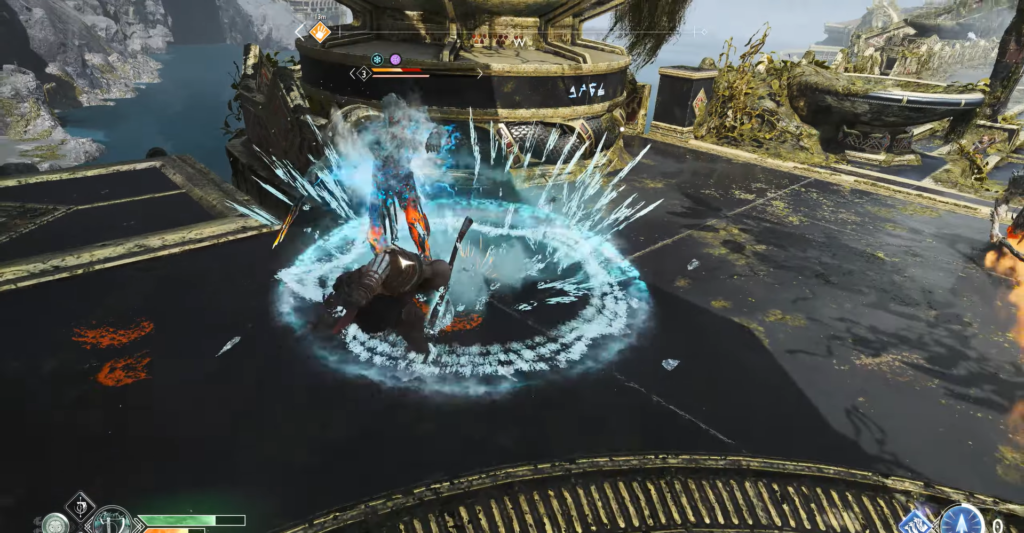
First battle with the dark elves
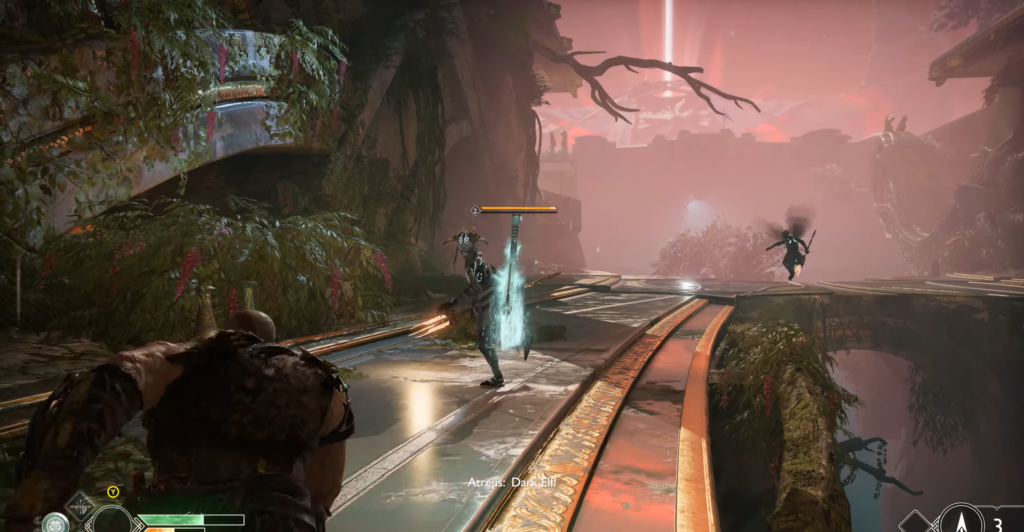
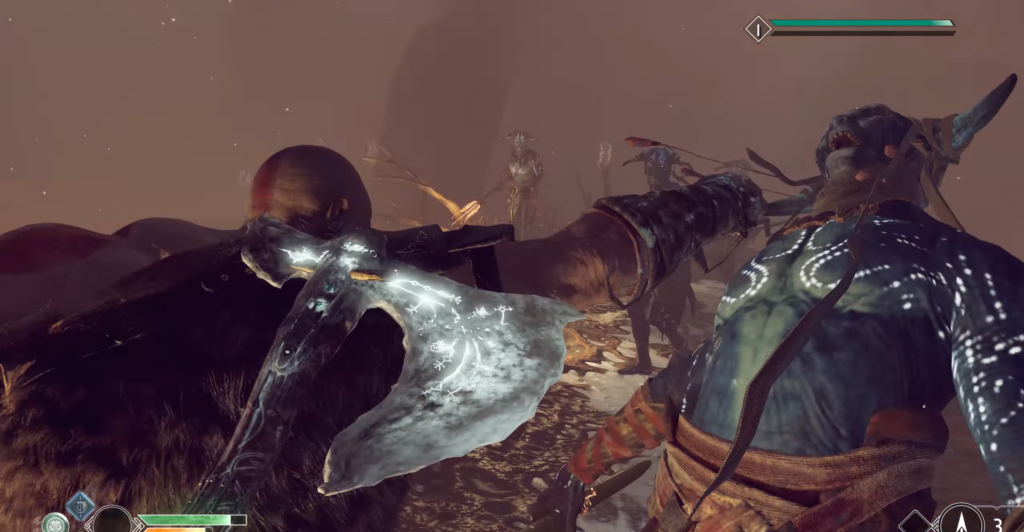
The light elf in front will die, and you will find yourself in the worst possible place when the dark elves appear. Remember their special abilities in battle:

- They dive from above with two-hit combos or a single powerful blow, and shoot fire beams from a distance.
- Don’t use heavy attacks that throw enemies into the air: their wings allow them to retreat and escape. First, freeze the target with your axe — only then can you engage in close combat.
- Dark elves can block attacks — break through their defenses with powerful attacks or an improved shield.
- Don’t forget about Atreus: his arrows and melee attacks are good at distracting enemies.
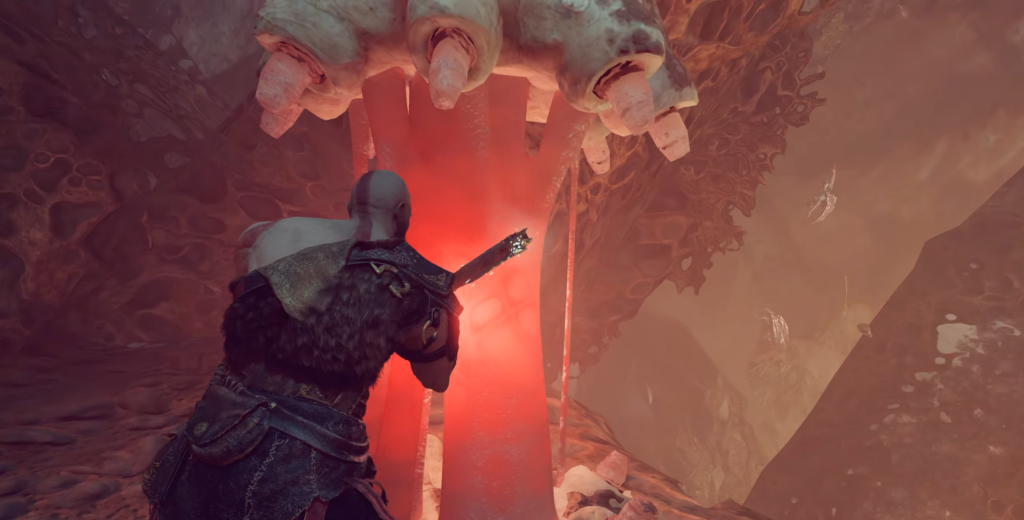
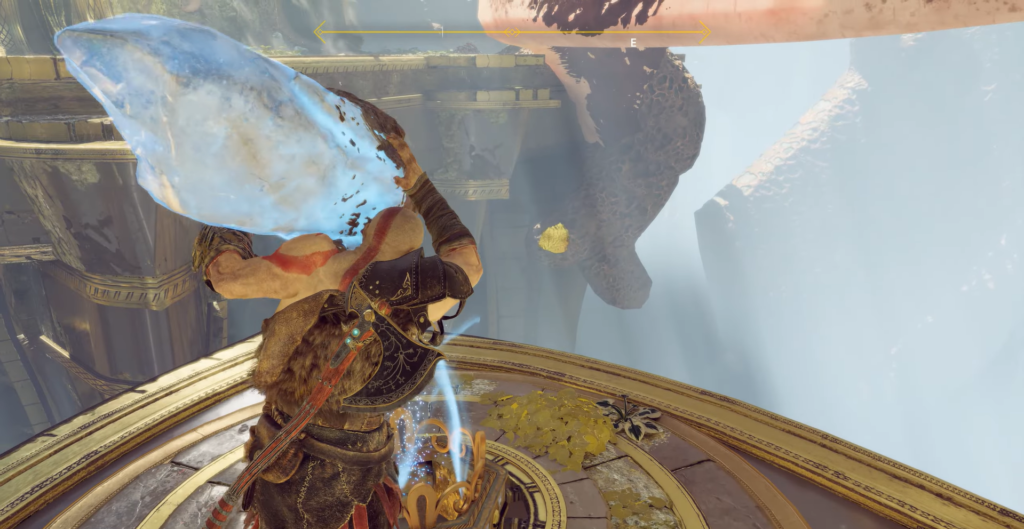
After defeating the trio, move forward. Here comes an important moment: one strike at the pulsating core is not enough — you need to line up the axe so that it hits both cores at the same time.
Trial by Fire (Side Quest)
As you pass through the gate, look to your right—there is an encryption chest there. Inside it is another fragment of the Muspelheim Code, which is necessary to access the “Kingdom of Fire” quest.
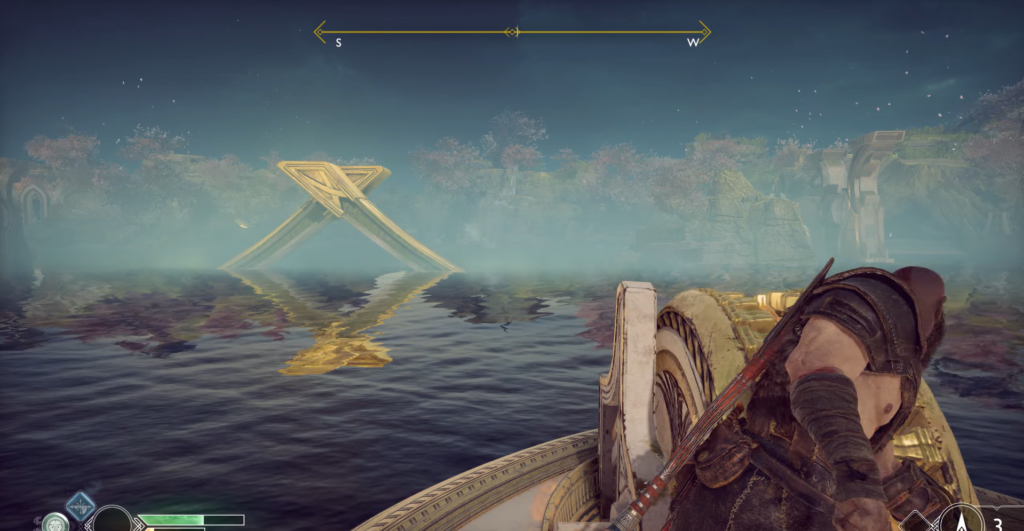
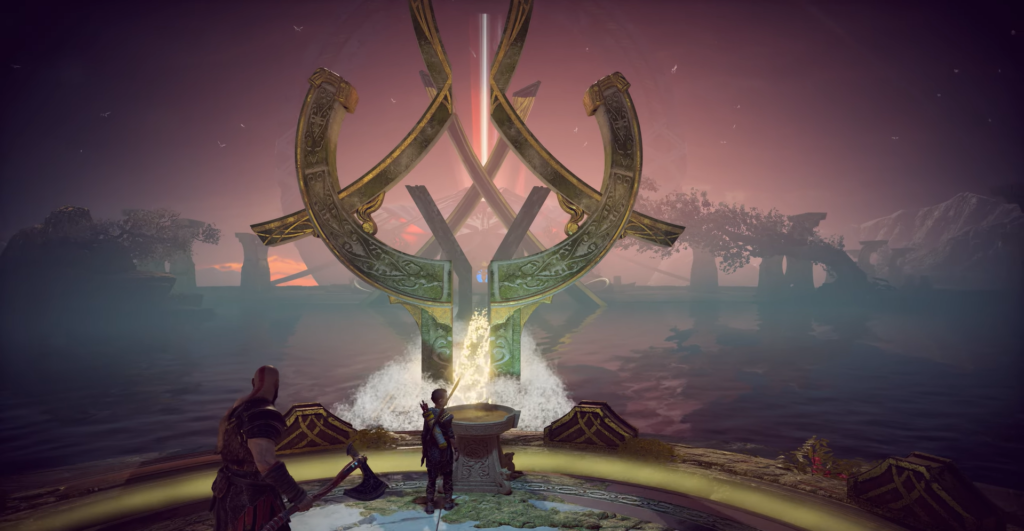
The Way to the Ring Temple
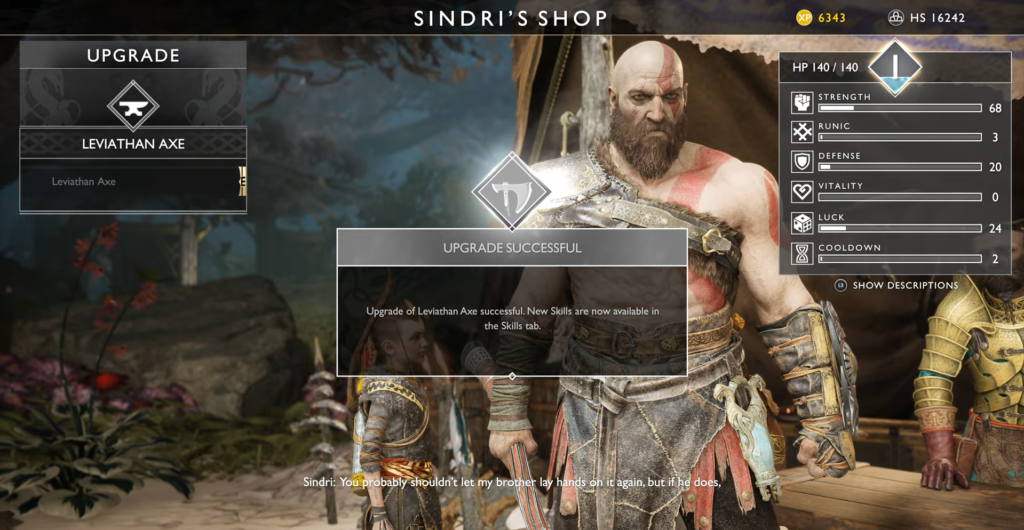
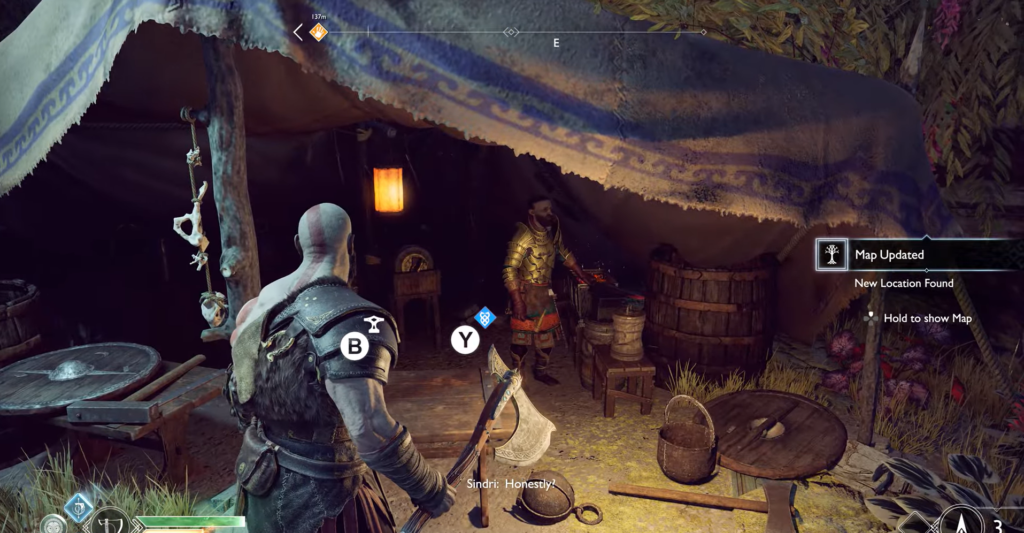
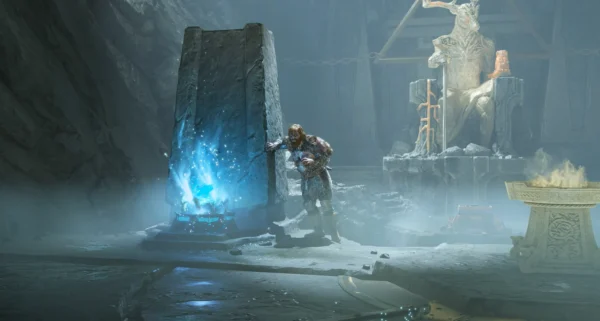
Sindri is waiting for you on the shore with his shop. Now is the time to buy or upgrade your equipment to level two—the enemies are getting tougher. You should have Frozen Fire from the slain ogre—use it to upgrade the Leviathan Axe to level three.
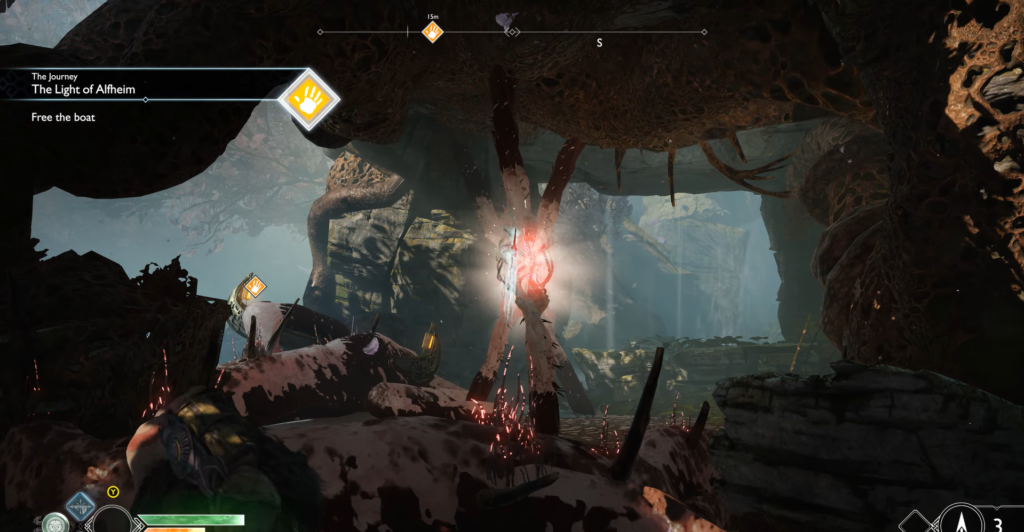
When you turn toward the boat entangled in roots, align the line of three cores with a single throw to free the vessel.
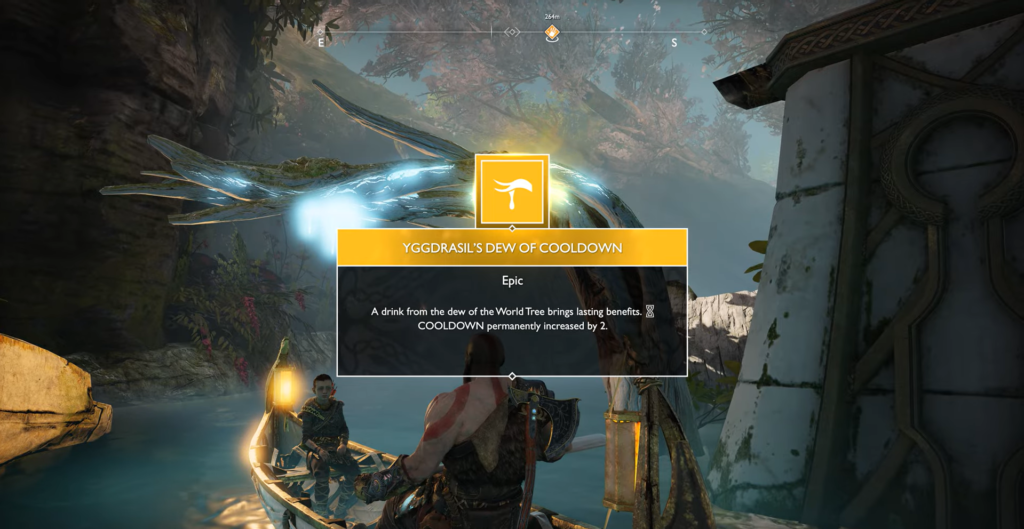
Don’t miss: a glowing blue drop hangs from a branch above the water — Dew of Yggdrasil (Reload). Order Atreus to pick it, and the reload indicator will permanently increase by 2.
On Lake of Light, as on the Shore of Nine, there are additional points to explore: the Sanctuary of the Light Elves (southeast) and the Shore of the Light Elves (west). Don’t touch the bowl of sand at the entrance to the lake yet — there are no runes for the answer yet.
Mechanisms at the temple
When you approach the Ring Temple, you will find that the light bridge is blocked by roots. Dark elves will attack in waves — stay calm, focus on one enemy, and silence the others.
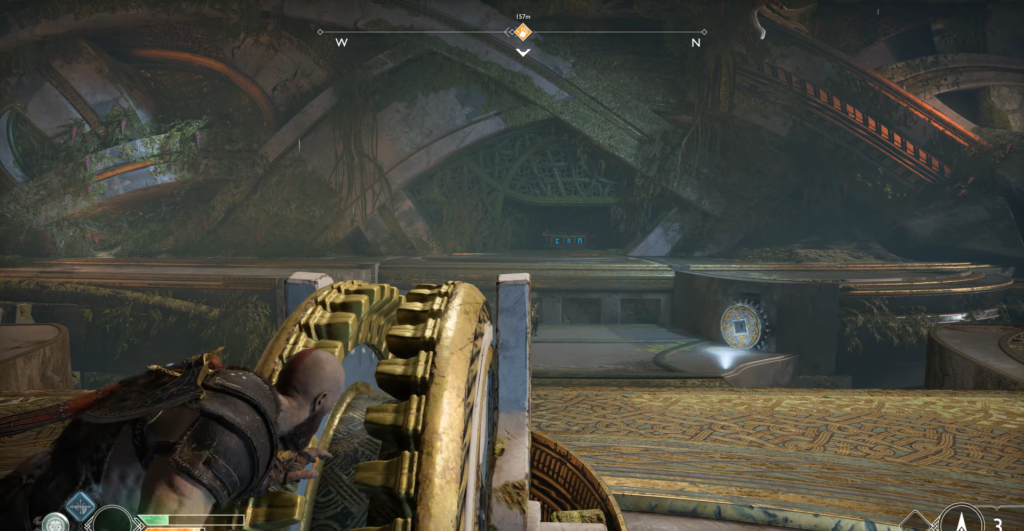
After the battle, find two wheel mechanisms at the pier: they will lift huge runes out of the water — the very ones needed for the riddle of the sand bowl. Return to the bowl: Atreus will solve the riddle, and a deep moat will open up in the lake, leading to the base of the temple.
The moat of the Ring Temple
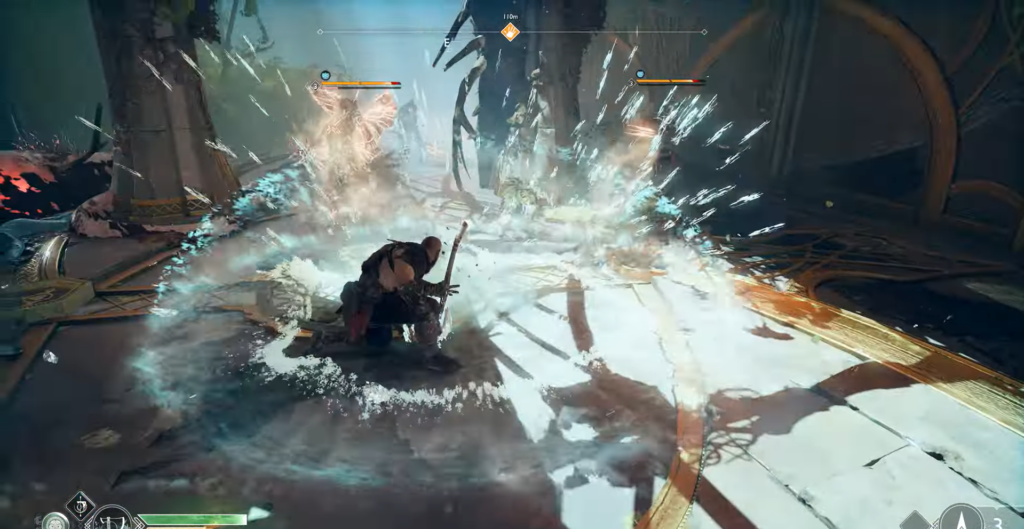
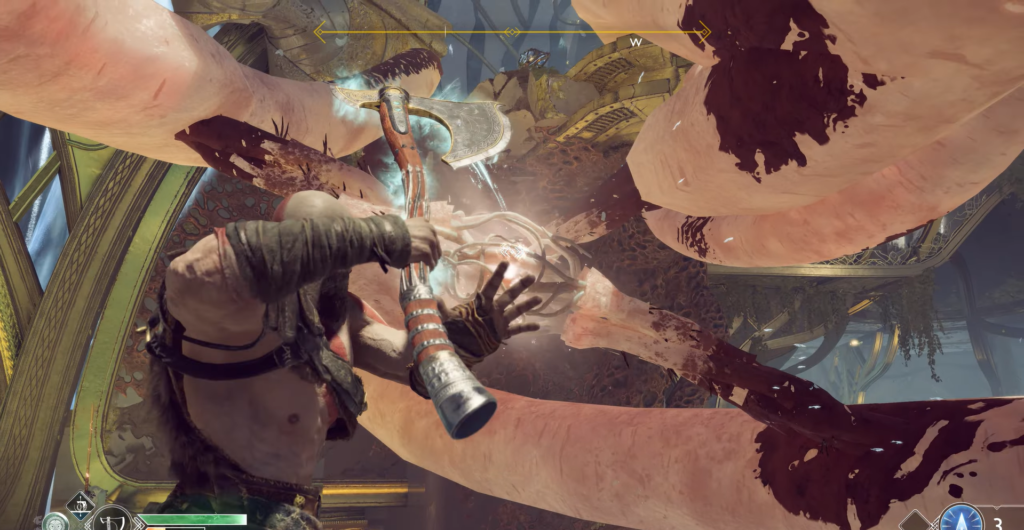
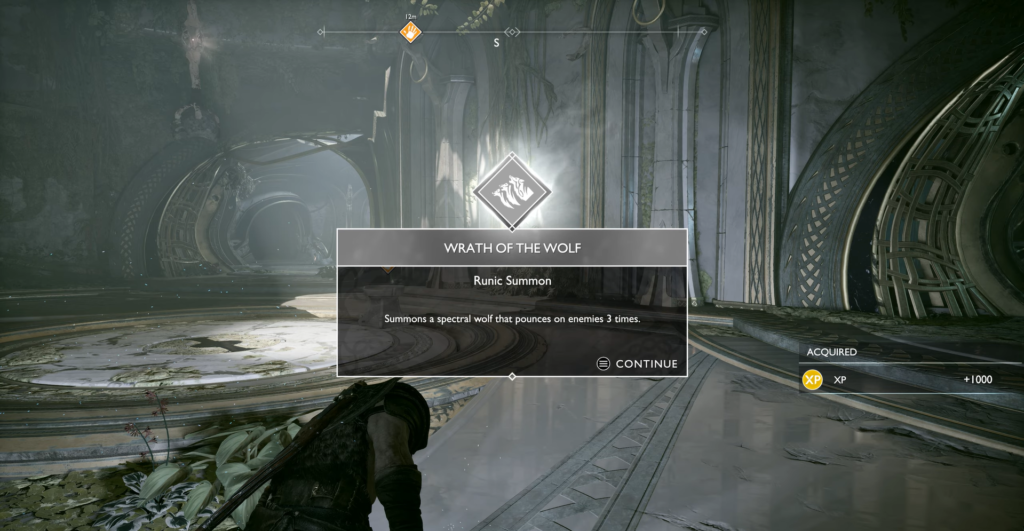
In the pit, dark elves attack from all sides. Spartan’s Fury is particularly useful here: it prevents them from flying away. Use runic weapons whenever possible and freeze enemies regularly.
Legendary Chest No. 1 — “Tyazzi’s Claw”
In two rooms behind you, there are cages with Draugr and a mechanism in the middle. One mechanism is broken — use the second one to open the cages. In one of the rooms, you can see a chest through a blocked passage: throw your axe at the root above the chest, go out into the central room and call the axe back — on the way, it will cut down both roots. Open the legendary chest: the heavy rune attack “Claw of Tyazh”.
Chest Norn No. 1 — Idunn’s Apple

The runes are not visible at first on the locked Norn Chest. On the other side, find the wheel mechanism and lower the center floor. You will see a gear and the rune “R” — freeze the gear, jump down, and hit the rune. Turn around and you will see the rune “C” — hit it too. Return the mechanism to the lower position, and the rune “H” — the last one — will open behind you. Break open the chest and get the Idunn’s Apple. Standing on the platform near the last rune, summon the axe: it will take you to the tomb with the Runic Bracers and Soft Svartalfheim Steel.
Rare Enchantment: Fragment of Alfheim’s Heart
In the prison area, use the wheel mechanism to reveal a hidden tomb in the wall. Throw the axe into the gear on the right and, while the passage is open, go to the tomb. Inside, you will find a rare enchantment, “Alfheim’s Heart Fragment”: it reduces damage from dark elves by 12%. It is indispensable in this location — equip it immediately.
Fighting without an axe and Atreus
At some point, Kratos will lose both his axe and his son. The compensation is unlimited Spartan Rage. When the nearest enemies are destroyed, look for the wall on the right: hammer it until a prompt appears to quickly press “Circle” — this will create a crossing to the next platform.
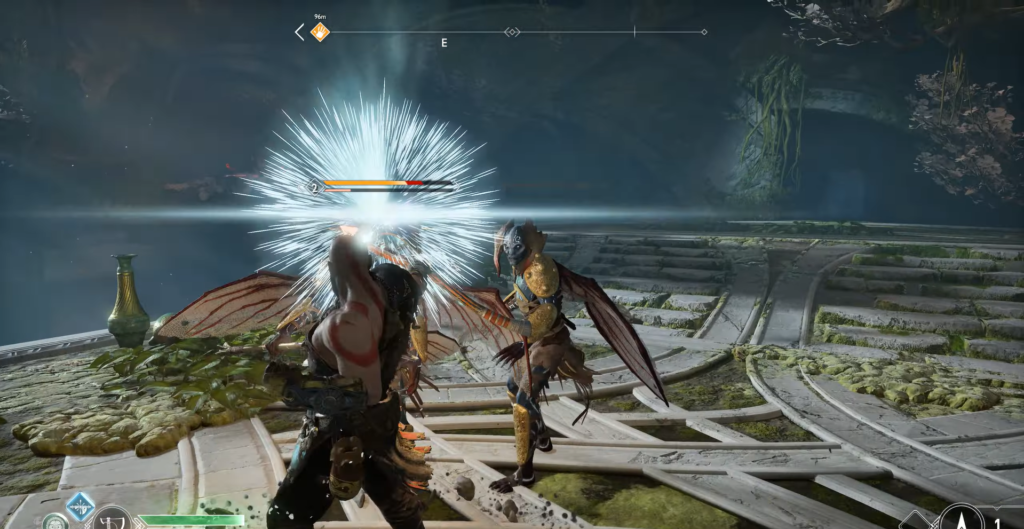
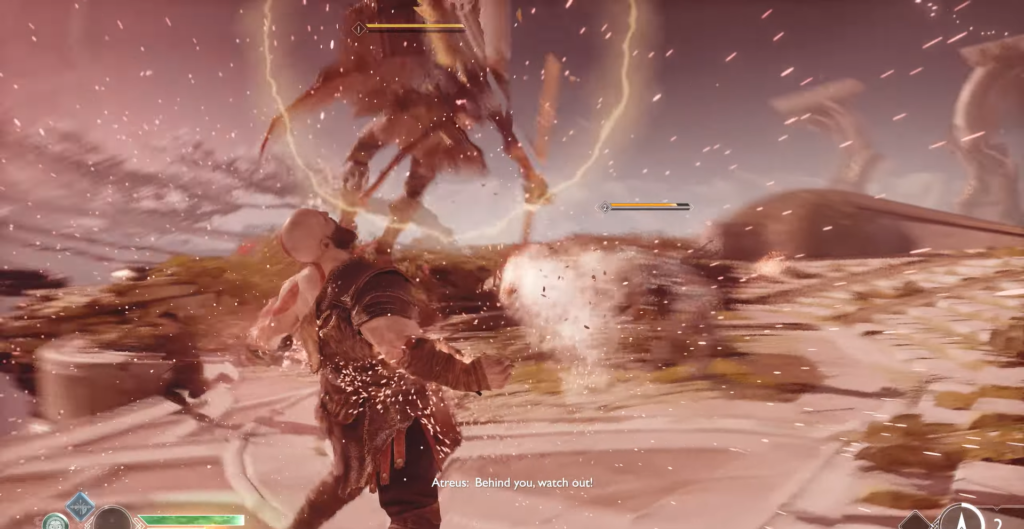
With your weapons and Atreus restored, you will have to face dark elf warriors in armor. They are faster than normal and use spear attacks with a lunge that can break through defenses and cause a shockwave — which blinds you even if you miss. Tactics: freeze one, focus on the second, use Atreus’ arrows to build up the stun meter.
Legendary Chest No. 2 — “Storm of Njord”
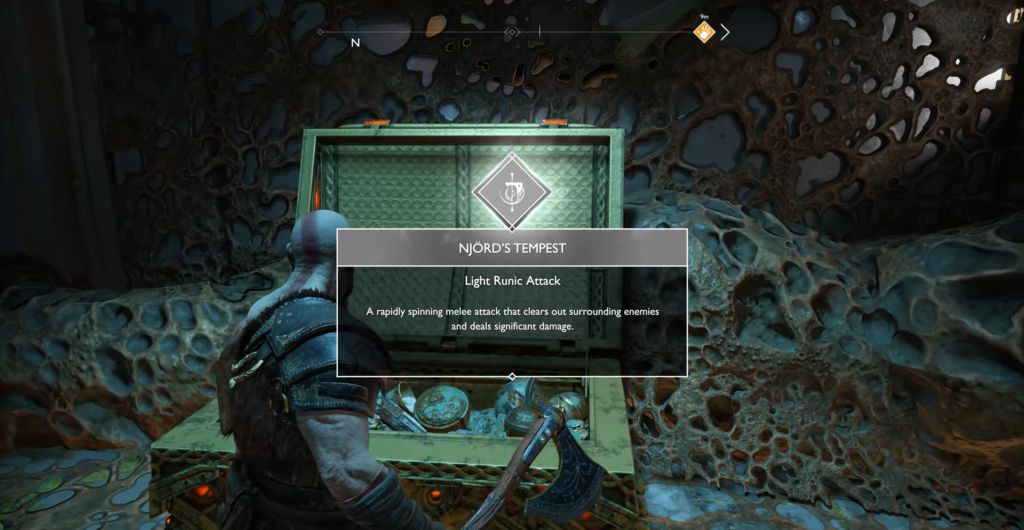
After the battle, check the left side of the platform—there you will find a legendary chest containing the light rune attack “Storm of Njord.”
Activation of the main bridge
Once you reach the root of the problem, first throw the axe to remove the protective layer, then charge it and drive it into the core—the explosion will restore all bridges in the area.
Artifact 1 — War Trophies
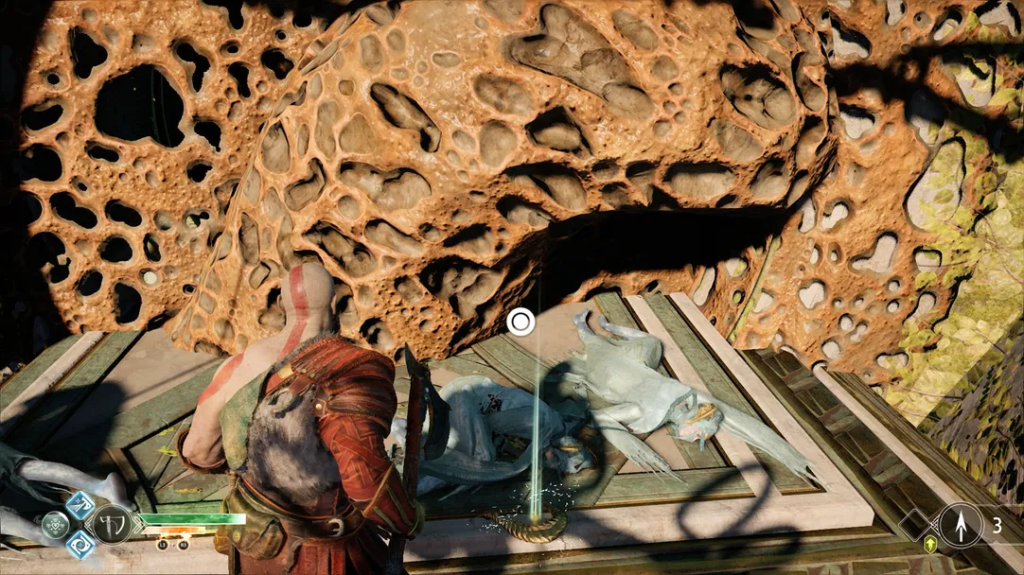
Cross the restored bridge and reach the dead end with the bodies of the light elves. One of them is carrying an artifact from the “Trophies of War” series.
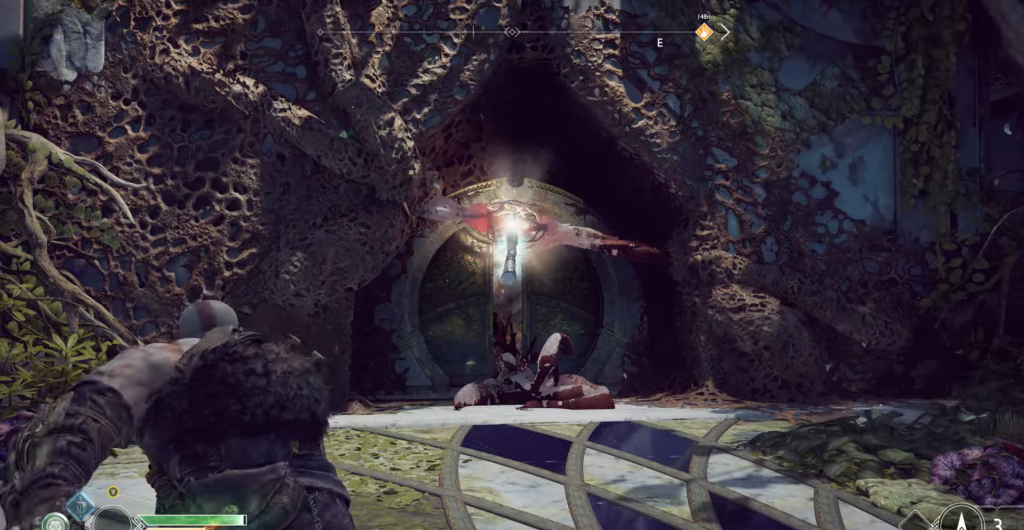
Entrance to the temple
Chest Norn No. 2 — Horn of Mead
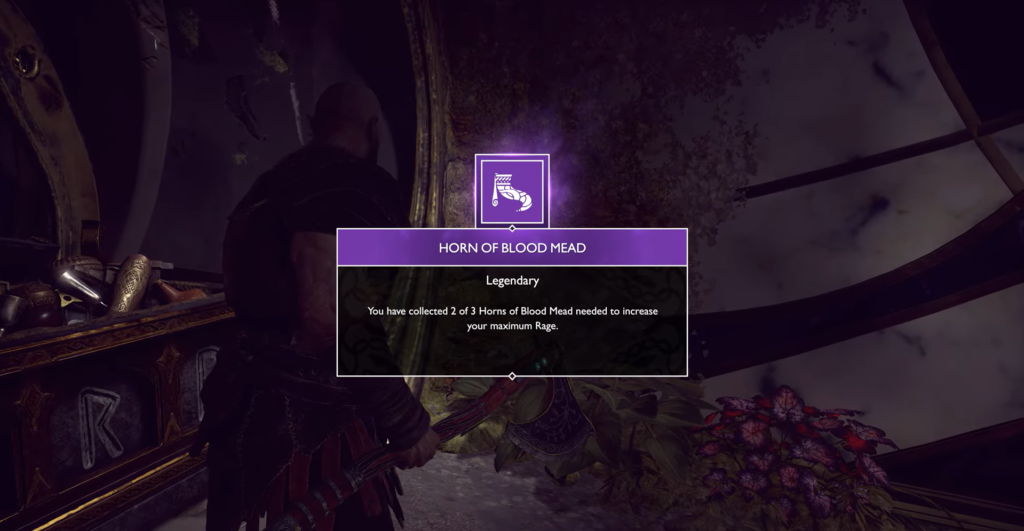
To the left of the inactive door are the Norn bells. There is a chest behind the locked door: stand at the left edge and aim at the two pulsating cores simultaneously — the path will open. The rune “H” is directly above the chest, “C” and “P” are outside, directly to the right. Strike quickly: you will receive the third Horn of Mead, which increases maximum rage.
Sindri is nearby again. If you have the Heart of the Ancient One, he will reveal new recipes for crafting magnificent armor. To his right is the Sanctuary of the Jötnar: the lore sanctuary of Groa, the great giantess and seer.
When you are ready, crawl through the hatch to the left of Sindri. You will be met by the Dark Elf Summoner, who will continuously call for reinforcements. Attack him first, preventing him from swinging his staff, and then finish off the two warriors on either side.
Destruction of the Hive
The Way to the Beehive
As you climb the ramp to the hive, you will see many pulsating cores. Don’t rush — they must be destroyed in strict order:
- Go to the core by the door and turn left — there is a group of three cores there, which can be removed with a single throw.
- Look up — the roots above your head connect the next three: align your sights and throw.
- The last trio ends with a doorway — knock it out too.
Inside the hive, there is a narrow path: squeeze through, climb up the wall, and keep moving until you reach the center.
Final Battle — Destruction of the Cores
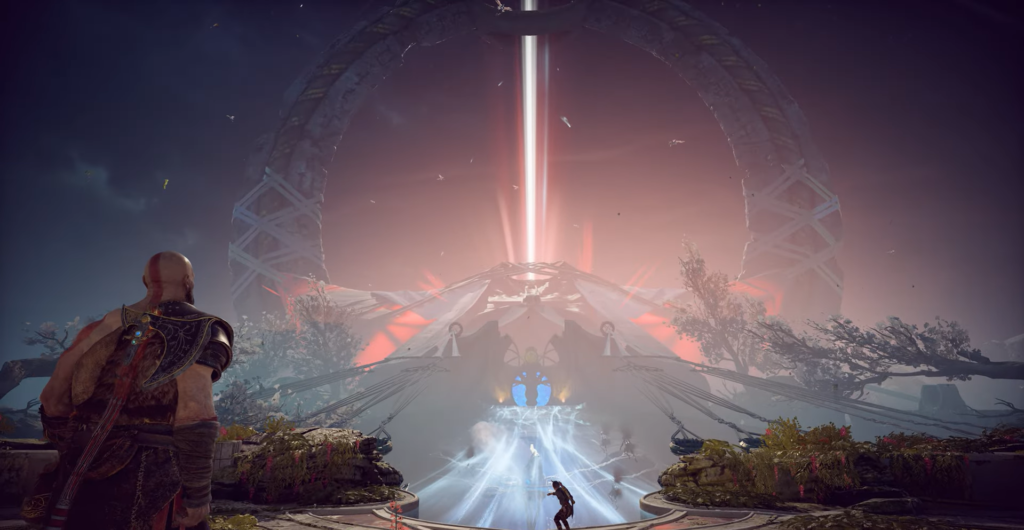
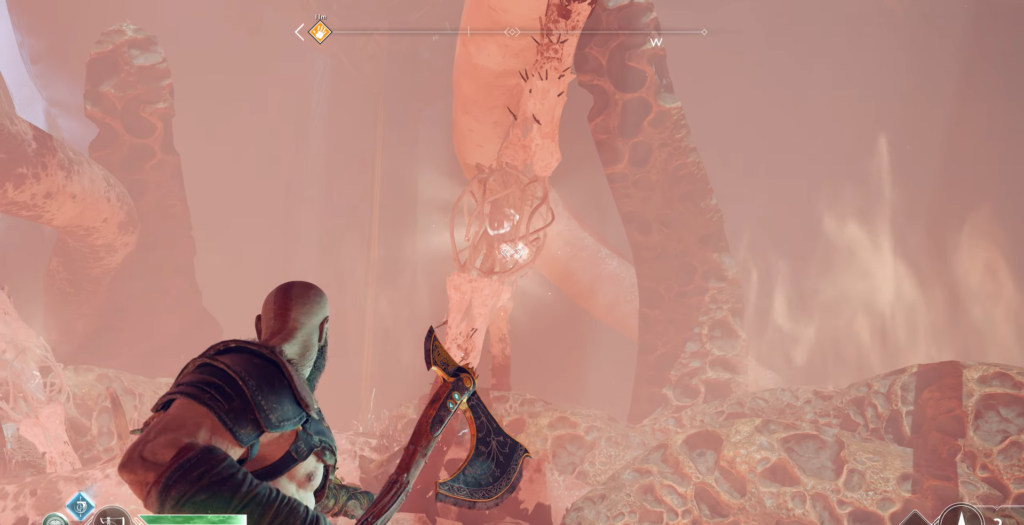
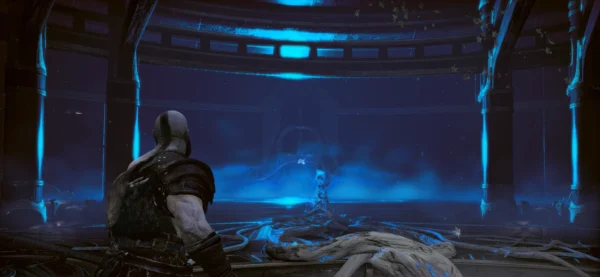
Charge your axe and strike the first core. When the floor collapses, jump down and prepare to fend off the wave of dark elves. Whirlwind Storm (a forward dodge attack) and Invaldi’s Anvil (a circular attack at the end) work well here. Break through to the last core and destroy it — the temple will come to life.
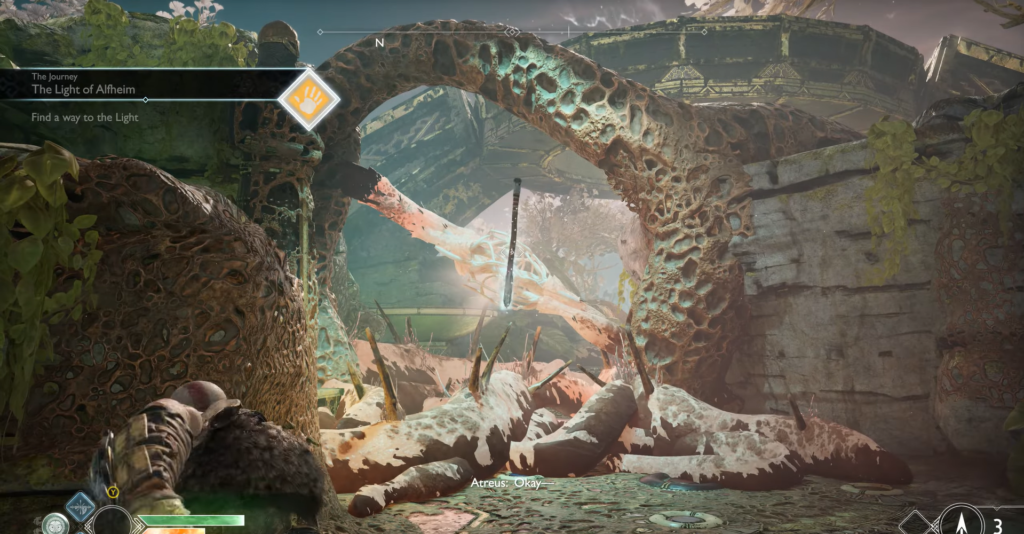
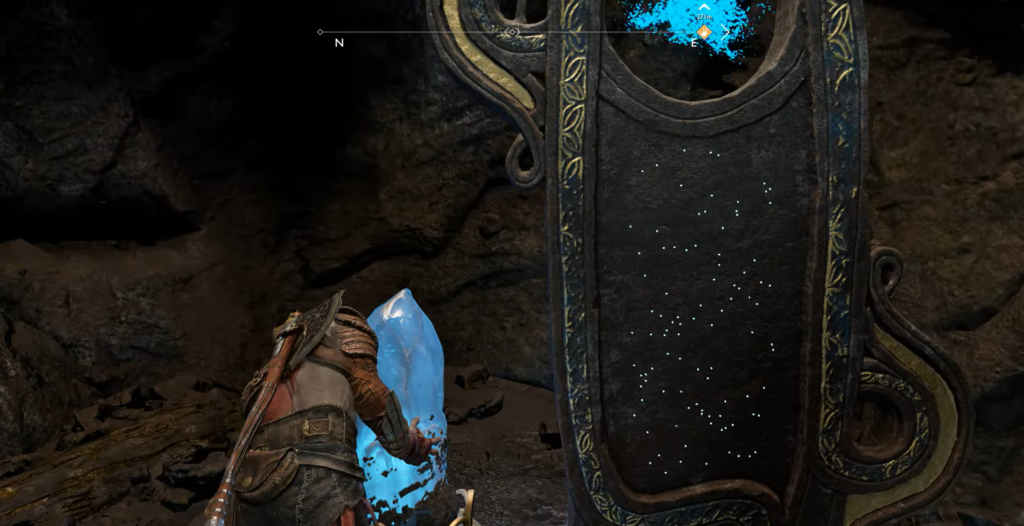
After the final interaction with Bifrost, Atreus will receive the Light Arrows. Now, by aiming at blue crystals, you can create light bridges wherever they are.
Research after receiving the Light Arrows
Tomb with additional enchantment
Find the portable blue crystal and place it in the middle slot (there is a tomb above it). Atreus will shoot — the bridge will connect the upper balcony. Open the tomb: another Fragment of Alfheim’s Heart (the enchantments stack).
Legendary Chest No. 3 — “Uthgar’s Blow”
Ask Atreus to activate the newly discovered crystal on the upper ring—a bridge to the door will appear. Behind it, several dark elves guard a legendary chest: a light rune attack called “Uthgard’s Strike.“
Chest of Norn No. 4 — Horn of Mead
Place the crystal in the only open slot; Atreus will create a bridge over it. Climb the platforms on the right and cross to the new bridge—from there, you will have a perfect angle for the three pulsating roots.
Norn’s chest stands right in the middle of the bridge, with three bell seals nearby:
- “R” — right behind the chest,
- “C” — to the left through the broken window, past the elf’s body,
- “H” — back, over the platforms down.
You can defeat the first two while standing by the chest, then you need to quickly run to the third. If you make it in time, you will receive a Horn of Mead.
Go down and place the crystal in the new socket. Point Atreus at the symbol above the door, go around the crystal from behind, and lift Atreus into the gap in the wall. He will place the rune in the sand bowl, and the exit will finally open.
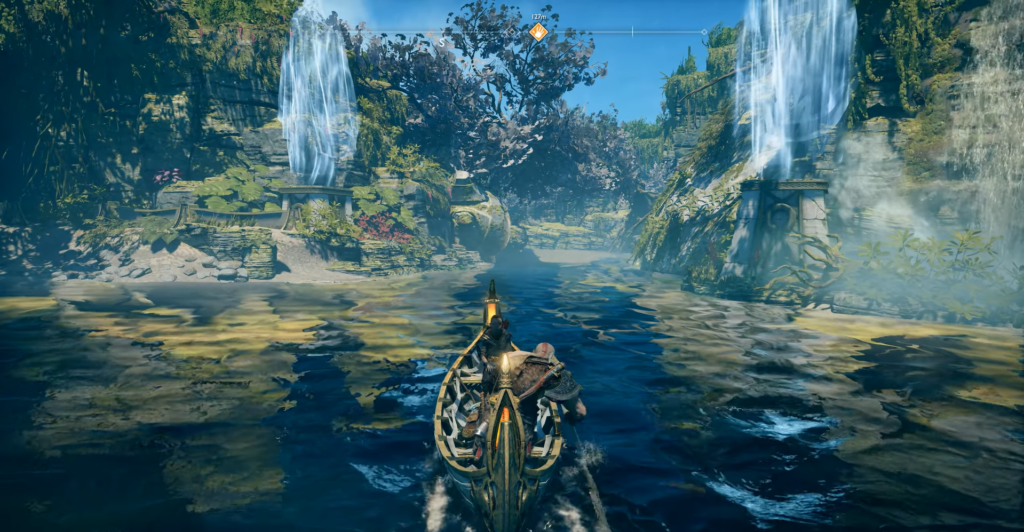
Return to the boat
Artifacts 2, 3, 4 — War trophies
Once you have descended to the prison area by elevator, note that many of the cells are now open. Search the cells three times:
- The cage with the body of a light elf (use Bifrost as a lantern) is the second artifact.
- The small room on the left (knock down the hanging crystal, deal with the Draugr) — the third artifact on the elf’s body.
- The cages next to the sand bowl (the old area with the wheel mechanism) — the fourth artifact.
Additional puzzle with crystal
Move the blue crystal to the room with the socket on the opposite side: the locked door will be activated. There are four rotating mechanisms around it — you need to find the runes “B,” “E,” the downward-sloping “F,” and the upward-sloping “F.“ If you miss, the puzzle will reset. In the treasure room behind the door is a tomb with runic shoulder pads and soft Svarthalfheim steel.
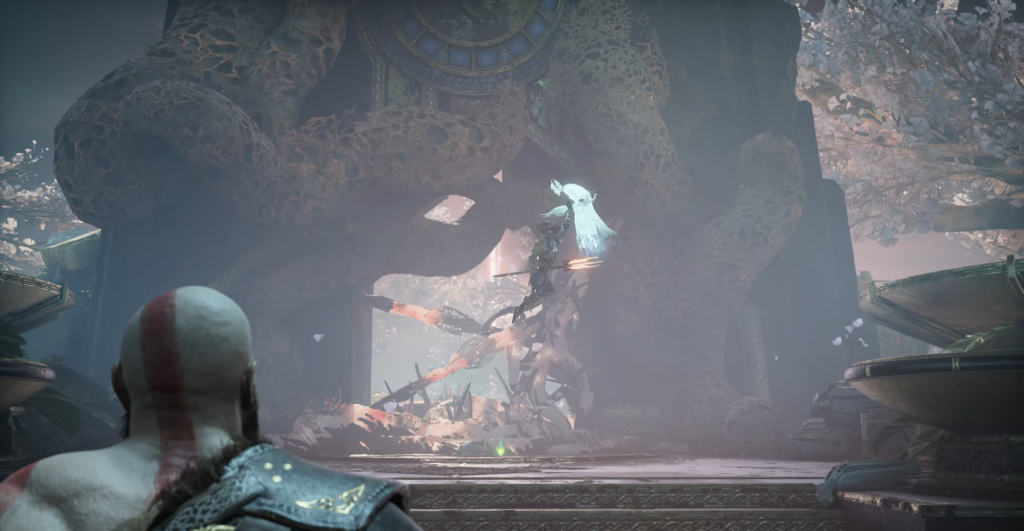
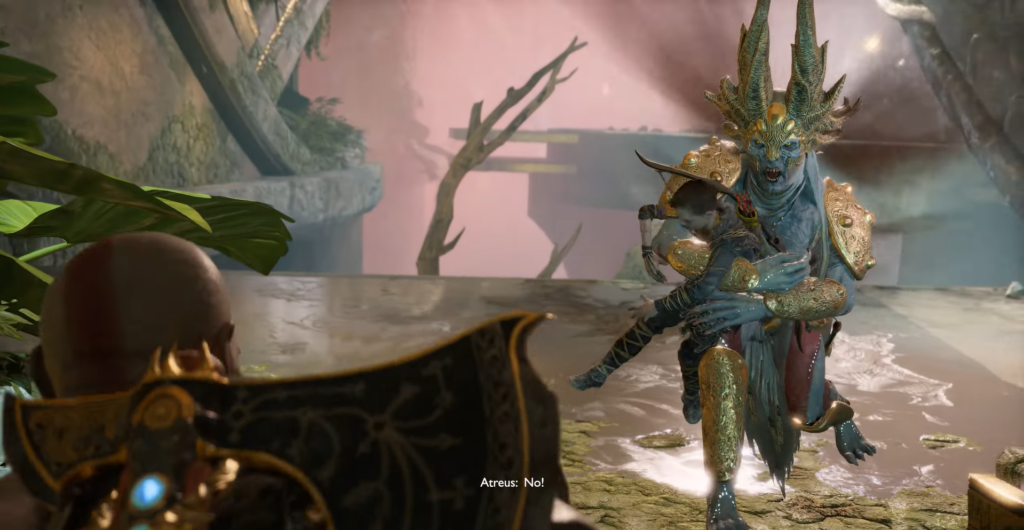
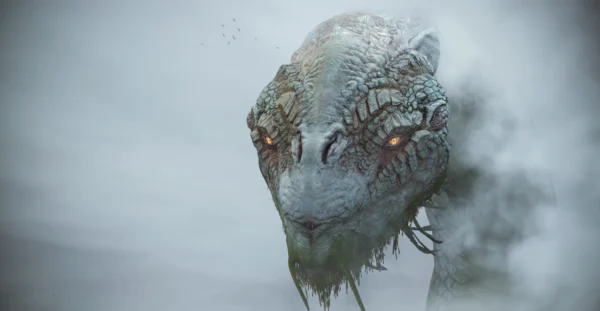
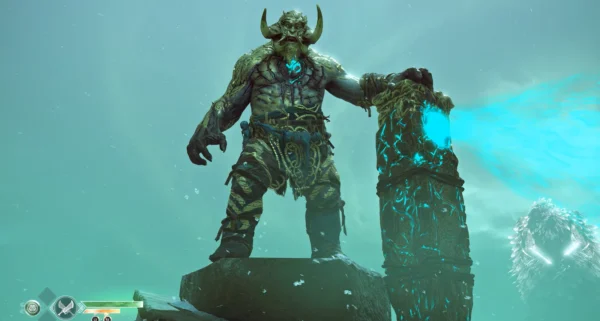
Boss: Svartalkvurr
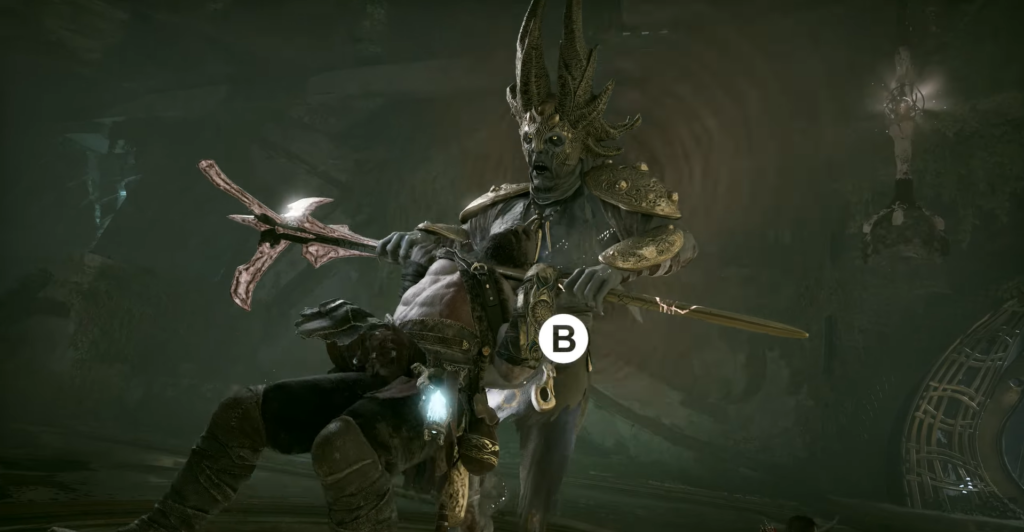
The leader of the dark elven army will not let you go so easily.
Battle plan:
| Attack | Countermeasure |
|---|---|
| Lance thrust or wide arc | Dodge, last-minute block, or rune attack to interrupt |
| Grounded projectiles (blinding) | Back away and dodge until vision is restored |
| Dash along the ground | Dodge to the side or use a rune attack to interrupt |
| Airborne jump + blinding shockwave | Keep moving, use Atreia for orientation |
Svartalkvurra cannot be stunned — just steadily reduce its health without letting it blind you. After victory — the finishing move.
Trophies: Enchantment “Engraved Comb of Cunning” + Runic Invocation for Atreus’ Bow (Hold Square to summon beasts in battle; works on recoil like a runic weapon).
Exploring the shores (optional)
The Shore of the Light Elves
Odin’s Raven sits on the pedestal of one of the monuments to the left of the entrance — knock it down with an axe thrown from the shore or from the balcony of the tree. After clearing out the Draugr and Nightmares in the tree, you will find a chest with silver. Three light crystals in the ground open a Reality Rift with two Draugr holding two swords each.
To the right is the hidden door to the Hall, and ahead is a tunnel. At its end, on a platform overlooking the shore, stands the legendary chest: the heavy rune attack “Rampage of the Ice Giant.“ Nearby, on a rock, is a box containing Aegir’s gold.
Artifact 5 lies on the body of a light elf right next to the legendary chest after descending from the platform.
The Shore of the Light Elves (second)
On the shore — Tatzelwurms and long-range Draugr. In the depths — a gate with a lever: lift the gate for a few seconds, behind it are two more Tatzelwurms.
Chest Norn No. 3 — Idunn’s Apple
In the gazebo to the left of the first gate is Norn’s Chest, overlooking the river towards the Ring Temple. The bells have no markings, so it’s a matter of trial and error. The correct three are: behind the chest on the left, directly to the right of the chest, and directly opposite in the doorway. Get the Idunn’s Apple.
A gate with two roots: knock down the lower one to raise the gate, and before it closes, chop down the upper one and let the gate knock down the lower root itself.
On the balcony above the water is another Reality Rift: two heavy, high-level Draugr. If you stun one, throw it into the water. Victory rewards you with Dust of Worlds to upgrade your Talismans.
To the right of the balcony, chop down two roots in your path. Cross the root bridge and look down to the left—there you will see roots and a door. Knock down all the roots: the sixth artifact, “Trophies of War,” will be right on the ground.
Legendary Chest No. 5 — Amulet of Kvasir
In the tunnel that opens up on the side, there is a chest covered with three pulsating cores, two of which are on rotating beams. Use the wheel mechanism nearby: turn the beams completely, watch as they slowly return to their original position, and throw the axe when all three are aligned. The chest will open — a rare Talisman, “Amulet of Kvasir”: with perfect evasion, it slows down time.
Return to Midgard
Take the boat to the Temple of Tyr, sell your loot to Sindri (lost items can be retrieved in the “Lost Items” section of his menu). Activate Bifrost and return to Midgard — to the Shore of Nine.
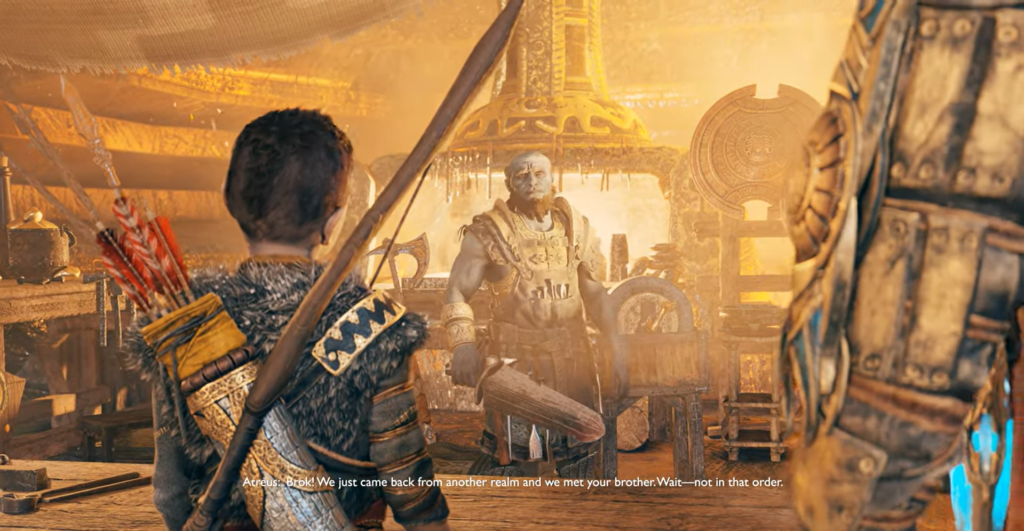
In Midgard, speak with Brock: minor weapon upgrade + new merchandise + side quest “Secondhand Soul” to enter the Volunder Mines.
On the bridge to Vanheim Tower, you will be attacked by Draugr speedsters — watch for the flash of fire at their feet before they lunge and parry at the right moment.
Dispel Black Breath
In the tunnel to the Foothills, the Witch’s Bridge has disappeared — you’ll have to jump. Find the blue crystal and place it in the socket: Lorna’s mark “Beware of Zeidr” will be activated.

In the Foothills, there is an invasion of rabid and poisonous wolves. Continue onward either via the Sindri Sky Lift or the long road.
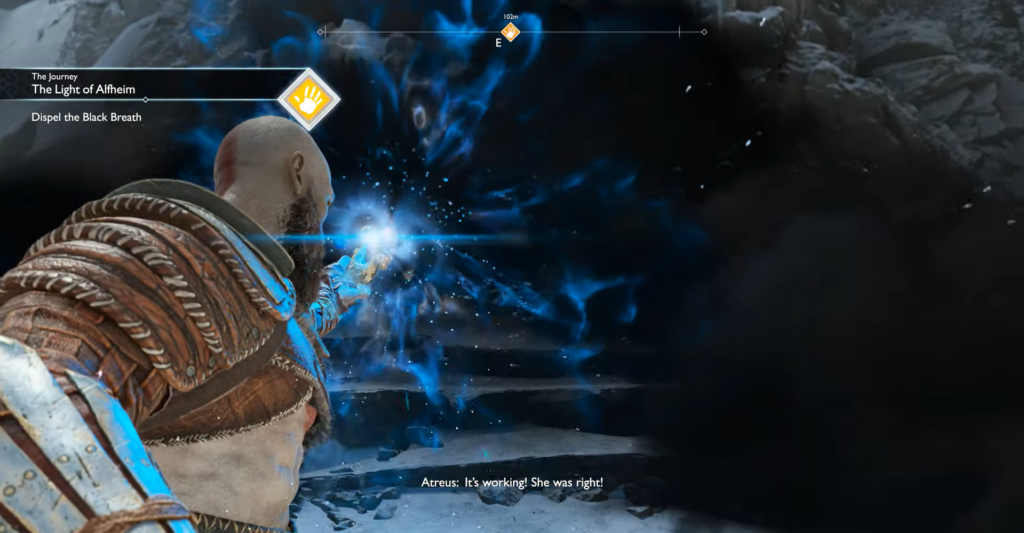
At the mountain trail, take out Bifrost and slowly move forward—the light will dispel the darkness step by step. At the base, Kratos will finally dispel the Black Breath, and the path to the mountain will open.


Comments (0)
Sign In / Sign Up
Sign in to leave a comment.
No comments yet
Be the first one to share your thoughts!