
Preparation before departure
Before diving into the space between worlds, make sure you are fully equipped. Spend your accumulated silver on upgrading or purchasing armor, and upgrade Atreus’ bow and quiver to the maximum. When you’re ready, head to the nearest mystical gate and select the only available destination: “The World Between Worlds.”
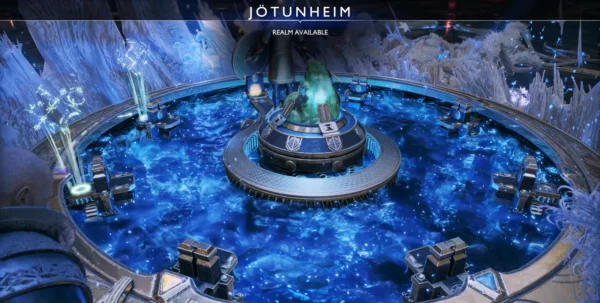
The Way to the Tower of Jotunheim
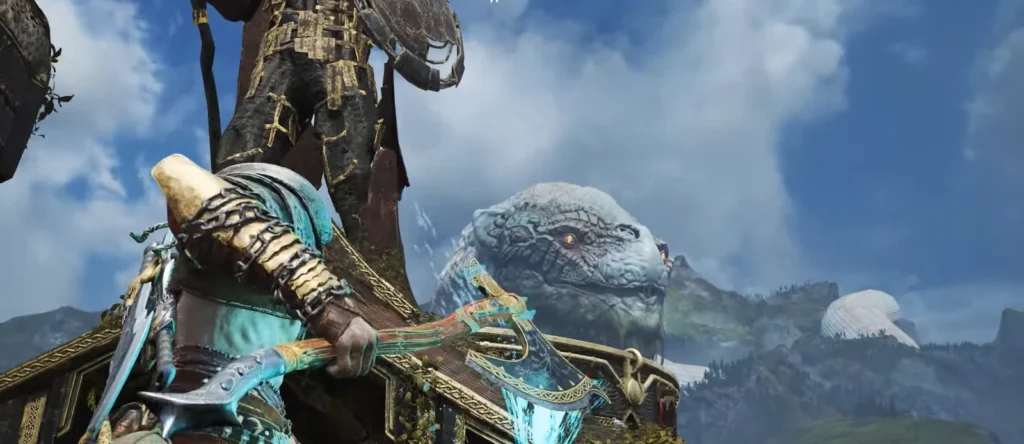
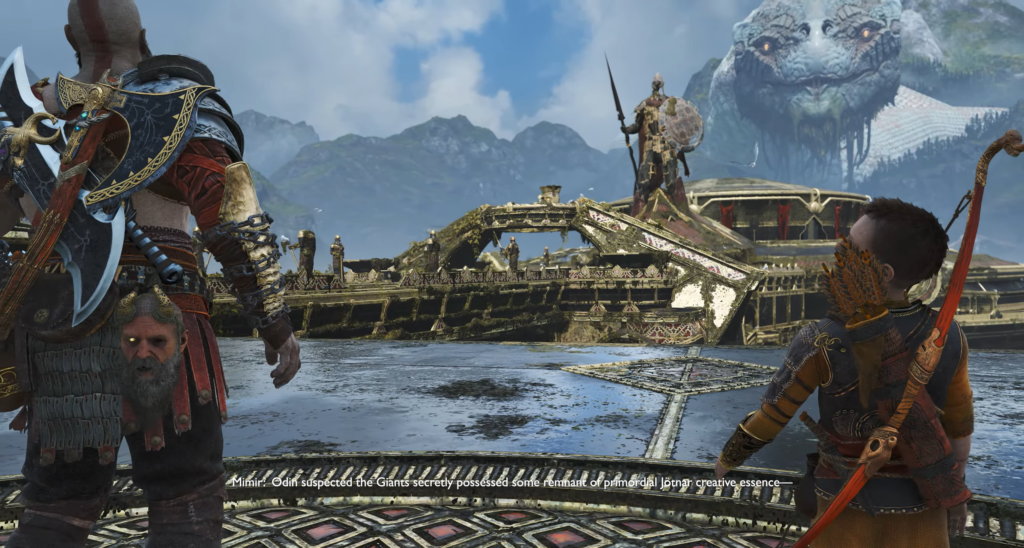
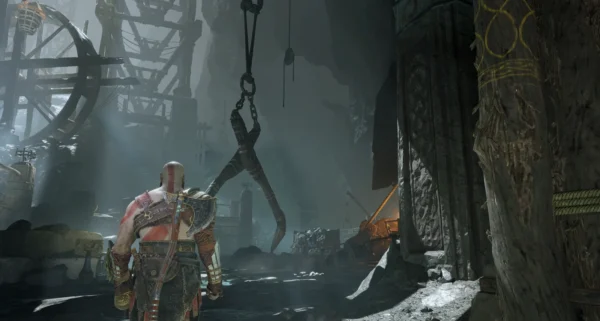
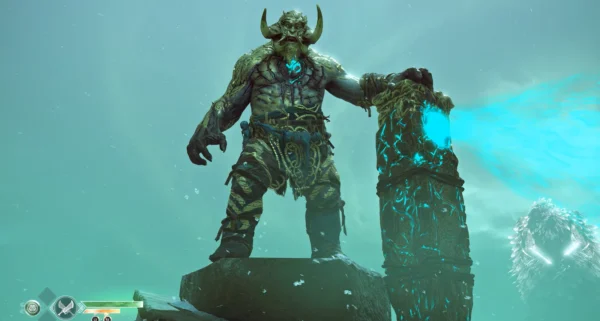
You will find yourself deep in the roots of the World Tree. Ahead lies the plateau that you were warned never to approach. The time has come to break that prohibition.
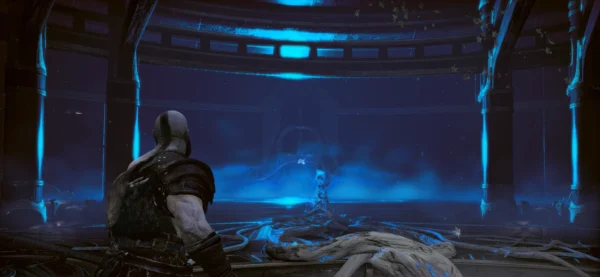
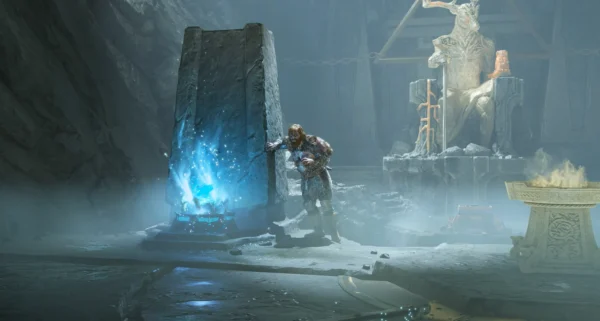
Descend the lone path to the hidden tower of Jotunheim—it was banished from the worlds into the space between them. Inside, you will find stones of health and fury in the corner, four sealed doors, and a pedestal in the center. Use the Stone of Unity on the pedestal to activate the tower — and prepare for a series of trials.
Testing worlds: wave after wave
Wave 1 — Broods
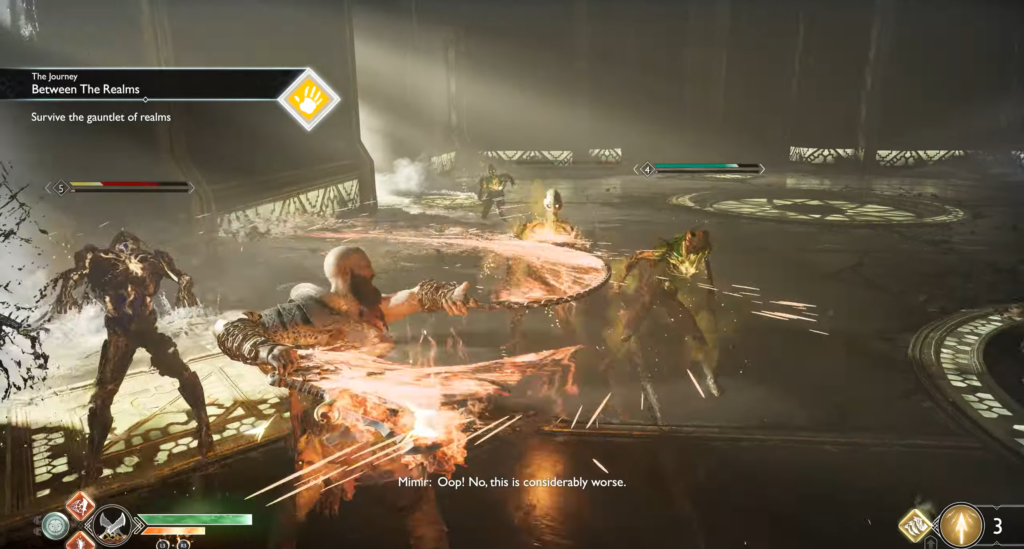
Activating the Stone of Unity triggers an ambush: all four doors swing open, releasing hordes of Spawn. Switch to Chaos Blades and attack with wide swings, constantly turning to control all directions. Be prepared to dodge your opponents’ jumping attacks. Continue until all Broodlings are destroyed and the doors close.
Wave 2 — Dark Elf Lords
The doors will open again, and two Dark Elf Lords will enter the arena — similar to the boss from the Alvheim finale. The battle is not easy: enemies constantly move around, shoot blinding projectiles, and set traps as they retreat.
| Tip | Description |
|---|---|
| Atreus is your trump card | Use his arrows to pierce defenses and his rune summon to stun enemies |
| When blinded | Retreat, raise your shield, and be ready to dodge new projectiles |
| Nightmares | Two Nightmares will appear in the arena — destroy them first or pick them up with Chaos Blades and throw them at the Lords |
| Finishing | If you manage to knock an enemy to the ground, activate Spartan Fury to keep them stunned and deal maximum damage |
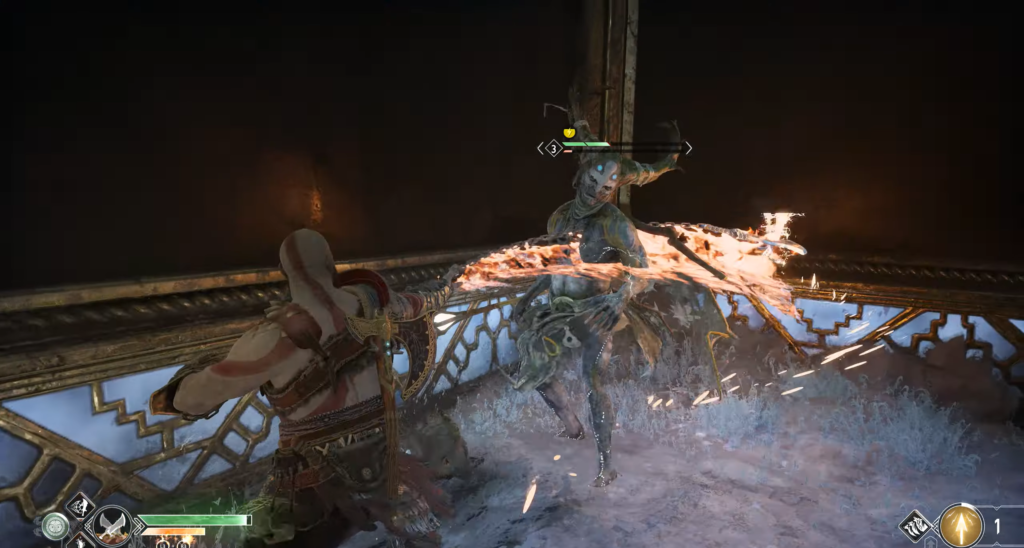
Wave 3 — Warriors of Hel
The next challenge comes straight from Hel. Once again, take up the Blades of Chaos—you will face several shield-bearing Hel-Razors, followed by Hel-Vikings. Runic attacks will help you break through enemy shields and sow chaos in their ranks. Dodge the Viken’s blows, flank them, and finish them off with heavy blows from your blades.
Wave 4 — Ogre and Troll from Muspelheim
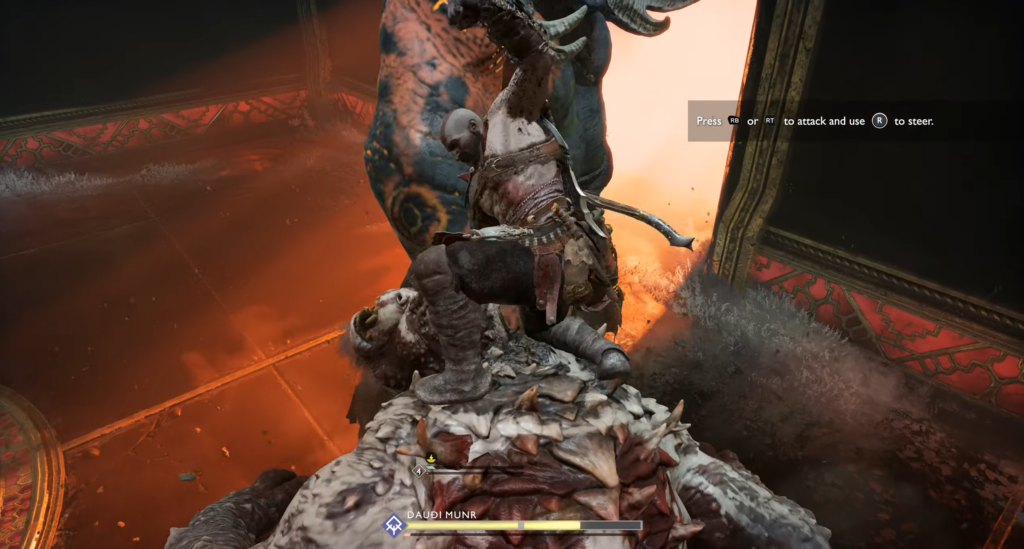
Restore your health before the final battle. From the fires of Muspelheim, the Ogre and the Troll Daudi Munr will appear simultaneously.
Optimal tactics:
First, rush to the Ogre and stun him as quickly as possible — then use him to attack the Troll, dealing massive damage until he falls. At the same time, Draugr will enter the arena — distract yourself by clearing them out, dodging the Troll’s waves of fire. Remember: the Troll can make powerful leaps over long distances and set the ground around him on fire, so keep moving.
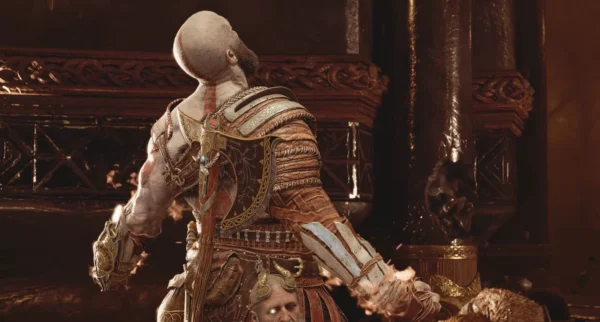
When the Troll’s health is low, switch Atreus to Light Arrows — they will quickly fill the stun meter. Stun the Troll, land a series of blows, and finish it off. Be sure to search the body: you will receive Artemis’ Wrath, a light rune attack for Chaos Blades.
After testing
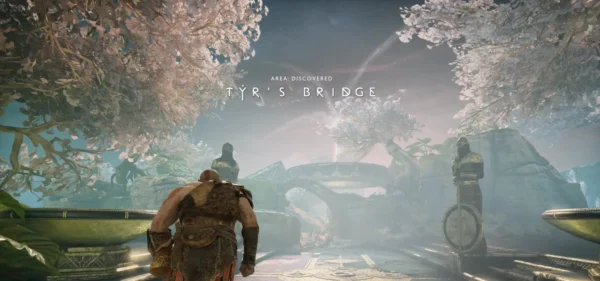
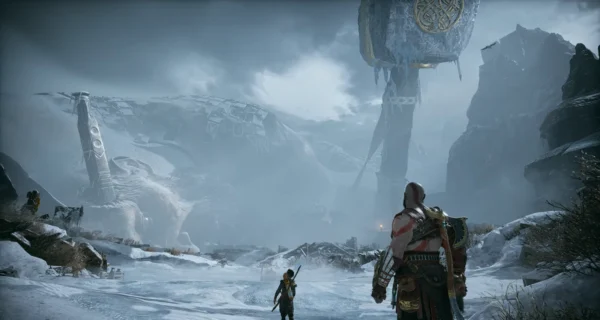
Step outside—you are back in Midgard. The Jotunheim Tower has finally been restored and connects all worlds together. You can now activate the Interworld Travel Room and link it to the tower in front of you.


Comments (0)
Sign In / Sign Up
Sign in to leave a comment.
No comments yet
Be the first one to share your thoughts!