Forging of the Tyur key
Once the true secret of Thyr is revealed, a new opportunity will open up—to enter the secret vault inside the Temple of Thyr. This will require a special key, but first you must visit the gnomes.
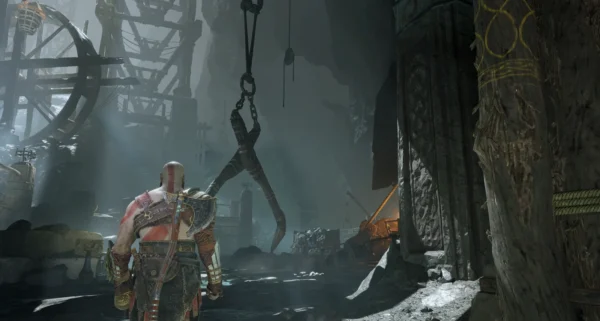
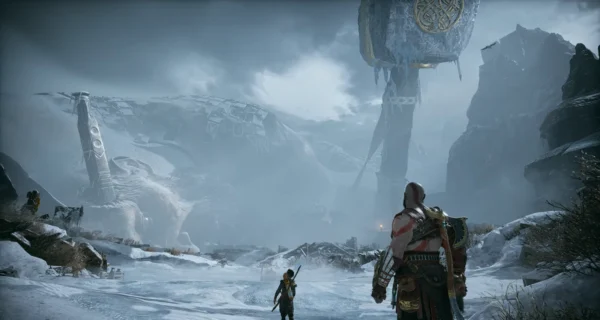
Go through the next room and use the elevator in the far corner to descend back into the temple. The door to Helheim is not working, so head to the World Tree and set your course for Midgard. Along the way, you will learn some interesting details about Baldr—remember them. Once outside, head to Brok’s smithy.
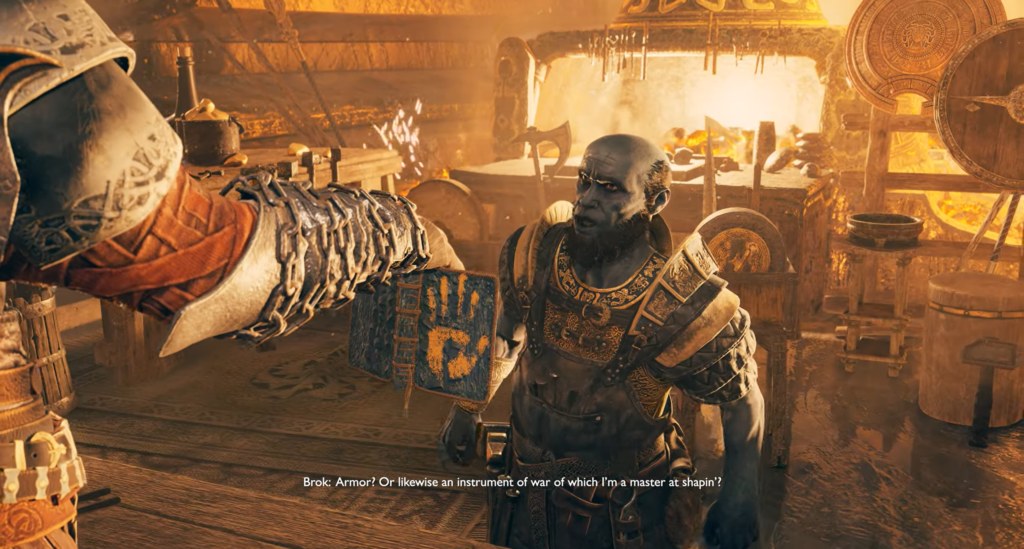
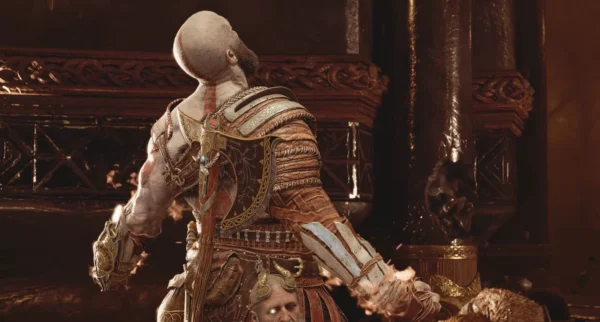
Thanks to some unexpected help, the Key of Tyra will be successfully forged. The path to the vault leads under the temple. By this point, you should already have the first Niflheim ciphers, and the forge will have new armor and upgrades — be sure to check it out before moving on.
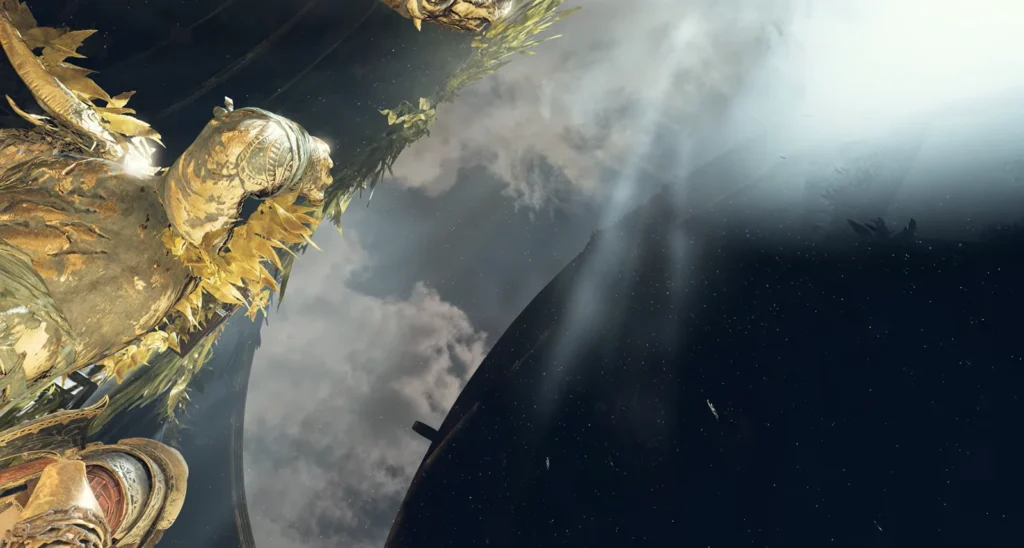
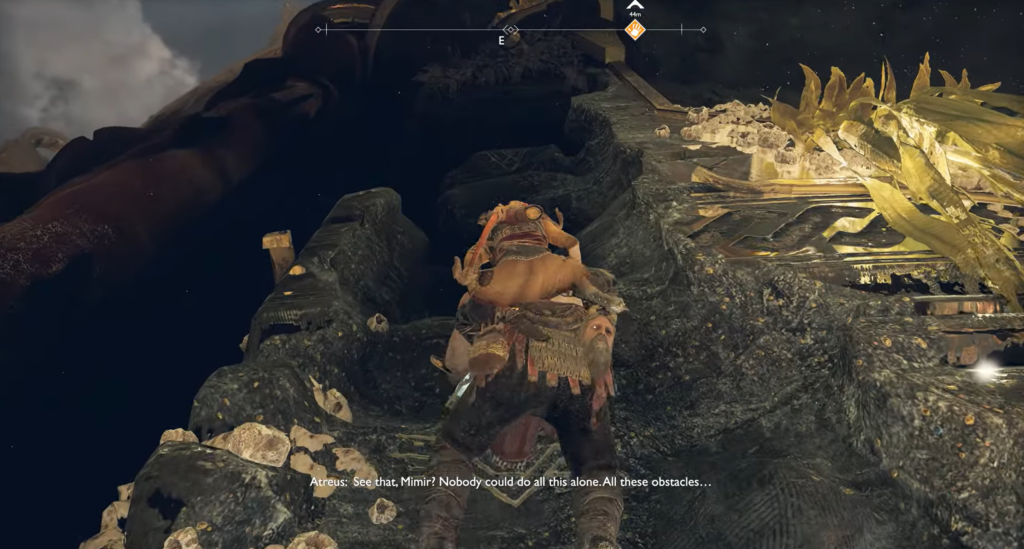
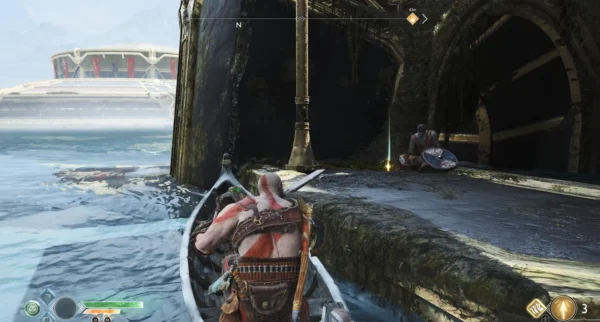
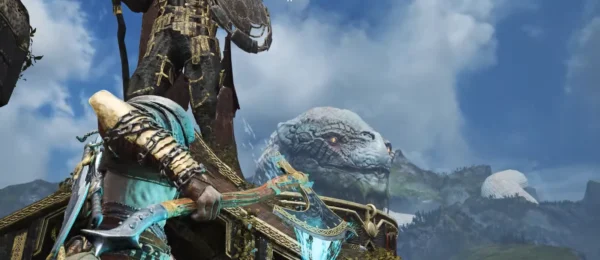
Note about the Dragon’s Tear: as you descend along the Temple of Tyr, take note of the corpse of the dragon Baldr lying in the distance beneath the World Serpent. When you have the opportunity, take a boat to the Forgotten Caves, climb to the top, and examine the area near the dragon’s body — the Dragon’s Tear is hidden there.
Legendary chest on the outer ring
Descending to the outer ring of the Temple of Tyr, turn northwest towards the Tower of Asgard. There, surrounded by Hel’s thorns, stands the Legendary Chest. Destroy the thorns and open the chest to obtain Weightless Handles of War, a rare hilt for Chaos Blades.
Entrance to Tyur’s secret room
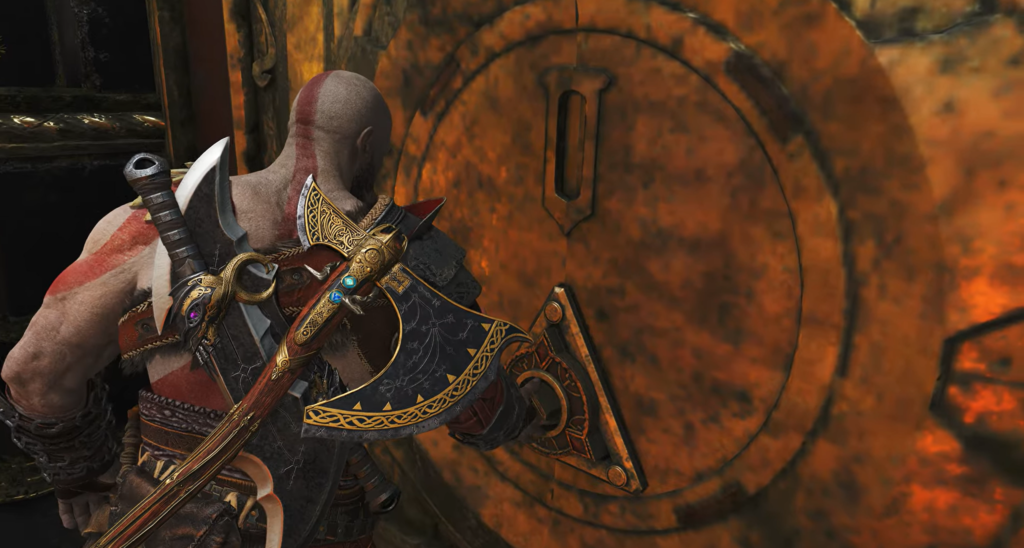
The storage room is located on the eastern side of the lower outer ring of the temple, opposite the Alvheim Tower. Approach the mysterious door with the key in your hands and enter.
Exploring the hidden room
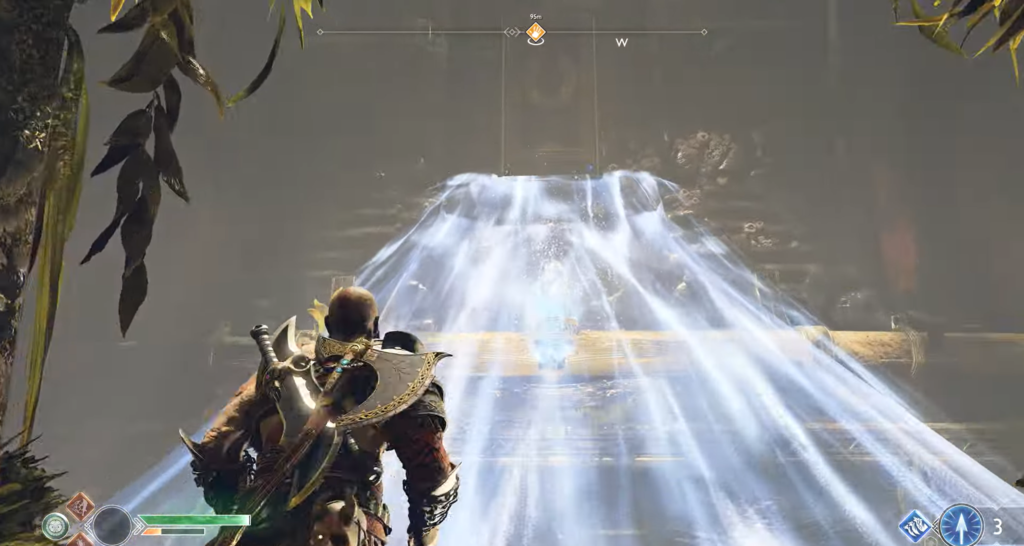
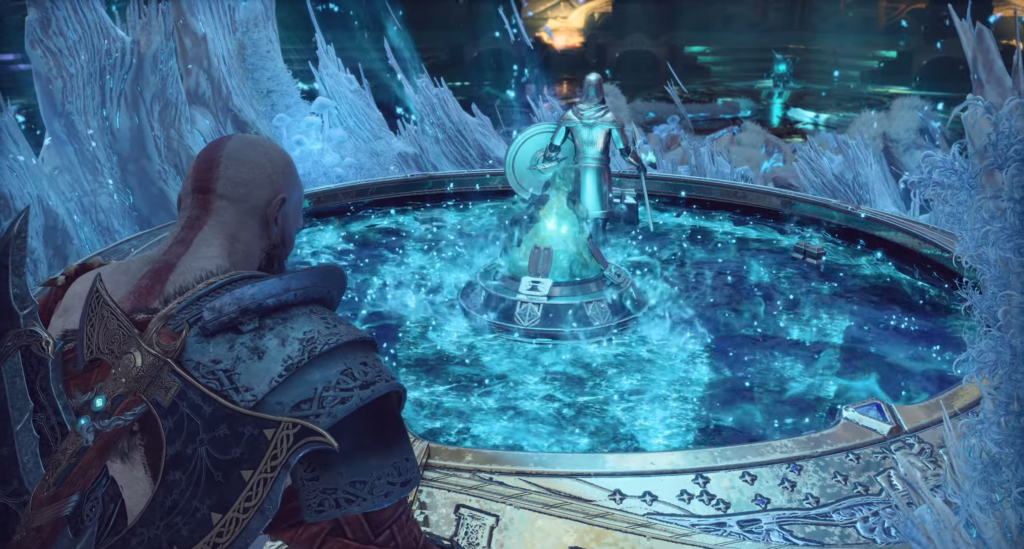
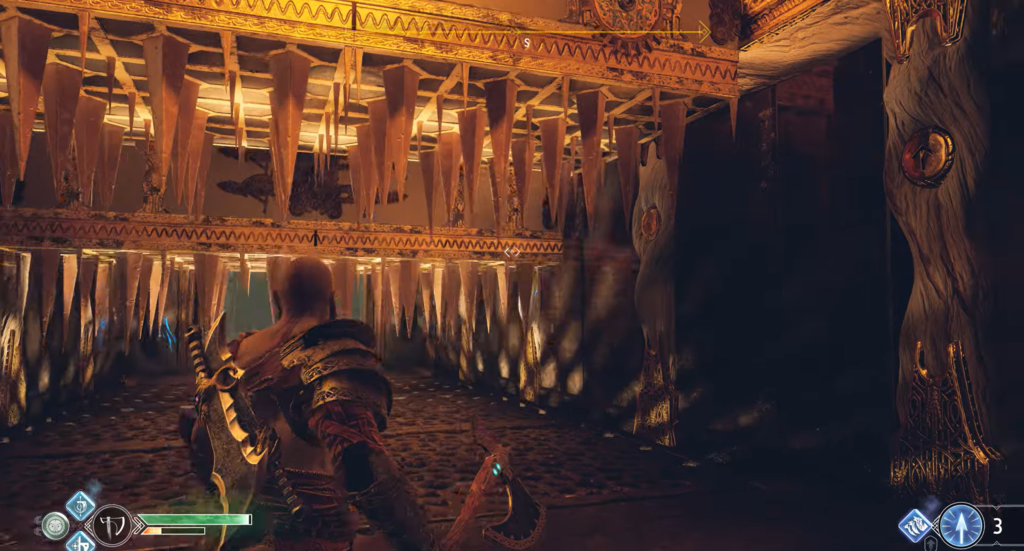
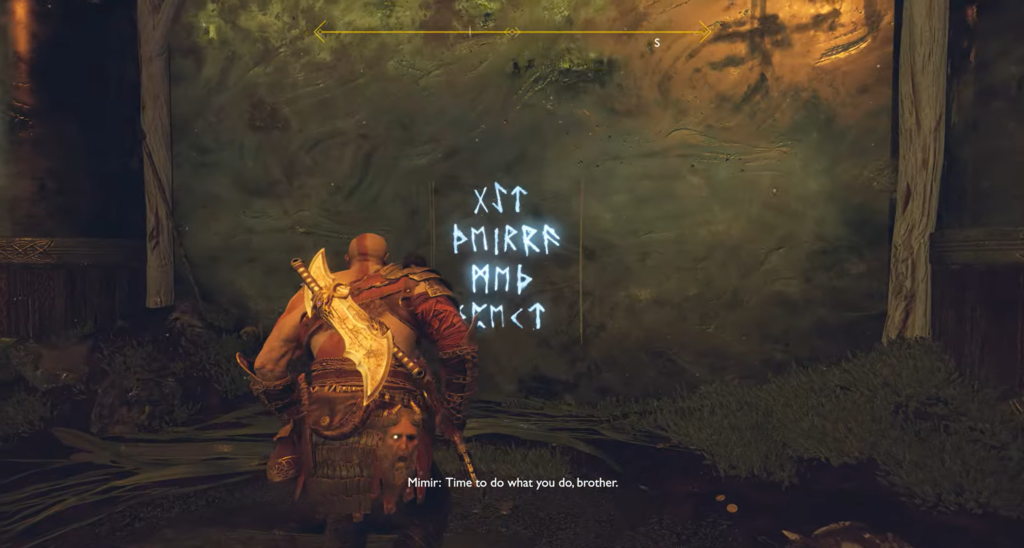
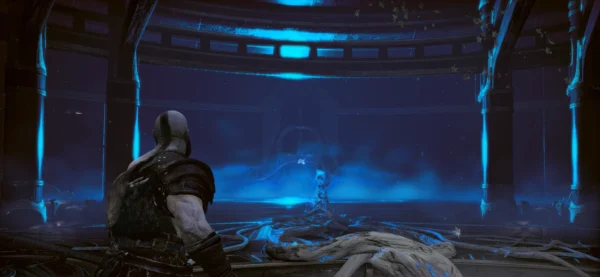
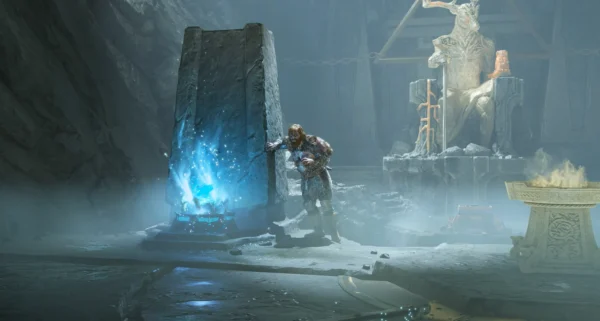
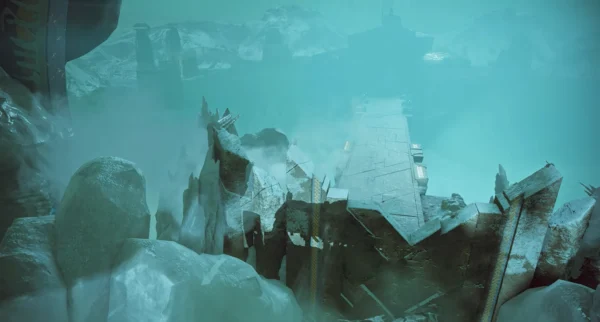
A long, abandoned corridor covered with shells will lead you to a light crystal. Shoot it with Light Arrows to reveal a glowing path. You will find yourself in a mirror image of the hall of interdimensional travel: the floor and ceiling have switched places. Look up — you will see doors to different worlds. Move through the hall until you see a glowing sphere similar to the one behind which Tyr hid the Black Rune.
The giant inverted door of Jotunheim will open, revealing two passages on either side at your level. Enter one of them, cross the light bridges, and examine the tapestries in the corridor. Then find the passage to the door of Jotunheim on the left.
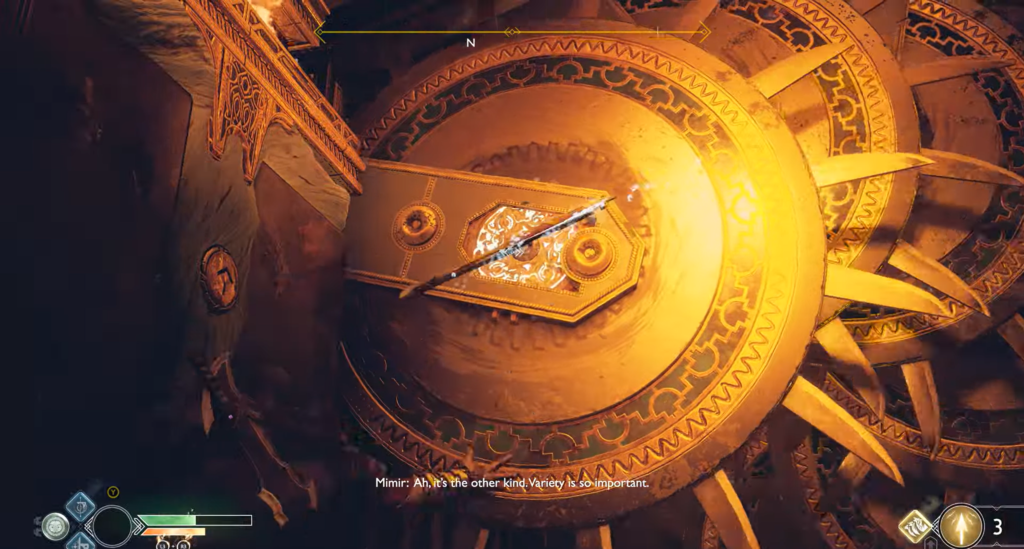
Зал Тюра
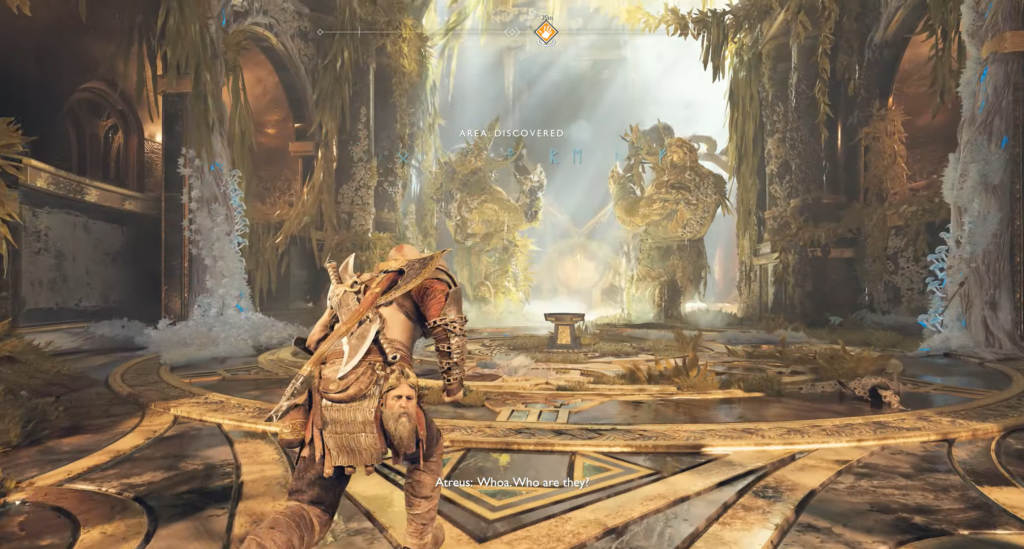
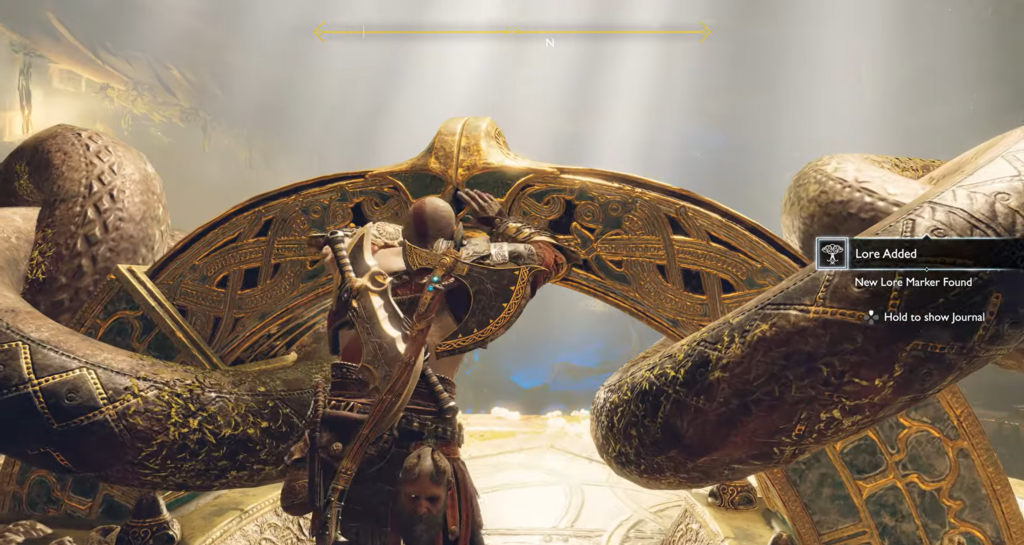
Inside the hall are two huge statues holding chains attached to the door of Jotunheim. Walk past the sand bowl to the foot of the overturned door and note the rune of Jotunheim. Interact with the mechanism under the rune — you will discover that the entire temple is mounted on an axis and can be turned upside down if you destroy the chains holding it in place.
Breaking the chains
After interacting with the mechanism, the statues will shift, revealing runes on their bodies, and the bowl of sand will activate. Read the riddle, then ask Atreus to examine each statue and translate the inscriptions. The bowl will turn into a lever that activates a lift deep inside the temple, leading to the place where the chains are attached.
Knowledge — Sanctuary of the Jotuns
Just beyond the lift, turn around and you will find the Sanctuary of the Yotuns. Atrey will translate it and tell you the story of Bergelmir.
Examine the balcony: below is the base of the temple and the roots of the World Tree, and further on are those very chains. The path splits into two directions: left and right.
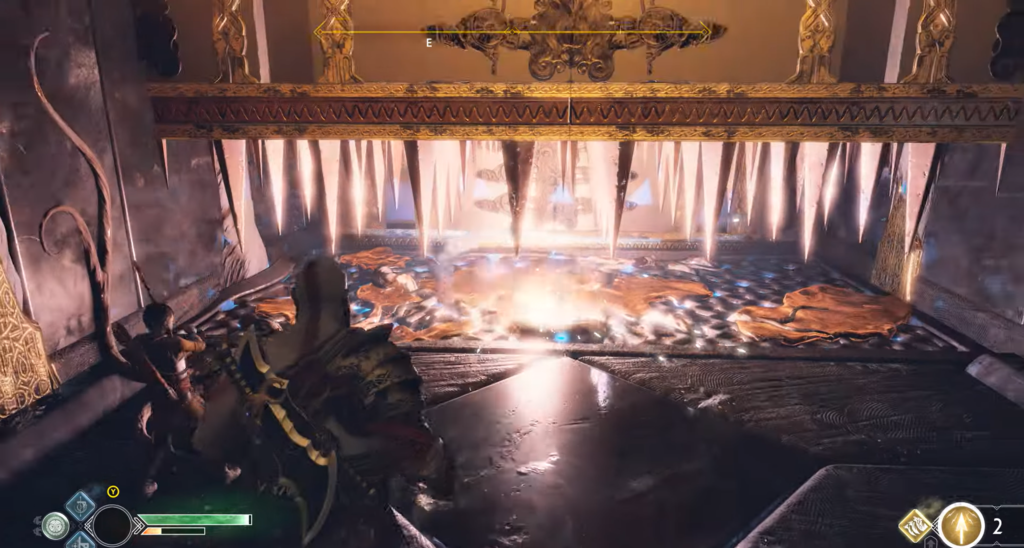
Right corridor — traps with spikes
The right passage leads through a hall with spiked blocks falling from above.
| Step | Action |
|---|---|
| 1 | Freeze the first block when it is at the bottom so that you have time to freeze the second one while it is at the top. |
| 2 | Wait for the first block to rise, then move on to the second (it is safe as long as the axe is sticking out of it). |
| 3 | Wait for the third block to rise and slip under it. |
The Room Behind the Traps
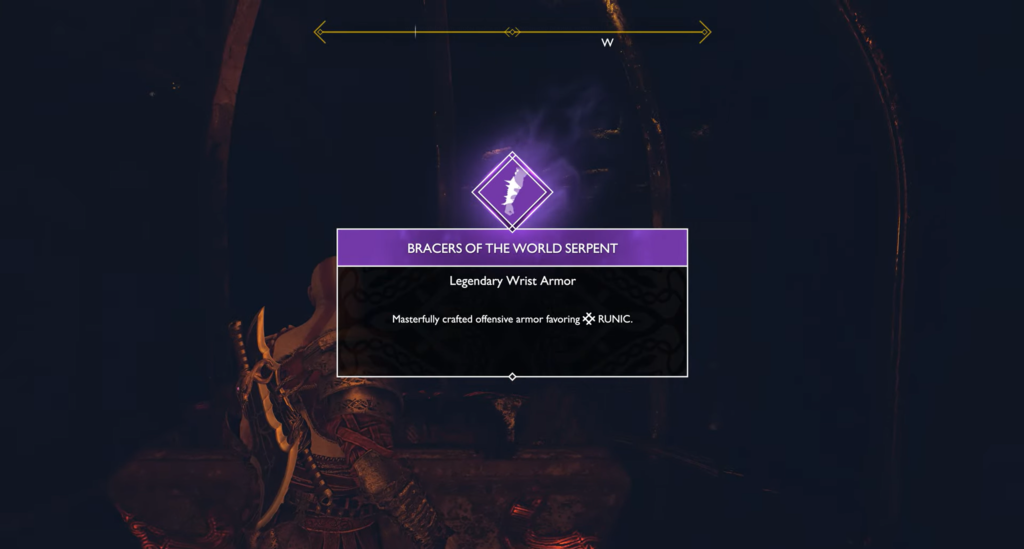
In the ritual room beyond the corridor stands a coffin—inside are the World Serpent’s Bracelets and Tempered Svartholm Steel.
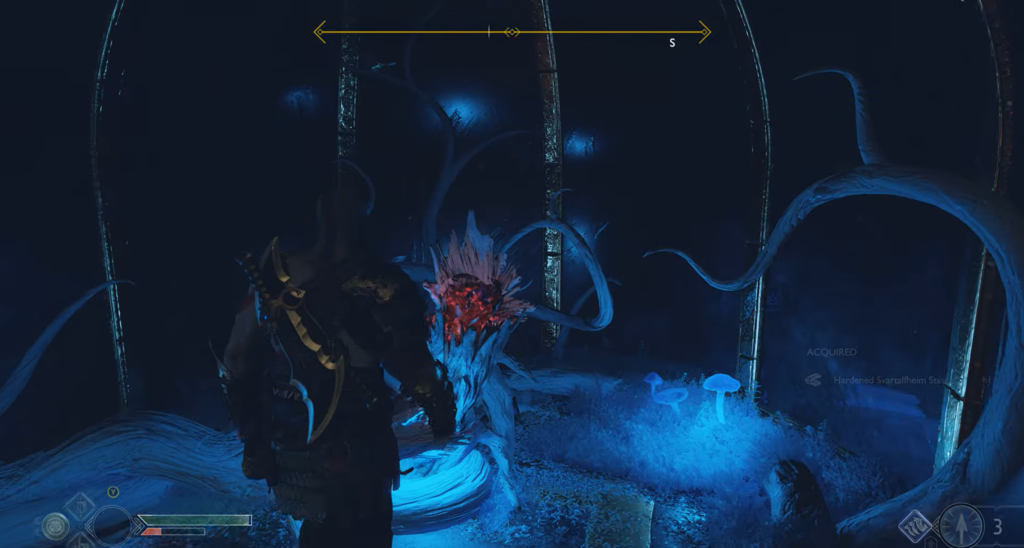
There is a piece of Shattering Crystal nearby—pick it up. In the next corridor, the spiked blocks rise too low to crawl under, but the floor is covered with World Tree resin. Throw the crystal and order Atreus to detonate it—the first block will fall through the floor.
When the block rises, climb onto it. Next, the situation becomes more complicated: the second and third blocks have spikes on both the top and bottom. As soon as the second block descends and the third rises, run across them as fast as you can and do a forward roll to escape the deadly trap into the room with the first chain.
Knowledge and the Niflheim Code
In the room with the chain, examine the right wall — there you will find runic inscriptions, which Atrey will translate: “Leave them alone.“ Nearby is a chest with a cipher — another part of Niflheim’s cipher for the quest “Kingdom of Fog.“
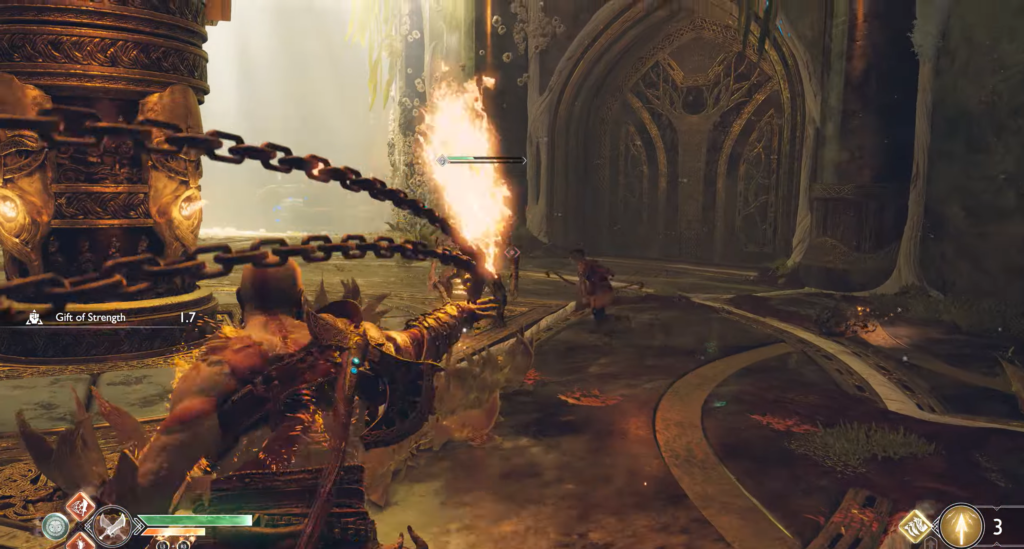
Fight after the destruction of the first chain
Break the chains on the balcony. Immediately after that, two rifts will open, from which two angry Travelers will appear, and a fire trap will emerge from the center.
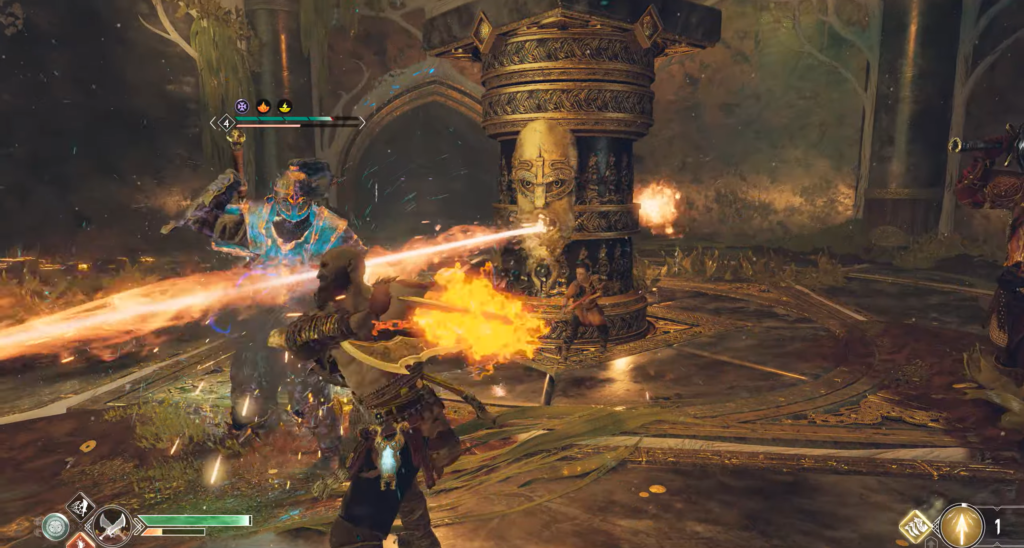
Tactics: Take your time. The shielded traveler is slow—focus on the second one, provoking him to attack and counterattacking. Watch out for the spinning fire jets: if they get too close, retreat. When the first enemy falls, deal with the second one, keeping your distance from the fire.
Search the bodies immediately — collect trophies and armor fragments. Then prepare for a wave of Hell Marauders from the previous room. Some of them will get stuck in the spike traps, while the rest will rush to attack. Switch to Chaos Blades and kill them. Freeze the nearest spiked block and deflect the shells from the remaining marauders in the far hall, then cross the corridor.
A fire trap will reappear in the ritual room, and Hel Marauders will crawl out of the walls. The fire also affects enemies—take advantage of this. Use the Spear of Chaos to attack through the flames and Elemental Strike against the marauders behind the ice shields. Eventually, two Hel-vikings will appear — dodge their attacks without getting caught in the flames. Once all enemies are defeated, the trap will deactivate.
Left corridor — rotating saws
The second corridor is full of rotating saw blades. The distance between them is too narrow to simply run through.
| Step | Action |
|---|---|
| 1 | Freeze the nearest disk and wait until the next one shifts in the opposite direction. |
| 2 | Unfreeze and freeze the second disk, wait for the first one to synchronize |
| 3 | Continue alternating the freeze — gradually the discs will line up in a row, and you will be able to run along the wall |
Mechanism with Hel’s Winds
In the next room, on the stone sarcophagus on the left, is one of the two Winds of Hel. In the corridor behind it is a stationary saw blade with a socket, and another socket on the right.
First, place the Winds in the right slot—the disc will start spinning. Wait until it reaches the top corner, take the Winds and place them on the disc itself—it will start moving back and forth.
Legendary Chest
When the saw blade moves to the corner, pull out the Winds of Hel to lock it in place, and return the Winds to the sarcophagus in the previous room. Now walk past the blade—behind it is another blade with Winds inside. Return these Winds to the sarcophagus as well. A Legendary Chest will open with a reward — Hyperion’s Grip, a heavy rune attack for Chaos Blades.
Final puzzle with three discs
Return the Winds of Hel to the group of three saw blades. The right blade is stationary. Take the Winds from the top blade as it moves upward and place them in the right blade. Now both side blades will move in sync, creating a short window for passage.
Knowledge and the Niflheim Code (Part 2)
In the room with the second chain, there are more runic inscriptions — Atreus will translate them, completing the phrase from the opposite room: “Good gods?” There is also another chest with the Niflheim code for the “Kingdom of Fog” quest.
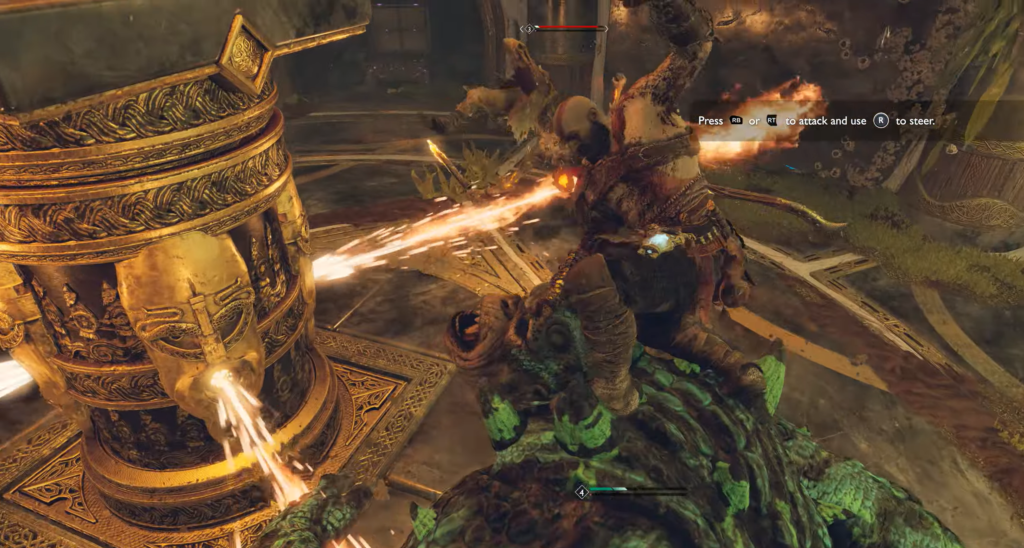
Fighting after the destruction of the second chain
Break the second chain, and the draugr will rush at you. Switch to Leviathan and chop them down, retreating and throwing your axe when the fire jets from the central trap interfere with close combat.
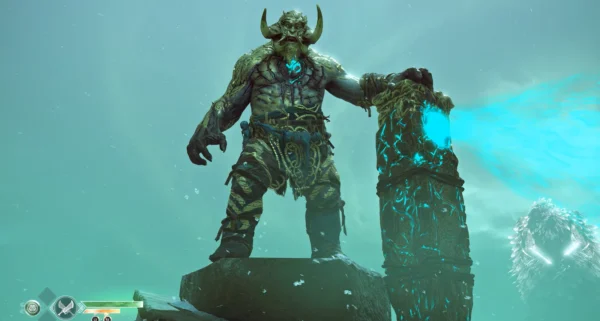
When you hear a roar, look at the balcony where the chain was hanging: the Ogre will climb out from there. Run behind him and increase the stun damage with Atreus. Saddle the Ogre, use him against the draugr, and set him on fire to finish them off.
The way back through the trap-filled corridor will be easier — the traps have been rearranged. However, the fire trap and several heavy draugr will reappear in the previous room. Keep your distance, throw your axe, weaken your enemies with Atreus’ arrows, and only attack in close combat when it is safe to do so.
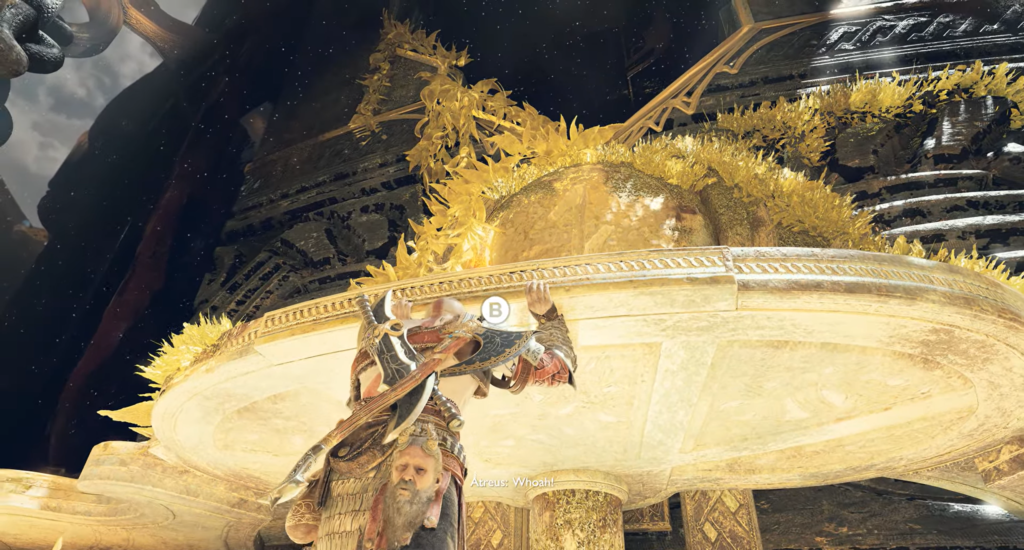
The Temple Revolt
Both chains are destroyed. Return to the central hall and take the elevator upstairs. Grab the edge of the inner temple and pull—the entire structure will rotate on its axis and flip over!
Secret Coffins — a puzzle with a boat
Before leaving, look around: a model of a large ship has descended from the ceiling. In the center of the ship is a small light crystal — shoot it, and ghostly runes will appear on the floor around the elevator.
Match the ghostly runes with those engraved on the floor by rotating the boat with axe blows to its sides. When all the runes match, two ledges with coffins will open on either side of the main entrance to the room with the lift:
- In one — Shoulder pads of the World Serpent + Hardened Svarthalmheim steel
- In another — World Serpent’s Battle Belt + Hardened Svartalfheim Steel
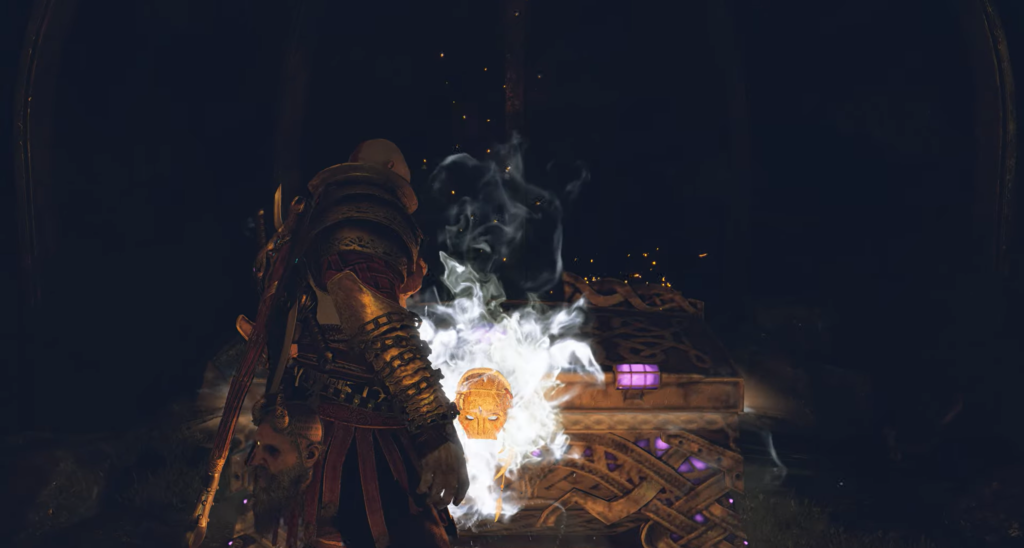
The Stone of Unity
Now that the temple has been turned upside down, climb up the wall from the point of inversion and enter the Hall between Worlds—it too has been turned upside down, and the World Tree now hangs upside down beneath you.
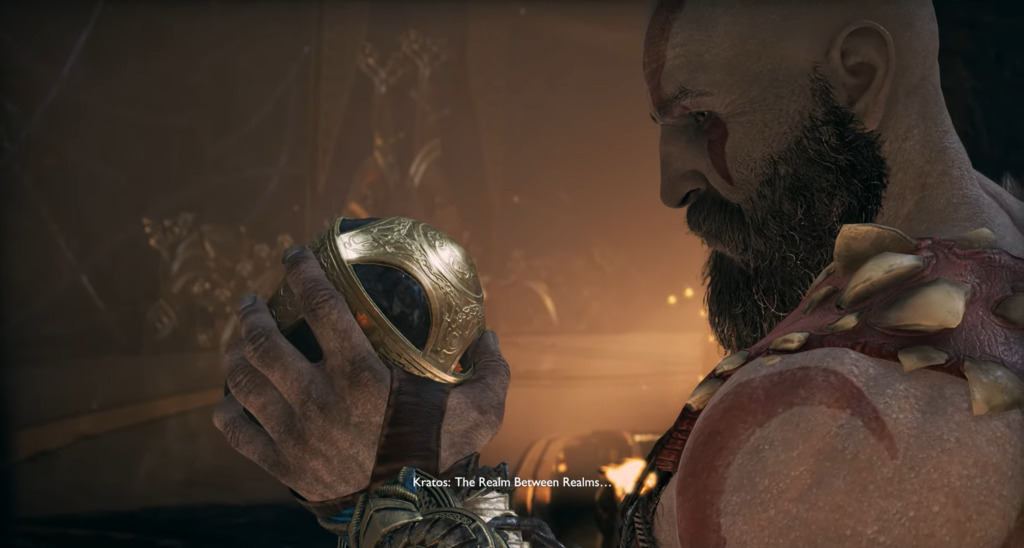
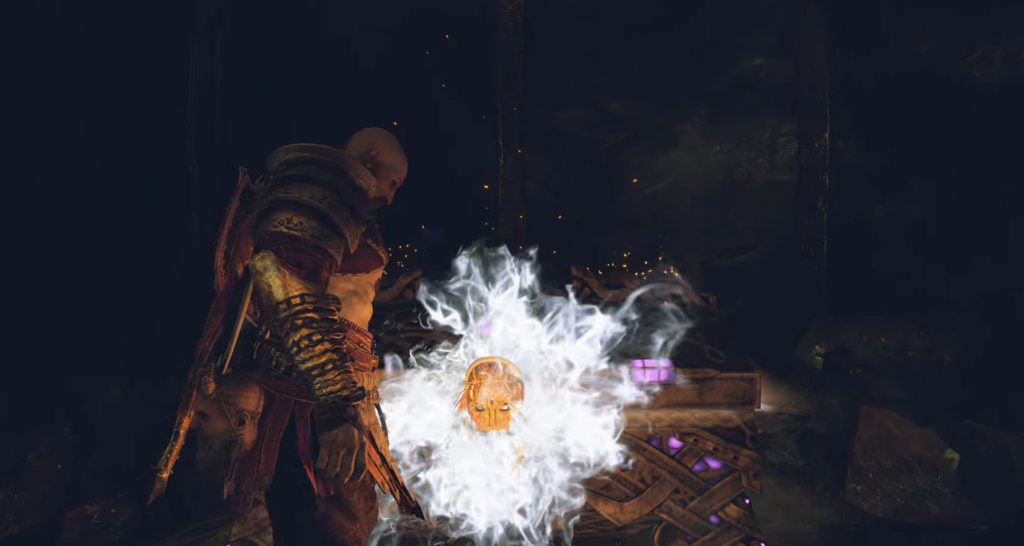
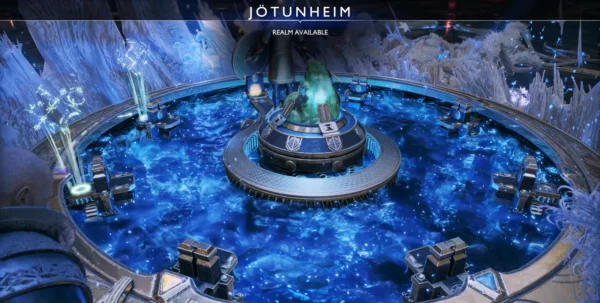
Go to the opposite side of the platform. There you will find the mysterious object you saw earlier. Unlock it and receive the Stone of Unity, an artifact that allows you to travel through the Space between worlds without being tied to the paths of the World Tree. Jotunheim is finally within reach!


Comments (0)
Sign In / Sign Up
Sign in to leave a comment.
No comments yet
Be the first one to share your thoughts!