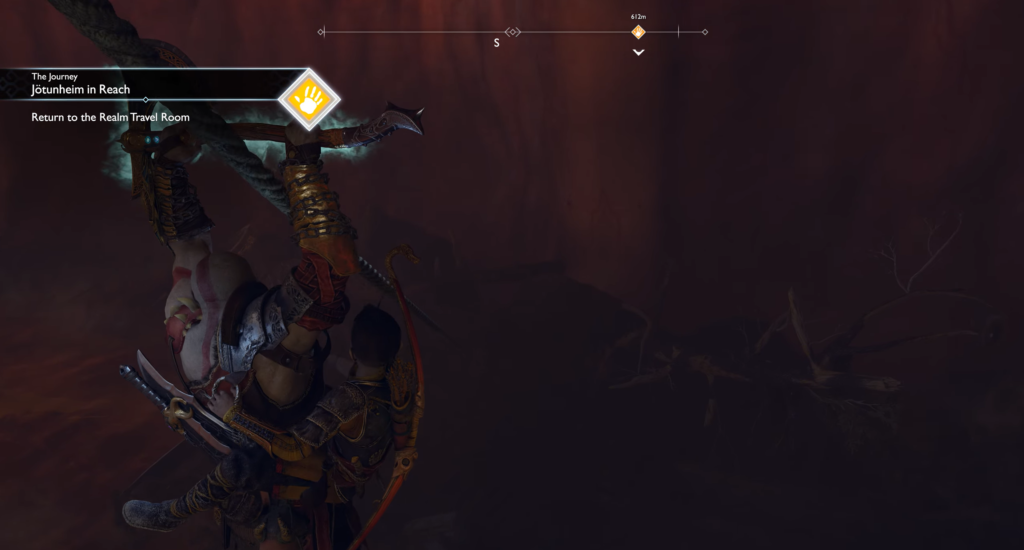
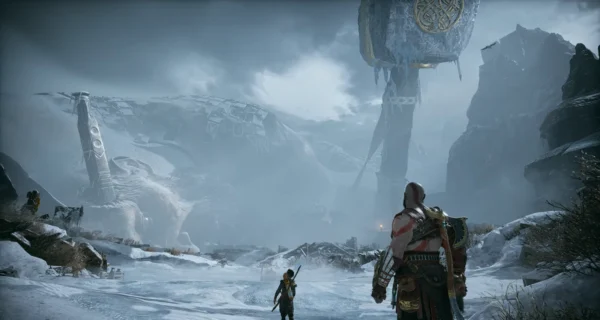
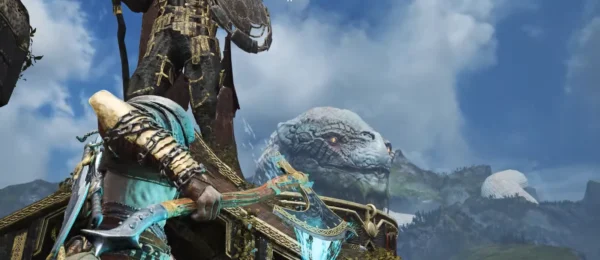
The Tower of Jotunheim has returned to Midgard, which means the path to the highest peak of all worlds is finally open. Cross the aligned bridge and visit the merchant—this is an excellent opportunity to purchase the latest upgrades before visiting the Room of Interworld Travel.
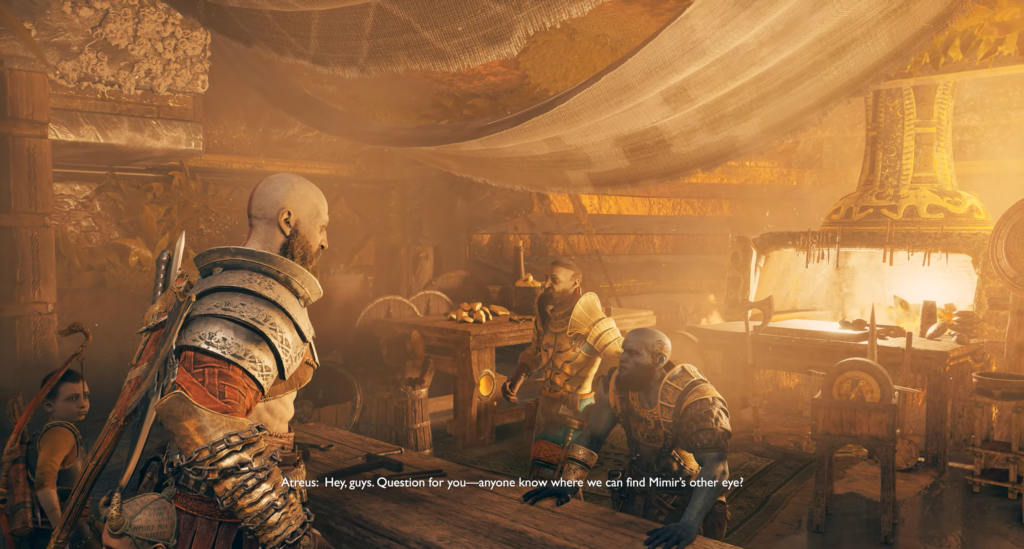
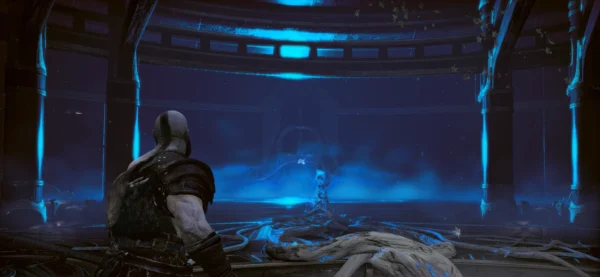
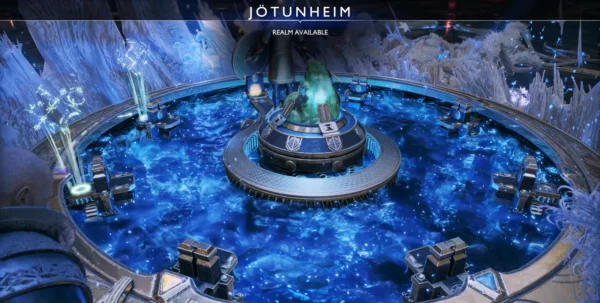
The long-awaited mark of Jotunheim will appear on the travel map. But as soon as you enter the coordinates, Mimir will notice a problem: there is no crystal for transmission in the gate. Tyr used his own eyes for this, and Mimir has only one left — which means you need to find the second one. For a hint, talk to Brock and Sindri.
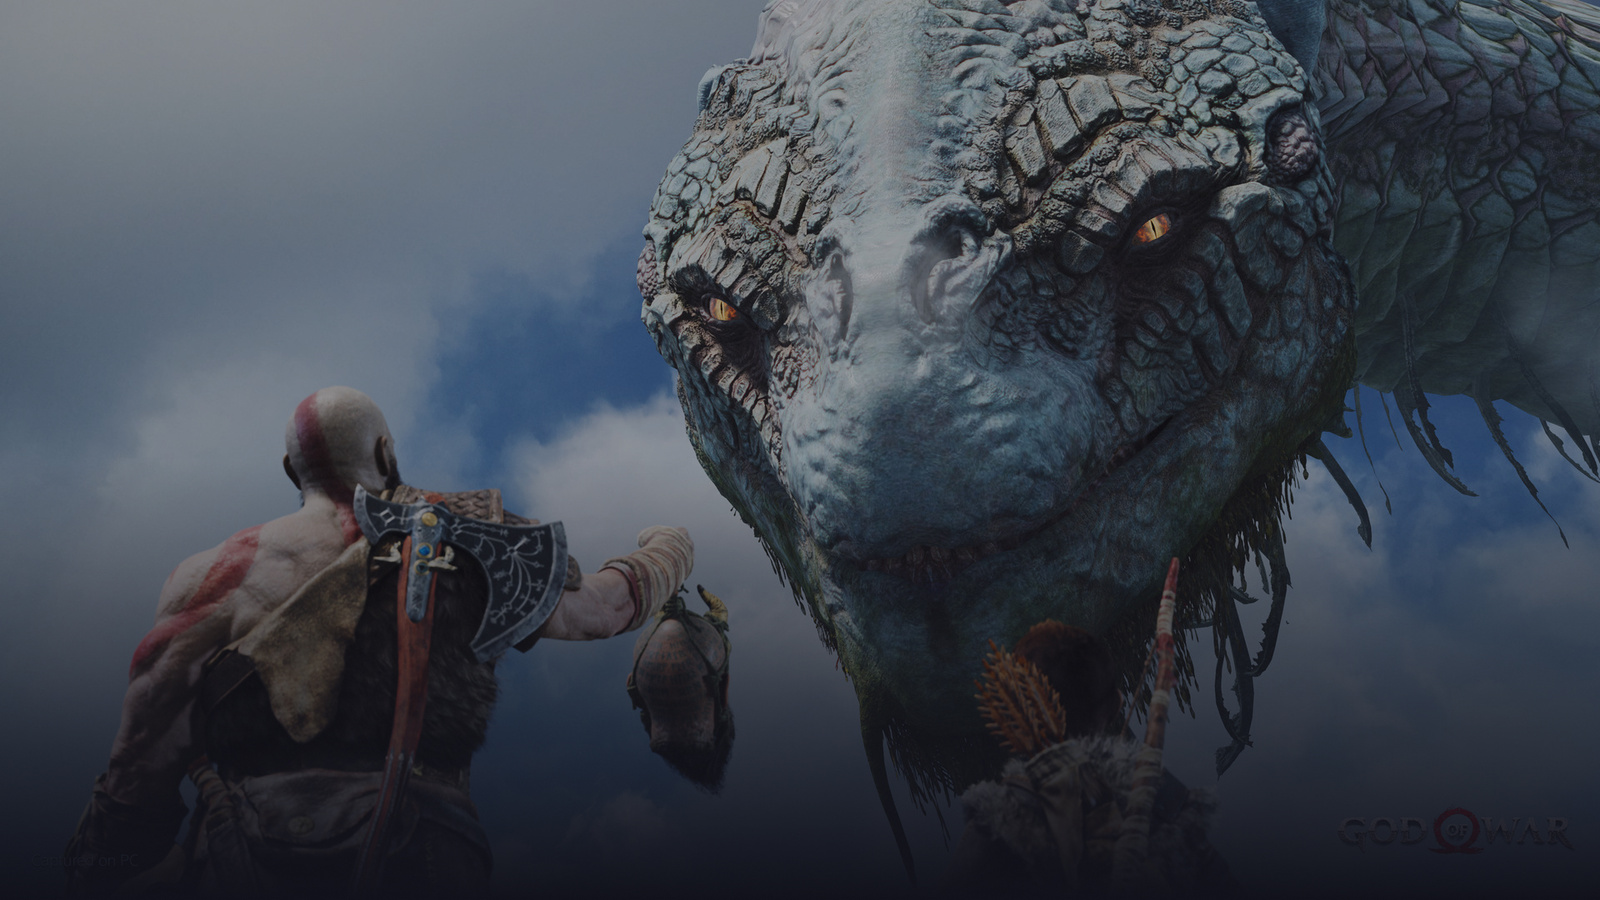
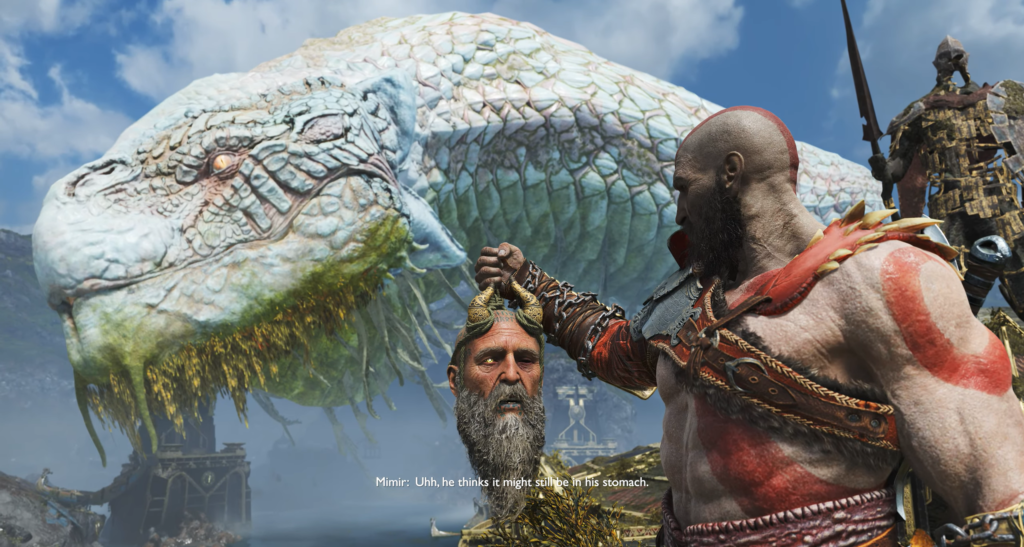
Return to the smithy and ask the brothers about the location of Mimir’s hidden eye. It turns out that Odin ordered a statue to be built to hide the eye—the very one that was swallowed by the World Serpent. Let’s hope he hasn’t digested it yet…
Important! As Mimir warns, talking to the World Serpent triggers the final chain of events. After that, you will not be able to freely explore the world until the main storyline is complete (free mode will open after the finale). Complete all side quests and collect any missing items before climbing up to the horn.
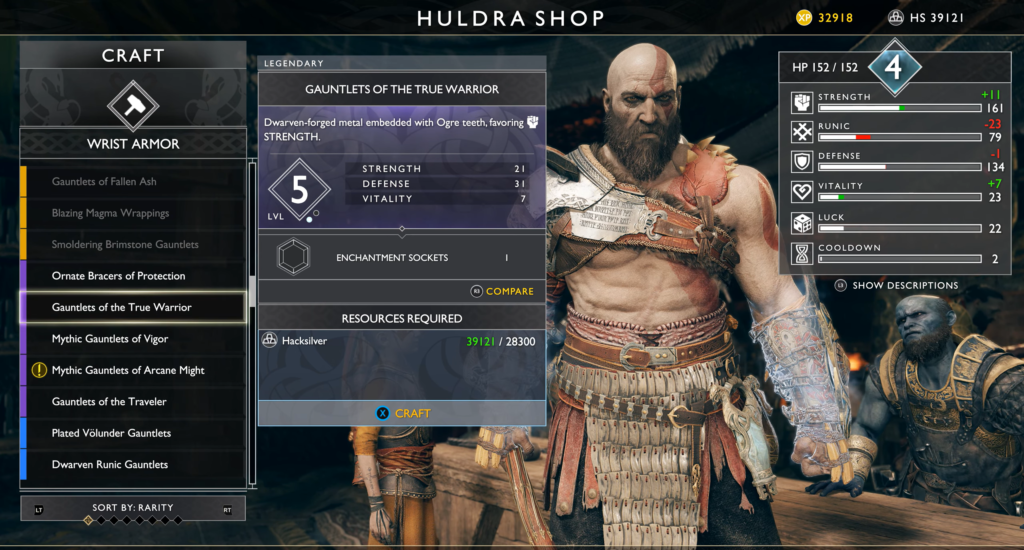
Recommended preparation
At this point, it is desirable to meet the following parameters:
Parameter
Recommendation
Character level
5–6
Skills
All or almost all unlocked
Atreus’ bow and quiver
Fully upgraded
Armor
Legendary, maxed out
Enchantments
Best available
Runic attacks and invocations
Priority given to those you use most often
Talismans and finials
Improved
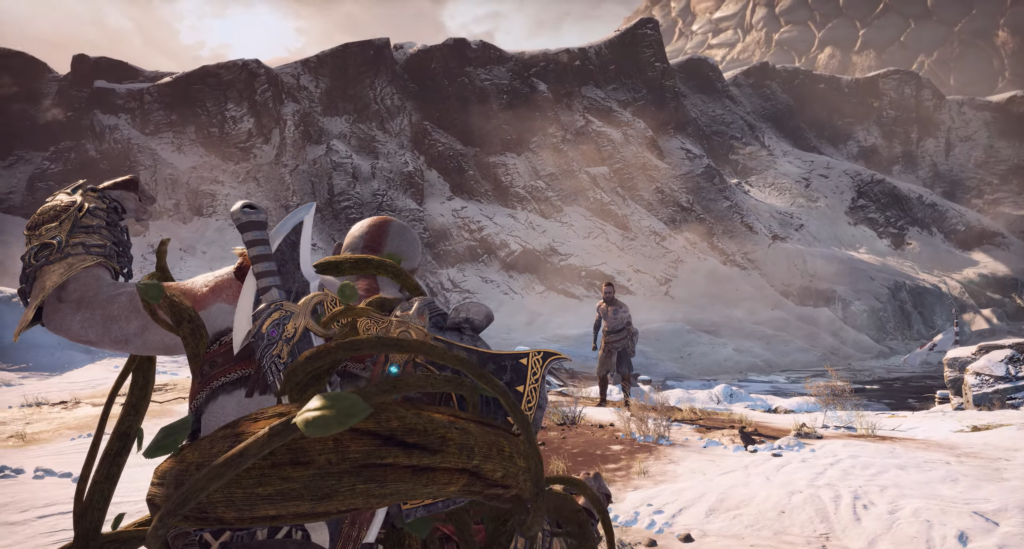
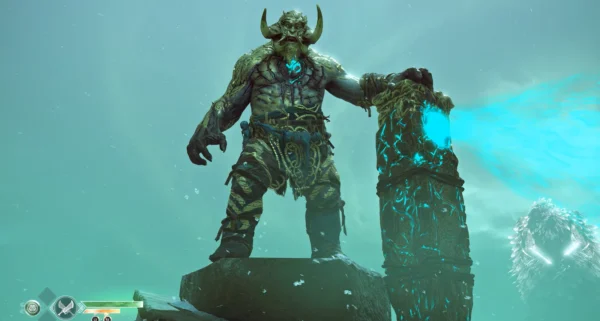
When you are ready, take the elevator up to the horn that summons the World Serpent.
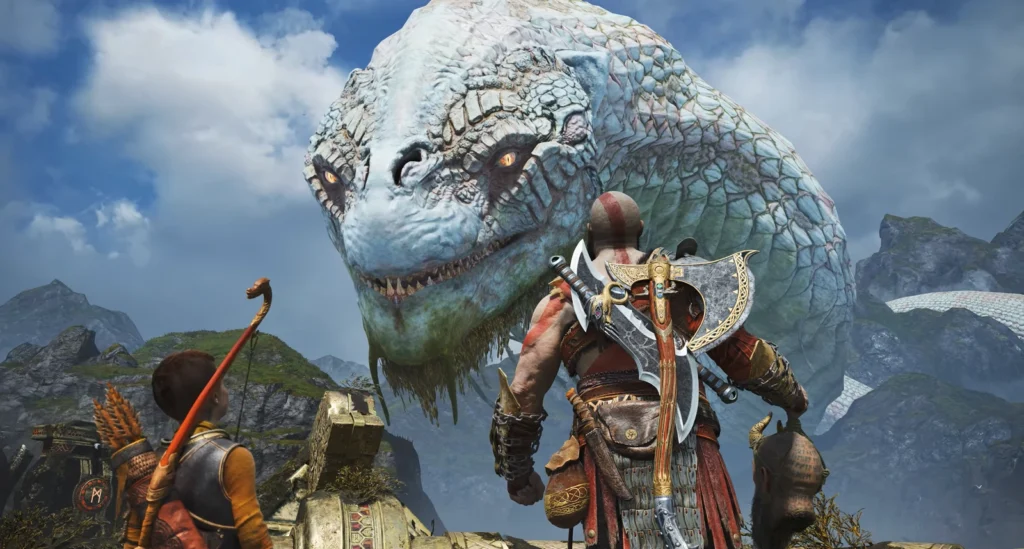
Searching for Mimir’s Eye
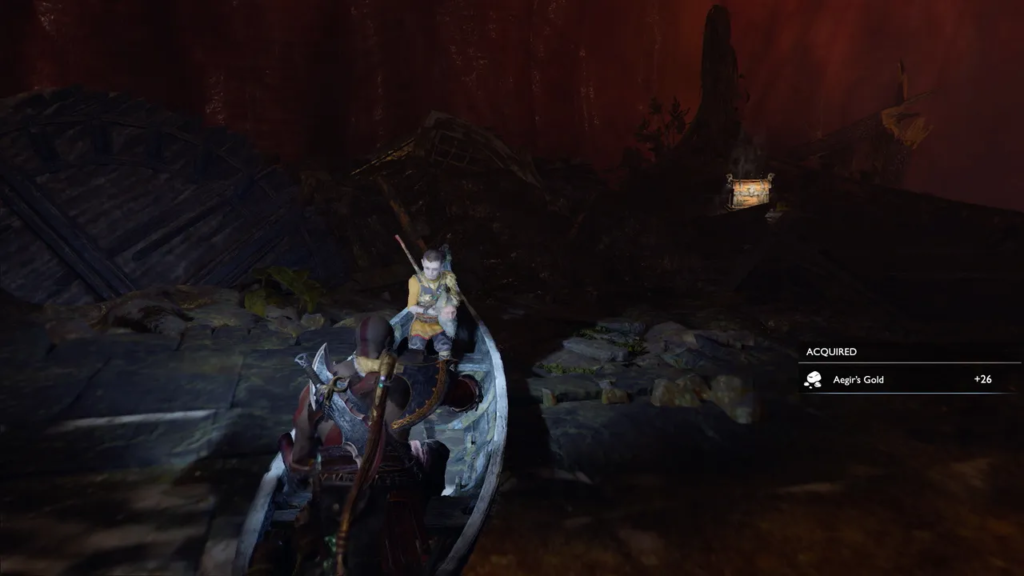
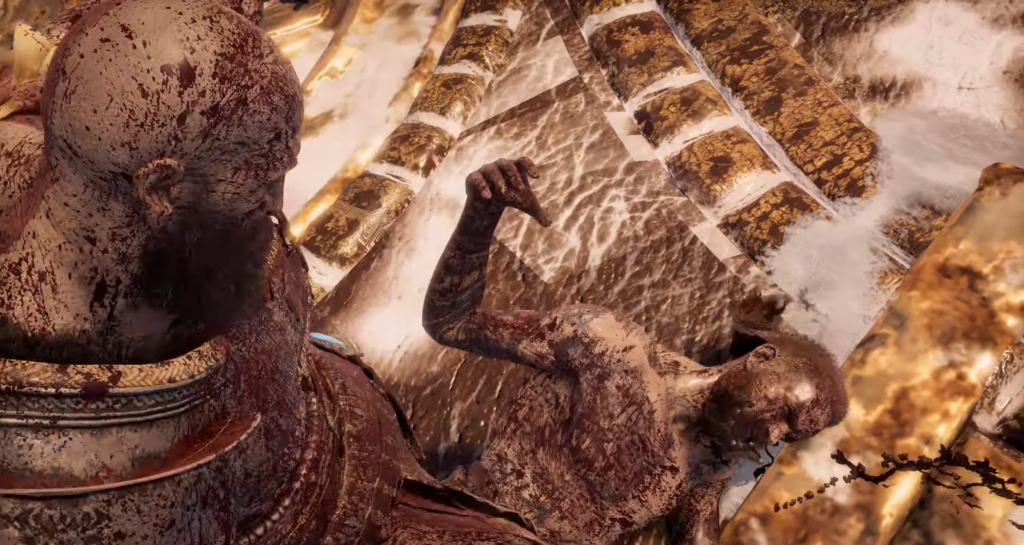
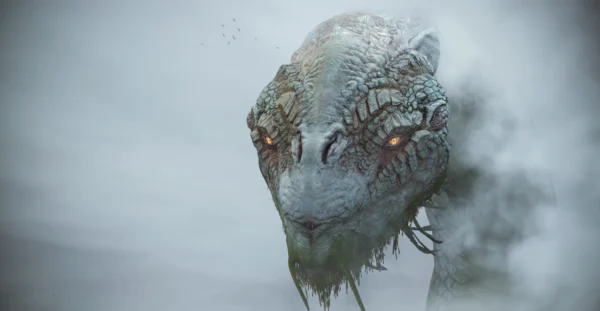
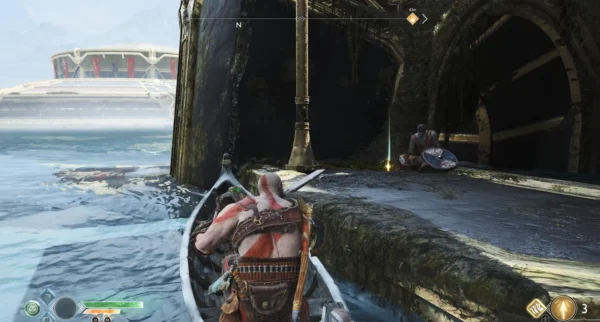
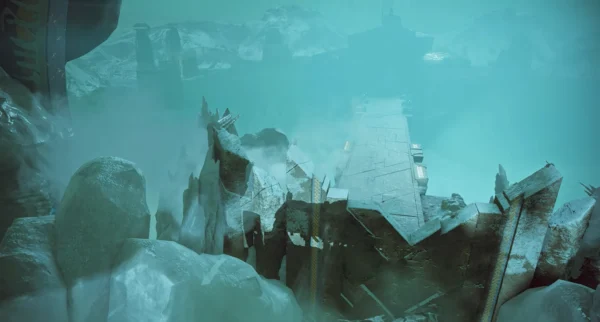
Go down the stairs to the boat and sail to Niflheim Tower—that’s where the serpent plunged into the lake, opening its mouth wide. Once inside the beast’s belly, row through the darkness of its insides.
Gradually, the space will begin to light up, and you will see everything that the snake has swallowed: huge boulders, trees, ruins, and more. Pay attention to the shimmering puddles — you can find Aegir’s gold in them.
On the left “bank” you will find a place to moor — there you will find a chest with silver. After that, return to the boat and move towards Thor’s glowing hammer in the distance.
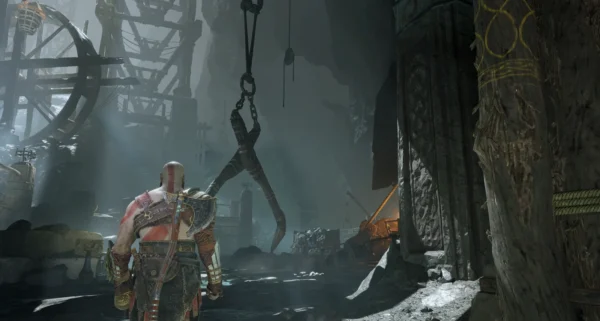
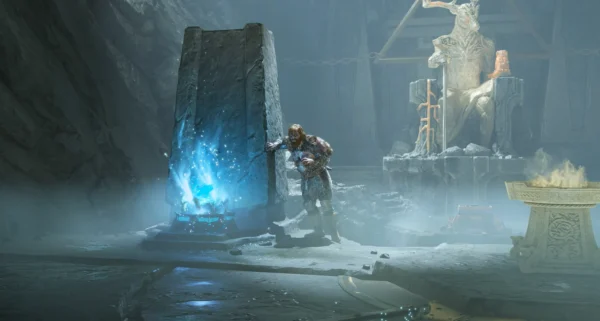
It turns out that the snake swallowed not only the upper part of the statue, but also the entire pulley system.
Advancement by statue
As you climb the path, look to your right—there is a rotating mechanism there. Throw your axe into it to move the platform in a circle, and freeze it when it reaches the top step.
Break the debris at the end of the path, climb up the statue, and jump onto the platform that has just been moved. Once you land, grab the axe—the platform will return to the opposite side—and then climb higher.
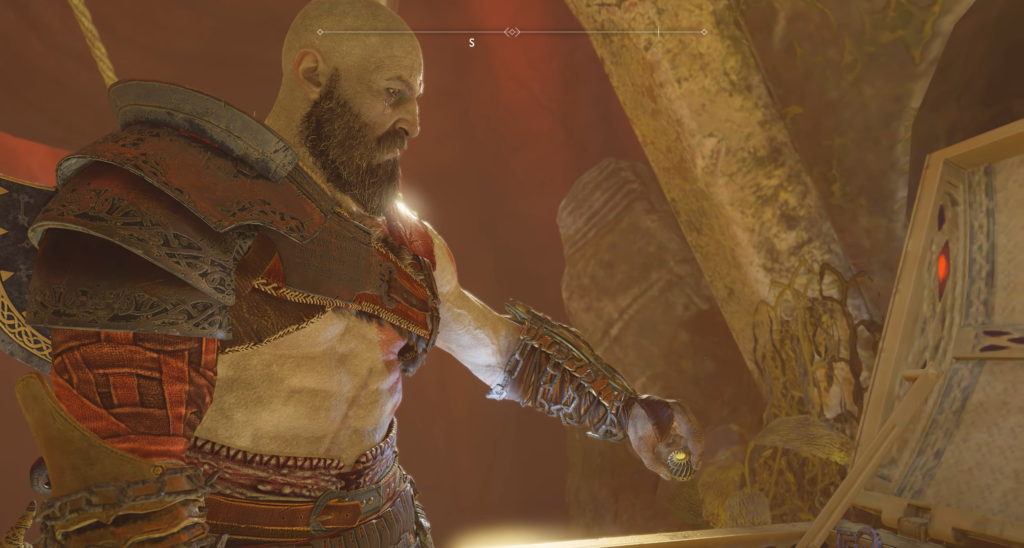
Side quest — “Kingdom of Fog”: Look to the left, at the top of the pulley system — there is a chest with a code. Jump to it and open it: inside you will find the last fragment of Niflheim’s code, which opens access to a new dangerous world and the quest “Kingdom of Fog.”
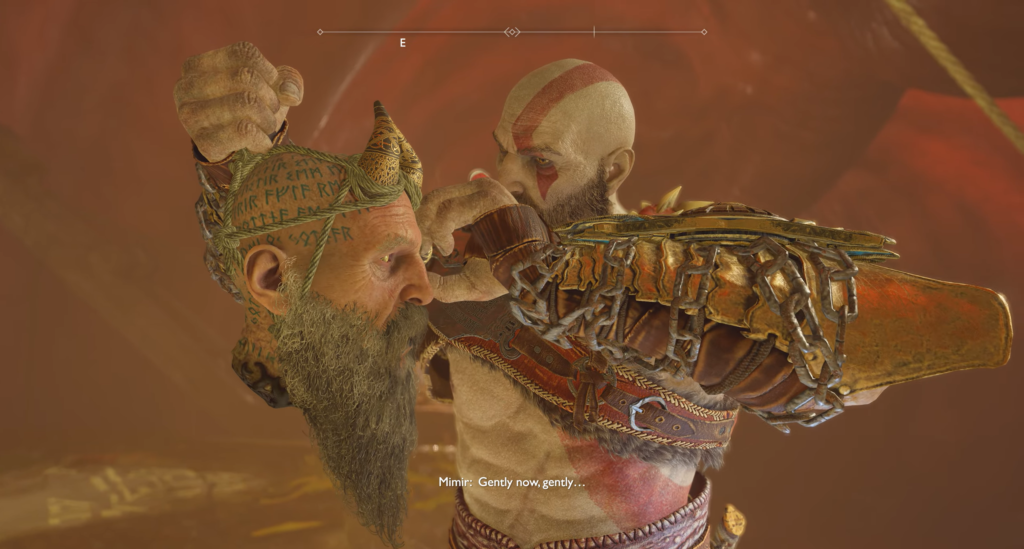
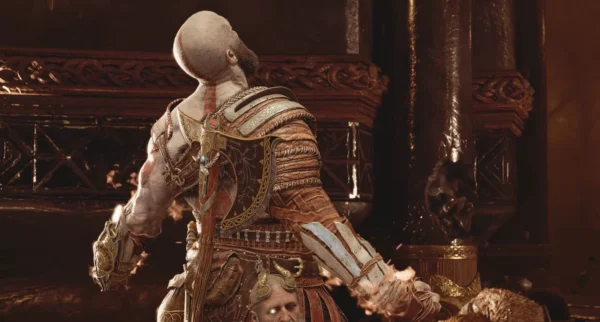
Go back and open the large glowing legendary chest—it contains Mimir’s missing eye. Put it back in his head and go to the Travel Room.
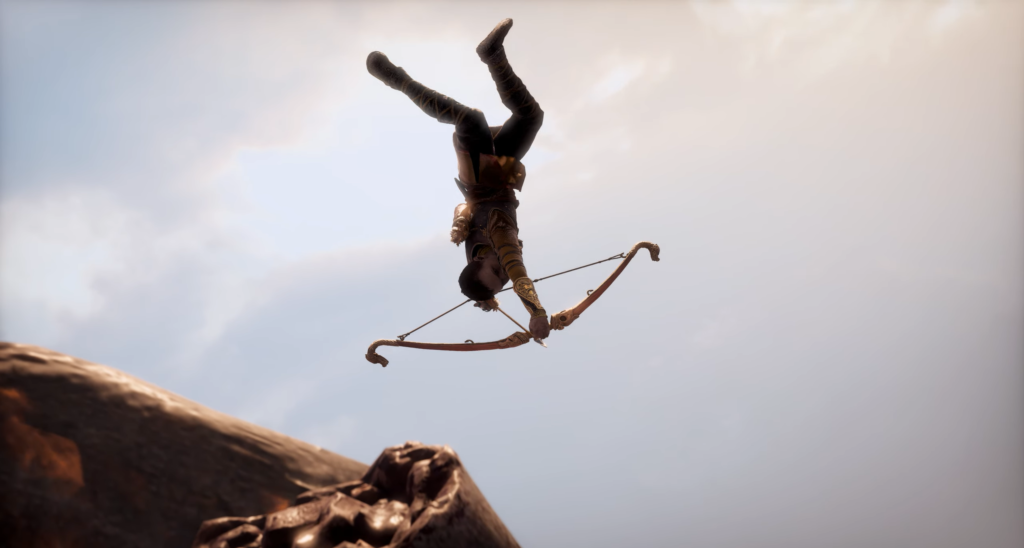
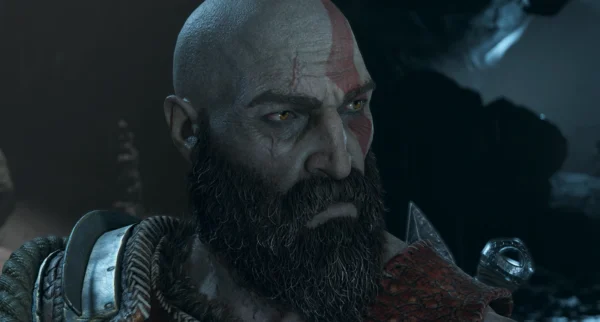
Use the rope to quickly descend to the boat and start rowing toward the exit from the snake’s mouth. However, an old enemy will intercept you on the way—and this time, you’ll have to stop him for good.
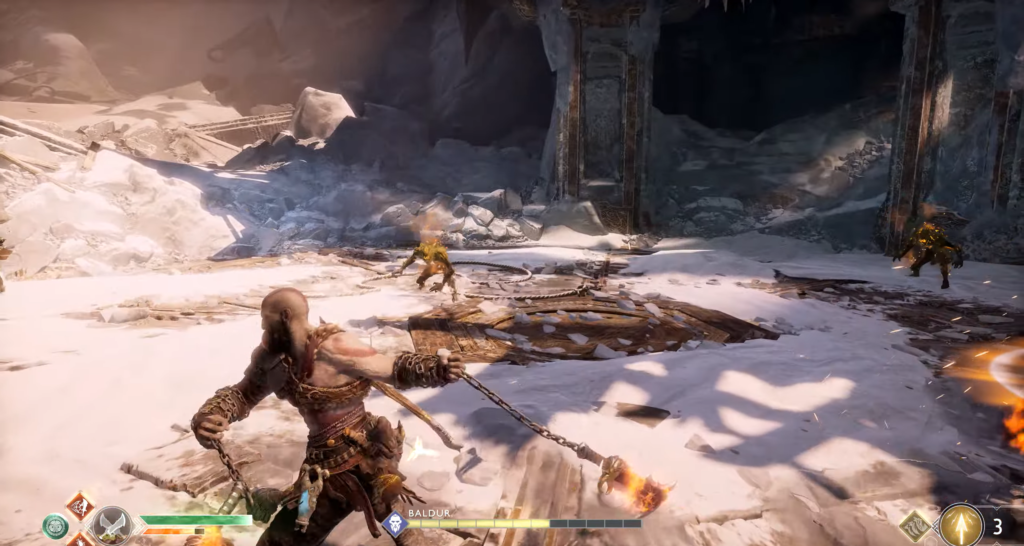
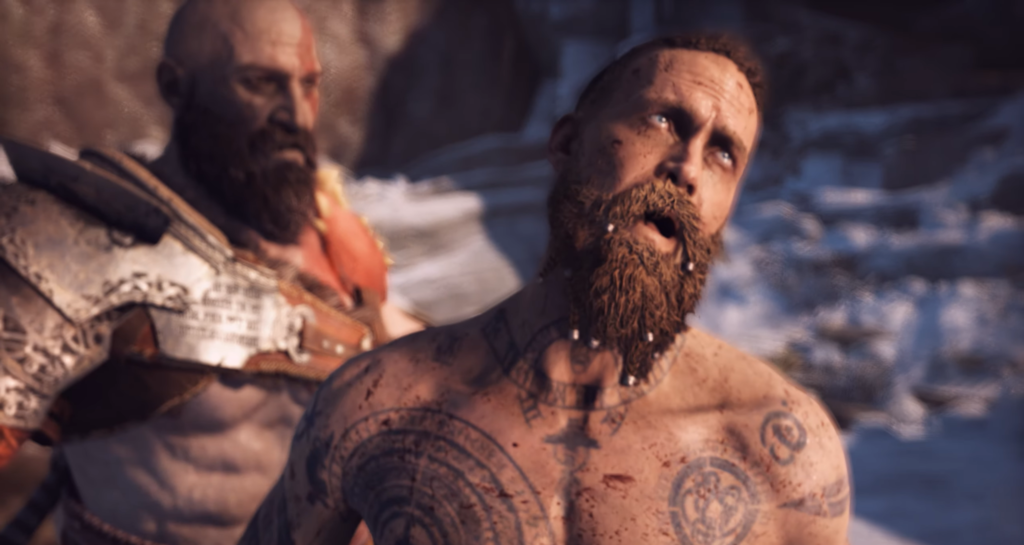
Battle with Baldr
Phase One: Invulnerability
From the start of the battle, Freya will try to stop you both by entangling you with vines. If you get caught, quickly press the circle button to break free and continue attacking.
Baldur uses a familiar arsenal: he teleports and strikes from different sides. Wait for the right moment to parry—a successful block will knock him back. Call on Atreus for combo attacks.
The enemy is still invulnerable and will regenerate health, but don’t let up. Keep attacking until Baldr lunges at you—a cutscene will play, after which he will finally become vulnerable.
Phase Two: Ice
Now the damage becomes real, but the enemy will significantly increase in speed and aggression. In addition, a force periodically descends from above, sending waves of ice across the ground — raise your shield to block. There is a chance that the wave will knock Baldur down.
Soon Baldur will fly into a rage and become filled with the energy of ice. It’s time to switch to Chaos Blades. His attacks will take on icy properties: an icy crack from a kick, projectiles flying in an arc. If you stay too close for too long, he will explode, so be ready to jump away at any moment.
Luminous circles will appear on the ground — traps from which roots burst forth. Avoid them yourself and take advantage of the fact that Baldr can get caught in them, leaving him defenseless.
Phase Three: Fire
When Baldur’s health drops to about half, Freya will intervene again. Move the obstacle aside—you will be transported to a new arena where Atreus will take up a position above. Baldur will return, this time engulfed in flames—switch your weapon to Leviathan again.
Along with him will come waves of Firebrood that will try to grab you with unblockable grabs. Use wide attacks like Utgard’s Strike to fight off the crowd, then switch to Baldur.
His fiery arsenal includes a tracking crack, a jump with a fiery explosion upon landing, and a series of detonations around him that stun upon impact. Keep your distance, throw a charged axe, and when the explosions subside, close in for a powerful rune attack.
Phase Four: Air Combat
The scene will shift the battle to the air. When Baldr attacks from above, remember the dragon duel: hold your block while he delivers a series of blows, and when he swings for a powerful strike, dodge to the side and counterattack.
Use Atreus’ commands whenever possible. After the fall, activate Spartan Rage.
Final phase: change of elements
In the final part of the battle, Baldr alternates between fire and ice elements. Switch to the appropriate weapon depending on his current state. Stun him with Atreus when he prepares ranged or enhanced attacks, and immobilize him with rune summons, combo attacks, and rune strikes.
Stay alert: be ready to block and counterattack when he starts teleporting for a combo attack.
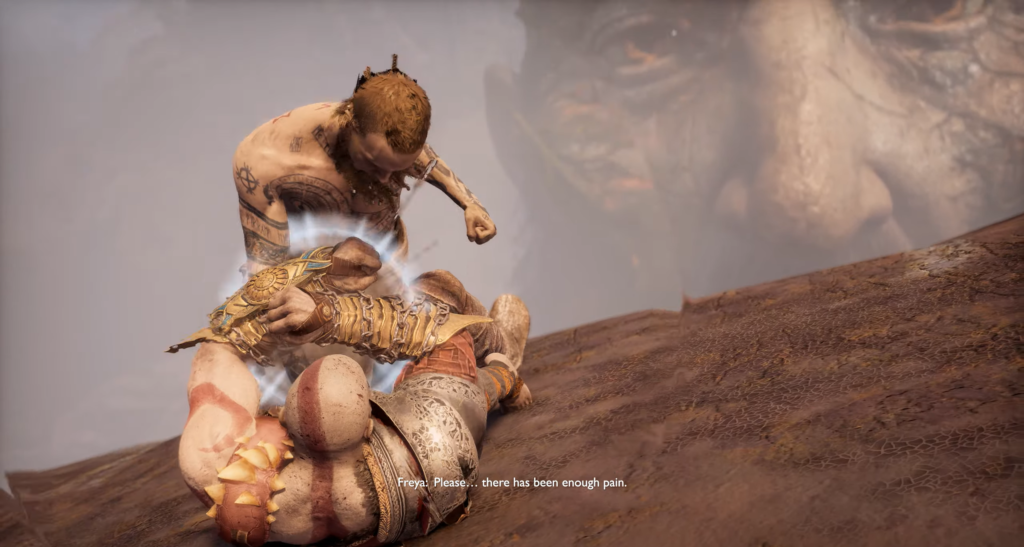
After dealing enough damage, you can perform a combo move with Atreus—follow the on-screen prompts to end the long battle. Victory will come at a cost, but the path to Jotunheim is finally clear.
Baldur has been defeated — it’s time to finish the journey and reach the realm of the giants.
Title: The Road to Jotunheim — God of War Walkthrough (Guide)
Description: Walkthrough of the chapter “The Road to Jotunheim” in God of War: searching for Mimir’s eye, preparation, and a complete analysis of the final battle with Baldur.
Published
Modified
ZEPHICK
Rimus Mirotvoretz
Game Guides Author
An old-school gamer who started playing at around age three, when the keyboard was almost bigger than he was. Long before gaming became mainstream, he was already exploring virtual worlds, breaking game mechanics, and searching for the fastest ways to beat levels.


Comments (0)
Sign In / Sign Up
Sign in to leave a comment.
No comments yet
Be the first one to share your thoughts!