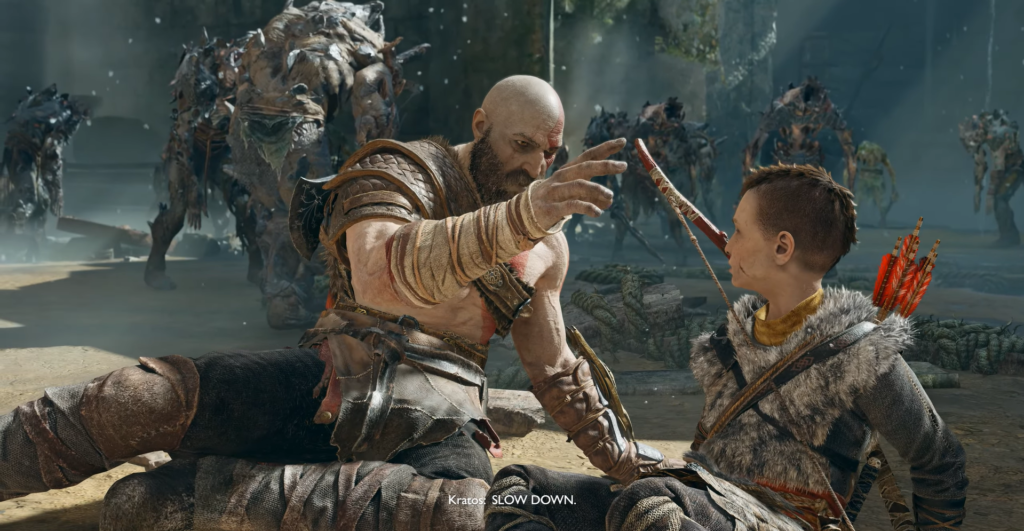
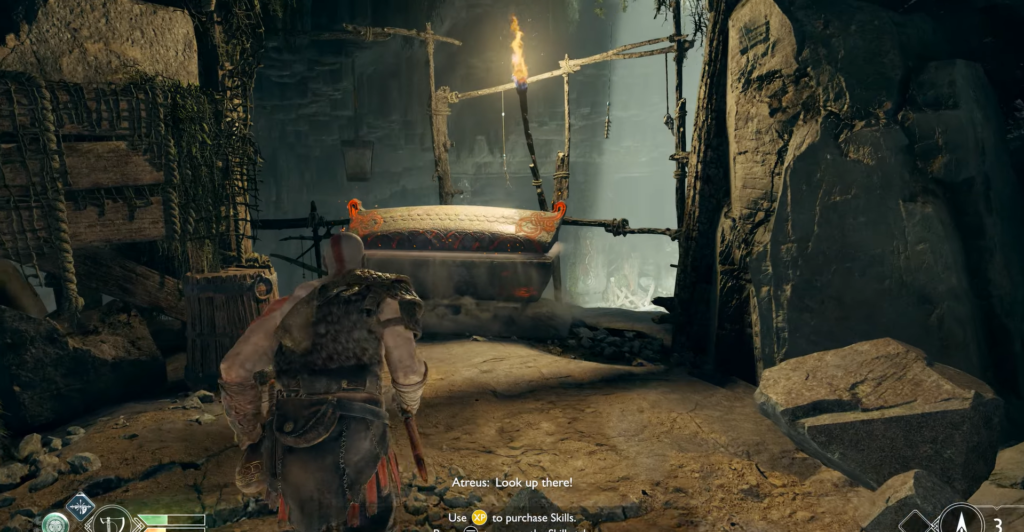
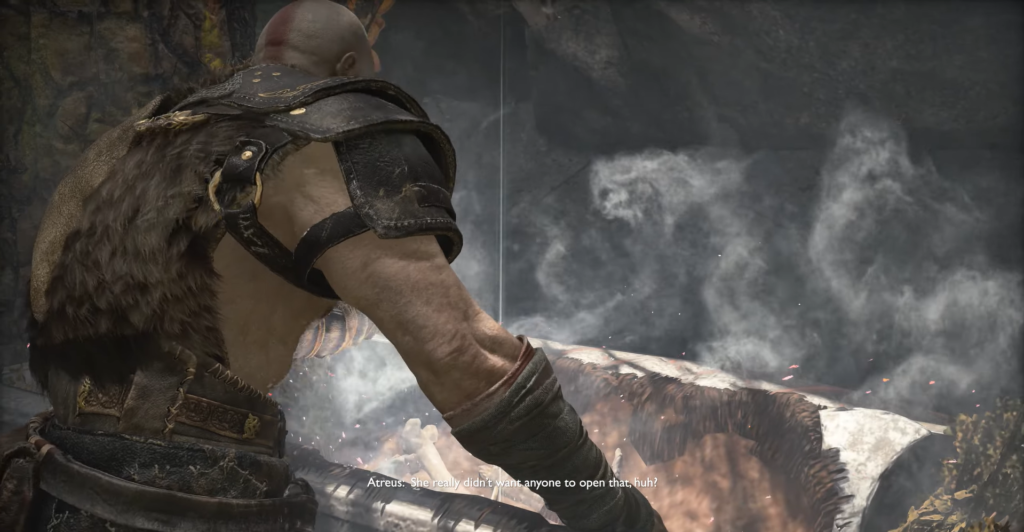
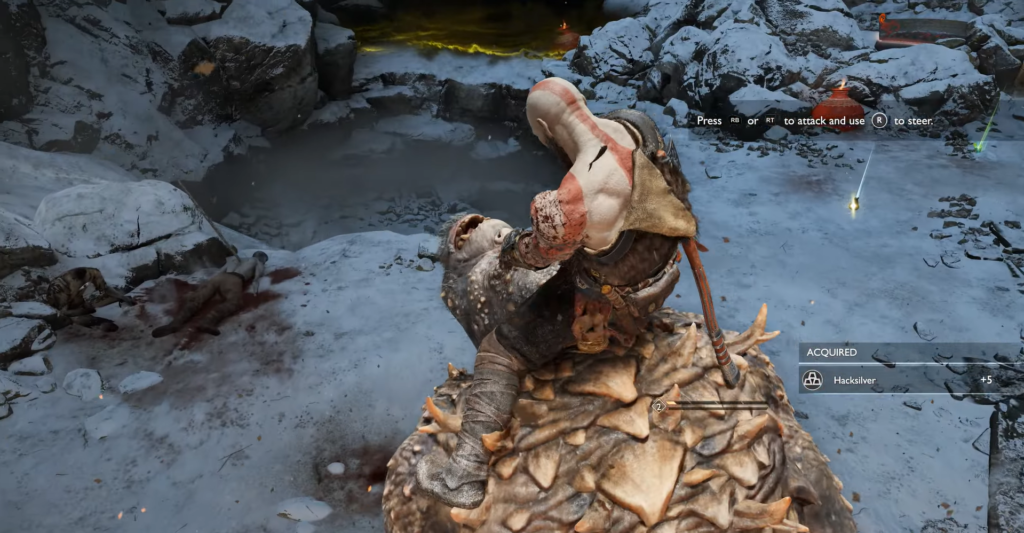
The crack in the rock formed after the battle with the Stranger opens the way forward. Don’t rush — now is the time to look at the skills menu and allocate your accumulated experience. The melee skill for the axe and the improvement of Atreus’ combat skills will pay off handsomely: the boy will be by your side throughout the journey and will be much more useful than it seems at first. Some skills require prior improvement of the axe — keep that in mind.
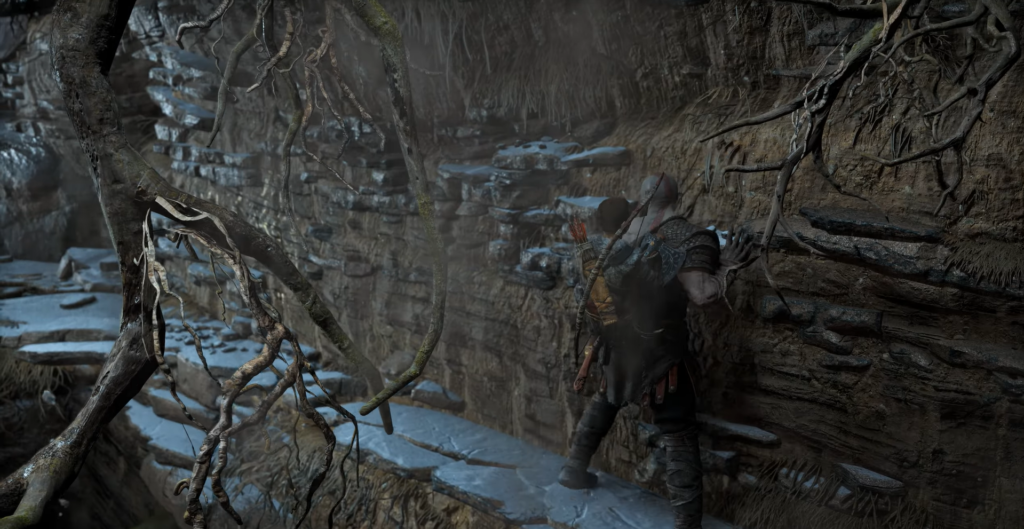
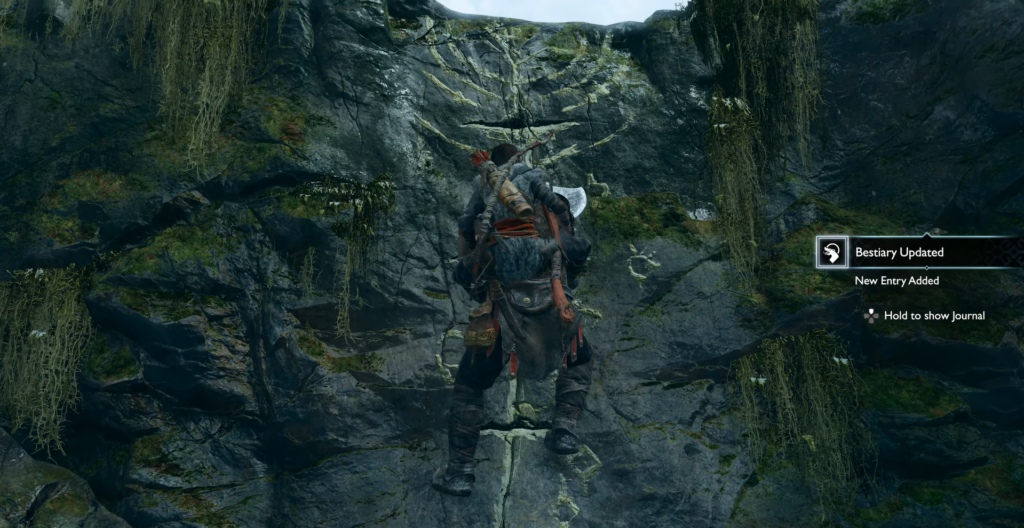
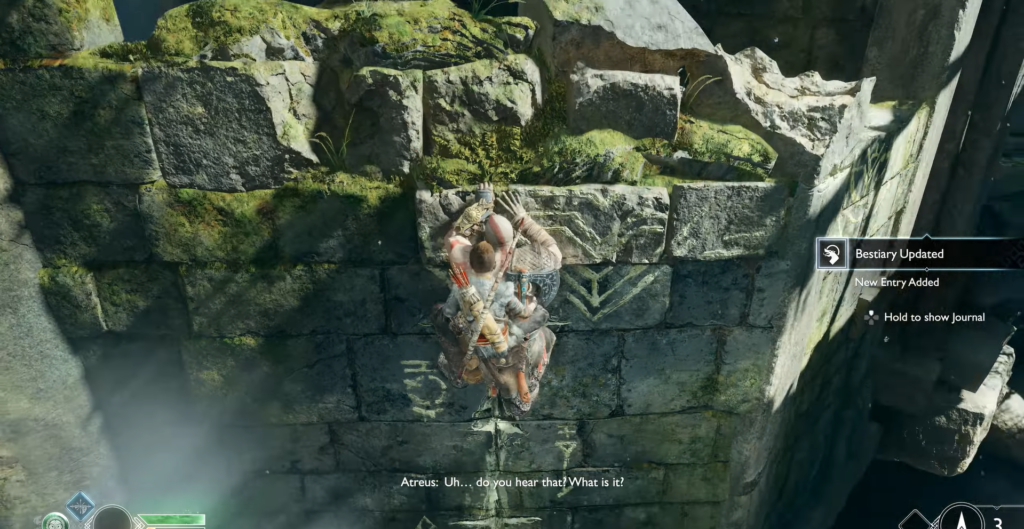
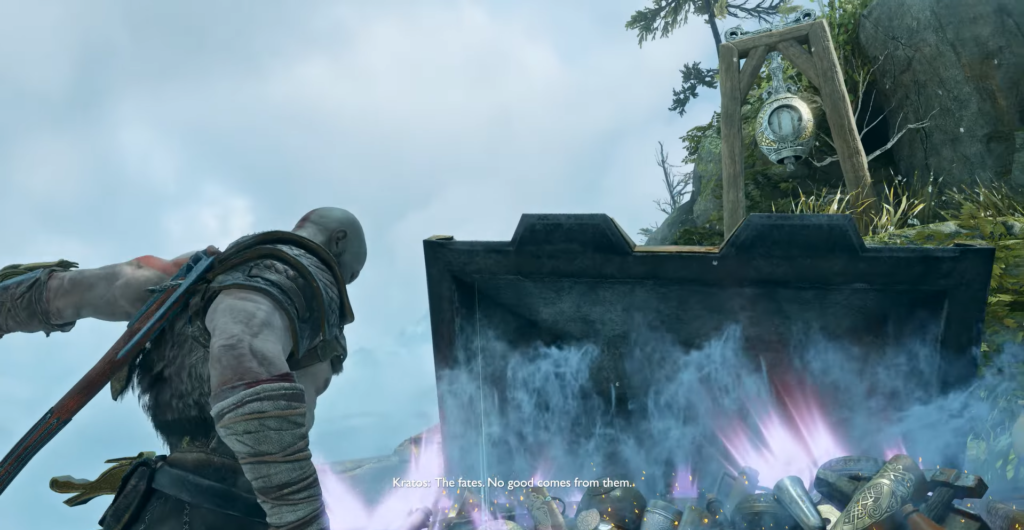
Descend the ravine, squeeze along the ledge to the gap, and jump to the other side. Here, you will see marks on the stone wall—climb up them, move to the right, and jump onto the high ledge.
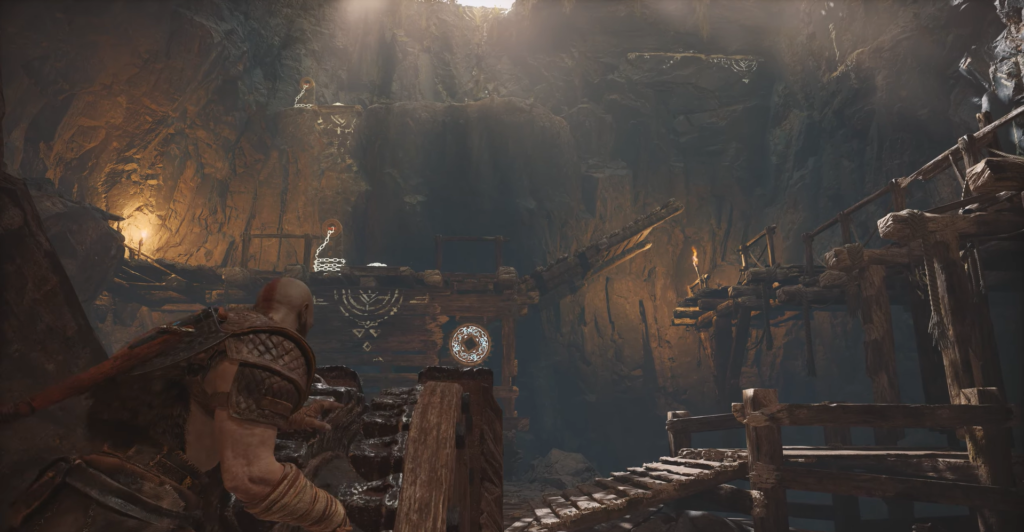
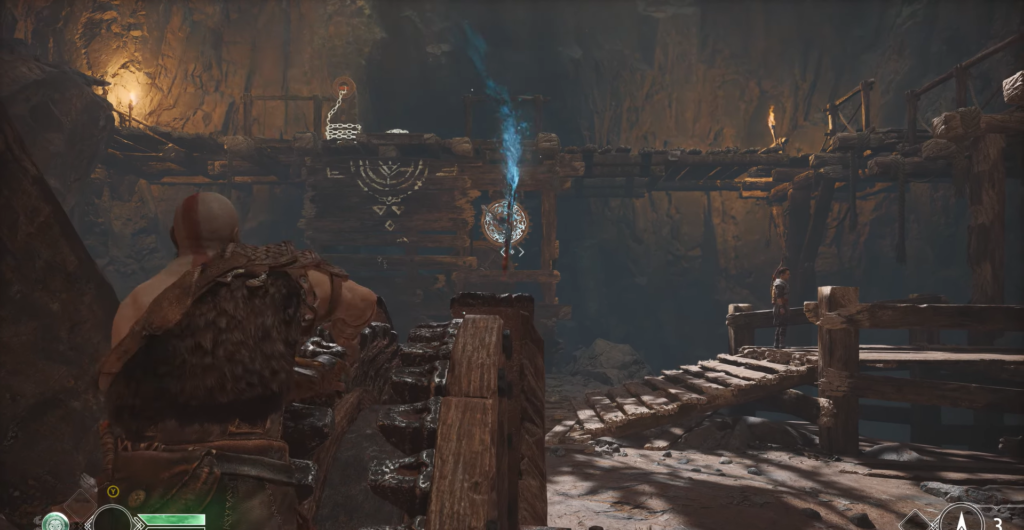
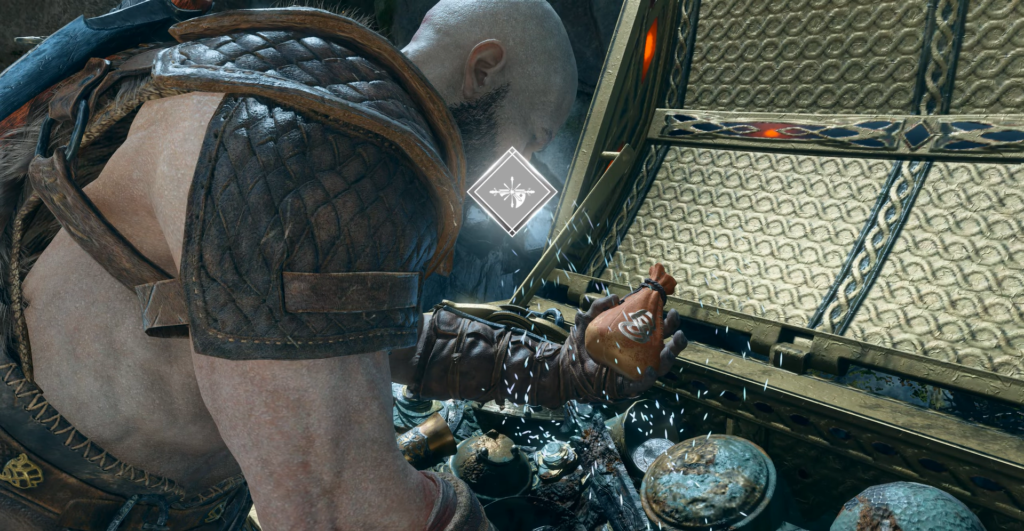
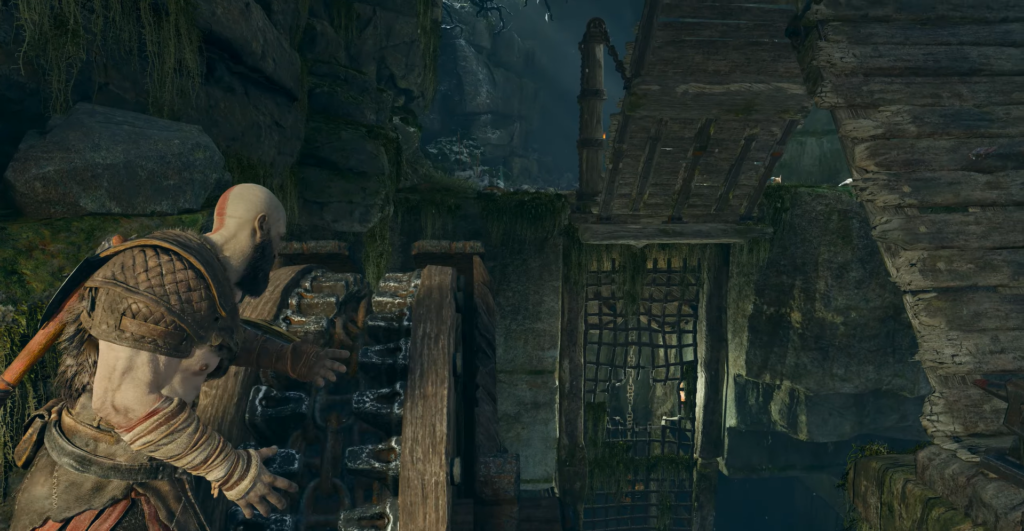
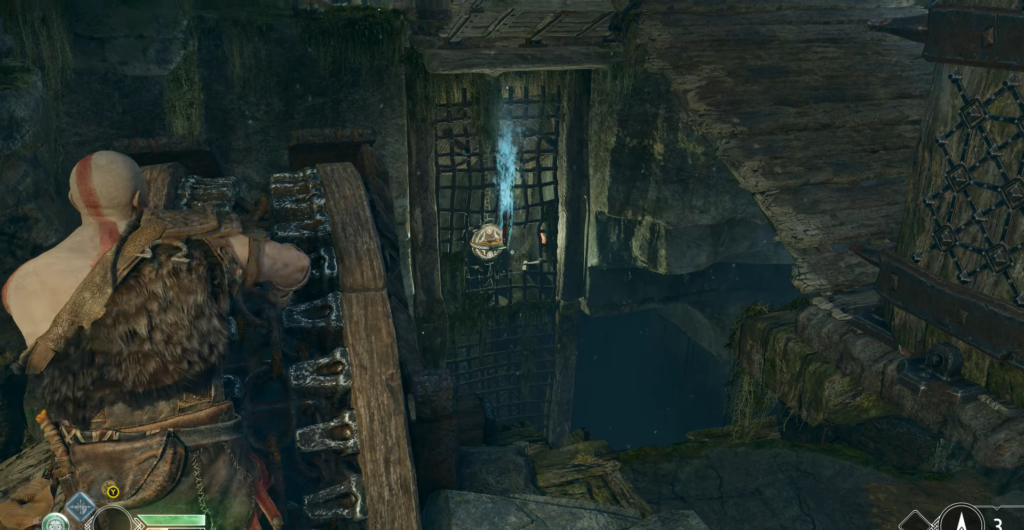
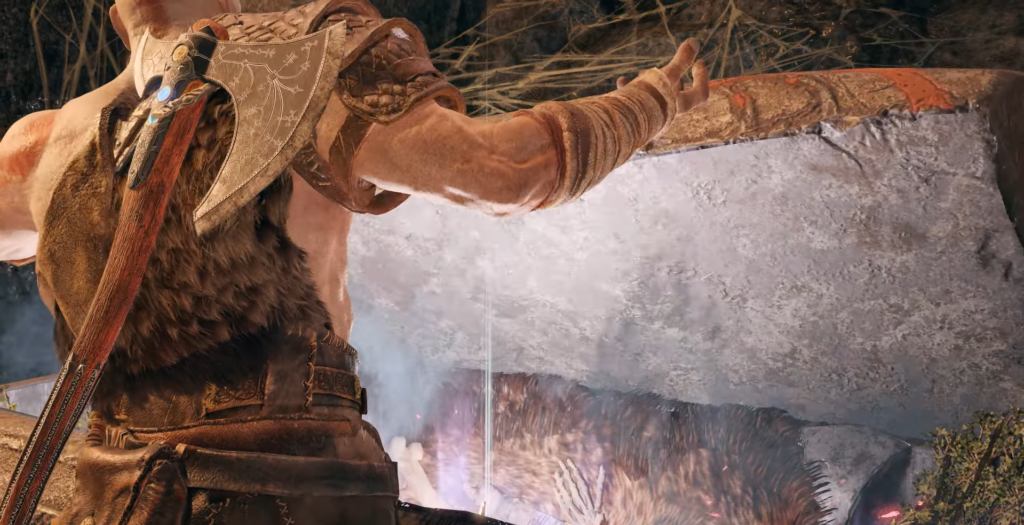
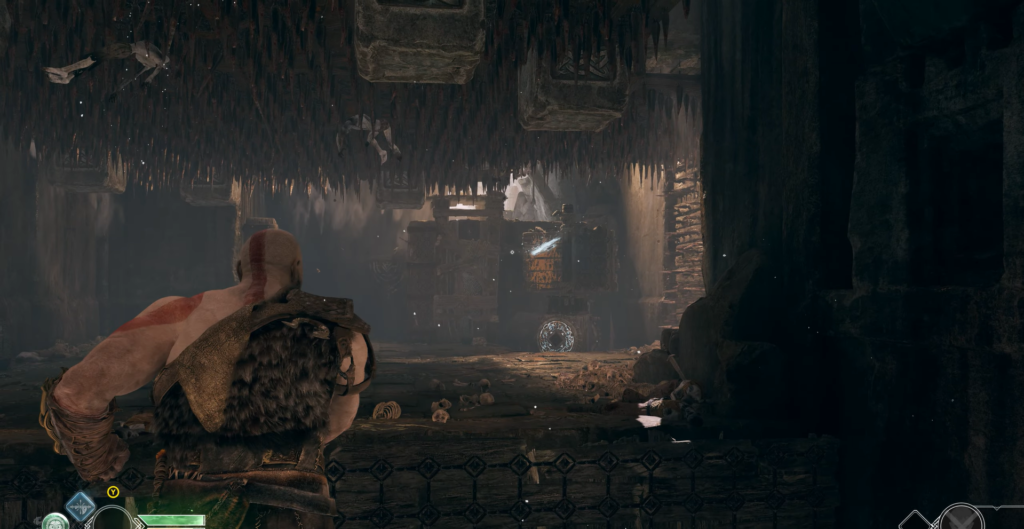
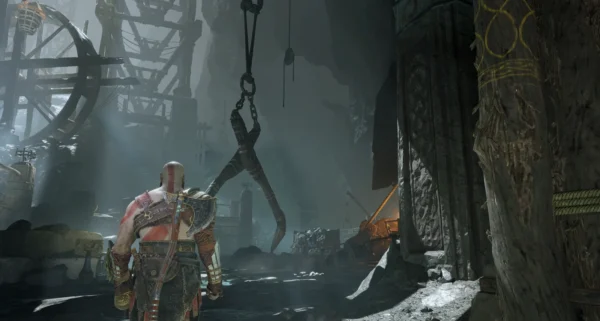
The tunnel ahead leads to an old miners’ cave. Hack Silver is scattered right on the floor, and there is a bucket hanging in the far right corner — knock it down for additional loot. Atrey will offer to lift him onto the ledge on the right wall: agree. He cannot go any further, but he can lower the bridge. Turn back, find the wheel, and turn it. Freeze the gear with your axe — Atrey will be able to cross.
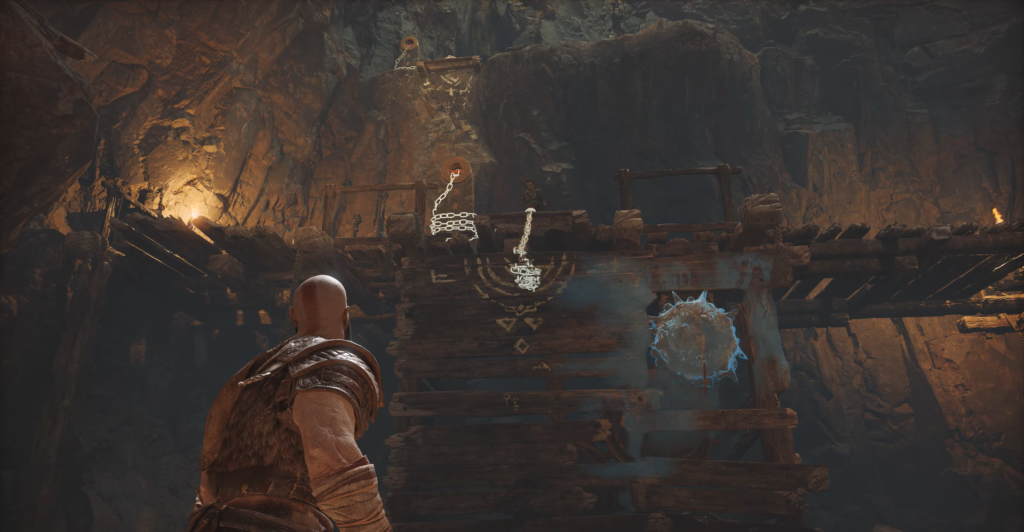
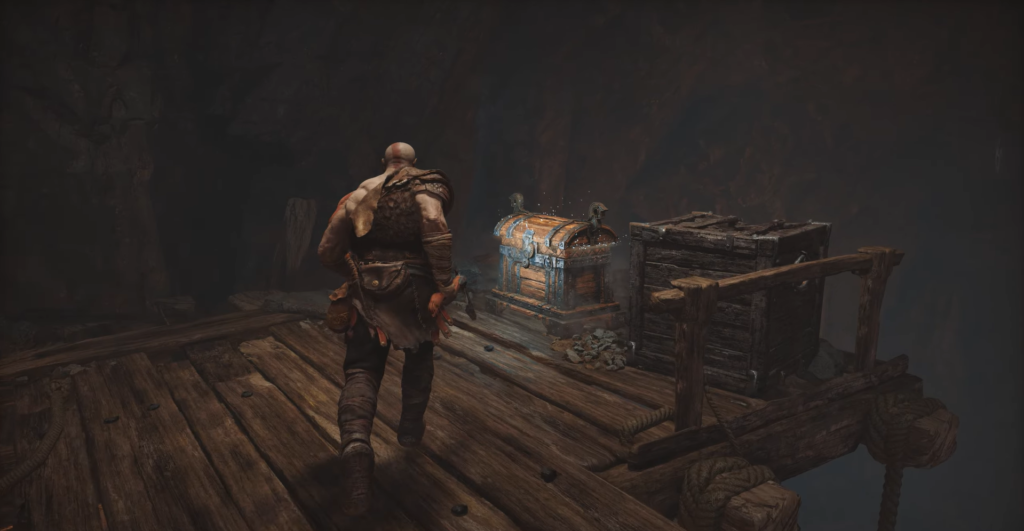
Tell your son to lower the chain. While the bridge is frozen, walk to the marked wall—but first, look around: you will see a chest on the ledge on the other side. Jump over to it, take the chest with the hack silver, and return. Once you have your axe back, climb up the wall and move left to a new platform where you can lower another chain — it will come in handy on your return.
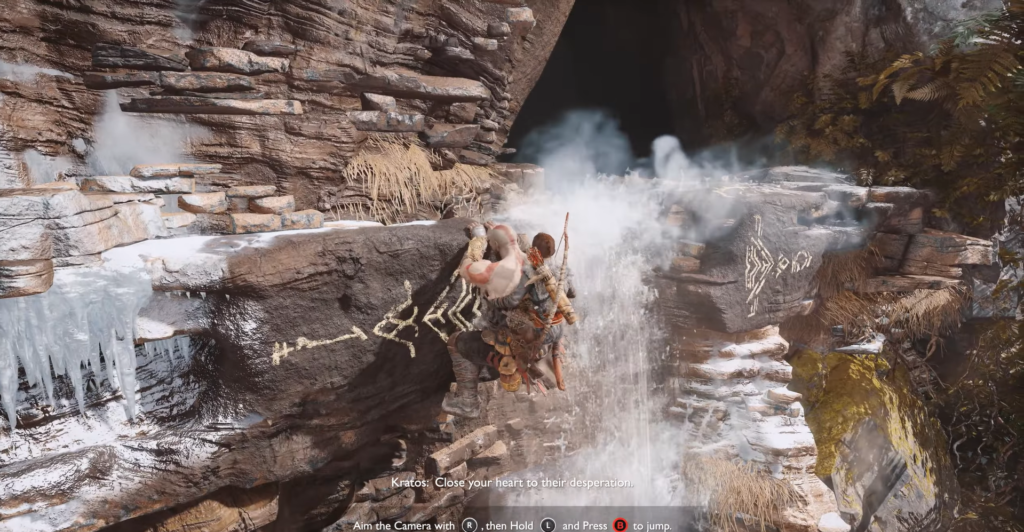
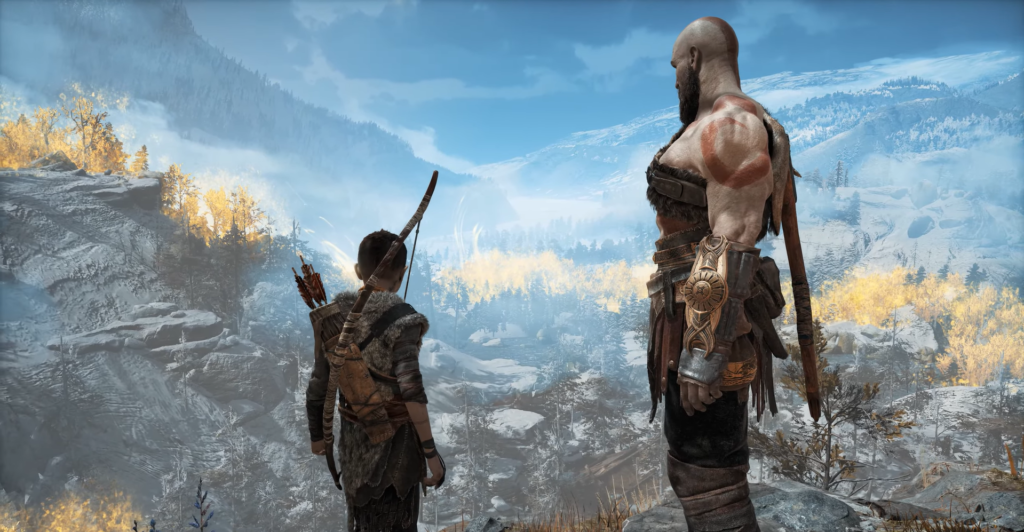
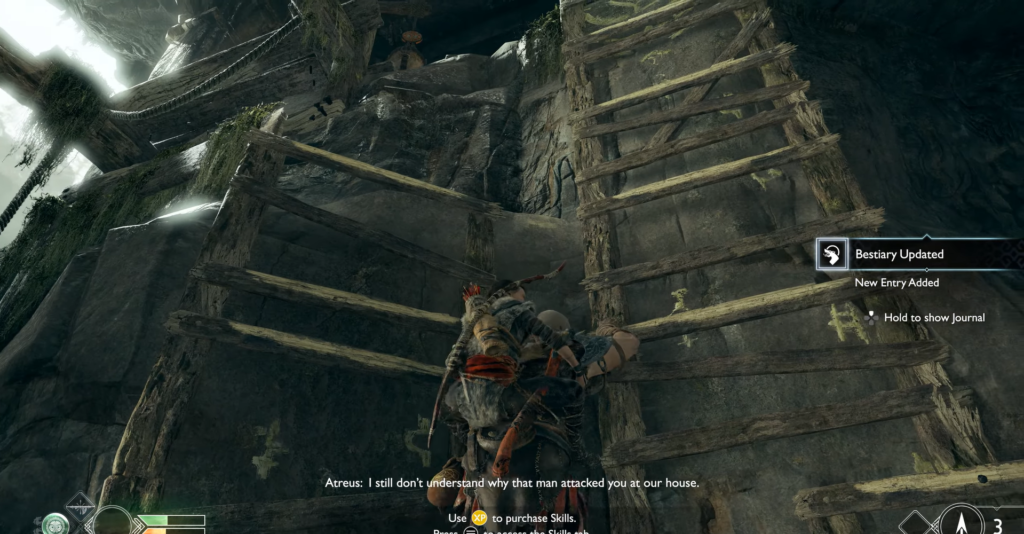
Climb up the next wall to the very top. The view of your home town is the last moment of peace before the narrow passage leads you to the River Pass.
River Pass: Ambushes and First Collectibles
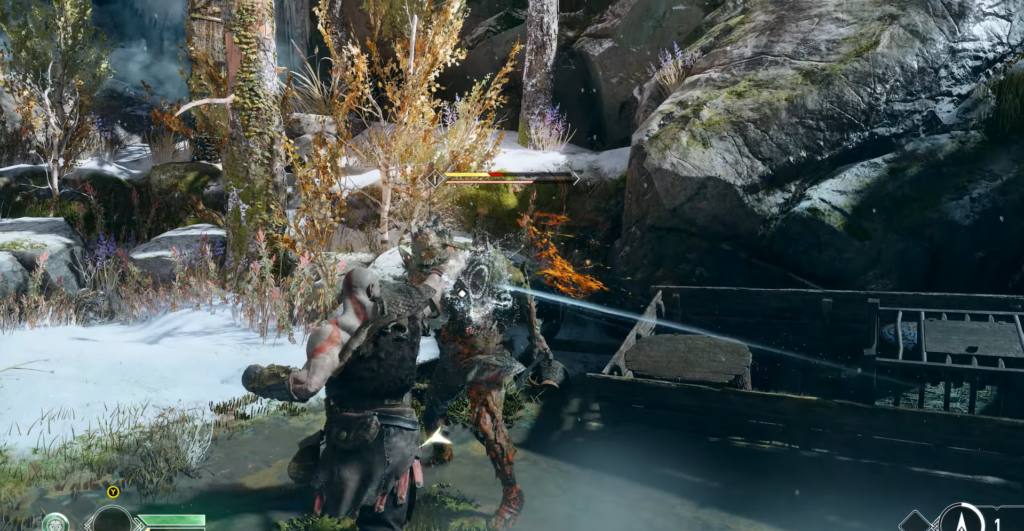
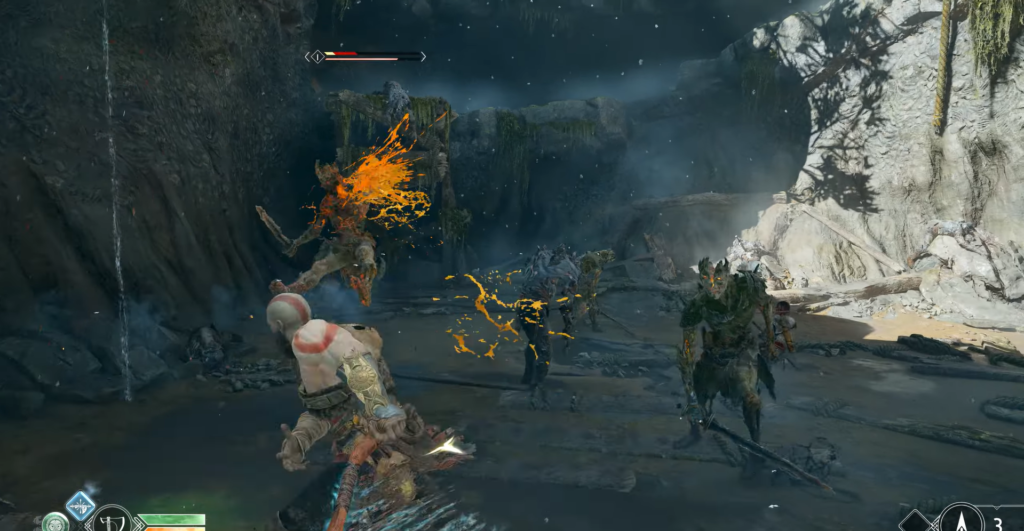
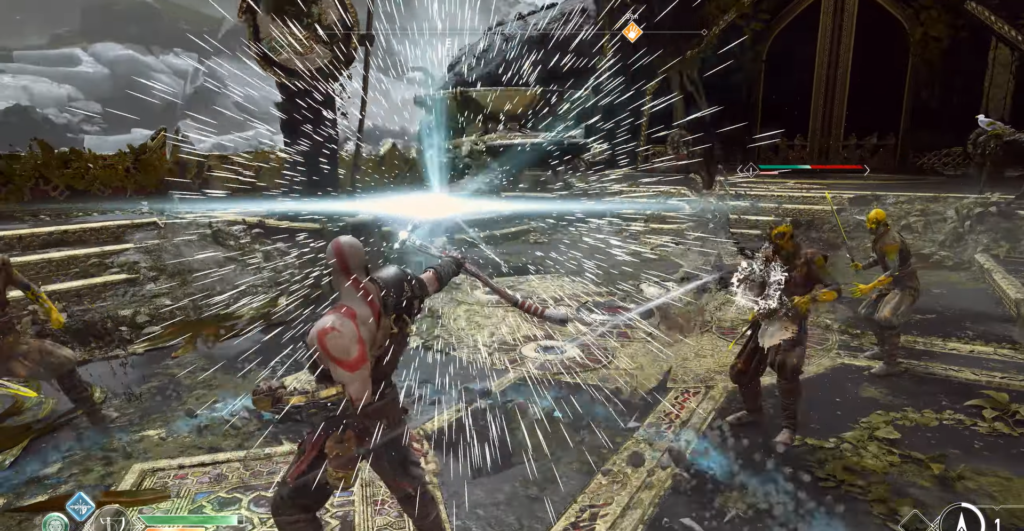
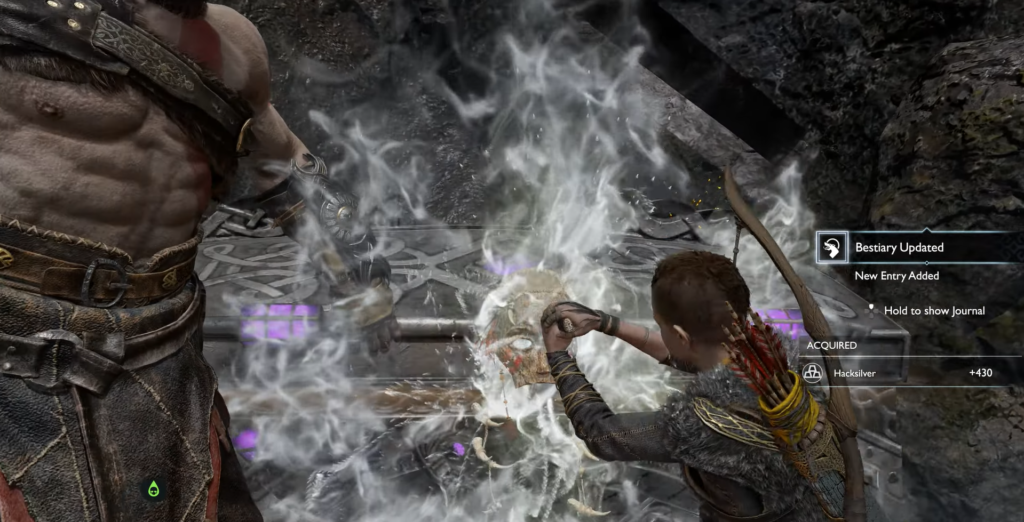
At the entrance, there is a corpse with a hack-silver. Take it and prepare for the Draugr. Synchronize your strikes with Atreus’s volleys: combos quickly fill the stun meter. When the arrows appear, watch the purple threat indicator — it signals an attack from afar. The shield blocks their shots, and use the axe to finish off those who are too far away.
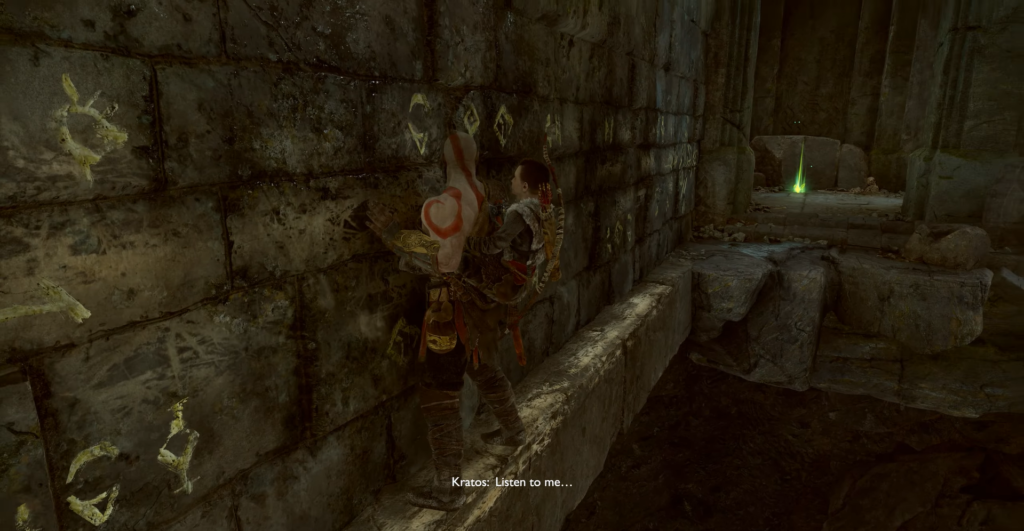
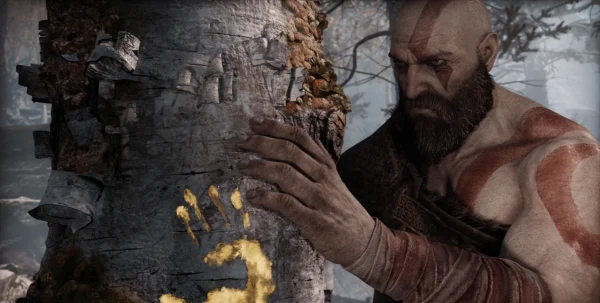
After clearing the area, look under the fallen tree in the corner — there you will find a health stone. Buckets of hack silver hang above the battle zone. The way forward lies through the runic symbols by the stone wall.
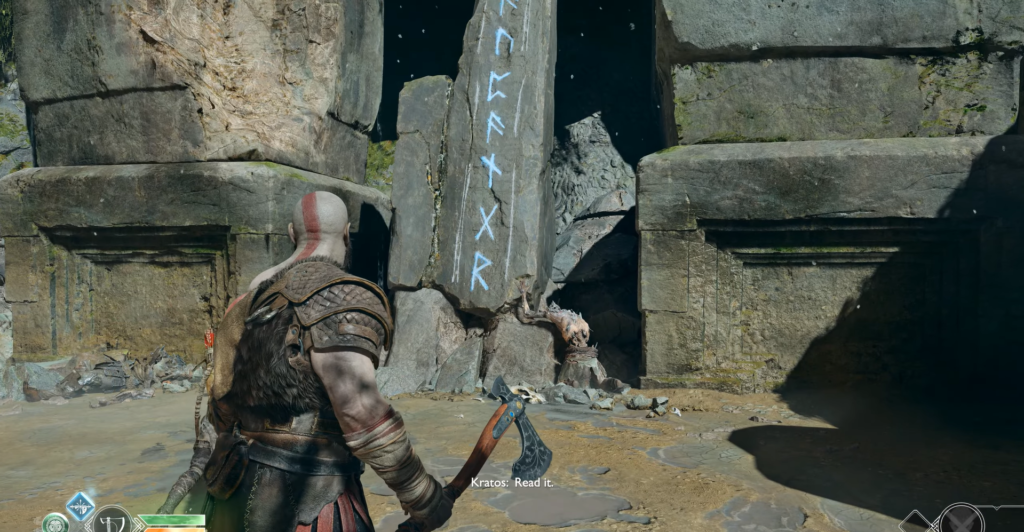
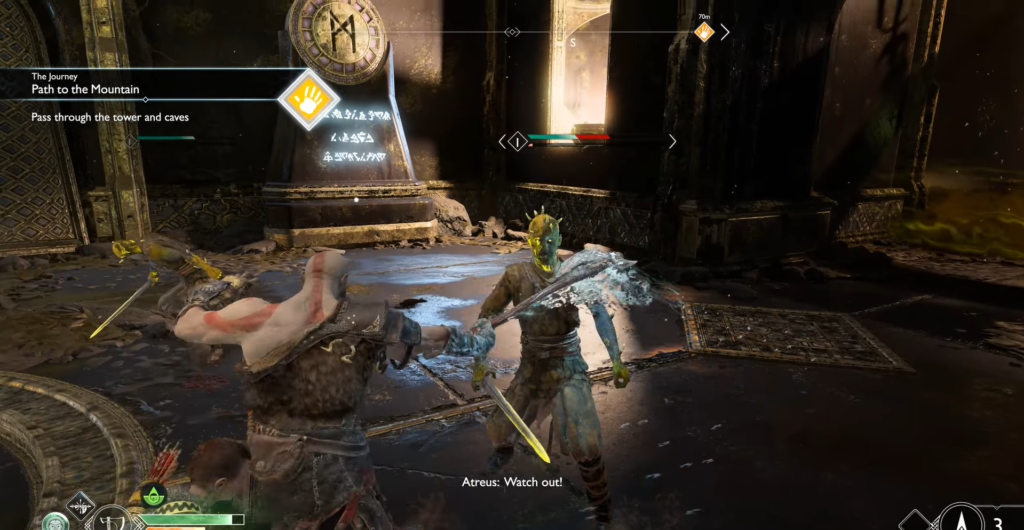
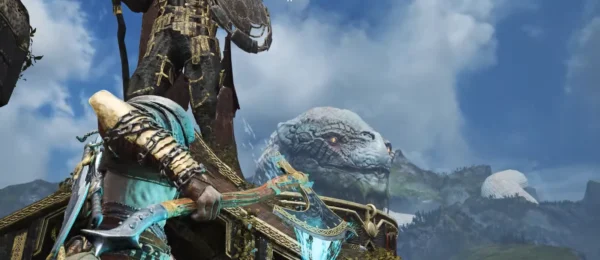
Lore Marker #1 — Giants. Have Atreus read the runes. There are six lore markers in this area — keep an eye out for them.
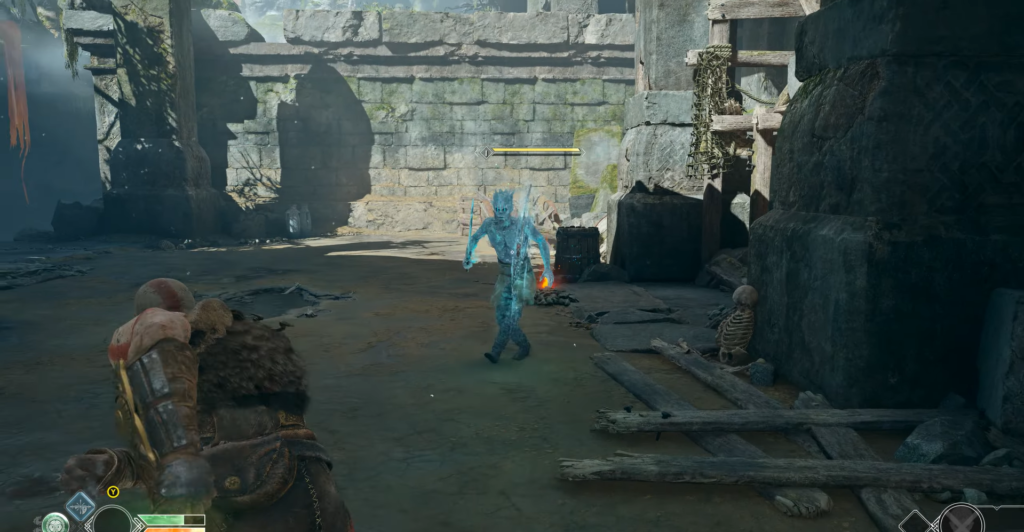
Climb onto the wall after reading the runes. There is another hack silver on the corpse on the left. Just around the corner, a blue ice warrior will ambush you: dodge his frost attacks and strike with your fists and arrows — he won’t last long.
A little further along the path, Atreus will point to a chest on the right — this is the legendary chest containing the Runic Attack: Touch of Hel. When inserted into the Leviathan Axe, it allows you to stun a group of enemies every so often. Keep an eye on the cooldown timer and choose runes that suit your play style.
Ruins: Heavy Draugrai, Revenant, and Hidden Treasures
Descending into the ruins awakens the Draugr—but not all at once. Deal with those nearby, keeping the rest under control with Atreus, and save your Runic Attack for when enemies are coming at you from all sides. The archers on the ledge above can be taken out with an axe throw once you’ve dealt with those closer to you.
Odin’s Raven No.1 — From where the archers were standing, look along the ridge: a glowing green raven is sitting on it. Throwing the axe brings experience.
At the large column with runes, Atreus will want to examine it — approach it yourself.
Lore Marker #2 — Yotun Market. Reading the runes summons a heavy Draugr.
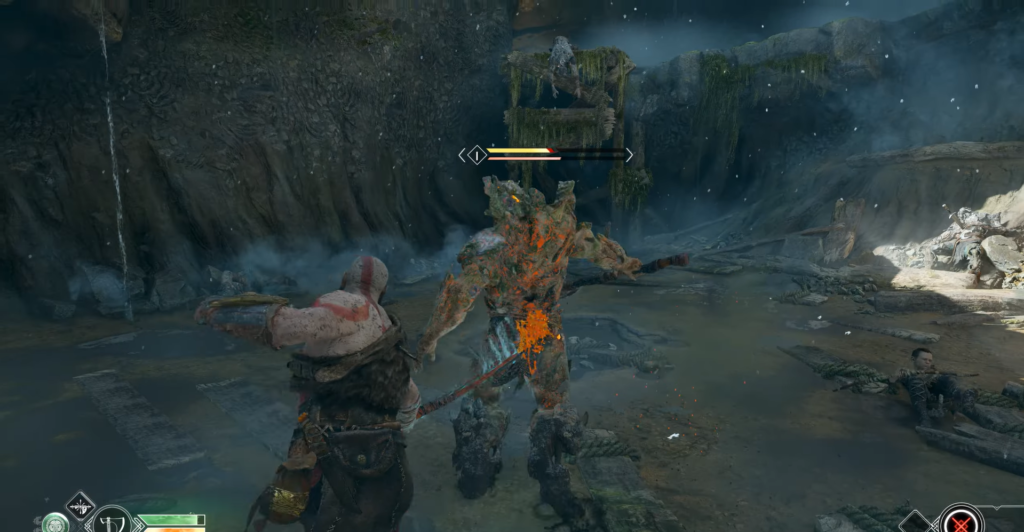
Heavy Draugr are significantly more dangerous than regular ones: they have two health bars and heavy axes that can pierce through shields. A yellow attack glow means an unblockable strike — roll away, or you’ll be knocked down. Build up your stun meter: when it’s full, it will take away one health bar at once. Spartan Fury comes in handy here — enemies will literally fly into the walls. Use Atreus to distract them while you finish them off one by one.
After destroying all the heavy Draugra, climb through the wall they broke through.
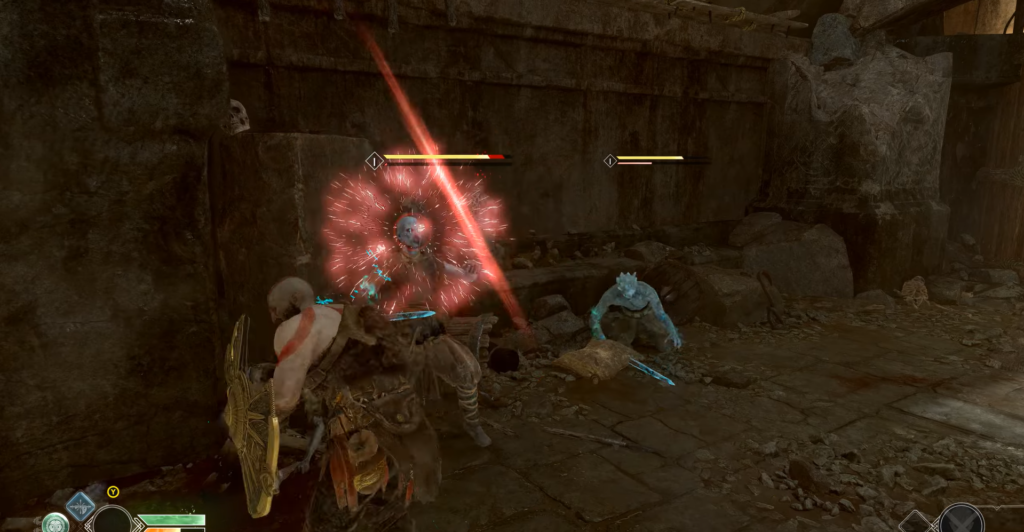
You can hear eerie chanting upstairs. Break the wooden planks on the right—there’s a corpse with a hacksilver behind them—and another set on the left. A revenant will appear on the large platform.
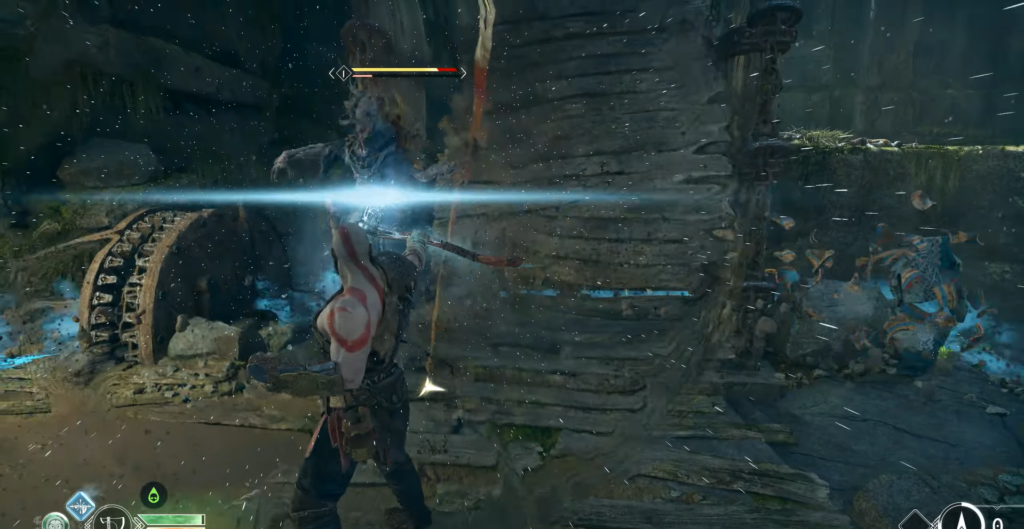
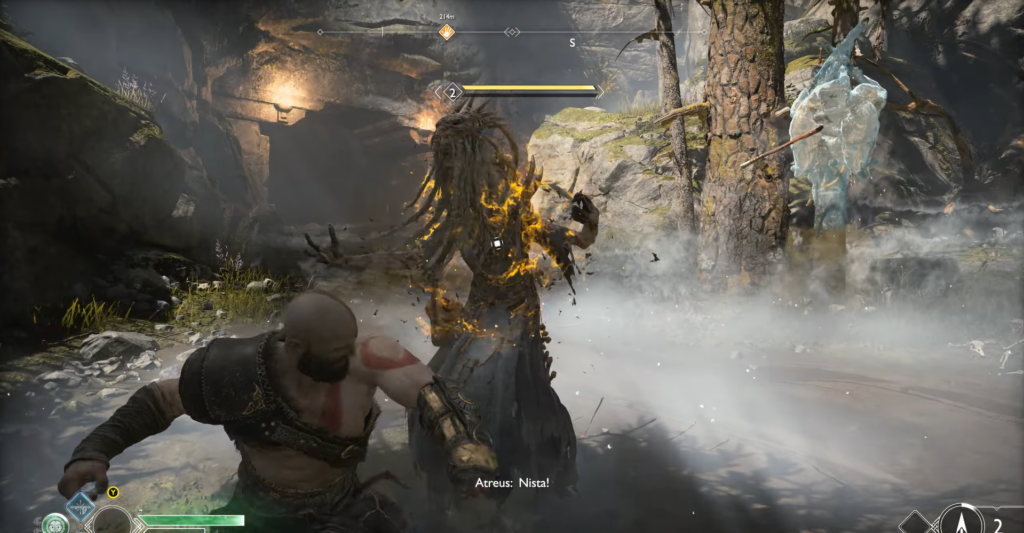
These witches fill the air with poisonous fog and constantly teleport—it’s almost impossible to catch them in close combat. The only way is to use Atreus’ arrows to stun the Revenant long enough to run up and start attacking. After counterattacking, retreat and command the arrows again.
After winning, go through the tunnel under the bridge to the wall, which you can jump over and climb up. However, first you should go down into the pit below the first zone.
A tough Level 3 Draugr awaits you there: all of its attacks are unblockable, even its short lunge breaks through defenses. Proceed with caution — use a Runic Attack to stun it and Atrey’s continuous arrows. The reward is worth the effort: two buckets of Hacksilver above the pit and a large sarcophagus with Hacksilver, Egir’s gold, and soft Svarthheim steel — components for crafting equipment.
Return to the high wall and climb up. Straight ahead is the sealed gate to the objective, but first turn right: there is a sarcophagus with soft Svarthalheim steel. Jump over the gap and prepare for an ambush by the Draugryovs — a few more will appear on the path to the left.
After clearing the area, explore the left trail:
Along the right side of the path — Lorny Scroll: Svartalfheim is sealed (Atrey reads it).
At the very end — Altar of the Jötnar: open the box to learn about Hrungnir.
On a short ledge in the middle — a body with a colored stone: break the red one — it will restore all rage, green — all health, white — it will give 25 experience. Nearby is another chest with hacksilver.
Nornir Chest No. 1 and the Great Battle with the Revenant
On the right path, there is a locked chest belonging to Norniir — inside is an Idunn apple, which constantly increases your health. You will have to destroy the runes:
Rune
Location
“N”
Right behind the chest — axe throw
“R”
To the left of the bridge entrance, high on the ledge behind the chest
C
Behind the gate after the bridge — visible in the opening on the left when crossing, axe throw.
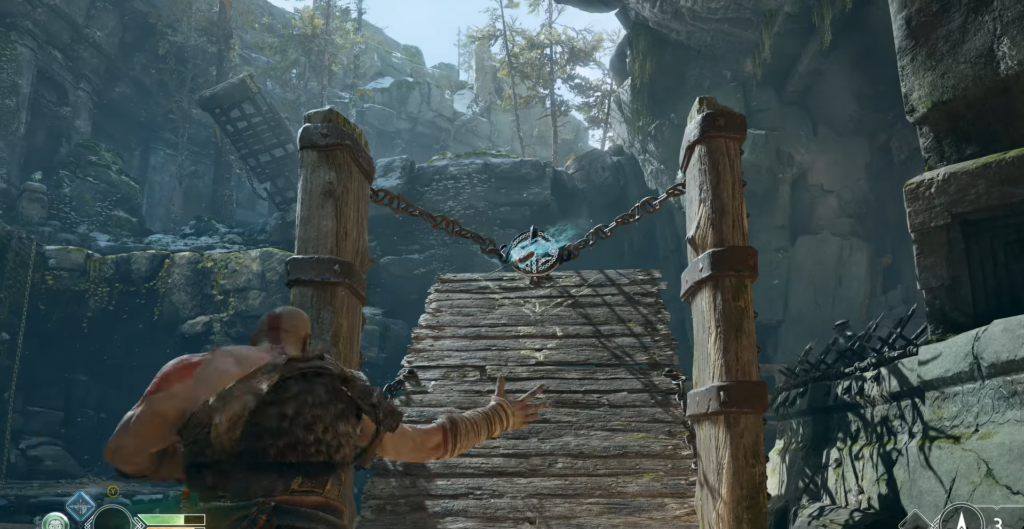
First, destroy the weak points above the bridge to lower it, then you will reach the rest of the runes. Beware of the icy enemy lying in ambush as you cross.
After crossing the bridge again, look up to the right—there is a ledge with a chest containing hack silver. Ahead lies a serious multi-wave battle: several types of Draugry and Revenants at once.
Tactics: Revenant is the primary target. Wait until Atreus stuns him, then immediately activate Spartan Rage. Next, move the heavy Draugr away from the archers, deal with the archers, and finally finish off the heavy ones.
After winning, use the wheel to lower the bridge to the level where the chain appears on the left — hold the bridge and destroy the seal to make the bridge fall completely. Behind the bridge on the right is a sarcophagus with soft Svarthalheim steel.
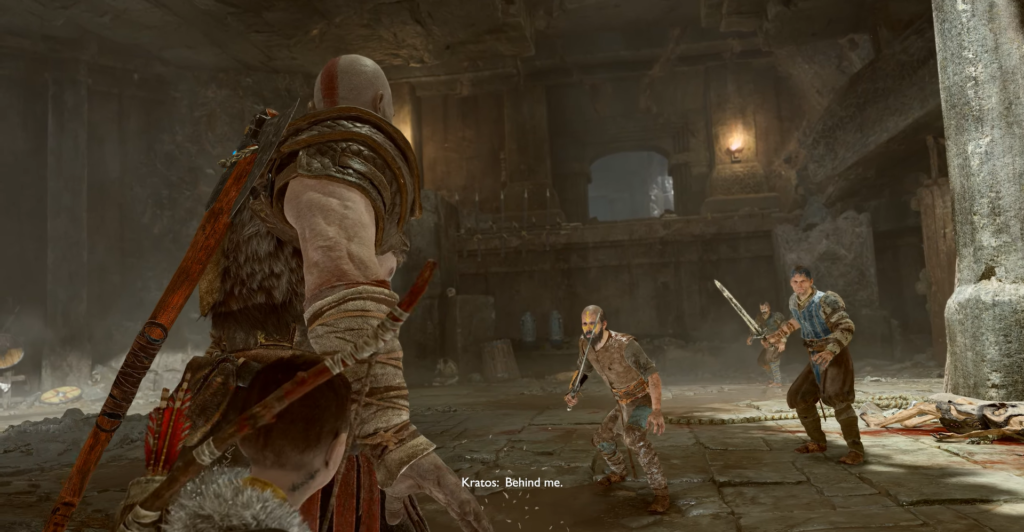
The mountain of corpses at the next gate is not a good sign. On the other side lies an ambush by human bandits. One Runic Strike is enough to kill almost all of them at once. Finish off the mages on the balconies with axe throws. After the cutscene, the former bandits turn into the same blue ice enemies — put down your axe and use your fists or activate Spartan Rage.
After the battle, Atreus is upset—encourage him with commands until he lowers the chain. Escape from the ruins.
Artifacts: Faces of Magic
Outside the ruins, squeeze along the ledge—you will find yourself high above the market where you fell earlier. Another of Odin’s ravens may be waiting here if you missed it before. On the right is a large sarcophagus made of soft Svarthalmheim steel. Climb down the chain to the lower level.
On the path to the ledge leading back to the entrance, a mask from the “Faces of Magic” set lies next to a dead soldier — the first artifact in the series.
Brock’s Shop: Equipment and Upgrades
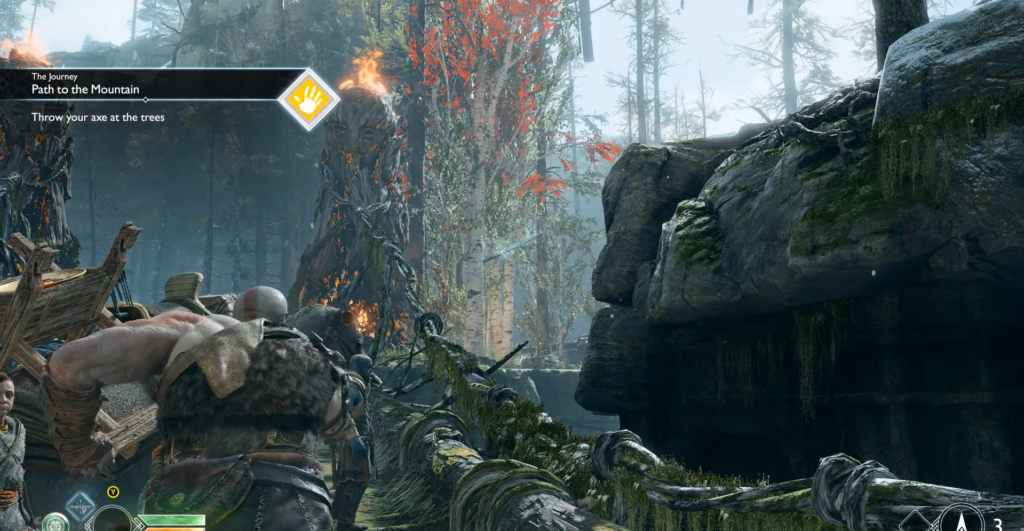
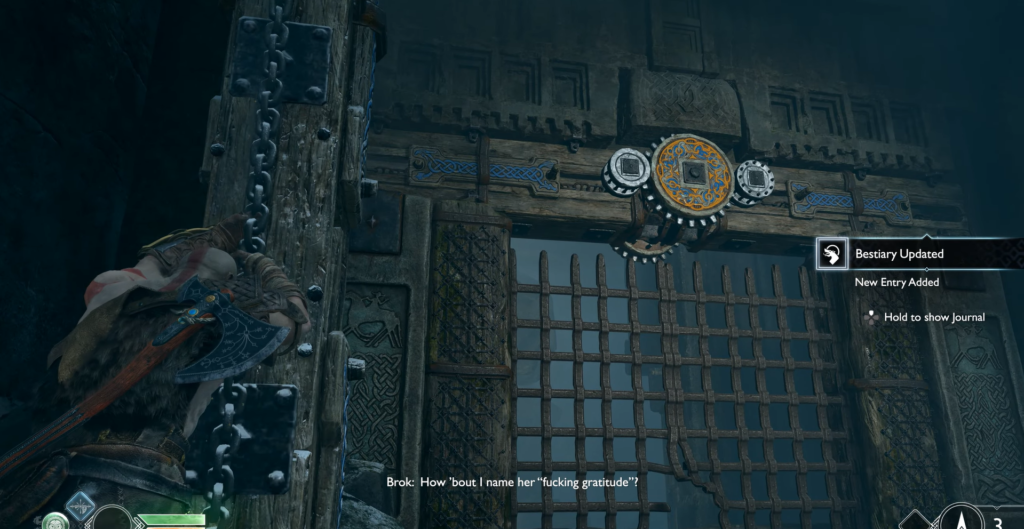
On the stone bridge, you will find a gnome who is troubled by a pack animal. Following Atreus’ advice, throw the axe at the white trees — the situation will be resolved, and Brok’s smithy will appear before you.
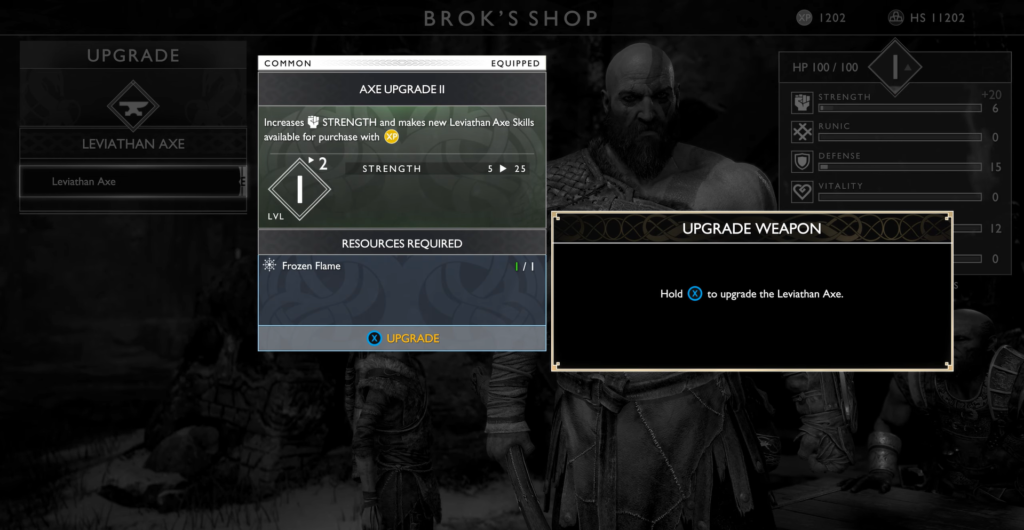
First, use the Frozen Flame you received as a gift to upgrade the Leviathan Axe to level 2 — this will increase damage and unlock new skills. For armor, choose the Bandit’s Armor for frequent hits or the Boar’s Hide for increased damage. Be sure to upgrade Atreus’ Clawed Bow as well: new skills, special armor, choice of role — ranged combat, melee combat, or support. Artifacts collected along the way can be sold to Brok for hack silver — they are displayed in his shop window, but have no other use.
Before leaving through the gate to the left of the store, check two things:
Artifact “Men’s Mask” — go down to the small platform near the trees where the axe was thrown: there you will find a dead soldier with an artifact from the “Faces of Magic” series.
Passing to the left of the gate, you will find a raised bridge — lower it. It leads to a path above a locked chest with runes. Here you will also find a chest with hacksilver and a chain leading to a tunnel with sealed gates. Before descending the chain, turn around: there is a raven for throwing an axe. Below is a large sarcophagus with soft Svarthalheim steel and a gate to open a shortcut.
Spiked Cave: Traps and Nornir’s Chest
Say goodbye to Brock and open the gate with the chain—freeze it to enter. The tunnel with piles of skeletons leads to a dangerous cave.
The studded walls cannot be broken with an axe, but there is a wooden board at the top right: hitting it turns the wall on its hinges. The next studded door must be hit twice to move it aside. Warning: it blocks the passage to the sarcophagus with soft Svarthalheim steel — throw the axe again to remove the spikes and reach it.
Next is a pit with spikes and a descending spiked ceiling. The panel on the left raises the ceiling, but it slowly descends back down. Hit the panel several times, then freeze the block beneath it. As you jump over the pit, Draugrai will attack — don’t summon your axe, just punch them and throw them into the spiked walls: the damage is enormous. When the Draugrai appear beyond the pit, jump over and deal with them. Heavy Draugr under the ceiling: let the ceiling crush it or drive it into the spikes with your fists.
Once you’ve dealt with everyone, raise the ceiling and examine the area. If you broke the wooden barrier in battle, there is a chest with hack silver behind it. To proceed: stand by the spiked door, summon the axe, strike it several times quickly to open the way, then throw the axe into the panel to the right of the door while holding the ceiling, and freeze it as quickly as possible. Once you have crossed, summon the axe and lower the ceiling.
On the other side, after climbing up, you will find a soldier wearing another mask from the “Faces of Magic” series.
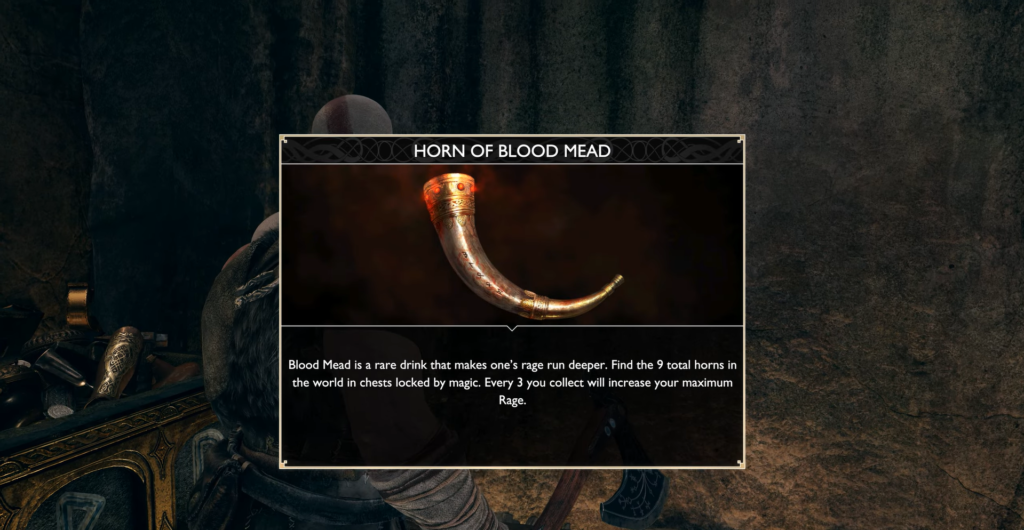
Nornir Chest No. 2 — Horn of Mead
Turn around before exiting and jump onto the small ledge. As the ceiling lowers, a new platform appears — jump onto it to reach the locked chest. Nornir:
Rune
Location
“N”
Behind you, in the upper corner
“C”
Through the broken studded wall on the way to the chest with hack silver
“R”
Hidden behind the wooden beams to the left of the chest — lift the platform by throwing axes at the panels below.
Open the chest to receive a Horn of Mead, which increases your maximum rage. Like Idunn’s Apples, you need to collect three to activate the bonus.
On the plateau before the exit, at the far edge, there is another dead soldier wearing a mask from the “Faces of Magic” series.
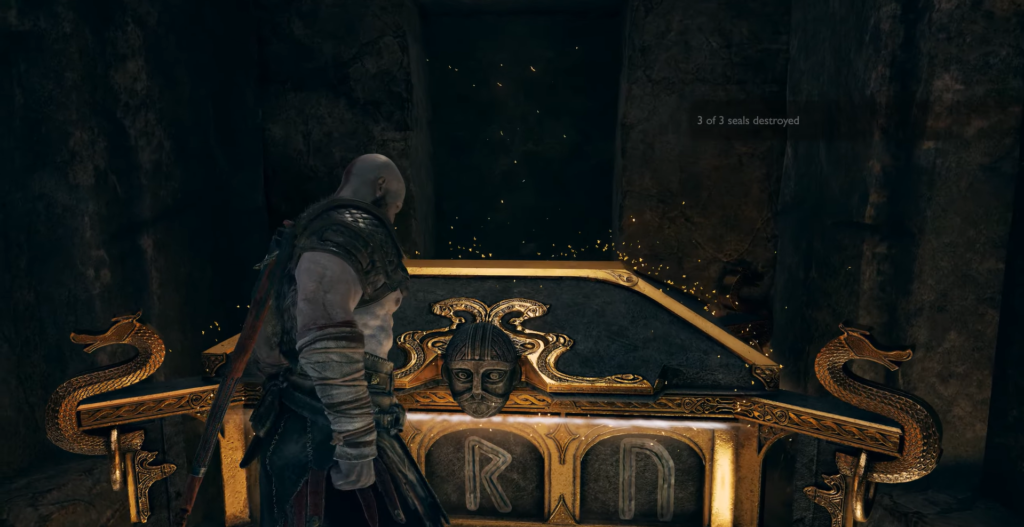
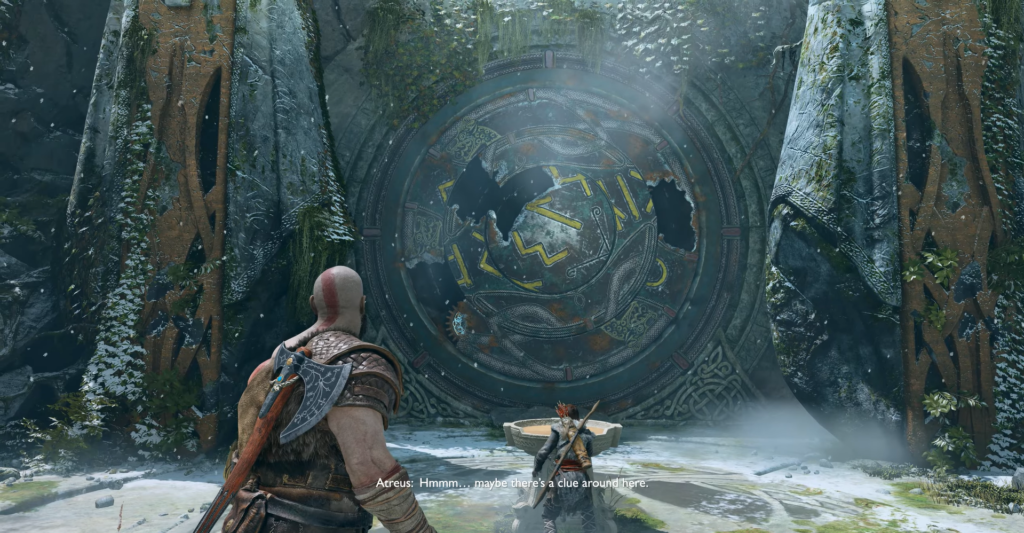
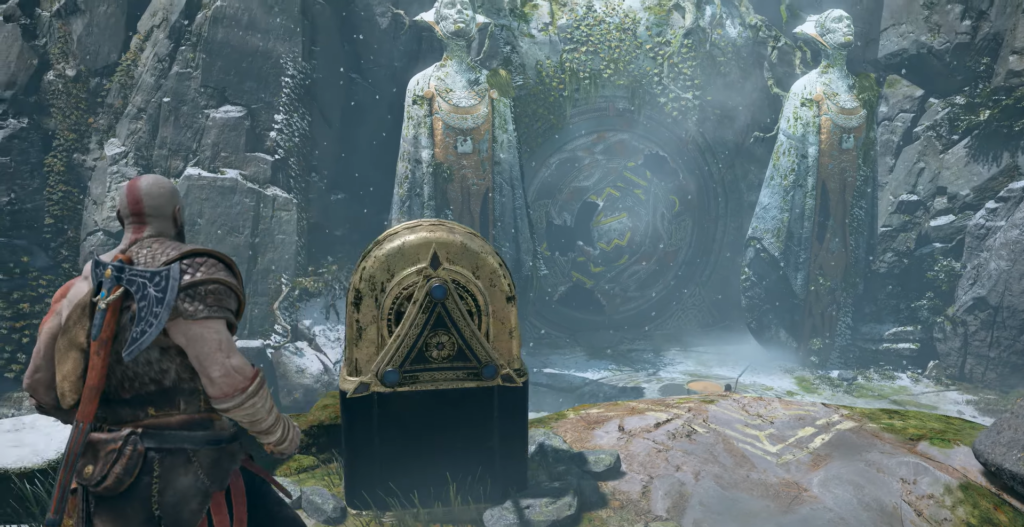
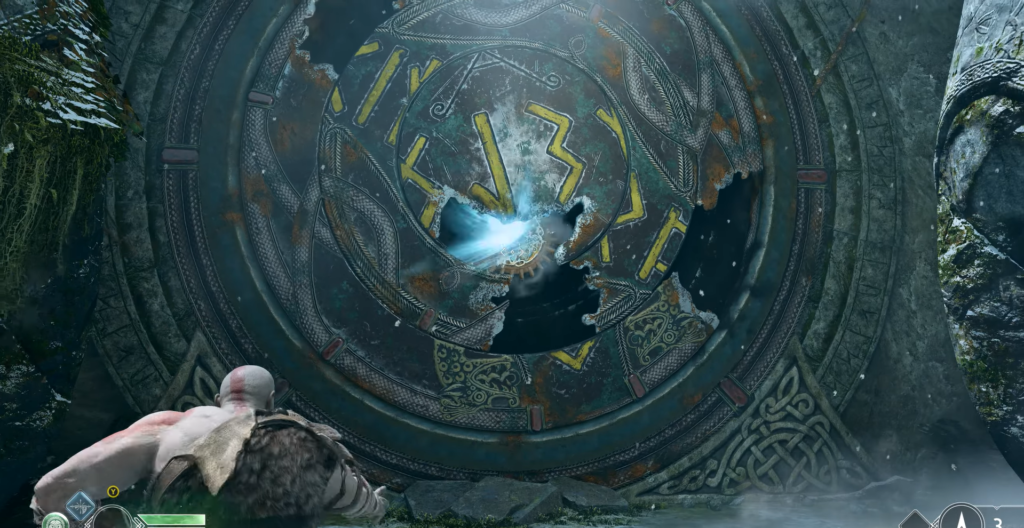
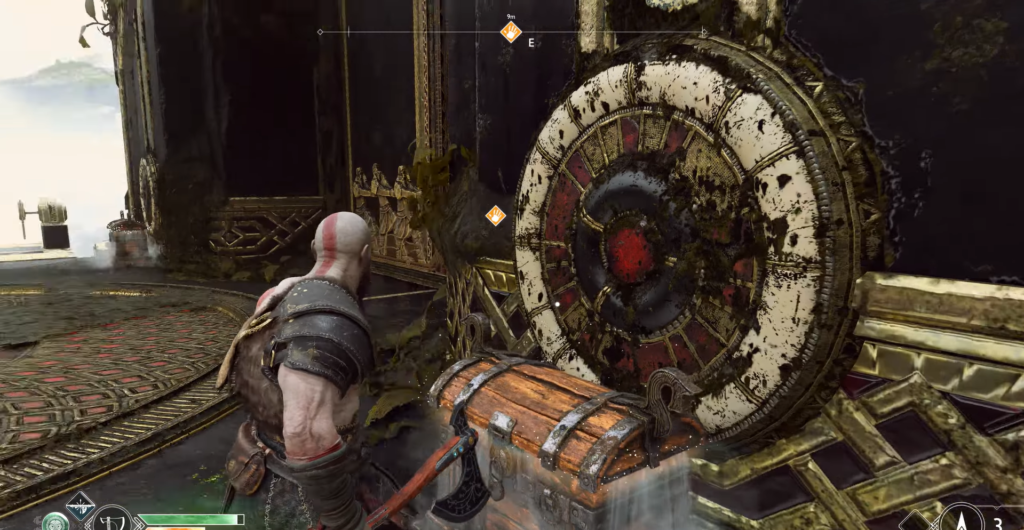
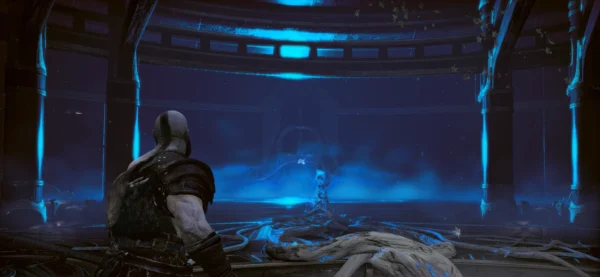
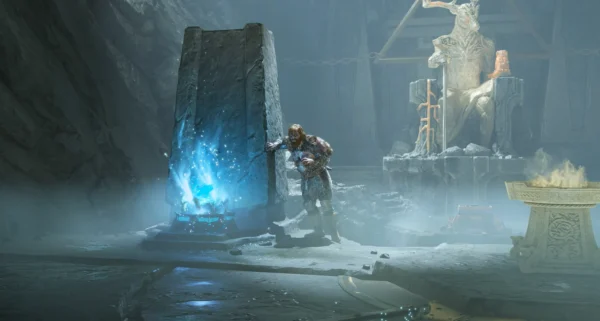
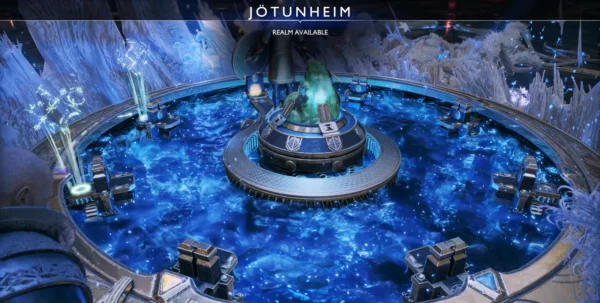
Portal mechanism
A large portal with two statues and a bowl of sand in the middle — Atreus will translate the riddle. The mechanism for controlling the rings is located on the ledge on the left (next to the corpse and the hack silver). Activate it and return to the portal.
Rotating rings open gears that can be stopped with an axe:
Hit the outer gear and wait until the outer rune forms a “D” shape.
Hit the center gear and wait for the entire chain of runes to align: the letter “A” will appear next to the “D.”
Return the axe and instruct Atreus to read the word.
The path will open up. In the new tunnel, turn left toward a small pond—there you will find another mask, “Faces of Magic.“
Continue along the main path to the large opening on the slope: Odin’s raven is sitting on the edge — aim slightly above the bird to compensate for the axe’s flight path.
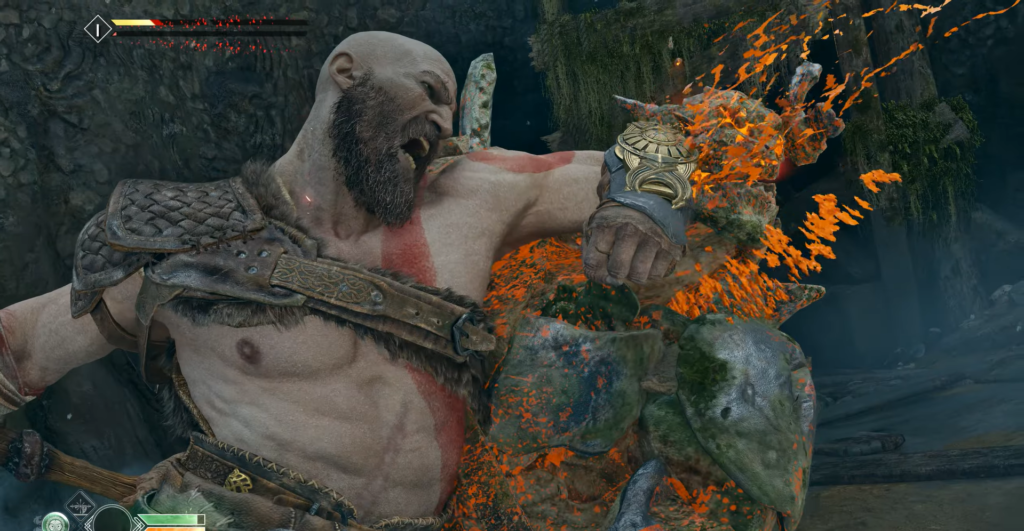
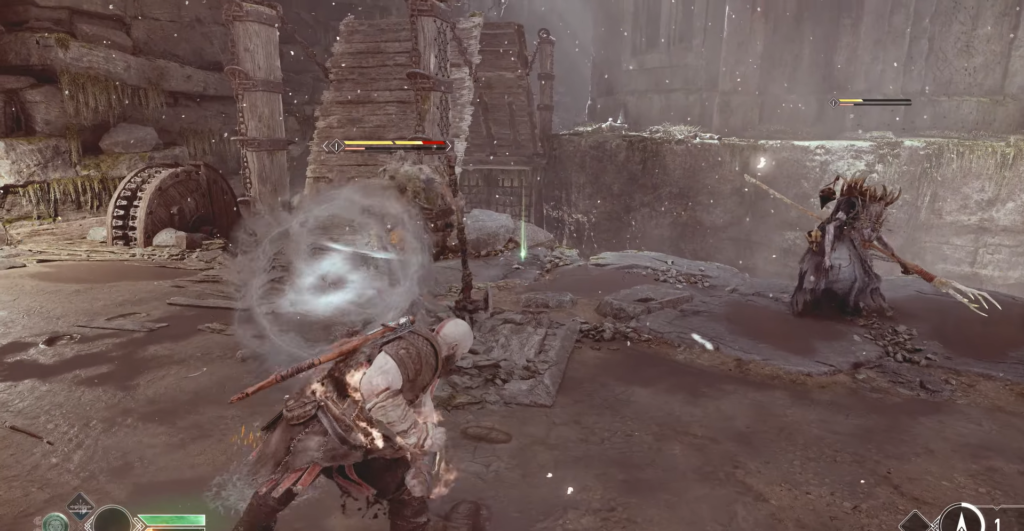
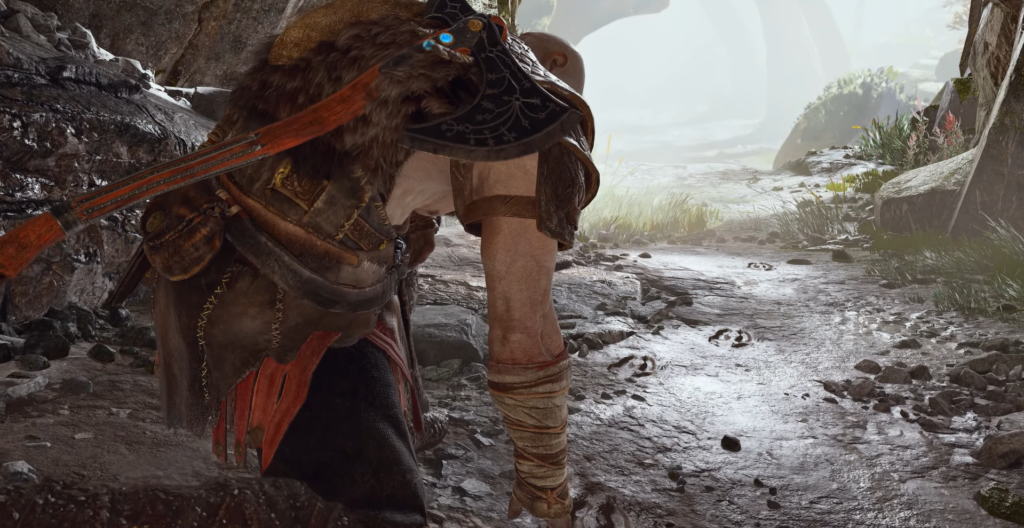
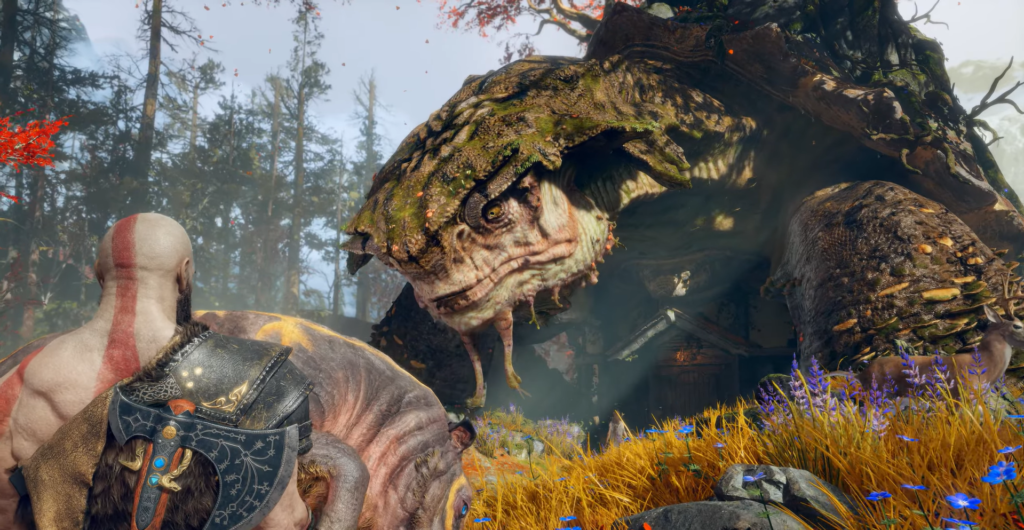
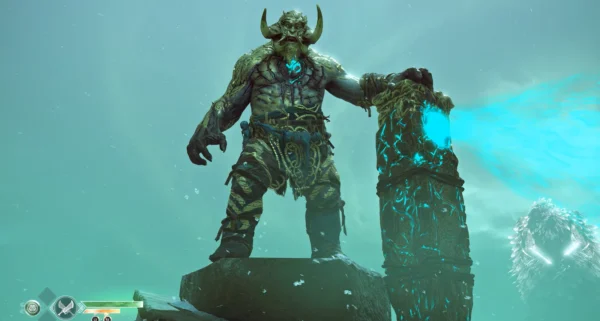
Hunting with Atreus and the boss: Brenna Daudi
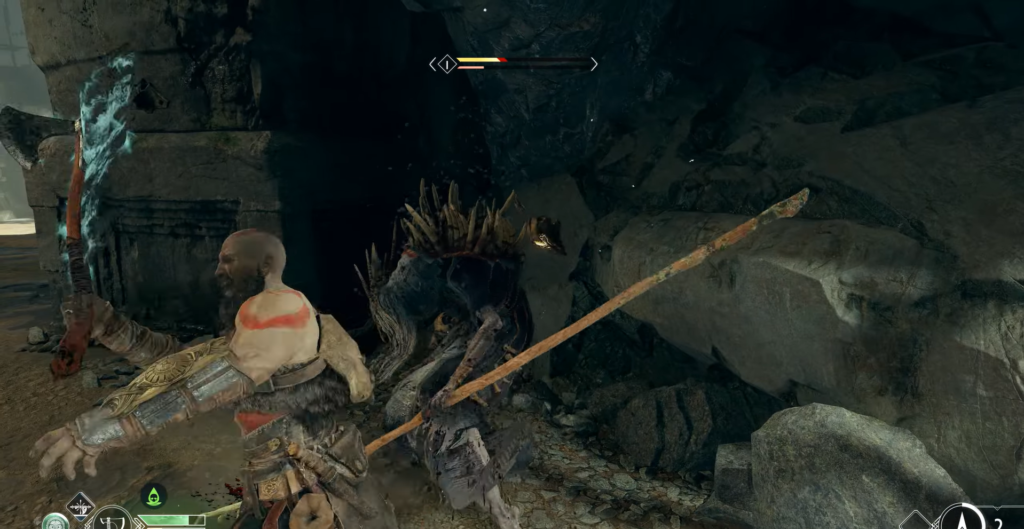
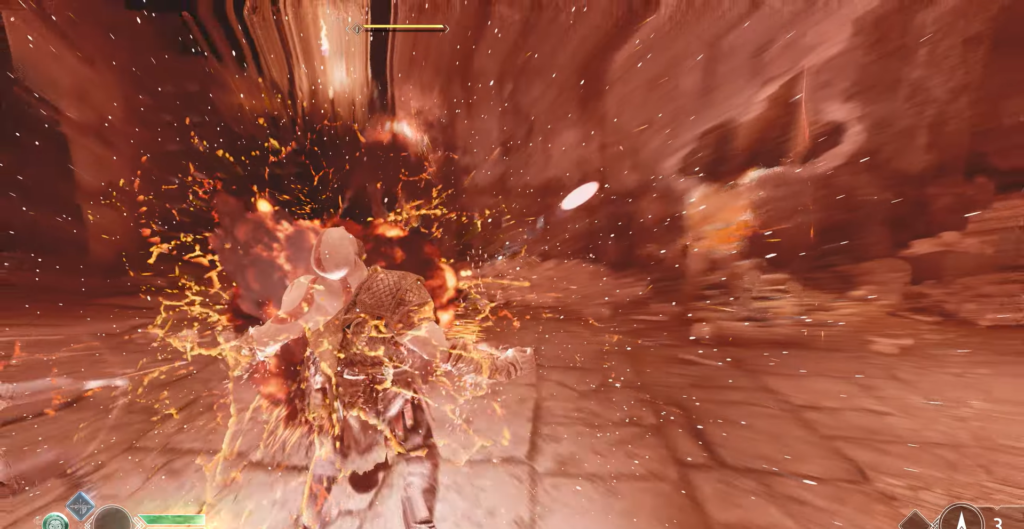
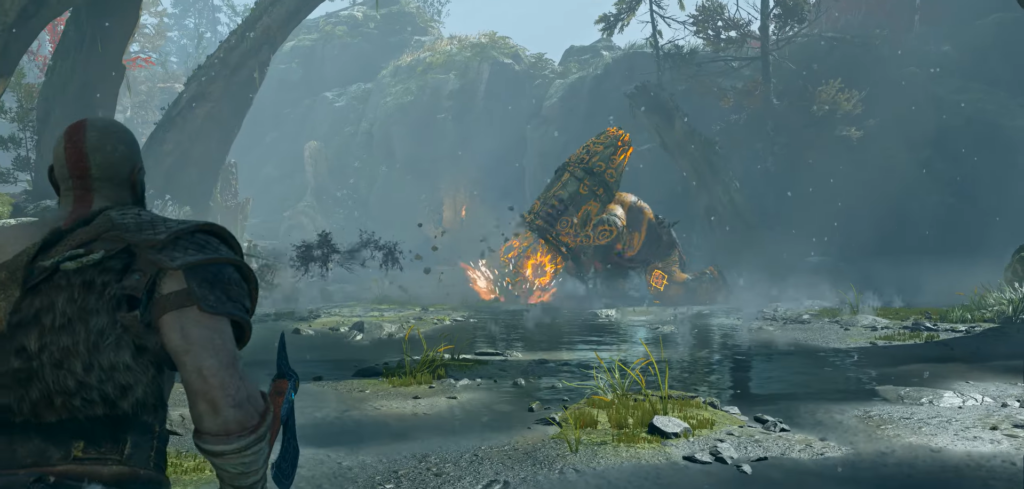
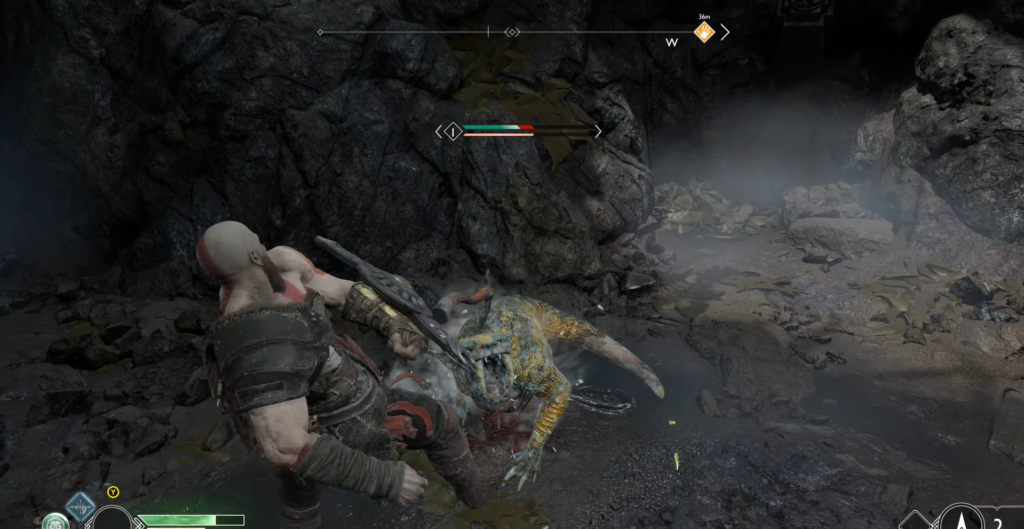
Traces in the mud begin the hunt. It is quickly interrupted by the appearance of Brenna Daudi’s troll—he is stronger than the first and imbued with fire.
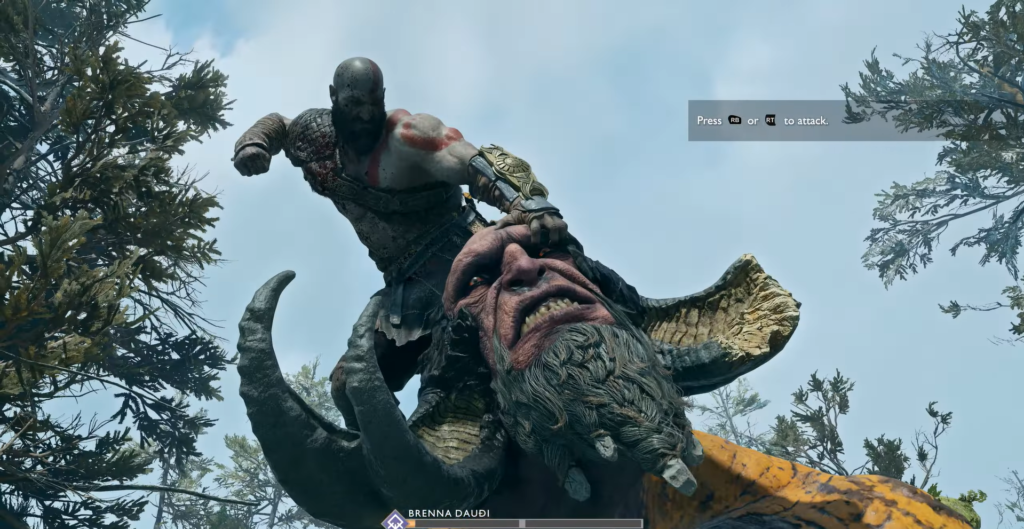
Fighting tactics with Brenna Daudi:
Fire spit with your free hand and strikes that scatter fire in a circle — keep your distance, respond with long-range attacks, and attack during pauses.
Dodge lunges and weapon strikes — same patterns as the first troll.
A rune attack interrupts his attempts to charge.
The shadows of the robbers appear with poisonous projectiles — they are far enough away that you can deal with them without risking missing the troll’s attack.
As the fury of the fire attacks increases, there are more of them — Spartan’s Rage allows you to keep the troll stunned at all times.
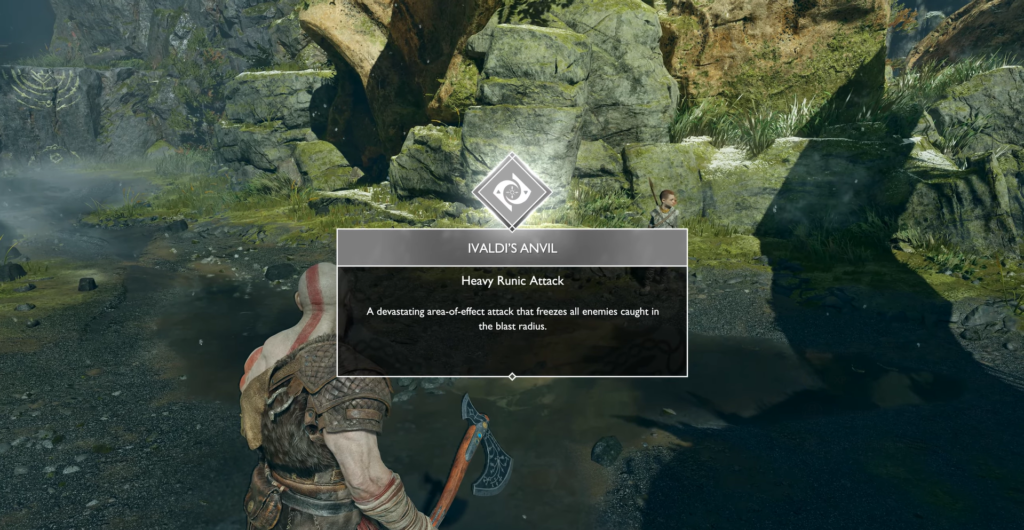
Reward: New Heavy Runic Attack — Ivaldi’s Anvil (large-scale area ice damage), Hacksilver, and Soft Svartalfheim Steel. Collect all loot.
Troll Arena: Nornir Chest No. 3 and Loot
Odin’s Raven — Look at the giant bone rib cage above the arena: a green glowing raven sits on one of the middle ribs.
To the right of the arena is a small platform with a chest containing hack silver. Further to the right is a stream with a corpse and additional hack silver.
Nornir Chest No. 3 — Idunn’s Apple
To the left of the arena, by the cliff overlooking the mountain, stands a locked chest belonging to Nornir with three runic seals:
Rune
Location
Feature
“N”
Right behind the chest
Do not destroy — when the ringing stops, the seal will be restored, so act quickly
“R”
To the left, above the waterfall
—
“C”
Upstream, behind one of the giant ribs
—
The third Idunn apple will increase your maximum health.
Lore Marker — Prayer to Odin is to the left of the Nornir chest: break the wooden planks at the top and have Atreus lower the chain. The marker reveals a view of the arena with the troll.
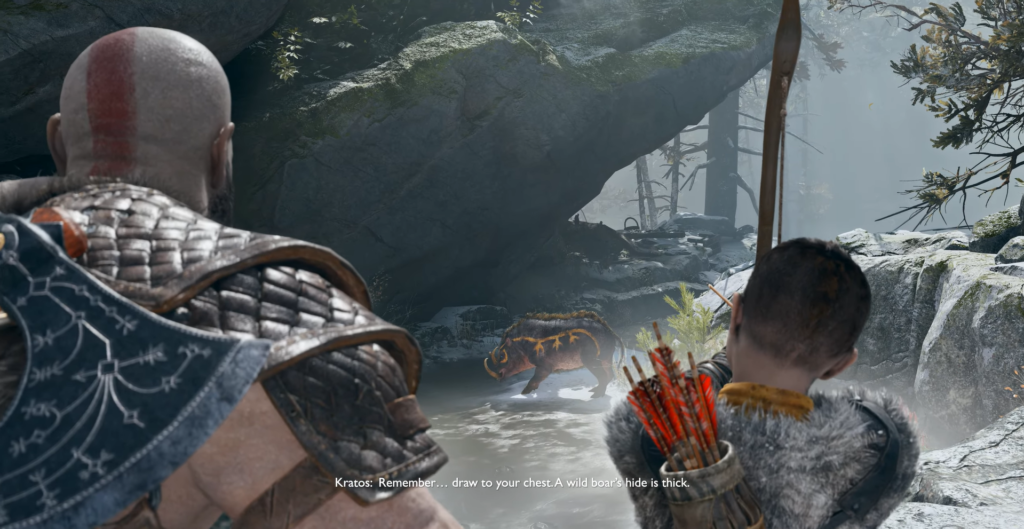
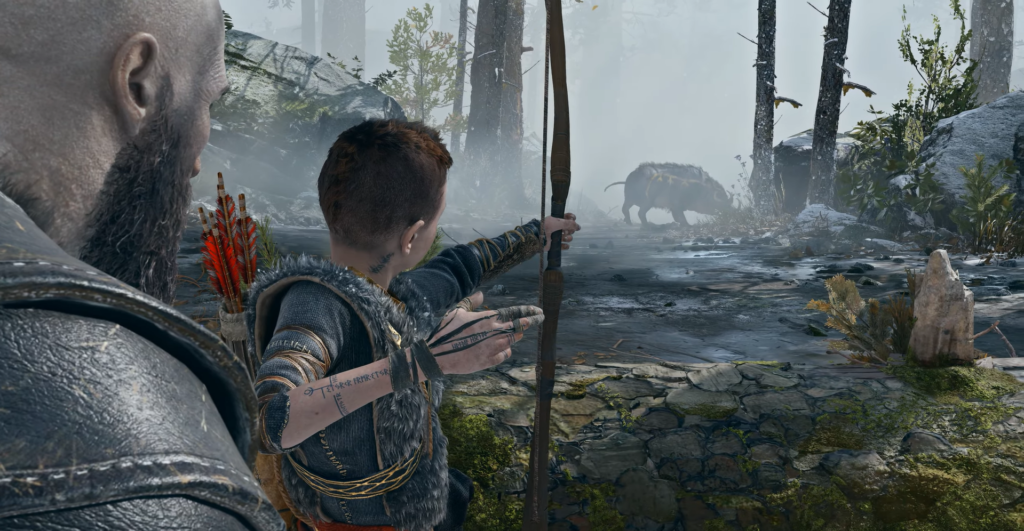
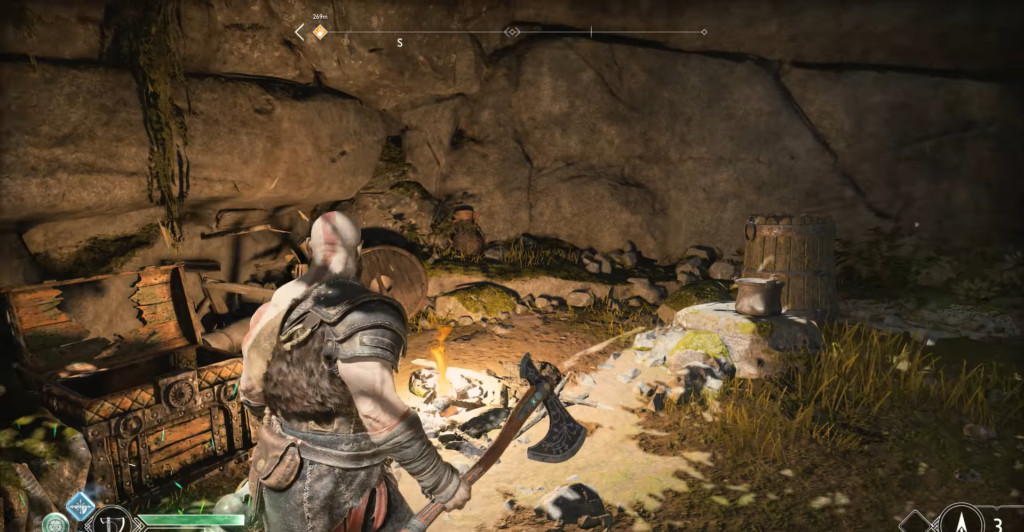
Continue through the small cave near the torch. On the other side is a boar being hunted by Atreus. Jump down and approach your son from behind with your bow drawn.
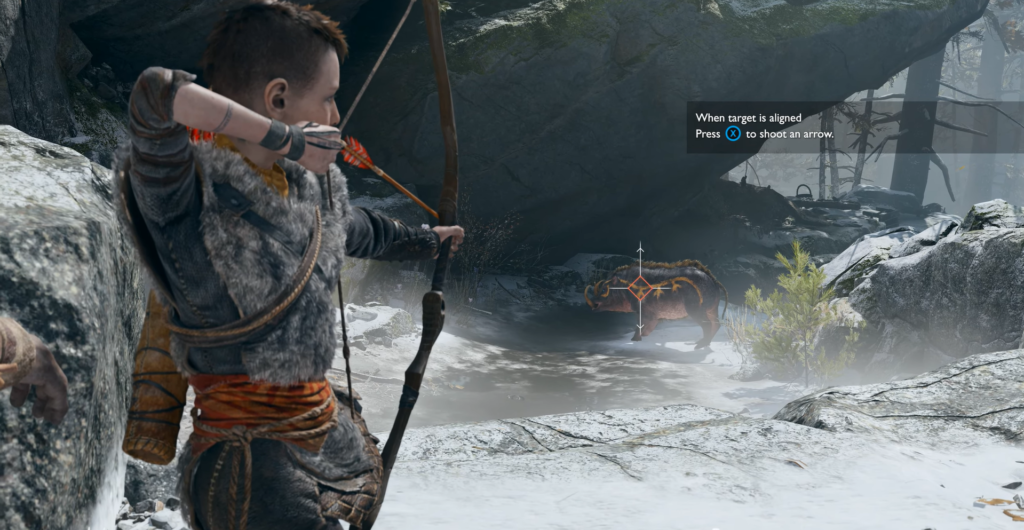
Aim with L2 — when the marker turns red, press Square. The hunt will continue regardless of the outcome.
Destroyed village
The pursuit of the boar leads to the ruins of the village. Odin’s raven can be seen on the roof of the hut on the right, pecking at a human body.
There was a battle between robbers and Draugr in the village — the loot didn’t go anywhere:
A flimsy wooden wall at the edge of the platform hides a chest containing hack silver.
In the hut on the right — break down the door and take the hack silver.
In another open house a little further away, there is more hack silver.
Next to the second house, there is a tiny hut skeleton: break it open to find a soldier wearing a mask from the “Faces of Magic” series.
Next to the hut on the left is a ledge with a chest containing Hacksilver and a hanging bucket.
The last hut: a blue bandit jumps out of ambush — stun him against the wall and finish him off. There is more hack silver inside.
Atreus will track down the boar under a huge pillar and take the next shot himself. After hitting it, he will rush into the fog — follow him.
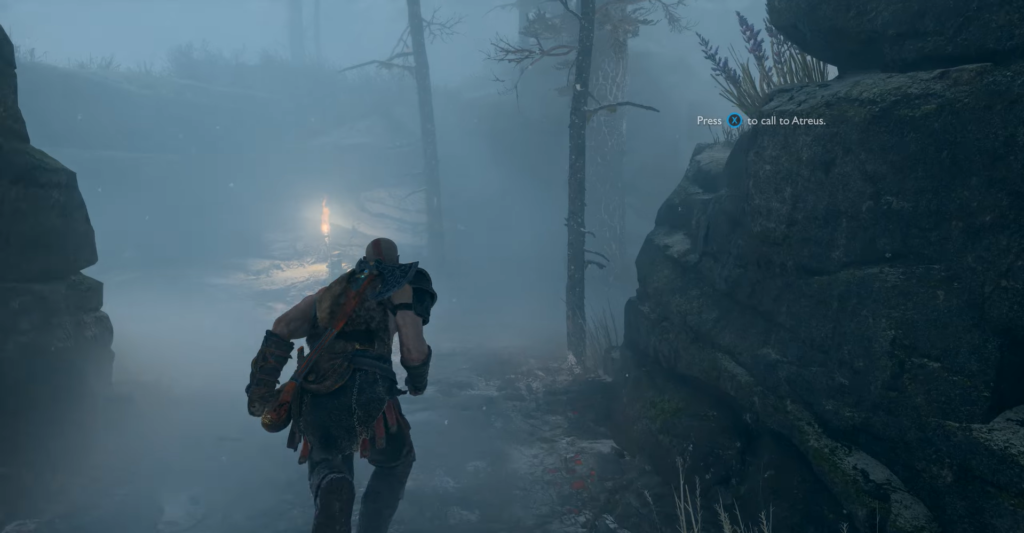
Searching for Atreus in the fog
Move through the foggy maze, following his voice. Route: turn right at the first fork → take the first left turn → run to the next torch and call out to your son → he will respond from the right. The path winds through the cave and leads to another fork → turn left, go up, step over the obstacle, and squeeze through the narrow passage.
Upon arrival, you will need to perform a joint action using L2 and R2, after which you will have to carry the load forward.
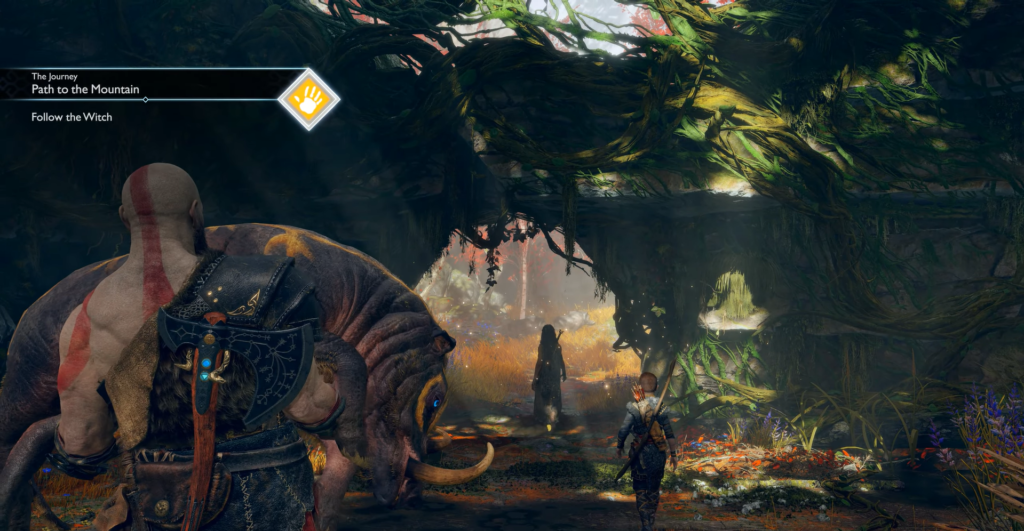
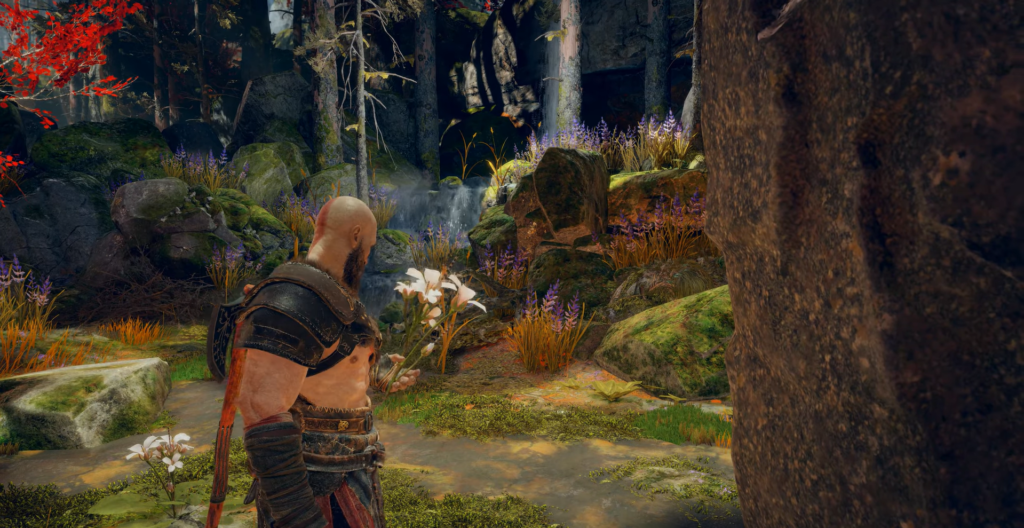
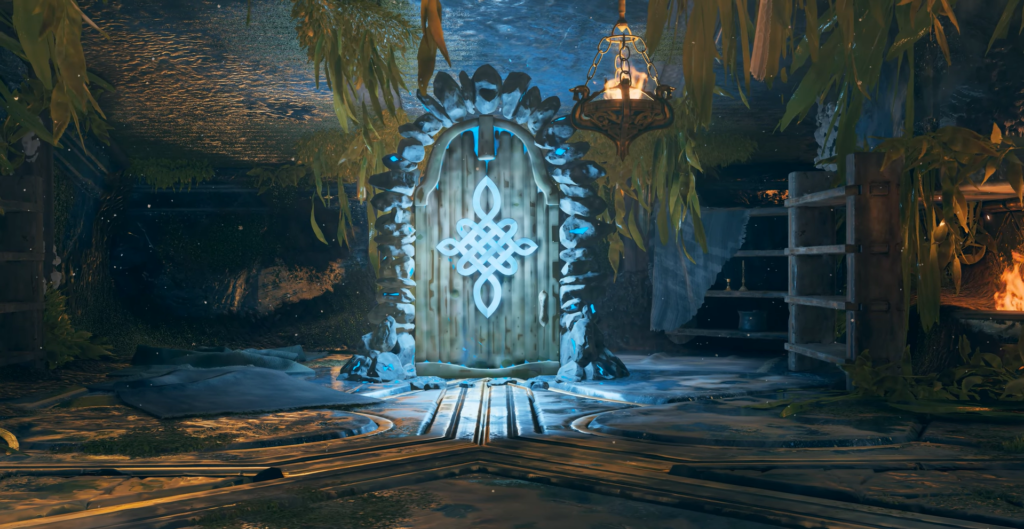
The Grove Refuge and the Witch’s Cave
The shelter grove is safe. Go to the house at the end of the path and enter. Your task is to find white flowers. Exit to the garden through the back door.
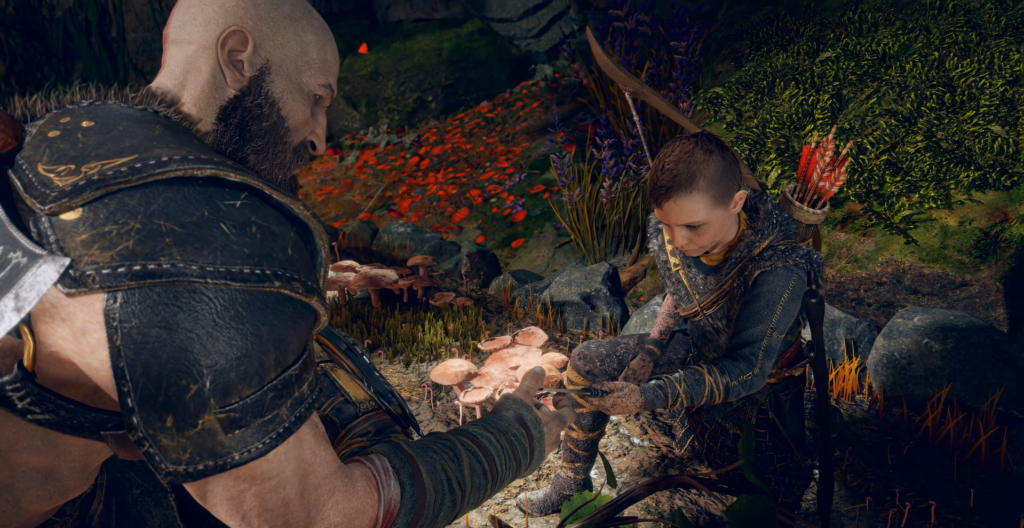
Before you lies a large river, with paths to the right and left. The white flowers are to the left, near the stone pillar. Return to the other side of the garden and give the knife to Atreus—he will gather his plants. Return to the house with both ingredients.
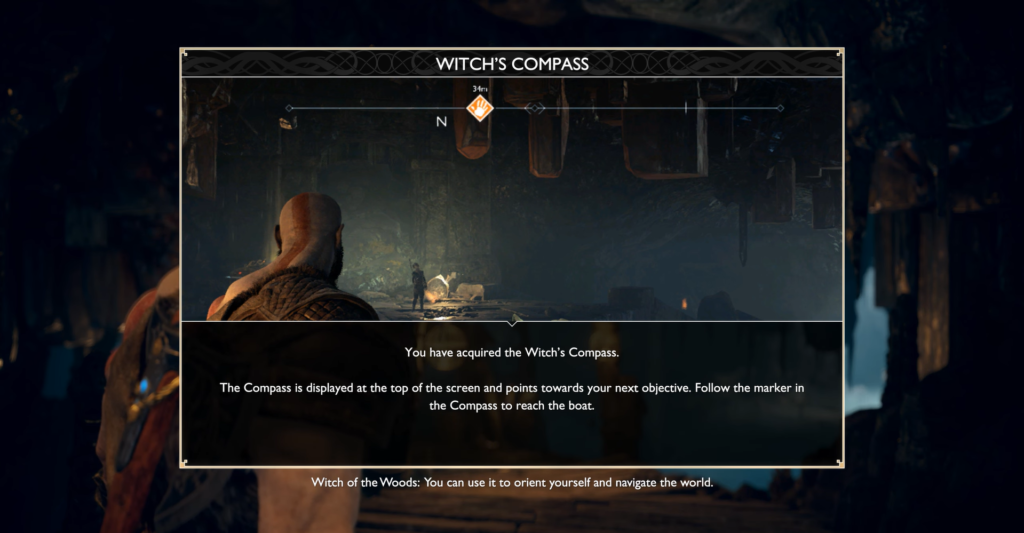
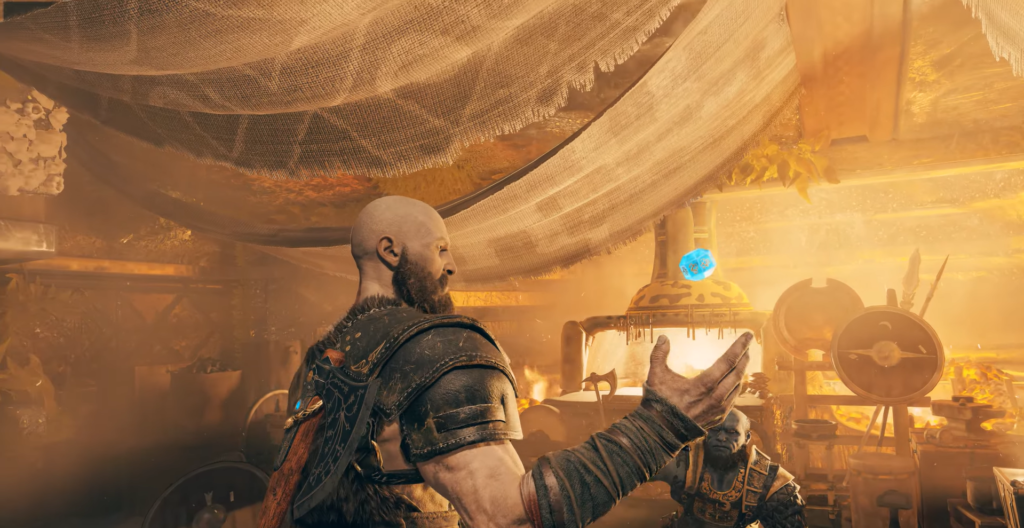
After the cutscenes, you will receive a new item — the Witch’s Compass: it tracks the main target on the HUD (can be disabled in the settings). Exit through the Witch’s cave.
At the bottom of the cave, on the main platform, Nightmares—flying creatures with poisonous projectiles—will ambush you. They are fragile but nimble: block them with your shield, and respond with your axe or Atreus’ arrows.
The red gate and the door behind the waterfall are currently inaccessible. Go left along the path to the water — there you will find Draugr and his motionless companion. Kratos will not go into the water, but on the left you will find a large stack of stone slabs on a lift — drag it to the side until it stops. Behind the slabs is a sarcophagus with soft Svarthalheim steel.
Push the lift all the way into the water to create a floating platform. The two chests in the water and the green sphere are still out of reach, but on the other side, near the dead soldier, there is another mask from the “Faces of Magic” series.
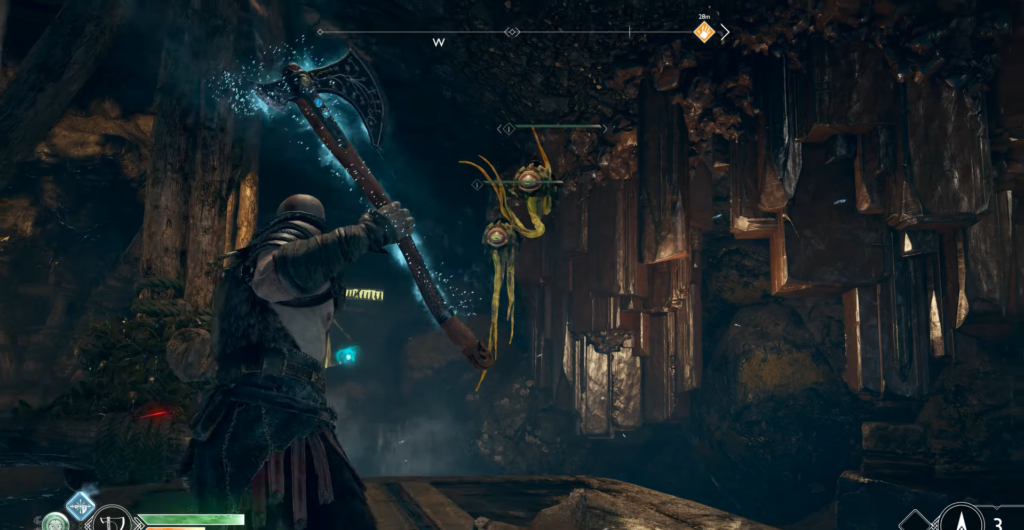
Return to the main platform and jump across the stone ledges to the boat. At the very end of the ledges is the legendary chest containing the Talisman of Concentrated Vitality: it gives you a burst of health in battle and permanent bonuses to your stats.
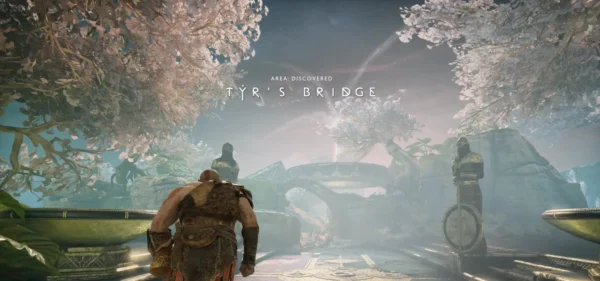
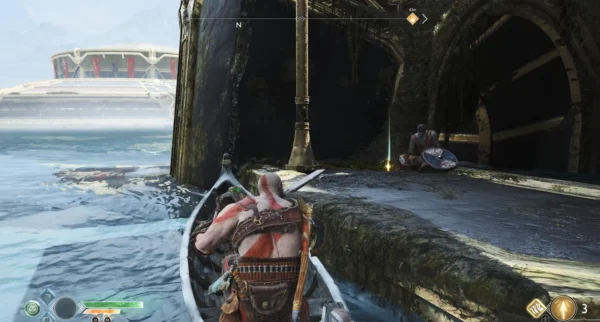
The Shores of Nine and the Temple of Tyra
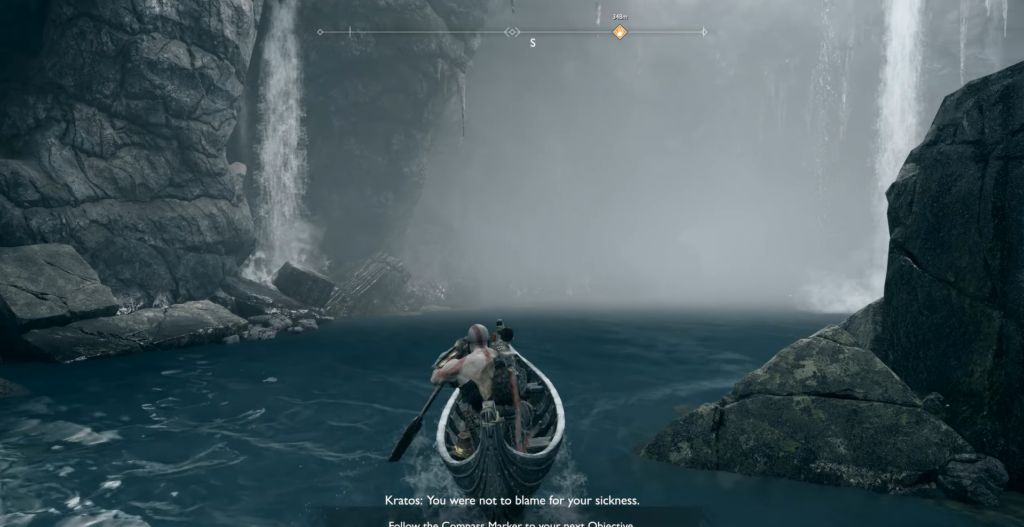
Sail through the winding tunnel (mooring only at designated moorings) — at the exit, you will see a distant mountain. The next tunnel will lead you to the great lake — the Nine Shores, whose waters are adorned with statues of Scandinavian gods.
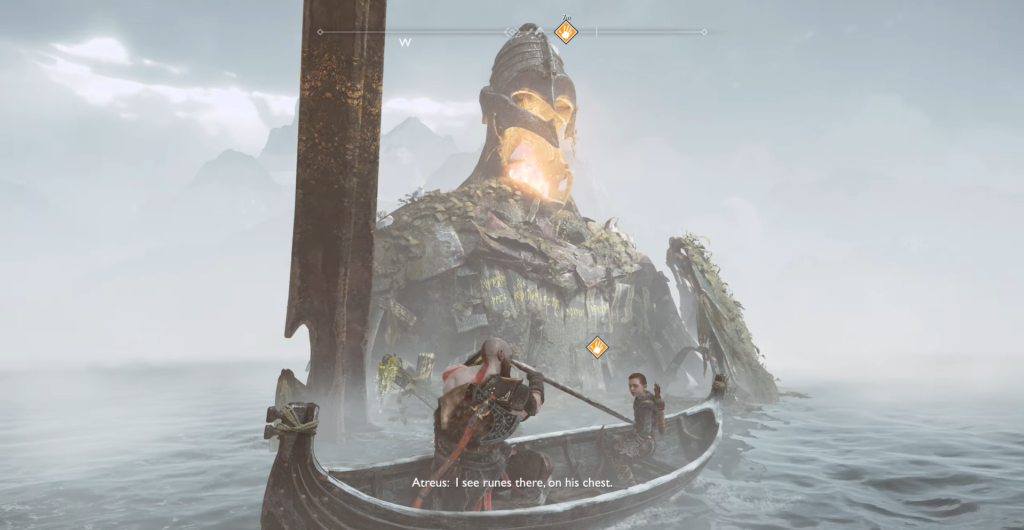
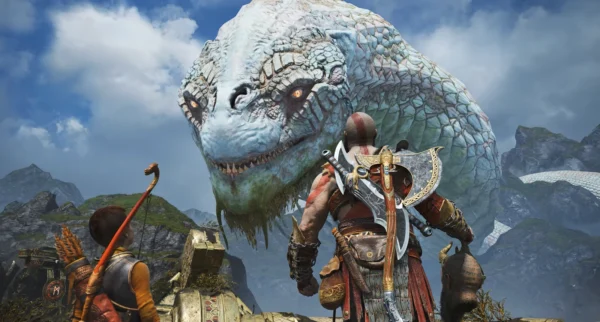
Atreus will point to a glowing statue in the center of the lake — swim towards it.
After the scene, the water level will change, opening up many side areas to explore. Look for white flags to mark landing spots. Available locations on the lake:
Watchtower — south, near the Witch’s Cave
Muspelheim Tower — south, on the other side of the entrance to the Witch’s Cave
Niflheim Tower — inner ring, southwest
Iron Bay — far southwest, behind Niflheim Tower
Death Island — west, slightly north of Iron Bay
Forgotten Caves — inner ring, northwest, between the Serpent’s body
Helheim Tower — north, near the Serpent’s body
Alvheim Tower — inner ring, northeast, near the huge sealed gate
Stone Waterfalls — far east, behind the Alvheim Tower; a wheel mechanism opens the golden gates to Veiturgard
Volunder Mines — far southeast, beyond the icy entrance at Raven’s Cliffs
Raven’s Roost — south and east, near the Vanheim Tower
Vanheim Tower — south, close to the entrance at the Watchtower
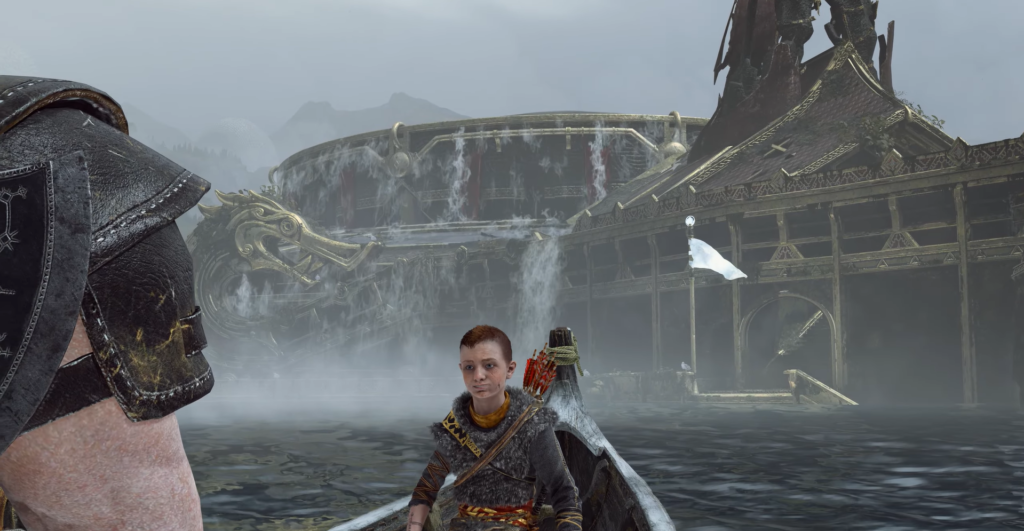
Dock at the central island — the Temple of Tyra. Once you climb up, you will meet an old acquaintance who has opened a workshop here. Brock will give you the World Tree Stone — the key to the fast travel system through portals (you need to find them first). New armor, talismans, axe heads, improvements, and upgrades for Atreus’ quiver are available for purchase. Sell artifacts to Brock: they will be displayed in his shop window and will bring you a good amount of Haxsilver.
As you leave the temple, examine the dock on the east side: next to the dead soldier lies an artifact from the Abandoned Ship set — a figure from the bow of the ship.
Vanheim Tower and Caves
On the long bridge, there is a central platform with a mechanism and a huge horn — Kratos will not blow it without understanding the consequences. At the other end of the bridge is the Vanheim Tower and an ambush of poisoned bandits: they die easily, but explode when they die — retreat or freeze them. Outside the tower, there are two chests with hack silver.
Inside, bandits are fighting Tatselworm. Both will switch their attention to you. Freeze the bandits to prevent explosions: a frozen enemy does not die when killed in this state.
On the left, behind wooden barriers, is the Altar of the Jotuns with an image of Jormungand: let Atreus read about the World Serpent.
On the right, the Pillar of Contempt blocks the passage with poison. Throw your axe at the glowing pillar to freeze it. Collect the hack silver from the exposed bodies, move on to the next Pillar of Contempt, and freeze it too. The path leads to a cave with platforms below — knock the bucket of hack silver off the top before descending.
Neutralizing another Pillar of Contempt raises Tatzelwurm from the ground. It burrows and suddenly attacks — block or dodge in time, then finish it off with stunning attacks before it can strike with its poisonous sting.
In the poison-cleared area, open the large encryption chest — Atreus will retrieve the Muspelheim Code, the first of four fragments. Collecting them will unlock the “Kingdom of Fire” quest and ultimately open the gates of Muspelheim. The lore marker nearby cannot be affected yet — climb the wall near the Pillar of Contempt and proceed to the new door.
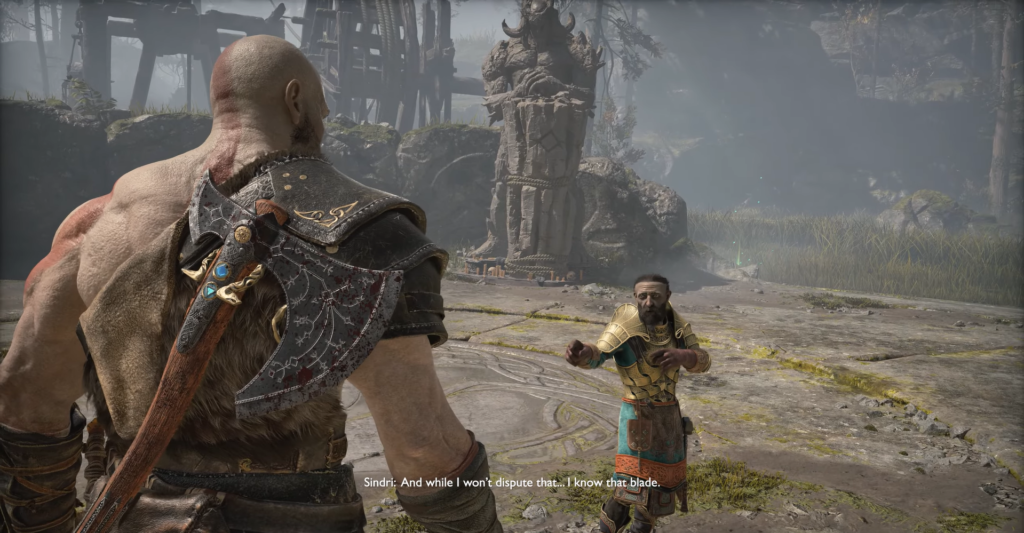
Foothills: Sindri’s Shop and New Trials
Behind the door lies the Foothills region and an encounter with a new gnome, Sindri, who has his own forge. This is where resurrection stones will first appear on sale: they are disposable, you can only carry one, and they allow Atreus to raise Kratos after he dies in battle.
Research on the Foothills:
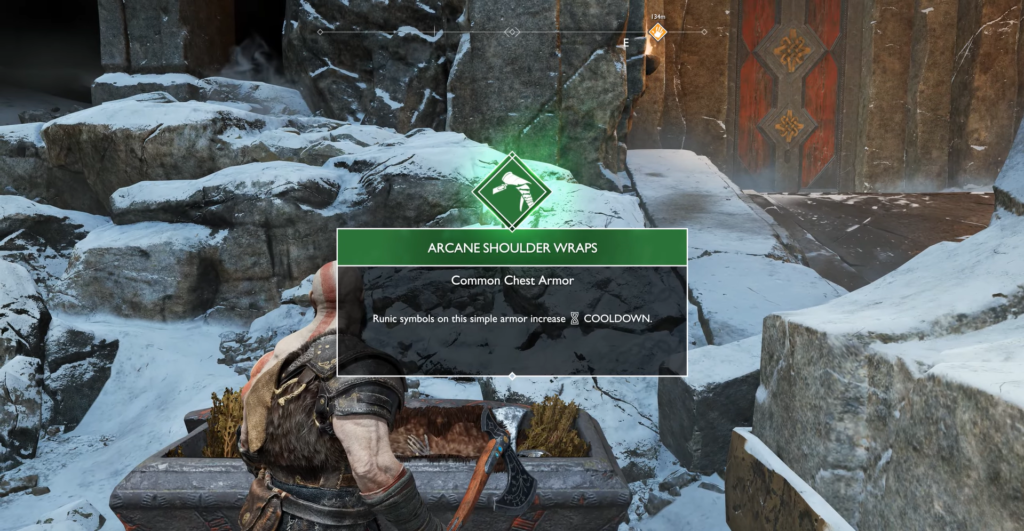
On the right is a poisoned coffin: behind the stones is the Pillar of Contempt. After freezing it, you will receive Arcane Belt Protection and Hacksilver. On the left, in the trees, is a bucket of Hacksilver and a locked chest.
Nornir’s Chest in the Foothills — Horn of Mead
This chest is special: instead of destroying the runes, you need to match the correct symbol on the mechanisms nearby by hitting the panels with an axe.
Mechanism
The necessary rune
Above the chest
“E”
Below
“D”
Top right (behind the Pillar of Contempt — freeze first)
Upside down “B”
Further to the left, next to Skywalker Sindri, is a coffin in poison: the Pillar of Contempt is hidden just below the cliff near the gnome’s workshop. After freezing, it becomes soft Svarthalmheim steel.
On the middle path, there is a chest with Hacksilver and a stone wall leading upwards. The first Pillar of Contempt summons a Revenant, which immediately runs away — do not chase it through the poison. Take the left path past another pillar: hacksilver and a coffin with Arcane Bracers (increase reload speed) behind the neighboring Pillar of Contempt.
Upon returning, neutralize the next pillar and drive the Revenant out of its hiding place. Atreus stuns it, and you pursue, remembering to destroy the pillars in the enemy’s path of retreat.
After Revenant’s death, the right path leads to Odin’s Hidden Hall — locked, as in the Wild Woods, but a marker will appear on the map.
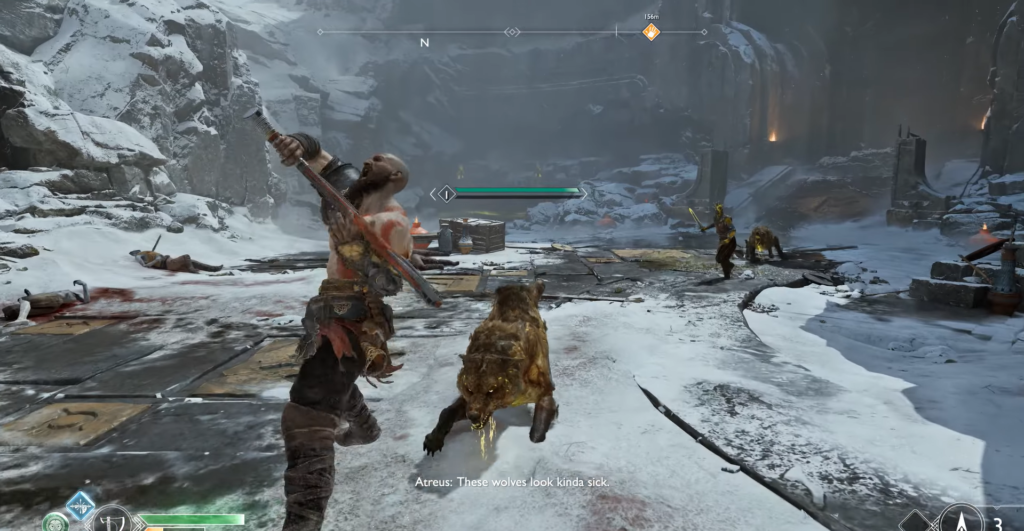
The left path past the hanging Pillar of Contempt leads to a high wall and a large platform. Here you will find corrupted bandits and poisonous wolves (they spit poison in front of them). Knock them out from a distance and dodge when they get close.
Explosive jugs everywhere: hitting them destroys the trash around them. The jug in the far left corner will open a hidden chest with Arcade shoulder pads and soft Svarthalheim steel.
To the left of the coffin is a legendary chest, blocked by two Pillars of Contempt and a jug:
Freeze the nearest pole.
Behind it is a jug: blow it up to destroy the far pillar.
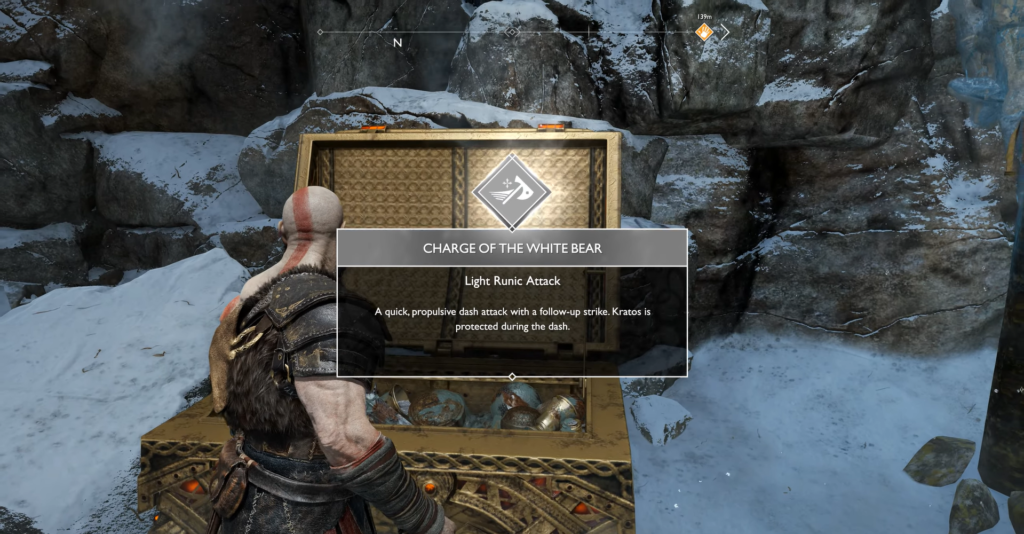
Freeze the remaining pillar and open the chest — inside is a Runic Strike: White Bear Attack.
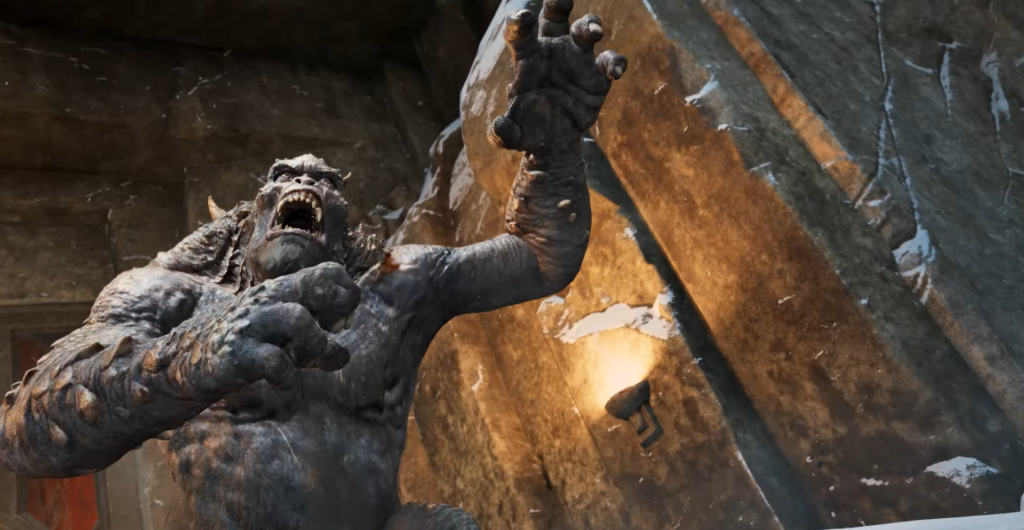
Boss: Ogre and Mountain Foot
At the final gate — Ogres and bandits attacking from behind.
Tactics with Ogre:
Unblockable ramming attacks and powerful blows require precise dodging. The ogre can grab the nearest bandit and throw him at you — don’t blink. Freeze and destroy bandits first: don’t let them explode. Throw your axe at those who raise their hands for healing.
When Spartan’s Fury is active, stack stuns on the Ogre and ride him around the arena, knocking down bandits. On the ground, dodge spinning fists and keep the Ogre disoriented with Runic attacks. The remaining jugs can be used as traps — lure enemies into them.
Reward:Charm of the Symbol of Truth, 5 pieces of soft Svarthalheim steel, and Frozen Flame for another axe upgrade.
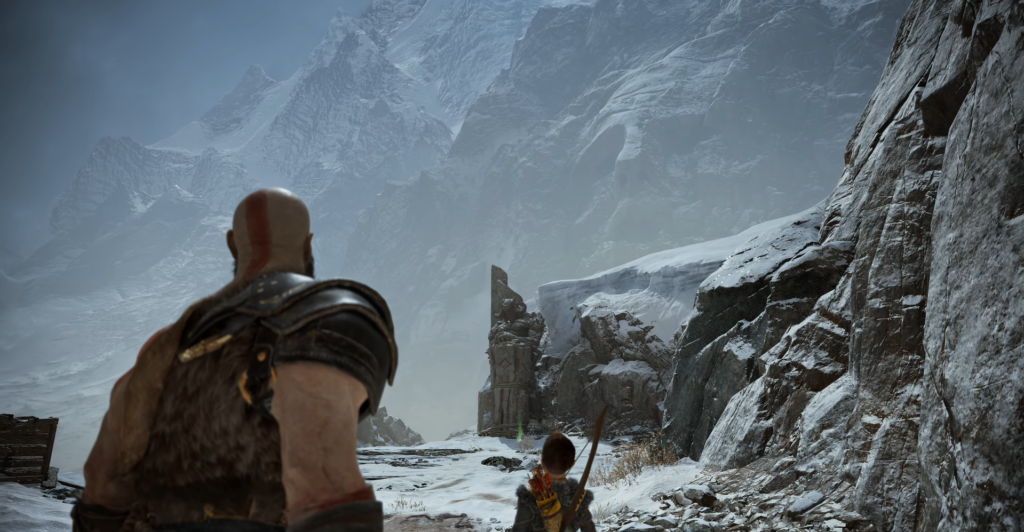
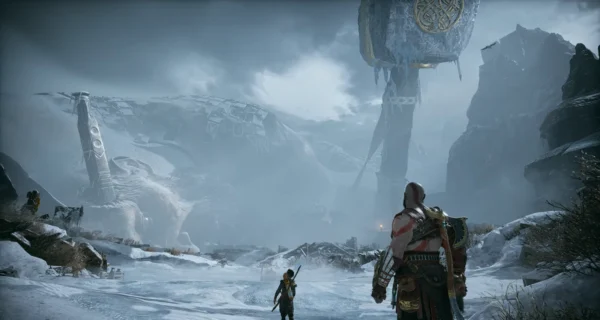
Behind the huge gates lies the foot of a mountain with a giant stone face carved directly into the rock.
Odin’s Raven — Sindri’s Skyrider, overgrown with vines, can be seen on the left. A green raven is jumping above the rocks above him — you need to throw the axe high into the air, with plenty of room to spare.
On the way up, there is a hack silver on the right and another chest behind the blue roots. Ahead lies Black Breath, an insurmountable veil of darkness. But help is near.
Published
Modified
ZEPHICK
Rimus Mirotvoretz
Game Guides Author
An old-school gamer who started playing at around age three, when the keyboard was almost bigger than he was. Long before gaming became mainstream, he was already exploring virtual worlds, breaking game mechanics, and searching for the fastest ways to beat levels.


Comments (0)
Sign In / Sign Up
Sign in to leave a comment.
No comments yet
Be the first one to share your thoughts!