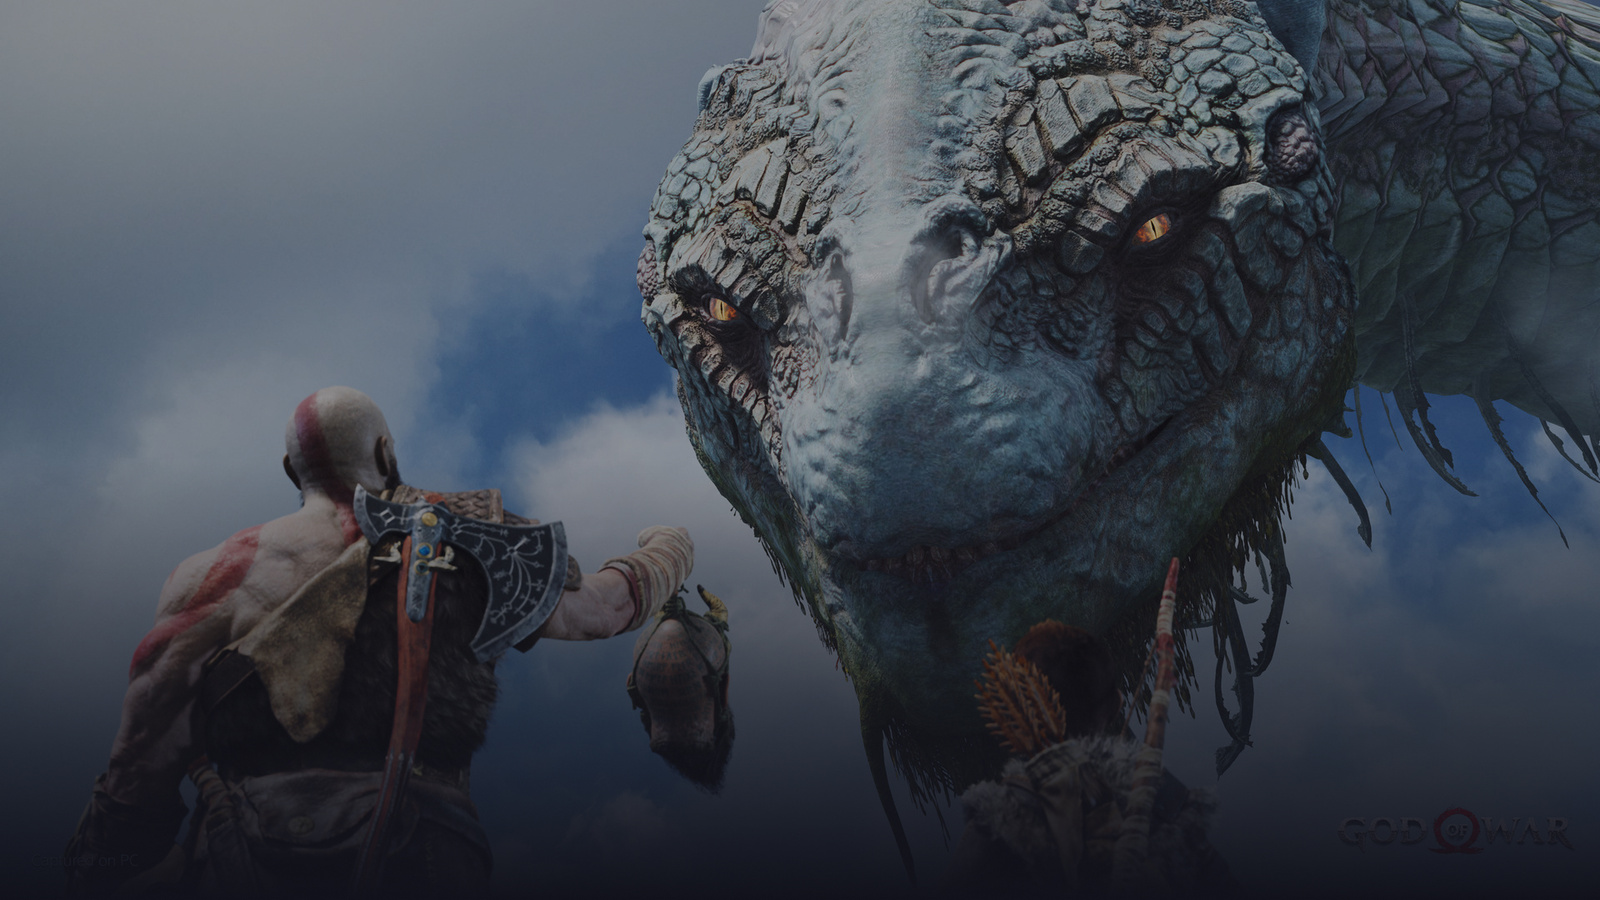
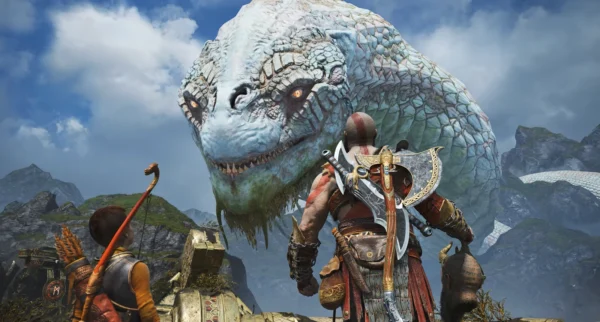
Preparation before departure
Brock “repaired” the mystical gates so that the portal to the summit is the only one that does not work. However, all the others are now accessible: you can return to almost any point in Midgard, including the Wild Woods. There you will find Odin’s hidden room with one of Odin’s ravens and a difficult test at the rift between worlds.
Before moving on, take some time to get your gear ready. Here’s what you should pay attention to:
| Parameter | Recommended value |
|---|---|
| Kratos Level | 5 |
| Atreus’ Bow-Claw Level | 5 |
| Atreus’ Quiver | Fully upgraded |
| Atreus’s Skills | All unlocked |
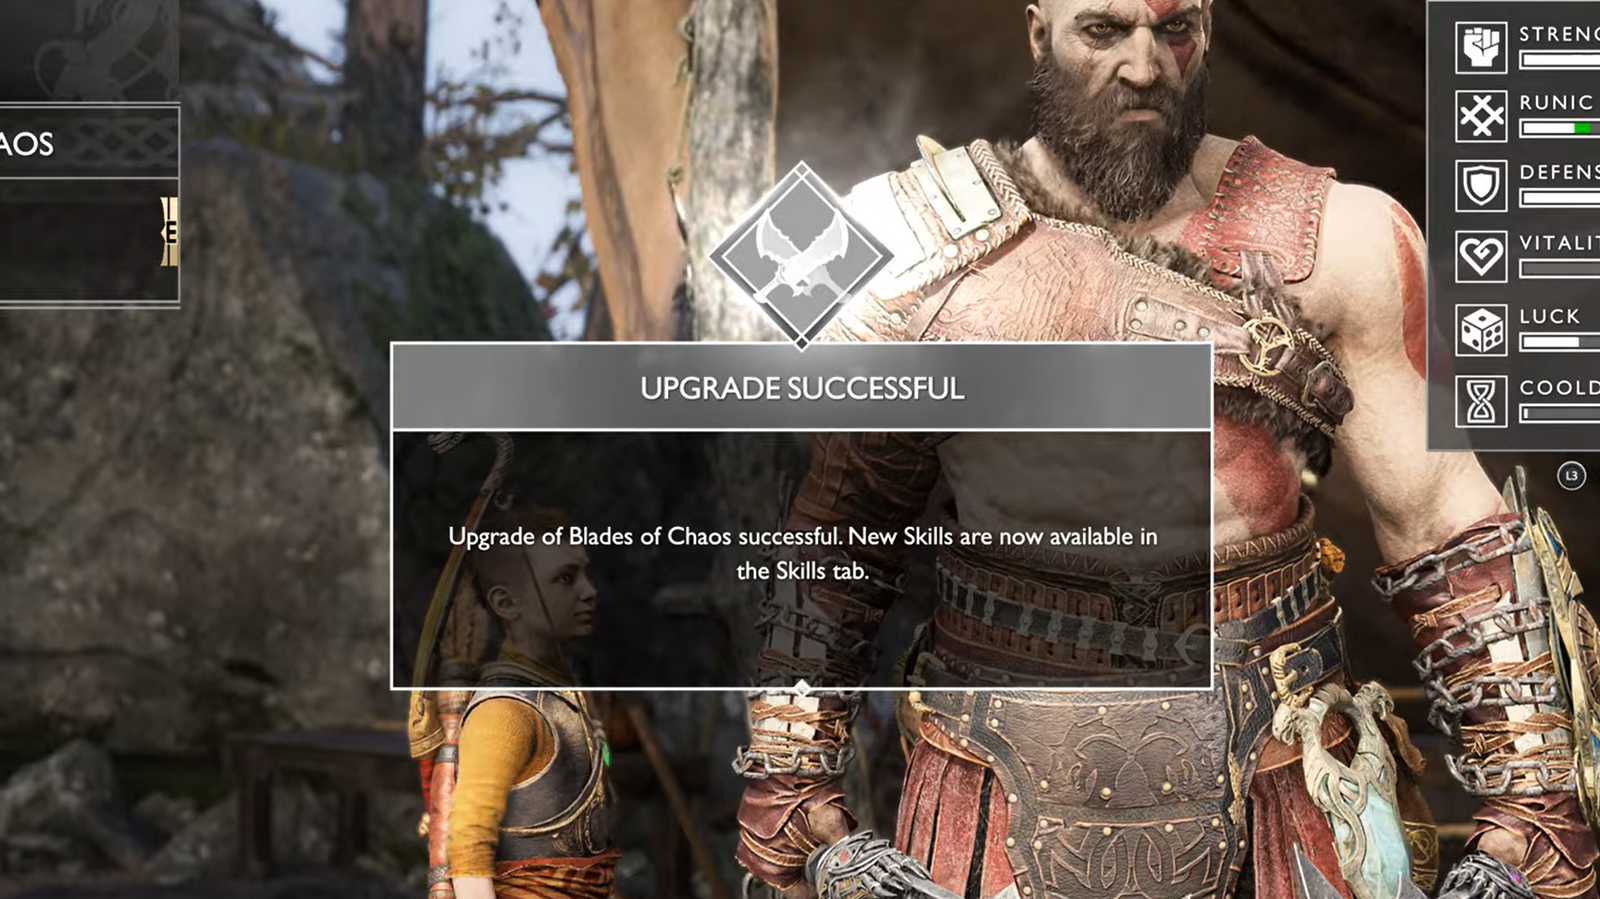
| Kratos’ Skills | Most axe, shield, and Chaos Blades skills |
Invest the remaining experience in improving rune attacks and invocations. Brock now has an extensive range of new armor for both Kratos and Atreus. Don’t skimp on Haxilver: the enemies ahead are much stronger than before, even in areas you’ve already explored.
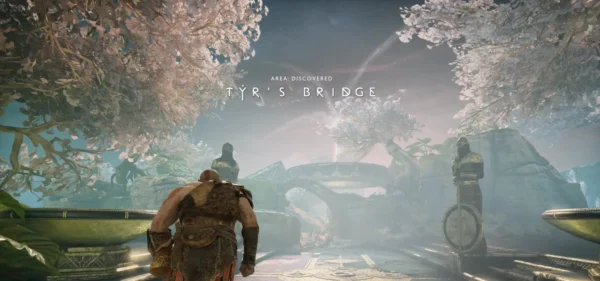
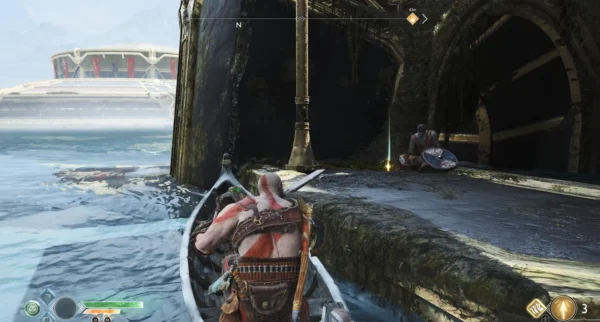
When you are ready, cross the Tyra Bridge and go through the tunnel in the Vanheim Tower. Those who wish to test themselves can activate the rift right here—two level 6 revenants will appear from it.
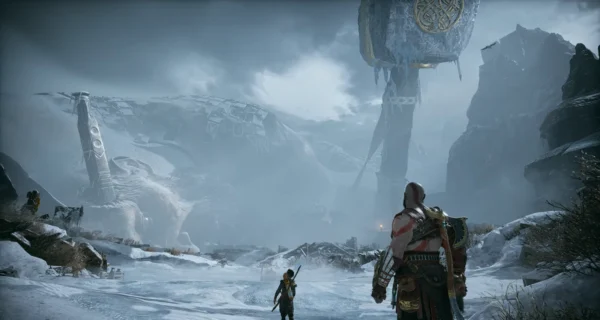
Foothills: the path to the mountain
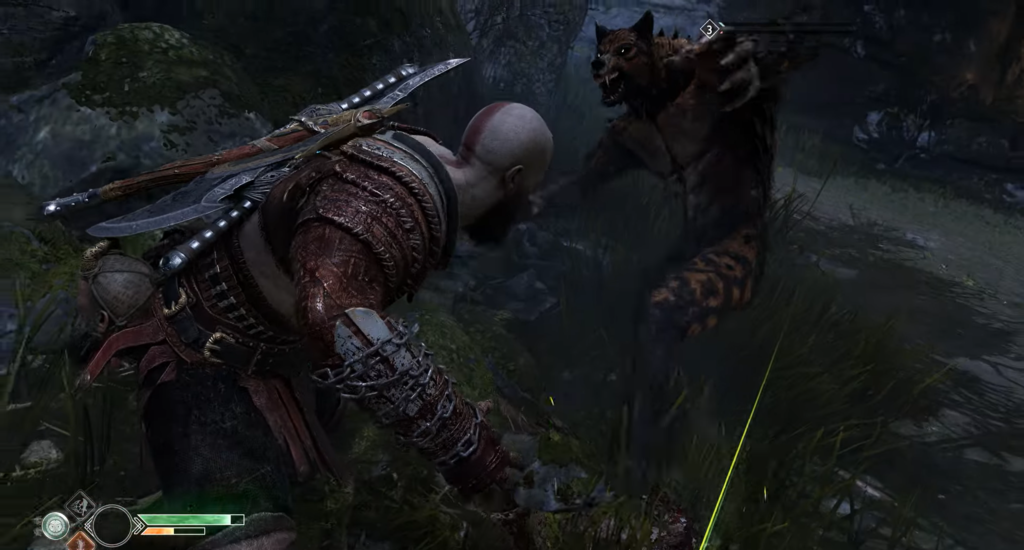
At the tunnel exit, the sky will darken, and an ogre and a ferocious vulver accompanied by nightmares will appear on your path. Your priority target is the nightmares: destroy them before they strengthen the vulver. With good equipment, the fight will not be difficult.
The legendary enchantment “Weapon Seal”
The left path leads to a broken lift. Pass it by through the pillars of contempt. One of the pillars can be deactivated by destroying the Helic blackberry. Behind it is a coffin with the Seal of the Weapon, a legendary enchantment.
Legendary Chest: “Hephaestus’s Explosion”
Climb the main road up the hill — some of the pillars of contempt have disappeared, but now the path is blocked by river bandits.
To the right of the path is a sealed stone tomb. Above it, on the left, is a cell blocked by Hel’s blackberries, but there is no Hel wind nearby. Go back down to the area with the coffins — there are Hel winds trapped behind the Helian brambles. Cut the brambles, move the wind to the tomb, and open the legendary chest. Inside is Hephaestus’ Explosion, a light rune attack for Chaos Blades.
Odin’s hidden room and the Valkyrie
The path to the right leads to another hidden room of Odin. Inside, there is an imprisoned Valkyrie and one of Odin’s ravens, hidden in the rafters near the lift.
Ascent to the Mountain: Broods and Nightmares
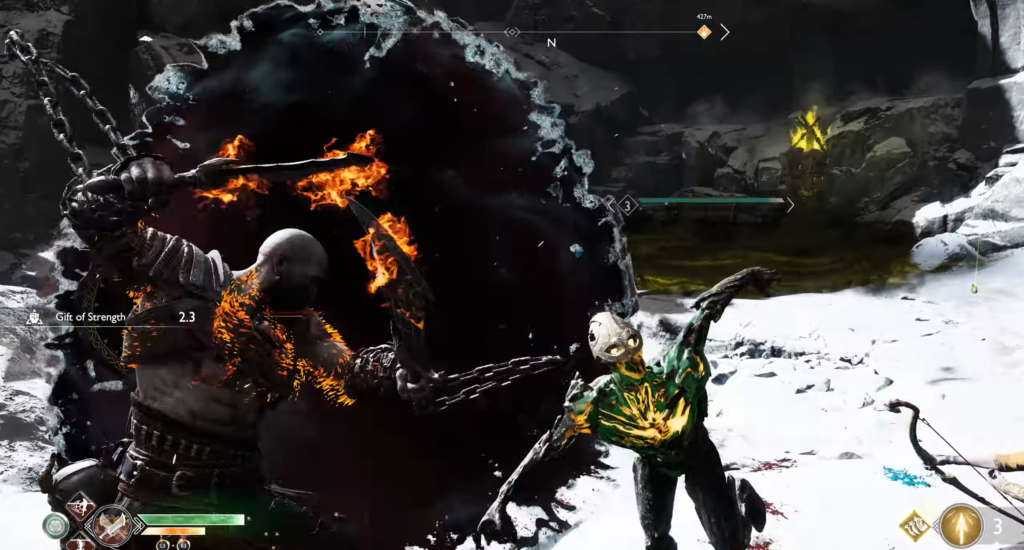
On the ledge where you once fought your first battle with the Huge, rifts between worlds will open and broods will pour forth. There is no icy aura of Helheim here, but the Blades of Chaos are still the most effective weapon. The blades’ spinning attacks work well against the environment. Watch out for the brood’s jump attacks and use Atreus’s rune summon to knock enemies off their feet.

After winning, go through the door. To the right of the entrance is a Hel blackberry bush, behind which is hidden a coffin made of hardened Svarthalmheim steel. Further along the path, nightmares will attack you from all sides — grab them with the Blades of Chaos and throw them at each other.
Continue climbing: to the right of the zip line is a chest with Haxilver behind the Helian blackberries. Follow the narrow path to the entrance to the mountain, but lightning will strike the path at the cliff and force you to turn right and climb higher.
Inside the Mountain
Upon entering the mountain, you will witness a grim scene. After that, turn left—the wall of tree sap that previously blocked the path is no longer there.
Knowledge marker: “Fjörgun rituals”
Behind the wall of juice, to the left of the golden statue, there is a deactivated knowledge marker. Take the crystal from the statue to activate the marker and read the entry “Fjörgun’s Rites.“
Behind the juice wall is a short path to the room with the lift. But first you’ll have to deal with the tatzelwurms. Beware of their poisonous spit: freeze the creatures with an axe throw or deflect the poison with your shield. Climb up the chain to the room with the minecart lift.
Important: Atreus’ behavior
From this point on, Atrey begins to ignore orders. He rushes into battle, trying to strangle and stab enemies instead of shooting on command, and may use the wrong types of arrows. This cannot be influenced — just take it into account in your tactics.
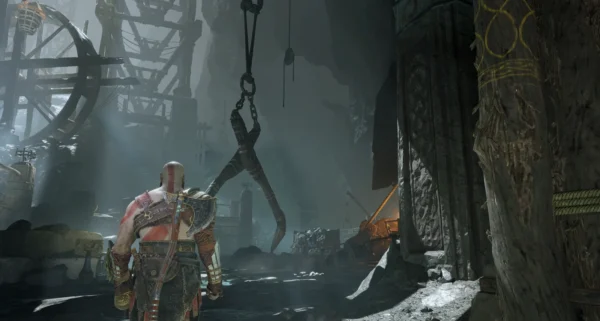
Wagon lift room
The room is swarming with draugr and poisonous wolves. Atrey will rush at the draugr, so first deal with the wolves yourself, then help the boy.
Artifact: “Tall Cup” (set “To the Bottom”)
Under the platform by the trolley rails leading to the next room, there’s a coffin and an artifact blocked by sap from the world tree. Break the built-in crystal to get the High Cup from the “To the Bottom” artifact set and open the coffin with solid Svarthalmheim steel.

Nearby is the entrance to Odin’s hidden room with the imprisoned Valkyrie and another of Odin’s ravens. If you are not interested in the room, climb onto the platform to the left of its entrance to the elevator covered with Hel’s blackberries and go upstairs.
A new path to the top
At the exit of the lift, there is an ambush by draugrs. Atrei will rush into battle again on his own. Watch out for the powerful draugrs: when they start to glow, strike them with your axe from a distance and finish them off up close.
Runic inscriptions: “Sleeping monsters”
To the right of the lift exit is a hatch that Atreus can climb into. He will drop the chain leading upstairs. There, on the far door, is an inscription that the boy will translate: the runic letters “Sleeping Monsters.“
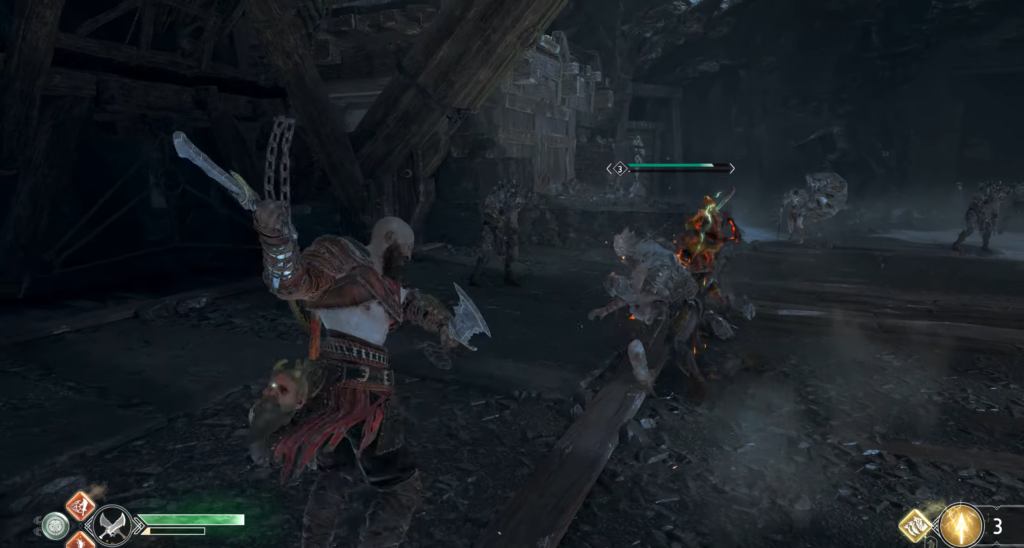
After the teleportation, a level 6 ogre will burst out of the door accompanied by nightmares, followed by draugr. In this battle, Atrei obeys commands. Pay attention to the red urn under the ceiling — knock it down to deal serious damage to the ogre and surrounding enemies. Build up stun, saddle the ogre, and crush the draugr, then finish off the monster.
Legendary Chest: “Hyperion’s Strike”
In the room where the ogre broke out, there is a stone tomb sealed by the winds of Hel. Go down one floor and destroy the Hel blackberry in the room on the right to find a portable cell. Place it at the base of the platform leading upstairs. Then go back and break through the wooden wall-door next to the bramble—behind it is a chest with Haxilver and Hel’s Wind. Transfer the wind to the cell, climb up, pick up the wind from there, and run to the tomb. Inside the legendary chest is Hyperion’s Strike, a heavy rune attack for Chaos Blades.
Go down and follow the left path along the pit. There is a hacksilver next to the body, and a draugr may appear nearby.
Treasure map: “The last place they’ll look”
In the next passage, there is a scroll lying on the floor. Let Atreus read it — the treasure map “The Last Place They’ll Look” will be revealed.
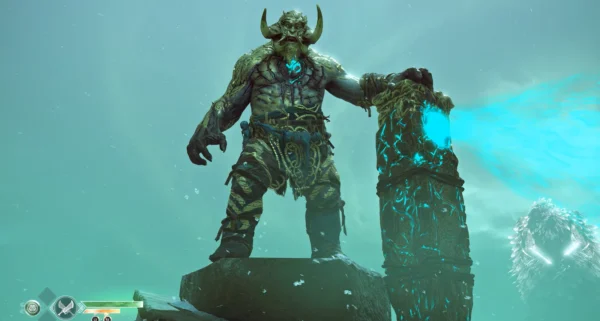
Battle with the Ancient One
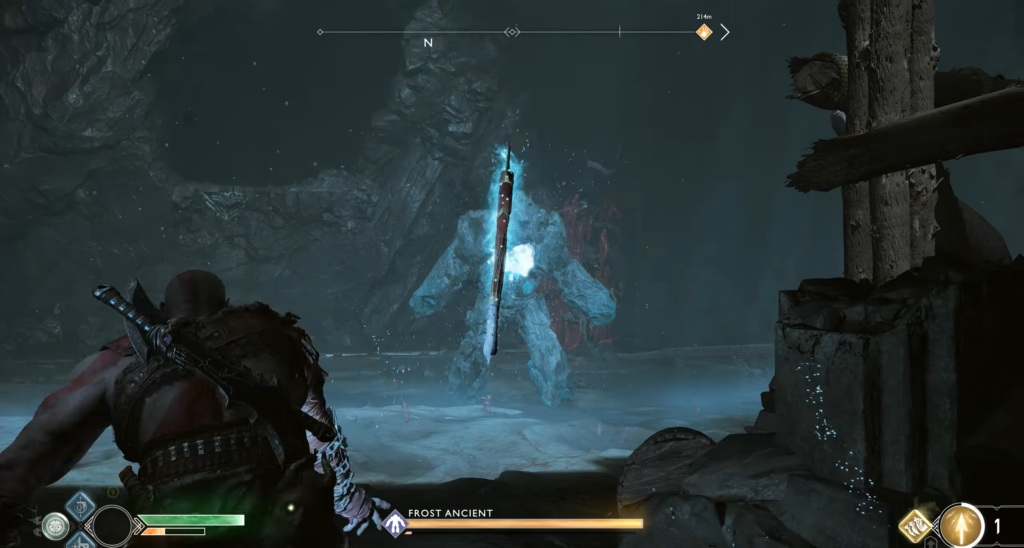
Atreus will run ahead and wake up the sleeping ancient. Wait until its chest opens, then throw your axe inside. Then quickly pick up the bombs it throws and throw them back. If you act quickly enough, you can stun the ancient twice in a row and quickly finish it off. Don’t forget to collect the loot: crafting materials and rare enchantments.
Resources in the ancient hall
Examine the large room after the battle:
- The source of shard crystals is the central block system. Throw the crystal around the corner into the coffin filled with juice to obtain hardened Svarthalmheim steel and enchantment.
- The wall of red juice is in the corner. Break it with a shard crystal to reveal a cart. Roll it under the high ledge, look behind it — there is a haxilver next to the body. Climb onto the ledge using the cart, where the Mythical Battle Belt of Clarity and hardened Svarthalmheim steel are stored in a coffin.
Scroll: “Asgard Sealed”
Go to the opposite side of the hall and go up the corridor. On the floor by the table is a scroll, which Atreus will translate: “Asgard is sealed.“
Artifact: “Simple Bowl” (set “To the Bottom” — finale)
Next to the body, near the scroll, lies the last artifact of the “To the Bottom” set — a simple bowl. The set is complete.
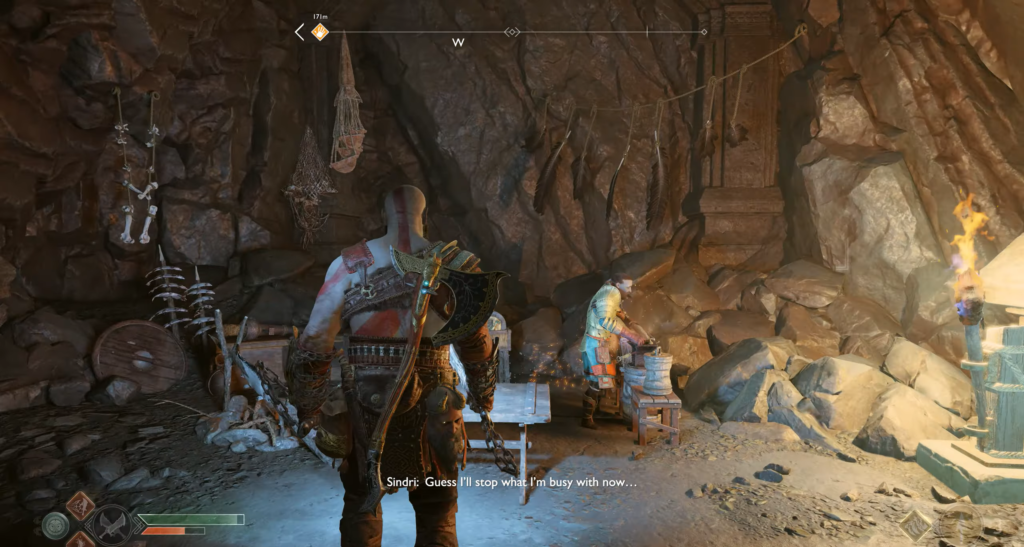
After squeezing through the ledge, turn right toward the coffin with the Mythical Shoulder Guards of Clarity and Hardened Surtalheim Steel. Ahead lies a meeting with Sindri. Now is the time to sell the artifacts you have collected and invest in upgrades or new purchases, including legendary armor for Atreus.
The road to the top: the final stretch
A rift between worlds awaits you on the cliffs below the summit. Level 6–7 rivvers will emerge from it, supported by ice nightmares. If you are frozen, the barrage of attacks could be deadly — be extremely careful.
Side quest: “World of Fog”
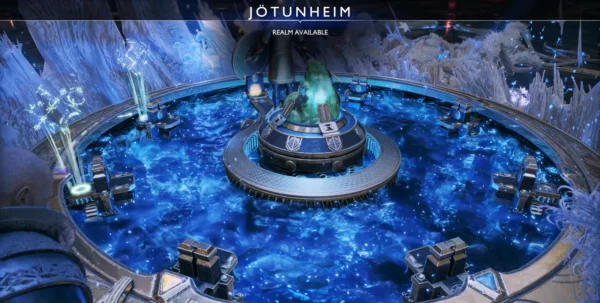
On the other side of the rift between worlds stands a chest with a code. Open it to obtain one of the codes for Niflheim and start the side quest “World of Mist.“
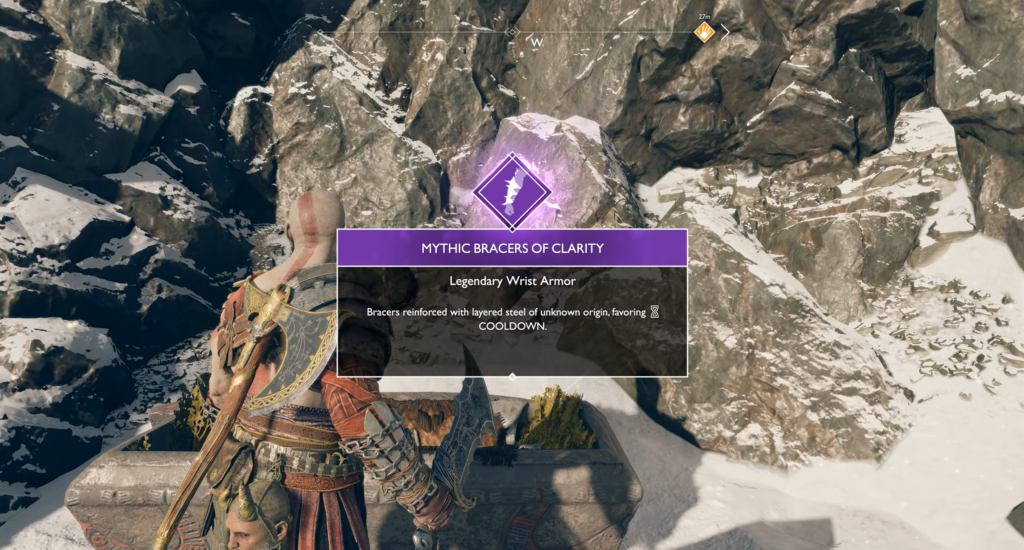
To the right of the path, behind the red urns, is a stone that restores health, rage, or gives experience. On the left is a Hel blackberry bush, behind which is hidden a coffin containing the Mythical Bracers of Clarity and hardened Svarthalmheim steel. Cut the blackberry bush in front of the wall and climb up to where you first met Mimir.
Opening of the bridge in Jotunheim
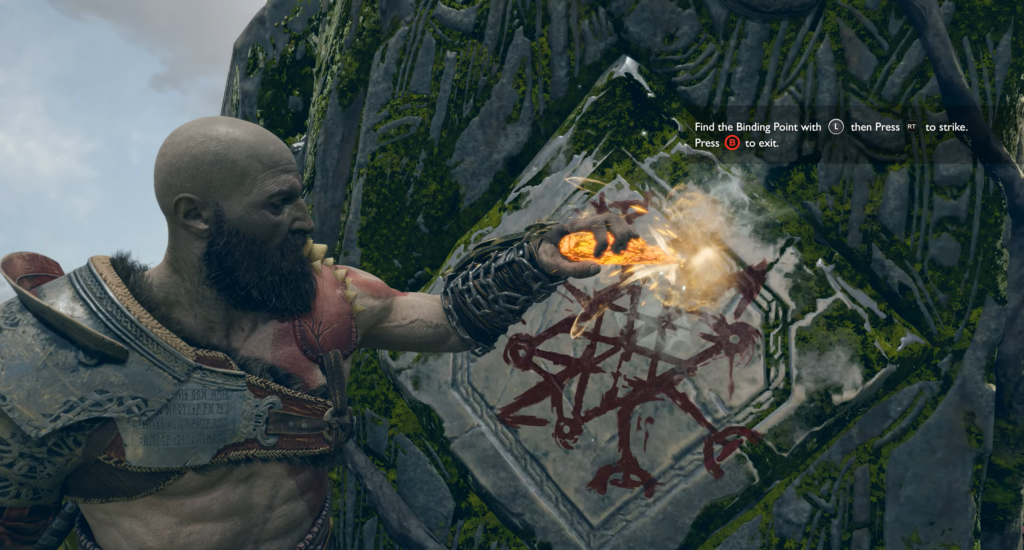
Atreus will draw a rune at the gate. Use the chisel on the four circles to complete the drawing. But the ceremony will be rudely interrupted by an old enemy who has returned for a second round.
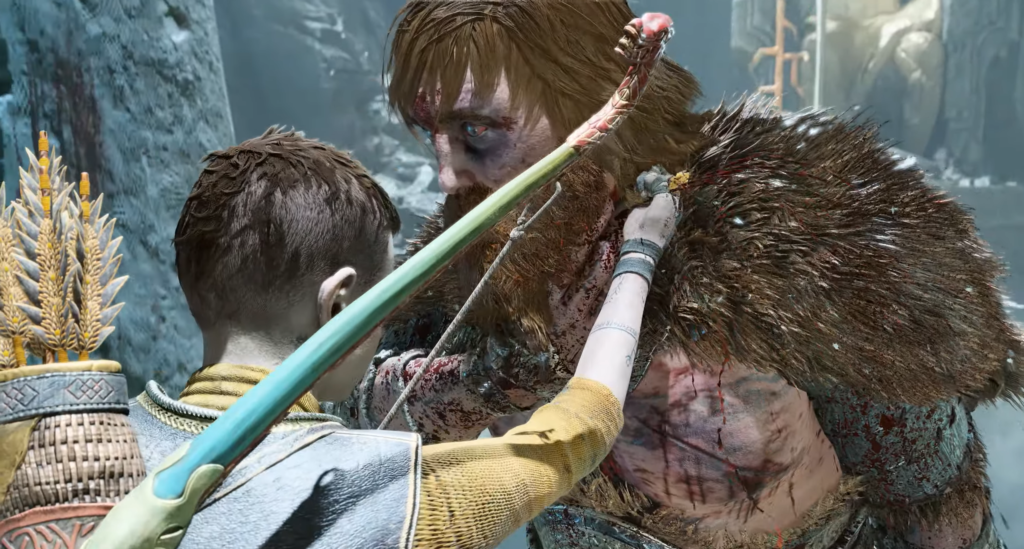
Fistfight
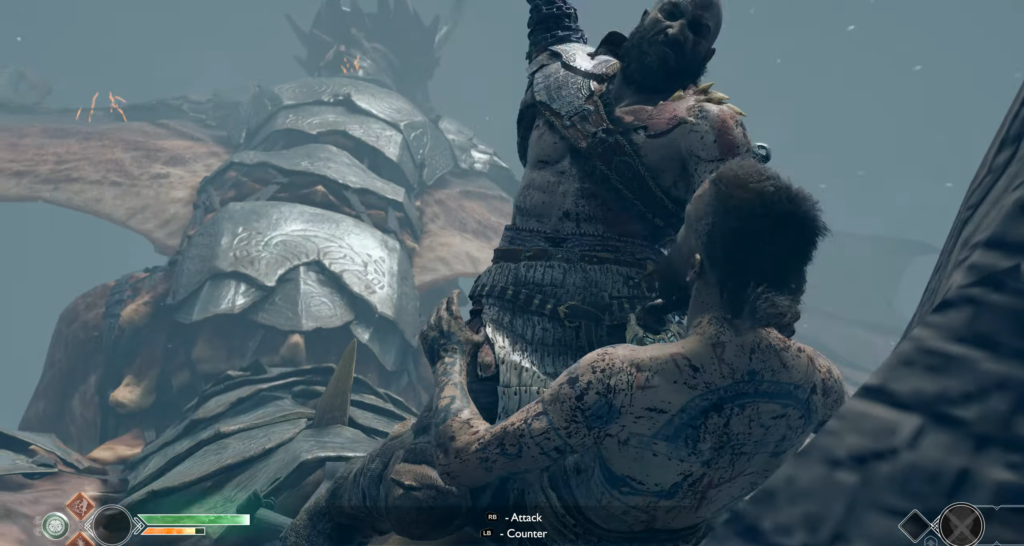
During the cutscene, you will have to throw punches. When the enemy takes the initiative:
- Hold the block button during fast attacks.
- Dodge left or right (depending on the enemy’s position) to avoid heavy blows.
- After dodging, counterattack and prepare for the next dodge.
- When returning to fast attacks, block again.
After pushing back your opponent, deliver the final series of blows. After the cutscene, the story will take you to a completely unexpected place.


Comments (0)
Sign In / Sign Up
Sign in to leave a comment.
No comments yet
Be the first one to share your thoughts!