
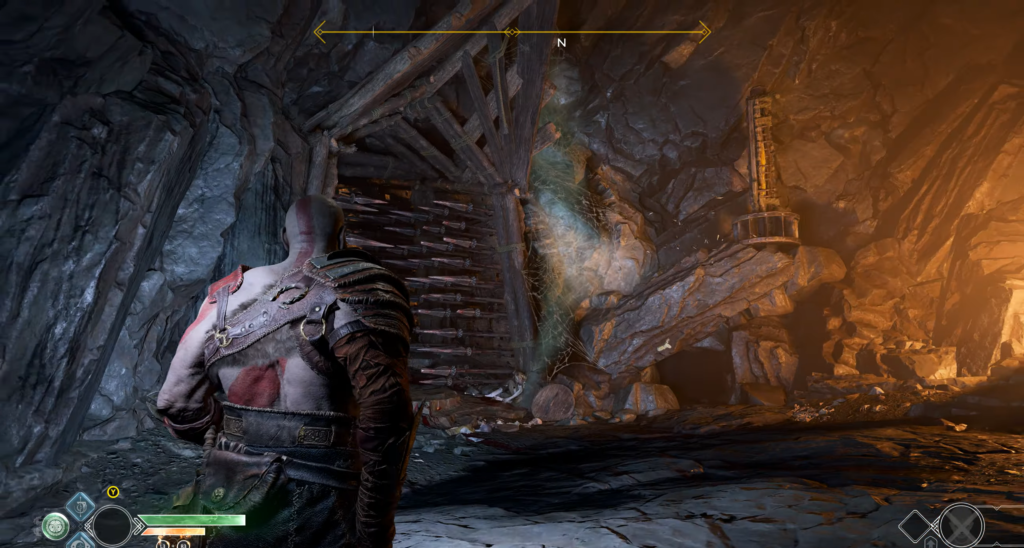
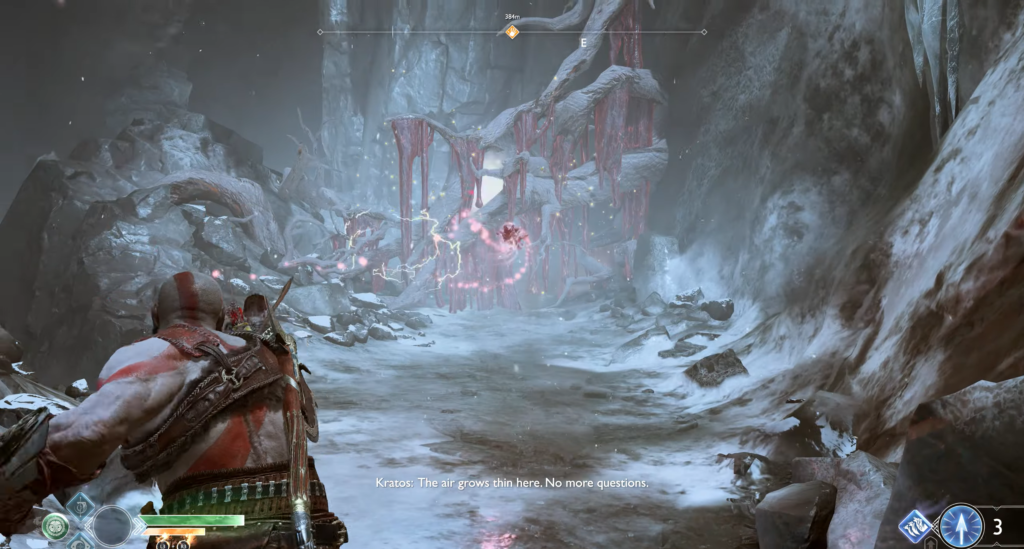
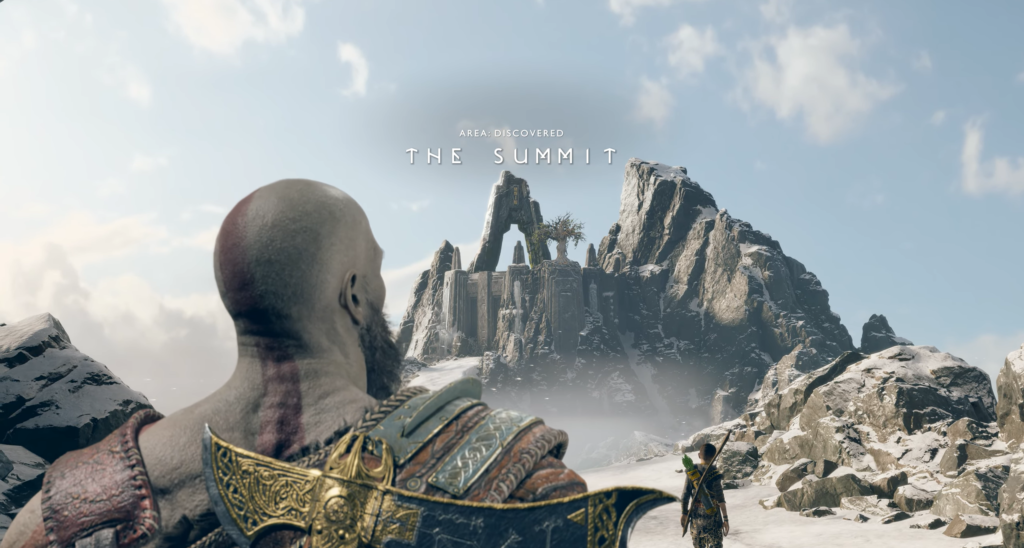
Climbing the mountain
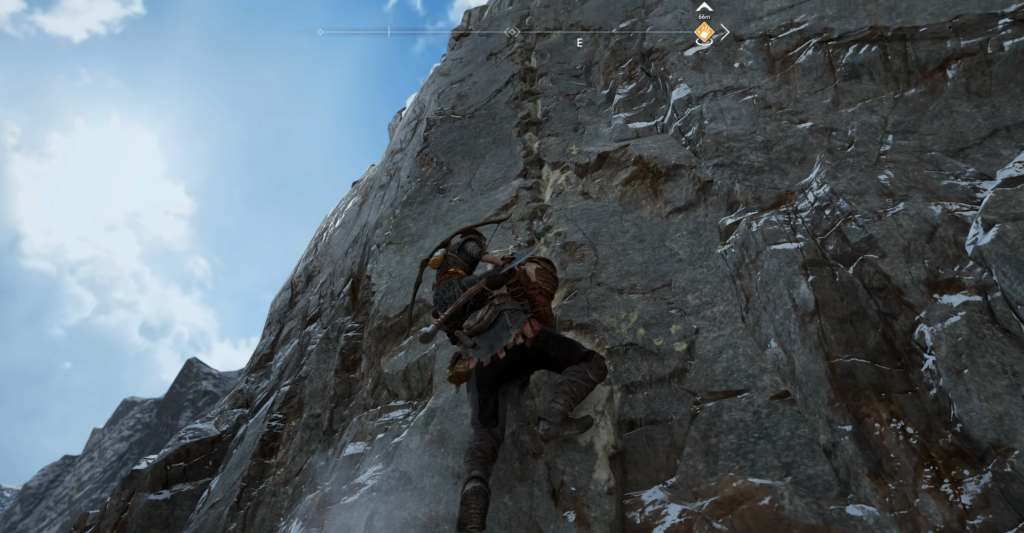
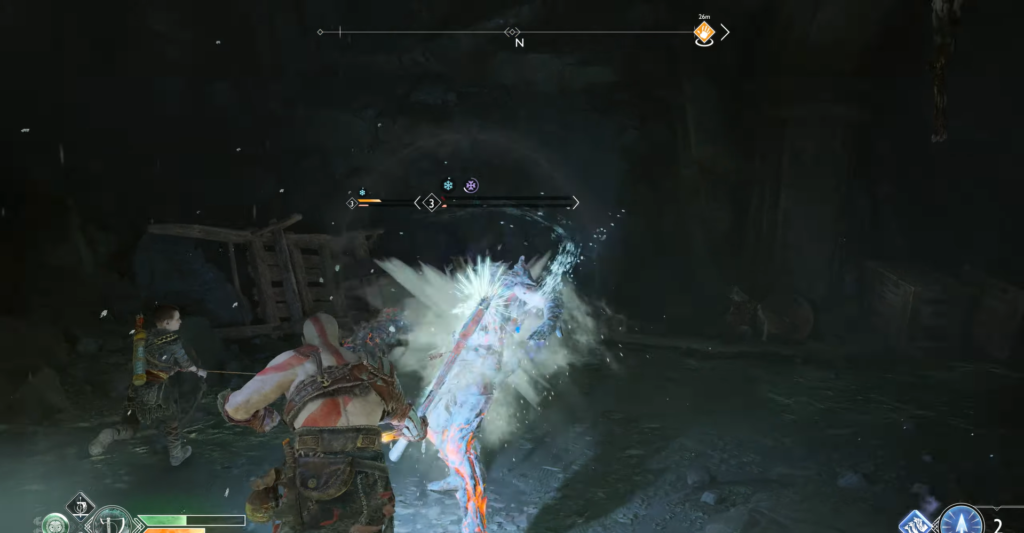
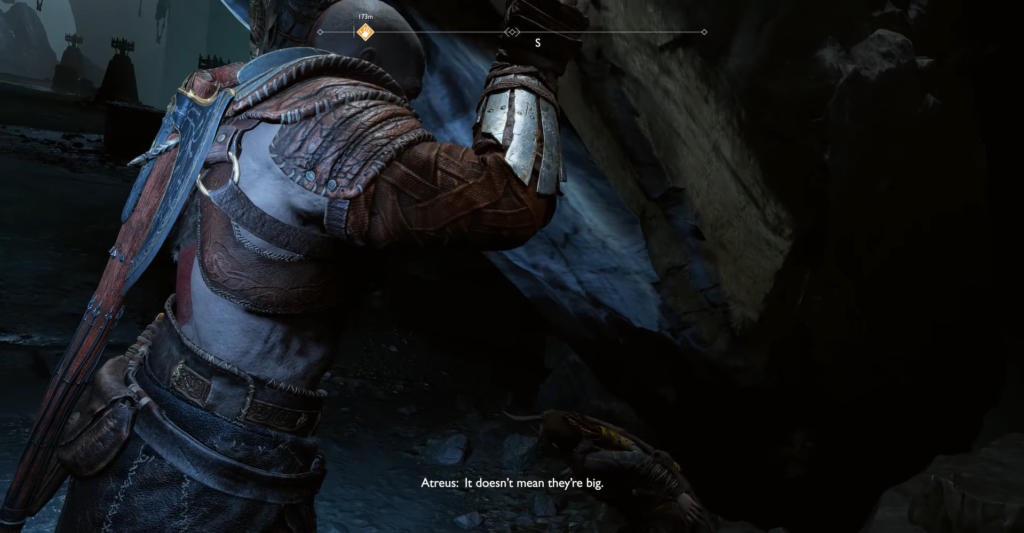
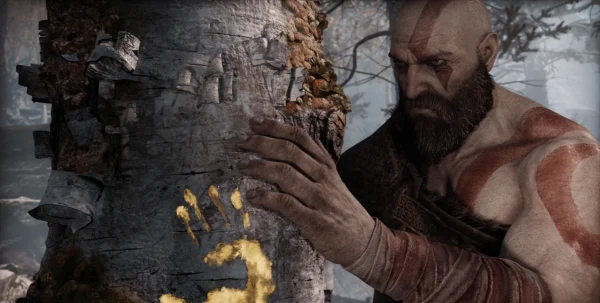
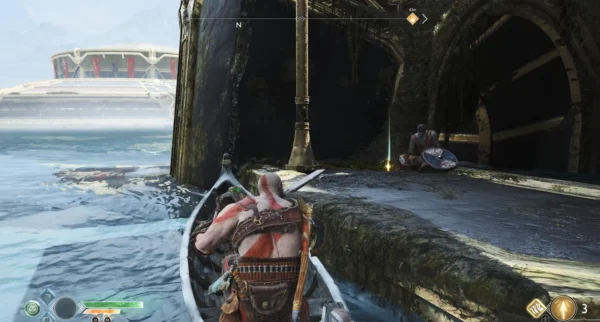
Once the Black Breath has dissipated, the path ahead will open up, but it will require some effort. Jump across the gap to the mountain wall and climb up the yellow markings on the rock.
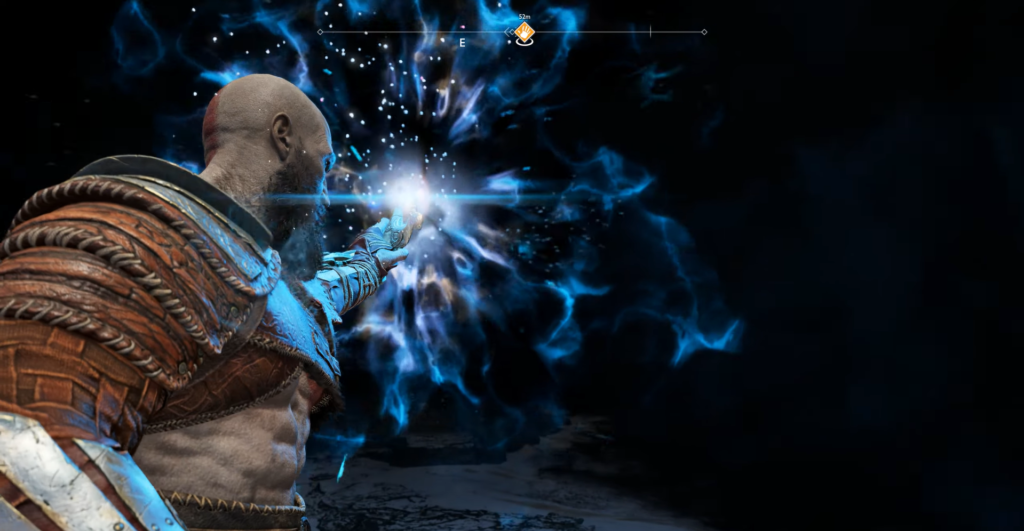
At the top, you will find yourself in a cave — literally in the “mouth” of a face carved into the rock. Use Bifrost to clear the entrance of Black Breath residue. On the right, you will find a convenient way down: a short descent will lead you to a body with silver, a coffin sealed with roots (currently inaccessible), and a rope for a quick descent.
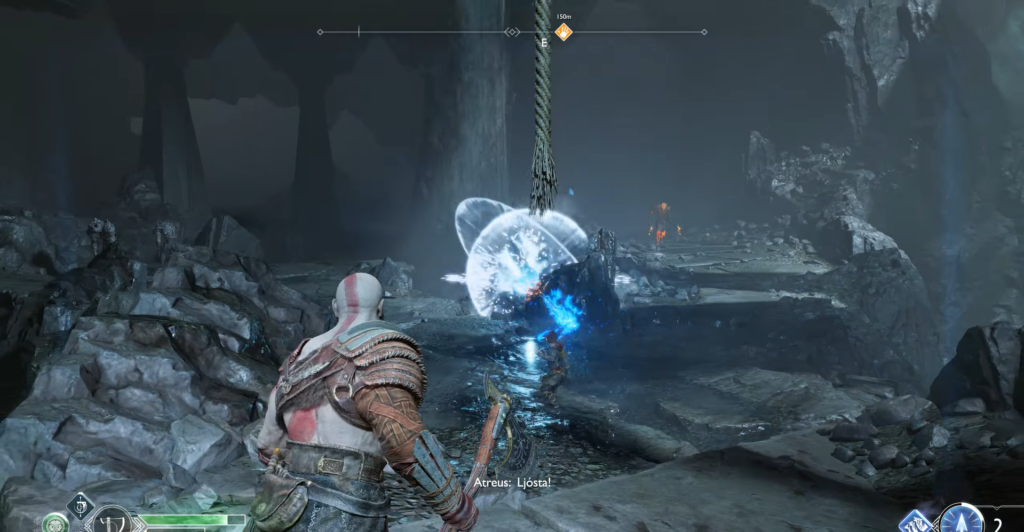
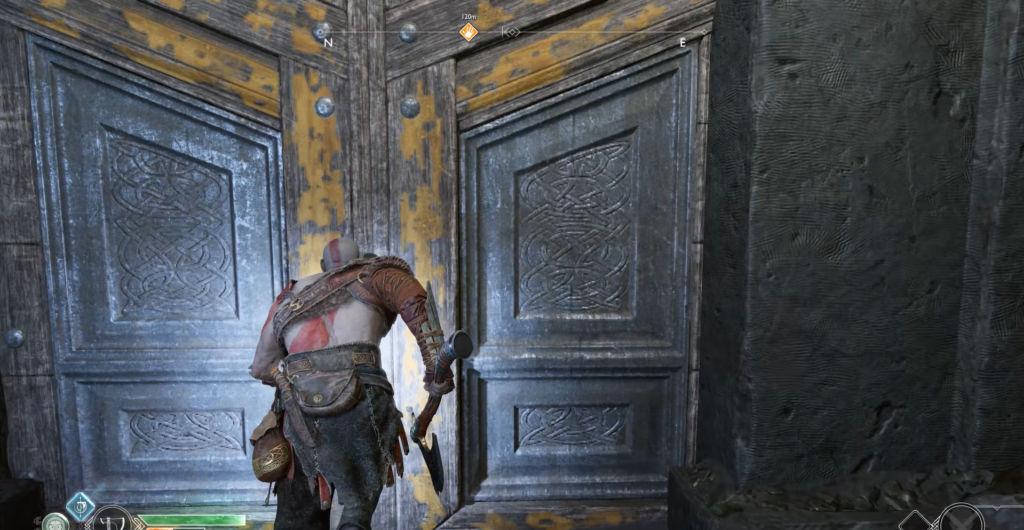
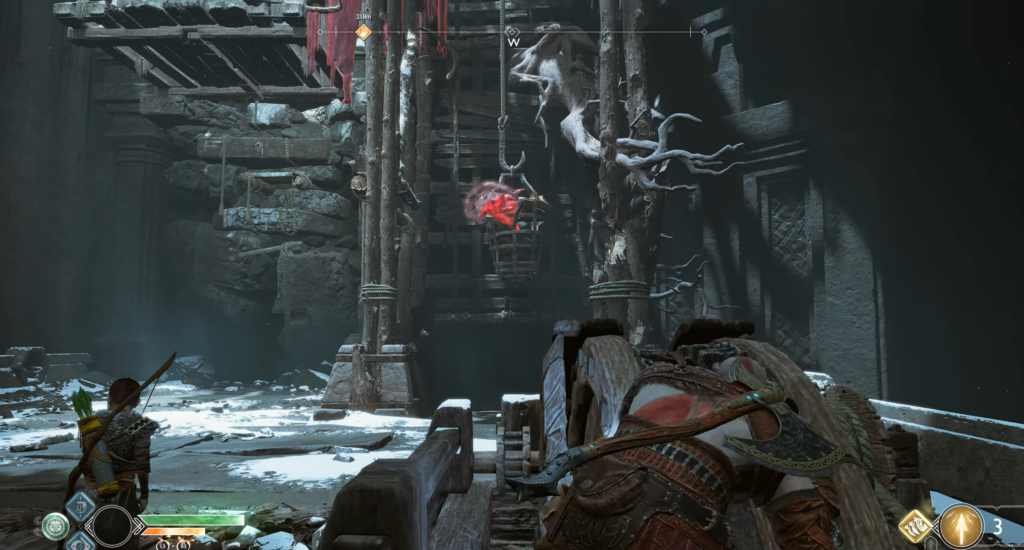
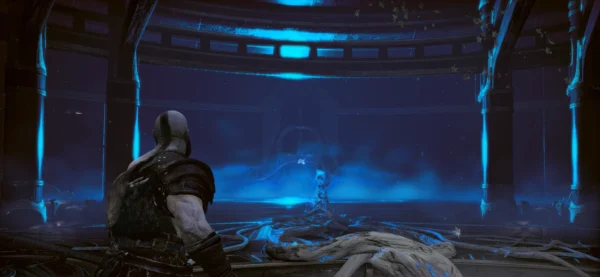
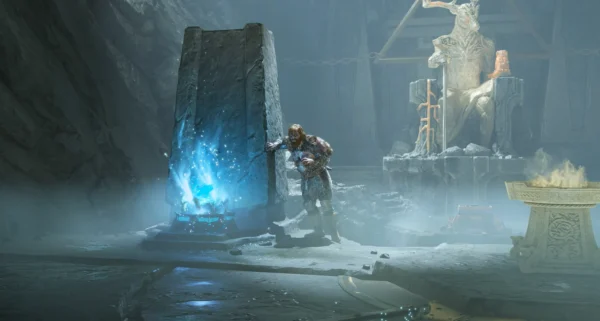
Behind the huge gates is a spacious hall with an ominous statue on the opposite side of the chasm. On your side are: a bowl with sand and a riddle, one of two blue crystals, and a lever that does not affect anything yet. Shoot the only crystal — when the lever is activated, only half of the puzzle will appear. You need to find the second crystal.
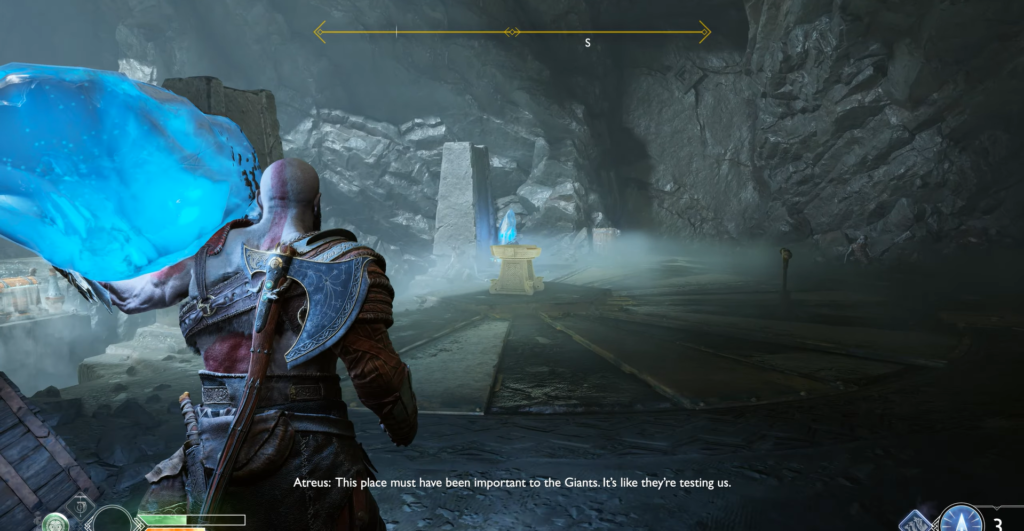
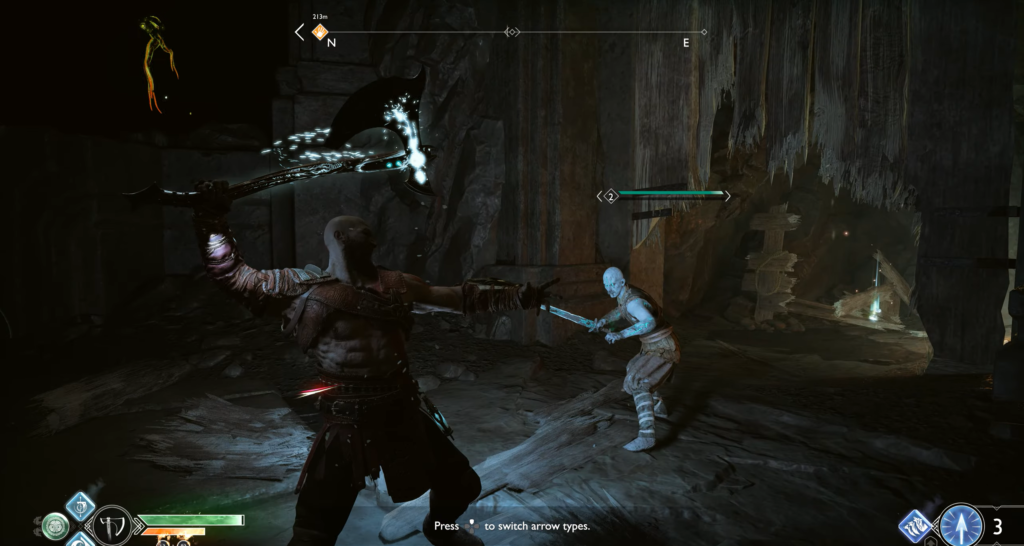
Move left along the corridor — there you will find the missing blue crystal, and above your head hangs a bag of silver. Be on your guard: two fast draugr will fly out from around the corner. Let them attack first and then counterattack to keep your enemies stunned.
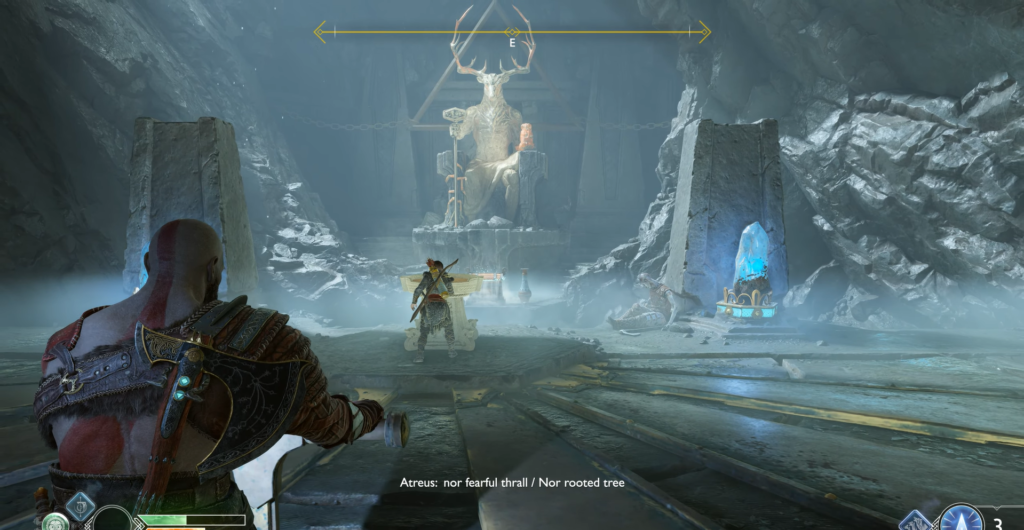
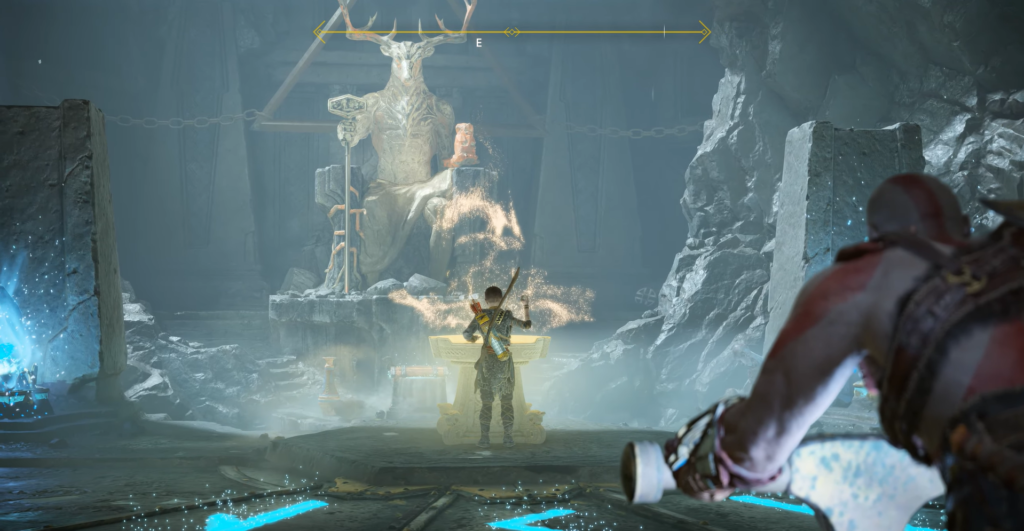
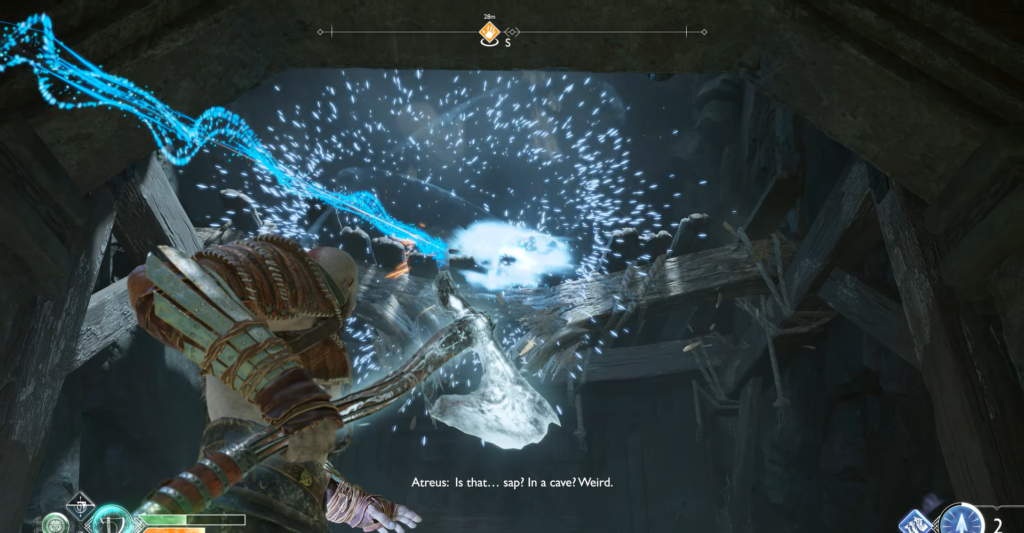
The corridor ends at a wall of red resin, so pick up the crystal and place it in the socket. Activate the lever with two crystals in place and ask Atreus to read the solution to the riddle. The bridge will not appear, but a new door will open on the right.
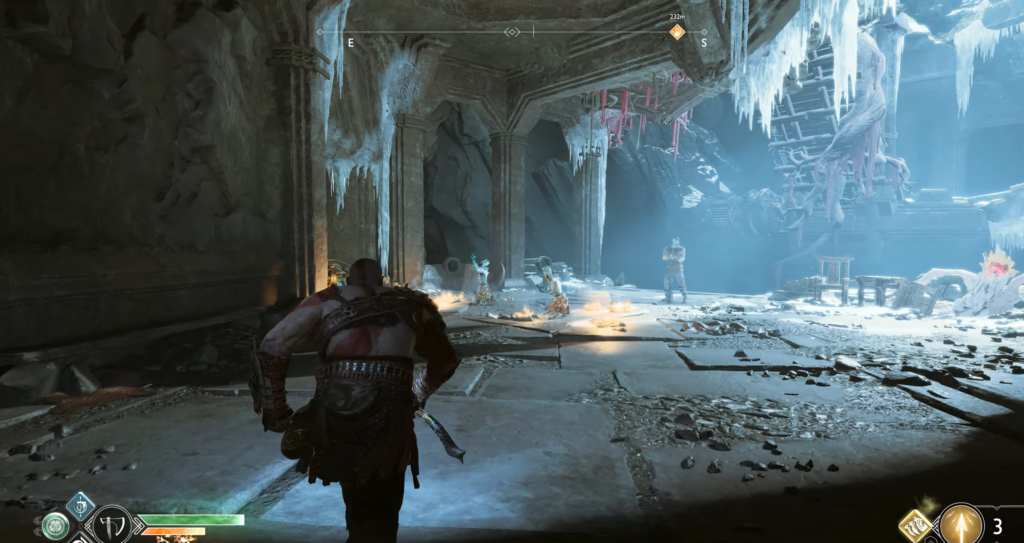
Dark Caves

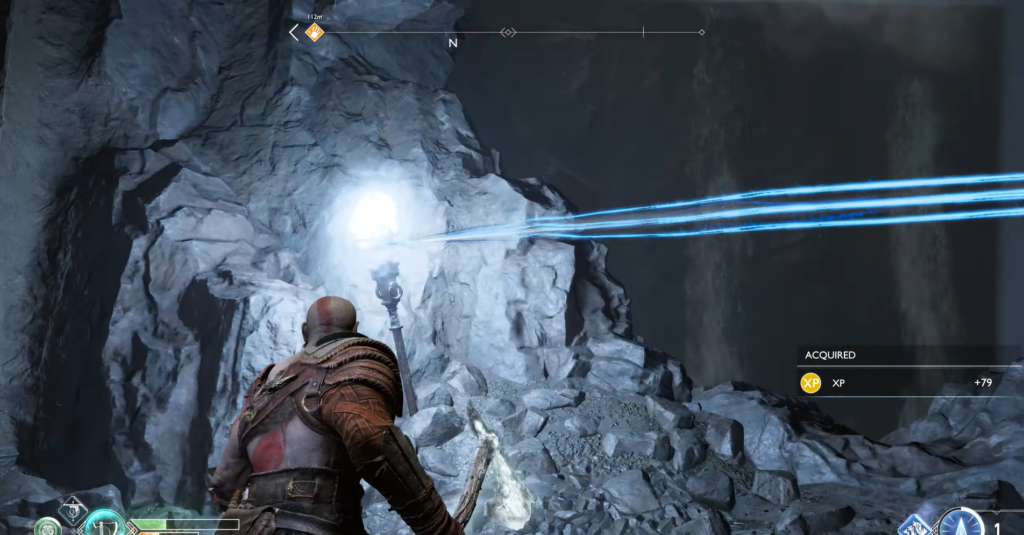
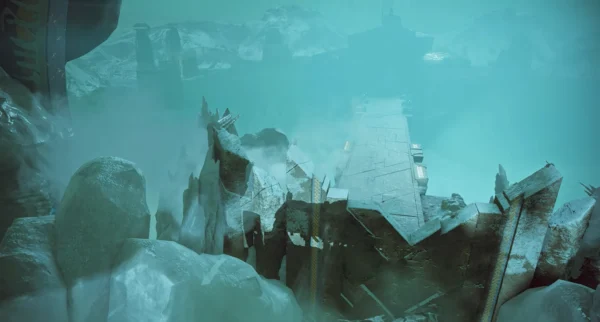
The only source of light here is your Bifrost. Look for small blue crystals that act as torches. Jump into the pit, turn right, and crawl through the narrow passage until you see a spacious cave with draugr on the bridge above.
There is a hidden staircase on the left. Climb it to reach the opposite edge of the pit. Next to the crystal torch is a coffin containing Focus’s Scaled Bracers.
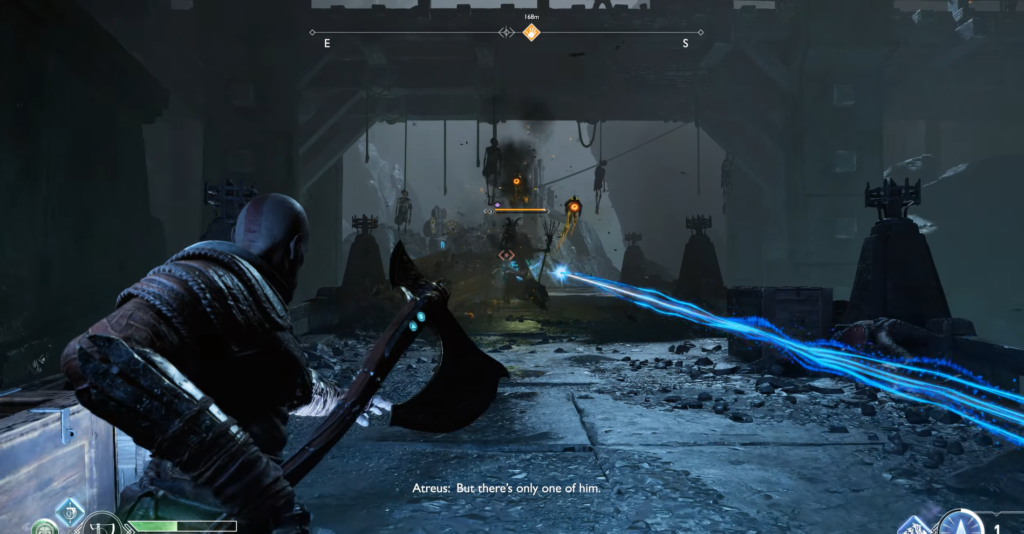
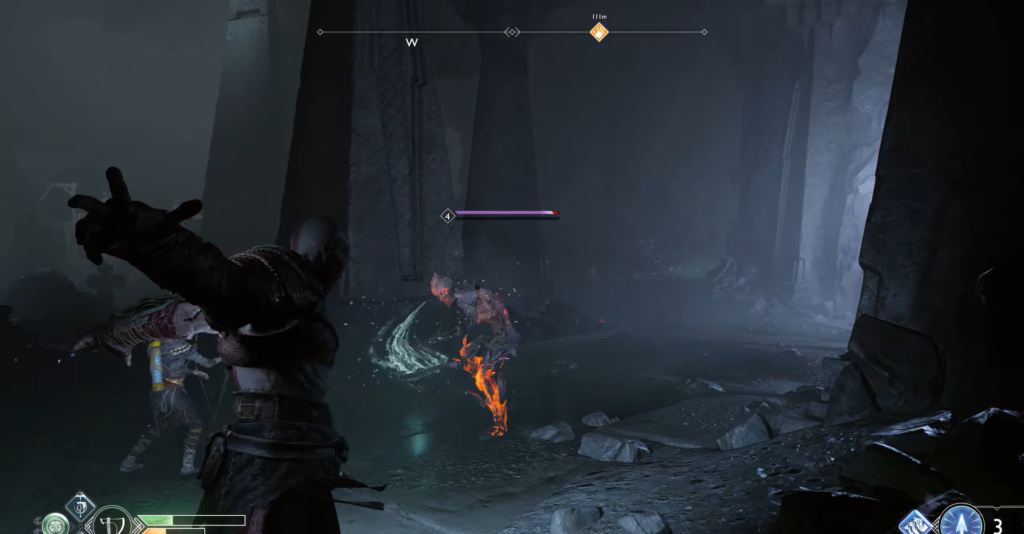
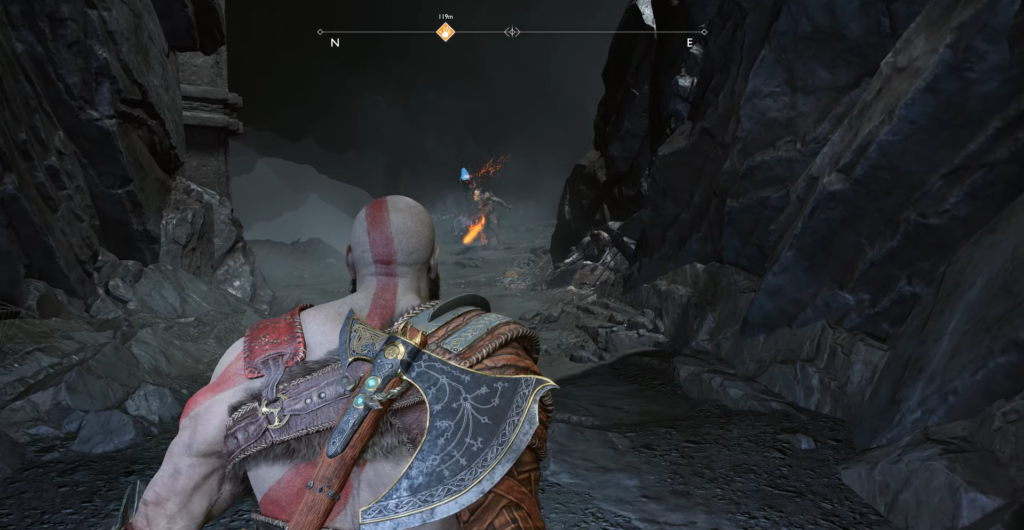
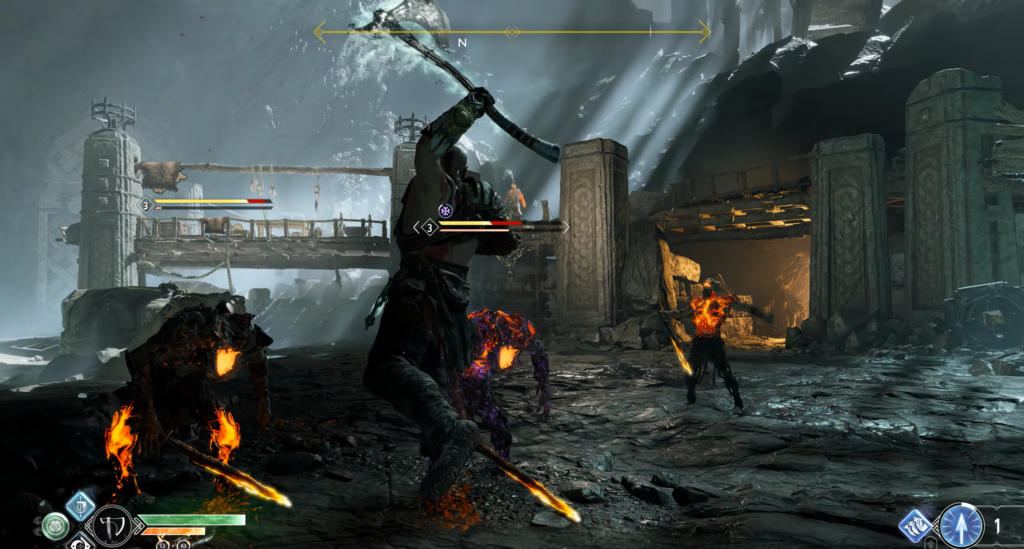
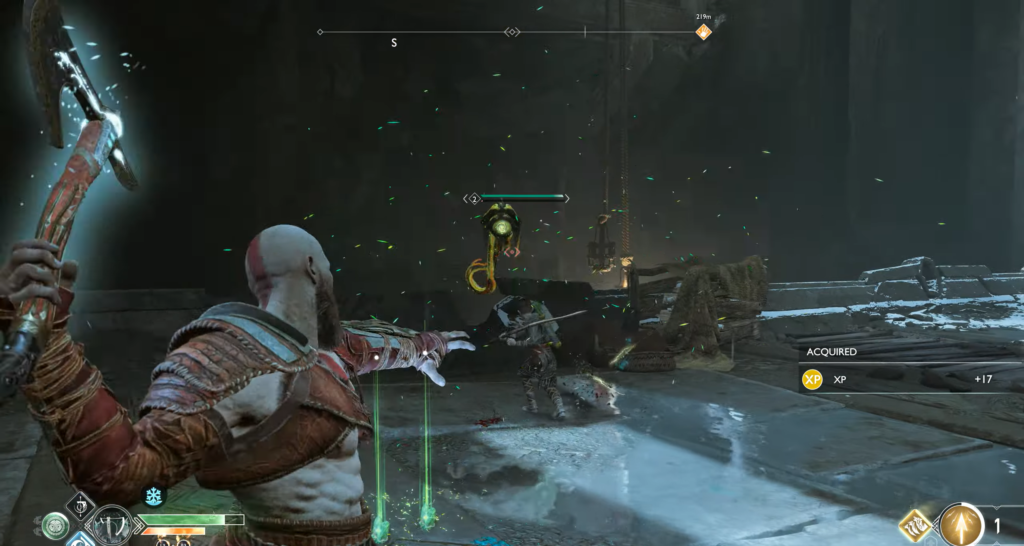
Return to the main route and push the boulder to get under the bridge. A Revenant accompanied by Fire Nightmares will appear here. Keep the Revenant at bay with Atreus’ arrows and stun attacks, and be ready to turn around instantly when the creature teleports.
After your victory, look up to the point where you came from: a single crystal glows there. Hit it, and several bags of silver will fall to the ground.
Odin’s Raven #1
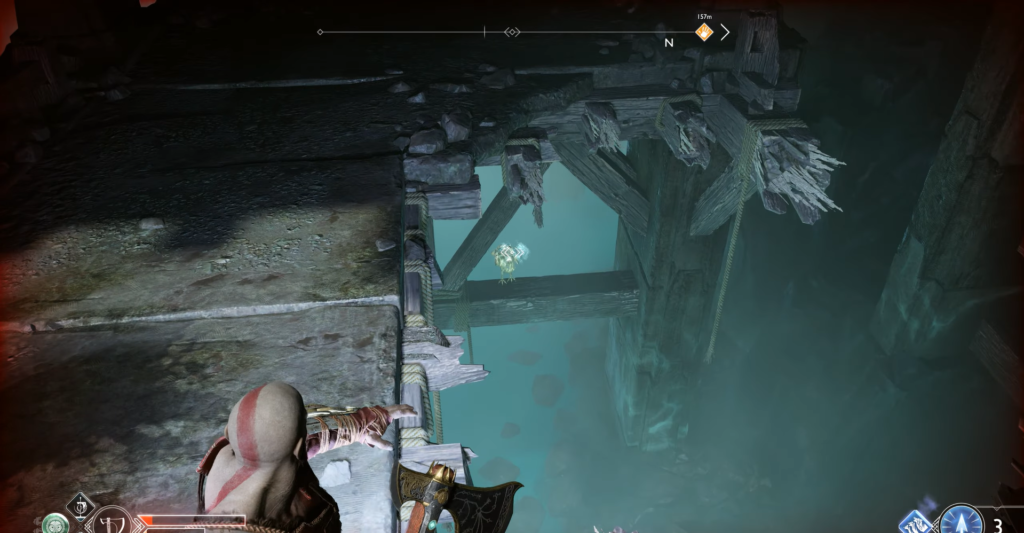
Standing on the lower bridge, turn around and look down into the hole on the side—a green ghostly raven is jumping on a wooden board.
Skip the rune seal for now. Break the crates to the right of the ledge — behind them is a side path to a hole leading to a coffin on another platform. Return to the ledge, climb up, and destroy the draugrs. Look around from above: you can see a blue crystal under the pit — shoot it to form a bridge to the coffin with Strong Svartalfheim Steel.
The upper area with the draugr is quite spacious — explore it thoroughly: there are inactive draugr and blue crystals everywhere.
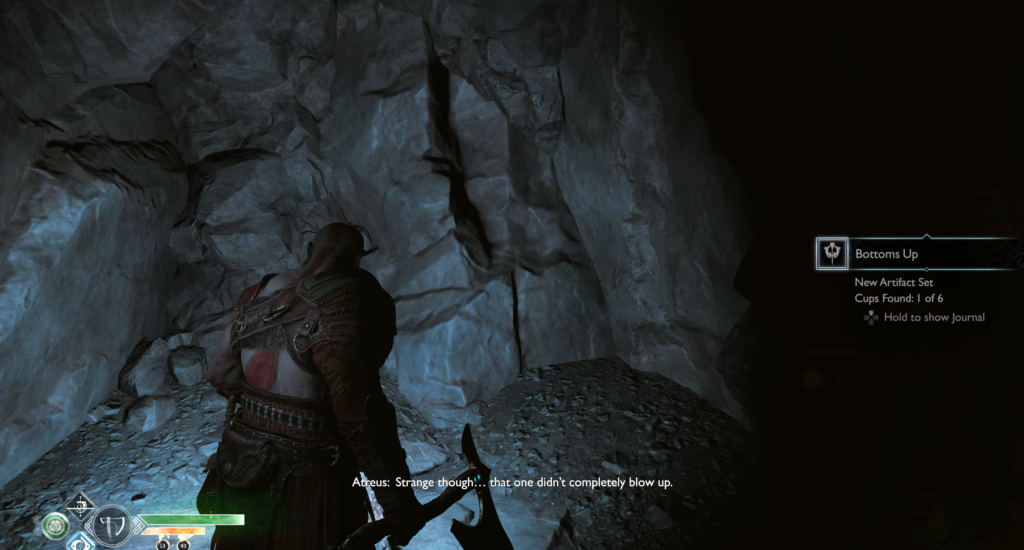
Artifact: Two-headed cup
Head down the right path to the crystal torch. Light it up and check out the wooden door on the right. Break it down—in the small room behind the table, you’ll find a body with one of the artifacts from the “To the Bottom” collection—a double-headed cup.
Horn of Blood Honey (Norn’s Chest)
Now try the left path. At the bottom, among the stones, there is a blue crystal hidden next to another rune seal. To the left, behind the wooden wall, there is a second blue crystal: shoot it to raise the ramp to Norn’s Chest.
The runes on the walls are painted in red. Go down the ramp and switch the rune to the symbol that looks like an “R.” The seal is located near the chest, under the high bridge. Set it to the symbol that looks like an “n.” The third rune is located high up, to the left of the upper bridge. Approach the far brazier and aim slightly above it, switching to the symbol “B.” The chest will open, revealing the Horn of Blood Honey.
Knowledge: The Great Mountain
Behind the high bridge opposite the chest is a small room with a deactivated stone of knowledge. Two long-range draugrs will try to attack you from behind — deal with them, then go down the light ramp to find the hidden crystal and bring it back. The stone of knowledge will reveal the story of “The Great Mountain.“
Climb down the rope from the stone of knowledge and follow the path to the right.
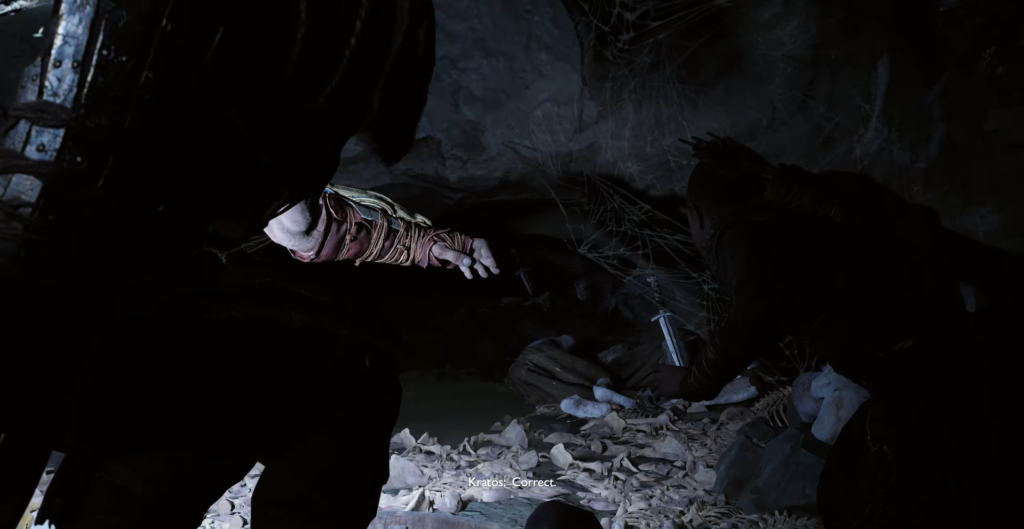
There is a boarded-up opening in the wall on the right. Break the boards: inside lies a fallen warrior with another artifact from the “To the Bottom” collection. Move on, clearing out the draugrs, and crawl through the long tunnel with the bodies.
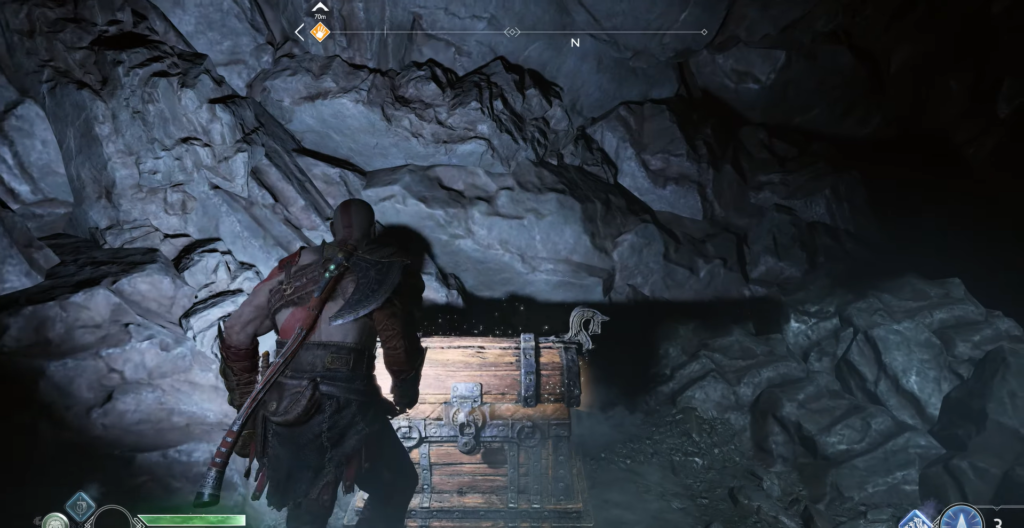
You will find yourself behind the statue you saw earlier. Don’t forget to open the chest with the silver.
Knowledge: Durapror-Deer and Scroll of the Snake
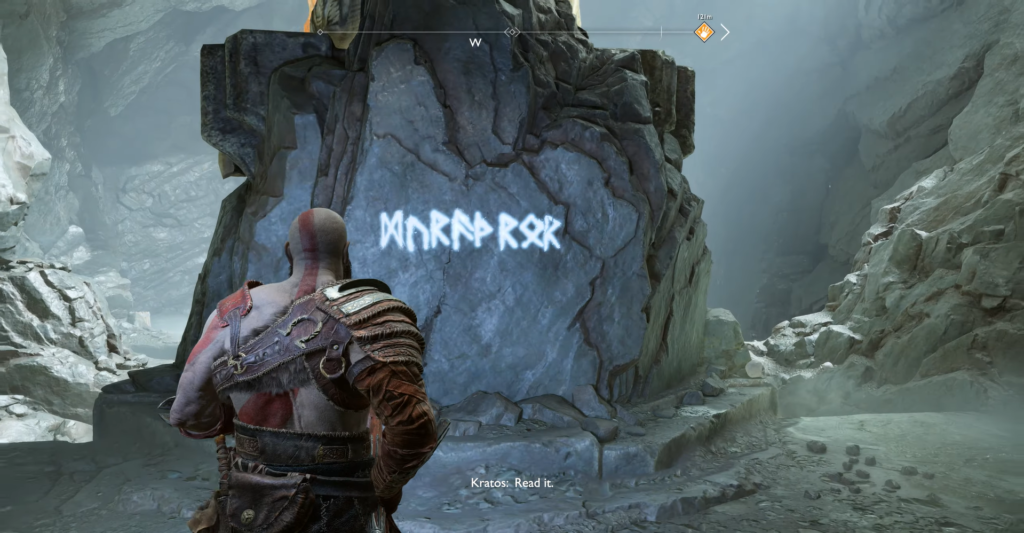
Ask Atreus to read the runes behind the statue — the meaning of the rune reading and the name of the statue will be revealed: Durapror the Stag. Break down the wooden wall nearby and take the “Serpent” scroll of knowledge along with the stone that restores health, rage, or gives experience.
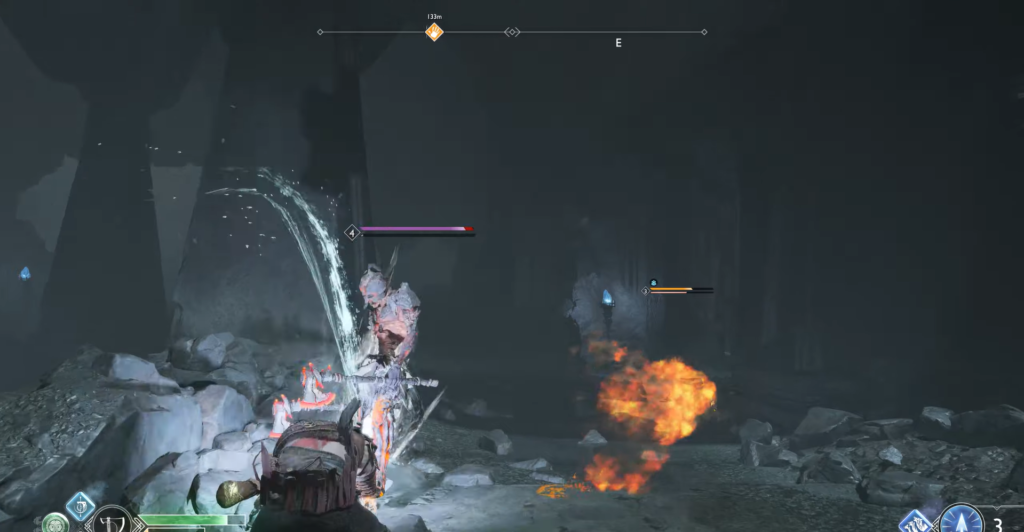
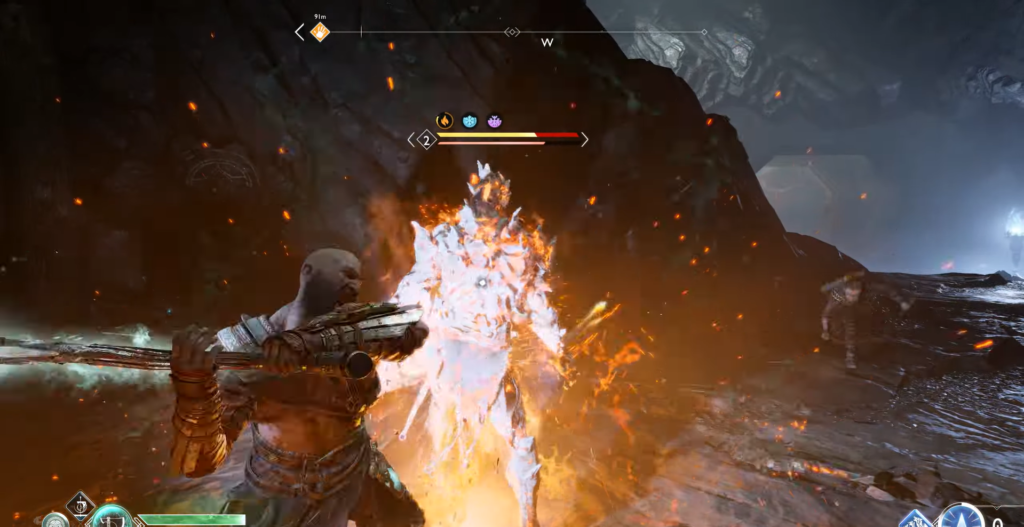
Enter the doorway by the crystal torch — there is a draugr with a flaming sword ahead. It creates lava cracks in the floor — these cannot be blocked. Dodge to the side after its swing and press it against the wall with your attacks.
On the other side of the red resin wall, there is only one path — to the left, where powerful and swift draugr will ambush you. After the battle, look around: there are two elevations — wooden scaffolding and a stone wall on the left. Behind the scaffolding, you can see a coffin: find the narrow passage on the right and make your way to the coffin with Strong Svartalfheim Steel.
Knowledge: Chreslir — Mountain Horror
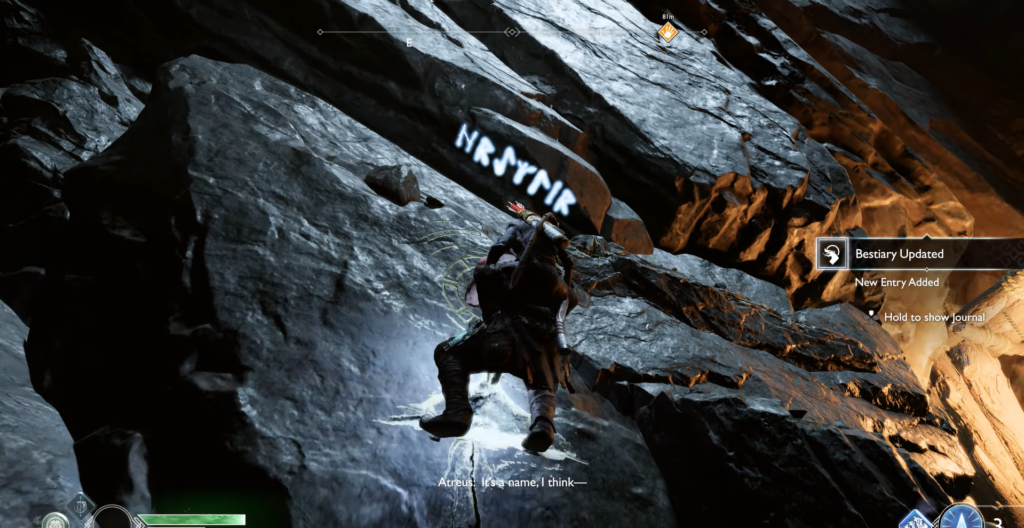
Climb up the stone wall to the left of the scaffolding—there is a rune inscription at the top. Atreus will translate it as “Khrestylir—Mountain Horror.” It sounds alarming.
After jumping down, drop the chain on the right for a quick return. Next, on the left, behind the debris, find another chain — behind it is a chest with silver. Go to the end of the corridor and open the door to the Heart of the Mountain.
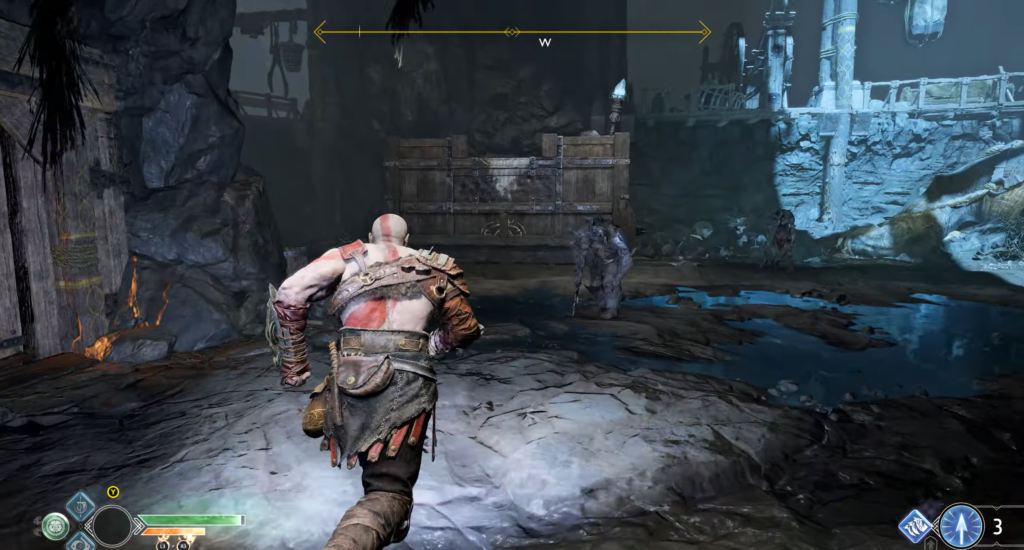
Ascending the cave shaft
A huge hall: you need to lift the crane—and yourself along with it—upwards. To the left of the crane are rails leading to a sealed door with a trolley on the other side. To the right of the door are upper passages, and below, hidden behind a wooden barrier, is a chest of silver. In the center of the path is a landslide, and somewhere you can hear the sound of a hammer.
Knowledge: Giants and Gnomes
On the right stands a collapsed wagon—on its reverse side is a runic inscription about giants and gnomes.
Behind the cart is one of the Hidden Chambers (currently inaccessible). Near the wall leading to the chamber, look behind the debris—a narrow crack will lead you to a coffin containing Strong Svarthalfheim Steel.
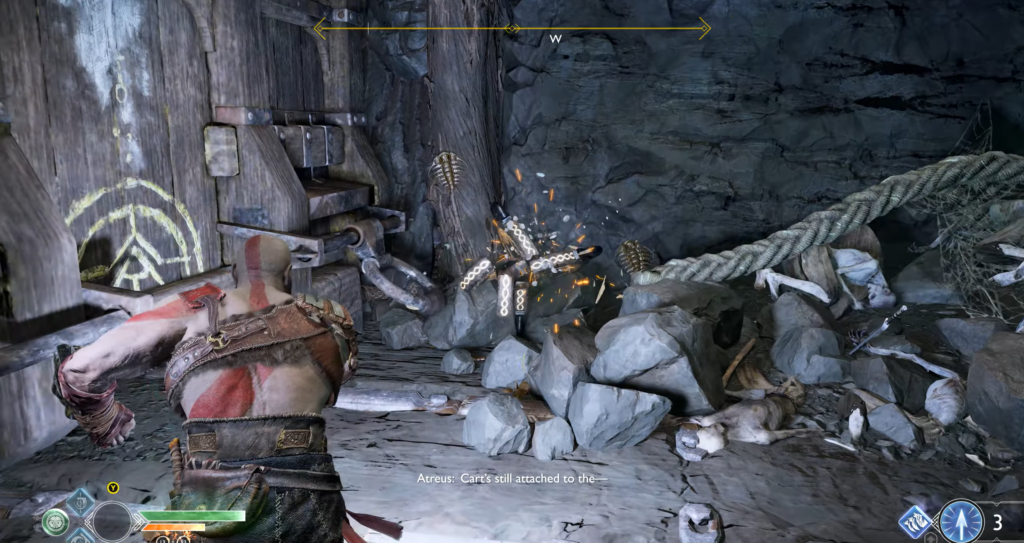
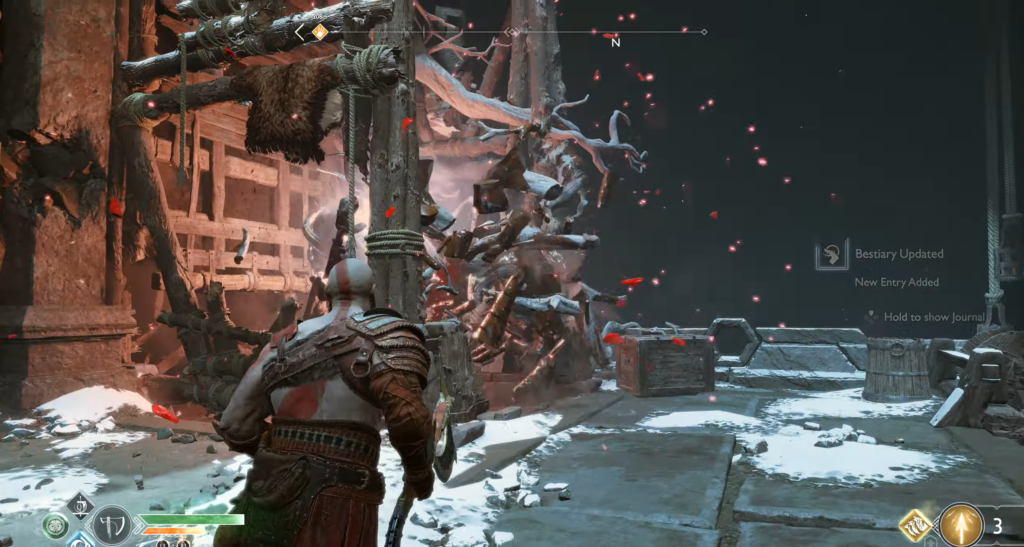
Approach the mechanism with the gear and ropes next to the lit torch. Activating it will weaken the structure too much: the rope will get stuck under the boulder, and the collapse in the center will collapse — draugrs will pour out from there.
Long-range draugr will appear from above — this is an excellent opportunity to use the Counterstrike skill to deflect projectiles. Explosive draugr will also join the battle: when they accumulate a charge, they detonate, so switch to Atreus and his ranged skills.
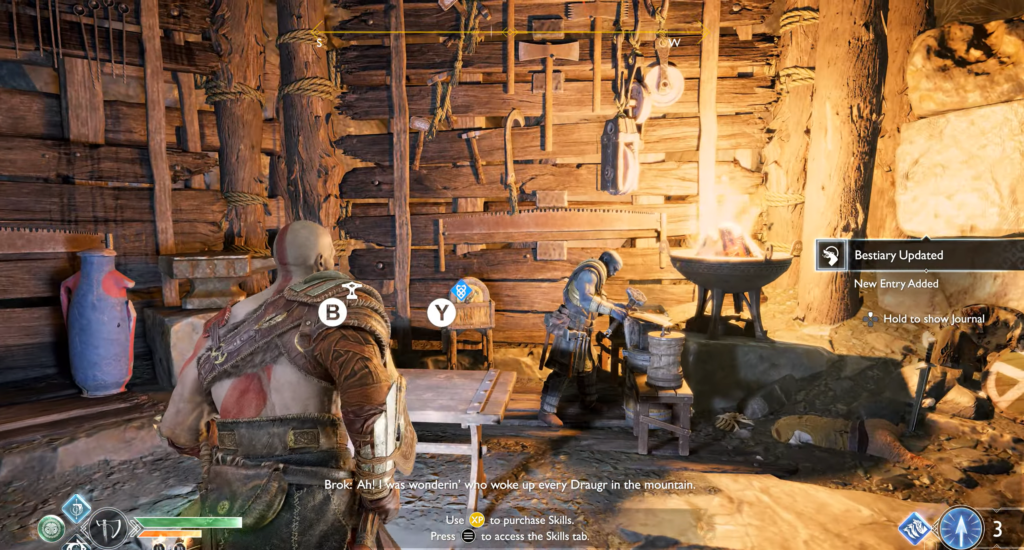
After clearing the hall, descend the illuminated passage into the cave — Brock’s bench awaits you at the exit. The gnome has new finials, and Atreus’s bow, “Claw,” can be upgraded to level 3.
Odin’s Raven #2
To the right of the bench is a cliff overlooking underground caverns. Look up: a green raven is circling overhead. Calculate your axe throw.

Next to the bench is a small platform, under which you can see a coffin. Climb up, shine your torch through the opening, then break the debris on the left — behind it is a narrow passage to a chest with silver and a coffin with strong Svarthalfheim steel.
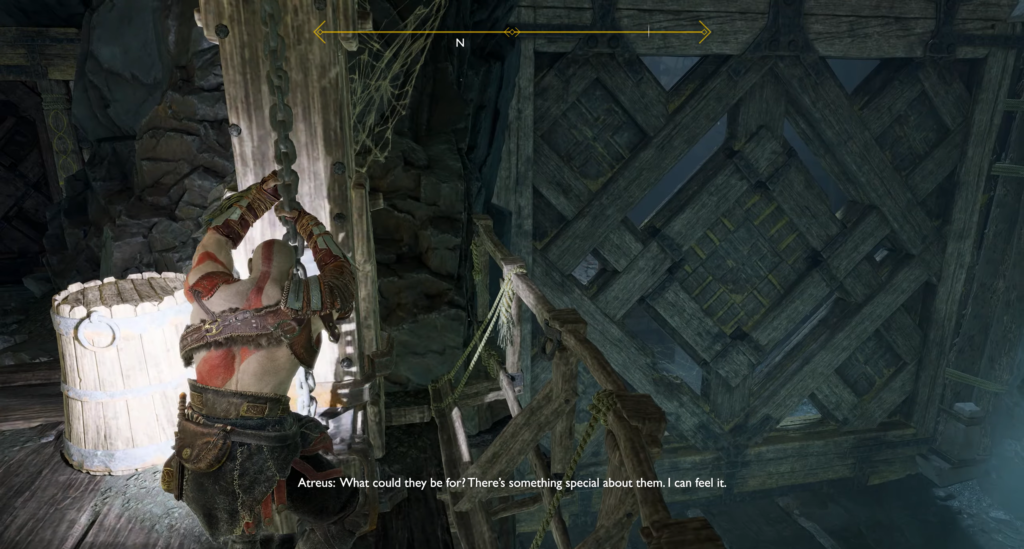
Ahead lies a long corridor of traps. The rotating mechanism has no gear for freezing. Atrey will notice the passage on the right and crawl through it. Meanwhile, you spin the mechanism, opening the first half of the corridor and closing the second. Wait until the walls around you begin to close in — the opposite side will open up enough for you to run through.
Behind the spiked door is the other side of the gate, where a wagon stands. Among the inactive draugrs, there are some that are still alive — the crosshairs of your axe will light up red when you point it at them.
There is a chirping sound to your right — a small fiery creature burrows into the ground as you approach. Wait for it to emerge, then kill it. The loot is generous: World Serpent Scale, Strong Sign of Fortitude, Strong Svartalfheim Steel, and Silver.
Odin’s Raven #3
Behind the carcass of the pack animal and the slain fire creature, look to the right—a crystal torch hangs high in a collapsed niche. Light it, then look at the opposite niche above—a green raven is sticking its head out. Throw the axe.
Break the chains on all raised bridges, then approach the moving cart. Start pushing, break the chain when it stops, and continue moving toward the door.
Artifact: Cup with handle
Shortly after the cart starts moving, look back at its original location—there is a door with spikes that can be pushed in. Behind it is a body with an artifact from the “To the Bottom” collection: a cup with a handle.
The cart cannot pass through the sealed door, but you can climb onto the upper platform near the burning torch. Pass by the wooden barricade, open the door back into the adjacent hall, drop the chain, and use the large chain mechanism to open the gate to the cart.
Don’t rush to push — cross the bridge over the mine cart to the other side. Clear away the debris on the left: there is a pit with a coffin underneath — Strong Svarthalfheim steel. Further on, there is a group of draugr near the second bridge. Above the bridge, there is a bag of silver that can be knocked down.
After dealing with the draugr on the other side, climb the platforms on the left to reach the coffin with the Scaled Focus Belt.
Go back down and push the cart through the open gate to the crane. Stop it at the door to create a platform to the area above the tunnel leading to Brock’s bench—this will allow you to reach the stone with the stuck rope. Don’t forget to knock down the bag of silver above your head.
Legendary Chest: Falcon’s Peak
As you walk across the upper platform, look to your left — the Legendary Chest contains Falcon’s Pike (a rune summon for Atreus).
Remove the chain from the edge of the platform, then approach the boulder and quickly press the button to push it. The rope system is now free, but a new enemy immediately appears.
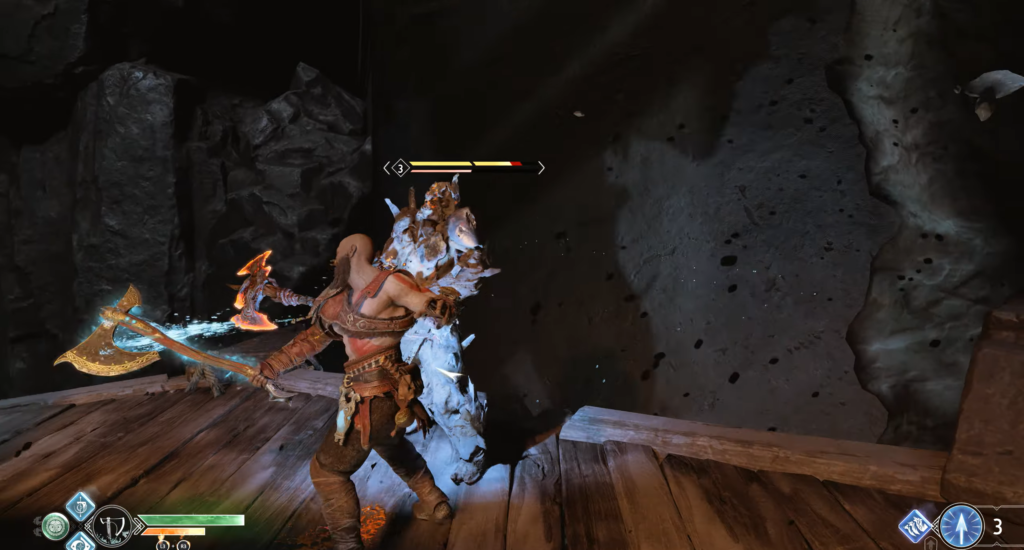
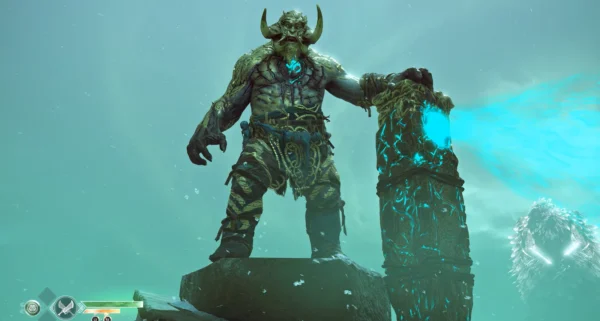
Battle with the troll Yarn Fotr
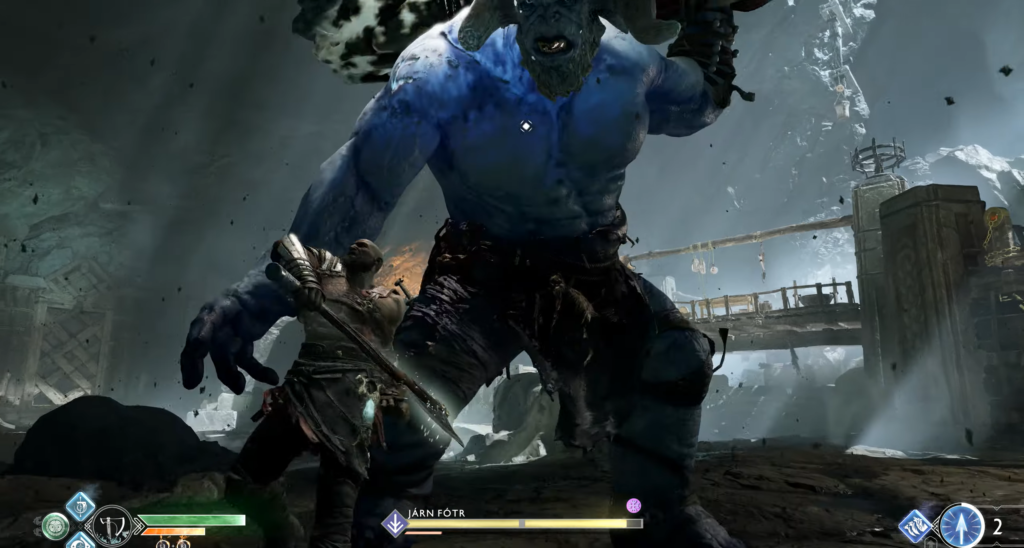
This troll is imbued with the power of ice. Like the previous one, it strengthens its weapons and limbs—especially its feet. When its feet start to glow, prepare for a powerful stomp with ice cracks, usually two at once.
Charged limbs are vulnerable to attacks — direct Atreus at them or throw an axe to stun them. The troll also strikes with an icy wave weapon and adds a sweep after the strike — it catches you off guard.
Use rune attacks, rune summoning of Atreus, and Light Arrows. When the troll’s health is half gone, draugr will arrive, including explosive ones. Switch your attention to them, but don’t lose sight of the troll. Activating Spartan Fury will help you quickly deal with the reinforcements.
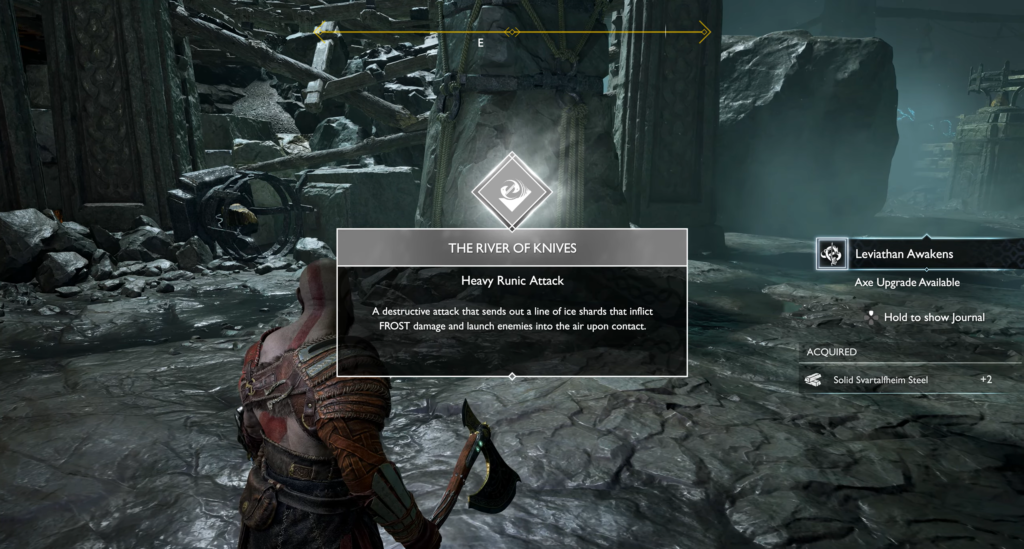
Reward for victory: Heavy Runic Attack “River of Knives,” Strong Svartalfheim Steel, and Frozen Flame.
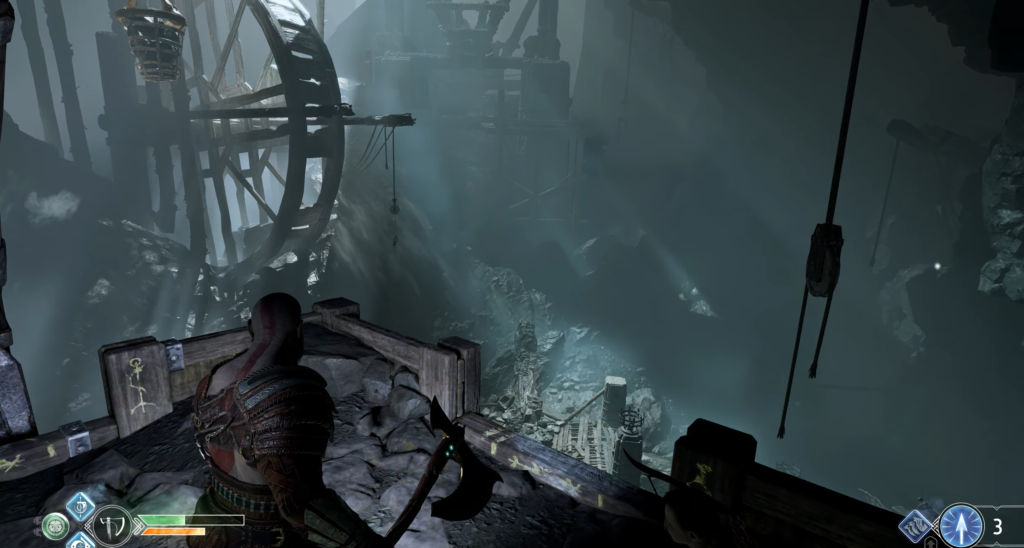
After the fight, move the cart into position and turn the mechanism until the crane is in place. Don’t let go — throw the axe into the white gears on the side to freeze the mechanism. Climb onto the cart and return the axe, starting the lift.
The path to the top
At the top of the makeshift elevator, you are not yet at the very top, but progress is evident. Break the debris near the illuminated area—there is a chest with silver in the corner.
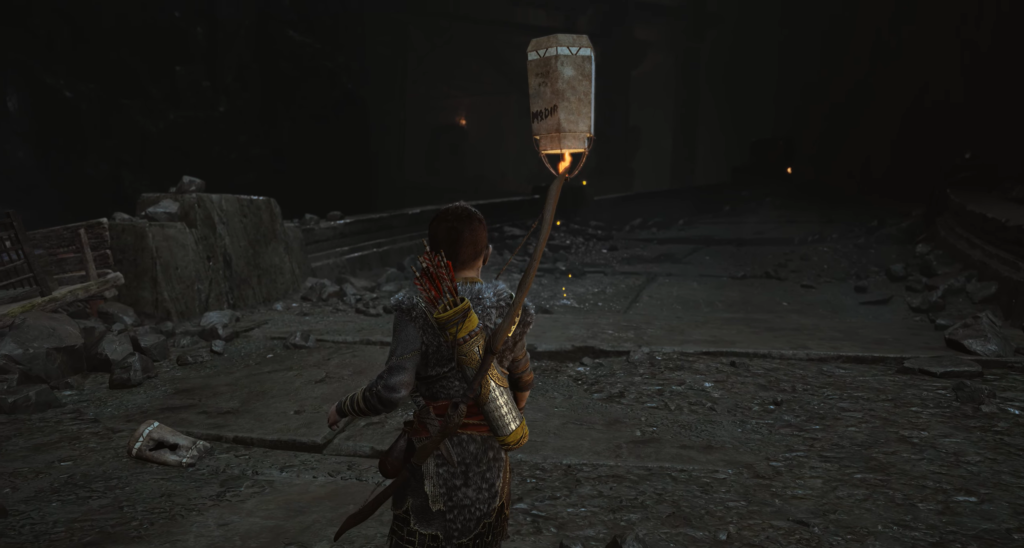
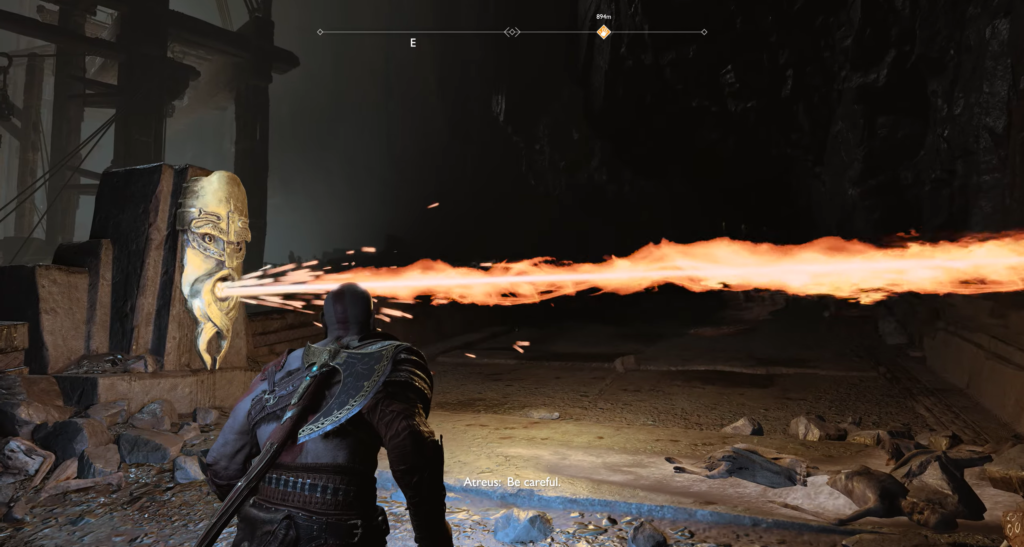
Atreus will run forward and activate the fire trap. Let him crawl under the rocks on the right. Wait for the flames to pause and slip past. There are three flamethrowers above the chasm ahead — wait until the last one starts to fade and jump over the ledge.
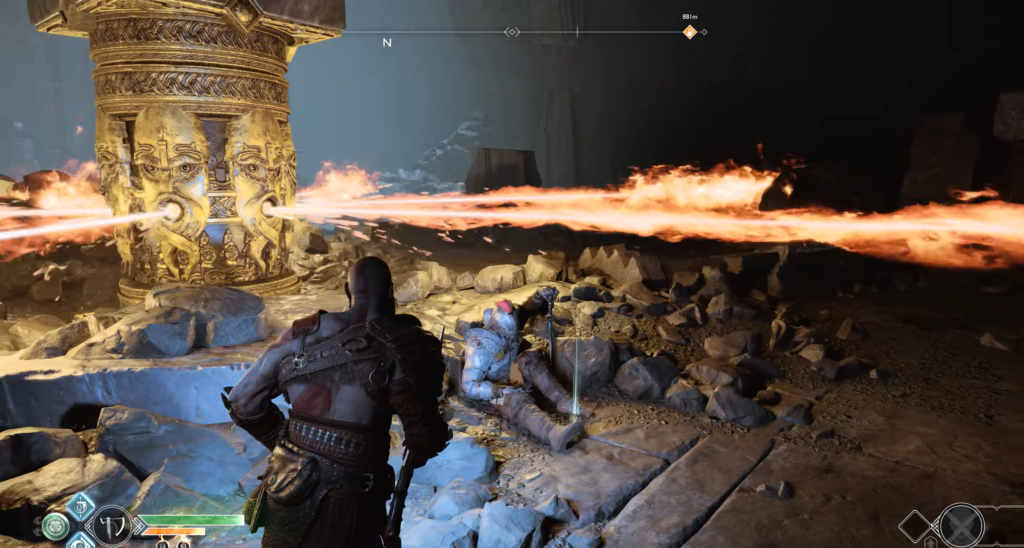
Next is a large column with a coffin, spinning a stream of flames. It moves slowly: go around it on the right, jump onto the ledge behind the silver, then go around the column to pick up more silver from the body.
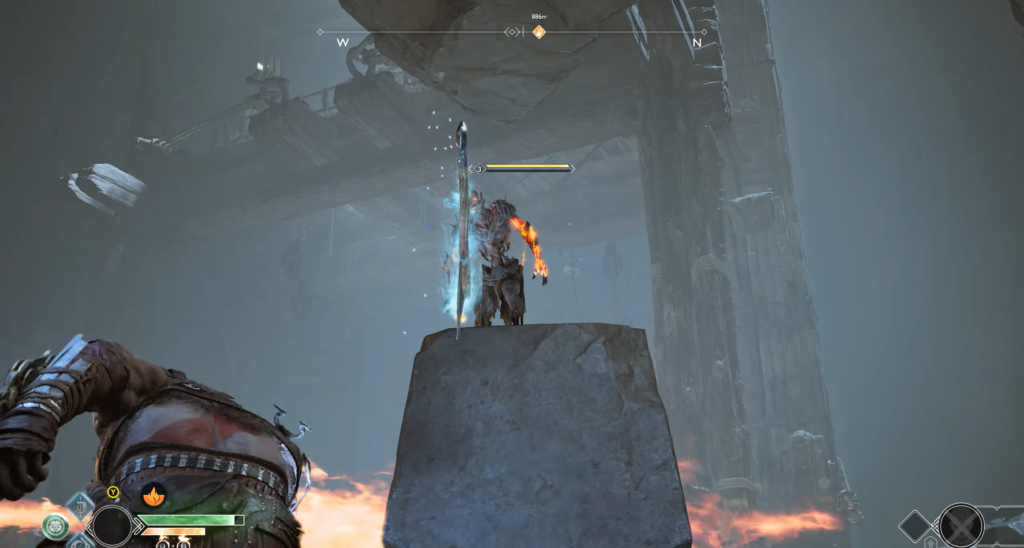
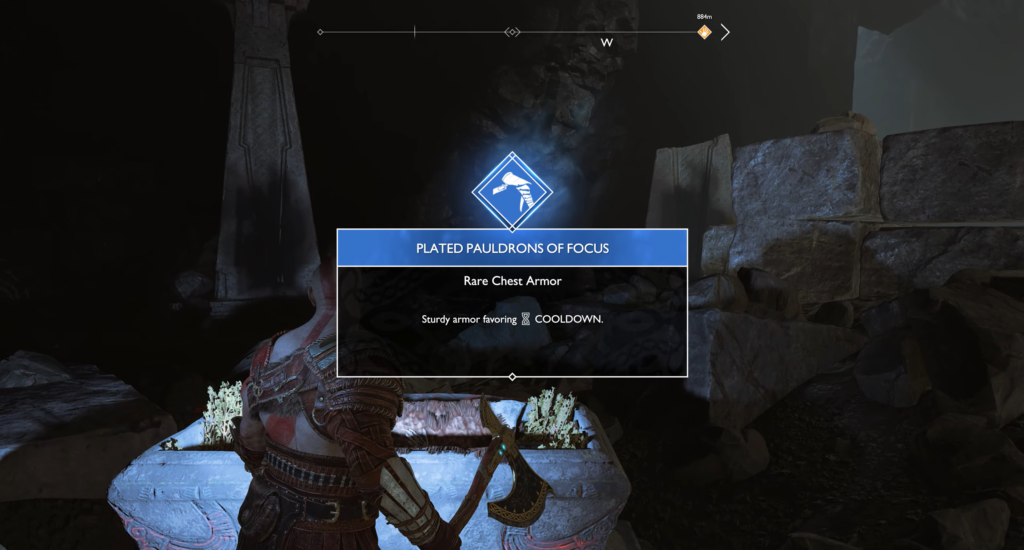
The long-range draugr on the far platform will start shooting — throw your axe or use Counterstrike while taking cover behind the column. Destroy the second draugr, then approach the mechanism and quickly lower the trap to retrieve the coffin containing the Focus Plate Shoulder Guards and Strong Svarthalfheim Steel.

At the end of the path, there is another lift, but you need to remove some ballast. There are two large stones: push only one of them to climb up to the intermediate platform. Jump down to get the silver from the chest and the burnt body, then go back and push the second stone.
The lift will crash into the wall, releasing angry draugr: shield bearers and heavy ones. The Block Break skill will help break down the shield bearers’ defenses. Keep your enemies in front of you.
At the next stop, there are even more Draugr. Rush into the crowd immediately after landing, using a combo with Atreus, then focus on the archers above. Remember: an absorbed projectile can be redirected at nearby enemies.
After the battle, find the spot where the lift collided with the rock and push it back. A short climb — and another battle: draugrs, followed by an enraged ogre.
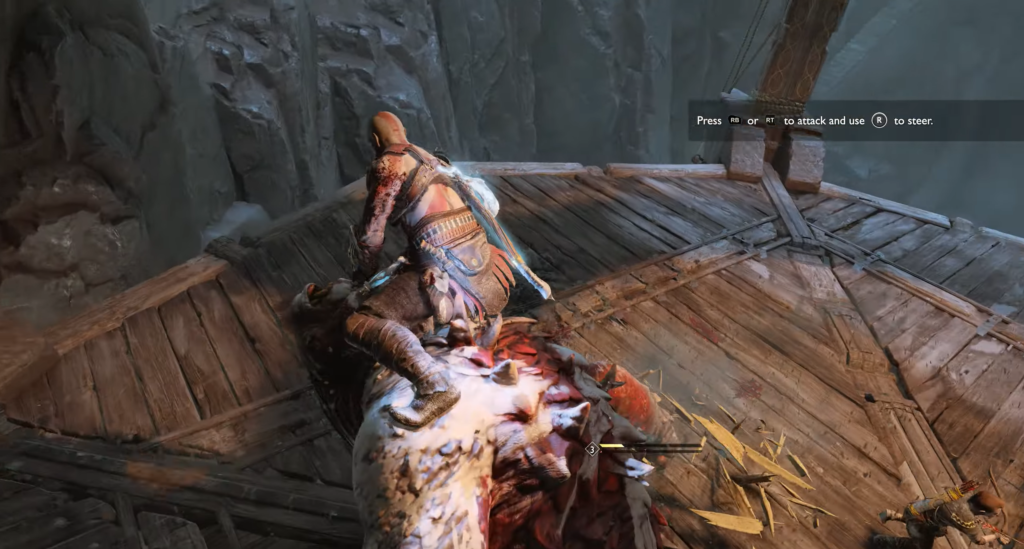
Activate Spartan Fury or switch to your fists, and let Atreus shower the Ogre with arrows to quickly fill the stun meter. Once you’ve successfully captured it, you can ride the Ogre and use it to destroy the remaining Draugr.
Reward: Symbol of Cunning, 2 Strong Svarthalfheim Steel and Silver.
Restore your health and release the lift again. You’re almost at the top, but there’s one last obstacle ahead of you.
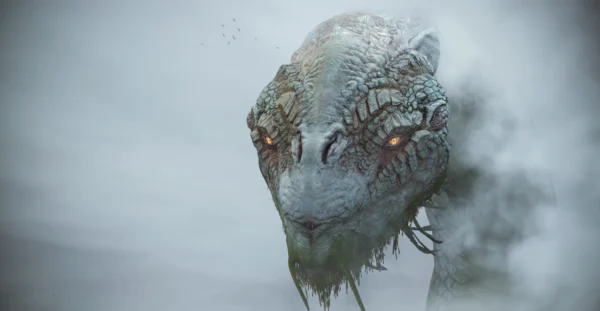
Battle with Chrezlyr (Mountain Horror)
Phase 1: On the lift
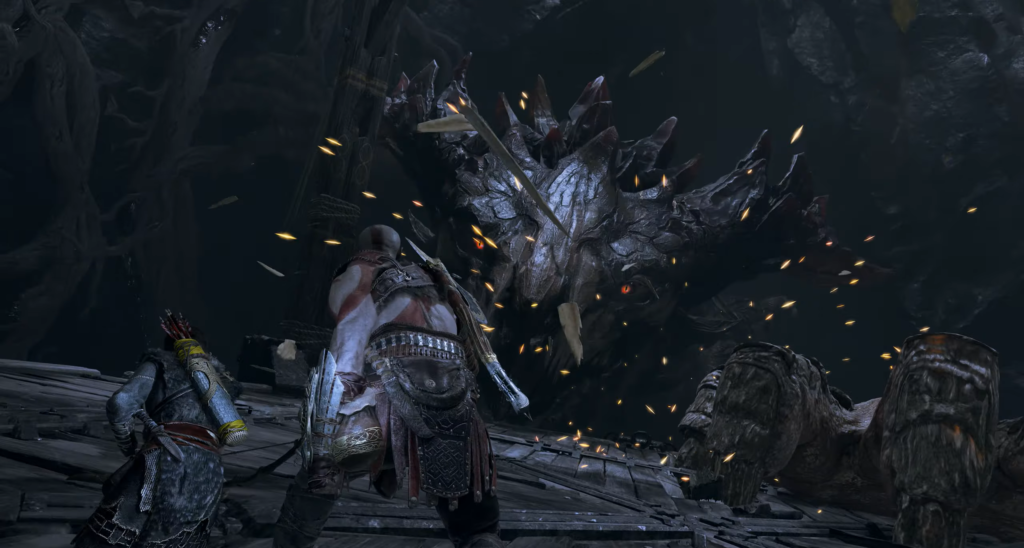
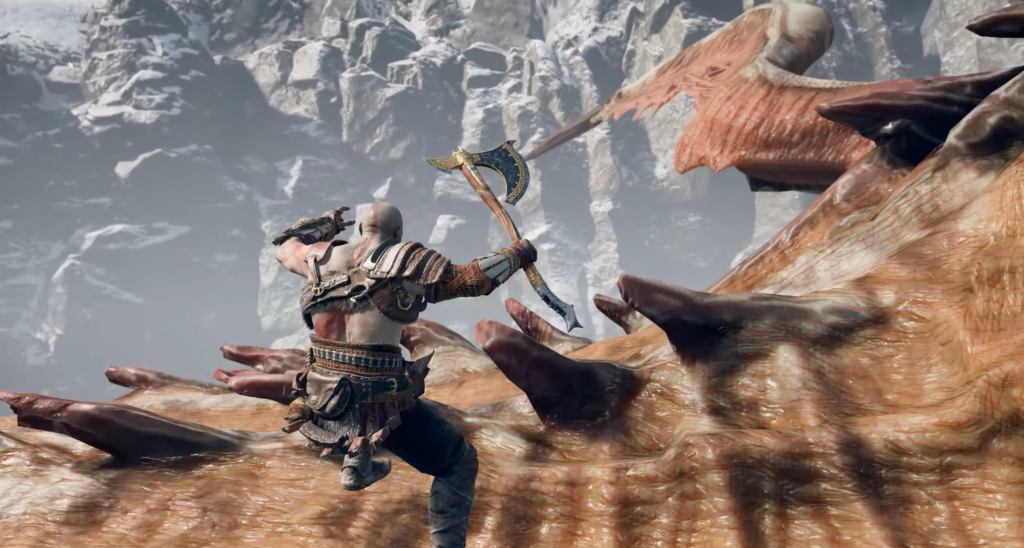
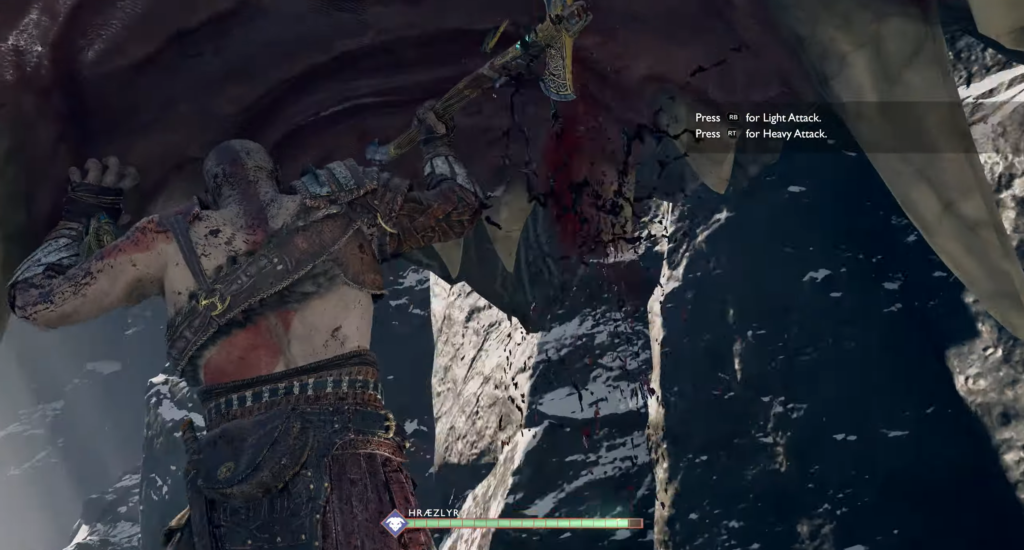
The beast clings to the lift with one paw and tries to strike with the other. Attack either paw, but if you strike the immobile dragon, it will respond with lunges from its mouth. Its attacks are long-range — dodging won’t help, but a shield will completely block the blow. Strike, block, repeat — until the beast lets go.
You will be thrown against the wall — run to the lever and quickly press the button to release the lift.
Phase 2: Crystal Destroyers
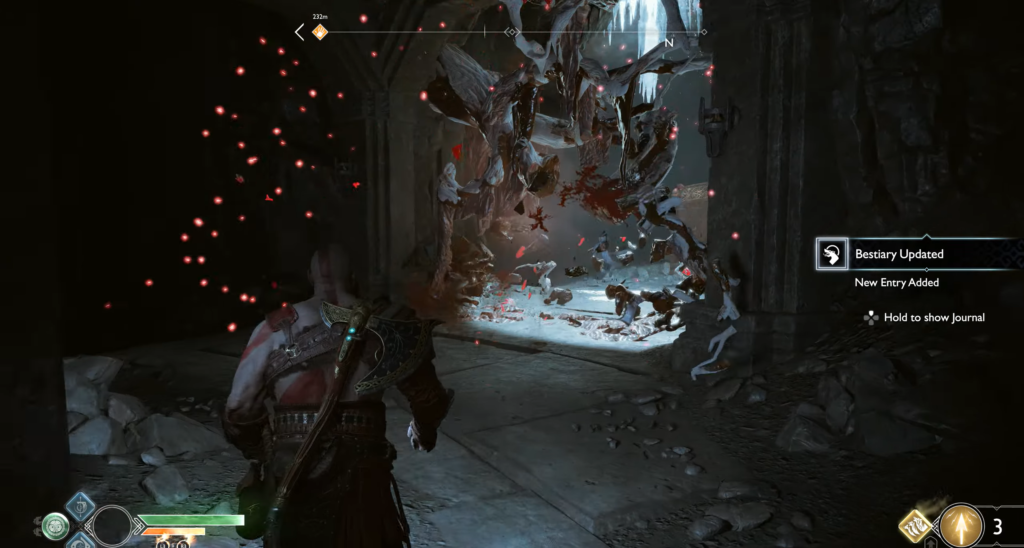
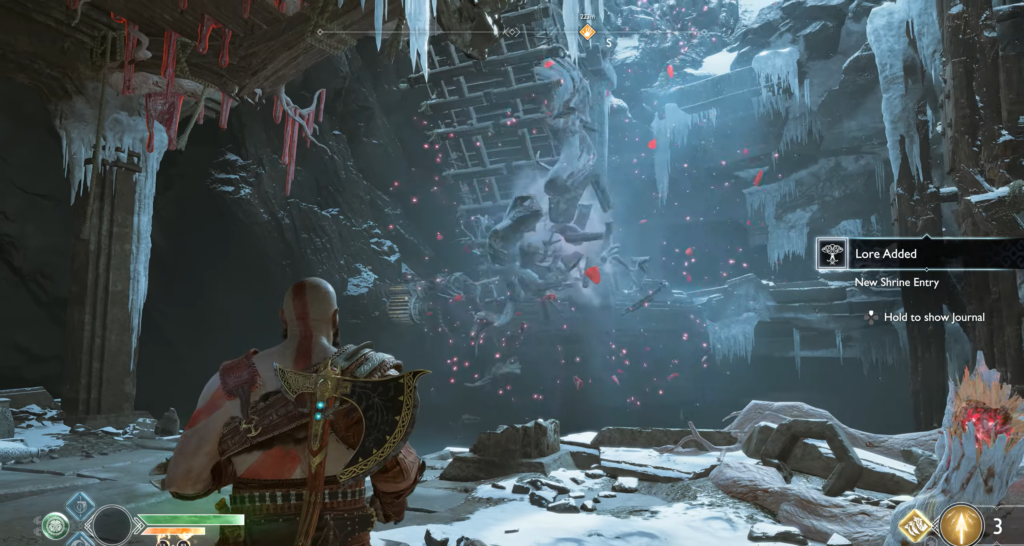
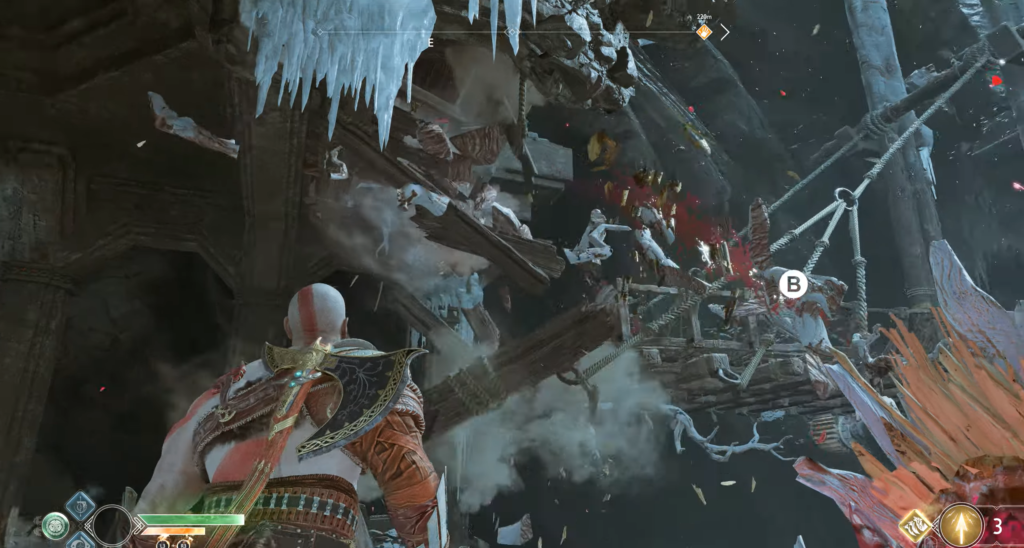
The dragon retreats, leaving behind an electrified tunnel. The electricity has activated the resin, making it explosive when combined with red crystals—Destruction Crystals. Use the nearest one to clear a path through the resin of the World Tree. Walk along the ledge, blow up the next wall, and follow the scream to the exit of the mountain.
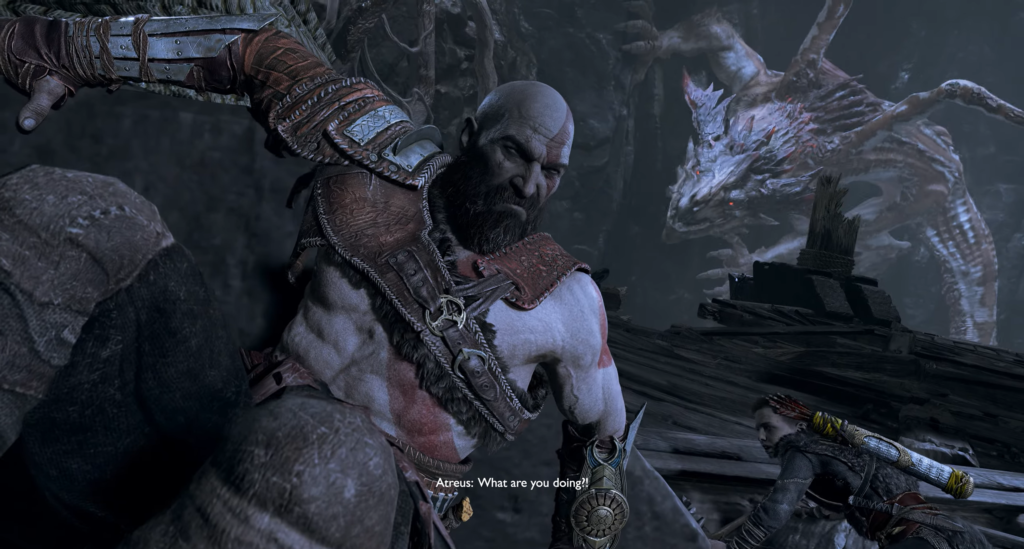
When you reach the dragon, Atreus will go to the right and Kratos to the left. At the end of the path, jump on the dragon and slash until you are thrown into the arena.
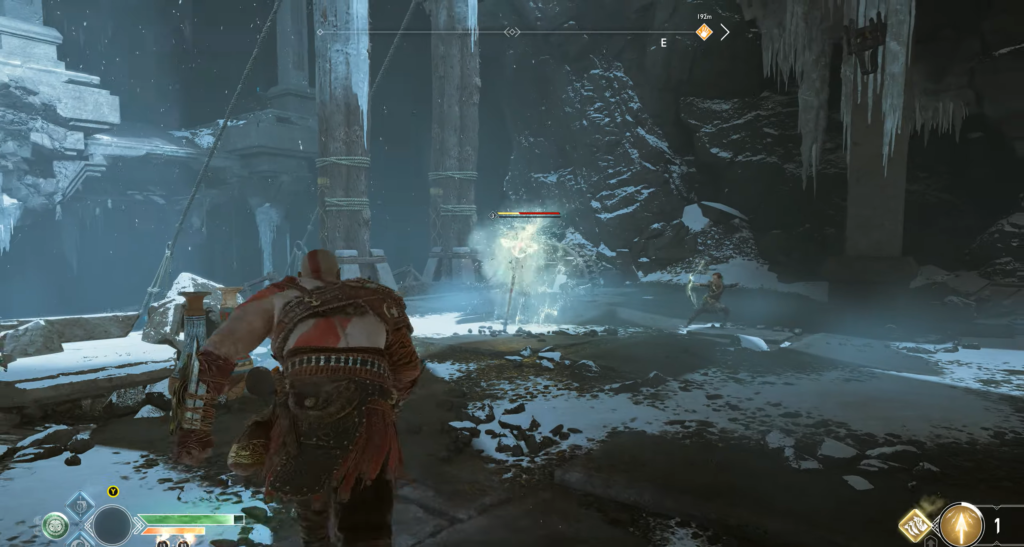
Phase 3: Arena
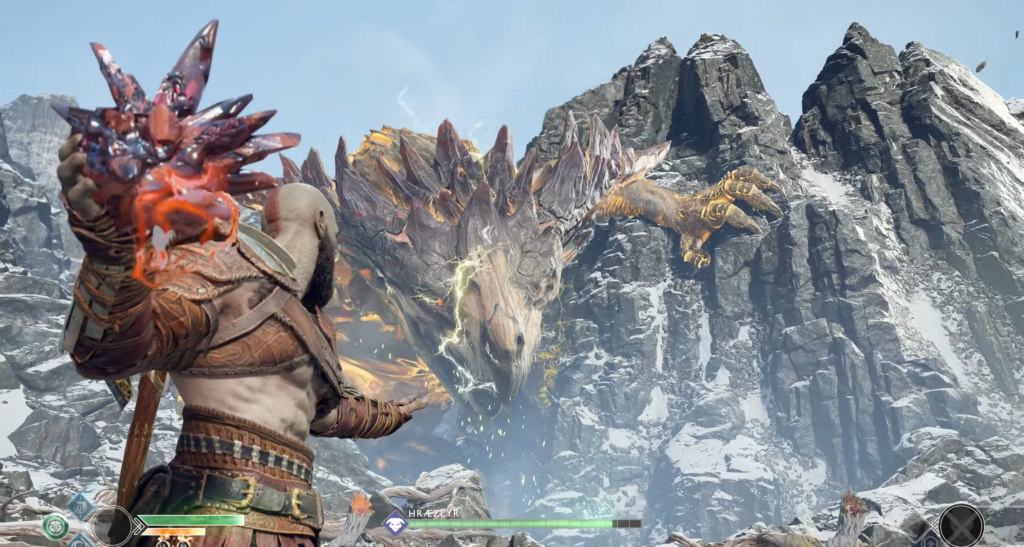
Scattered around the edges of the arena are Destroyer Crystals—your key to victory.
| Dragon Attack | Your actions |
|---|---|
| Electric lightning bolts from the sky | Watch the marks on the ground, run and dodge, then grab the crystal |
| Prepare to fire | Throw the crystal at the dragon — the charge will cause an explosion and stun it |
| Falling to the ground | Run to its head and perform long combos |
| Paw shockwave | Block with your shield, then attack the paws |
| Electric beam across the arena | Grab the crystal and run across the beam; after passing through, throw the crystal back to the starting point of the attack |
| Unblockable paw strike (one paw is pulled back) | Sideways dodge |
Beam tactic: Stand near the crystals on the opposite side of the dragon. Wait for it to inhale, throw the crystal, and immediately dodge to the side, avoiding both the explosion and the electricity.

In the final phase, the dragon alternates between striking with both paws (keep your shield up at all times), firing a wide fan of electric beams, and striking with lightning bolts from the sky. Grab crystals, dodge lightning bolts, and throw them with each electric volley. After another stun, perform the final combo and signal Atreus for the finishing blow.
After the victory
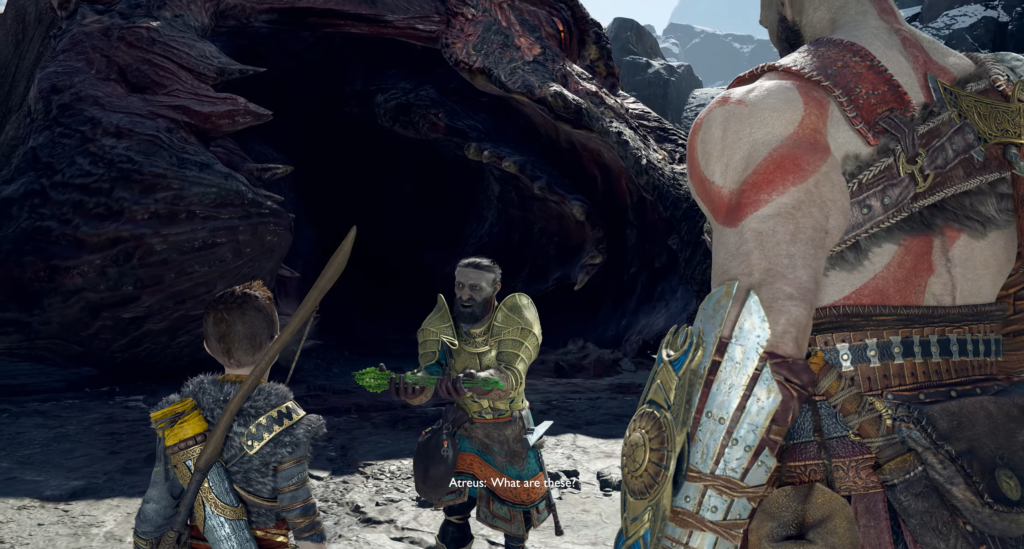
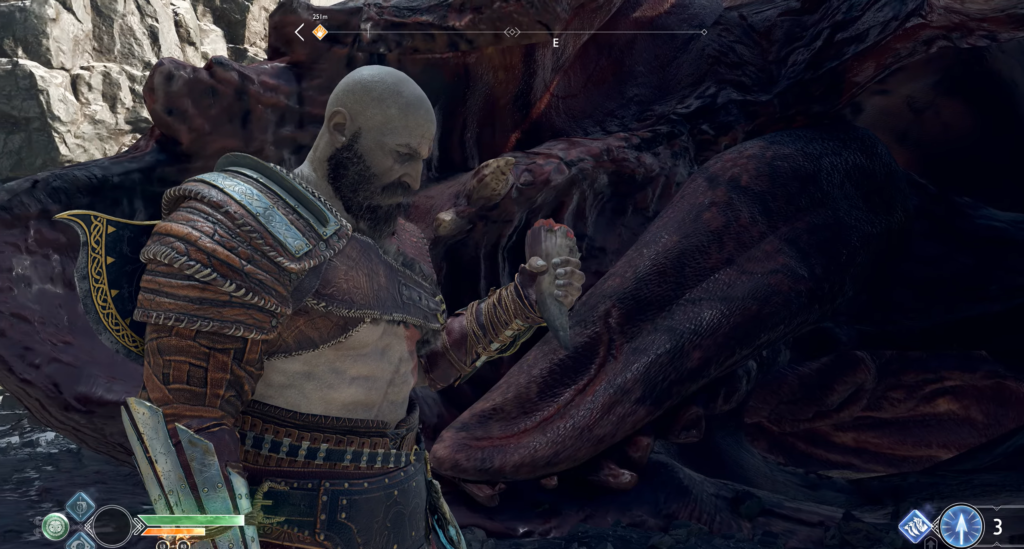
Sindri will reward Atreus with new arrows and ask him to cut out a dragon’s tooth. You will receive a Dragon’s Tooth and a Dragon’s Tear, plus a substantial amount of experience.
Give Sindri the tooth — he will enchant Atreus’ bow, unlocking Electric Arrows. Now you can destroy the sap of the World Tree, which has been blocking your path throughout the game. Switch between Light and Electric Arrows depending on the situation: the former are good for stunning, while the latter strike groups of enemies with chain lightning.
Return to the Mountain
The battle with the dragon has thrown you to the opposite side of the mountain. Leave Sindri and enter the large cave.
Legendary Chest: Tyra’s Revenge
Turn right immediately after entering — the Legendary Chest is sealed in the resin of the World Tree. Have Atreus destroy it with his electric arrows. Inside is the light rune attack “Thyr’s Vengeance.“
Climb up the scaffolding. At the top is Hell Reaper, possessed by Nightmare Parasite (enhanced electric attacks). Dodge and beat him until the parasite leaves his body, then finish him off. Behind the ledge is a chest with silver.
Before you is a large lift and a mechanism with a wheel, but the resin of the World Tree covers two of its parts. Go behind the lift on the left side—there you will see the Crystal Destroyer. Have Atreus blow it up.
Artifact: Large mug with handle
After destroying the resin wall, a small amount of crystal remains. Through the passage that has opened up, you will find a body with an artifact from the “To the Bottom” collection: a large mug with a handle.
Use the mechanism to lift the remaining crystal to the resin, and let Atreus blow up the heavy stones. They will collapse along with the Nightmares.
Climb up the new path into the dark corridor — switch to Light Arrows and illuminate the crystal torch. Hell Reapers and Nightmare Parasites will appear. Watch out for the spear thrower above while you deal with the ones below. Kill the parasite as soon as it leaves the body. In the niche on the right, there is a health/rage/experience stone.

Next is a passage blocked by resin and Hel Reapers praying to something. Among them is Hel Viken with heavy weapons. His strikes are massive and often unblockable, he parries your attacks and throws frost cracks, plunging his weapon into the ground. Dodge and strike with your fists when you see an opening — you may need to fill the stun gauge twice for a powerful finishing blow. From the body — Symbol of Fortitude.
Knowledge: The Jotun Altar — The Story of Imir
Pick up the Crystal Destroyer at the cliff and return to the corridor — throw it at the wall of resin, and Atreus will blow it up. Inside is the Jotun Altar with the story of Ymir.
Idunn’s Apple (Chest of the Norns)
It’s time to deal with the raised bridge — it’s covered in resin. Throw the Crystal Destroyer at the bridge so that Atreus can break it; the bridge will only lower to the top floor. The upper pillars are also covered in resin — throw the crystal at one of them. The path is open — Hel Reapers, reinforced by Nightmares, await beyond the bridge.
Runes for the chest:
| Rune | Location |
|---|---|
| “N” | In the room with the Jotun altar — look up and to the right |
| “C” | To the side of the bridge, near the scaffolding |
| “R” | Upstairs: freeze the gear with an axe, climb the bridge and look to the right. |
Open the chest — inside is the Apple of Idunn.
Return to the top via the bridge: there you will find a health/rage/experience stone and a coffin with a surprise. Deal with it — you will receive Hardened Svarthalfheim Steel and a Strong Sign of Fortitude.
Knowledge: The Long, Cruel War
At the top of the bridge is a stone of knowledge sealed in resin. Go down, take the Crystal Destroyer, throw it at the stone, and blow it up. Atreus will decipher “The Long Cruel War.“
Walk down the remaining corridor past the stone of knowledge, climb up the scaffolding—the door will lead you to your destination: the Summit.
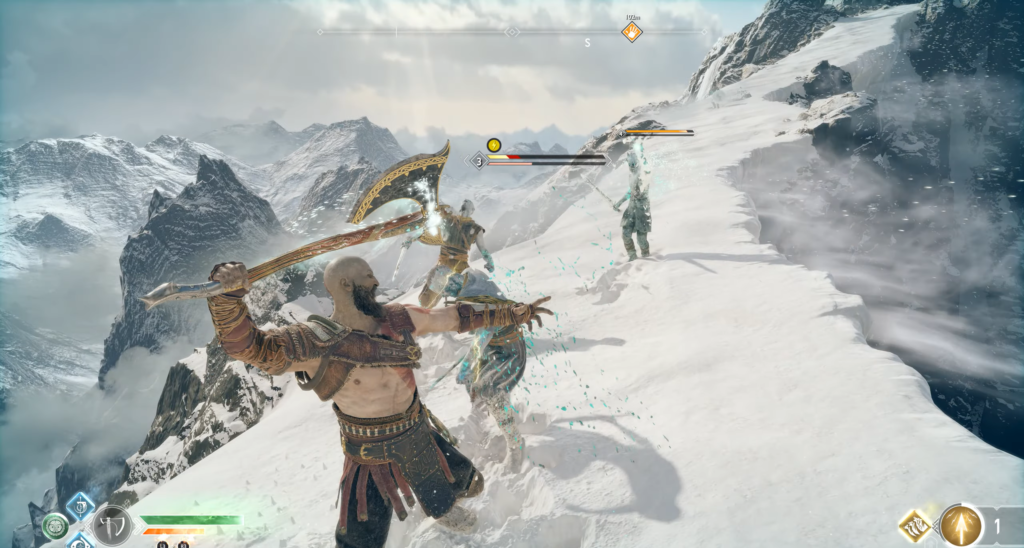
There are many Hell Reapers in the deep snow on the path. Fight carefully, preventing their frost attacks from enraging your opponents. Runic attacks, Atreus’s rune summoning, and stun fists are your best tools.
Artifact: Large cup with stand
At the gate to the top, look to the left — behind a large rock lies a body with the last artifact of the “To the Bottom” collection: a large cup with a stand.
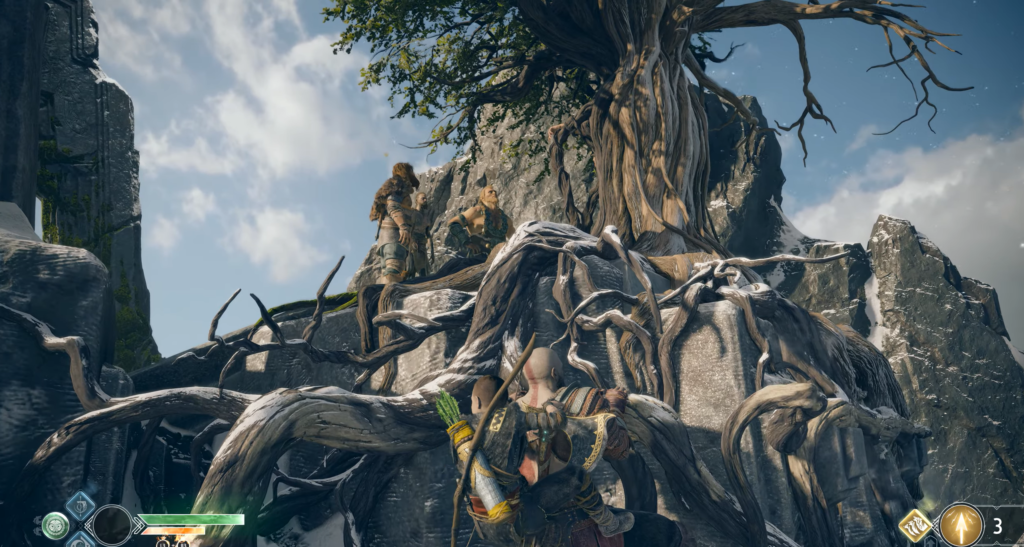
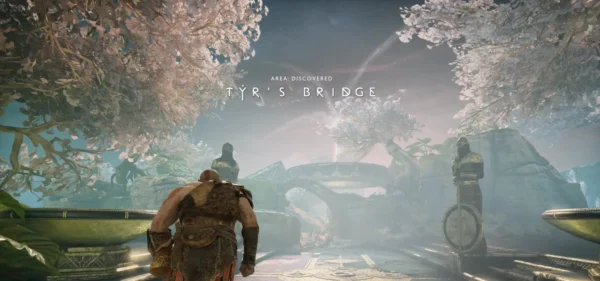
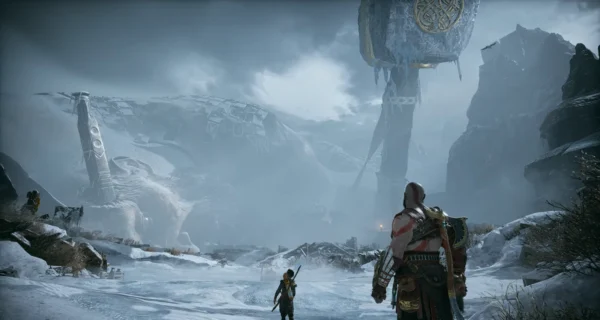
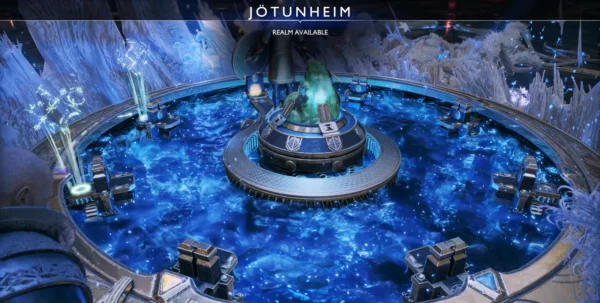
Strange blue roots block the entrance, but there is a crack in the rock to the side. Climb toward the voices—one of them is ominously familiar. Finally, you learn the name of your pursuer. Continue climbing the rocks toward the huge tree at the top. A scene will unfold, showing that this is not the end of the journey — but your plans will lead you to a new realm, where your true goal awaits.


Comments (0)
Sign In / Sign Up
Sign in to leave a comment.
No comments yet
Be the first one to share your thoughts!