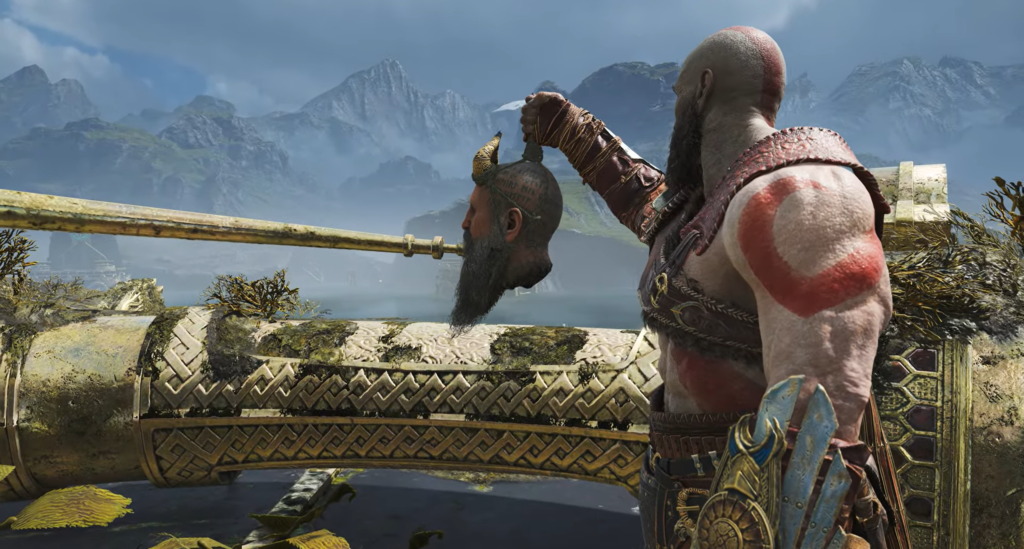
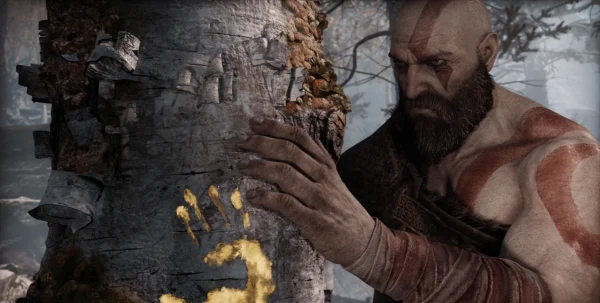
Take Mimir’s head to the Witch
Once you realize that the summit of Midgard is not the final destination of your journey, you need to find a way to your real destination. The Witch of the Forest can help you with this, so head over to her.
Descent from the summit: code and observation deck
As you leave the mountaintop, pay attention to the left side of the trail—there is another chest with a code. Inside is a fragment of Muspelheim’s code, which is necessary to open access to this world.
| Subject | Where to look |
|---|---|
| Fragment of Muspelheim’s cipher | On the left when descending from the summit, in a chest with a cipher |
| Chest with silver | To the left of the observation deck |
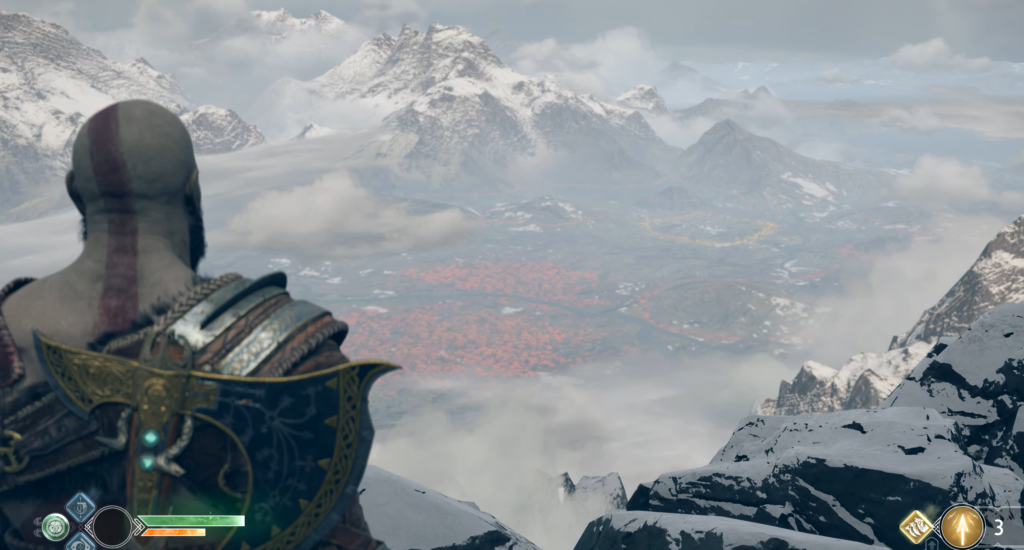
As you continue down the path, look down—the mountain offers a view of the Witch’s Forest and even the circle of trees around your house. Next to the observation deck, on the left, there is a chest with hack silver. Then descend to the mystical gate — this is the only quick way to get down to Brock’s bench in the Temple of Tyra.
New opportunities after receiving arrows
Now that you have both shock and light arrows in your arsenal, previously inaccessible areas and treasures are now available. If you wish, you can return to the Foothills and the Mountain to collect any items you may have missed.
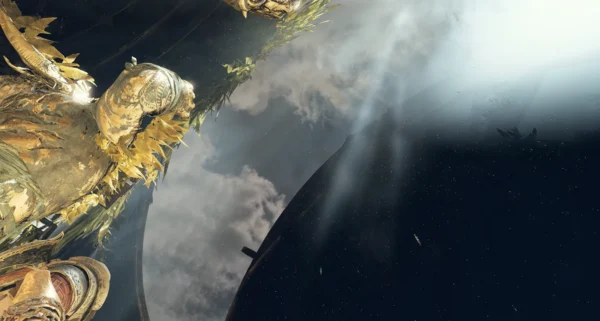
In addition, the World Serpent has moved — its head now hangs over the entrance to Fafnir’s vault (if you decide to take on this side quest). Barrels and bodies float on the waters of the Lake of Nine, from which you can collect hack silver and Aegir’s gold — just swim up to them.
The Path to the Witch’s Cave
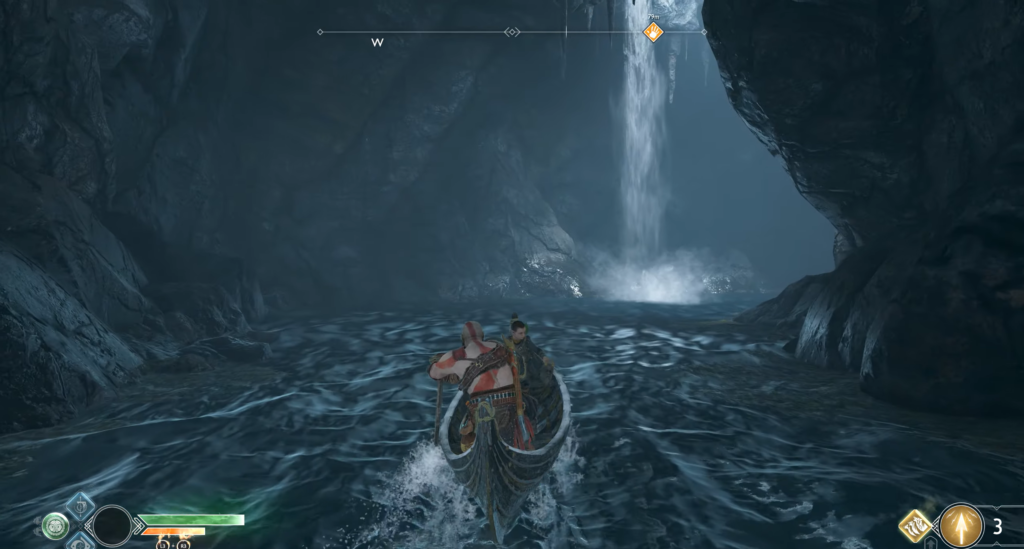
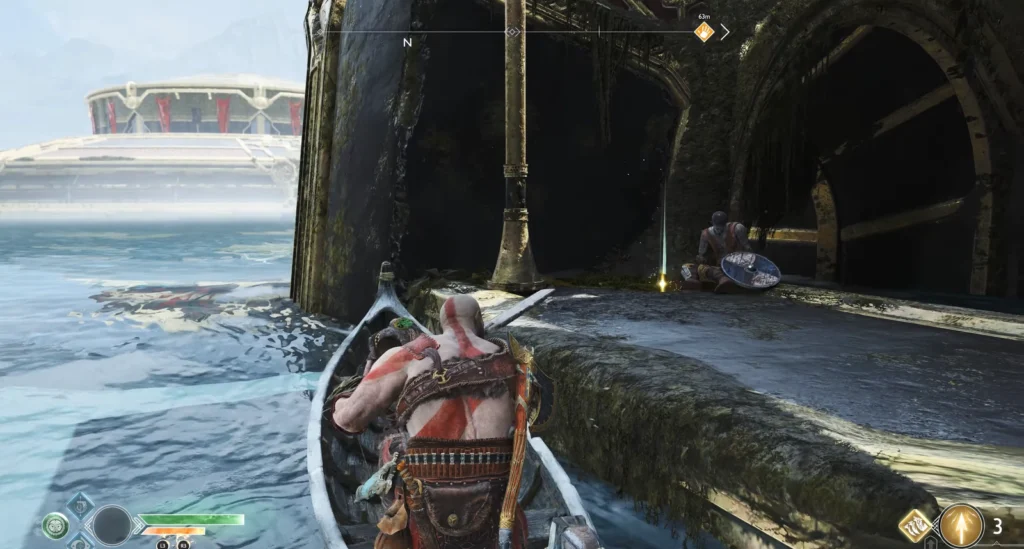
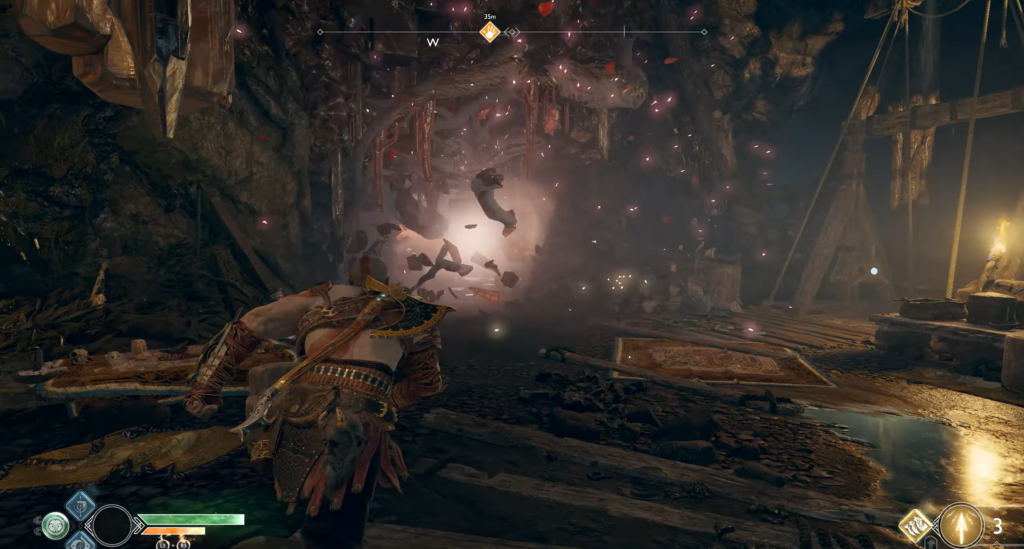
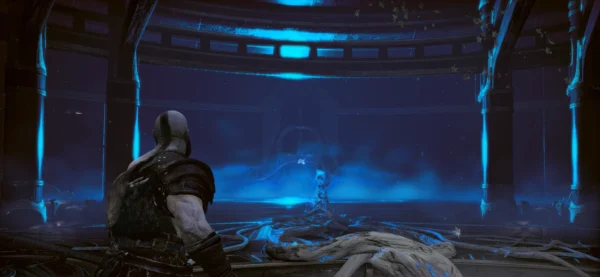
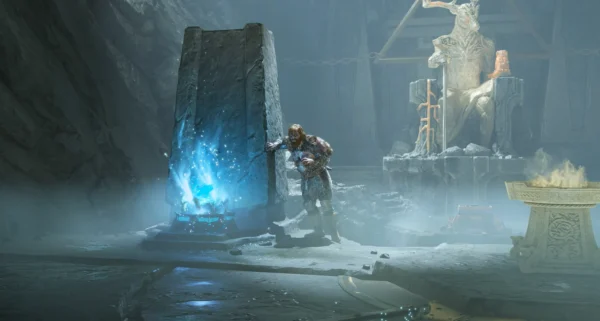
Steer the boat towards the statue of Thor to reach the Witch’s Cave. The water level has changed, and the route is now different. At the new dock, you will encounter a wall of sap from the World Tree — break the crystal of destruction to clear the passage. Don’t forget to activate the mystical gate located here.
Take the elevator up and you will find yourself in the hall beneath the Witch’s house. Now is the time to collect the items that were unavailable during your last visit.
Collectibles under the Witch’s House
The last fragment of Muspelheim’s cipher
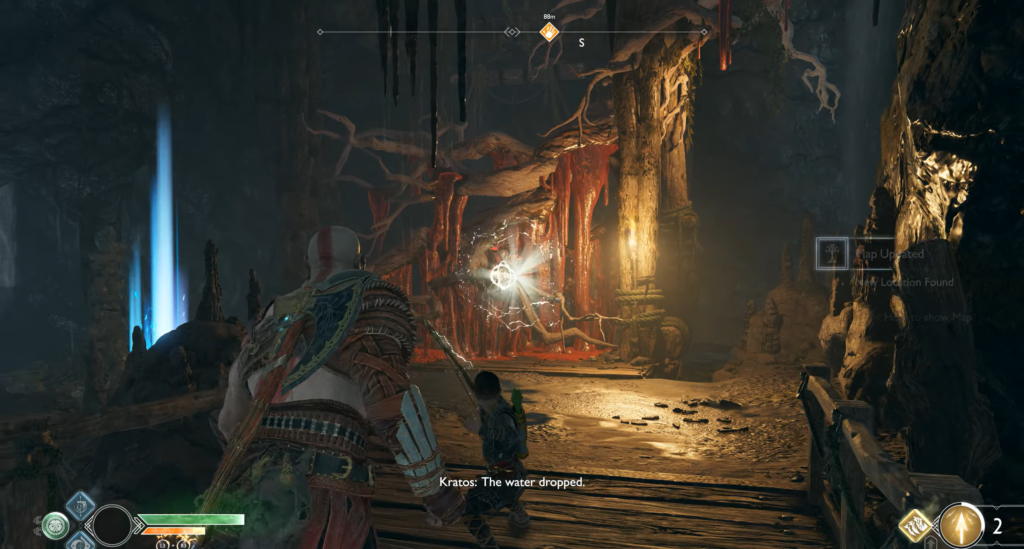
Destroy the red wall of juice next to the elevator — several Reapers and Revenants will appear. Once you’ve dealt with them, look into the passage on the right: there is another chest with a code containing the final fragment of Muspelheim’s code. Once you’ve collected all the pieces, you will unlock access to the Realm of Fire.
Horn of Bloody Honey (Norn’s Chest)
Along the path leading to the place where you previously pushed the pallet into the water, blue crystals are now visible—they form a path to Norn’s chest.
The runes for opening are scattered quite far apart:
- Rune “H” — opposite the Norn chest, on the ledge next to the coffin covered with red juice.
- Rune “P” — to the right of the chest is a blue crystal; shoot it to create a bridge to the crystal of destruction. Throw the crystal into the wall to the left of the chest — the rune will open to the left of the Hidden Chamber.
- Rune “C” — in a large well behind a red wall of juice, next to the elevator.
After activating all three runes, open the chest and obtain the Horn of Blood Honey.
Additional production in the district
Use the destruction crystal to build a bridge to the coffin, break the juice, and take the intact Svarthalmheim steel and symbol of resilience. To the left of the wall that you can climb to reach the Hidden Chamber, there is a body with hack silver.
The Hidden Camera Room also contains: a chest with hack silver, a bucket with hack silver on top, and a coffin with soft Svarthalmheim steel.
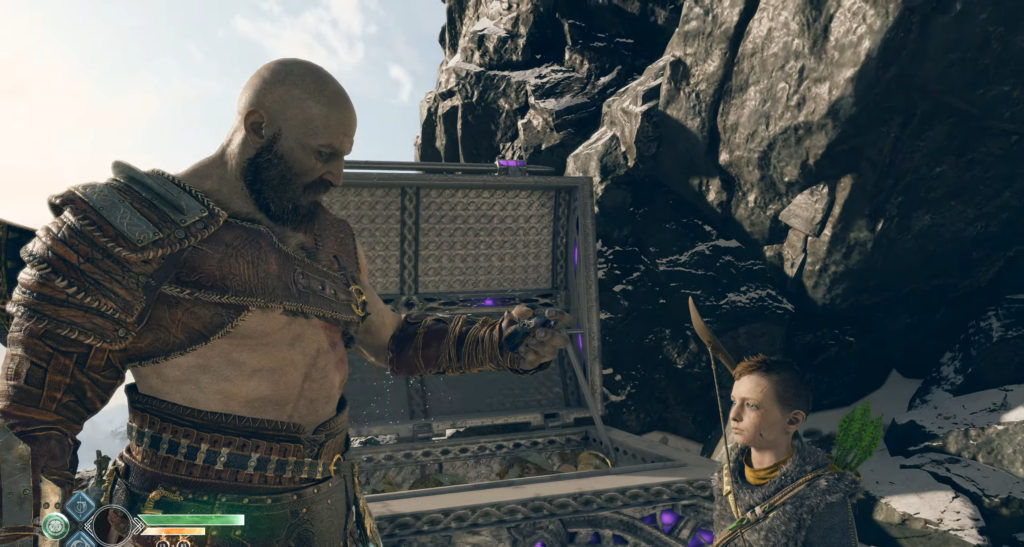
Treasure map
In the room with the Hidden Chamber door, look for a small scroll near the coffin. Ask Atreus to read it—it is a treasure map. The clue points to a generous treasure, and the mention of a turtle hints at a nearby location.
Legendary Chest: Murder of Crows
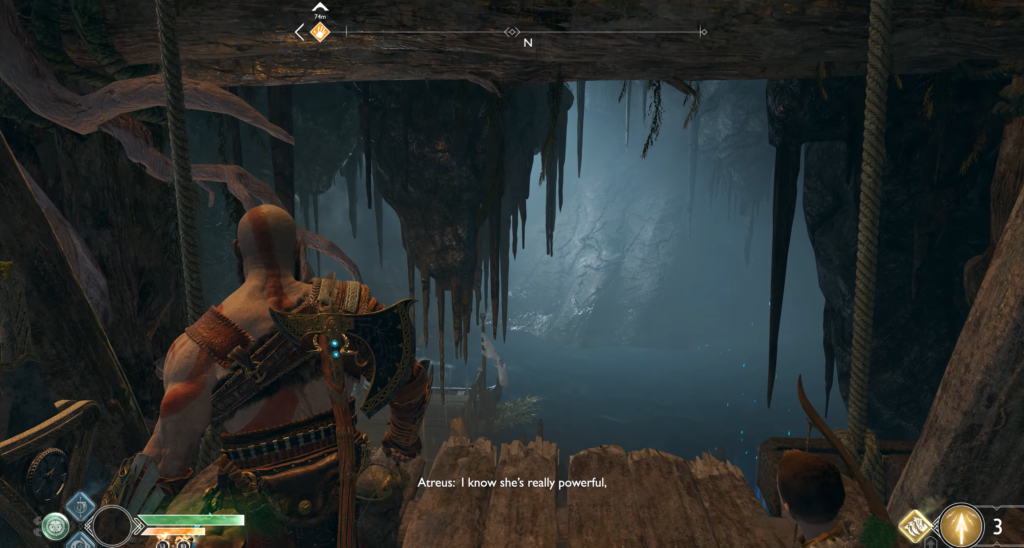
The blue roots at the Hidden Chamber create a sense of dead end, but this is deceptive. Look up and to the left of the thickets—you will see a destructible wooden platform. Lift Atreus up onto it.
The boy will appear on the ledge. Move the tray with stones to him — he will cross to the other side, where there is a bowl with sand. After examining it, look at the ceiling: there are runes hidden behind the wooden boards. Break the boards with an axe.
When Atreus solves the riddle, his platform will lower. Jump over to him and open the legendary chest in the alcove—inside is “Murder of Crows,“ a rune summon for Atreus.
Exit from the cave and the area around the Witch’s house
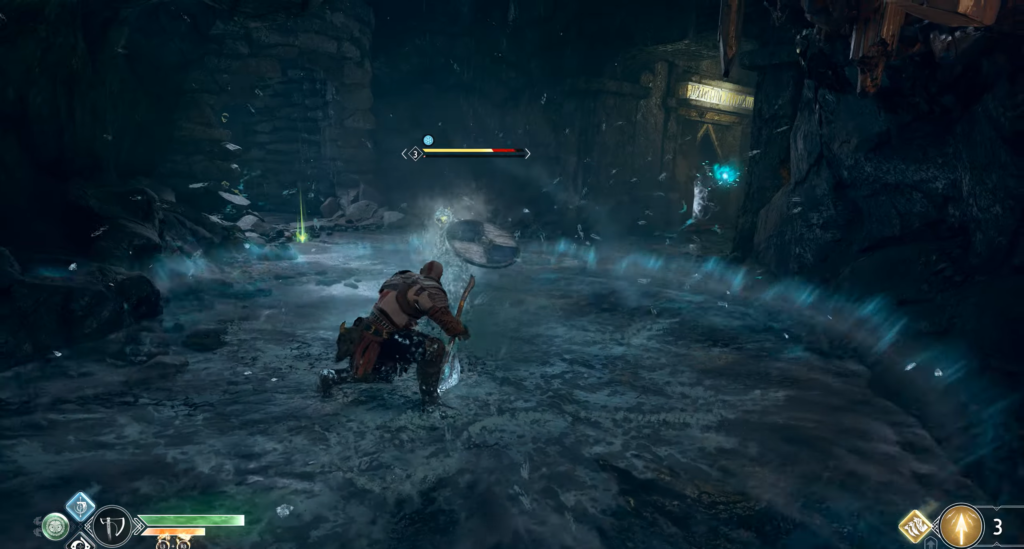
The door upstairs hasn’t lowered, so you’ll have to find a detour. The large well behind the red wall of juice will help you out — it leads straight upstairs.
Text on the walls of the well
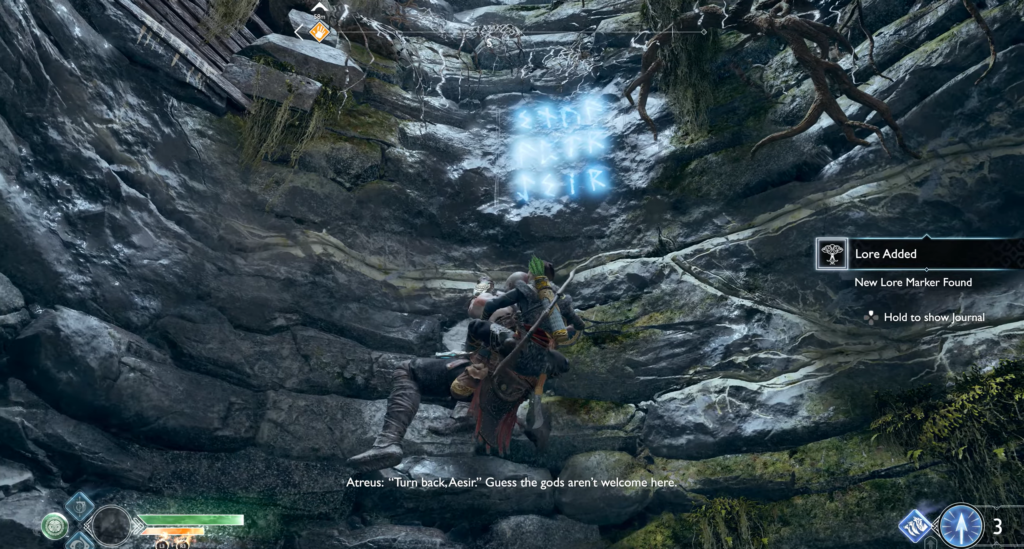
During the ascent, ask Atreus to read the runes on the walls — it is a runic inscription that says “Do not enter.“
Rune stone “Frigg’s Prayer”
At the top, near the observation deck overlooking the giant turtle and the Witch’s house, there is a letter stone without any text. Behind the well, there is a blue crystal hidden — bring it to the stone to reveal the inscription: “Frigg’s Prayer.“
Artifact: Hole Mask
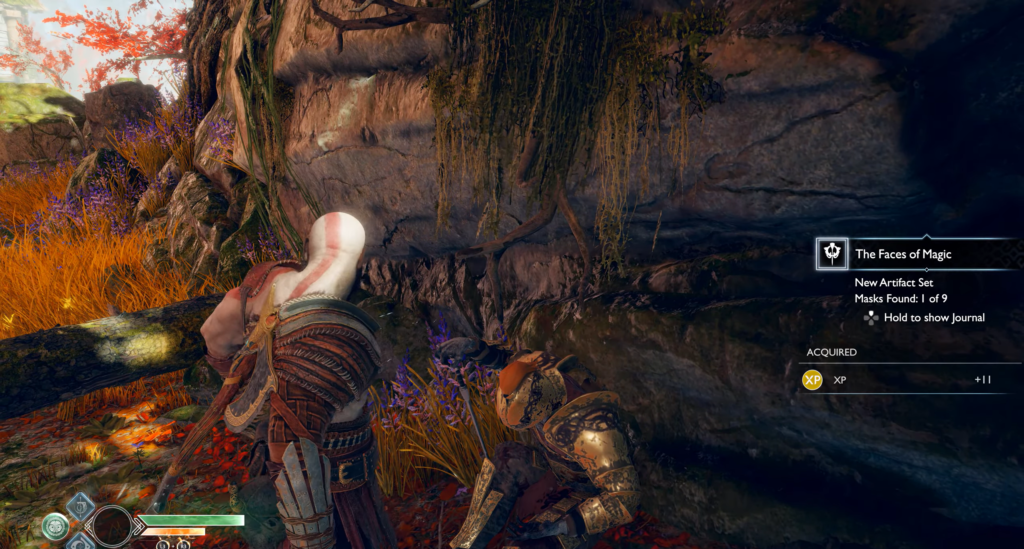
As you descend the path to the house, look to your right—there is a soldier’s body lying on the ground. Next to him is one of the artifacts from the “Faces of Magic” series—the Pierced Mask.
Battle at the Turtle
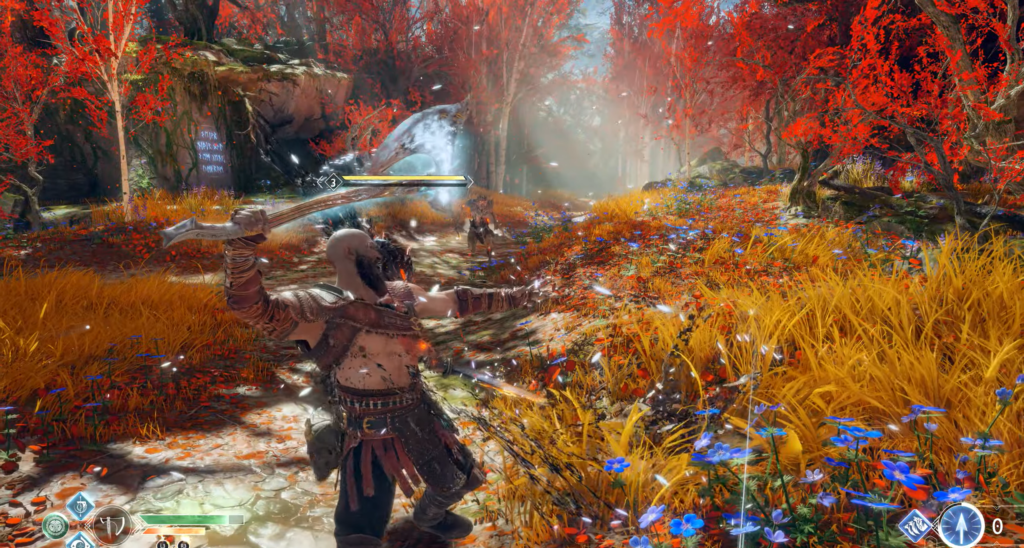
Before entering the house, at the head of the turtle, you will be attacked by a horde of Draugrs. Draugrs with shields pose a particular threat: they rush forward and try to parry your blows, knocking you off balance. The best tactic against them is to counterattack — provoke them into striking, then punish them. You can also break their defense with your own shield, taking advantage of their moment of imbalance. When new waves of enemies appear, actively use rune attacks.
Runic inscriptions after the battle
After defeating the Draugr, explore the area. There are two sets of runic texts here:
| Caption | Location |
|---|---|
| Seidra’s Curse | Beneath the cliff from which you descended |
| Down with Odin | By the chain on the side wall |
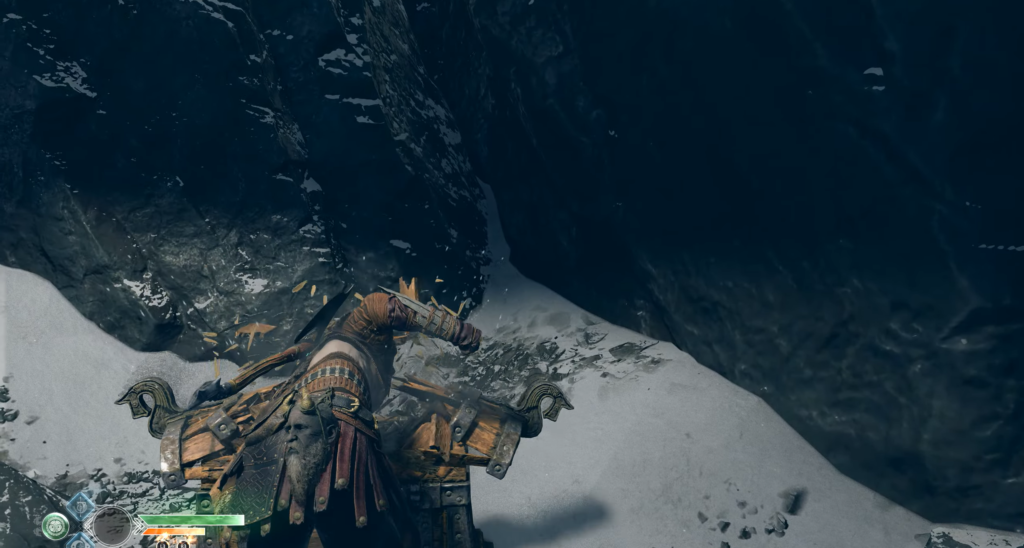
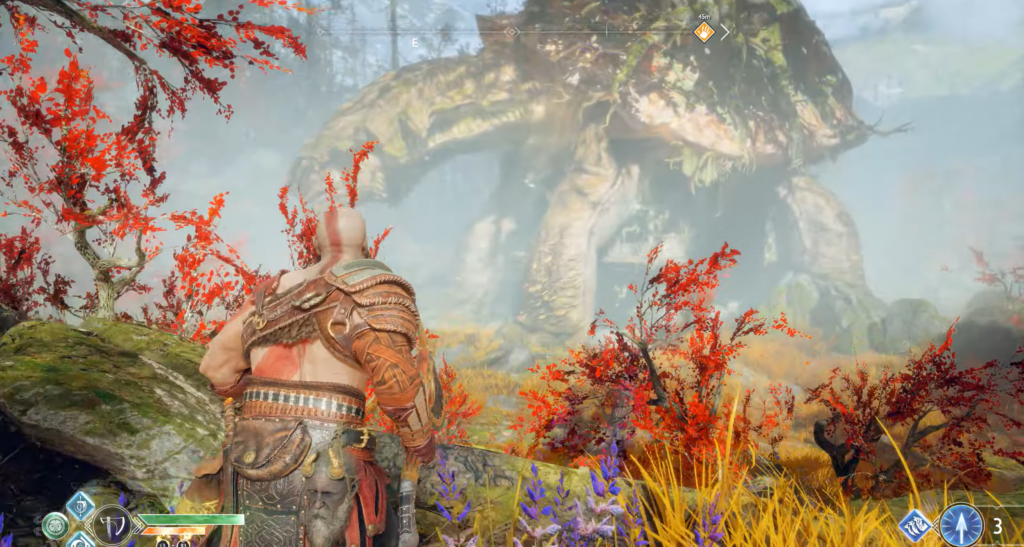
Solution to the treasure map “Tribute to the Turtle”
The map found earlier mentions red leaves and green moss, and the drawing shows a turtle and its front left paw. Approach this paw, find a narrow path near the large rocks, and pay attention to the small mossy rock nearby—the treasure is buried under it.
Secrets of the left side of the turtle
The mystery of the sand bowl and the legendary chest
To the left of the turtle, fallen rocks block access to the legendary chest. Nearby is a bowl with sand and a riddle. The runes to solve the riddle are carved into the rocks behind, but they cannot be seen from here.
The last artifact in the “Faces of Magic” series
Climb up the chain next to the runic inscriptions by the turtle. At the top, there is a short path with an inactive Norn chest. Look to the side: there is another body on the ground with the last artifact of the “Faces of Magic” set.
Odin’s Raven
From the body with the last mask, look up and to the right—Odin’s ghostly green raven sits on a large rock.
The solution to the riddle — the legendary chest
Walk to the end of the path past the crow — you will see a viewing platform overlooking the Witch’s house. From here, you can clearly see all the runes on the stones needed to solve the riddle. After activation, the fallen stones will rearrange themselves, opening the way to the legendary chest — inside is “Storm of Moose,“ a rune summoning.
Visit to the Witch and Mimir’s Revival
All the secrets of the area have been collected (the Witch’s roots still block the way back to the rest of River Pass). Enter the house — along with the head. During the scene, you will learn more about your allies, and Mimir’s head will come back to life. After an intense dialogue, you will find yourself back in the cave under the house.
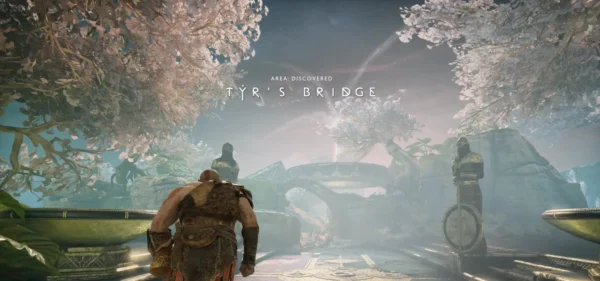
Head to the Serpent’s Horn
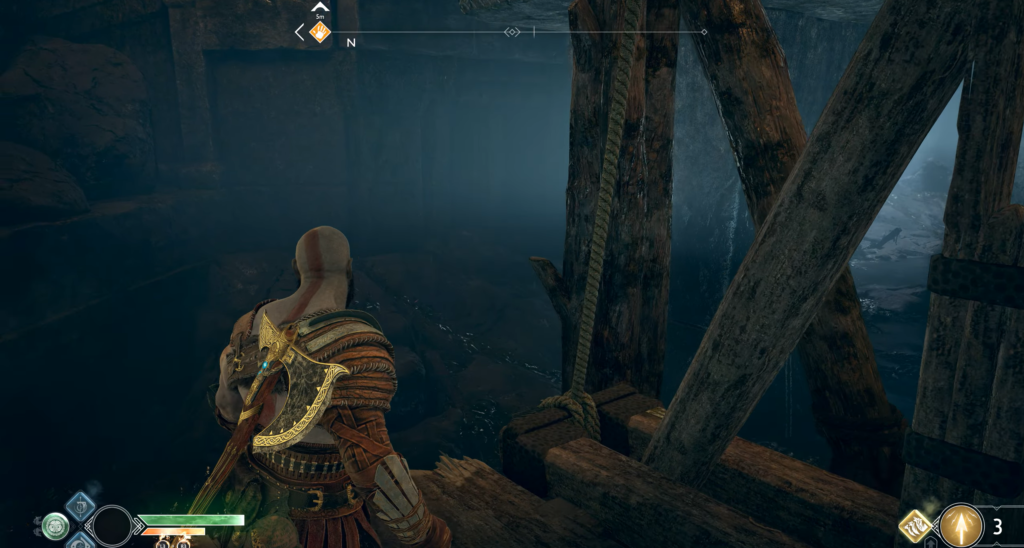
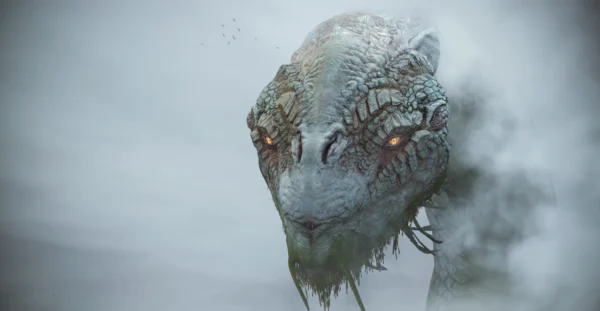
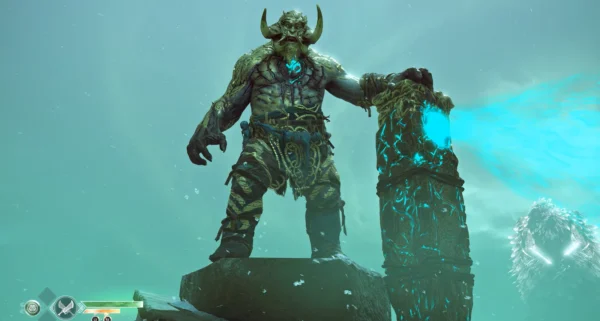
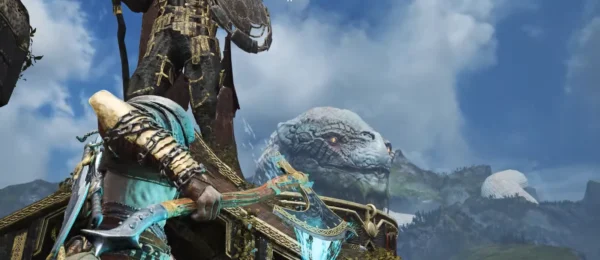
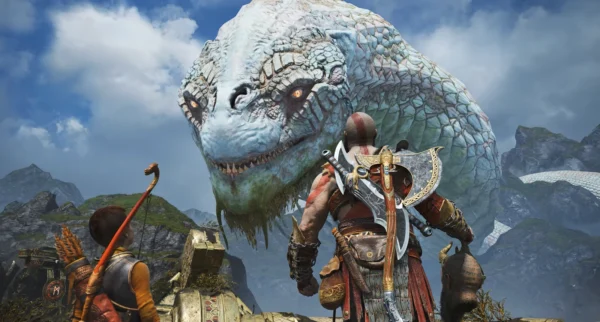
Take the elevator down, get in the boat, and sail to the Temple of Tyur. The goal is a strange horn in the middle of the bridge, which is accessed by a small lift. Cross the bridge, raise the lift, and ask Mimir to blow the horn to speak with the World Serpent.
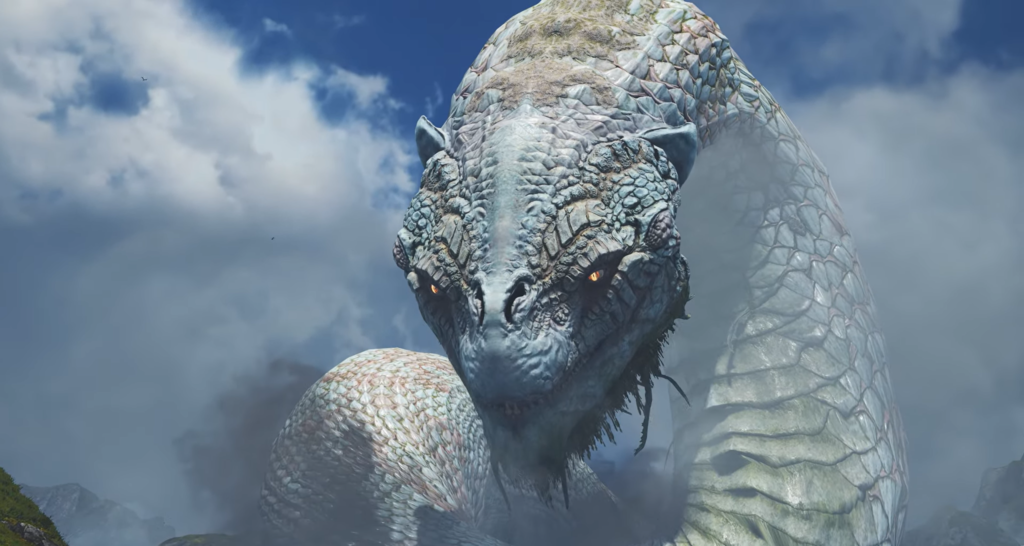
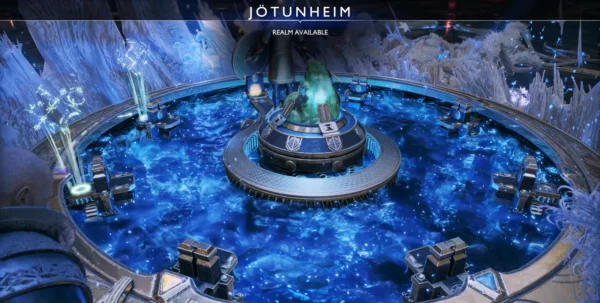
After a conversation (in which you are not allowed to participate), the World Serpent agrees to help and moves the bridge towards Helheim Tower. That is where you will find the two items you need to travel to Jotunheim: a rune of teleportation and a magical chisel, which you will need to carve the rune onto the teleportation gate at the top of the mountain.


Comments (0)
Sign In / Sign Up
Sign in to leave a comment.
No comments yet
Be the first one to share your thoughts!