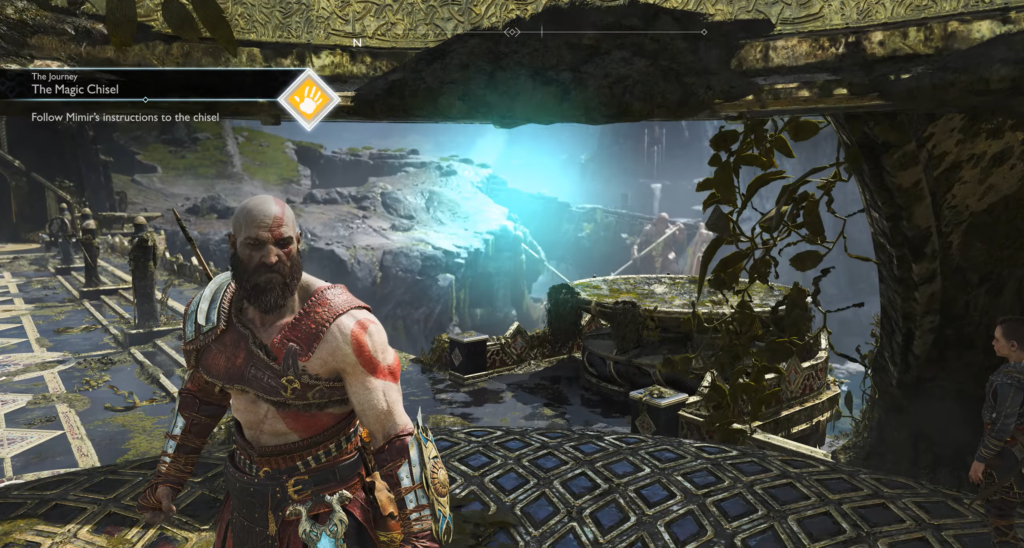
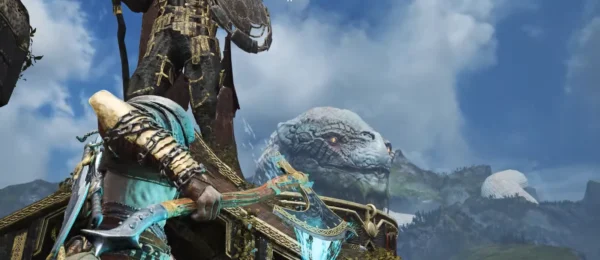
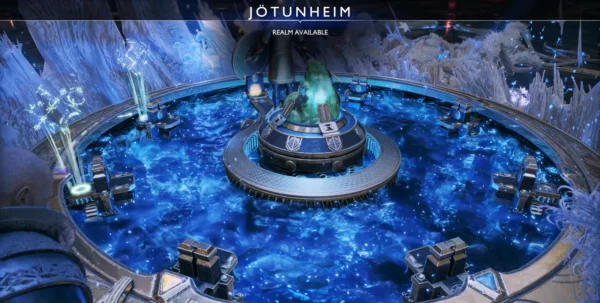
Mimir knows the way to a magical chisel that can carve a rune of teleportation to Jotunheim. Once the World Serpent turns the bridge toward Helheim, the water level will drop even lower, opening up new areas to explore on the Shores of the Nine. Don’t forget to ask Atreus to read the runes on the braziers beneath the Towers of the World: setting all eight towers ablaze will grant you additional experience.
Artifact. To the right of Helheim Tower, right in front of the elevator, one of the artifacts from the “Abandon Ship” series lies next to a dead soldier.
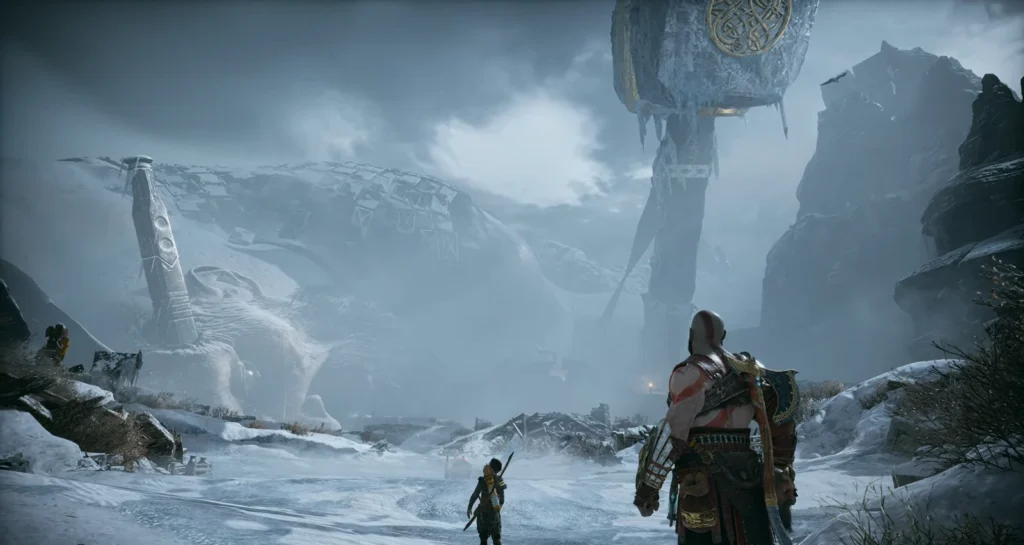
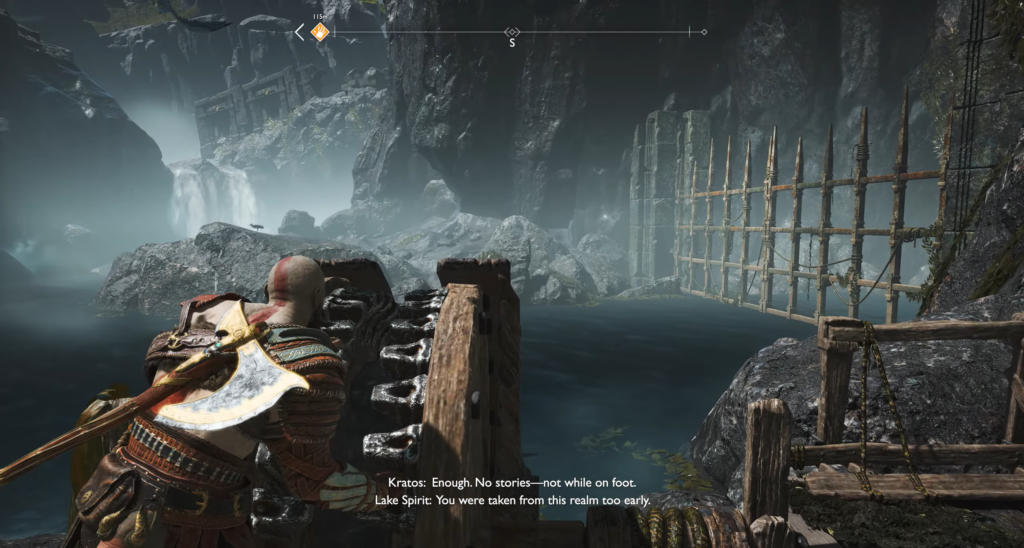
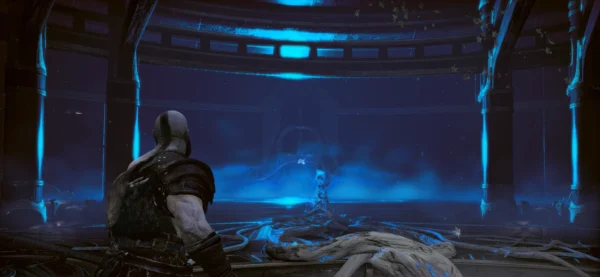
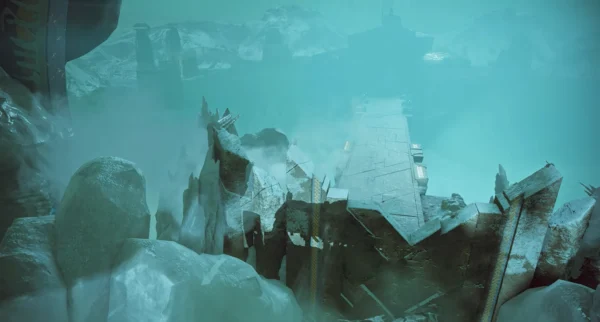
After taking the elevator down, fight off the pesky Nightmares and you’ll find yourself in Mason’s Canal. Two giant statues on boats that previously blocked the way now tower over the shallow water. To the left of the cliff is the Mystic Gate, and in the far corner is a boat dock.
Treasure map. Examine the shoreline — the treasure map “Island of Light” is sticking out of the sand.
New accessible areas
The drop in water level opens up many places. Here’s what’s now accessible:
Area
What you will find
Wall by the shore → Valkyrie Council
Sindri’s Shop and Hidden Area
Opposite shore Alvheim Tower
Quest “Fafnir’s Flight”
The shore below Alvheim Tower
Iggdrasil’s Dew (Power) above the water
Under the Stone Waterfall
Buri’s Vault — a new island
Stone Waterfall
Two giant water wheels, Dew of Yggdrasil (Luck) at the golden gates
Velund’s Crevice
New area near Vanheim Tower; nearby Dew of Yggdrasil (Strength) at the new pier to Raven Cliffs
Observation Tower
New areas under Vanheim Tower; behind the broken statue above Muspelheim Tower — a pier with Rosy Yggdrasil (Defense)
West of Muspelheim Tower
Landsuter Canyon → Landsuter Mines under the River Pass (wait for a quest from Brock)
Below the Niflheim Tower
Yggdrasil Dew (Strength) under the wrecked ship; at the pier to Iron Bay — Yggdrasil Dew (Runic Power); behind the rock in the south of the expanded Death Island — Yggdrasil Dew (Vitality), another one on the west side
Tower of Asgard (west)
Now you can climb up; nearby is the entrance to the Forgotten Caverns
North of the Tower of Svartalfheim
Water tunnel with Dew of Yggdrasil (Luck) and a secret passage to the Forgotten Caverns; to the northwest — Konungsgard (locked)
Northern zone
Light Elf Outpost; on the right in a narrow stream — Dew of Yggdrasil (Reload); to the left — Dew of Yggdrasil (Protection) and Ruins of the Ancient; the tunnel leads to Nordri Gorge → locked Nordri Fortress (of interest to Sindri)
Tyr’s Temple
Lower level with a hidden room and a mysterious door requiring a secret key
In addition to locations, the waters are full of barrels of hacker silver and golden glow “Aegir’s Gold” — so there’s plenty to do before moving on with the story.
Kamenchik’s Channel: Battle at the Gates
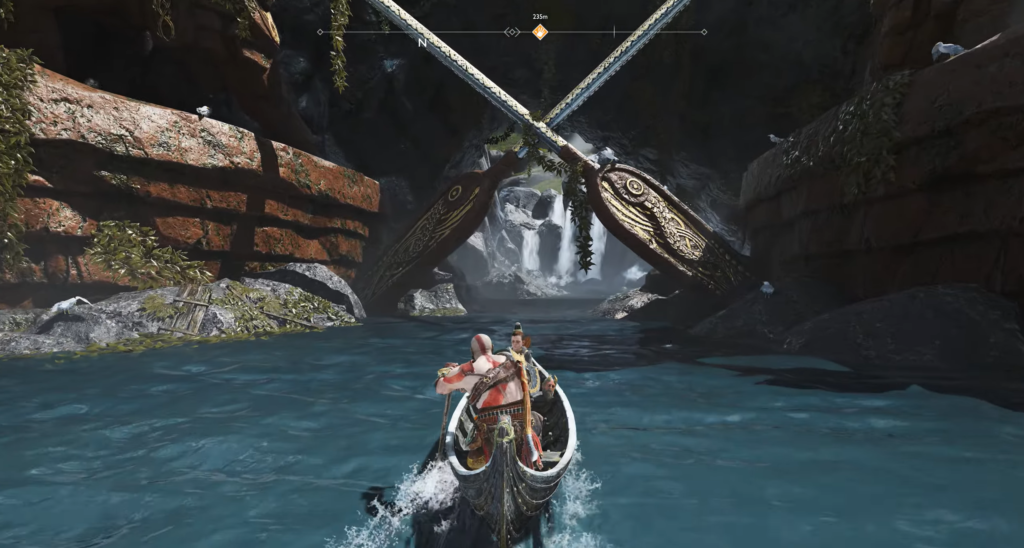
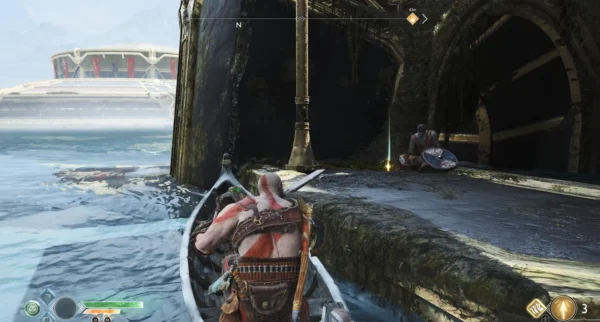
Take a boat between the two giant rowing statues into the Mason’s Canal. The river will lead you to a large gate that opens from the shore.
Quest: Anatomy of Hope. A corpse will rise on the shore, but it is not hostile. The ghost of Gullveig asks you to find the bones of his beloved, scattered across Lake Nine, and promises a reward.
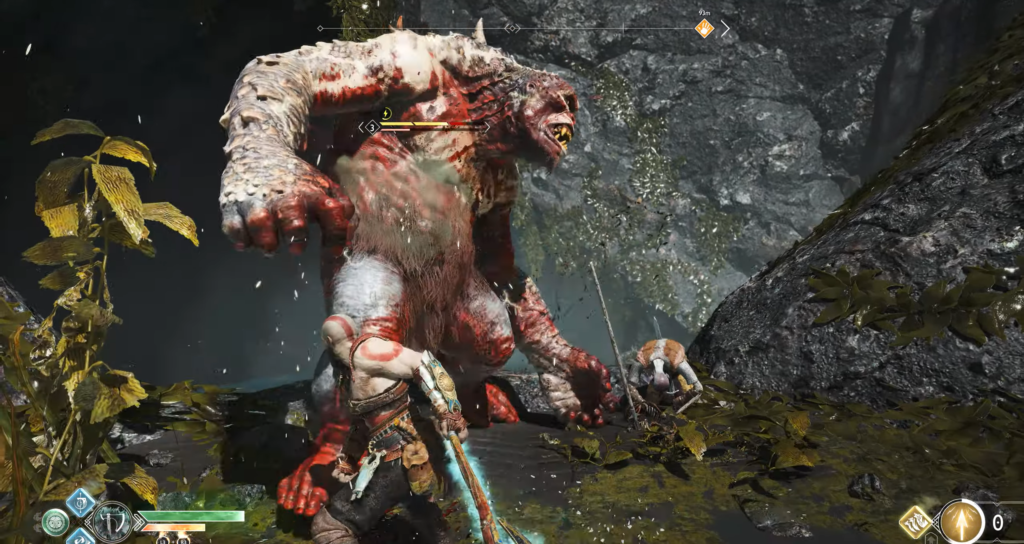
Approach the mechanism and turn the wheel. The gate will begin to open, but an Ogre will immediately appear, accompanied by several Dark Elves thirsting for revenge. Use your newly discovered combinations together with Atreus’ abilities to wreak havoc among your enemies. Remember to use your evasion skills, counterattacks, and sprint attacks to close the distance with the Elves. It’s best to circle around the Ogre, stunning it with Atreus’s blows and arrows until you have an opportunity to finish it off.
After the victory, collect the healing stones if necessary and take the Strong Svarthalmheim Steel from the Ogre’s body.
Leave Bricklayer’s Channel by boat and head for the main area—Tamura’s Corpse. Be sure to check the map to assess the scale of the new zone.
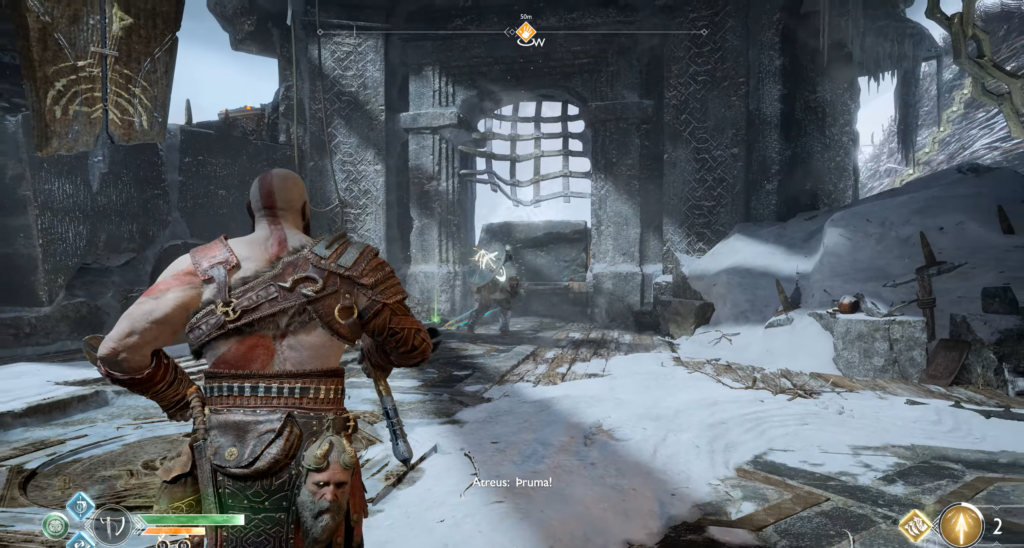
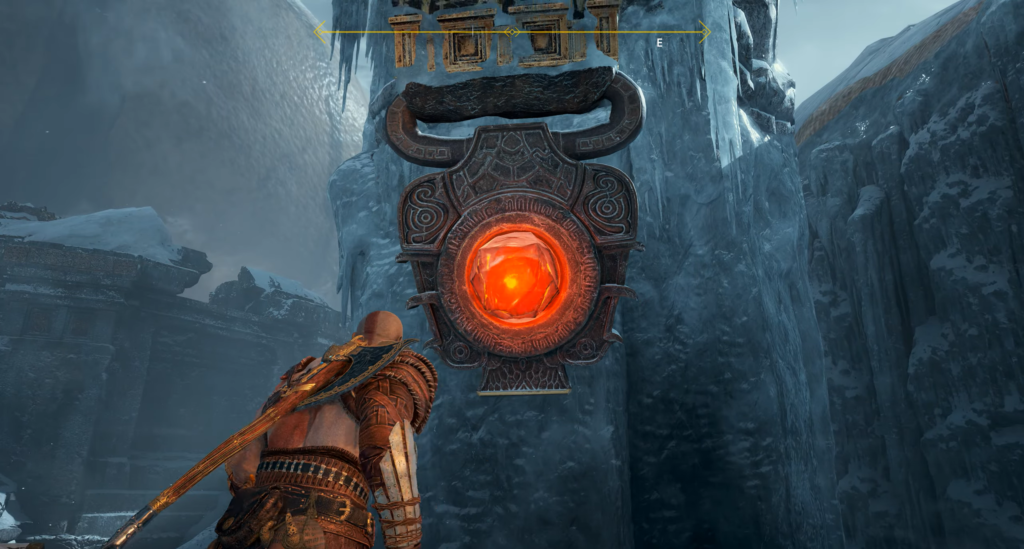
At the North Pier, check out the Mystic Gate before exploring the icy territory.
Odin’s Raven. Standing facing the Mystic Gate, look up — a small greenish raven sits on the ruins, barely audible from such a distance. Aim higher so that the axe descends in an arc directly onto it.
Tamura’s Corpse: The First Battles
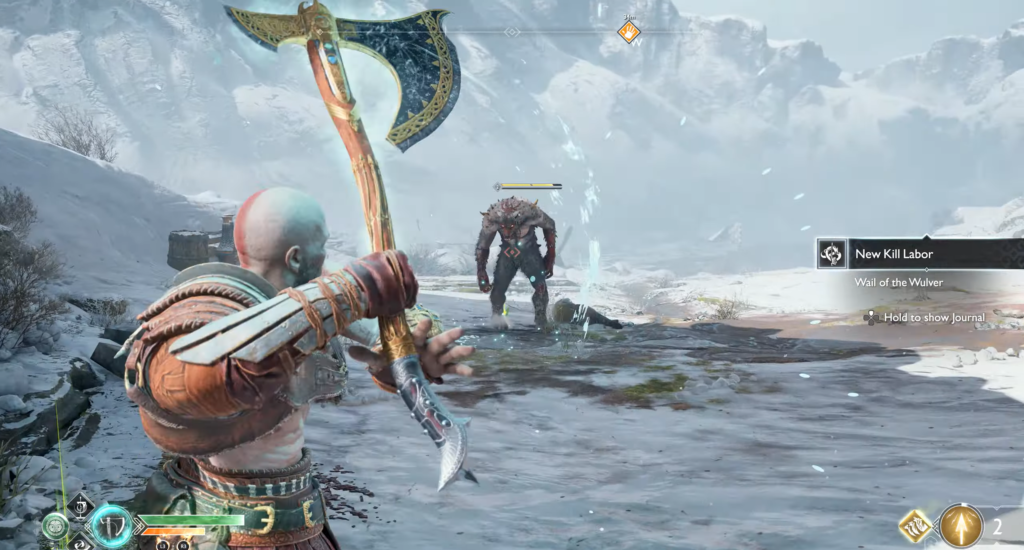
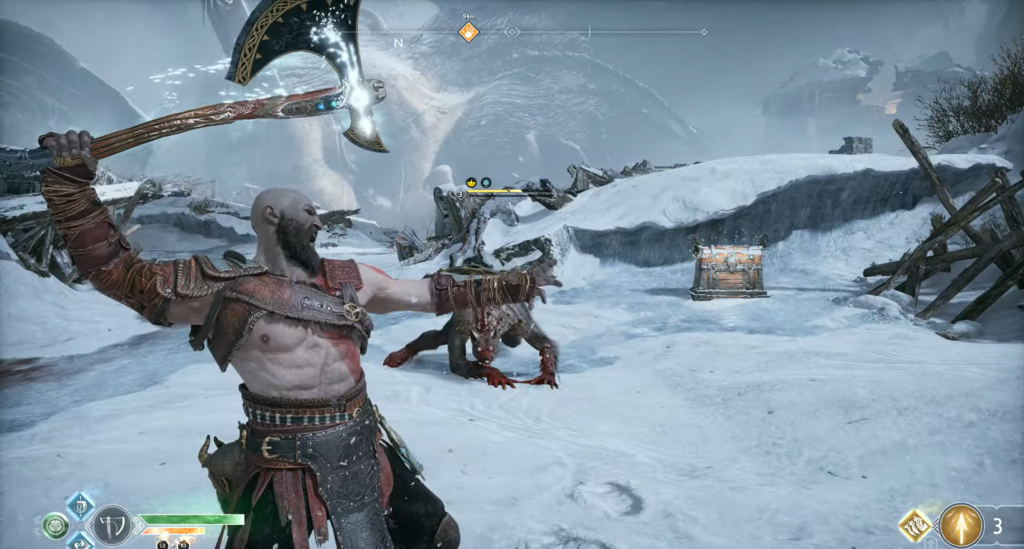
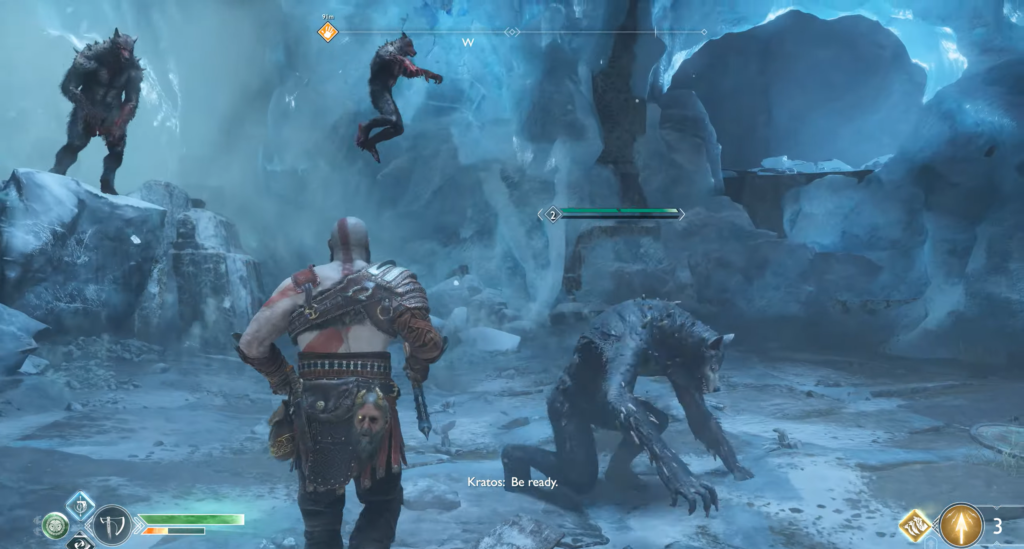
Вульверы
Here you will encounter a new type of enemy — Wulvers. These werewolf-like creatures are extremely fast and constantly dodge both melee and ranged attacks. Their claw attacks can sometimes be blocked and counterattacked. However, when low on health, the Vulver becomes more dangerous: it grows bloody claws that deal increased damage, and it can also perform a grab — in this case, quickly press the Circle button to break free. Take advantage of stun moments or use shock arrows to immobilize them for a second and deal maximum damage.
Destructible crystal on the giant’s ring
Nearby is a sealed Hidden Room by the ice wall. Note the ring on the dead giant’s finger—it is made of a Shard Crystal. Shoot it with a shock arrow to loosen it, then turn the ring so that the crystal is pointing at the ice walls, and shoot it again with a shock arrow to destroy the ice.
Right wall — behind it is a chest containing Strong Svarthalheim Steel.
The left passage leads to a small pit with another sealed door. Inside is a hanging bucket with hacker silver, and above it is a corpse with additional silver.
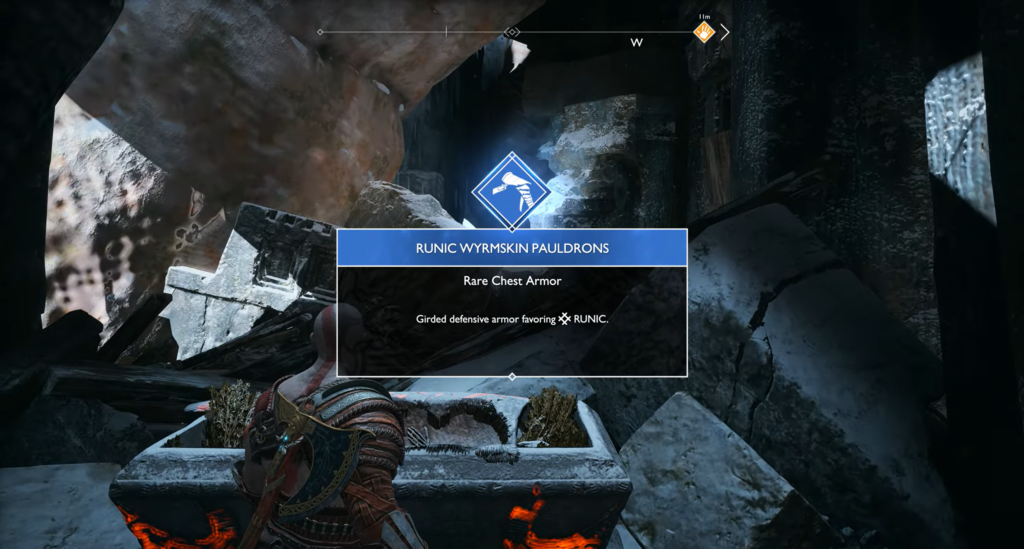
Behind the chain at the end of the ramp is a chest containing Runic Wyvern Shoulderguards and Sturdy Svarthalheim Steel. Climb up the chain, leaving the dead giant’s arm behind.
Tundra: From Hand to Head Tamura
The long tundra separates you from the rest of Tamura’s body. The Vulvers are lurking on the right—don’t let them catch you off guard. If they dodge all your attacks, provoke them into striking and counterattack with a precise block, then increase the pressure.
Rune reading. To the right of where the Vulvers were, in the large ruins, there is a light crystal in red resin. Underneath it is a rune inscription for Atreus: “Njord of the Vanir.”
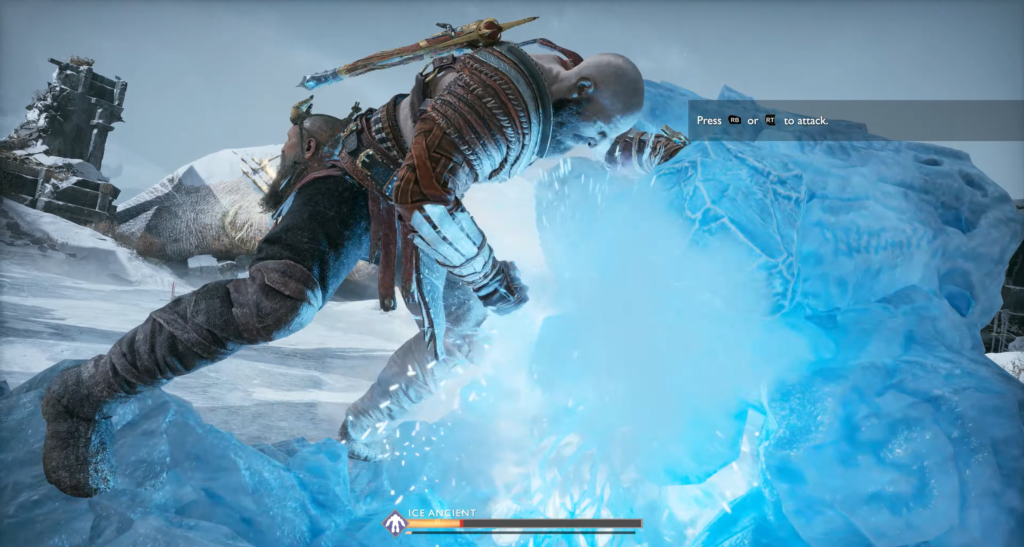
In the middle of the tundra, there is a lone chest on a sled containing Lat’s armour and sturdy Svarthalfheim steel. On the other side of the ruined house is a block of ice, from which the Ice Ancient emerges when struck.
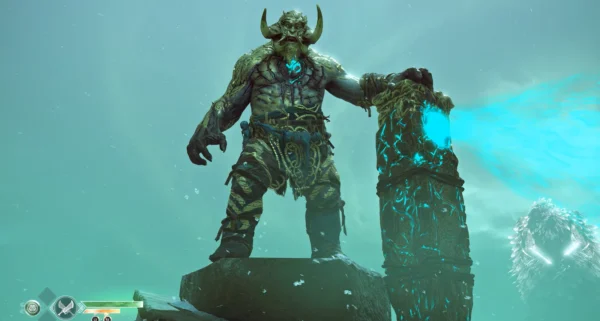
Battle with the Ice Ancient
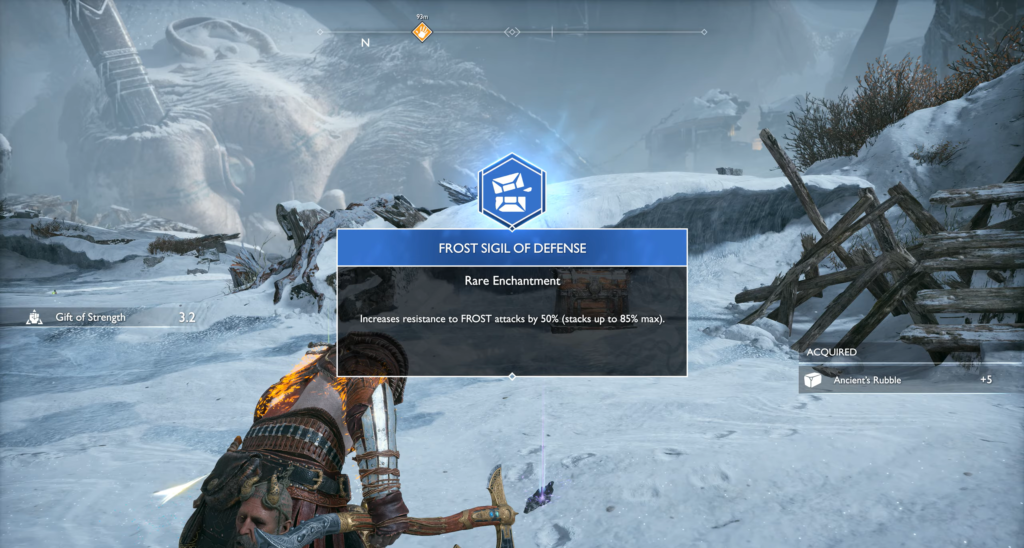
Wait until his chest opens up, then throw your axe. Dodge his projectiles until explosive stones fall out of him — pick them up and throw them back. When he falls to his knees, throw your axe again to fill the stun meter, then switch to melee combat. The Ancient One also releases concentrated ice beams and, when low on health, summons Nightmares — let Atreus distract them. Victory rewards: Sturdy Svartalfheim Steel, Ancient One’s Shards, Frost Seal of Protection, and the Heart of the Ancient One.
(Note: if you missed the Ice Ancient, it can be found in post-game mode at the entrance to Odin’s Hidden Room in the Tamura Corpse area.)
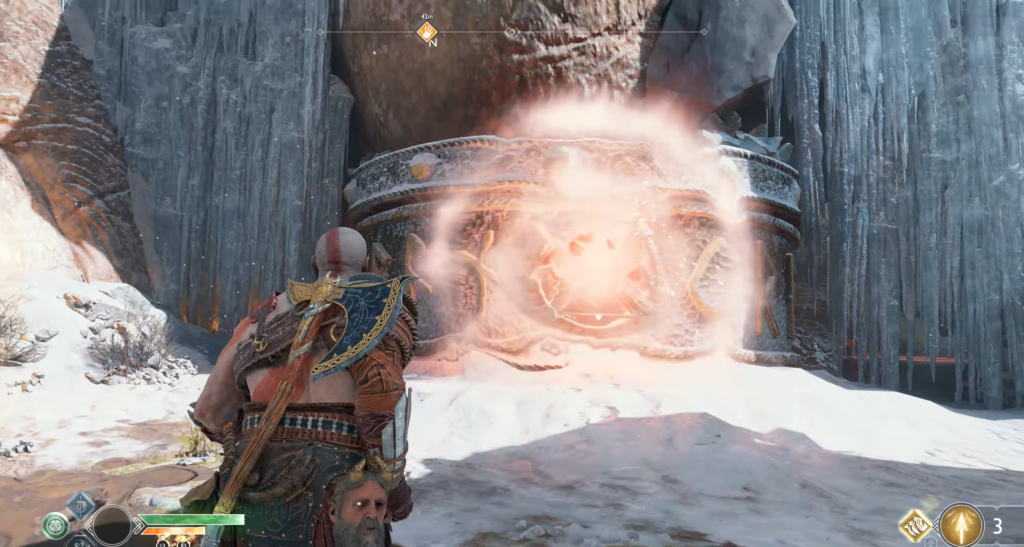
The mystery of the rune seals
To the left of the battle site with the Ice Ancient, there is a closed gate with three rune seals (similar to Norn chests). You need to find the symbols: “E”, side “R” and side “p”.
Side “R” — rune mechanism at the top left. It has one blade, so hit behind the mechanism to reach the desired symbol.
“E” — return to the rune reading spot on the other side of the tundra. Find the blade, hit it to raise the mechanism, and quickly scroll to the “E” rune.
Side “p” — take the right path to the Shard Crystal source near the chest with hacker silver. Take the crystal and move towards the giant’s face, then to the left: the resin of the World Tree covers the last mechanism. Destroy the resin and turn it to the desired rune.
Behind the gate is a chest containing several Sturdy Svarthalheim Steels and a Ranger’s Mark (legendary upgrade).
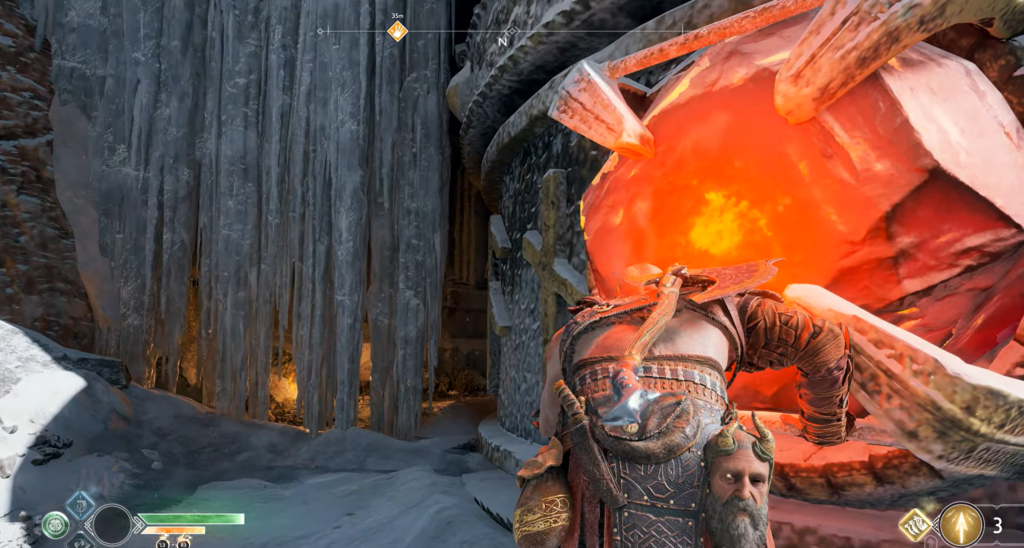
The Rift of the World
Before going to the giant’s head, take another Shard Crystal, return to the rune reading spot, and throw it into the resin on the light crystal. Knock the blue crystal down, place it on the pedestal on the right, and the World Rift will open. This time, no enemies will appear, and you will receive World Dust.
The path to the head: extracting the drill bit
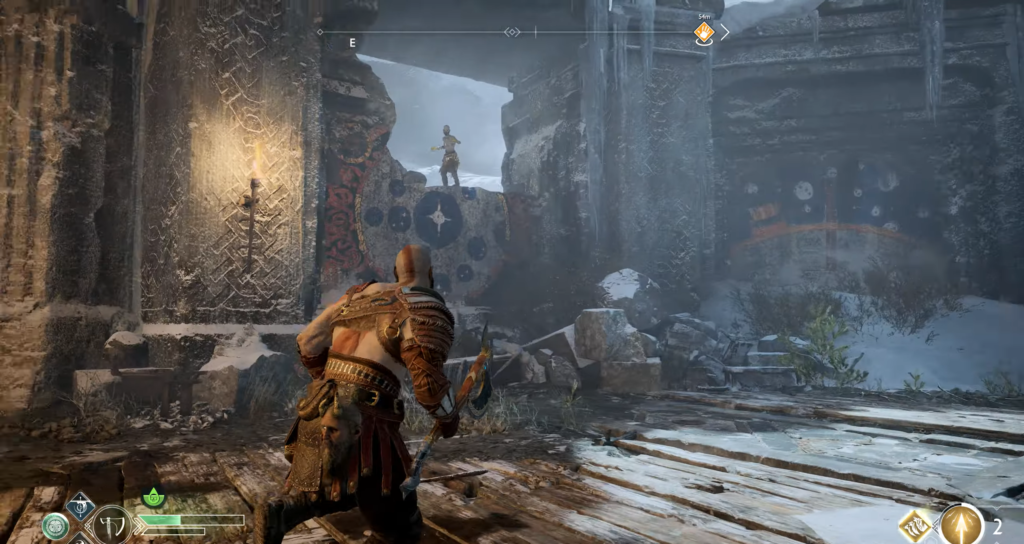
Ambush at Tamura’s Head
Heading down the path toward Tamura’s head, you will see a piece of chisel under the ice. Kratos will come up with a plan, but first you’ll have to fend off an attack: several waves of Draugr—ranged, heavy, and shield-bearers. First, deal with the archers or redirect their projectiles at other enemies using “Counterstrike with Explosion.” Then focus on the slow, heavy Draugr.
In the second wave, two Ogres will join the Draugr—one of which is a higher level. Activate “Spartan Fury” as early as possible, target the strongest Ogre, using Atreus to increase damage and stun. Once you have mounted the Ogre, use it against the second Ogre and the surrounding Draugr — after that, it will be easy to finish off the last Ogre.
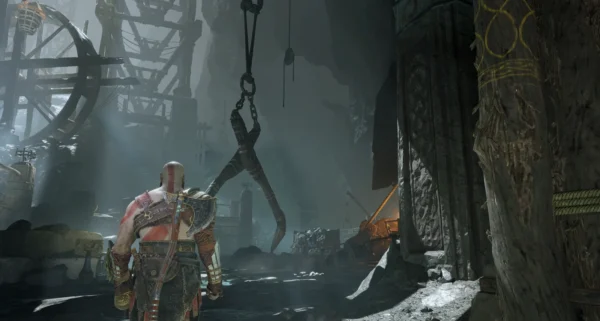
After the battle, Sindri will appear, lower the chain, and upgrade your axe. Take advantage of his shop — make sure Atreus’ bow and quiver are at least level 4.
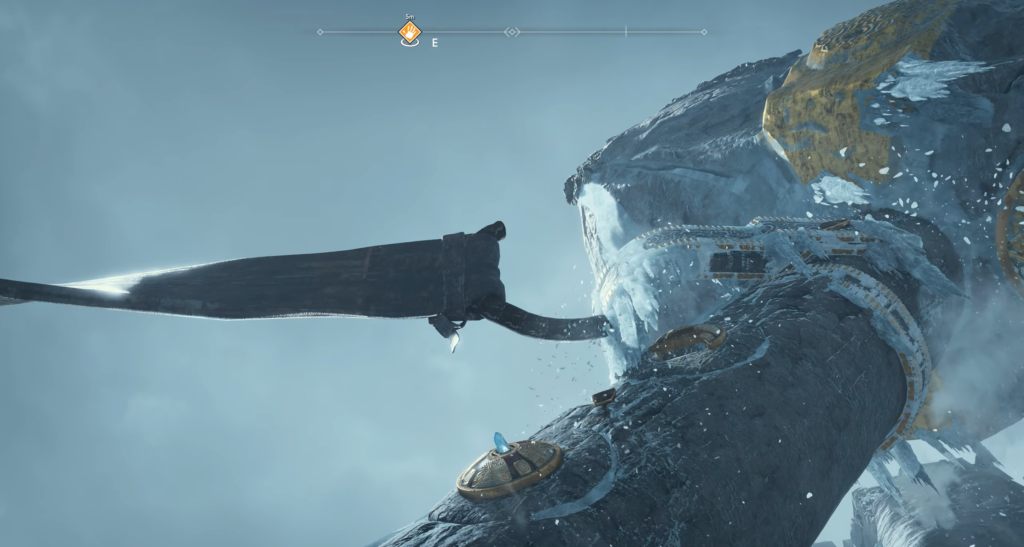
The Giant’s Beard
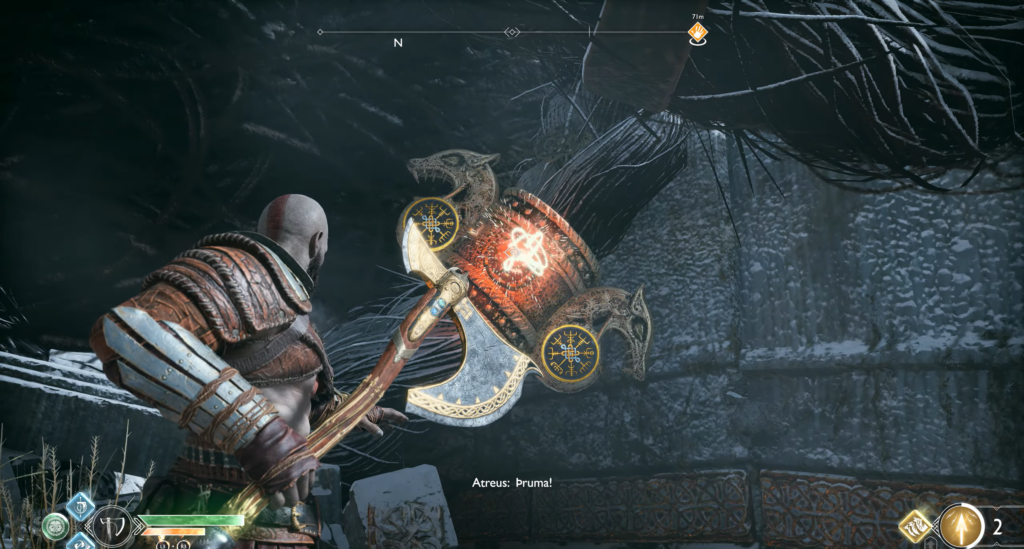
To reach the hammer in the distance, examine the beard of the dead giant — Shard Crystals are located along the length of the braid. Shoot each one with shock arrows (you must first turn the middle clasp with an axe to expose the crystal). The destroyed stones will form a new path.
Follow it to a large building. At the entrance, there is a chest with hacker silver. Go around the building and find the door inside.
Fight with the Traveler
Inside the building, a formidable enemy awaits—the Traveler, a Viking in heavy armor with a massive shield on his back.
Tactics:
The traveler often turns his back, holding his sword behind him — in this position, he is almost invulnerable, although some rune attacks can cause damage.
From this stance, he either makes an unblockable lunge or swings his sword in a sweeping motion — difficult, but blockable.
Your moment comes when he turns to face you. Deal maximum damage, but be prepared for an instant counterattack — an unblockable overhead strike that becomes more frequent as his health decreases.
He summons Shadow Marauders from above and from the side — let Atreus quickly deal with them.
If he raises a glowing trophy above his head, it charges up and deals massive damage. Throw your axe from a distance or command Atreus to interrupt the charge and stun the enemy.
When his health is low, his armor will begin to break down, and he can finally be shaken with heavy blows.
Victory will yield the Traveler’s Terrifying Trophy and Traveler’s Armor Fragment, which are components for crafting.
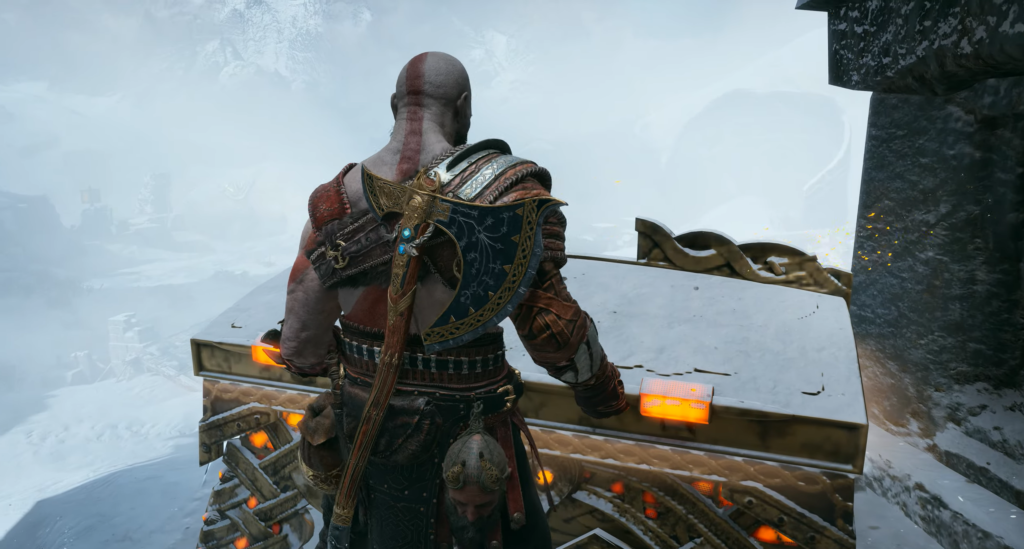
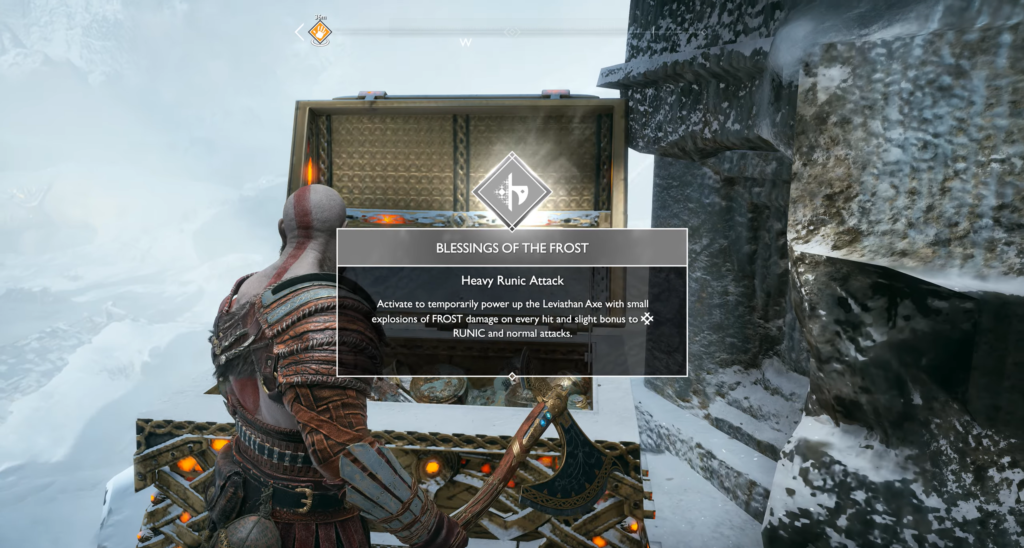
Legendary Chest. When pulling the stone block out of the passage, stop when it is next to the giant’s sword-shaped pendant. Climb onto the block, throw your axe at the pendant to change its position, jump onto the pendant and then onto the upper platform. There you will find the legendary chest with Frost Blessing (heavy rune attack).
The Road to the Hammer
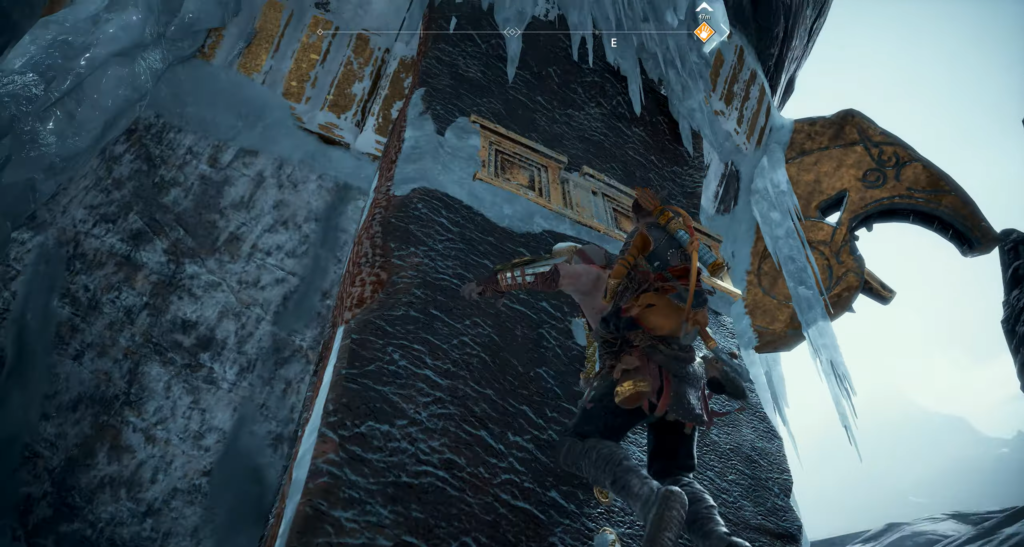
Pull the stone block all the way out and go outside. On the ramp, go down to the left behind the chest on the balcony, then go around the building along the wall until you reach the strap of the giant hammer with the Shard Crystal.
Go to the belt and push it toward the base of the ice on the opposite side. Have Atreus shoot the crystal when the belt gets closer. Repeat twice—the ice will break, leaving only the last chain holding the hammer.
Breaking down the last barriers
Move to the new belt position and strike the Shard Crystal again to break the ice wall. Behind it is a chest containing Sturdy Svarthalmheim Steel.
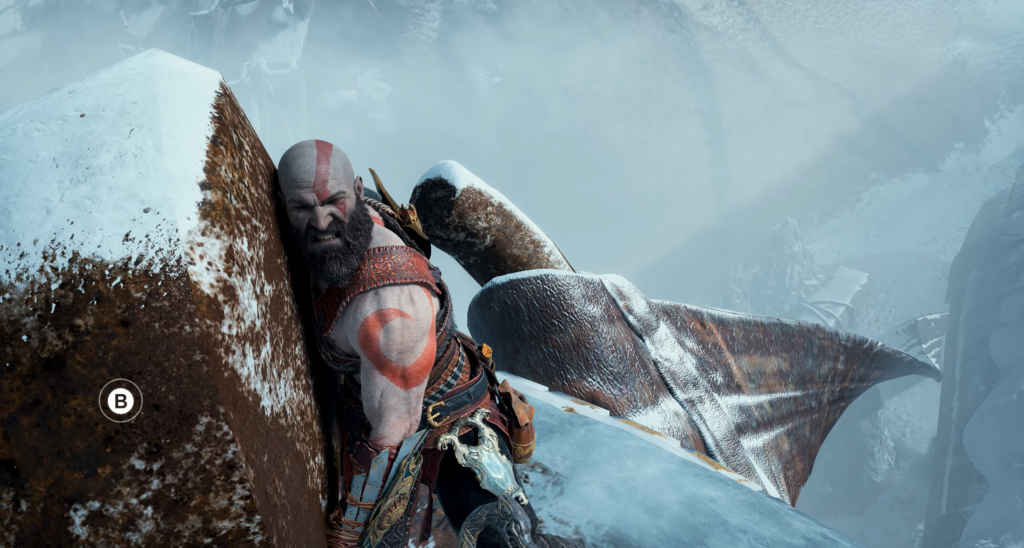
Return to the belt and climb up it to the hole in the hammer handle. On the other side, continue climbing, shoot the Shrapnel Crystal at the exit, reach the base of the last belt, and push!
Building above the ice
After falling, you will find yourself on a new platform. Collect the hacker silver from the body outside and go inside.
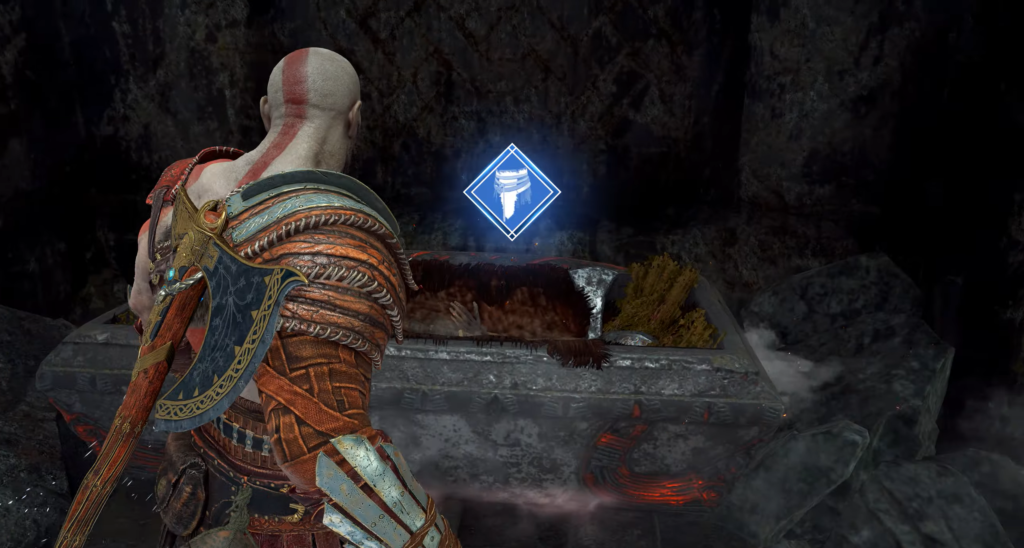
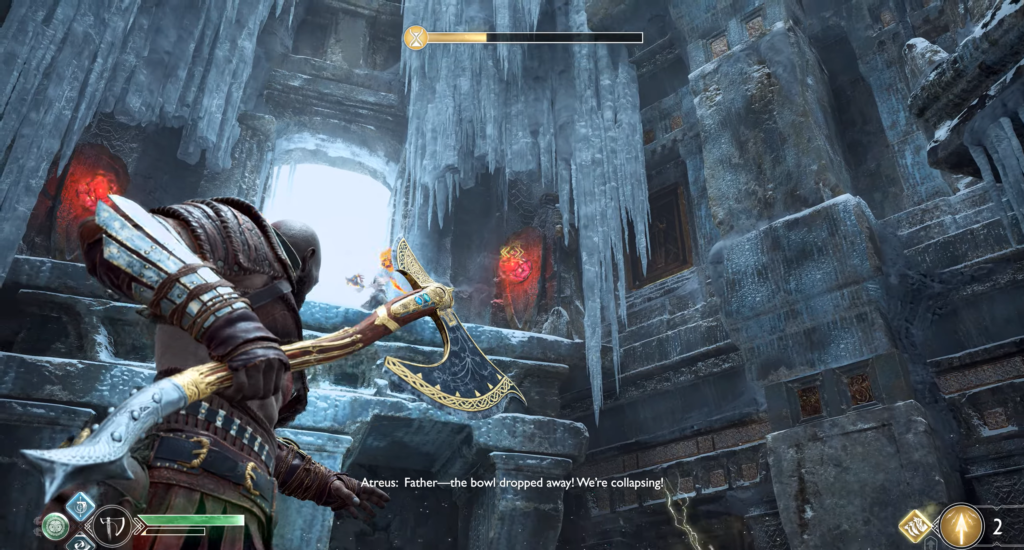
On the left is a chest containing a Rune Belt and Strong Svarthalmheim Steel. In the next room, there is a bowl of sand on the other side of the collapsed floor. Break the debris on the right so that Atrey can climb through to the bowl.
The mystery of the seasons
Atreus will read a riddle, and four panels representing the seasons will appear behind him. Following his hint, tap the panels from left to right: Winter (snowflake), Spring (flower), Summer (sun), Autumn (leaf). This is the wrong order — Mimir will suggest trying the opposite:
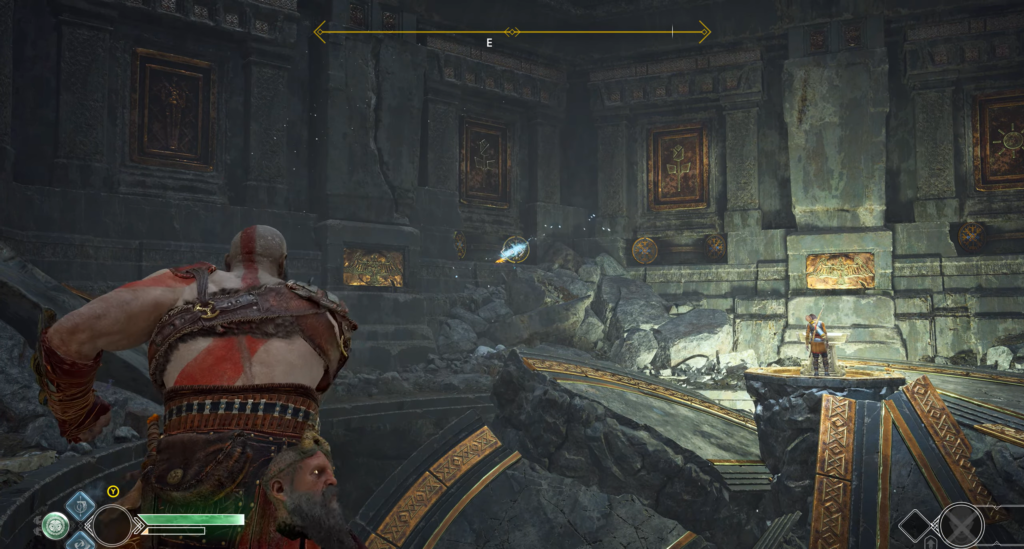
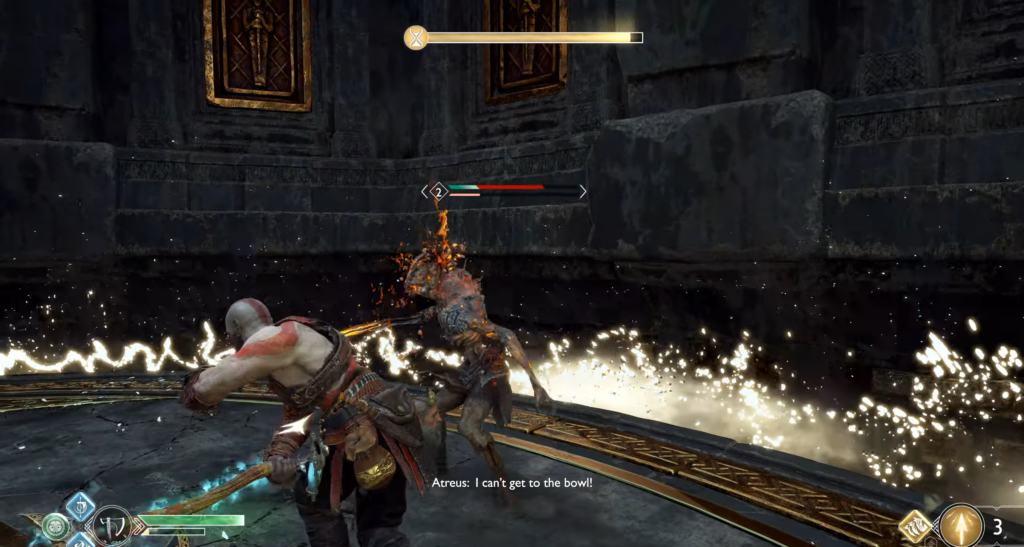
A time loop is activated: the platform will begin to rise while Atrey carves the runes. Your task is to deal with waves of enemies before time runs out.
Wave
Composition
Council
1
Regular and Shield Draugr
Runic area attacks for quick clearing
2
Fast and heavy Draugr
Knockback attacks to knock enemies off the edge of the platform (Leviathan’s Fury, Shoulder Charge, Guardian’s Justice)
Atrei — on Nightmares; stun the Revenant; if necessary — “Spartan Fury”
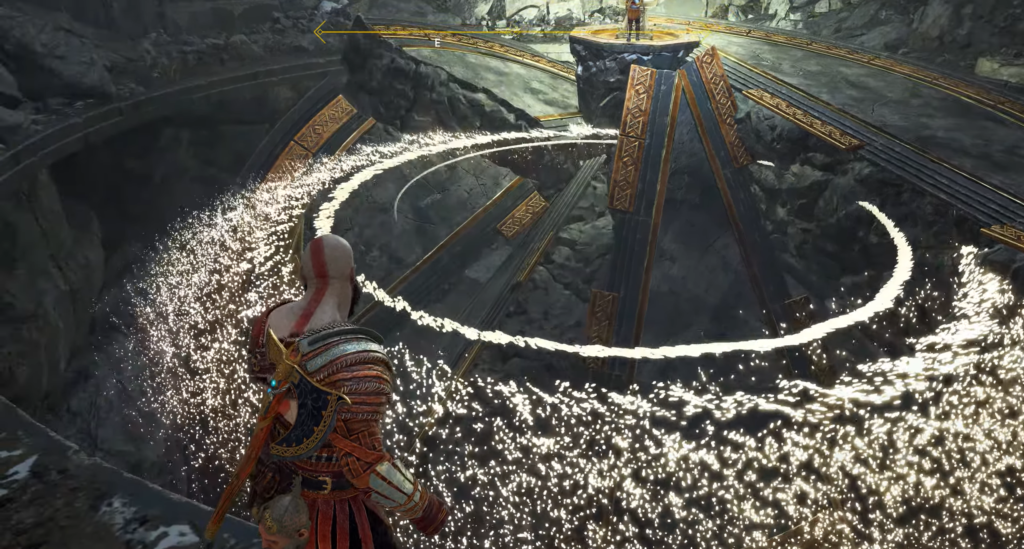
Long-range Draugr will appear at the top, targeting the sand bowl. Quickly destroy them, then shoot the two Shard Crystals on the platform above, jump up there, and climb up before the pedestal collapses.
Upstairs, collect the hacker silver from the body, get to the hammer, and knock it down!
Under the ice: the path to the drill
The hammer has broken through the ice, and the glowing tip of the drill bit is now visible. Start climbing the walls.
After the ice blocks collapse, turn right (not left) as you descend — there is a chest with Durable Svarthalheim Steel hidden under a small platform.
Find the platform when the path ends, then climb up the ice wall. Jump to the opposite side of the crevice, pick up the hacker silver from the body on the left, and enter through the giant door.
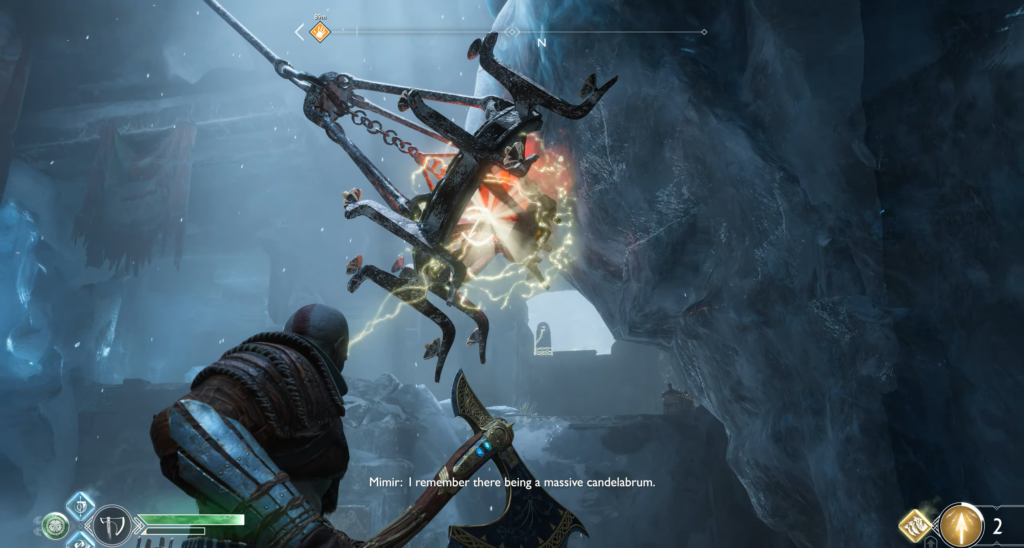
Banquet Hall: Three Battles
Inside the Feast Hall, silhouettes are carved into the far wall of ice. To get out of here, you’ll have to free them.
Chandelier with Shattered Crystal. Have Atreus shoot at the crystal on the giant chandelier until it falls to the ground. Pick up the shards and throw them at the ice walls.
Left Wall — Several Vulvers, including Ferocious Vulver, will burst out of the ice. When they surround you, use powerful rune attacks and rune summons, counterattack with your shield, and immobilize them with shock arrows.
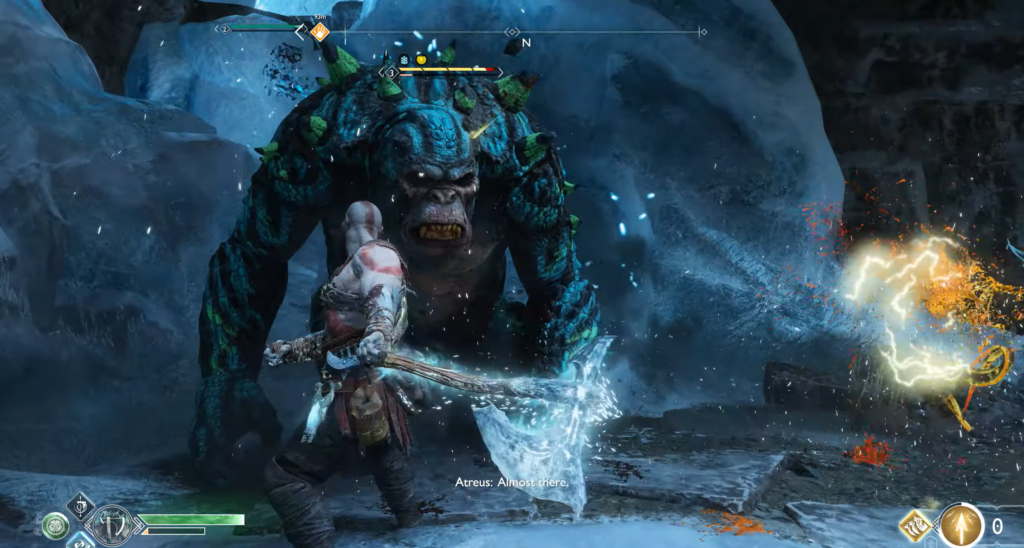
Right wall — Ferocious Ogre and Nightmares will burst out. Deal with the Nightmares first, dodging the Ogre’s blows and boulders, then stack stuns on the Ogre itself.
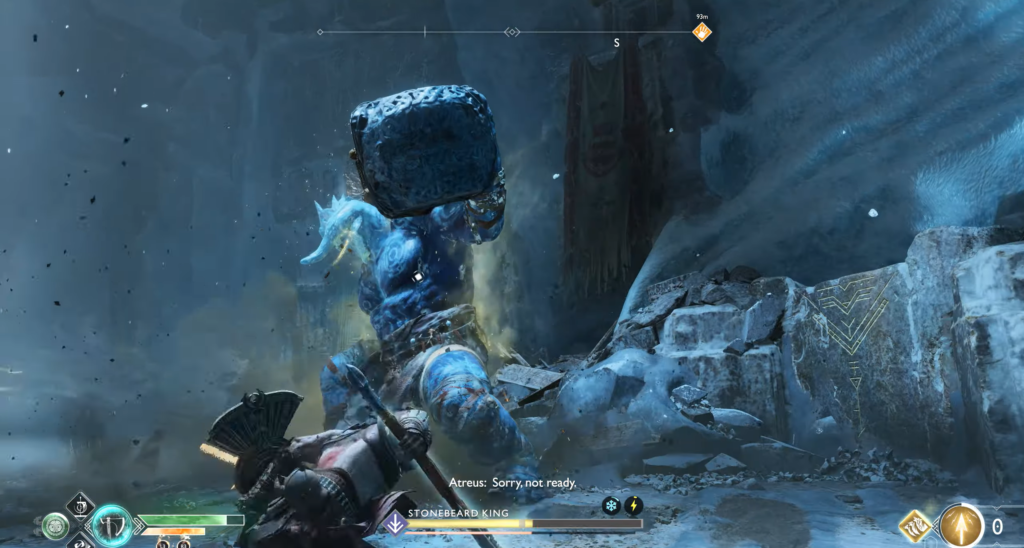
The central wall — the fearsome troll Icebeard King will appear from it. He resembles the ice troll from the Mountain, but is much stronger and faster.
Tactics against the Icebeard King:
It uses charged ice kicks or weapon strikes to cause ice tremors. A precise axe throw or arrow shot to its charged limb or head will stun it momentarily—run in with a heavy strike.
Watch for the moment when he begins to swing his weapon around his back and over his head—a powerful strike to the ground will follow, creating ice shards in a wide area in front of him. Dodge to the side.
Atreus can switch to light arrows to increase the stun effect. Add shield strikes to fill the stun meter and climb onto the troll.
When his health is low, he will summon wolves — deal with them first.
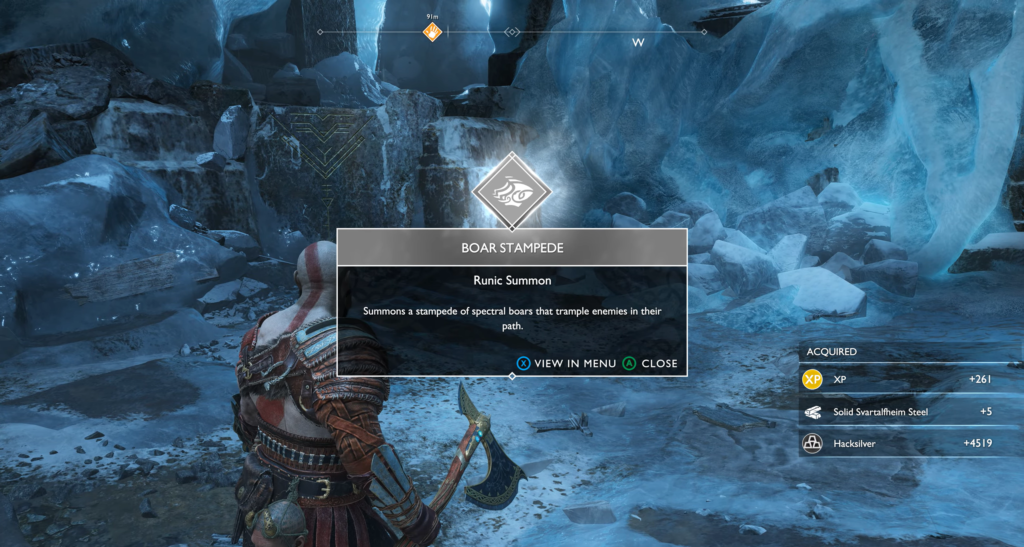
Defeating the Icebeard King will yield Boar’s Charge (runic call) and Sturdy Svartalfheim Steel.
Chest in resin. Before leaving, throw the Shard Crystal into the chest sealed in resin on the ledge above you.
Follow the newly formed path to the next Sindri’s shop. It’s time to upgrade your equipment, especially Atreus’ armor and weapons.
Above the shop is a bucket with hacker silver. Go outside and turn right—there you will find the freed chest with Strong Svarthalmheim Steel.
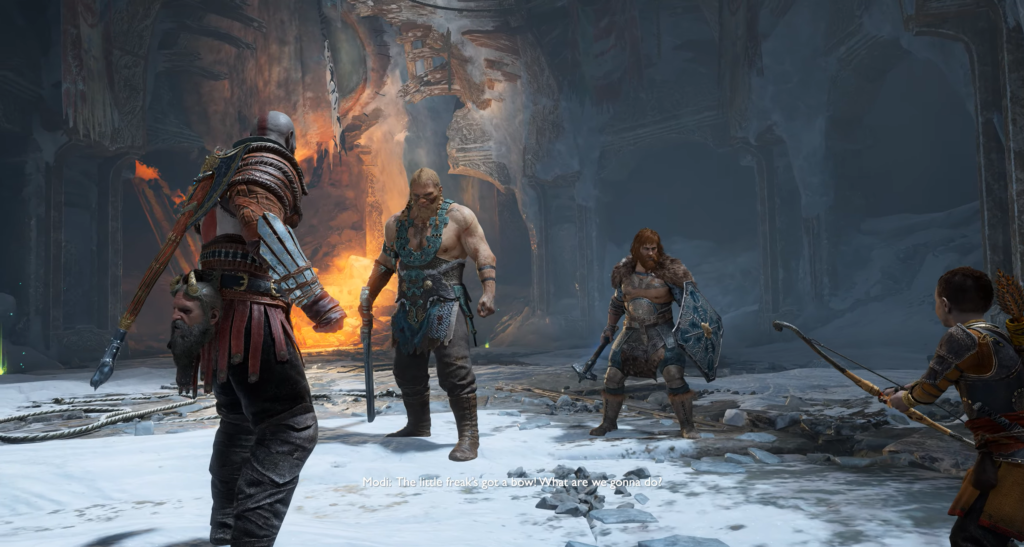
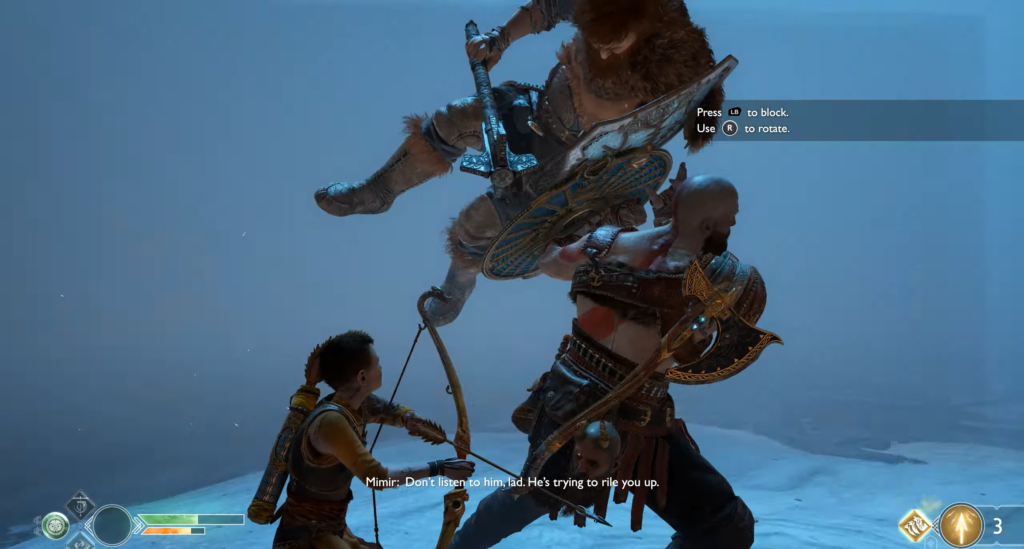
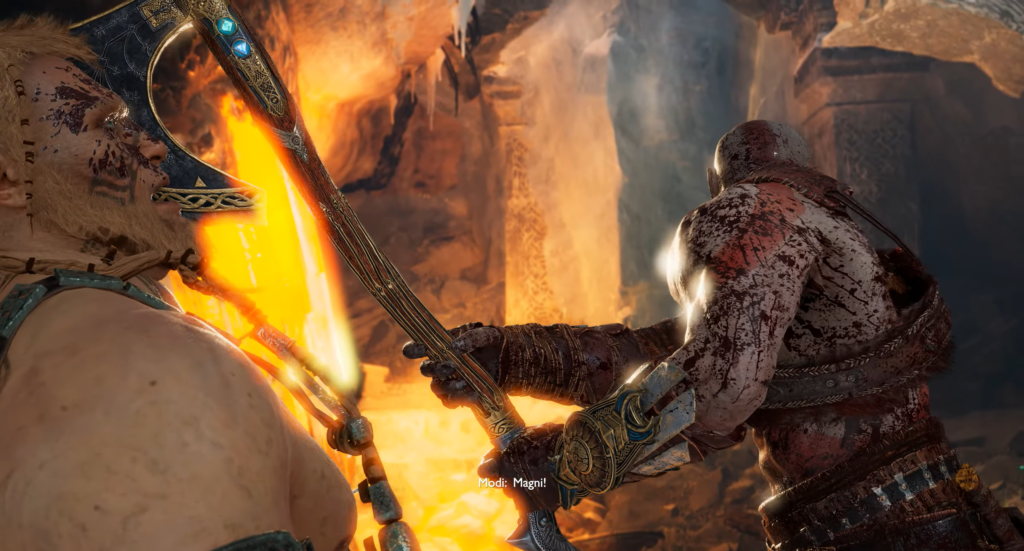
Boss fight: Magni and Modi
Move towards the chisel, but you will be intercepted by two enemies: Magni (lightning sword) and Modi (lightning mace and shield). Usually, one attacks Kratos and the other attacks Atreus.
Phase 1
Keep an eye on the alarm indicators: if one of the brothers grabs Atreus, immediately run to him and attack, otherwise the boy will be knocked down.
Magni strikes with a series of three reverse swings — these can be blocked and counterattacked. Unblockable overhead strikes require a running start, so they are easy to anticipate and dodge.
Mody charges his shield with electricity and launches a frontal attack — don’t try to break through his shield, but block and counterattack when the attack is not marked as unblockable. If he taps his shield, retreat and block — a lightning strike will follow in the area around him.
Key tactic: Focus your attacks on one of the brothers. The stun gauge here does not decrease over time, as it does with normal enemies. A full stun will knock the enemy into a protective electric field — use this time to deal maximum damage to the remaining brother.
If Magni tries to grab you, press Square together with Atreus to counter.
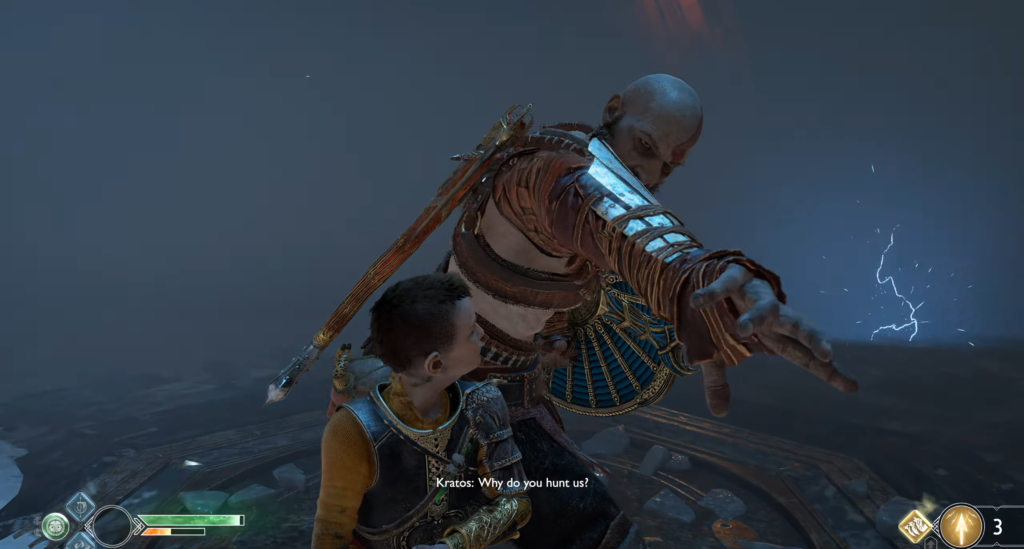
Phase 2: Darkness and Lightning
After completely stunning both brothers, they combine their attacks: the arena is plunged into darkness, pierced by lightning. Spin around, look for attack indicators and silhouettes running out of the shadows — hold your block until the light returns.
Modi will start throwing electric bombs with a large blast radius.
Magni slams his sword into the ground and pulls out a moving shockwave—block or dodge when it appears. Sometimes Magni throws a charged Modi, which creates an explosion upon landing.
Scout the arena — healing stones will help you hold out in a protracted battle.
Phase 3: Final
After stunning them again, another lightning storm will strike. This time, the brothers may try to trick you: if you see that one has stopped, lower your shield and turn toward the other before he strikes.
Joint shock waves across the arena.
Magi raises his sword to charge a powerful strike—collide with him to break the charge.
Mody strikes his shield and releases a bolt of lightning—block and move sideways until the bolt fades.
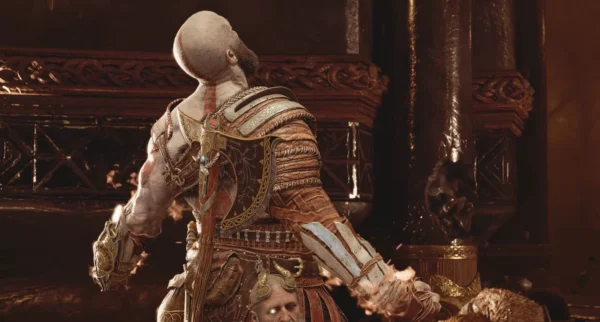
Continue to stun one of the brothers to take him out of the fight, then finish off the second one. Once both of them are out of health, follow the prompts on the screen.
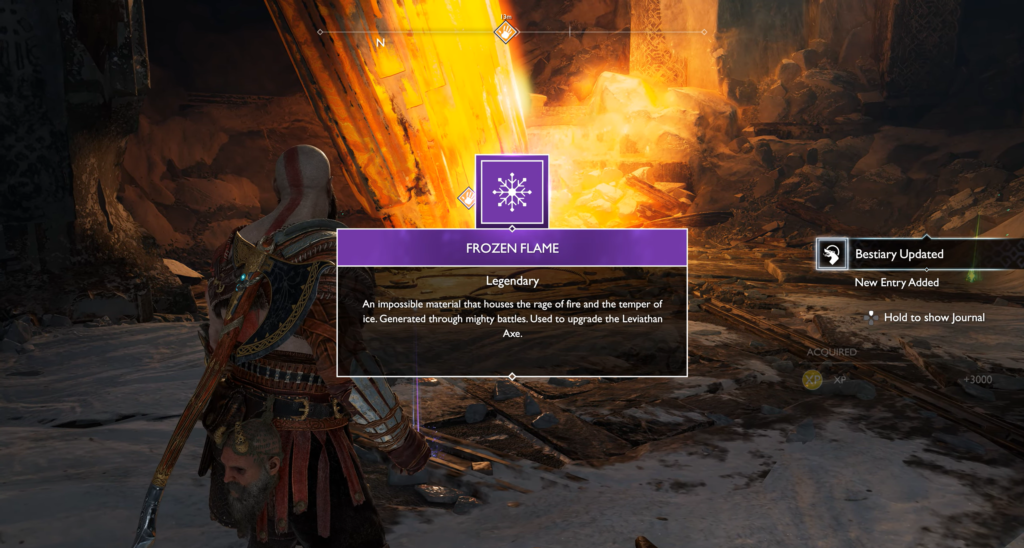
Award
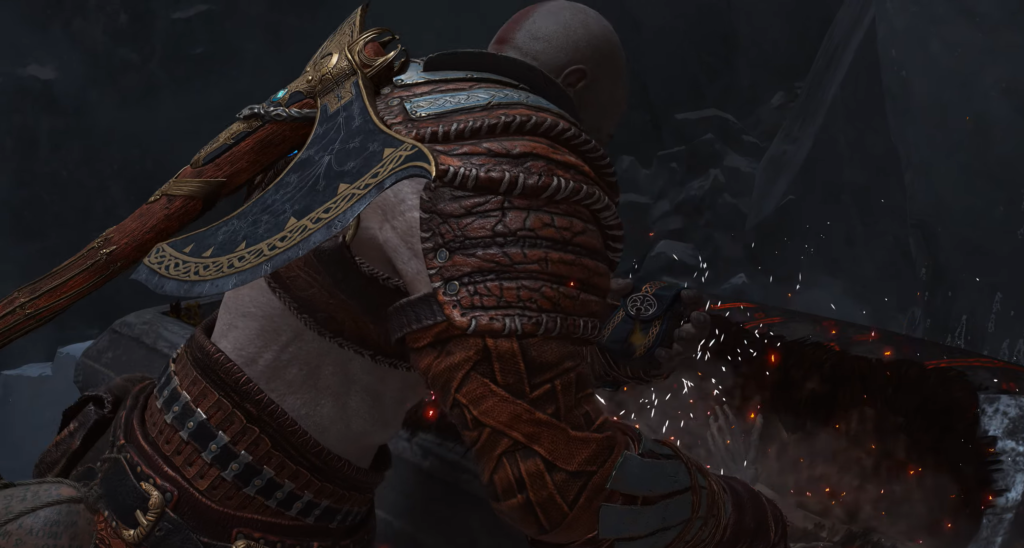
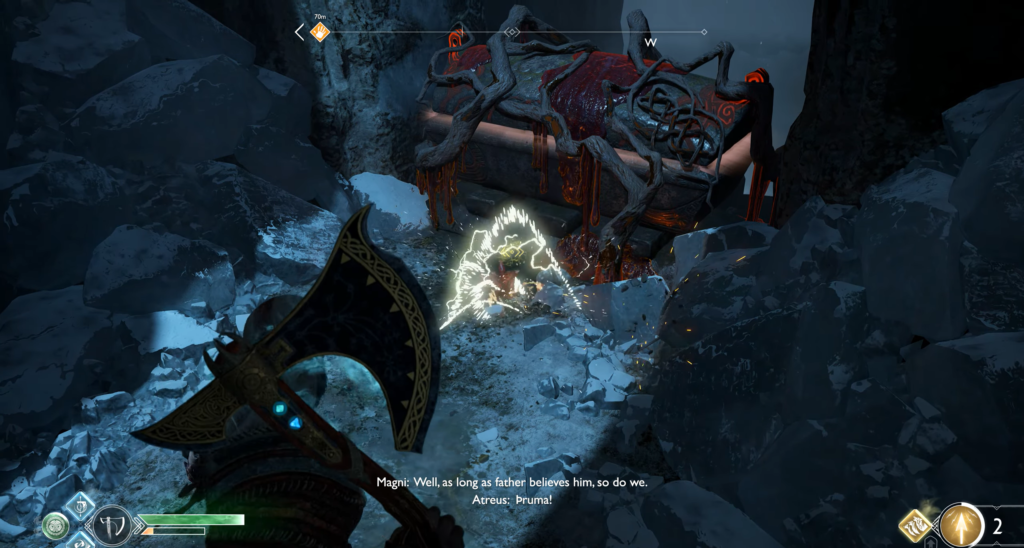
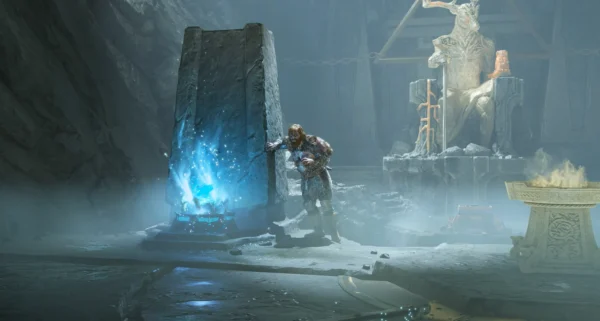
From the defeated enemies, obtain Leiptra Alloy and another Frozen Flame for the axe. Approach the giant chisel and chop off a piece. This item will not only allow you to carve the necessary rune, but also open all the Hidden Rooms you have encountered earlier.
Published
Modified
nikreg1607
Nik Reg
Game Guide Author & Barista
Barista by day and a gamer by night. While mastering the art of brewing the perfect espresso, he also spends his time exploring virtual worlds, testing strategies, and figuring out the most efficient ways to overcome tough moments in games. He enjoys breaking down game mechanics, discovering hidden tricks, and sharing helpful tips with other players.


Comments (0)
Sign In / Sign Up
Sign in to leave a comment.
No comments yet
Be the first one to share your thoughts!