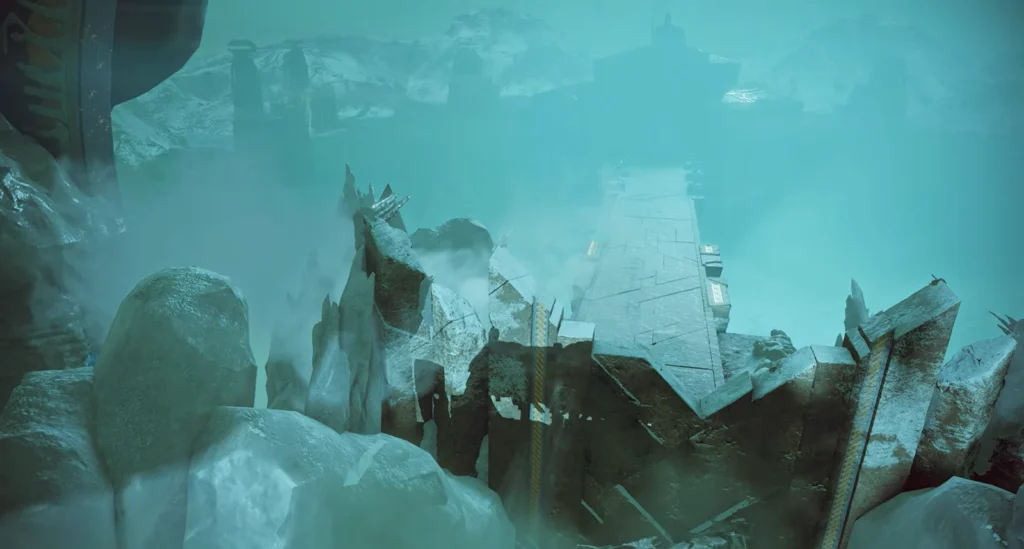
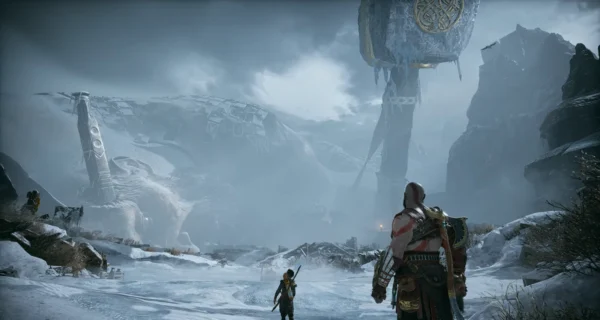
Kratos and Atreus found themselves on the other side of the bridge that Freya and Mimir had warned them never to cross. Now the heroes are deep in the icy depths of Helheim, and getting out of here will be extremely difficult, even for those who are still alive.
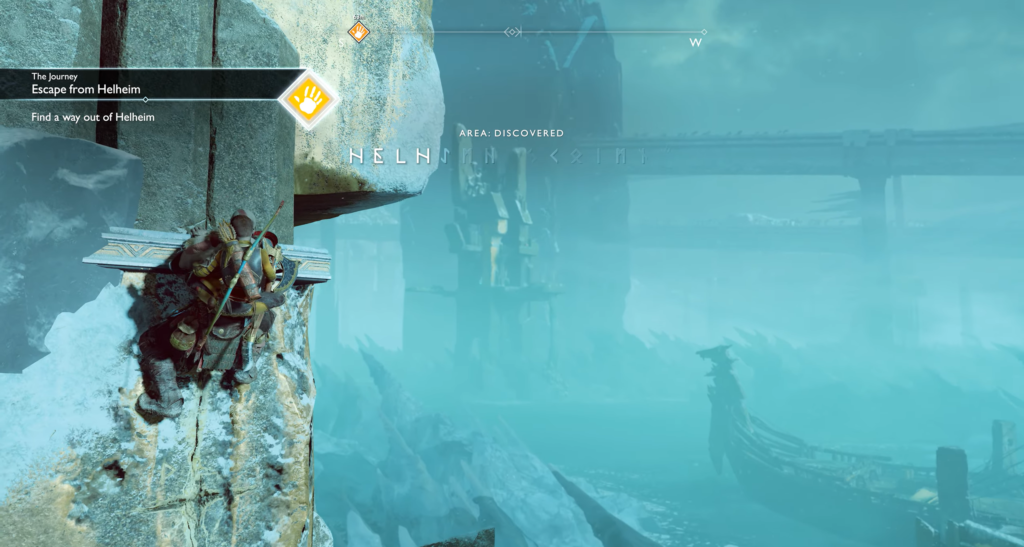
Searching for a way out of Helheim
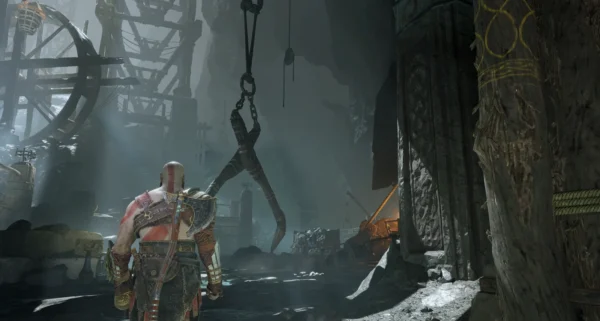
To the left of the starting position, there is a climb up the tower wall. Climb to the top, where you will encounter the first Reaper on the platform. We recommend switching to Chaos Blades right away, as they are much more effective in this area.
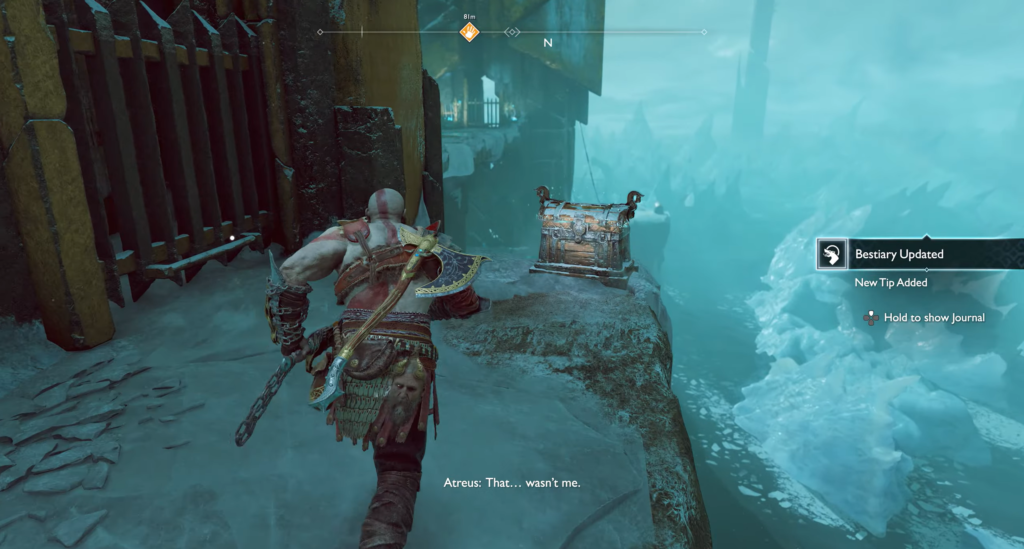
After dealing with the enemy, destroy the Helish Growth nearby. Go out onto the balcony and turn left—there is a chest with silver by the gate leading back to the center of the tower.
Crossing the bridge and fighting the shadows
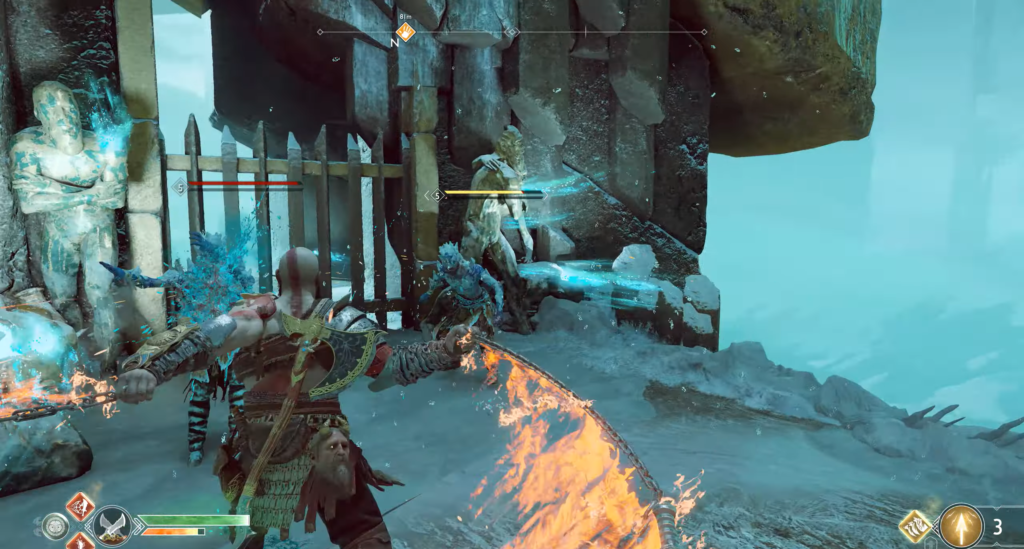
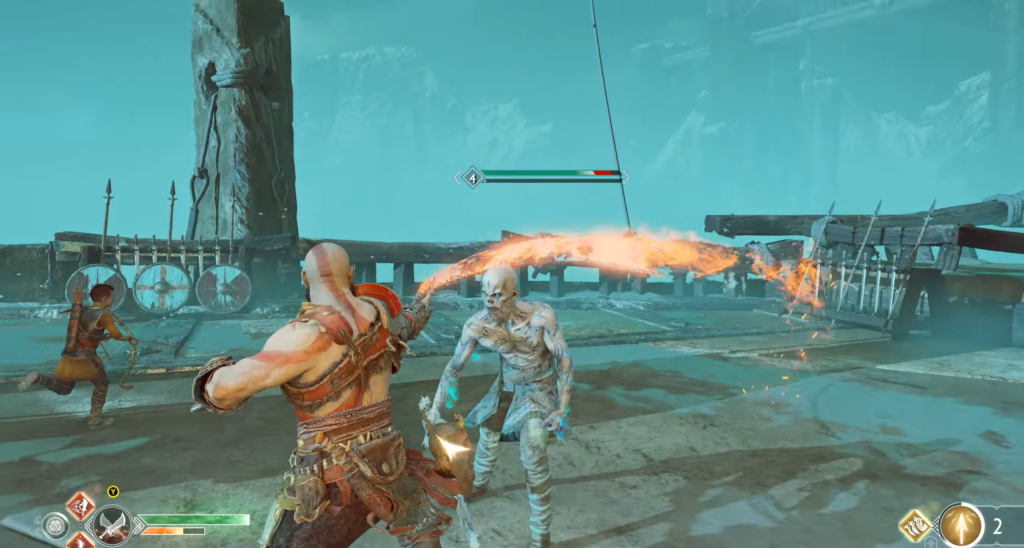
Cross the bridge and jump to the opposite side. Two Hell-Ghost Scouts will attack immediately — impale them on Chaos Blades, then use Elemental Surge or Explosion to blow them to smithereens. Don’t forget to turn around: another group will appear behind you.
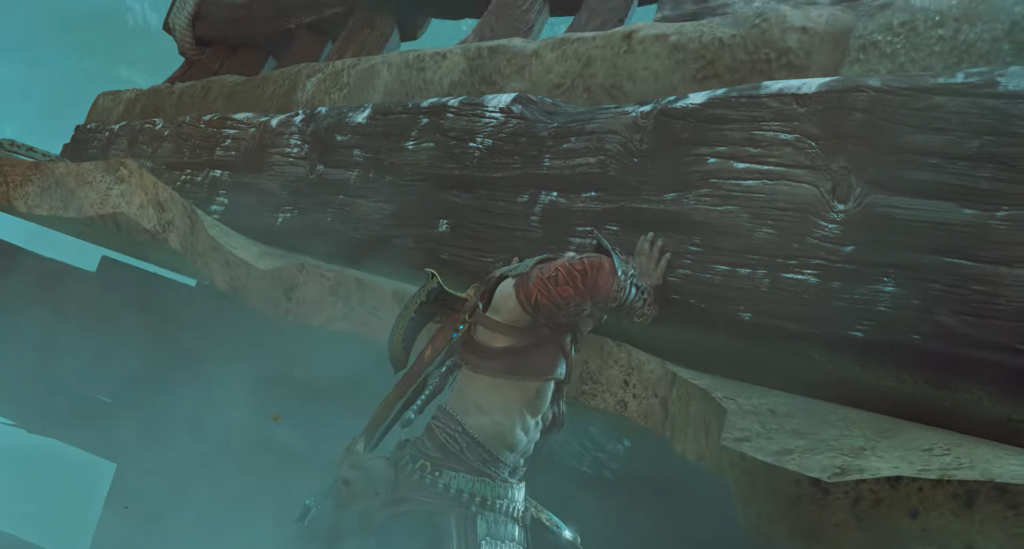
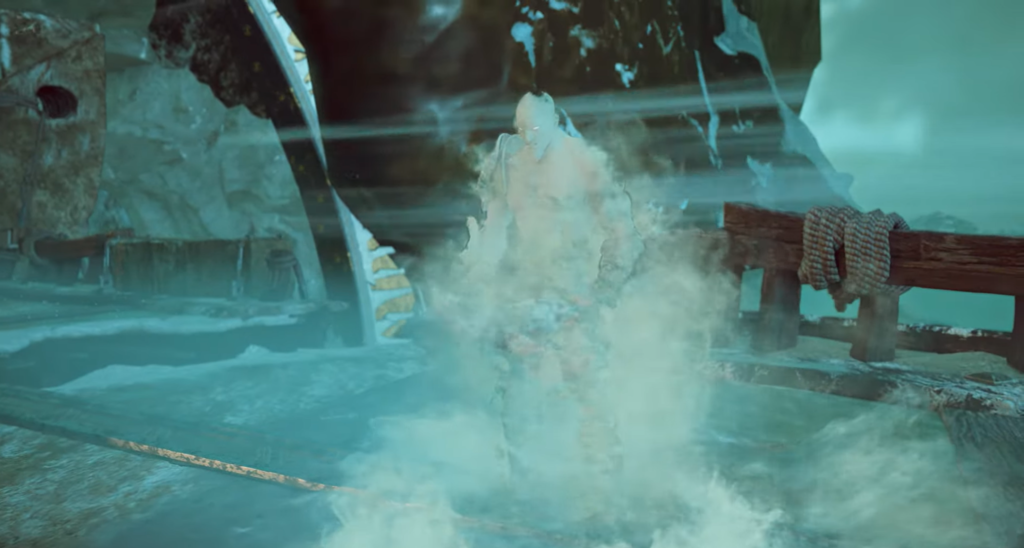
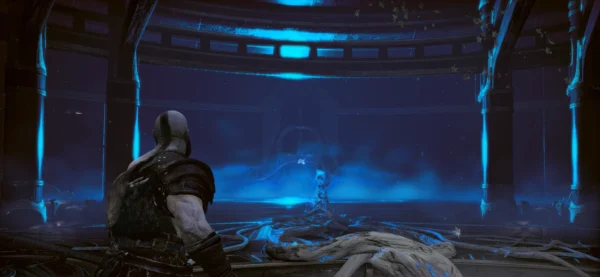
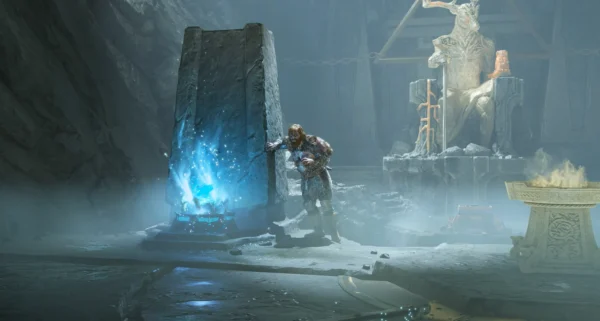
Inside the next tower, Kratos will be plagued by visions of Hel, part of the eternal torment of doomed souls. Find the ledge, climb over it, and descend to the bottom of the tower.
The Mystery of the Hel Winds
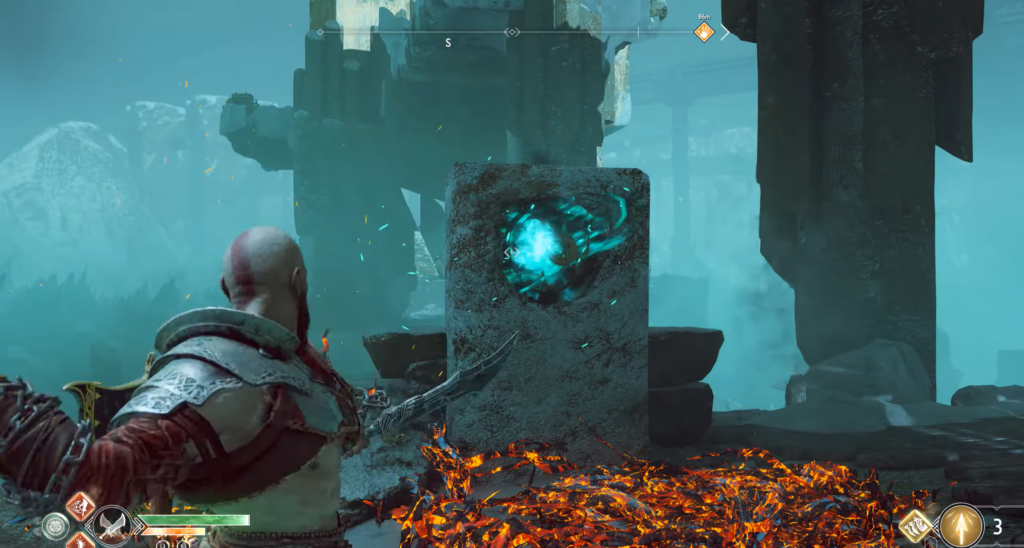
There are two slots for Hel Winds at the bottom of the doorway. The first charge is hidden behind the Hel Branch in the corner. Note the gear on one of the door locks — proceed in the following order:
Throw Wind into the left door slot.
While the door is unlocked, freeze the gear with the axe.
Take the Wind back and move it to the right slot.
The path is open.
Additional loot: Descend below, past the original location of the Winds, to the platform above the water. There you will find a coffin containing Solid Svartalfheim Steel. Be careful — Hel Reaper will ambush you.
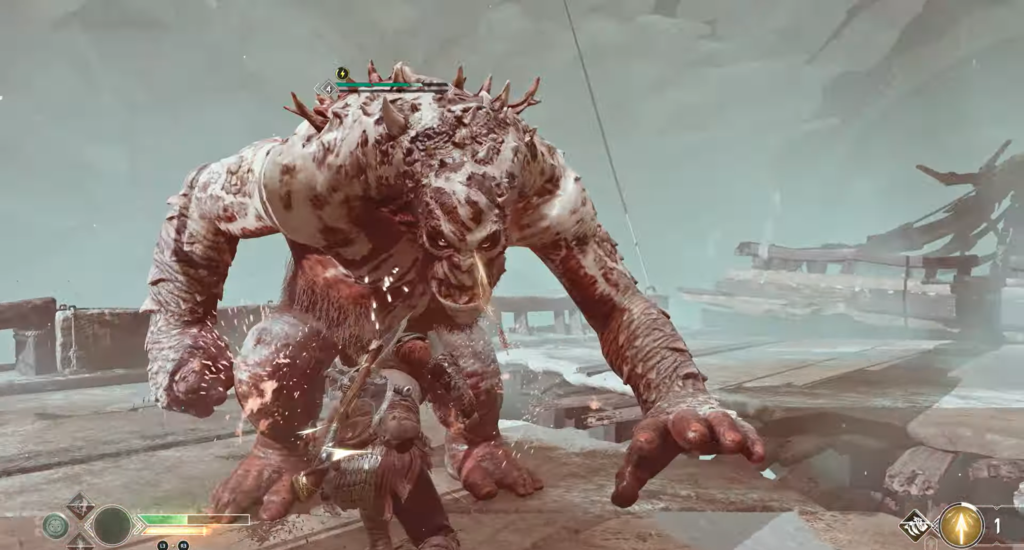
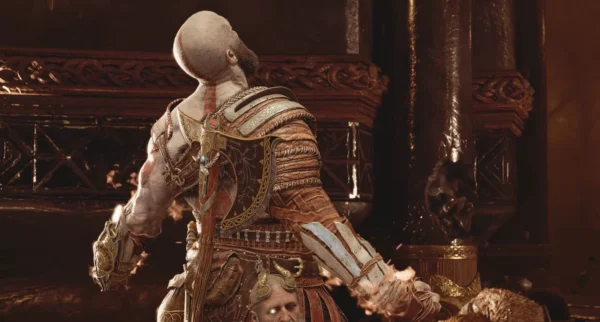
Hel-Traveler
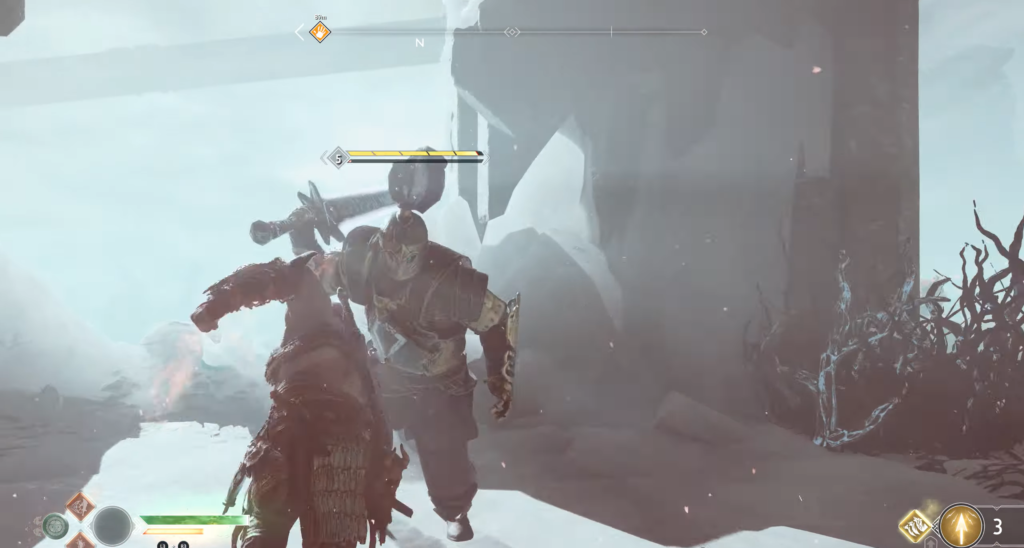
Hell-Traveler is waiting behind the door. There is minimal room for maneuver here, so rely on side dodges and blocking his sweeping attacks. Have Atreus continuously shoot arrows at him — this will end the fight faster. Materials and Chaos Flames will drop from the enemy’s body — a resource for upgrading Chaos Blades after returning from Helheim.
Coffin on the far platform
After destroying the Helicorn on the side, you will notice a coffin on a distant platform — it is not possible to reach it yet. Open the gate on the opposite side and go around the tower on the right: there is a block there that you need to push all the way. Return to the balcony above, jump onto the block, and from there onto the platform with the coffin. Inside is Hardened Svartalfheim Steel.
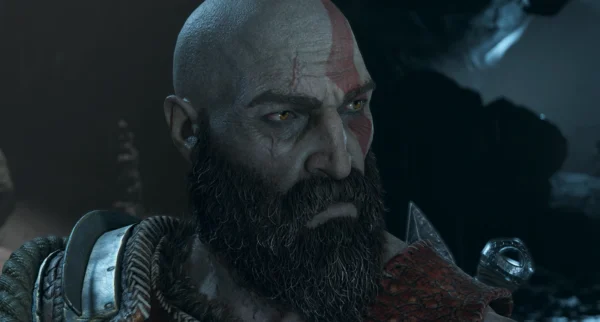
Meeting with Baldur
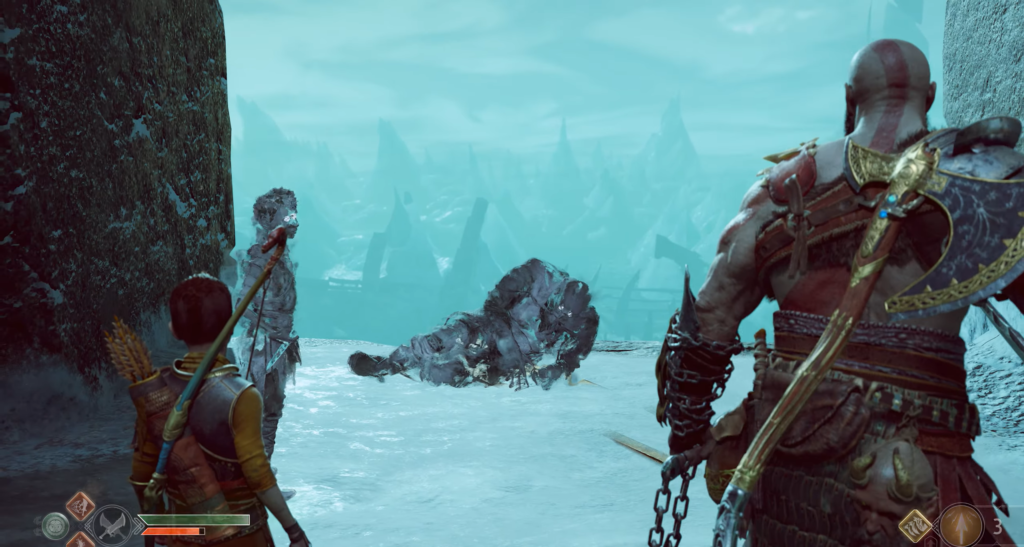
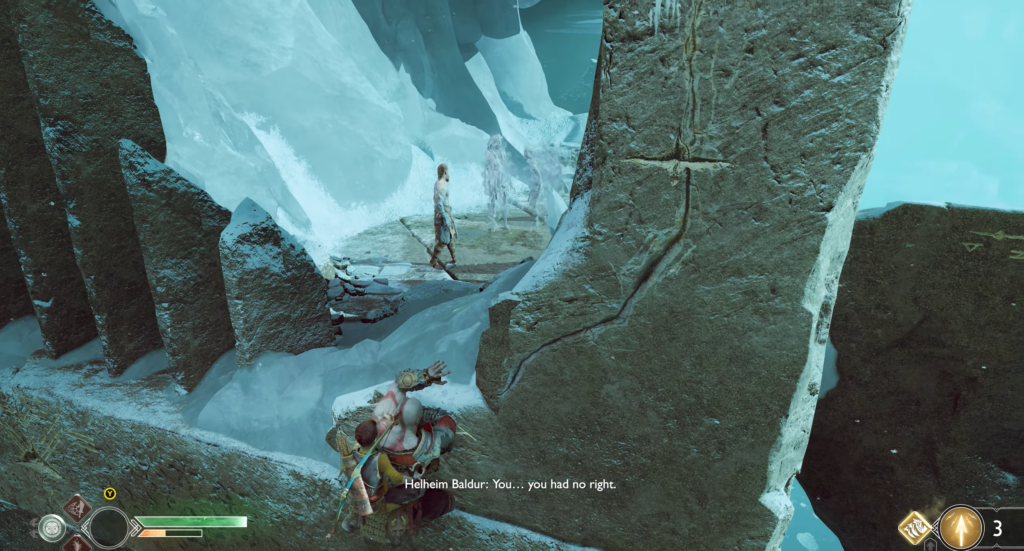
Cross the next bridge. Here, Baldur faces his own demons and visions of the past—you will learn an important secret about his origins. Continue along the ledges until you reach the other side of the tower.
Once you’ve descended, look to your left — there’s a narrow passage hidden behind the weapon racks. Squeeze through it to reach the coffin containing the Tempered Svartalfheim Steel and the Chara.
Fight on the lower platform
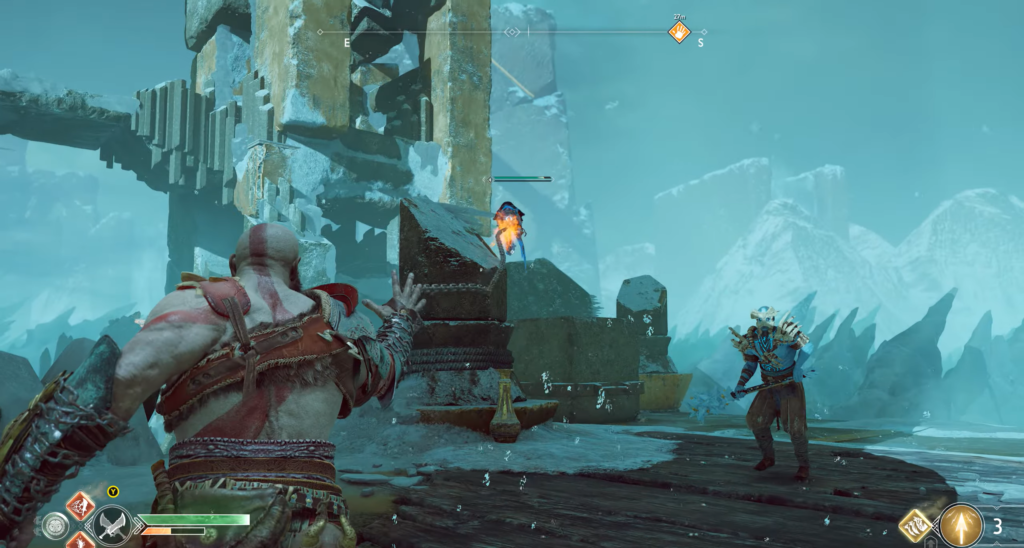
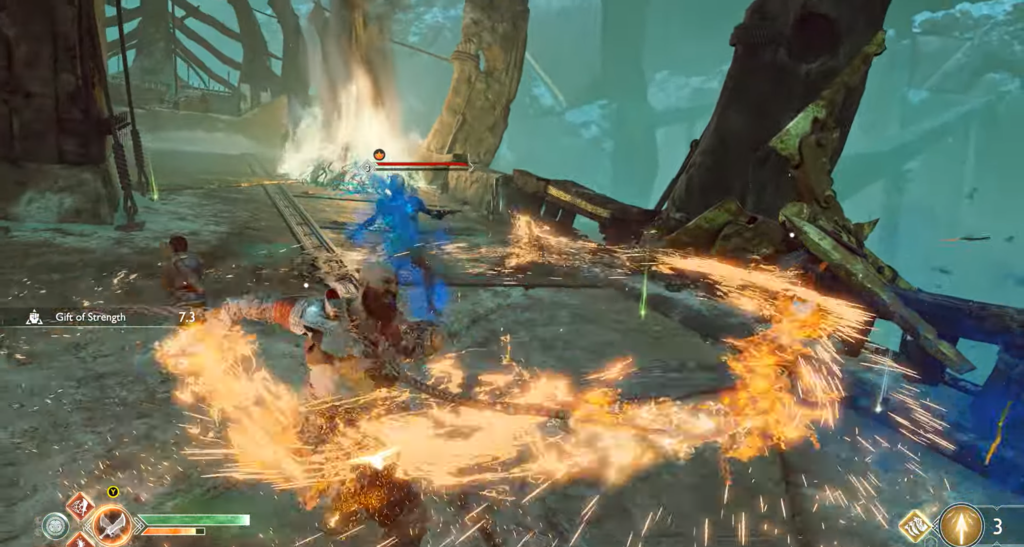
On the platform below, several Hell Reapers accompanied by Nightmares attack at once, followed by two Hell Vickens wielding heavy maces. Now is the time to unleash your rune attacks: they will destroy the smaller enemies and stun the Vickens. Dodge the vertical swings of the maces and strike from the side.
Horn of Bloody Honey (Norn’s Chest)
Although this chest is not marked on the region map, it can be found by turning left instead of the ship and pushing the stone into the hole to get to the first tower.
Runa
Where to look
“N” rune
On the side edge of the pull-out block. Pull the block slightly out of the niche and hit the rune from the back.
“C” rune
Walk past the niche to the cliff above the frozen water and look to the left.
“R” rune
Pull the block to the high ledge and climb up. The rune is on the right at the bottom, behind a small pillar. Nearby is a chest with silver.
Open the rune chest and take the Horn of Blood Honey.
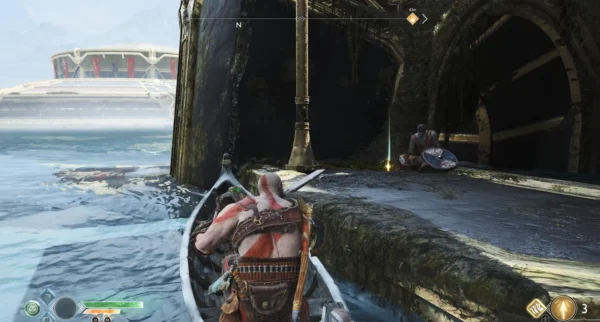
Use of the ship
Head down the opposite passage, move the stone out of the way, and climb aboard the old ship. The deck is covered with Hel’s Growth—set fire to the two large clusters at the bow and stern with Chaos Blades.
Find the lever mechanism at the rear of the ship and raise the freed sails. The ship will sail a short distance and crash into a giant iceberg — there is no helmsman.
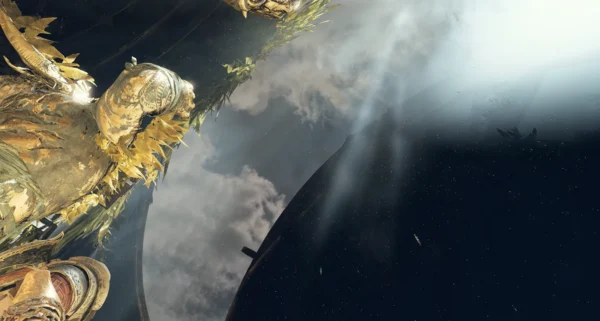
Takeoff
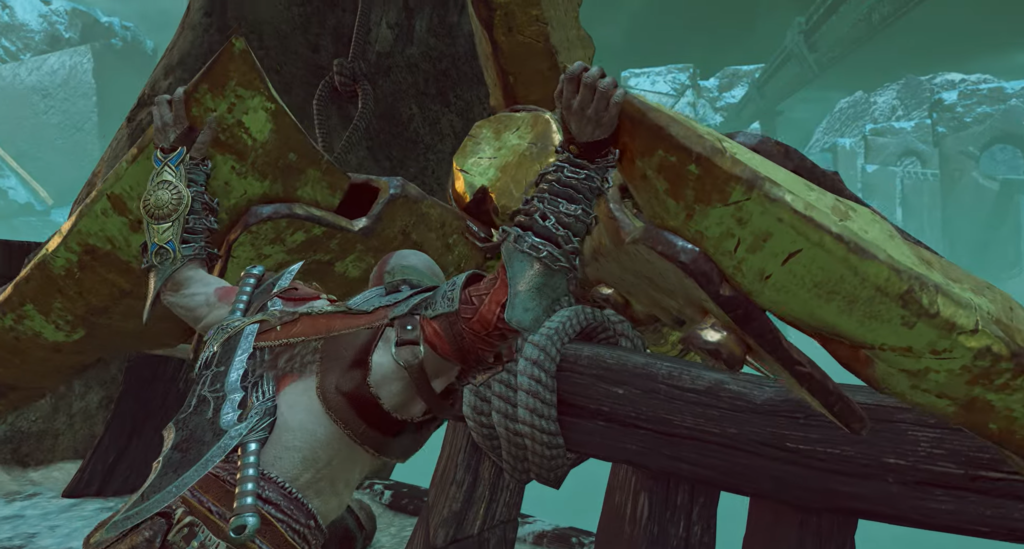
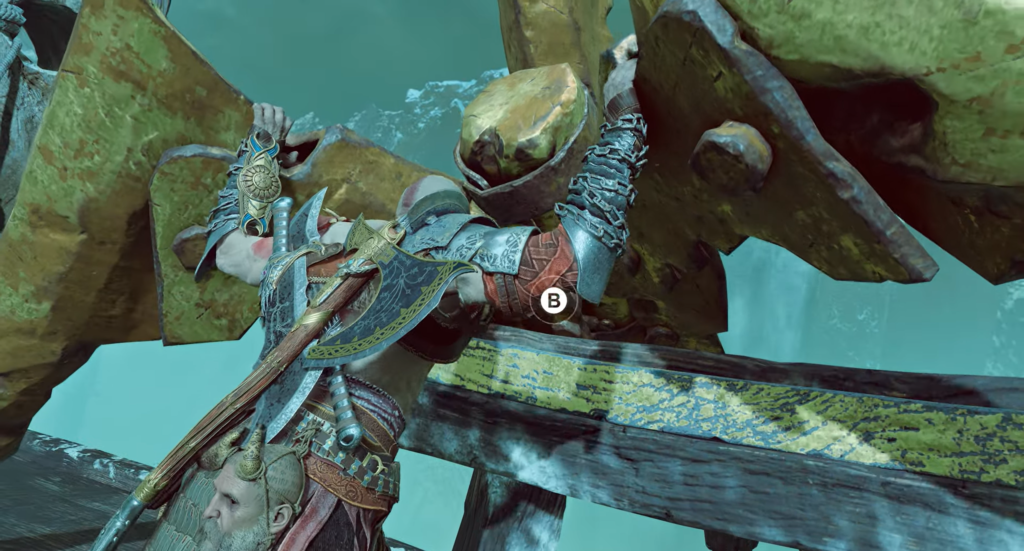
Go to the bow of the ship and break the wooden fastening holding the sails. Now the sails are flying freely. Return to the lever and pull the sails even tighter—the hot air from the fires on the deck will lift the ship into the air. However, this will not last long: the ship will get caught on the tower.
Tower: Legendary Charm and Chest
Jump onto the platform to which the ship is attached and walk along the tower balcony. Here you will find a coffin containing the Stone of Fire Superiority, a legendary charm that increases fire damage. It is incredibly useful in Helheim.
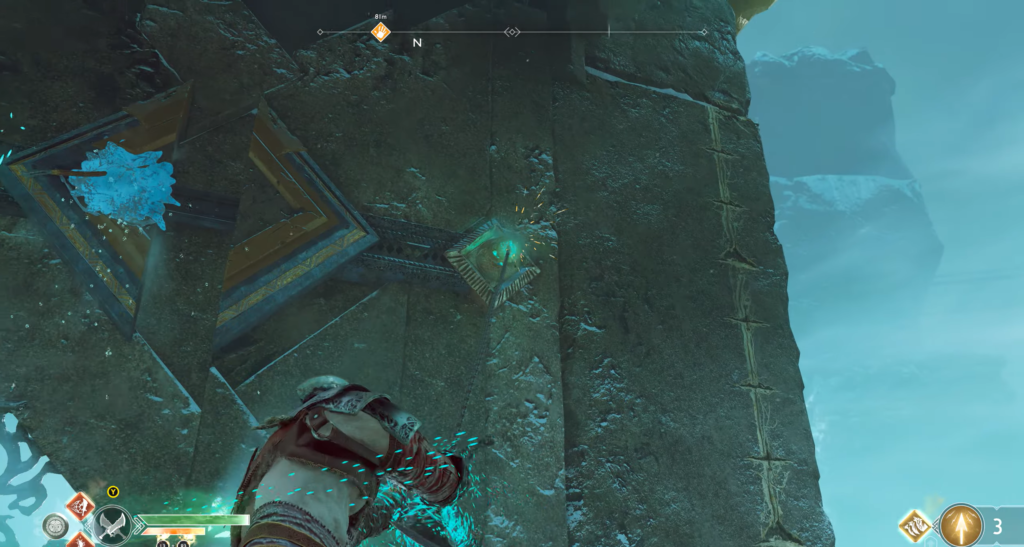
Legendary Chest: There is a rotating mechanism inside the tower itself. Throw your axe into it to raise the platform. Make sure you are not standing on the platform, then dive under it and exit onto the balcony on the other side of the tower. There you will find the legendary chest with the Icarus Storm rune technique (a light rune attack for Chaos Blades).
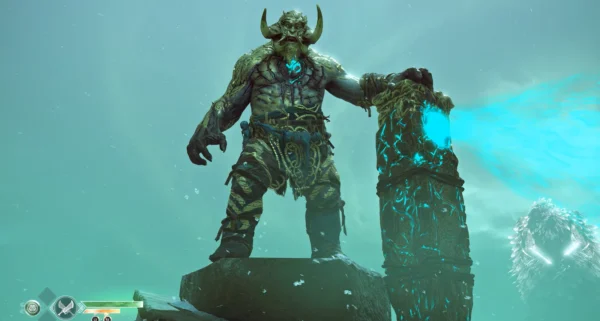
The Rise of the Bridge and the Ice Revenants
Return to the bridge connecting the tower to the ship. The lever mechanism will raise the bridge, but it will rest against the upper bridge—you will have time to return to the ship. However, two Ice Revenants will block your path. They are extremely resilient and create ice cracks that slow you down. Use Atreus with Electric Arrows — they will stun your enemies, allowing you to deliver a series of blows.
Enter the tower and activate the rotating mechanism with an axe after climbing to the second level. Step off the platform and retract the axe—the platform will lower. Take the chest of silver from the roof on the right. Then cross the drawbridge and take flight.
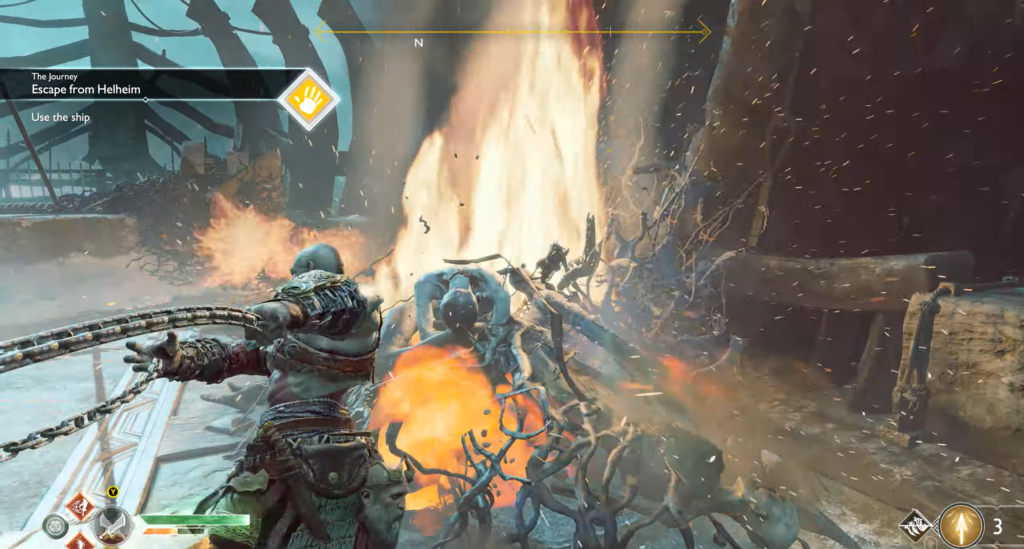
Helheim’s Heaven: Ship Defense
As soon as the ship takes to the air, the Hell Reapers will begin to appear on the sides, like sky pirates. Their goal is to extinguish the two fires on the deck. This cannot be allowed to happen.
Defensive tactics:
Use Elemental Surge or Explosion after capturing enemies with Blades.
Runic attacks will help clear the deck of enemy clusters.
Atrei and his stun abilities are your allies.
Constantly move between the bow and stern.
If the flames weaken, immediately light the fires with the Blades of Chaos.
The First Harpoon
The ship will be harpooned from below. To pull out the harpoon, first deal with Hel-Viken and the wave of small Hel-Spawn. Swing your Blades in a wide arc until all enemies are down, and only then interact with the harpoon.
The Second Wave
Additional Reapers will appear, including archers on platforms above. Pull them down with your Blades. Run along the ship, striking groups of enemies with sweeping blows, and use Runic Arts whenever possible. Before dashing to the other side, make sure the nearest bonfire is burning brightly.
Double Harpoons and Ice Revenants
After another wave, several harpoons will be thrown at the ship. One will stick in the front fire—run to it and pull it out. Turn around and you will encounter two Ice Revenants. Have Atreus continuously shoot them with arrows while you deliver powerful blows. Watch out for the Nightmares that the Revenants spawn when they teleport. After destroying them, pull out the second harpoon at the rear fire.
Final assault
The ship rounds the towers and heads for the Temple of Tyr. The last wave begins with Hel-Vikings — try to quickly destroy at least one of them before the others start extinguishing the bonfires. Lure the Viking closer to the Reapers and cover everyone with a wide-ranging rune attack such as Hyperion’s Strike. Run between the bonfires — sometimes you can outrun the Viken and switch to defending the flames.
Then new harpoons pierce the bow of the ship, and an Ogre lands on the deck. Focus all fire on it immediately. If necessary, activate Spartan Fury. After stunning the Ogre, use it as a living battering ram—it will scatter the remaining Reapers across the deck. Finish off the survivors.
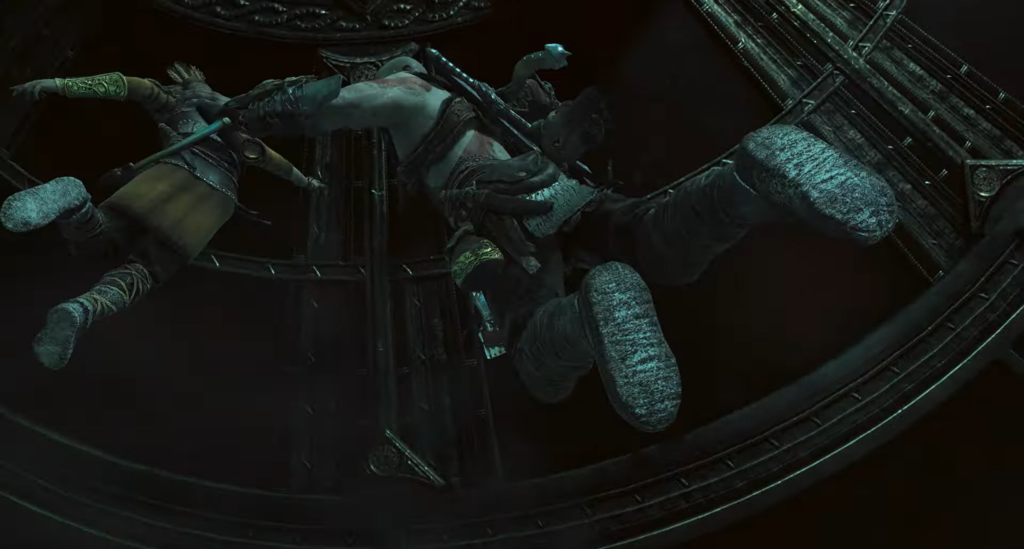
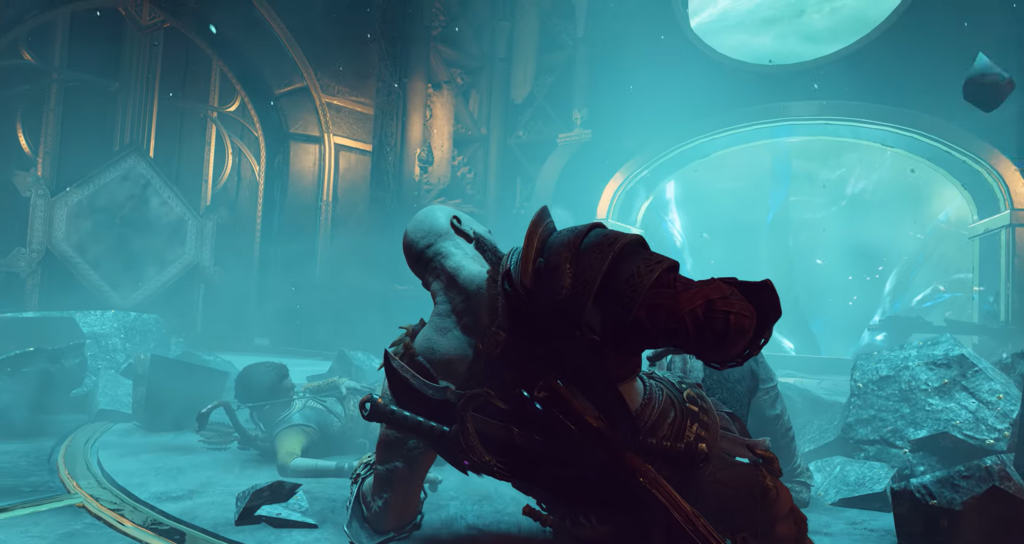
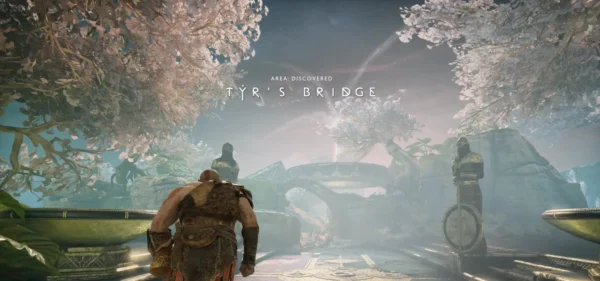
The front harpoons are out of reach — the only way out is to drop the bow of the ship entirely. Before that, Kratos and Atreus will be overtaken by a final vision from the past, and then the heroes will jump onto the Temple of Tyr.
Escape from Helheim: The Finale
Landing will take you to Odin’s Hidden Chamber, which is not marked on the region map.
Before interacting with the sealed door, enter the opposite passageway. There you will find a coffin containing the Eye of the Outer World, an epic charm that grants bonuses to all attributes.
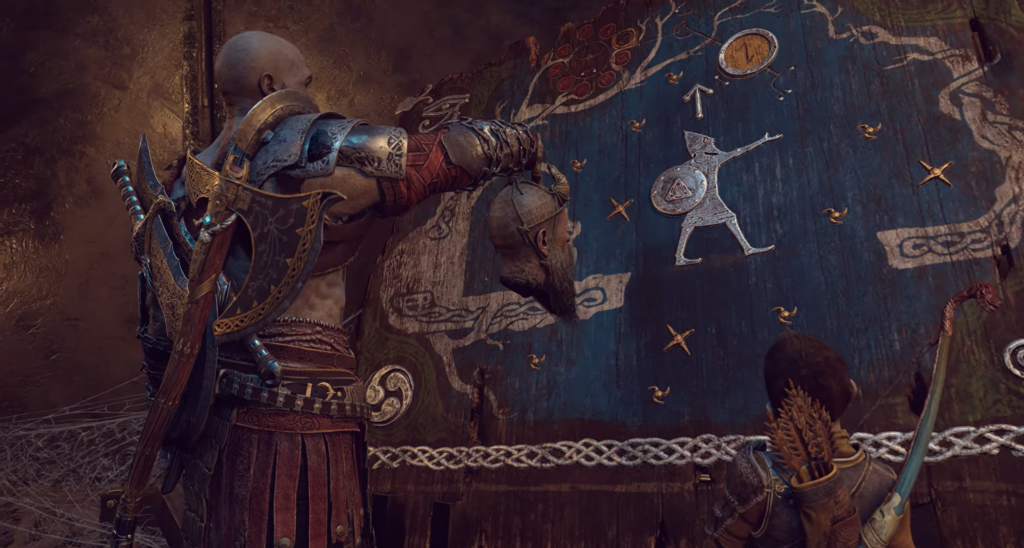
Knowledge: There is a scroll lying on the floor near the shelves with scrolls. Ask Atreus to decipher it — it is the scroll “The Lost Tower.”
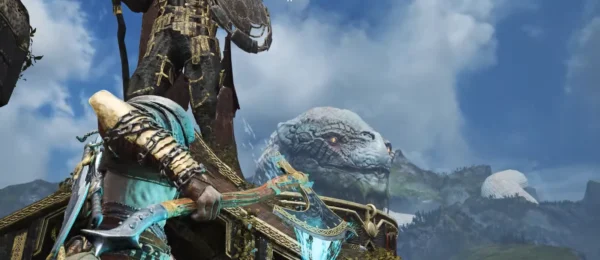
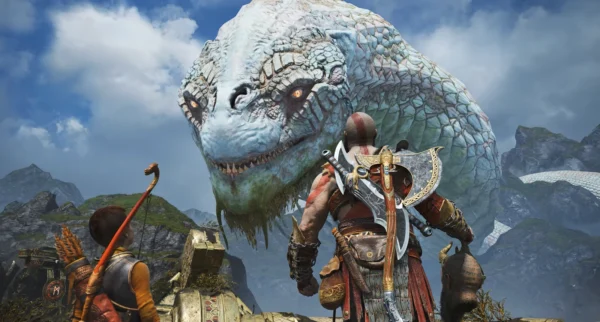
After passing through Odin’s chambers, you will discover the missing Yotun Altar of Tyur, which Odin has stolen. The altar holds a secret hidden even from the All-Father—but not from you. A new path to Yotunheim has been found, and the key to it lies with the dwarves.
Published
Modified
nikreg1607
Nik Reg
Game Guide Author & Barista
Barista by day and a gamer by night. While mastering the art of brewing the perfect espresso, he also spends his time exploring virtual worlds, testing strategies, and figuring out the most efficient ways to overcome tough moments in games. He enjoys breaking down game mechanics, discovering hidden tricks, and sharing helpful tips with other players.


Comments (0)
Sign In / Sign Up
Sign in to leave a comment.
No comments yet
Be the first one to share your thoughts!