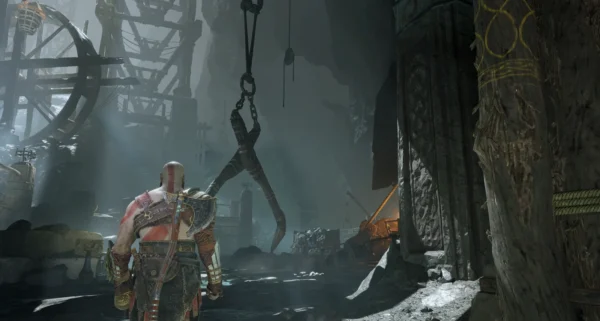
The magic cutter and the first secrets
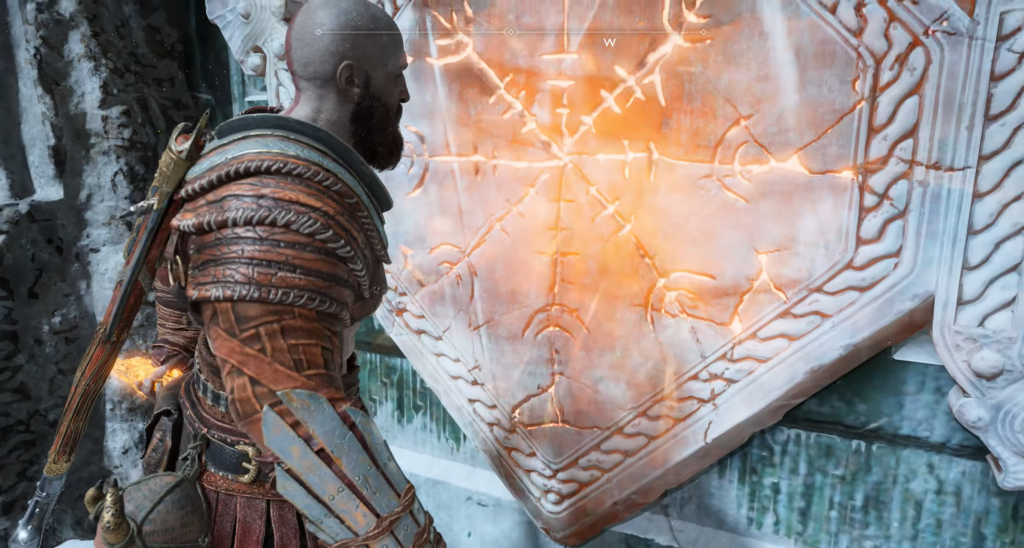
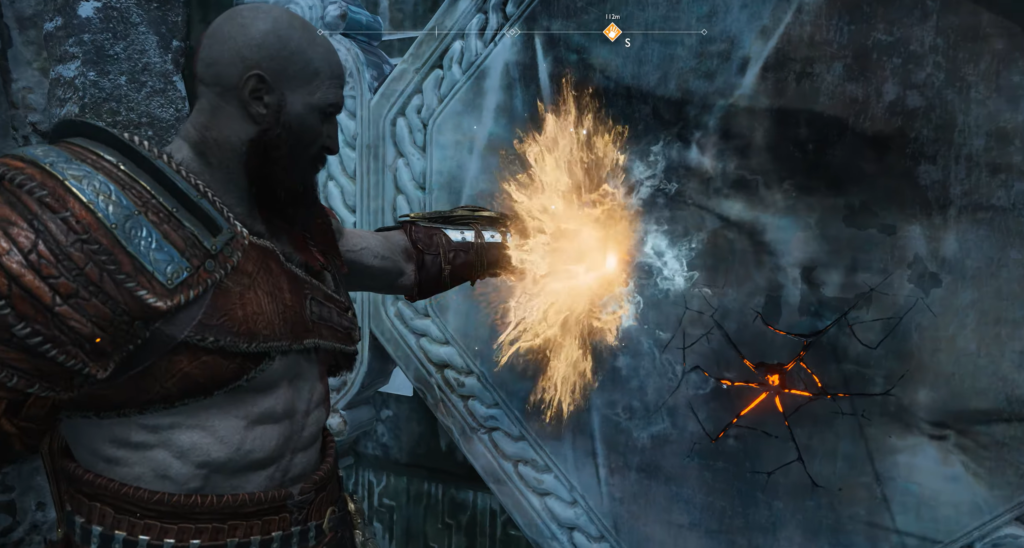
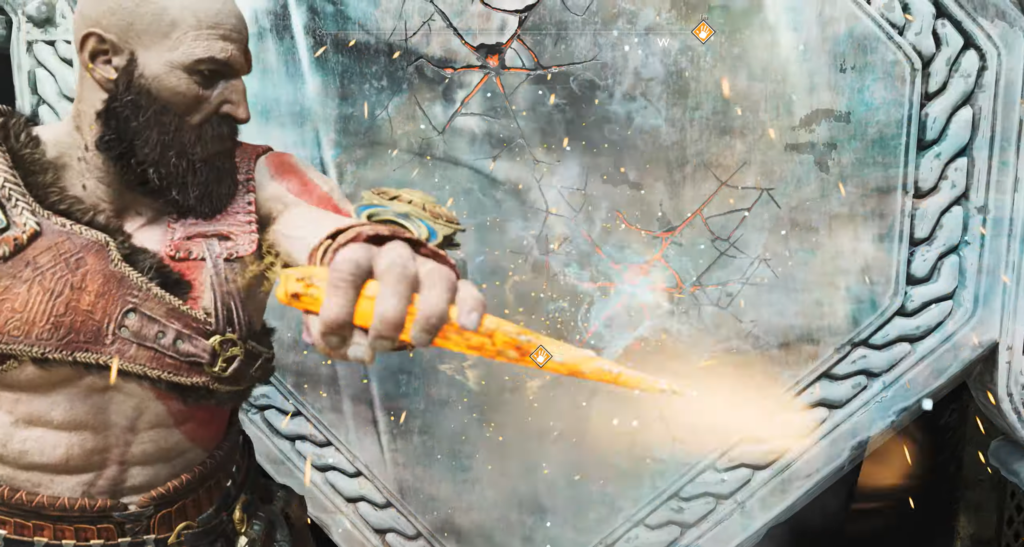
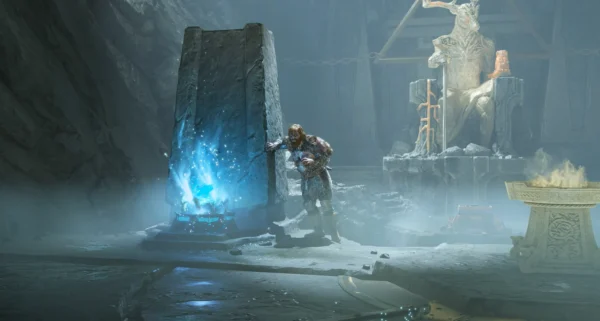
Once you have obtained the magic chisel, you will have access to all the magically sealed doors in the game. The first such door is located right next to the giant chisel — point the tool at the lock and strike the spot where the glow is brightest.
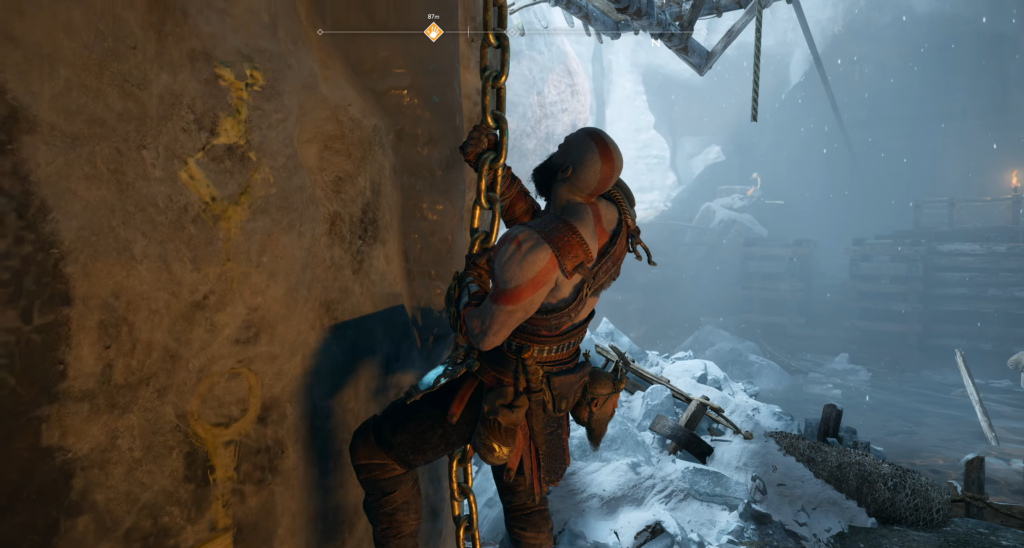
Behind the door, you will find a room whose walls are covered with the giant’s clothes — you can climb up them. Pay attention to the coffin covered in red resin. Behind the frozen clothes, there is a shard crystal hidden: knock it down to free the coffin and take the whole piece of Svartalfheim steel.
Chest with Runes of Norn
Nearby is a locked gate with Norn runes. To unlock it, find three symbols:
| Runa | Where to look |
|---|---|
| Rune “C” | High above the entrance passage through which you entered the room |
| Rune “R” | Climb up the golden rivets on the clothing to the upper platform leading to the dining room and look back—the symbol is hidden behind a giant buckle |
| Rune “N” | Descend from the ledge on the right, walk forward to the end, and look up above the buckle — the rune is located at the top of the ice pile |
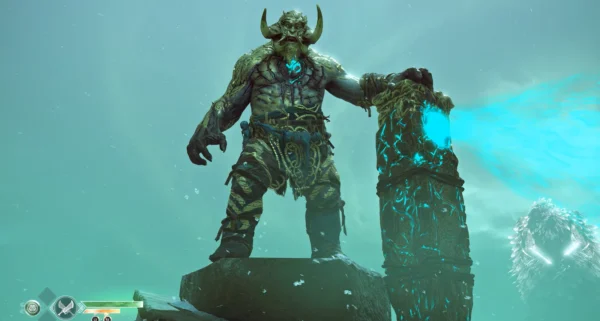
After activating all three runes, the gate will open. Inside lies a dead troll, from which you can obtain an ice catalyst (needed to upgrade the Talisman of the Endless Storm), an experience stone, and a chest with silver.
The Giant’s Dining Room and the Improvement of the Axe
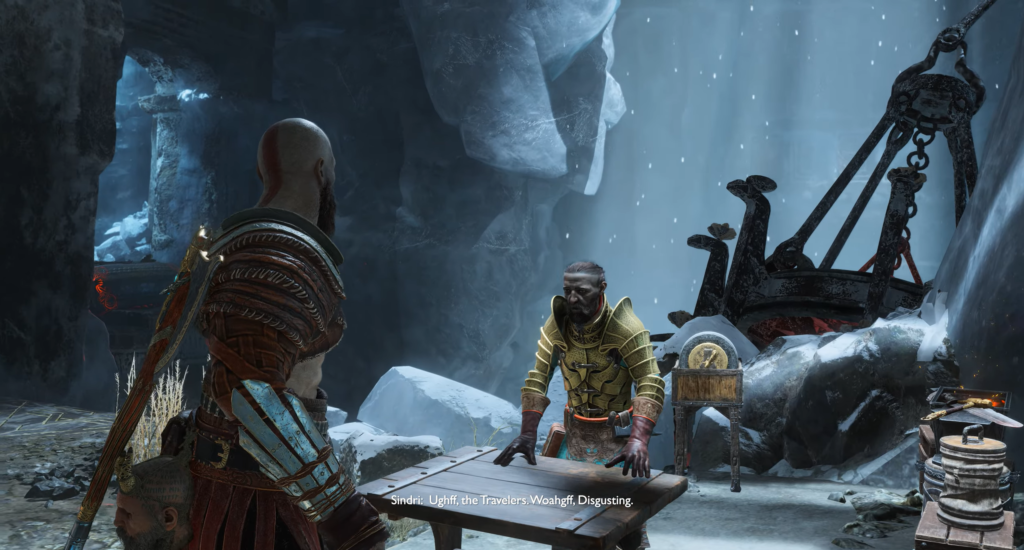
Return to the dining hall — it’s time to upgrade Leviathan to level 5. Acquire new skills if you have enough resources, and don’t forget to upgrade or purchase armor from your recently collected loot.
Go down to the center of the dining room and find another magically sealed door. Break it open with a chisel.
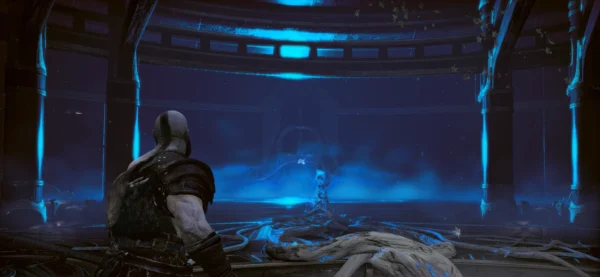
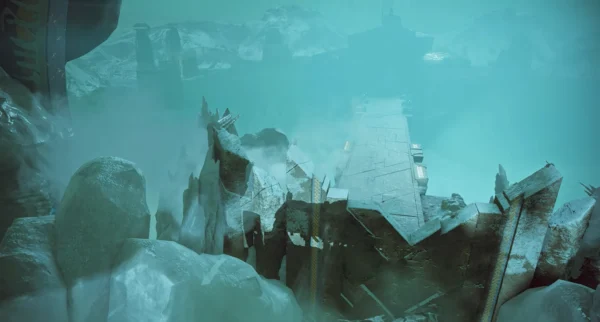
The Long Corridor: Crystals and the Gap Between Worlds
In the long corridor on the left stands a coffin protected by the resin of the World Tree. Ahead is a stand for a blue crystal, and around the bend to the right, the crystal itself is blocked by the same resin.
The procedure is simple: turn left toward the source of the shard crystals and use them to free both the blue crystal and the coffin. Inside the coffin lies a piece of Svartalfheim steel. Place the blue crystal on the pedestal to activate the rift between worlds. Interact with it to obtain the dust of worlds (no battle is required for this).
Crossing via lift
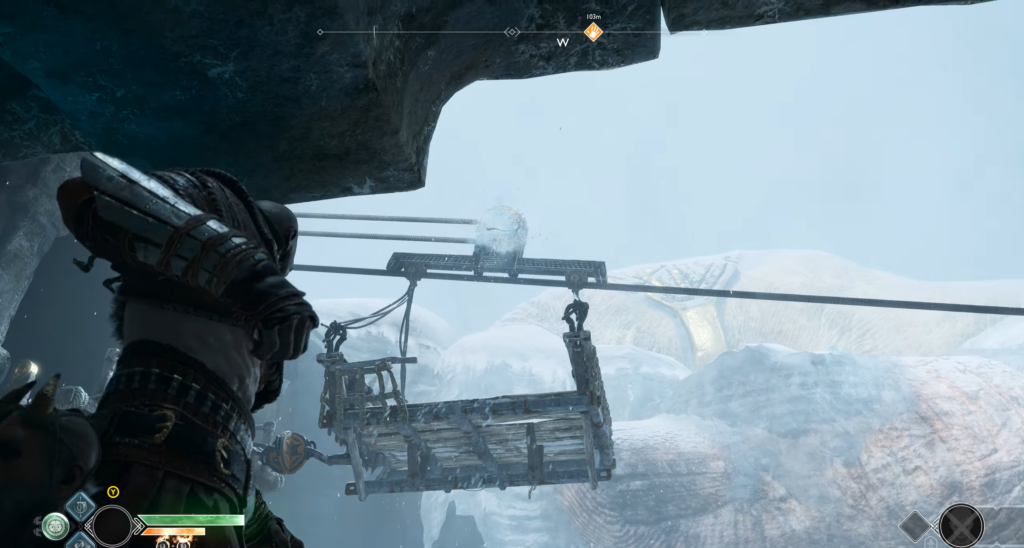
The next area is a room with water in the middle and an exit on the far side under the giant’s big toe. Proceed in order:
- Go to the lever on the left—it controls the lift above. Use the axe to cut the chain holding the mechanism.
- Head to the right and help Atreus climb onto the lift.
- Return to the lever and move the lift to the other side.
- When the platform reaches the end, freeze the gear above the lift with your axe to secure it. Atreus will drop the chain to you.
- Climb onto the lift and return the axe — the platform will move back.
On the right side, pick up the chest with silver, then move left toward the exit.
Tip: Odin’s secret rooms are now accessible to you. The nearest one contains a sanctuary of the jotuns dedicated to Tamur and one of Odin’s ravens. However, deeper in the chamber is a prison where a Valkyrie, an extremely dangerous mini-boss, is imprisoned. If you are not yet confident in your abilities, it is better to return to her later.
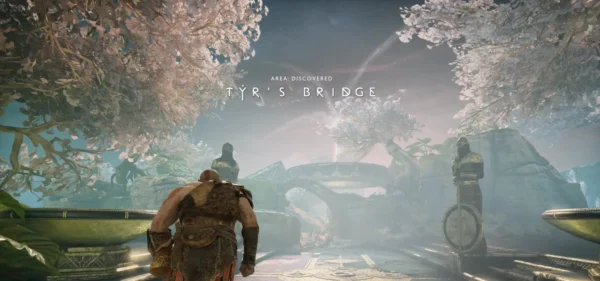
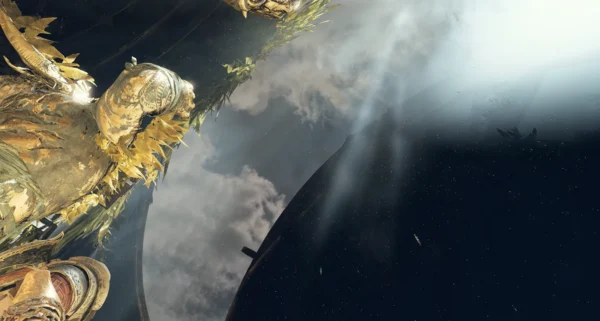
Return to the Temple of Tyra
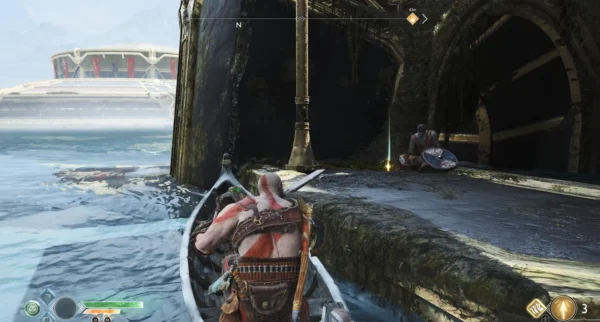
Get in the boat and head back to the Temple of Tyra. The magically sealed door at the base of the recently raised temple is now accessible.
If you wish, before continuing the story, you can explore Odin’s secret rooms in other locations: River Pass, Foothills, Alvheim, and Mountain. Keep in mind that the Valkyries inside each of them pose a serious threat.
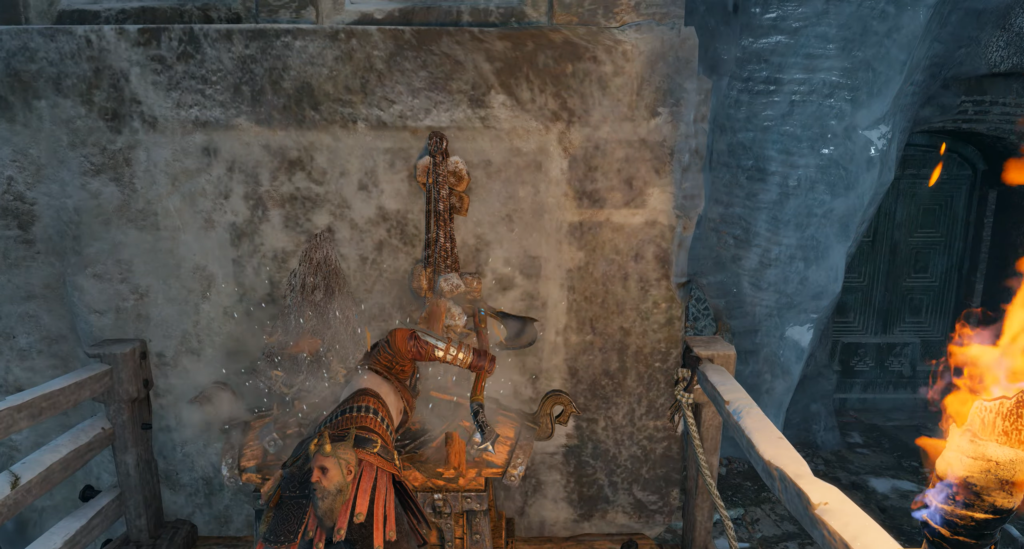
At the base of the Tyra temple, go around the platform, find the sealed door, and strike the three fasteners with a chisel to enter.
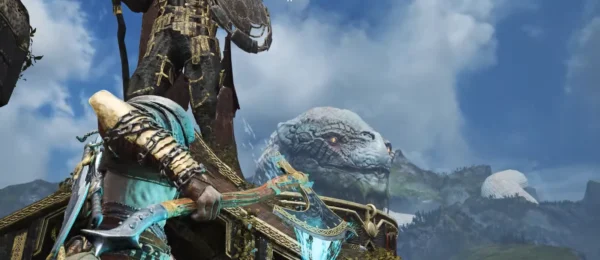
Inside the Tyra Bridge
Inside the Tyra Bridge, turn left to find the Yotun Shrine dedicated to Tyra (it is damaged) and a puzzle with a sand bowl in the center of the room. Atreus will try to explain to Kratos how it works, but the lesson will be interrupted.
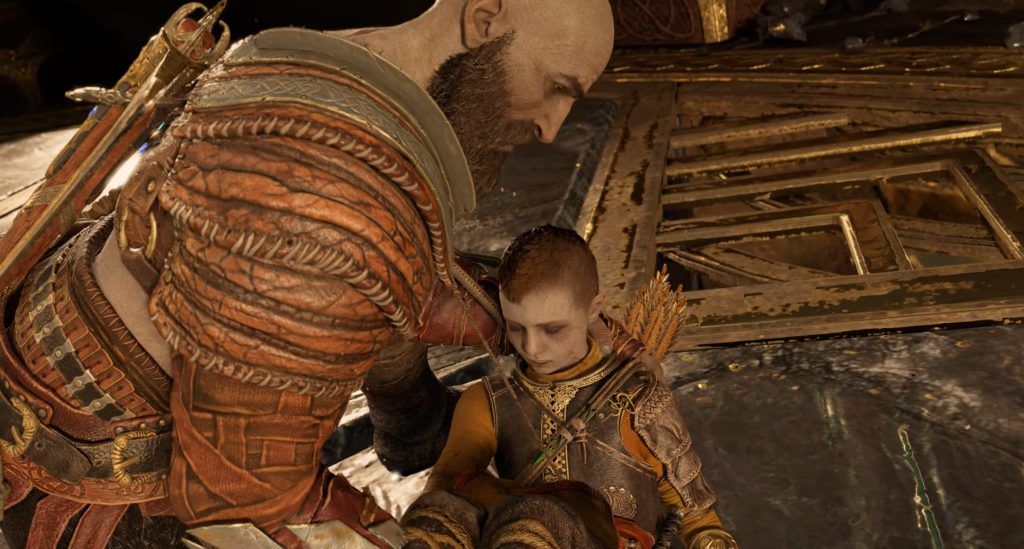
After the cutscene, Atreus will need urgent help—only a witch can save him. Hurry up.


Comments (0)
Sign In / Sign Up
Sign in to leave a comment.
No comments yet
Be the first one to share your thoughts!