
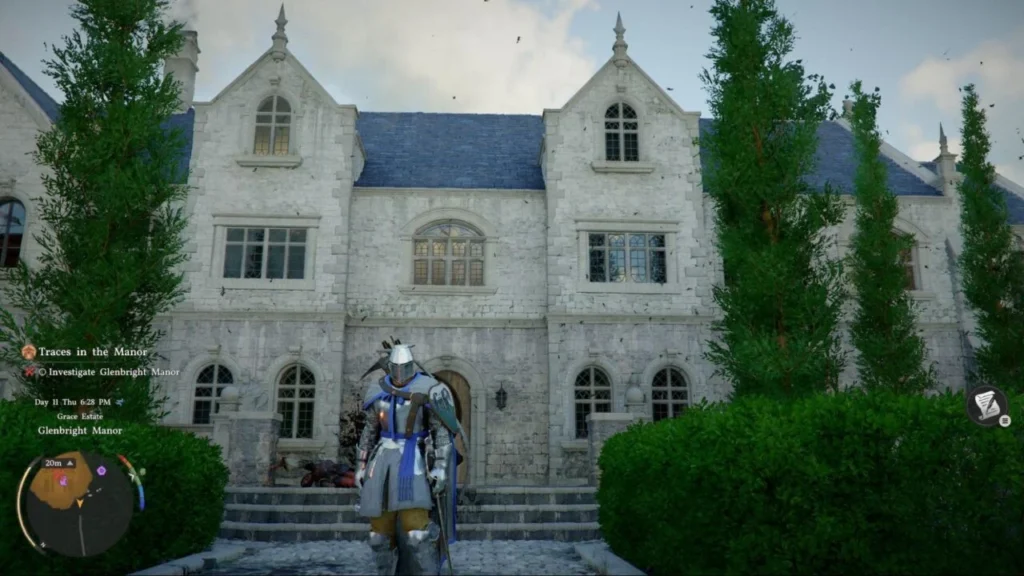
Located South of Emberwind Workshop, Glenbright Manor is a treasure trove of lore and loot. As you approach, you’ll be ambushed by Reed Devils. Clear them out to begin your investigation.
1. The Ground Floor Secret Room
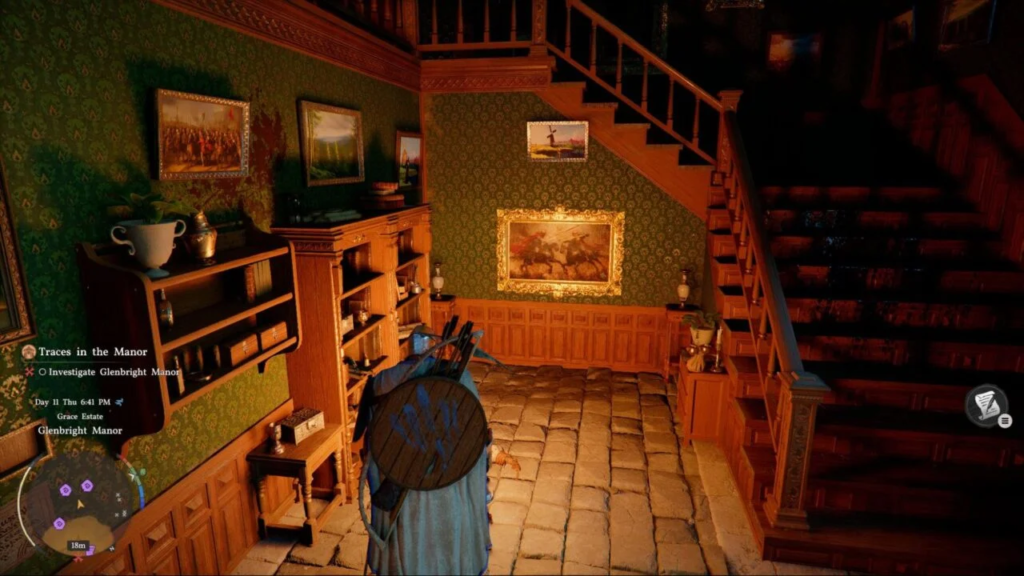
- The Clue: To the right of the main stairs, look for a large painting of two knights on horseback.
- The Action: Walk directly into the painting and push the wall.
- The Loot: Inside is the Grace Manor Basement Key.
2. The Twin Golden Daggers Puzzle
To unlock the main study’s secret passage, you need two ritual daggers:
- Ruby-Hilted Golden Dagger: Found on a wall stand at the very top of the main staircase.
- Sapphire-Hilted Golden Dagger: 1. Look for the statue of a man carrying a giant gem on the upper balcony. 2. To the left of the statue, open the wardrobe (notice the gears connecting it to the ceiling). 3. Turn the handwheel inside until the chandelier light reflects off the statue’s gem. 4. A wall recess will open nearby, containing the dagger.

3. The Main Study & Basement
Head to the Study (the room with the large fireplace).
- Unlock the Path: Place both daggers into the slots above the fireplace to move the bookcase.
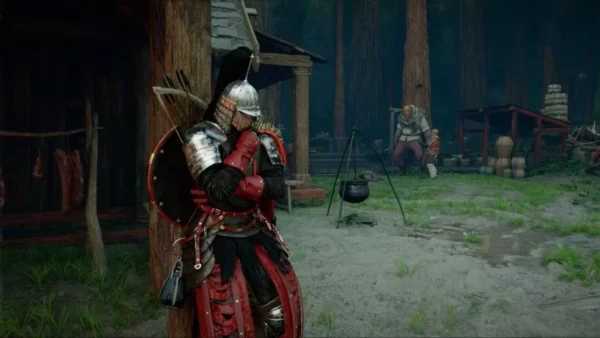
- Talk to the Servant: He is leaning against the wall. Next to him on the desk is the Grace Manor Iron Door Key.
- Learn Recipes: On the bookshelf adjacent to the servant, read “Two-Handed Weapons of the World, Vol. 1” to unlock new crafting recipes.
- The Basement: Climb down the ladder behind the bookcase. Here you will find Red Dye, strongboxes, and the essential Cloudcart Blueprint.
Pursuit: Seed of Unease
Use your Lantern (LB/L1) to follow the tracking trail out the window.

- The Chase: You will be harassed by the boss and his minions as you climb Steel Mountain.
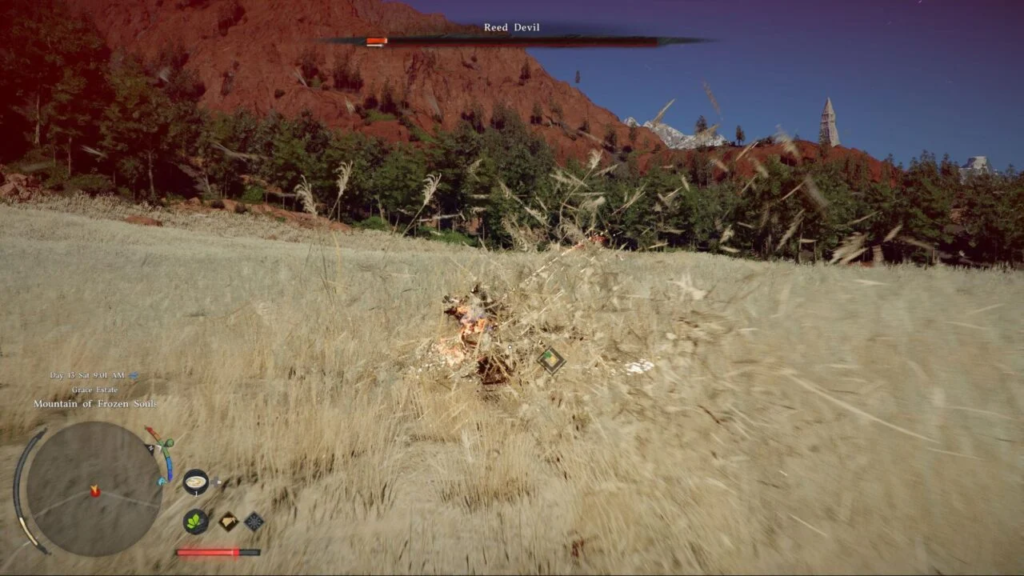
- Strategy: Do not stay and fight! The boss cannot be defeated here. Ride your horse and follow the trail South until you reach the open field of reeds.
- The Trigger: Interact with the Devil’s Doll on the altar by the ribbon-tied tree to start the real duel.
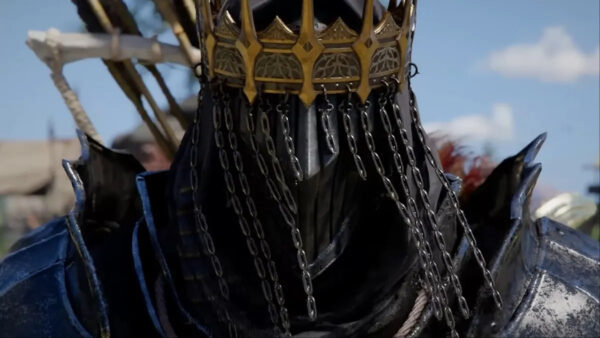
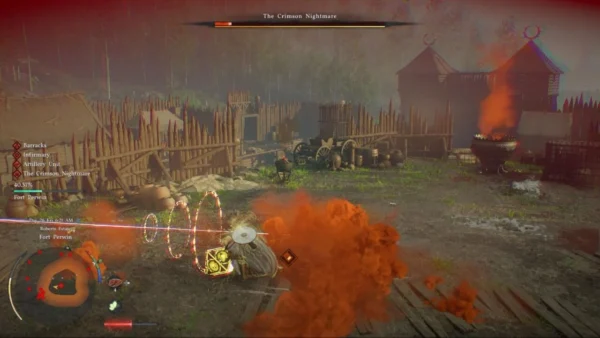
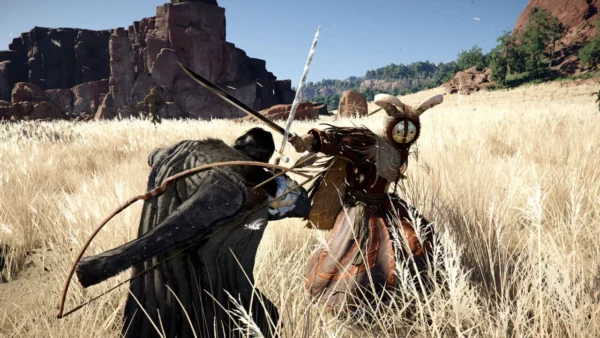
Boss Guide: Devil of the Reed Field
This fight is a test of your parrying and combo-chaining skills.
Phase 1: The Duel
- Swift Stab (New Move): You can learn this during the fight. After a Stab (RB/R1 + Y/Triangle), follow up with another Light Attack (RB/R1) to dash through the boss. It’s the best way to punish his long animations.
- Countering Red Glows: When the Devil glows red, he is preparing an unblockable. Hold B/Circle to perform a long dodge/roll.
- Animation Cancels: Don’t just mash. Use Pump Kick (Hold Y/Triangle) at the end of sword combos to keep him staggered.
- Martial Arts: Weave punches (Y/Triangle) between sword swings. This deals faster posture damage than heavy sword hits alone.
Phase 2: The Totems
When the boss enters his second phase, he will summon magical totems.
- Priority One: Ignore the boss and spam Quick Dodge (Tap B/Circle) toward the totems.
- Destruction: Each totem requires three strong attacks to break. The boss will fire magical arcs at you—do not chase him; just dodge the arcs while moving between totems.
Final Tip: If you find yourself caught in a flurry, you can now roll out of hit-stun by tapping B/Circle the moment a strike connects.


Comments (0)
Sign In / Sign Up
Sign in to leave a comment.
No comments yet
Be the first one to share your thoughts!